The Outer Banks Longitude Latitude Sign
Live near the coast? Create something like this Outer Banks longitude latitude sign for your own home!
I bet you have something like this laying around….
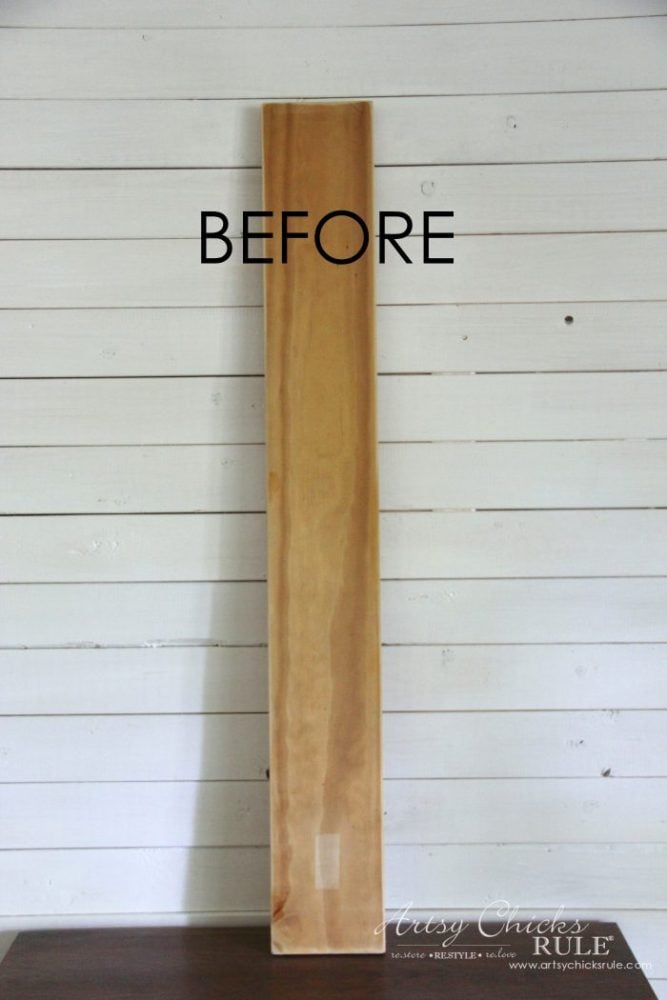
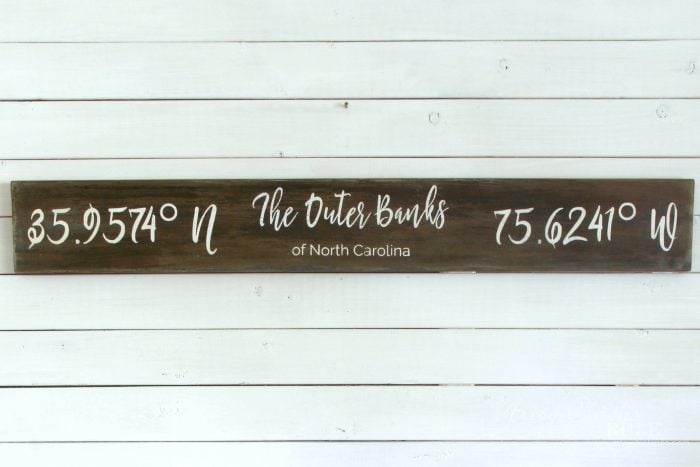
….and you can turn that into this….
Hi Friends!
What a week it’s been! We’ve been to Pensacola and back (I live on the coast of Virginia ;), that’s a long way ), came home to a very hot house and no AC and our internet went out yesterday…all since Friday! Got the AC fixed (super easy fix, thank goodness but it was HOT for about 24 hours until then), the internet came back up (after I went and bought a new modum, haha) and apparently tons of people were also out all over the US. Had no idea!
Whew, I’m just happy to be home, cool and connected! ;) hee hee
I hope you guys have had a wonderful week so far. Today I’m sharing a brand new sign….”The Outer Banks Longitude Latitude Sign“.
It was a little tough working in the heat on Tuesday so I didn’t get much done on this. (gosh, I sound so pampered but it was 90ish degrees in my house, ick!)
So….Wednesday, I scrambled to get ‘er done.
And thankfully I did so I have something new and fun to share with you all today. :)
I’m really, really thrilled with how it turned out too.
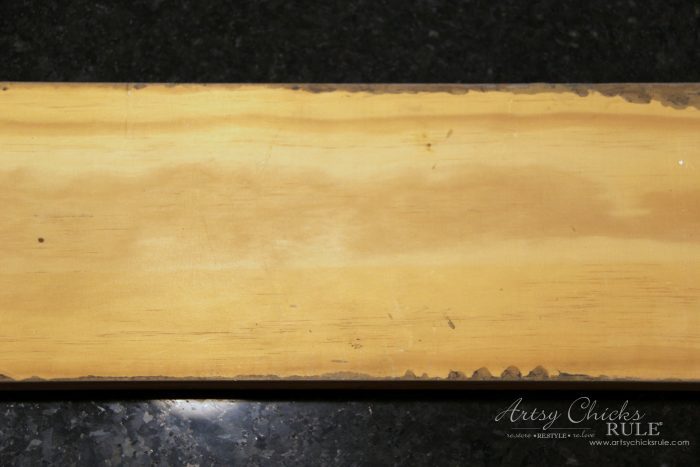
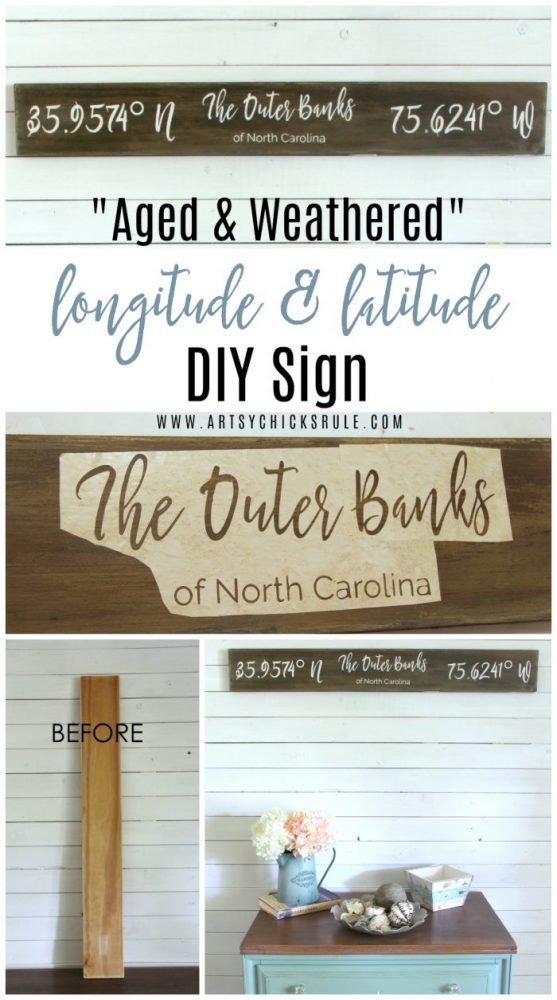
Can you believe it started out looking like this?

Yep, just an old scrap piece of wood I grabbed out of the garage.
And it still had a sticker from the store on it. When I removed it, it left that light spot.
Ugh.
Sadly the other side was a little messed up so I really wanted to make this side work.
I love a challenge! ;)
I started out by sanding the edges all around. (already done in the photo above)
I wanted them to have a soft, worn, aged appearance.
Then I mixed up some of my fave “driftwood stain” and brushed it on liberally.
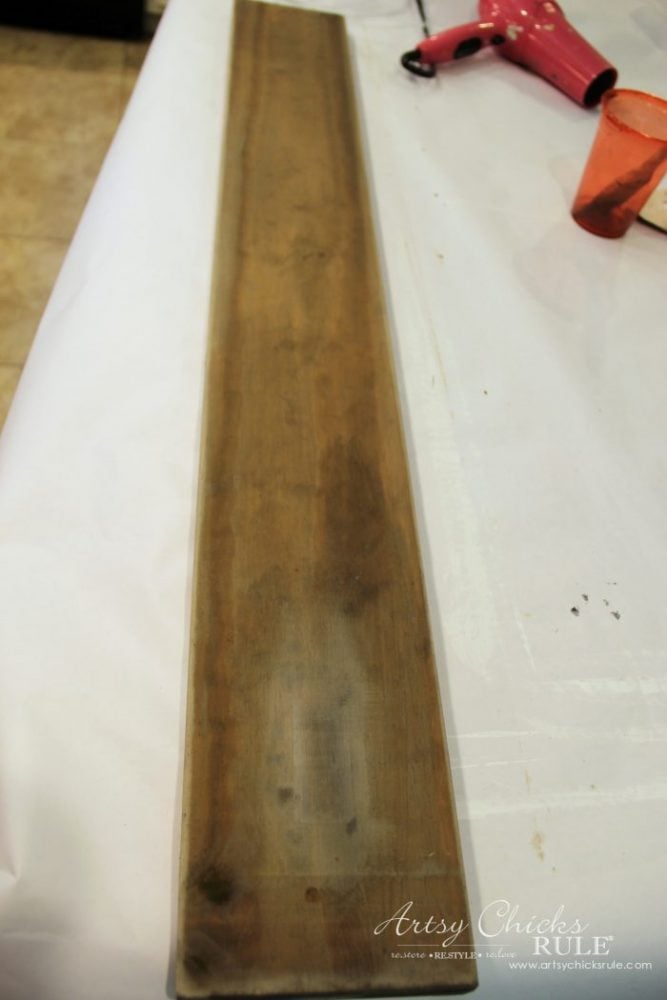
And that’s what I ended up with….boo.
As you can see, I tried sanding around the sticker spot to blend it in. That kind of just made it worse.
But I was determined to make it work!
I knew I needed to add color where color was missing so I pulled out my General Finishes Brown Glaze.
I mixed a bit with a dash of water and rubbed it into the lighter colored area.
I then took a paper towel with only water on it and rubbed the edges of that to blend it in.
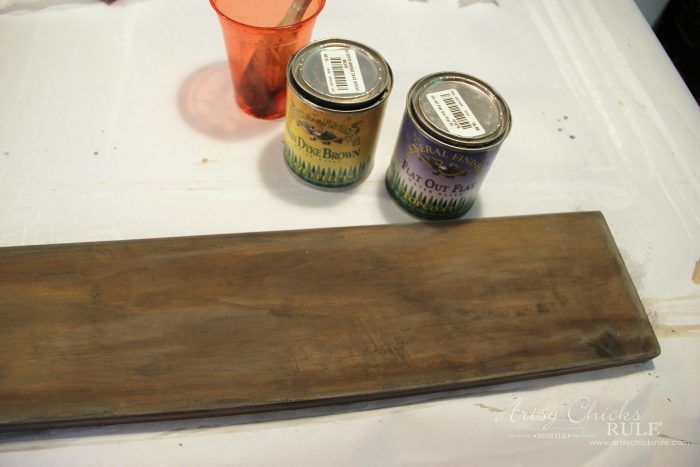
And voila!!! It worked, yay! Happy dance. :)
By the way, I use this white paper on a roll so I don’t mess everything up in my kitchen.
One day I’ll have a really nice craft working space. Until then, this works great.
You can find it, here.
So since I was in a hurry working to get this done, I used my hand dryer to dry it up quickly.
I then applied a coat of Flat Out Flat and dried it the same way, which I’ve done a million times before.
But it did something really weird.
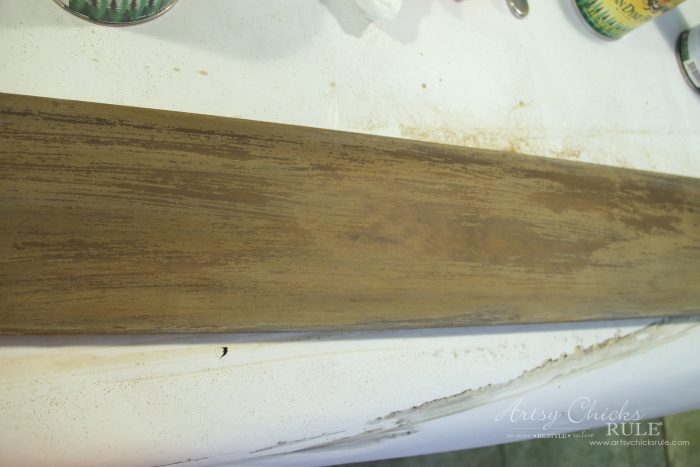
It started flaking off! The underneath was dry and the Flat Out Flat is water based to I’m a little baffled.
I’ve never had that happen so I think it may have been some kind of reaction to the driftwood stain.
Anyway, I was almost really bummed until I realized that I kind of liked the look. Really!
I was making a weathered, aged sort of sign so why not?
Then I thought, “happy mess up”! I love it!
Isn’t that kind of cool for this particular piece?
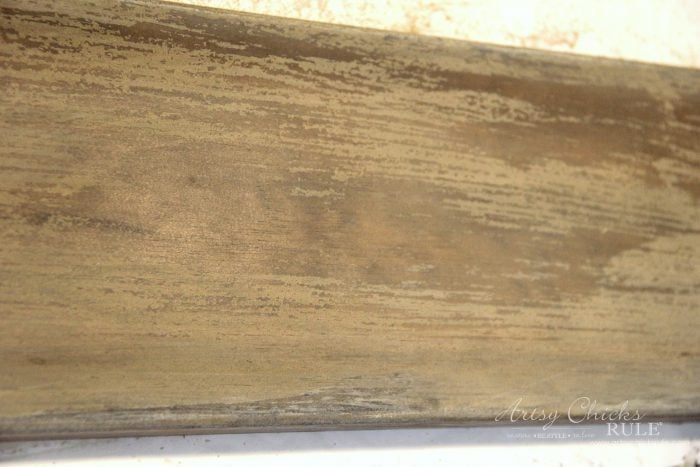
So I just went right over that with a coat of High Performance Top Coat and sealed it all up.
By the way, the reason I put the sealer on before I did the lettering is for ease in fixing any mistakes that might occur.
It’s much easier getting the paint off of a sealed surface than a very porous one.
I had already created this “The Outer Banks Longitude Latitude Sign” graphic for you to download, if you like ……

… and I used my Silhouette Cameo to cut it out.
Want to see how easy it is to use your own designs inside of Silhouette? Click here >>> How To Import Your Own Designs Into Silhouette Cameo.
Or you can also use any of these transfer methods to do it if you don’t have a Silhouette machine.
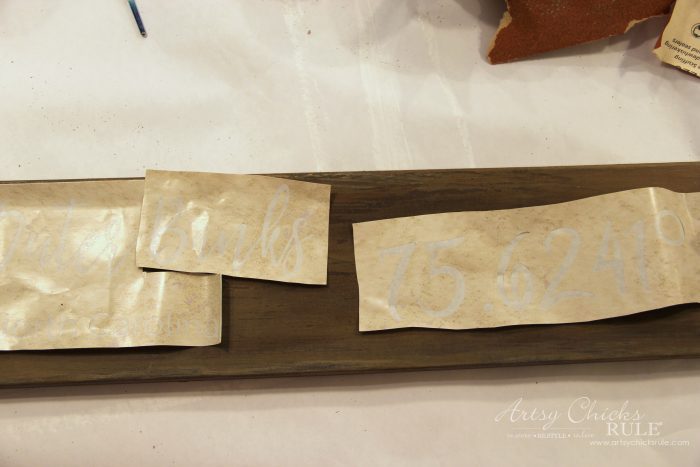
If you don’t own a Silhouette, there are other ways you can transfer the image onto your project.
Want even more ways to transfer?? Check out my “How To Transfer Graphics” post! (sharing all the techniques I use)
Using transfer paper, I attached it to the board.
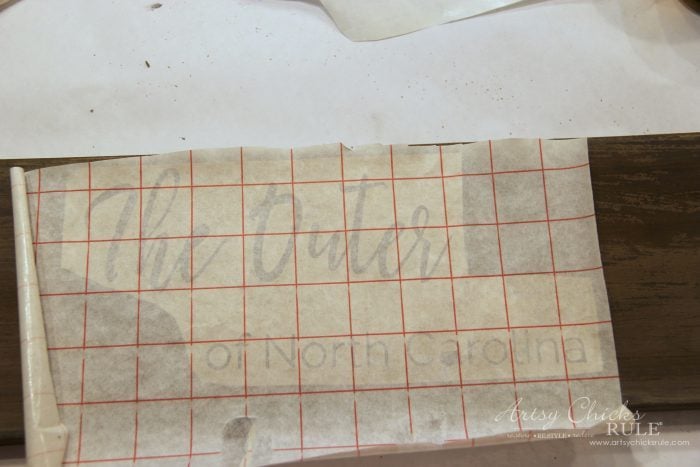
Instead of using the actual letters, I used the cutout of it as a stencil.
A tape measure is your best friend here.
Measure left to right, top to bottom to make sure you have everything aligned properly.
There is nothing worse than going through all of this work to end up with crooked letters. (ask me how I know ;) )
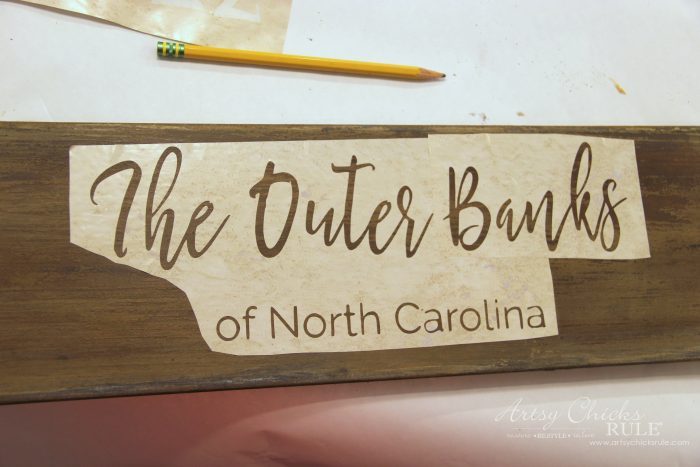
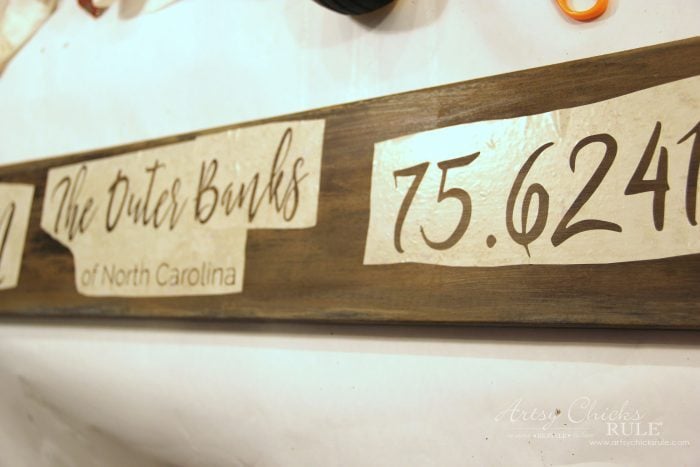
And then I just painted it in with white paint. Easy!!!
By the way, that’s just cheapy contact paper from Dollar Tree.
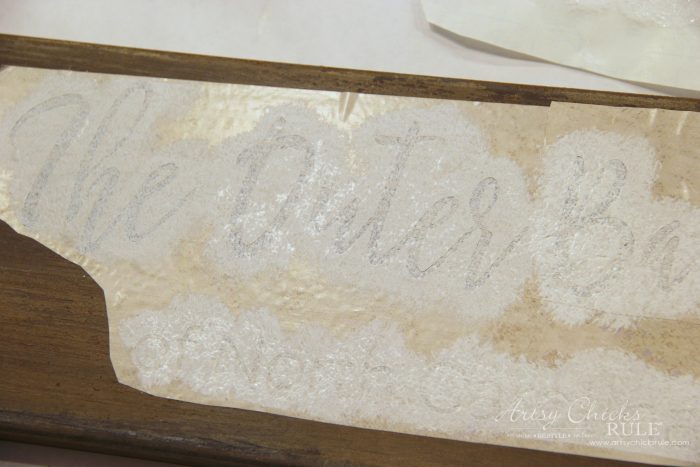
I did two coats, drying in between, to get a nice solid white color.
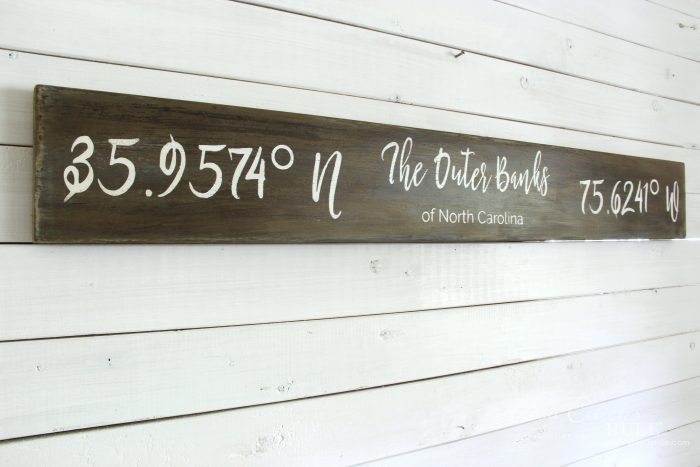
Look at that crazy cool finish…..
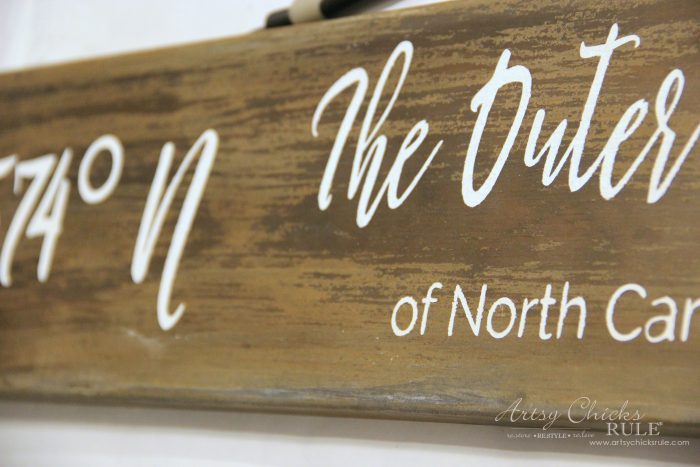
A mess up ended up being perfect for the look I was going after.
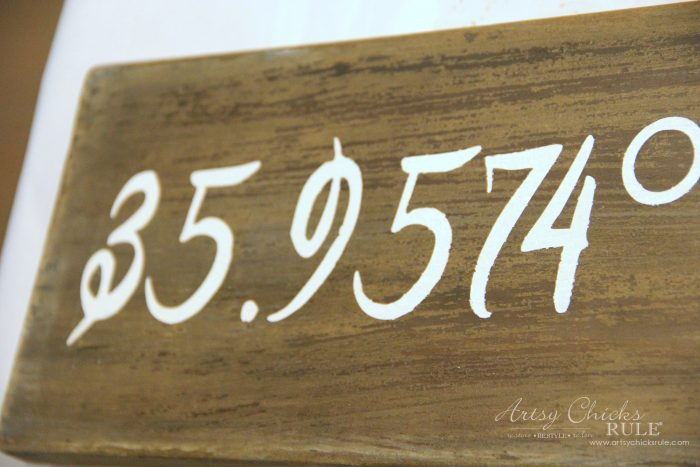
Love it.
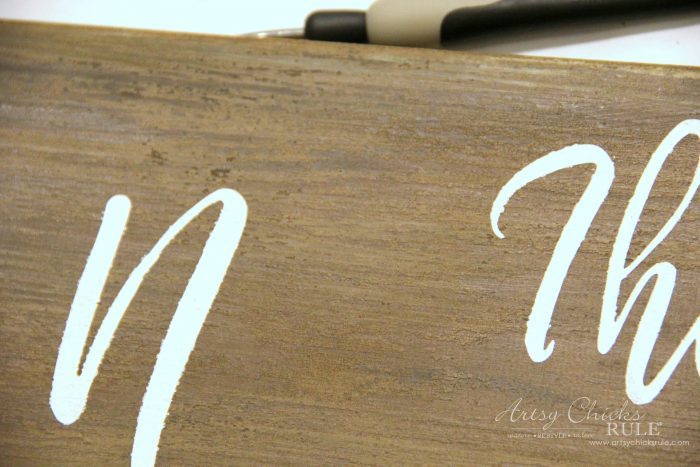
You can see the edges are a little bumpy. (I think because of the bumpy nature of the board after the Flat Out Flat flaked off)
No worries, that will get sanded away.
You can see below how I sanded just lightly to blend things and give the print more of a worn finish.
I then sealed it with another coat of High Performance Top Coat.
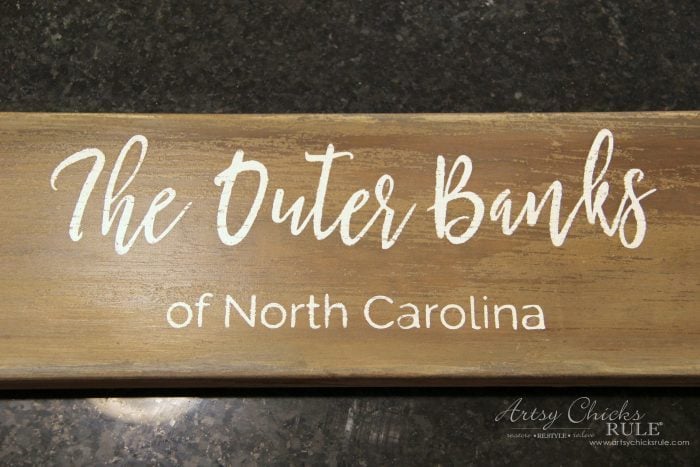
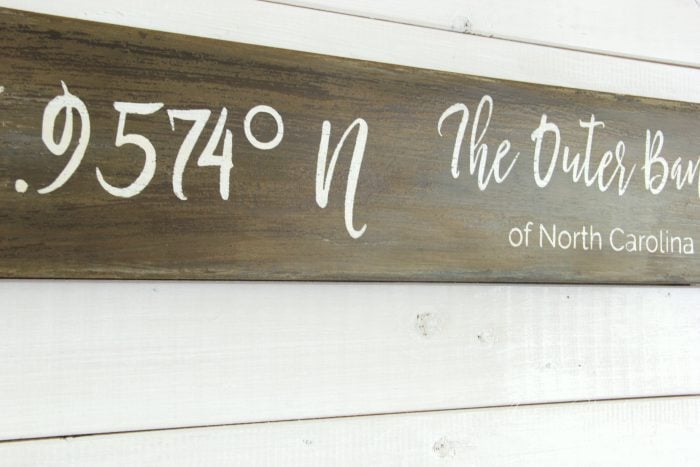
Can you believe this is the other side of the board?
Such a transformation and so much fun.

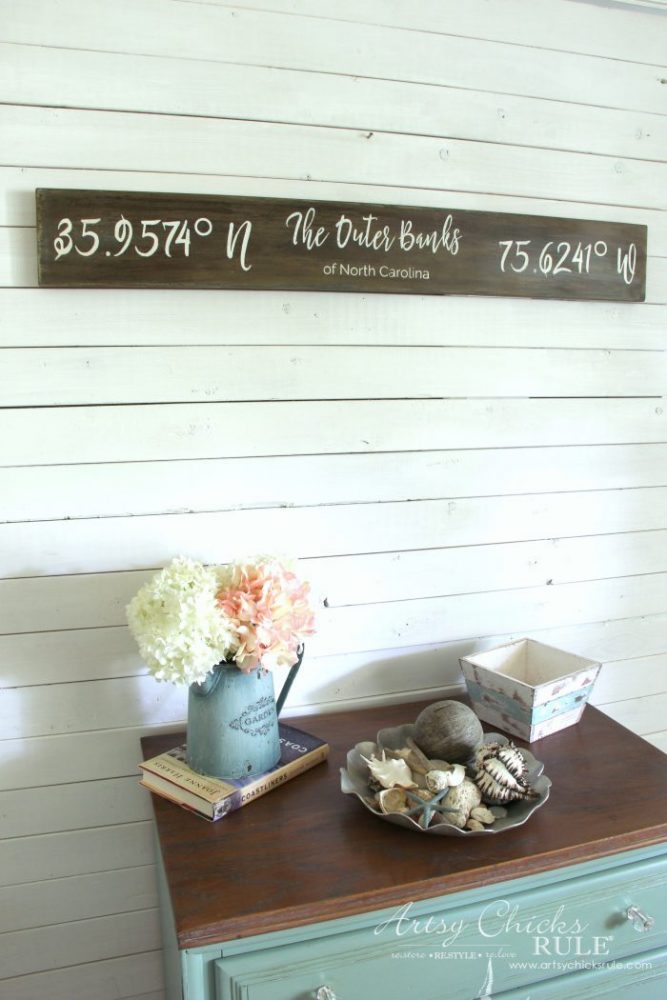
By the way, those coordinates are for “Nags Head” since the Outer Banks comprises many cities there.
And only fitting since Nags Head is what I’ve always known it to be called before OBX or Outer Banks became the more popular name for it.
More on all of that if you are interested. :) >> Outer Banks Towns
Our plan is to sell our current house, downsize (one story!) and purchase a second home in the OBX.
I am saving all these goodies for that home. :)
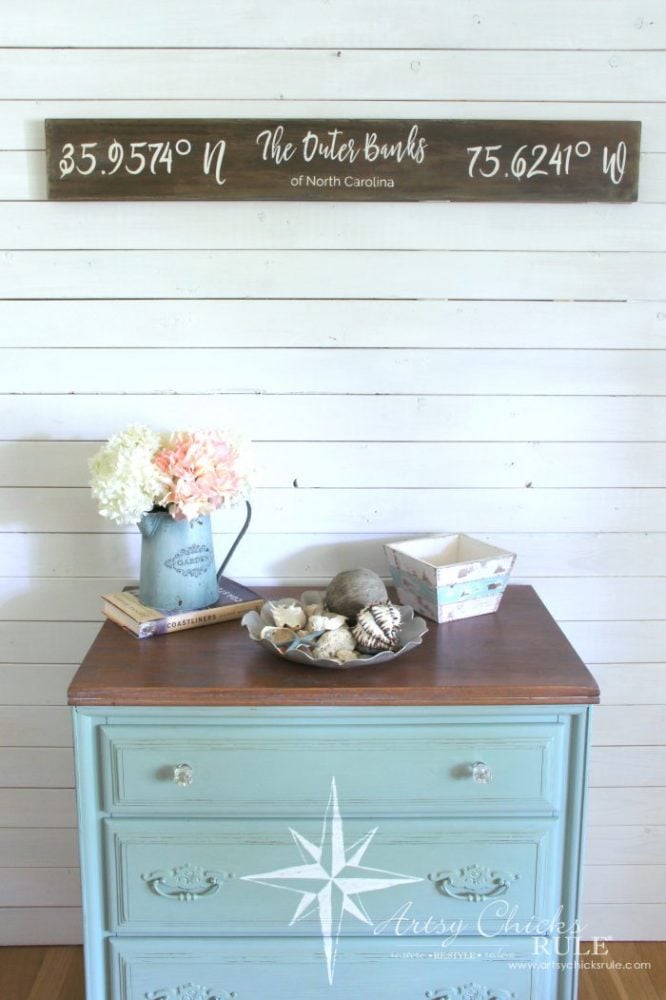
A few more close ups of that neat-o finish and the finished Outer Banks Longitude Latitude sign….
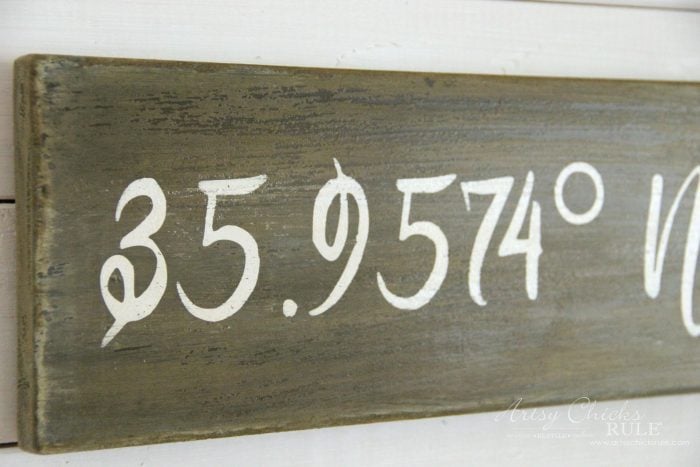
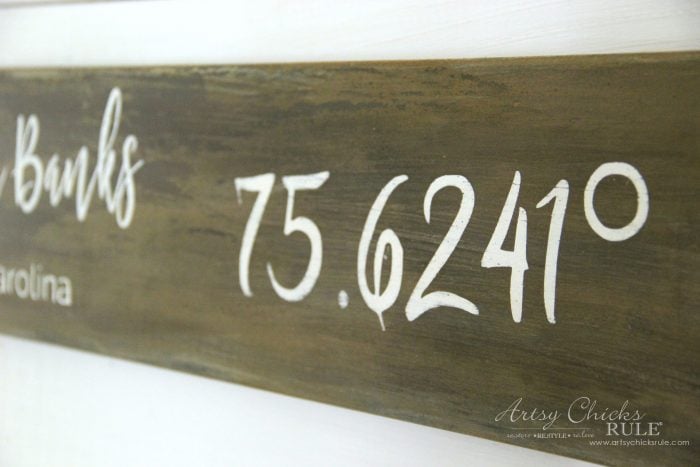
I’m so happy I was able to blend that spot that had the sticker on it.
See above? You can’t even tell anymore, at all!
PIN this Outer Banks Longitude Latitude Sign to save it for later!
So go grab a piece of scrap wood out of the garage and get busy! :)
Before you go, hop on over to see my other new post today! (see it, here)
Have a wonderful weekend sweet friends!
See you back here next week with an update on our Chalk Painted kitchen cabinets, 4 years later!
UPDATE!! See it now, here!
xo






I am so glad that you got your AC working. Even for a day, that had to be miserable in this heat.
Your sign is going to be perfect for your future OBX house. (I always call that area “Nags Head, too!)
Oh my gosh, me too Paula! No fun! And thanks, I can’t wait! :) xo
I love the Outer Banks ~
We use to go every year and rent 2 houses for family reunions.
I miss that time, when the kids were so young and so were we. hahaha
Beautiful sign Nancy. Love it.
Rose
We just love it too! It’s so peaceful and I can’t wait until I can hop in the car every weekend and get away! And haha, I know exactly what you mean!! It’s so hard to believe that time (raising kids) is past us now. Time truly does fly!! Thank you Rose! xoxo
Nancy, I love the sign although I was kinda laughing as you went through all the boo-boo’s. Can’t believe you were in my neck of the woods (Pensacola) lately. I live in the Panhandle about 100 miles on the Interstate 10 corridor. I would probably have begged you to have a little workshop :) The heat here is devastating because of the humidity and when the AC is out I will do without food to get it fixed :) Keep cool!
Hi Ann! Yep, we sure were! :) OH yes, humidity is awful where I live too (coast of VA) and the temps here are rivaling Florida lately! (high 90’s this week) Thankfully my cousin owns a HVAC system and got to us the next day. Quick easy fix, so thankful!! xo
Hey Nancy, I felt your pain during the process of getting this piece of wood looking great! I’ve been in that position more than I care to think about, and like you, found that sometimes the “mistake” is better than what I had in mind. Good job! It’ll look great in the new house. Best wishes!!
Hi Catherine, Oh yes, it can be quite frustrating sometimes! ;) But so glad it turned out being a good thing! Thank you!! Hope you have a great weekend! xo
We have the same dream, downsize and buy in Nags Head! We still have a few years before this can happen tho! We like south nags head! BTW My shelves still look great! Congrats to Kevin, too!We hope to have a pool party soon, Ill let you know details and hope to see you there!
Oh yay! I can’t wait til we get our house sold to get on with the plan! ;) We are thinking Kill Devil Hills, Nags Head or Pirates Cove (Manteo). We’ll see where we end up! And thanks, the pool party sounds fun! :)
I’d like to know how you hang a sign like this because it’s so long.
I actually just used a little sawtooth style hanger on the middle back (for a quicky hanger to take the photos). This works okay but the loop/ring style hanger on both ends would work better.
That is how I do most that are long or those that need to be sturdy. Hope that helps! :)
Hi Nancy,
I just came across the longitude & latitude sign and love the concept! Curious to know the size of the wood and the letters and numbers. Thank you!
Hi Sharee!
The sign is around 42 x 5.5 inches. And the lettering is about 2 inches high. :)
This is absolutely a gorgeous. I live a little further up the coast in Rhode island and you’ve inspired me to make my own longitude and latitude sign. I’m curious to what the font is of the numbers? I love the swooping numbers.
Thanks, Erika! It’s called Be Smart Script. :) xo