DIY Stay Salty Sign (and thrifting video!!)
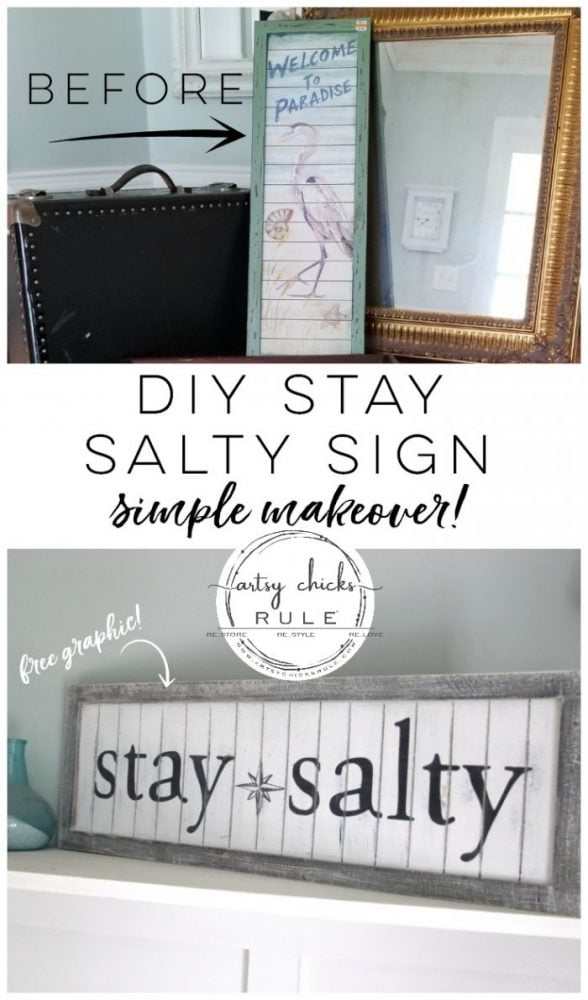
Create this simple DIY Stay Salty sign with my free graphic and enjoy seeing us shop for our finds in our thrifting video today!
Hey sweet friends!
It’s that time again…..thrift store shopping with my girl Christy, over at Confessions of a Serial Do It Yourselfer.
If you are new around here, Christy and I are lucky enough to live close by each other AND be blogging besties too! :)
So from time to time, we like to get together to do some thrift store shopping and video each other so we can share it with all of YOU!
Then we create the video, make over our finds and share it all right here.
So be sure to scroll all the way to the bottom to see her makeover too!
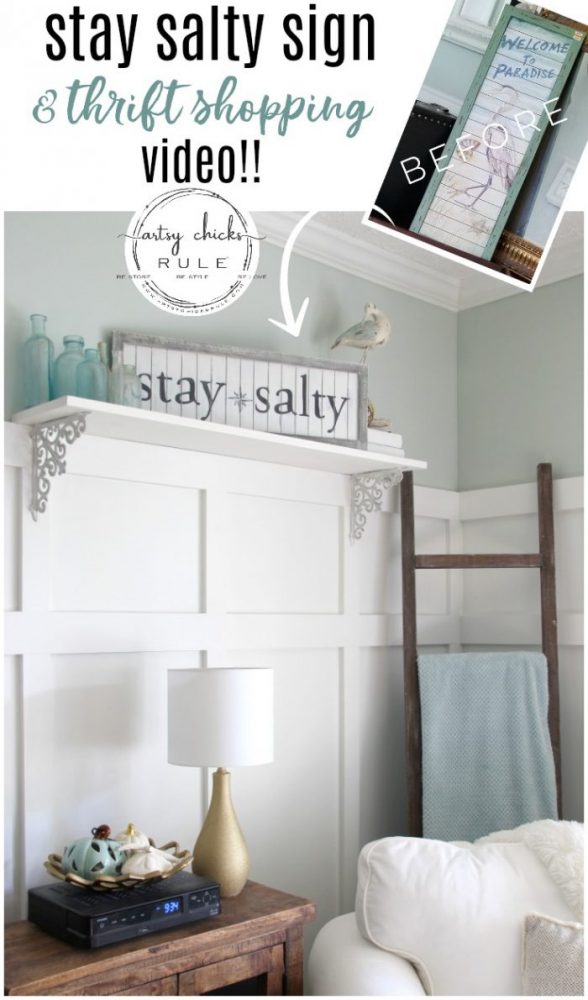
Today I am sharing this find, made over into a Stay Salty sign….
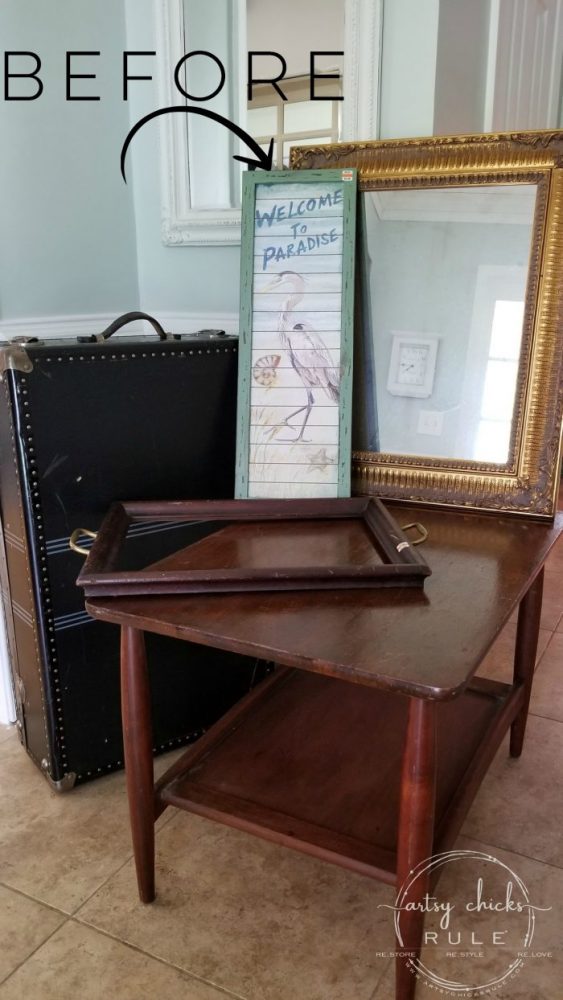
I’ve made over 3 of the finds in the photo so far, I just have the mirror and trunk left to do.
You can see the table, here and the framed tray thingy, here.
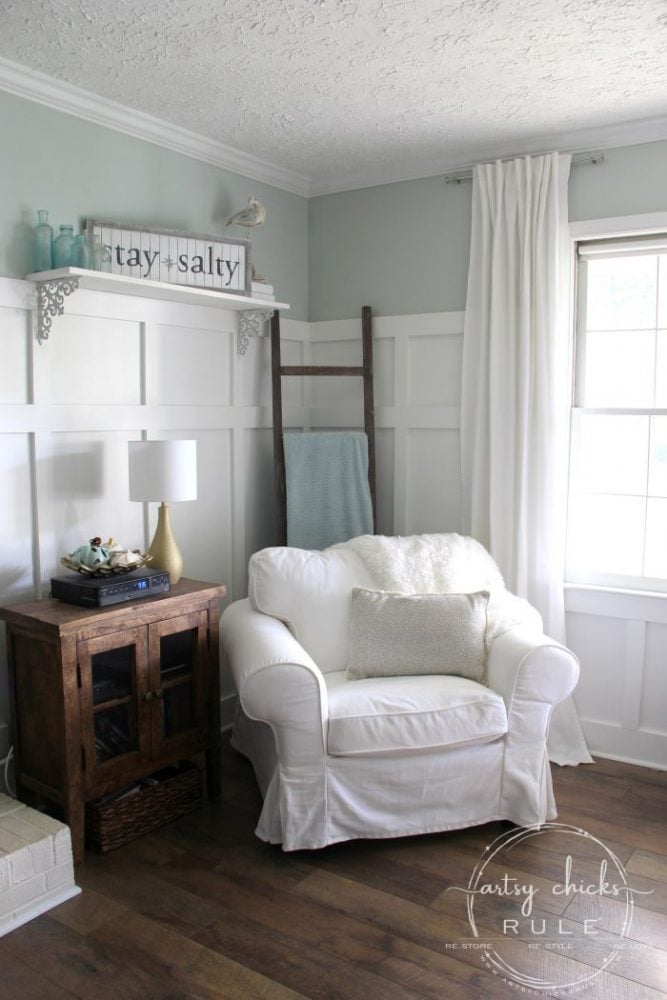
(You might notice a little change here, besides the new flooring which you can read about here…..what is it?? :) )
The pillow is new too, and you can find it here.
Before we get started on the makeover, come along with us on our thrift store shopping adventure.
We had so much fun, hope you enjoy! :)
If you have trouble viewing the video, you can see it here.
Hee hee, I told you we had fun! ;)
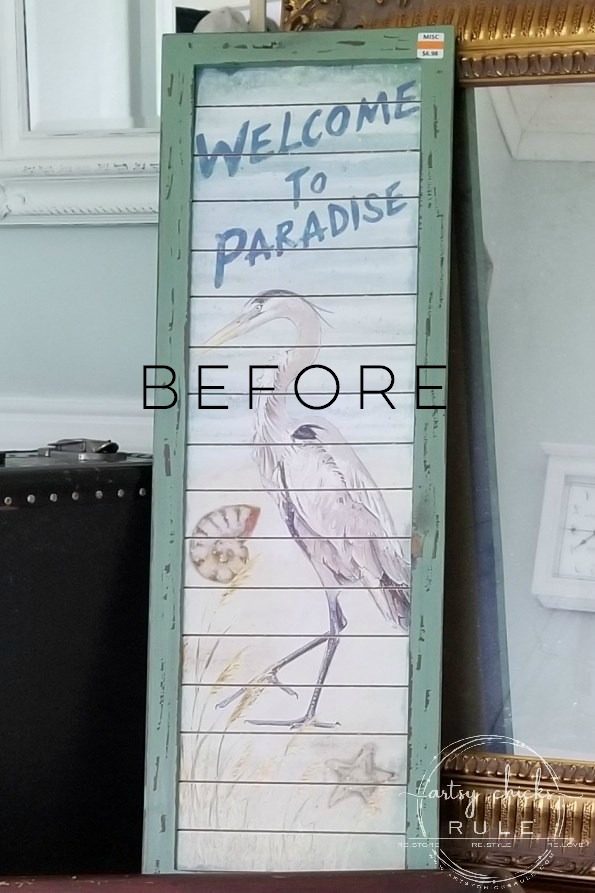
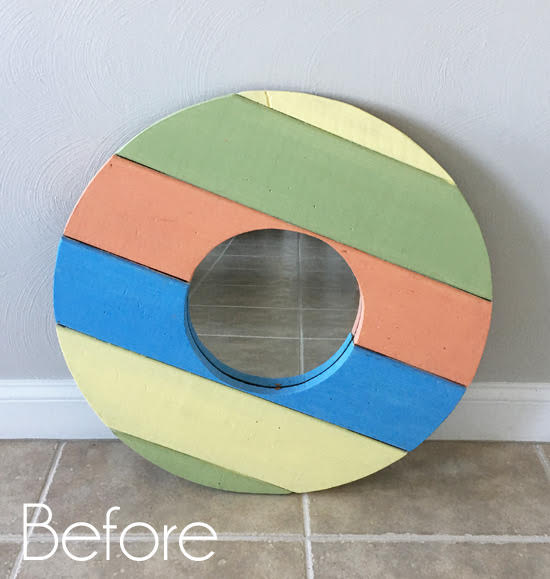
So, as you saw, this is what I’ll be making over….
Let me first say that I got my inspiration for this sign from this Stay Salty pillow I picked up in the OBX this summer…..
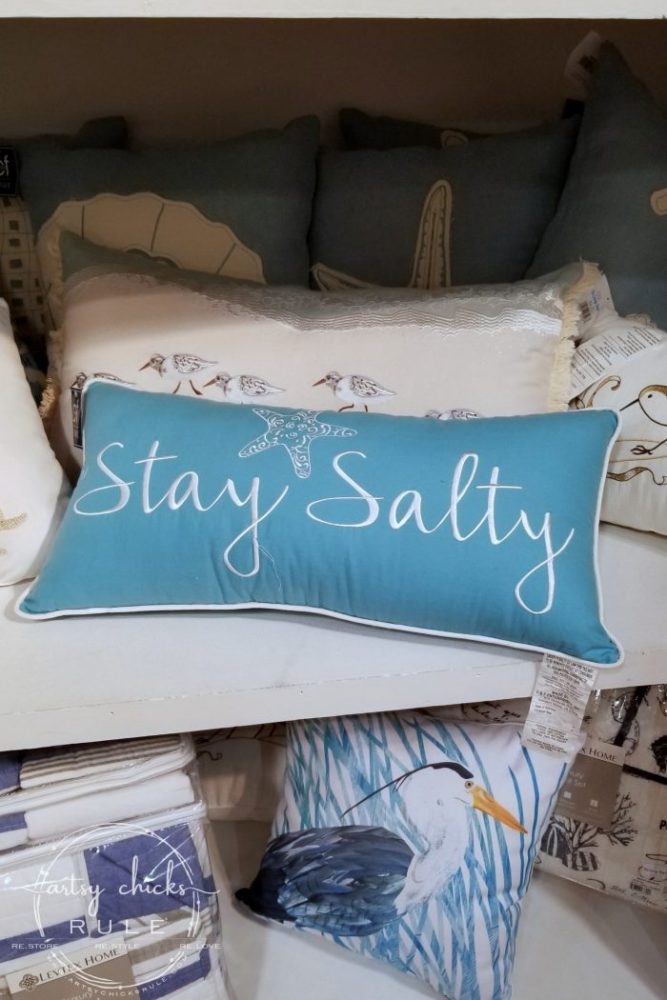
I knew I wanted to make some kind of coastal sign and so as I was sitting there brain storming….I looked over and saw this pillow. :)
Perfect.
DIY Stay Salty Sign Tutorial
I started out by spray painting the whole thing black.
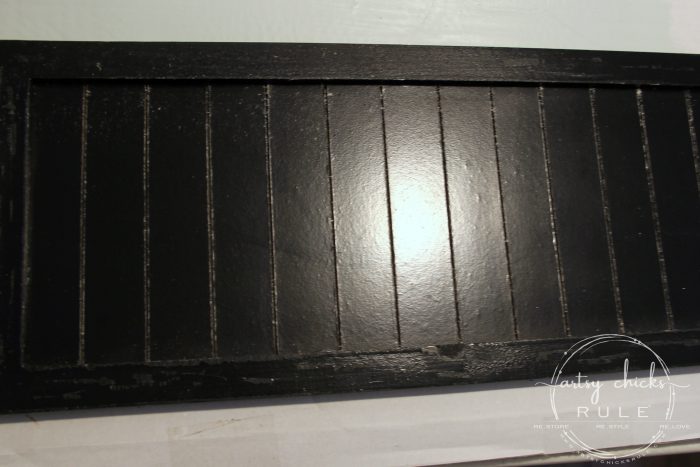
See all those imperfections all over? Well that’s going to go perfectly for what I have planned.
Next I painted the “shiplap” center area with white. I used this white paint.
I love it and it’s half the price of the big name chalk style paint.
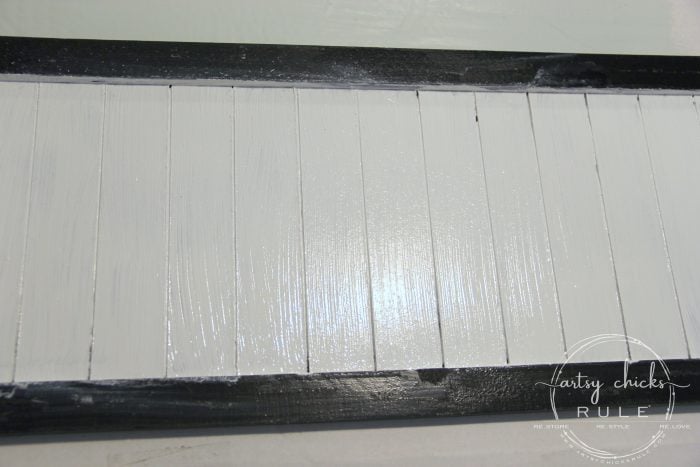
I applied one coat and wasn’t worried about anything showing through or brush strokes.
I wasn’t going for perfection, I was going for aged, worn, etc.
To give the frame a weathered wood appearance, I used my dry brush technique.
You can see my “how-to” dry brushing video, here >>> How To Dry Brush
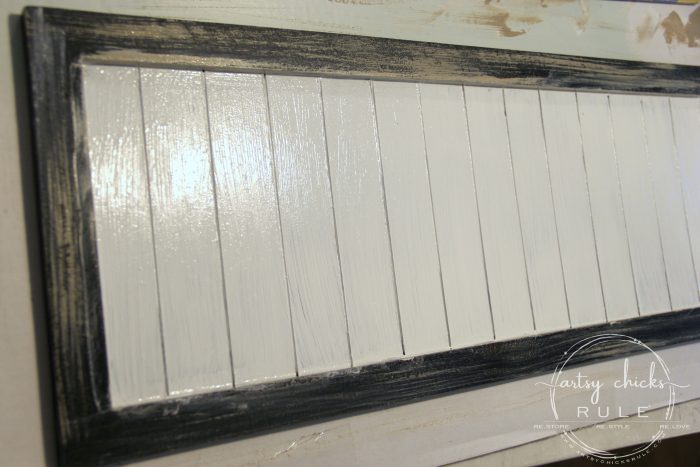
I used Coco Chalk Paint because it’s the perfect color for this. Any color similar to that would work, though.
You don’t want a wet brush as you want to see some of the black through the paint.
Look below, you can see the black showing through.
After the Coco was dry, I added white very sparingly. (left side is still just Coco, bottom area is with me adding white)
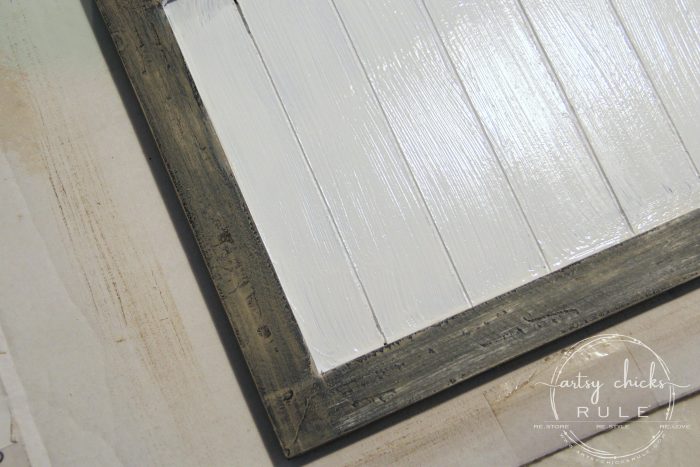
Three layers finished. First black, then Coco, then white.
I plan to do a video on this process and my other weathering processes so keep an eye out for them!
Isn’t that neat though?
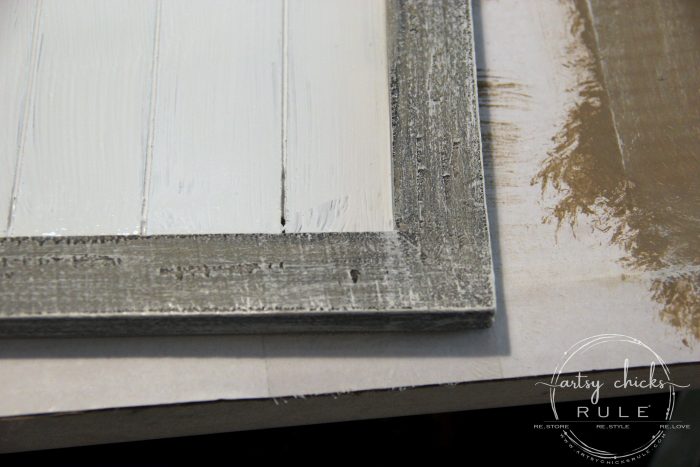
Looks like old painted wood that’s been weathered outside.
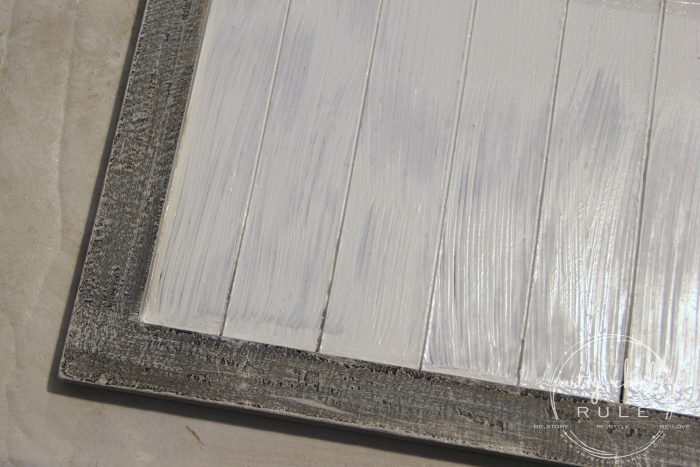
And it’s SO easy to do!
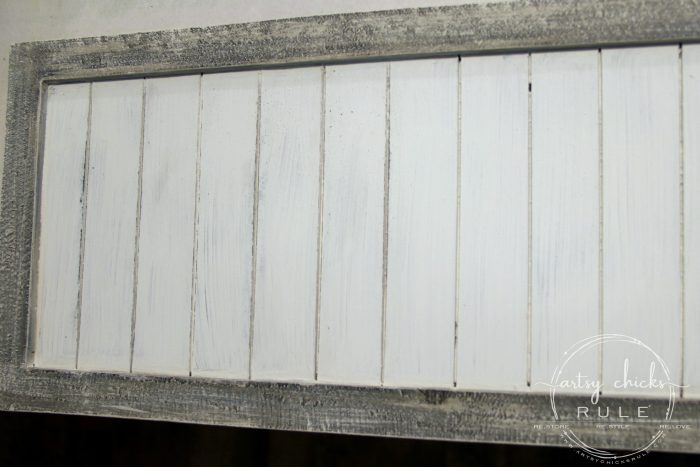
Lastly, I lightly sanded to distress the shiplap looking interior. (the left side is sanded the right side is not yet, see the difference?)
Then I used my Silhouette Cameo to cut out this graphic I created…..

You can get the free printable/graphic by clicking below.
Here’s a handy little video I created to show how I use my Silhouette to cut graphics I create outside of the program. (SO much easier for me)
>>> How To Import Your Own Designs Into Silhouette
This is a great Silhouette bundle if you are interested in getting one!
Using my Silhouette for all these graphics has been a game changer for me. It makes everything so quick and easy.
I do still love my “mind therapy” when hand painting but don’t do it as often these days. ;)
I decided to create a stencil since I wanted to be able to sand the lettering to give them a worn look too.
I could have also just used the vinyl letters if I wanted a nice, crisp look.
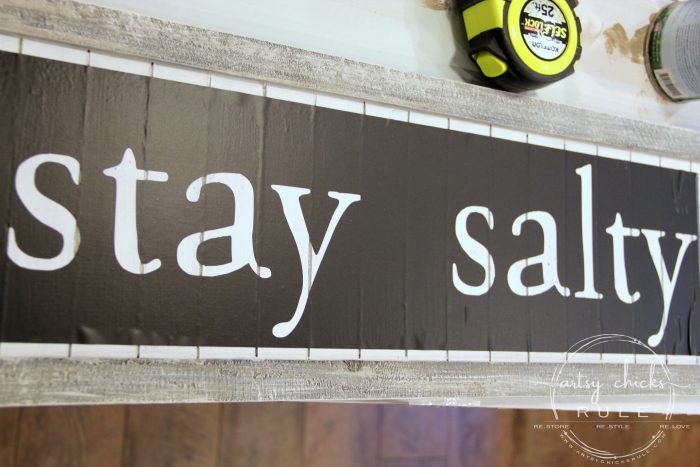
I used Graphite Chalk Paint because it’s a little softer black color. I didn’t want a black, black shade for this.
I see that my latest go-to brand has a color that is similar (and half the price!) so I will give that a try once I finish up this can of Graphite.
I’ve been happy with all the colors I’ve gotten so far and they have a nice range of colors now.
I used a little roller like this to apply the paint. I like using rollers instead of brushes for this.
For the compass rose, I simple printed that out by itself and transferred it by rubbing pencil on the back and tracing it onto the board.
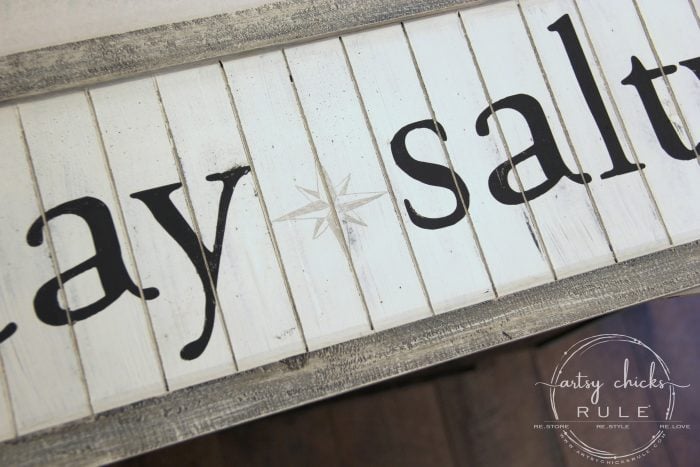
Then hand painted that in using an artist’s script liner brush.
You can see all the different ways to transfer graphics (especially if you don’t own a Silhouette and don’t plan on purchasing one) here >>> My Favorite Transfer Methods.
Once I had that painted on I gave the lettering and compass rose a light sanding. Then I sealed it with this flat finish sealer. (I didn’t want it to shine since this Stay Salty sign is supposed to be old and worn. ;) )
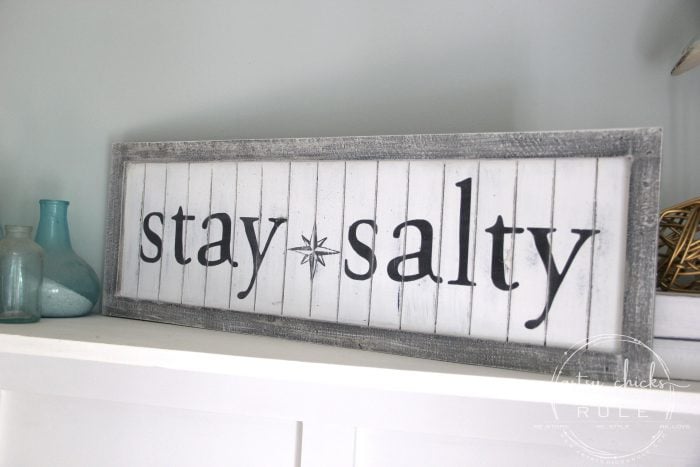
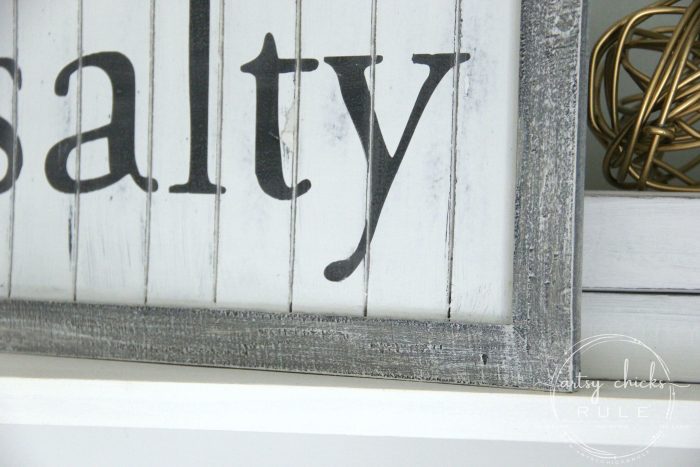
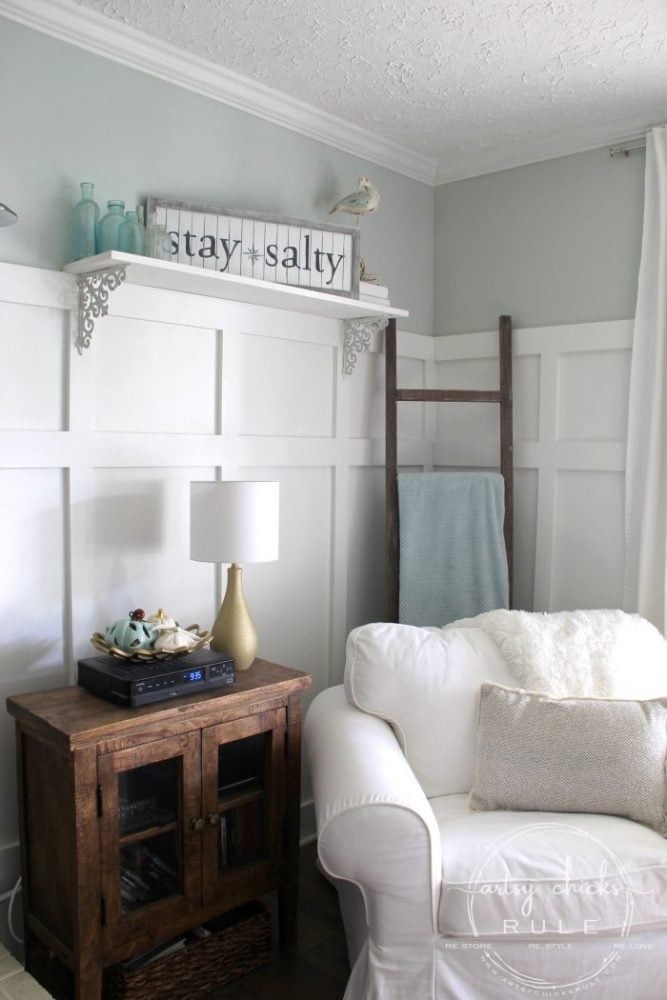
That little guy to the right of the sign is another of my finds from our OBX trip this summer.
Isn’t he the cutest???
I actually planned to use him on our built bookcases (which are getting a huge design revamp…as in everything is coming out and I’m starting from scratch) but he was too tall to fit in the shelves. Boo!
Oh well, I do like him here. :)
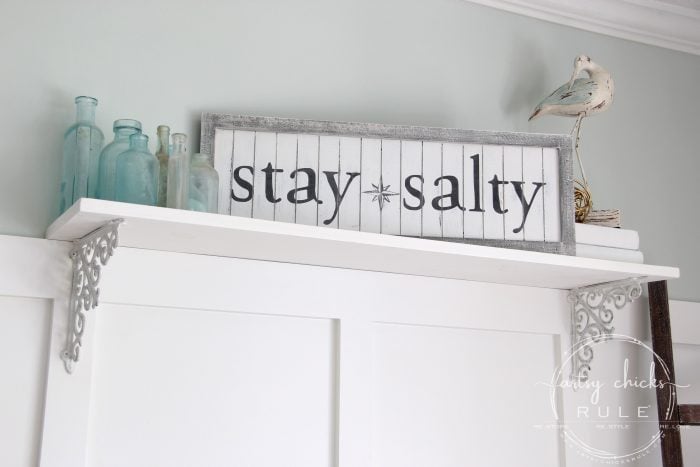
And he looks so cute with my new sign.
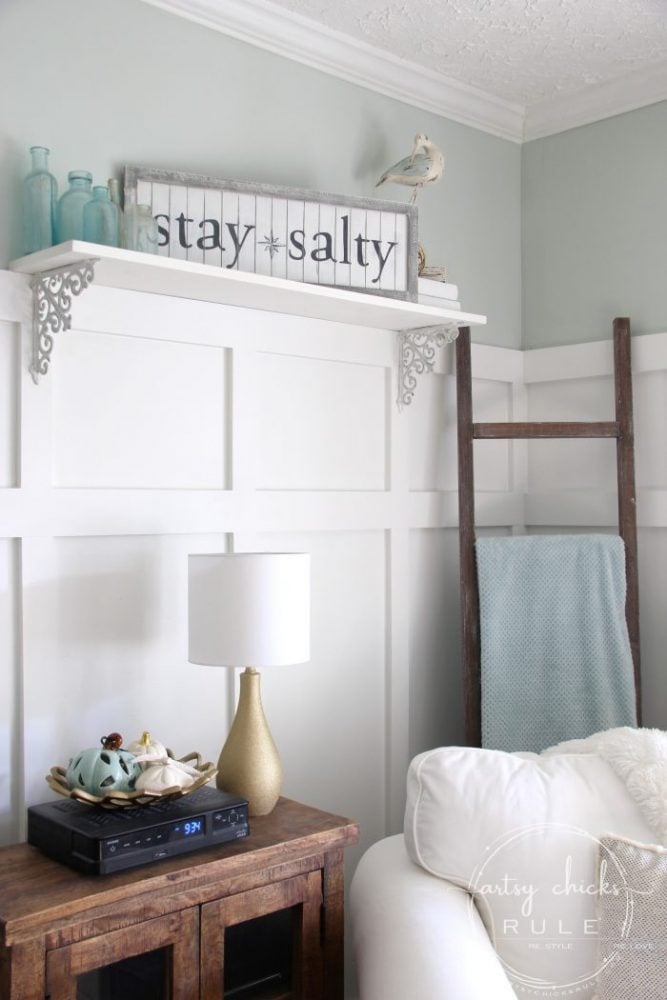
Hope you enjoyed the video of Christy and I thrifting. (being silly!! lol)
We sure had fun doing it!
Stay tuned because we have something planned for y’all for the holidays. :) :) :)
Hopefully we can pull it together in time! We might be being just a little bit ambitious!! haha
We’ll see!!
Now hop on over and see what Christy did with her thrift shop find!
CLICK HERE to see what it looks like now!
Hope you have a fantastic weekend! Our temps are going from the 80’s and 90’s right down to the 60’s starting this weekend.
Just like that! lol And yep, that’s about how it goes around here. ;)
So it may actually be feeling like fall, yippee!
Which will be fun for all the activities we’ll be doing with our 6 year old great nephew we’re keeping for the weekend!
So much fun, can’t wait. :)
xoxo






Fabulous job on the sign and and Christy’s mirror turned out gorgeous. You guys have way too much fun thrifting. I’ve got to start doing this with my friends. Great finds too.
Thanks Jeannie!! Yes, we really do have a good time together! :) And yes, you should!!! xoxo
So much fun virtual shopping with you and Christy.
Your sign is so cute! Thanks for all the tips… always.
Yay, I’m so glad you enjoyed it Christina! :) And thank you!! xoxo
Good morning! Maybe I’ve not had enough coffee yet, but I’ve scrolled through this post several times looking for the link to the thrift shopping video, and can’t find it… when you have a minute, could you point it out to me? I love thrift shopping too (doesn’t everybody?) ! Have a great day, and keep on thrifting! Your makeover ideas are fabulous!
Hi Sheila!
It’s after the 3rd photo from the top. There is a rectangular box (I guess it looks like a photo too :) ) with an arrow in the middle. You just need to click on the arrow and it will play. :) And thank you!! It is fun thrift shopping and finding all the treasures! I’m going out to do some more today! xoxo
Sheila, I couldn’t see if at first either. Are you running the Ghostery extension on Chrome? When I turned that off, I could find and see it. It was further down the page.
Nancy, Cute sign and video!
Oops. “It,” not “if.” (I couldn’t find a way to edit my response.)
Thanks Lizzy!! Oh yes, I think that might be what the trouble was! I’m going to add a direct link to my YouTube also (and in the future). Thanks for letting me know! :) xoxo
That was such a fun day! LOVE what you did with your sign!! XOXO
Yes it really was! Thanks Christy! Looking forward to next week! xo
Where did you get white slipcover for chair?
The chair (and slipcover) is from IKEA! :)
Woot! That is a super cute redo, Nancy. Love it!
Thanks Larissa! :) xo
LOVE the sign! LOVE LOVE!
So fun!!! I need a thrifting buddy! I think Anika Ghandi just may be that buddy! *runs to go chat Anika*
Thanks Julie!! Isn’t it fun?? Yes, you do, sounds perfect!! lol xoxo
LOVE it…so beautiful and you did an awesome job! I would have just passed it by without even seeing it’s potential! Have a great one!
Aw thank you Benita!! :) xoxo