Simple Update with Chalk Paint
Hello Friends! I’m sharing a really simple update with Chalk Paint today.
Have you ever come across something in the store that was perfect but just wasn’t the right color?
I certainly have, many times.
Like these lamps I bought awhile back. You can see them, in “action”, in my Christmas Home Tour, here.
Before we get started on this project, here are a few other examples of new (and old) home decor I didn’t love “as-is”, so I changed them, simply!
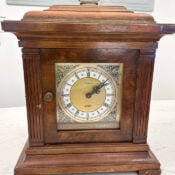
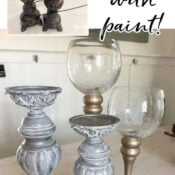
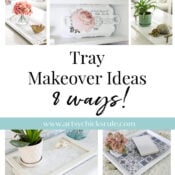
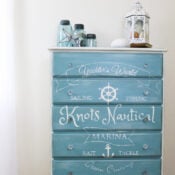
This clock, these frames/artwork, these candlesticks and this oldie but goody lantern.
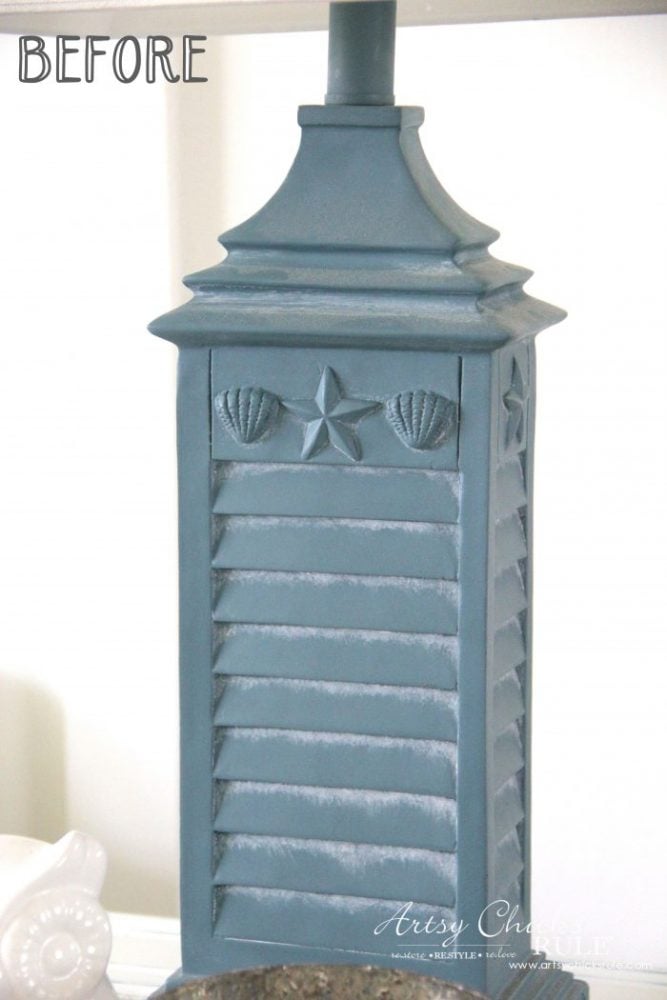
Okay, back to the lamps, they were perfect in every way….except the blue was not the right shade and it was a little flat looking to me.
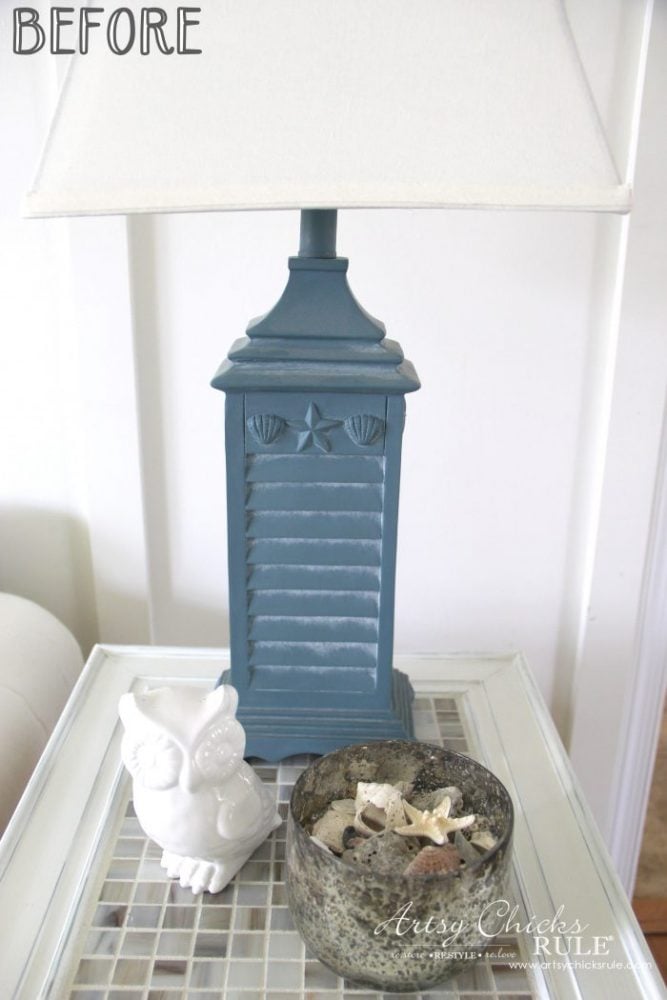
Not bad but not really the shade of blue I was hoping for.
And the white “wash” was a little weird. I wanted to hit those edge details and make them stand out a bit.
I’ll include affiliate links to anything I’ve used in the text below, where possible, so you can find the exact item. See my disclosure here.
You can find these exact lamps, here.
So I did a simple update with Chalk Paint! (and I do mean simple)
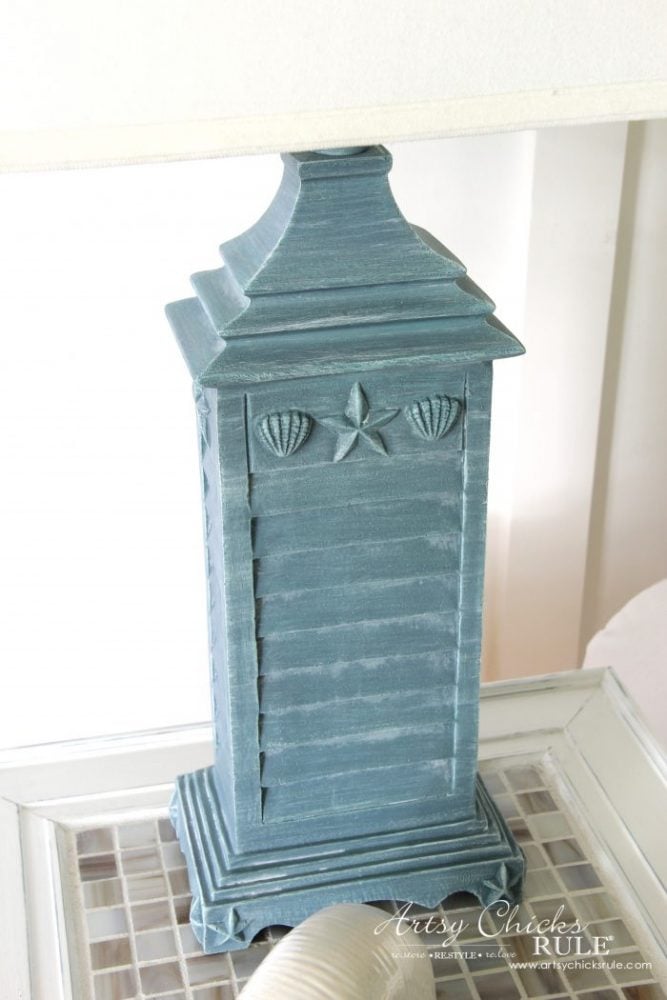
Now they look like this. :)
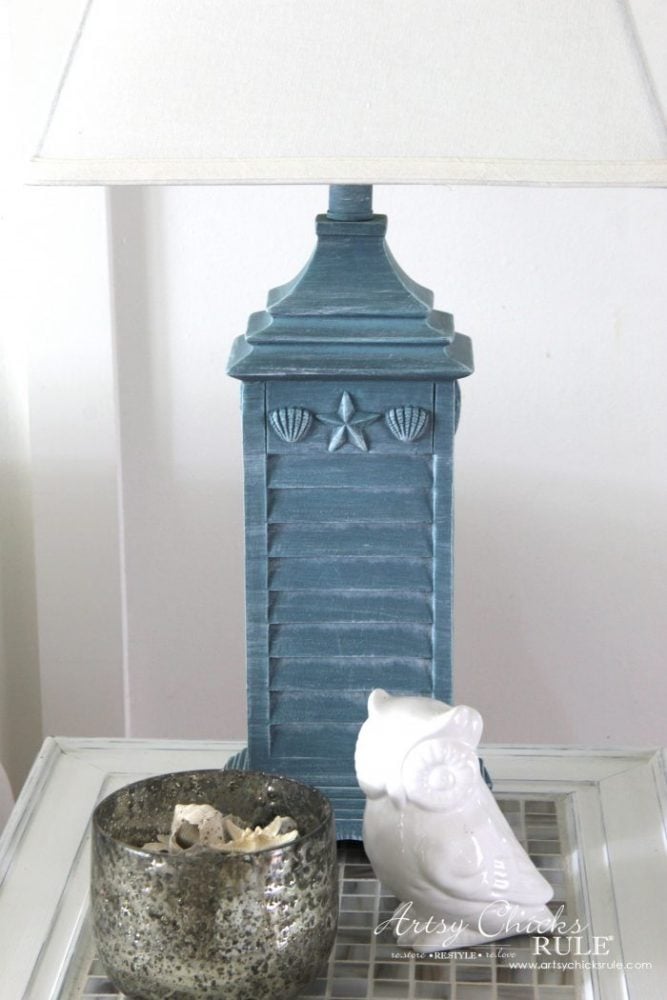
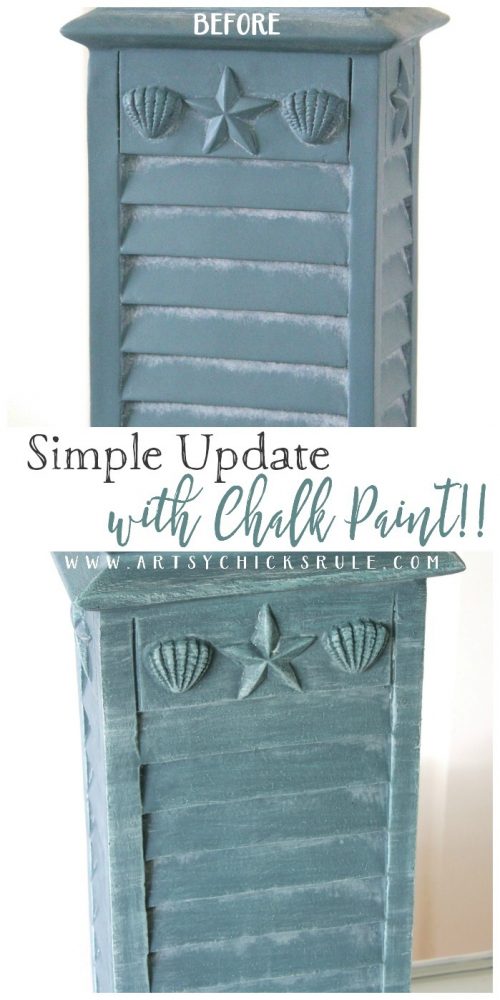
And to better see what I did, because it is a subtle but nice change, here is a side by side.
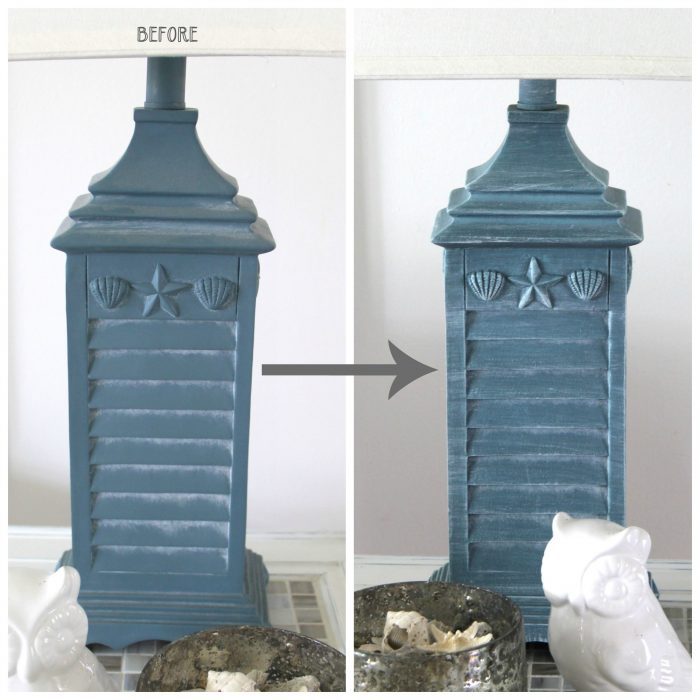
See how it adds some nice depth and dimension?
Again, before….
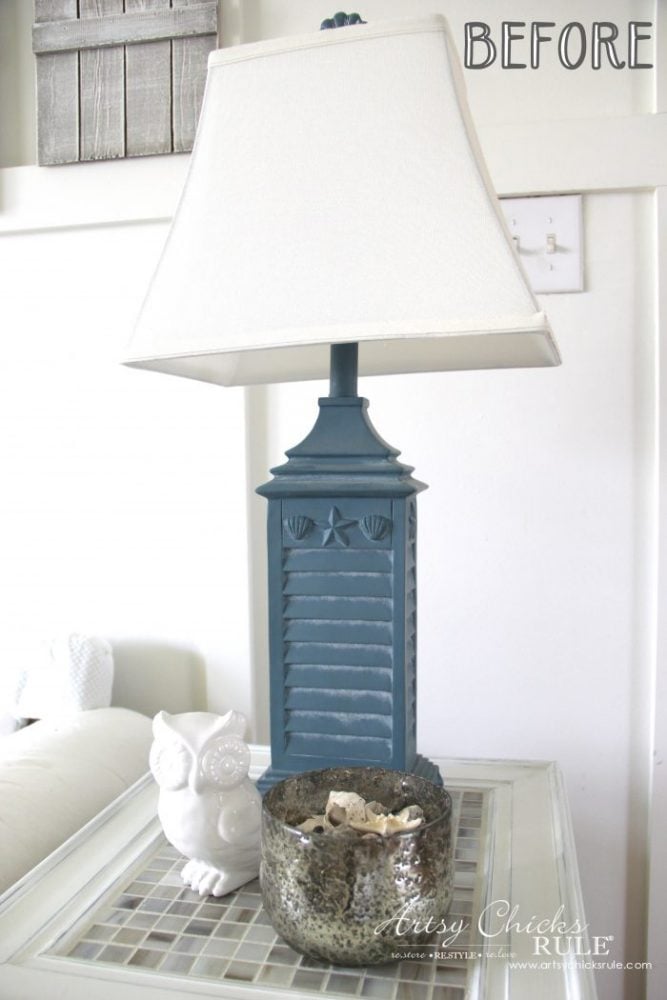
….and after…..
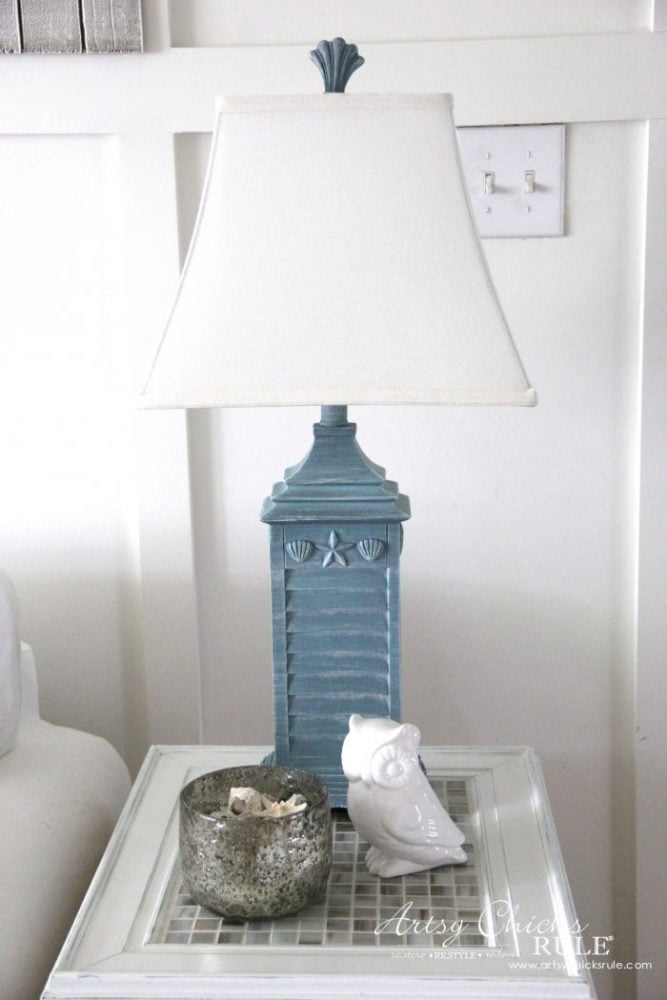
So much better.
I think so anyway. :)
By the way, they are sitting atop my DIY Tiled Frame Criss Cross Tables.
You can see them, here.
I’ll be posting the full tutorial on those once we’ve finished with the ORC.
An up close look of the new Chalk Paint finish….
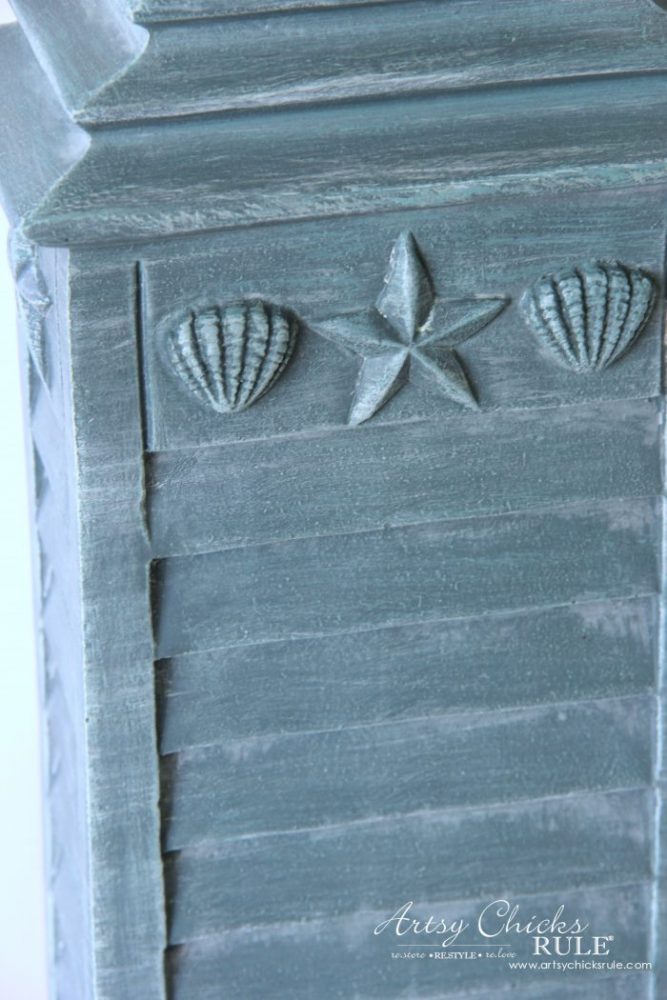
You can see a hint of all the colors here, Duck Egg Blue, Provence and Pure White.
Here’s the steps I took for my easy little update with Chalk Paint.
Any paint will do, by the way, I just like the texture that Chalk Paint adds.
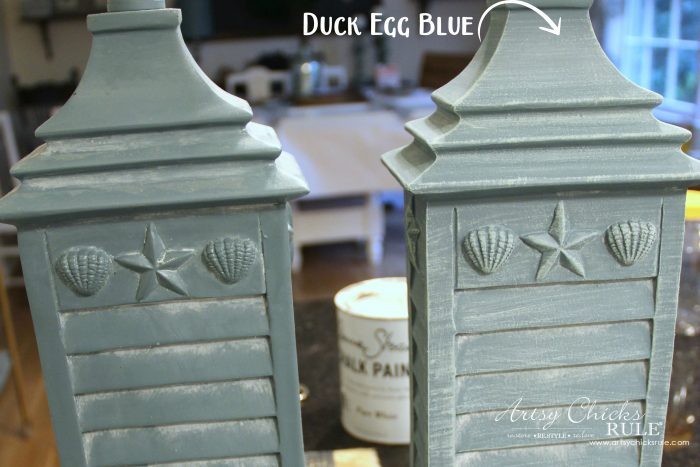
I used a dry brushing technique and started out by using Duck Egg Blue Chalk Paint with a chip brush. (my absolute favorite brush for “dry brushing”)
Want to see a VIDEO on exactly how to dry brush? All the ins and outs, here >>> “How To Dry Brush – Video“
The one on the left is “before” and the one on the right is with a dry brushing of the Duck Egg Blue.
I love Duck Egg Blue Chalk Paint and have used it a ton! ;)
You can see it on these projects here, here and here.
By the way, I could have painted the entire lamp and basically started over but I didn’t feel the need to do that.
They were blue, after all, so I really just wanted to change the hue a bit and add some nice dimension.
On the left below is Duck Egg Blue, on the right I have now gone over the Duck Egg with Provence Chalk Paint. (be sure to let it dry between coats)
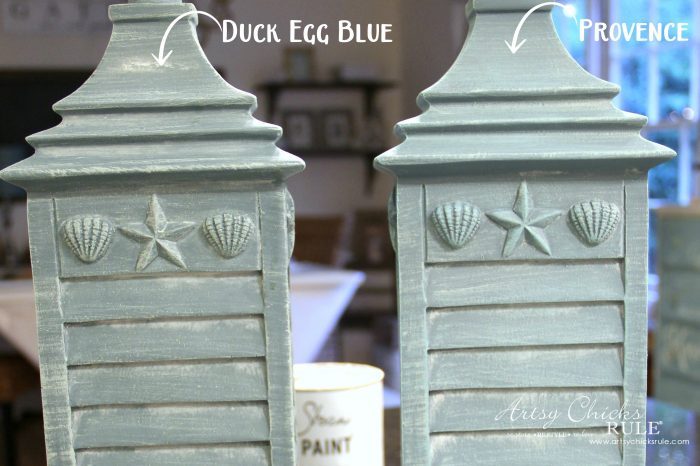
Provence is a beautiful color, one of my favorites.
I painted this dresser in Provence, you can see it, here.
And to finish up, I went back over the Duck Egg Blue and Provence with a dry brushing of Pure White Chalk Paint.
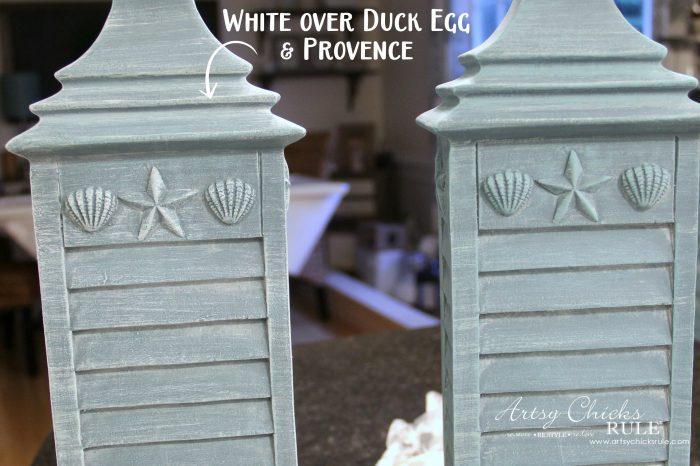
The one on the right is the Duck Egg Blue and Provence but no Pure White yet.
I finished it with a coat of flat finish poly. It wasn’t “shiny” to begin with and I really didn’t want a shiny finish afterwards.
I wanted to keep that little bit of “weathered” look it had going on.
I just love how the different shades of blue add a little more depth to the finish.
Before….
After…
Such a simple little update.
PIN this easy update with Chalk Paint for later to save it!
Another of the many things paint can do!
And the reason I decided to write a post about it?
I want to remind you to think outside of the box.
If you find a piece of decor, etc, that’s not perfect (and a lot of times they aren’t, we usually settle because it’s the closest we can find), take it on home knowing that you can fix it up a bit.
A little paint is all it takes.
I really do love paint, as is evidenced from this blog. ;)
But I LOVE how it can transform something, update it, make it prettier, etc.
Paint has the power to transform an ugly duckling into a beautiful swan.
So pull out that paint brush and paint….and get busy, okay?! :)
Want to see even more ideas on simple updates with Chalk Paint (that aren’t furniture??)
Check out this post, here!
I’ll be back on Thursday with another update of my laundry room and the ORC.
Moving right along and working on the shiplap now. :)
You can see the other 2 posts in that series here, Week 1 and Week 2.
See you then!
xoxo







The subtle update done the trick. Like you, I love Duck Egg Blue chalk paint by Anne Sloan.
Thanks Janice! I think so too! :) xo
Nancy, for those of us who can’t afford Annie Sloan paint….would you tell us what colors to mix to get the duck egg blue? Thanks. Love your site and all the research you do for us.
Hi Ellie,
Hmm, I don’t have a recipe to make it but I would guess you could mix white, a nice medium blue and some green together to get something close. You would need less green than the other 2 colors. Play with that and see what you come up with.
Also, if you are able to print out the color card for Duck Egg found here, http://www.unfolded.com/chalk-paint/, then you can take it to your local hardware store, Lowe’s or Home Depot to get it color matched with whichever paint you choose.
Hope that helps! :)
Nancy
Excellent color choices and it makes these already cool lamps look even better!
Thanks Rose! I think so too! :) xo