Bath Bucket (for towels & essentials)
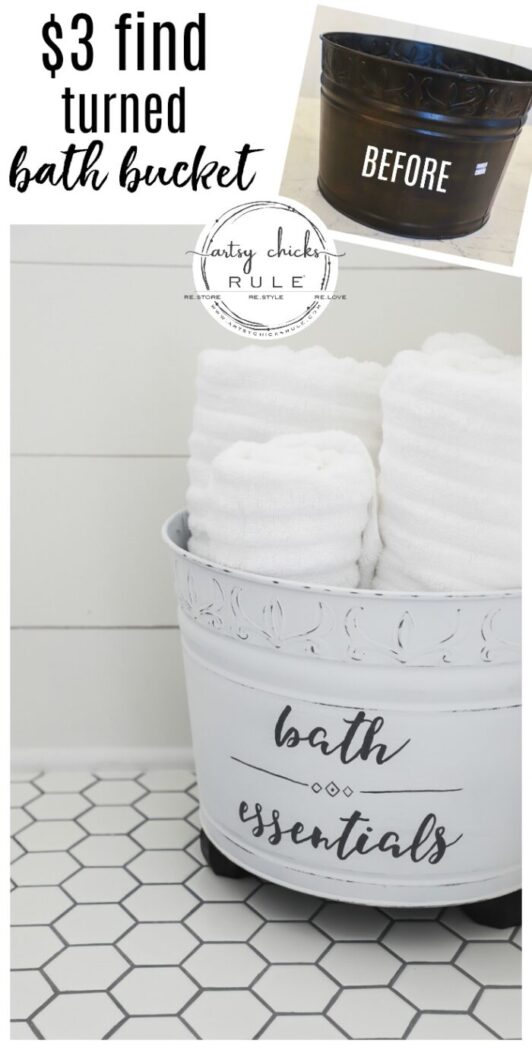
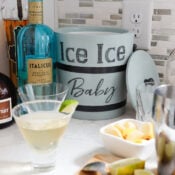
This “bath bucket” started out as a $3 thrift store find! All it needed was a little paint, some feet, and a brand new purpose!
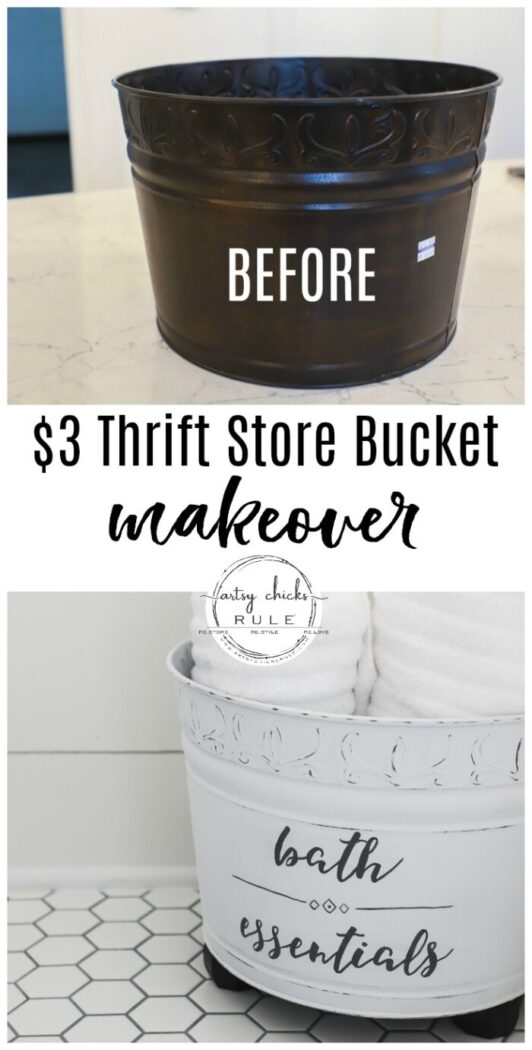
Well, it’s finally done! The entire haul is finished. Yippee!
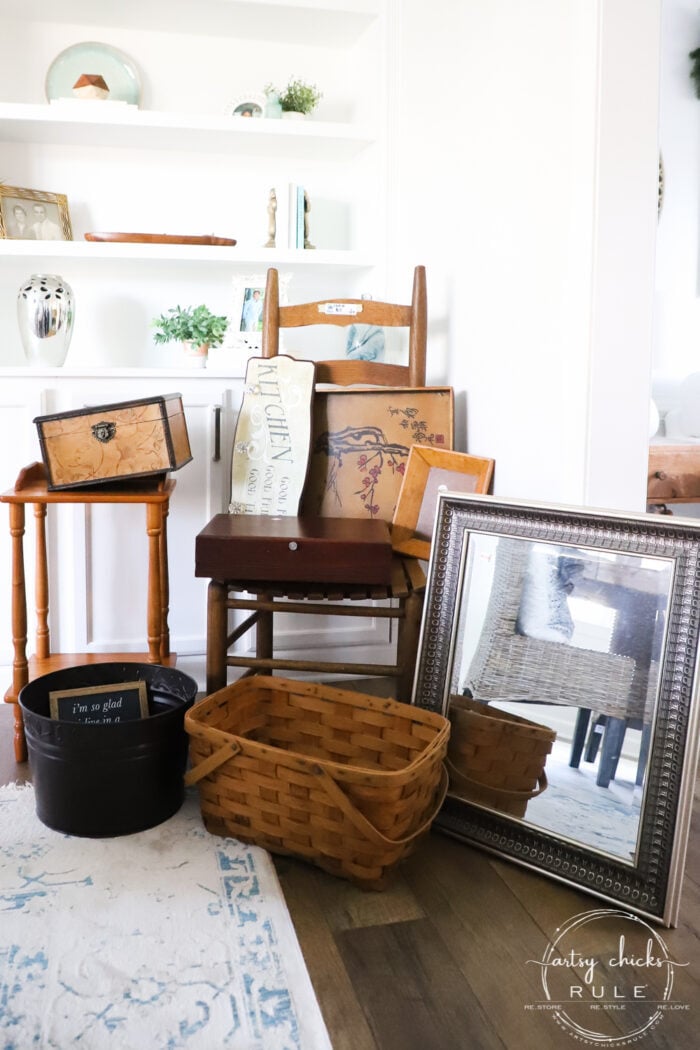
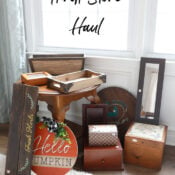
New around here?? I took y’all shopping a few weeks ago and found all >>> these goodies.
But here is what I brought home with me from all those amazing finds…
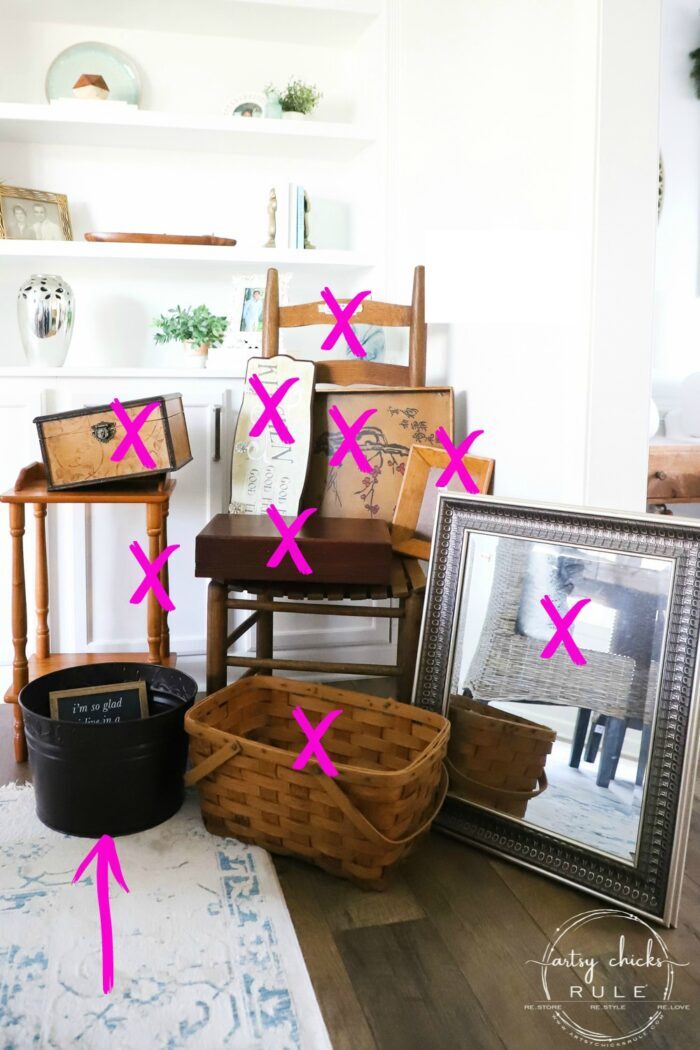
And I have given every single one a brand new makeover. :)
Missed any of them?? Look out for the links to them at the bottom of this post.
Today’s final makeover is the bucket.
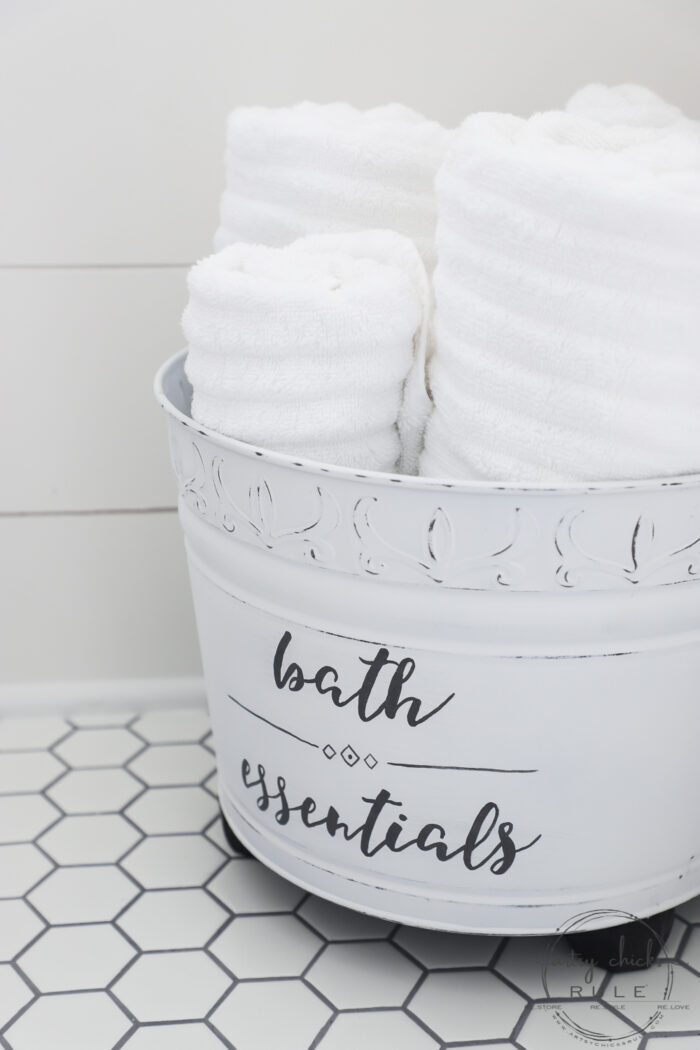
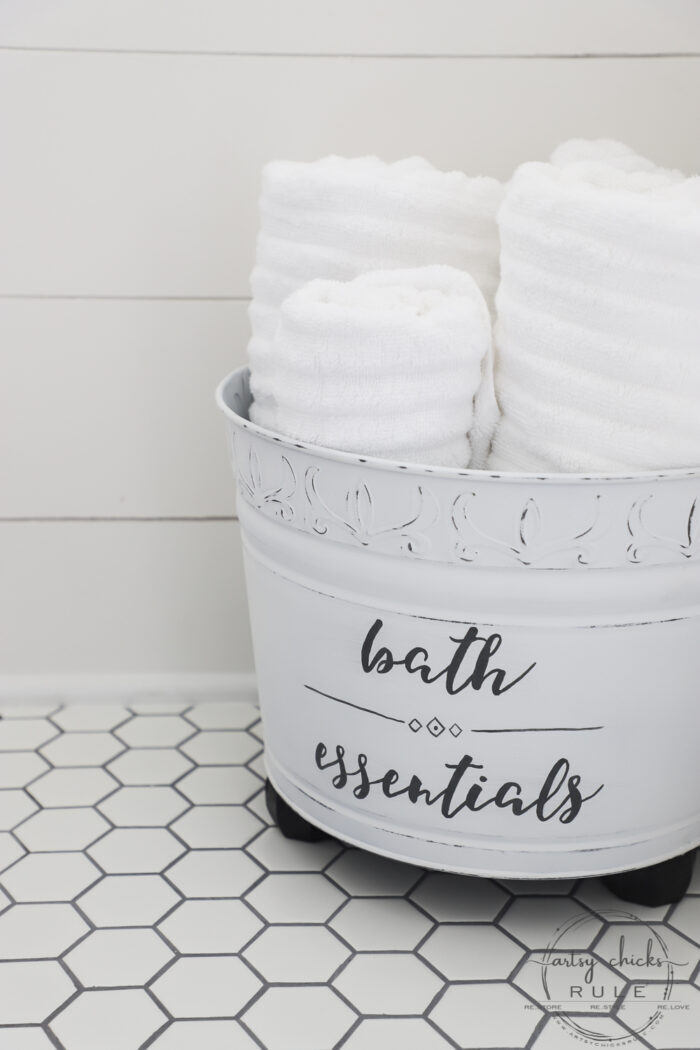
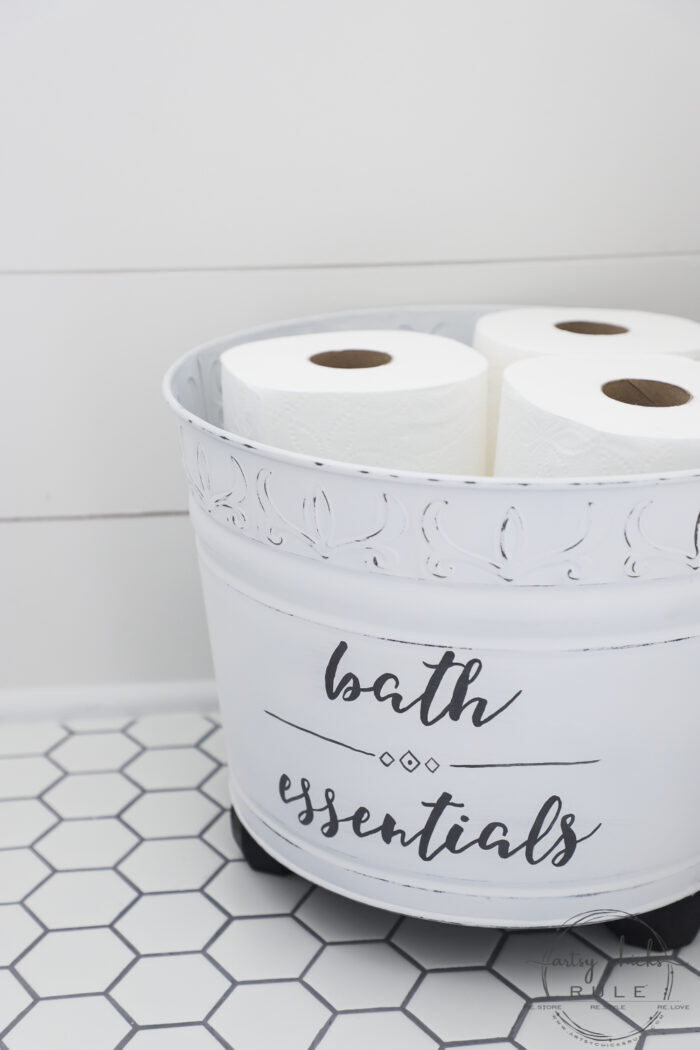
Bath Bucket (perfect for towels, hand cloths, toilet tissue and more)
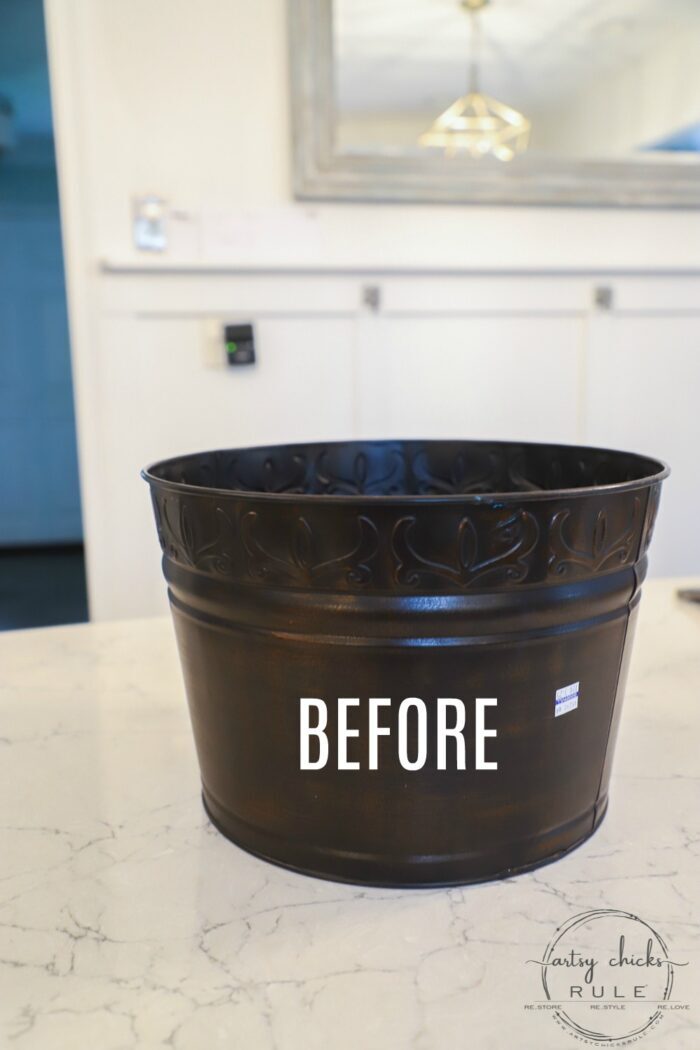
Here it is “before”…
MATERIALS LIST
- Rustoleum Chalked Linen White Spray
- Rustoleum Matte Sealer
- Black Paint(for lettering and feet…can use any kind, craft, etc)
- Script Liner paintbrush (for the lettering)
- Wood Feet
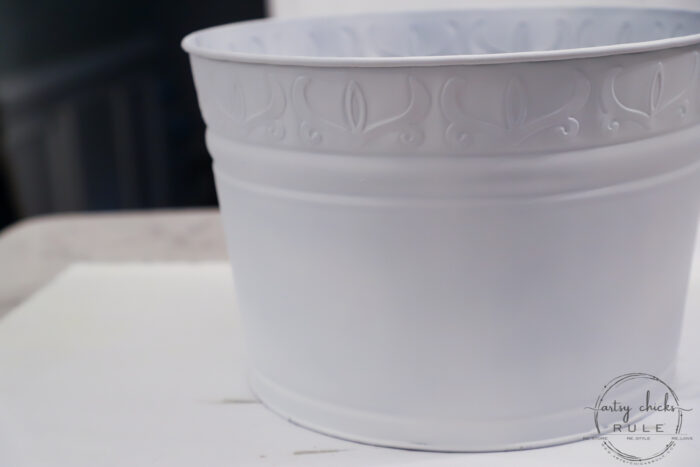
I started out by spraying the entire thing white, inside and out. It took several passes to cover it completely.
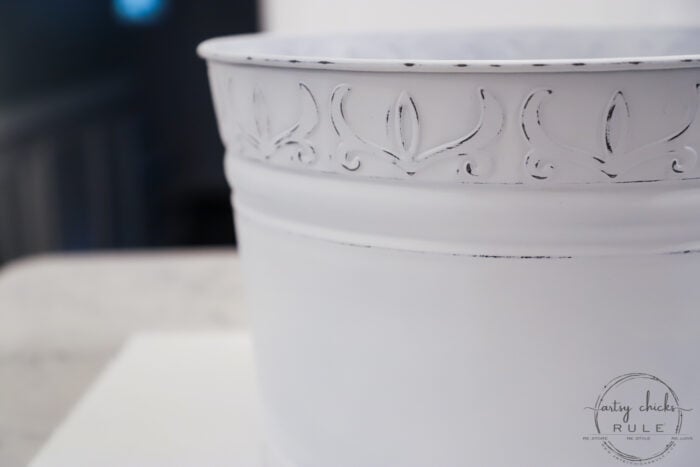
Then I lightly sanded the raised edges to bring the dark color out.
Next, I created this simple wording to put on the outside. Printed it out in reverse and attached it like so…
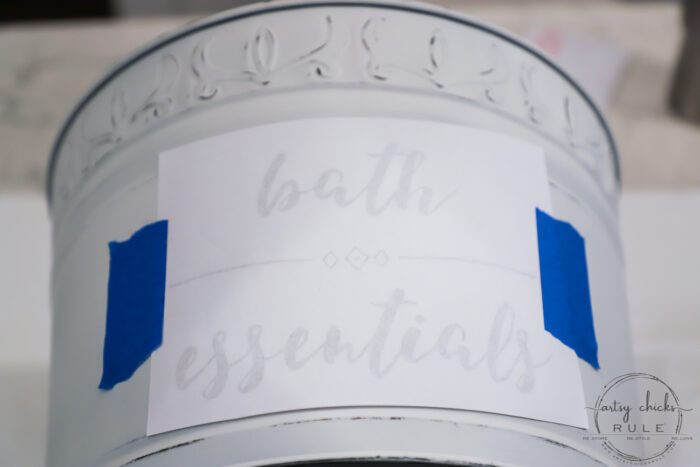
If you want to get all the details on this simple transfer method (that requires no equipment at all), check out this post >>> My Favorite Transfer Methods.
I put together several different ways you can transfer things like this.
Next, I rubbed over all the wording I wanted to transfer with a pencil.
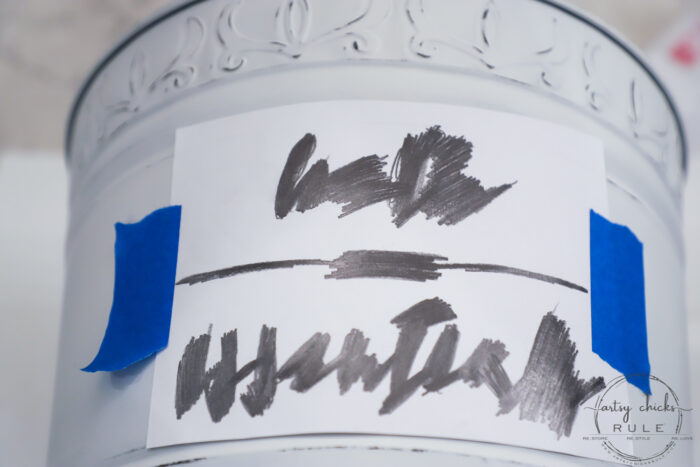
And voila!
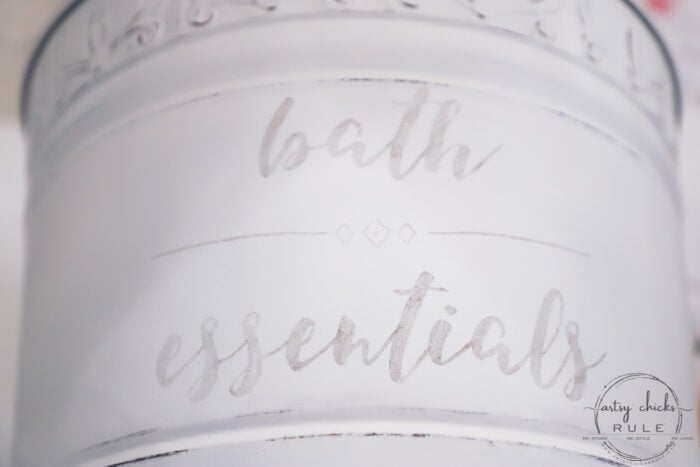
Isn’t that cool??
Then just paint it in with black paint and a script liner brush.
Here’s a little snippet I shared on Instagram stories when I was doing it.
It probably took me about 15 minutes to do the whole thing. I enjoy it actually. It’s very relaxing…I always call it my “mind therapy” because that’s what it feels like!
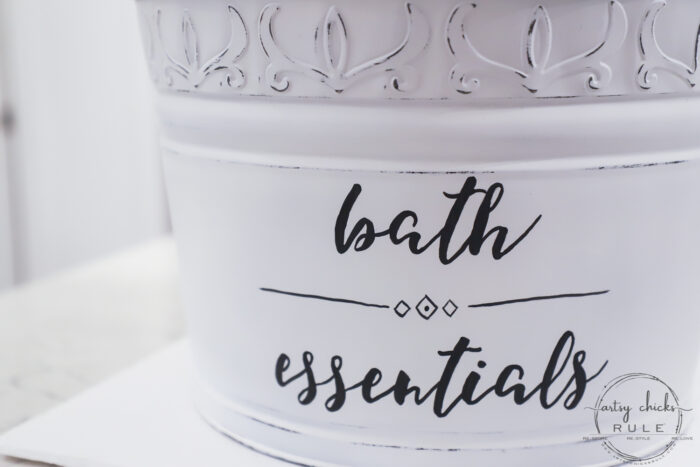
I lightly sanded over the letters to soften it but not enough to distress it. Then I gave it a quick spray with the matte sealer. (all products linked above in the gray box)
Want the free printable I made?
If you are already a subscriber, you can click here, enter your password (it can be found near the top of all my emails to you) and download this or any other graphic I’ve created over the years. (over 100!)
If you aren’t yet a subscriber, you can click here or the pink box below to become one to gain access.
Lastly, I sprayed these little feet I found in my stash with black spray paint.
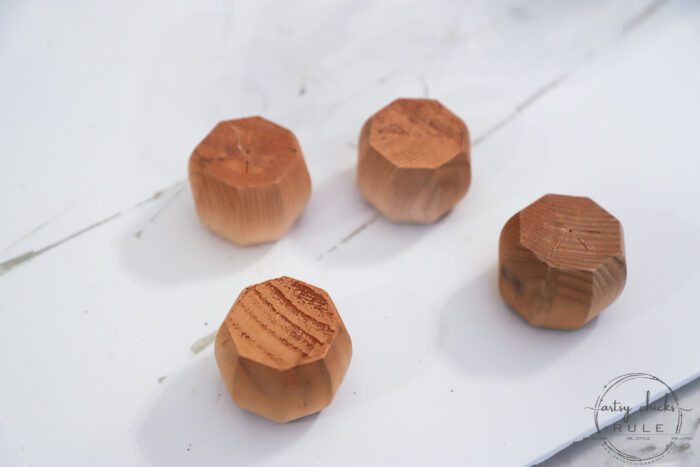
And hot glued them to the bottom of the bath bucket.
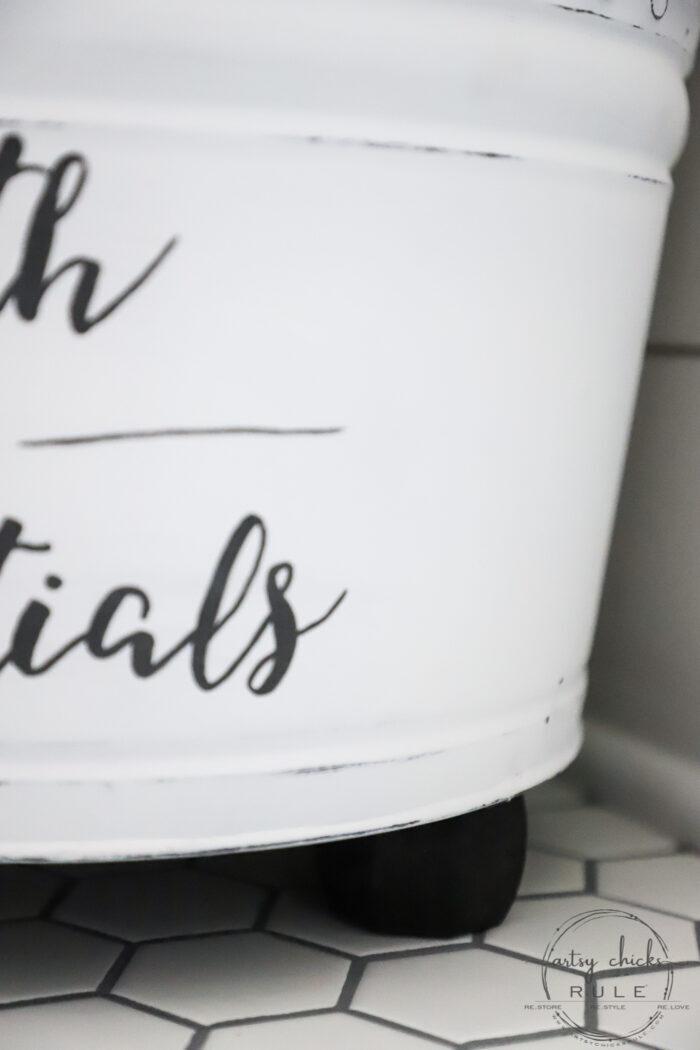
I thought it needed feet. :)
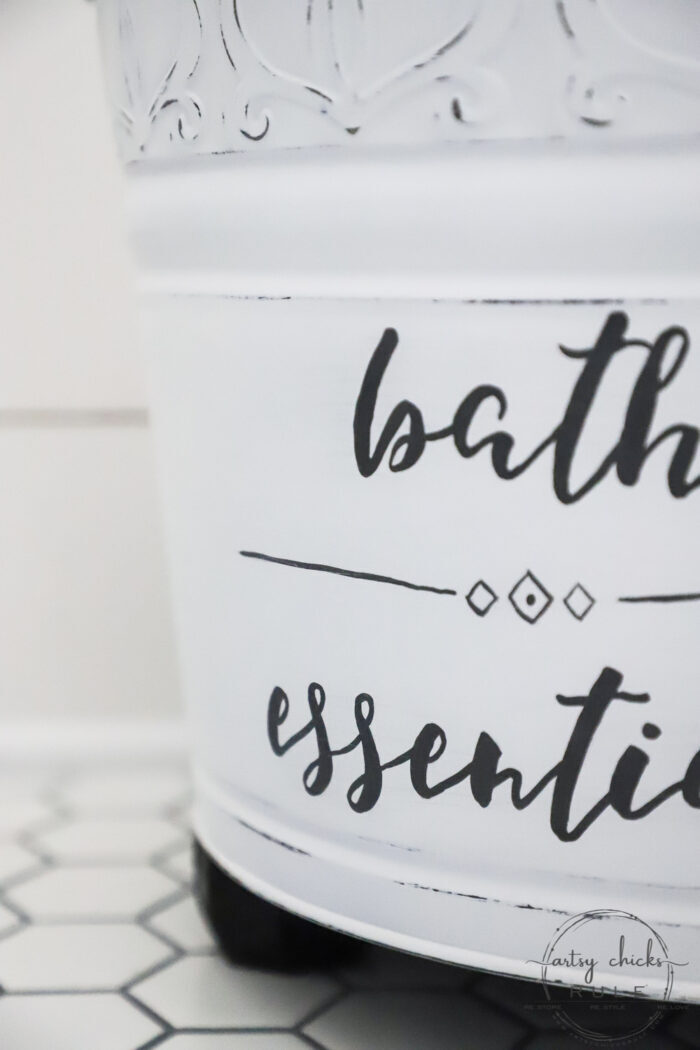
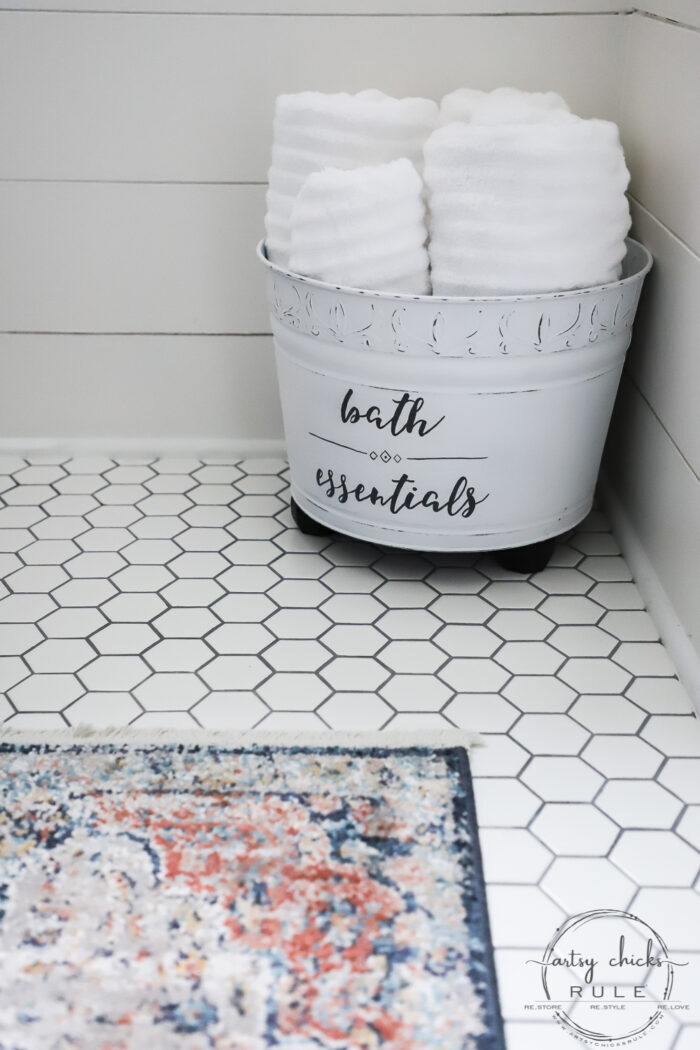
Up close distressing…
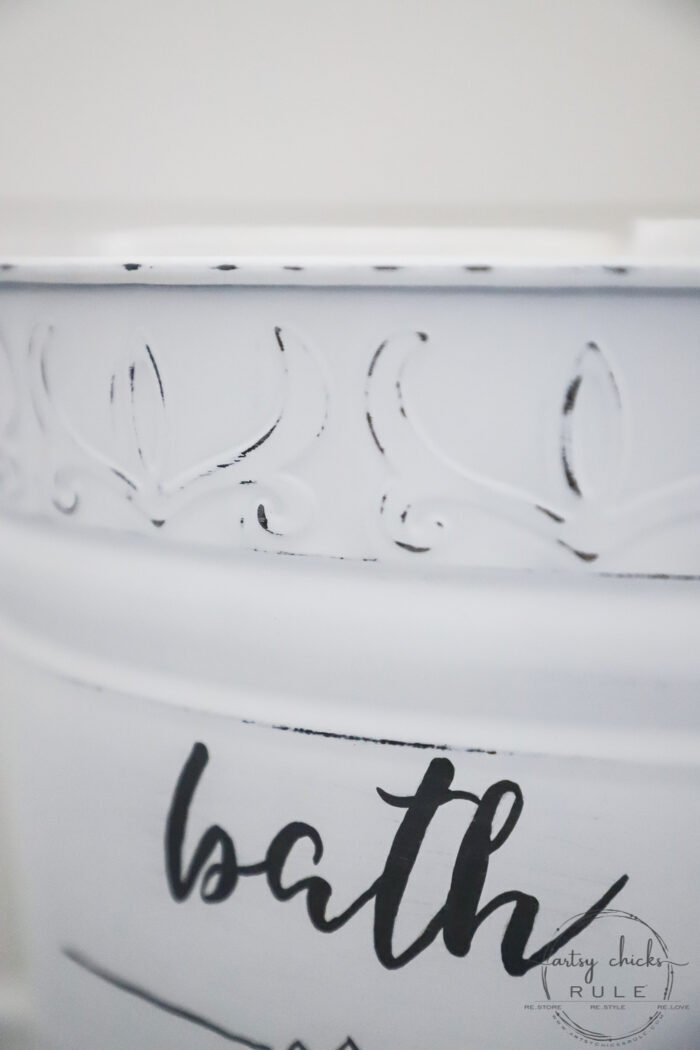
Perfect for towels…
Or toilet paper (that is some prized stuff these days! lol)
And a bit more of a sneak peek of our bathroom floor…and rug to go along with it. ;)
I’m going to be sharing our finished master bath very soon. I’m trying to get it together for next week. If not, it will definitely be the next!
And guess what?? I’m also going to be sharing our master closet makeover within the next two weeks too. Yippee!!
We are all done except for the barn doors (to the bathroom and the closet). But we are building those and it might be a while with all that’s going on so I decided not to wait to share. So when I get those finished, I will be sharing them separately.
PIN it to save it!
If you missed any of the rest of this haul’s makeovers, you can see them all right here:
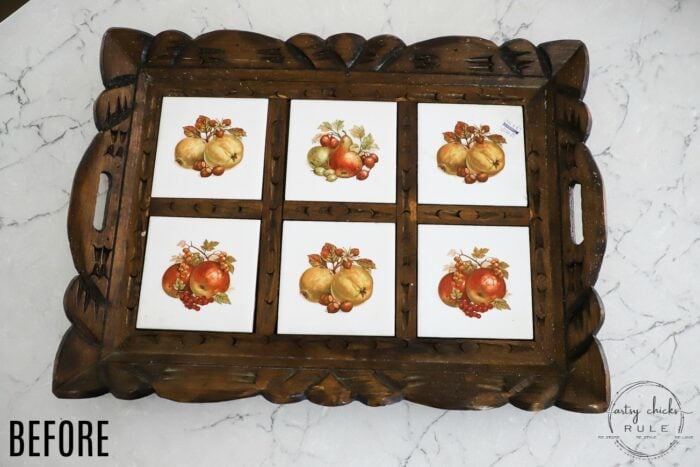
- Give Us This Day Our Daily Bread Sign/Tray
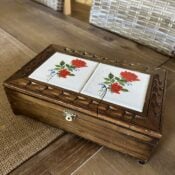
- $3 Wood Bowl Makeover with Paint & Tile
- $8 Ladder Back Chair Makeover (simple wood update!)
- Basket Makeover For Spring (with water-based stain)
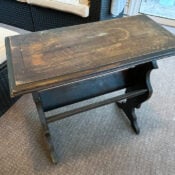
- Have Courage and Be Kind Table Makeover
- Give The Look Of Patina Gold With Paint
- 3 Thrift Store Upcycles (simple, thrifty home decor!)
- Decoupage With Tissue Paper Makeover
- $4 Flatware Box Makeover For Spring
This haul is done! I’m on to my next haul and sharing this first one next week!
UPDATE!! See it now, here!
Have a wonderful weekend and hang in there, friends! We are all in this together.
xoxo




Beautiful transformation Nancy, I love it! :) The feet are perfect and your lettering is amazing! Way to go!!
Be well and xo.
That was an awesome makeover Nancy. Makes me wish I had a tub like that sitting around to makeover like that! Is that a metal or a plastic tub? I love adding the feet idea.
Well done!
Thank you, Donna! Oh, and it’s nice and sturdy metal. :) xo
Thanks so much, Christina! :) xoxo
This turned out so pretty!! Did you ever find TP?? XOXO
Thanks, Christy! Noooo!! We went to the paper supply company last Friday and they sold out before we got through the line. We went back this morning and the line was 100s deep (like ridiculously long) and so we are going to try again next week! Boo! xo
Simple and sweet! I admire your talent with a script brush! I just have to cut vinyl with my Cricut and use that. Not as attractive but lots better than me trying to paint it! Stay safe!
Thanks, Cecilia! Oh the Cricut works just fine too! (and quicker) I love using my Silhouette for this but sometimes it’s nice to not have to mess with all that! xoxo
I really like all of these makeovers. I have lots of inspiration now. Keep us busy!
Oh good!! Thank you, Cheryl. :) xoxo
From a nothing to a real something. So useful & pretty!
Aw, yep! Thanks so much, Lizzy!! xoxo
Definitely needed feet, Nancy! Great little bathroom addition. Thanks for continuing to post and be well.
Thanks, Marcie! And yes, I hope that I’m able to bring a little normalcy (and fun) to this crazy world during this time. :) Stay safe and healthy! xoxo
Forget the bucket…..i’ll take the TP!!!! The bucket came out real cute and has many uses.
Love it …another save from the landfill!!!
Hahahaha!!! You and me both, Addie!! That is all we have left! I have been trying for weeks to get some. No luck so far! And thank you!! :) xoxo
It might be time to cut up old t-shirts!!!…..just DON”T flush!!!!..AD
Haha!
Wow, you have such a wonderful imagination to be able to transform so many ordinary things into treasures. I think the addition of the feet is pure genius. Just adorable!
Aw, thank you, Kathy! Yes, the feet add some fun, for sure! :) xo
Can I steal your fabulous creative mine, for a few days? You are so talented in everything you create, I simply love them all. Thank you so much for sharing this rich-looking, useful project.
Thank you so much, Ivory! I hope you had a wonderful weekend and wish you a blessed week!xoxo