3 Thrift Store Upcycles (simple, thrifty home decor!)
Decorating your home shouldn’t have to cost a fortune. These 3 thrift store upcycles are the perfect example of decorating your home beautifully on a budget!
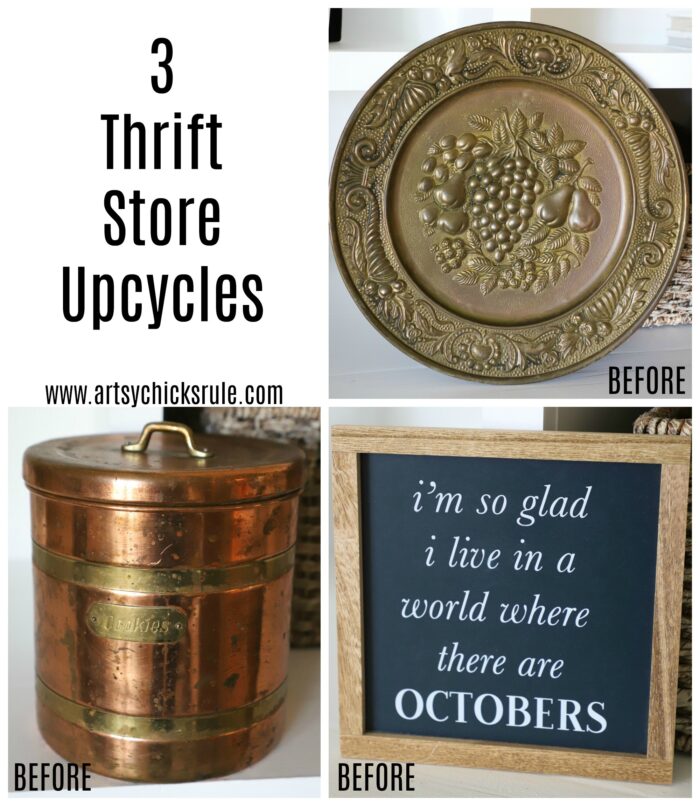
Hello friends! Today I am sharing THREE small thrift store upcycles.
But first! Let me say a huge congrats to Robyn W. for winning my latest giveaway! I’ll be doing another soon so stay tuned. :)
These 3 were all so simple that I thought it might be fun to just share them all at once.
If you follow along on Instagram, you probably saw my sneak peek about them this past weekend.
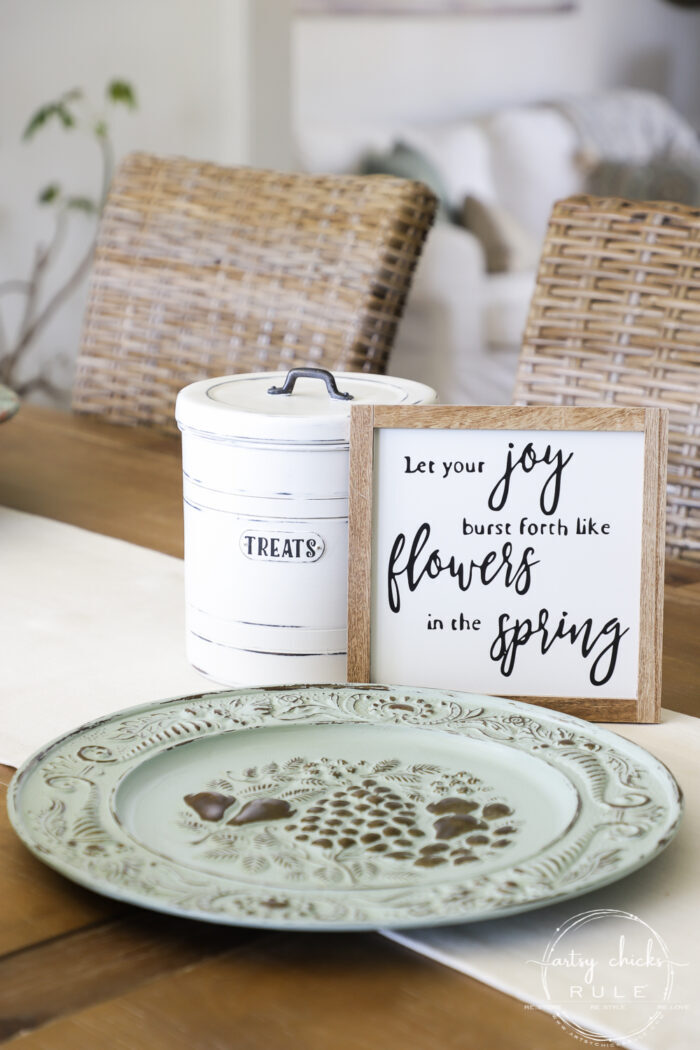
And as you can see, one of them is from the most recent haul, so that’s one more down, 4 to go…yippee!
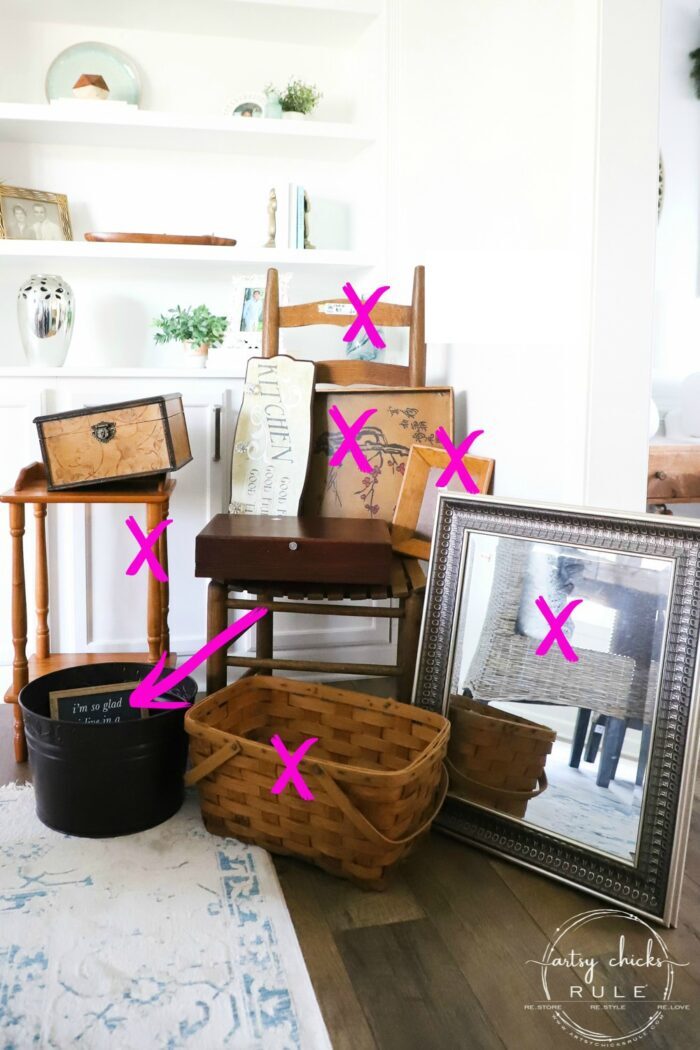
Included in my 3 thrift store upcycles today is the small sign there from the haul.
If you missed the thrift shopping trip I took you on when I found these, you can see it >>> here.
If you missed any of those makeovers, you can see them right here:
- Give Us This Day Our Daily Bread Sign/Tray
- $3 Wood Bowl Makeover with Paint & Tile
- $8 Ladder Back Chair Makeover (simple wood update!)
- Basket Makeover For Spring (with water based stain)
- Have Courage and Be Kind Table Makeover
- Give The Look Of Patina Gold With Paint
AND…it’s also Trash To Treasure Transformation Tuesday!
New around here?? Well, every second Tuesday of the month, my friends and I get together and share our “trash” turned treasure.
So be sure to read all the way to the bottom so you won’t miss seeing their treasures too.
3 Thrift Store Upcycles
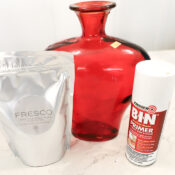
Here are the links to the products I used for these makeovers…
MATERIALS LIST
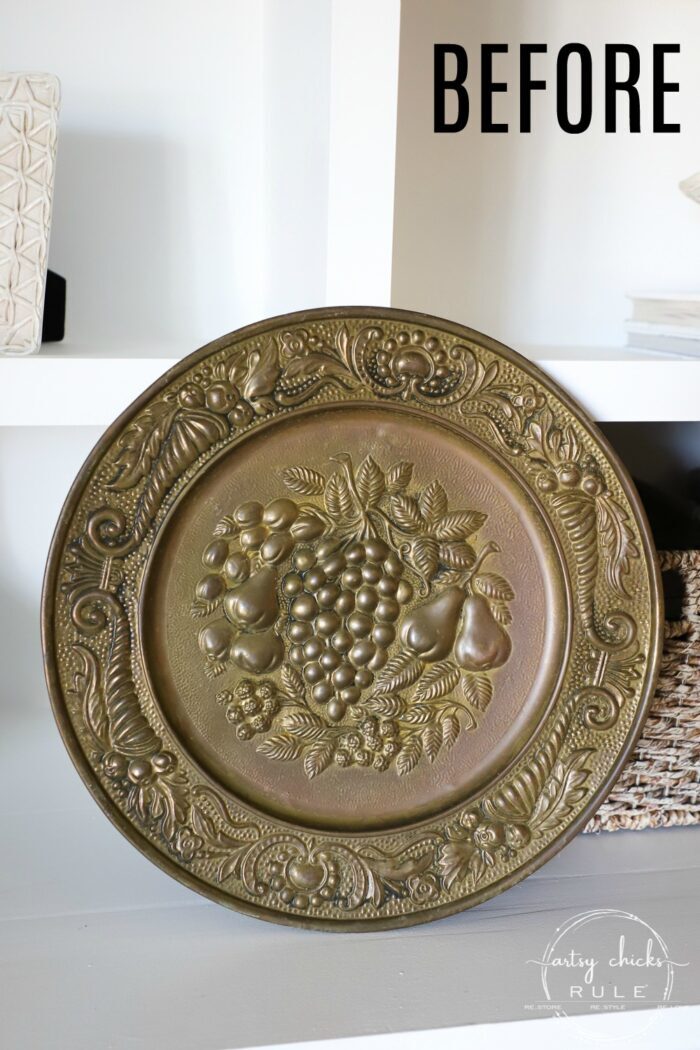
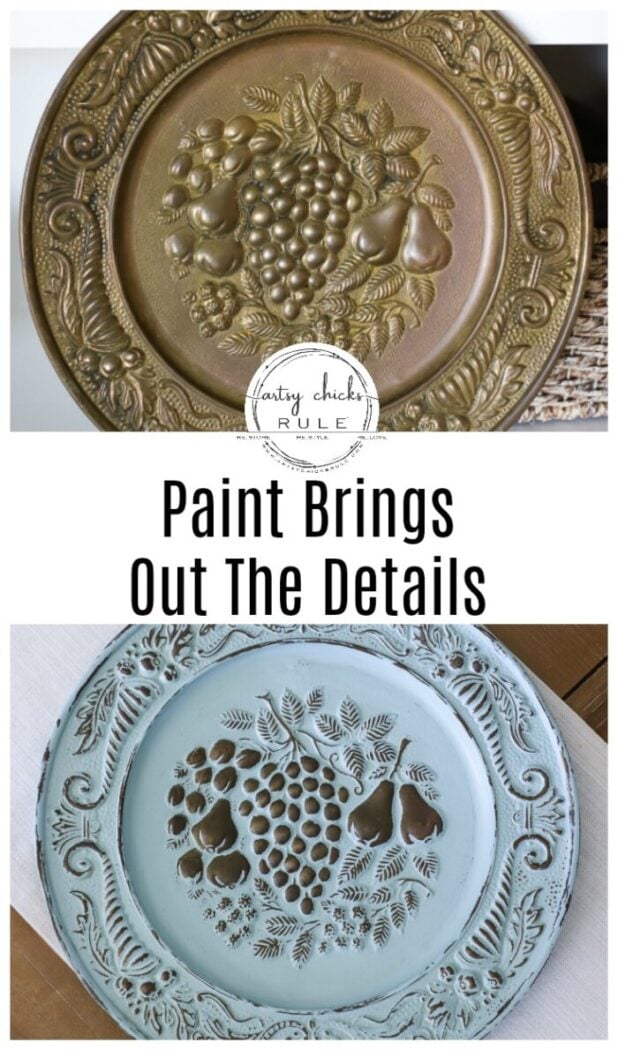
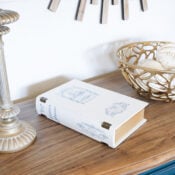
The first one is this brass/metal tray I found for a couple of dollars a week ago. There is absolutely nothing wrong with it.
So if you found this and loved it as-is, win! But I decided to give it a little makeover.
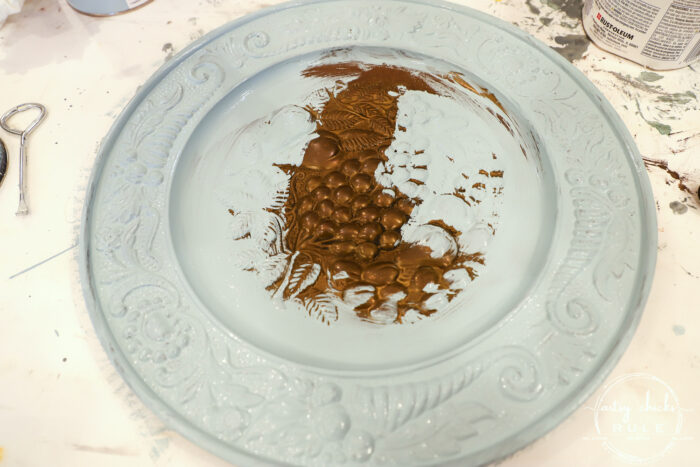
I gave it one heavy coat of the Serenity Blue (linked above) and let it mostly dry.
Then I used a damp paper towel to wipe away the paint on the raised areas.
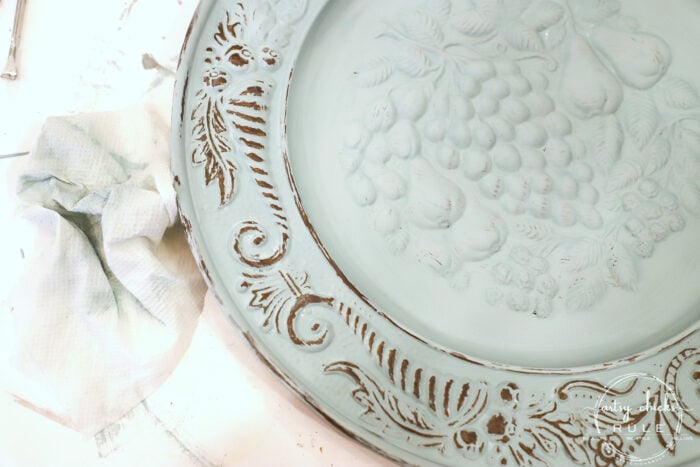
That brought all those features out that were easily missed before.
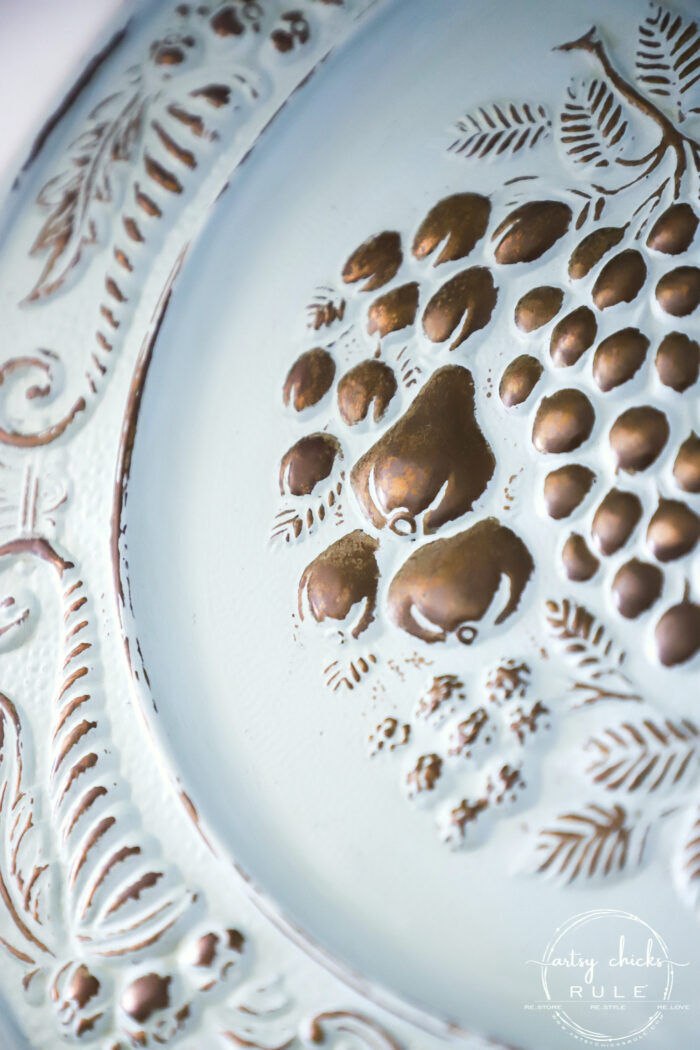
Once that was done, I sealed it up with one coat of poly. (linked above)
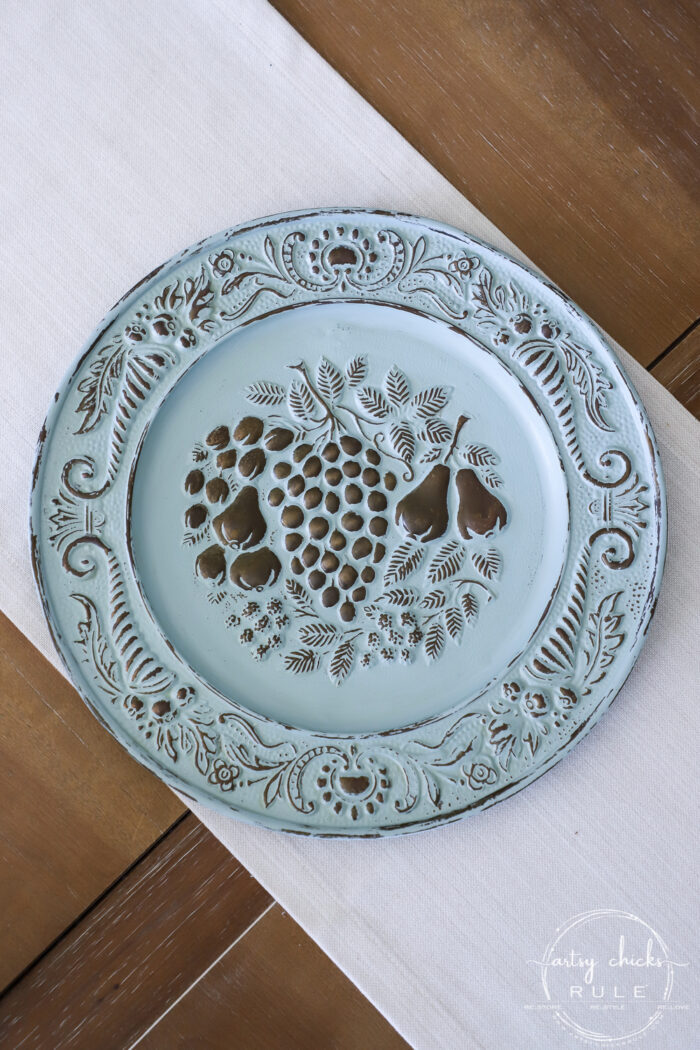
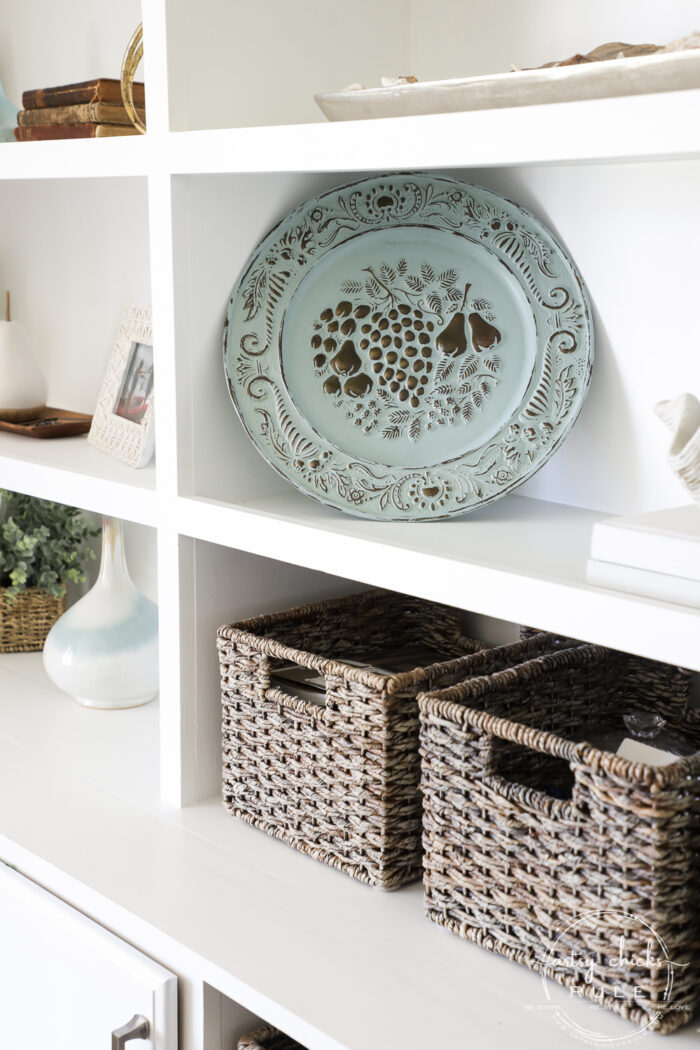
There is also a hanger on the back so it can be hung on the wall too.
Next up, this…
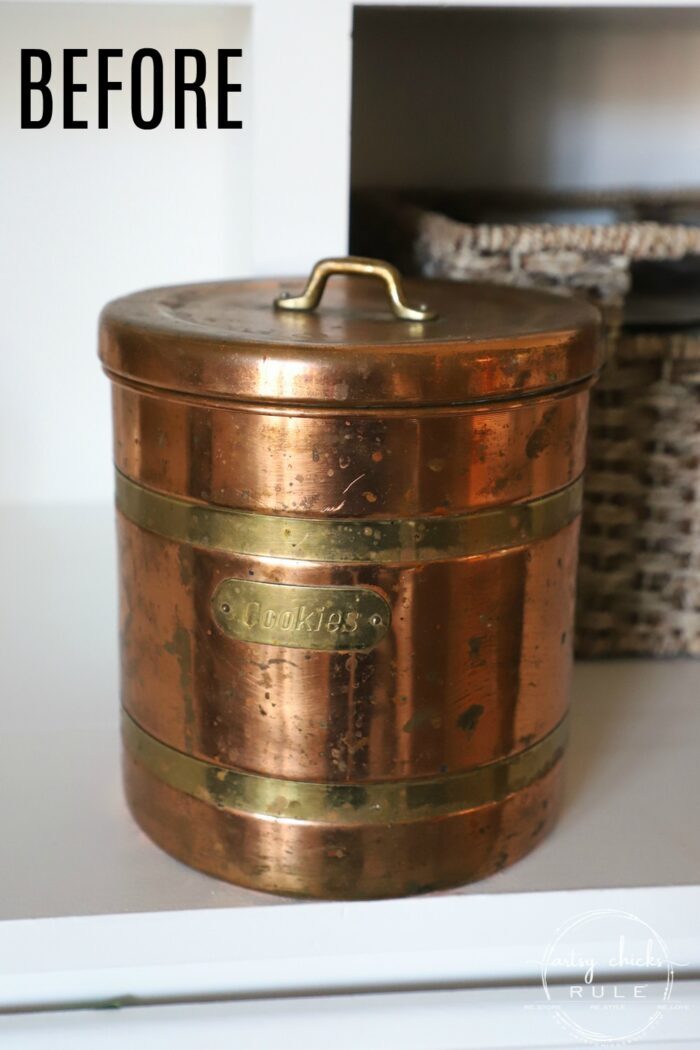
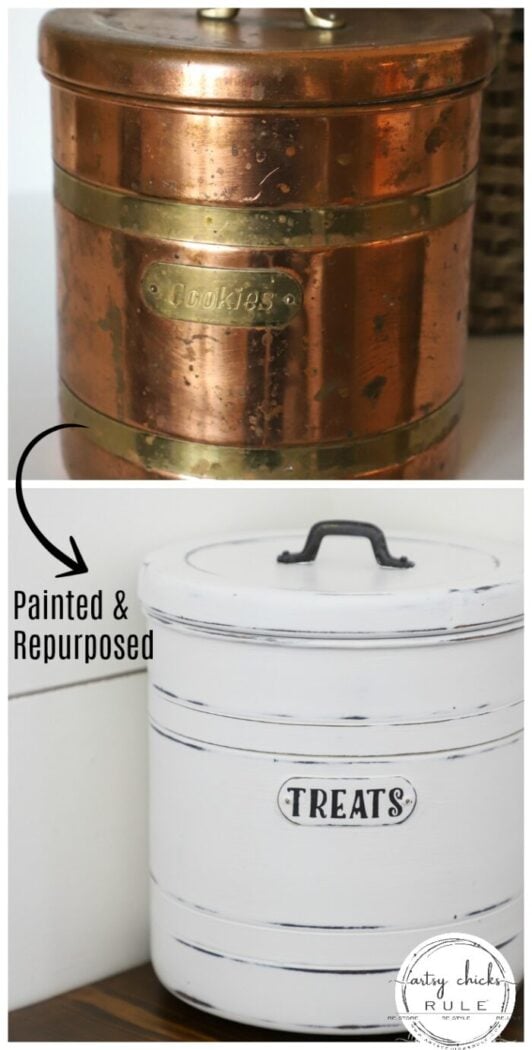
A little (a lot!) worse for wear. There was just no fixing this. So I decided to paint it and repurpose it from “cookies” to “treats” for Ryder.
I began this one by spray painting it first with oil rubbed bronze spray paint.
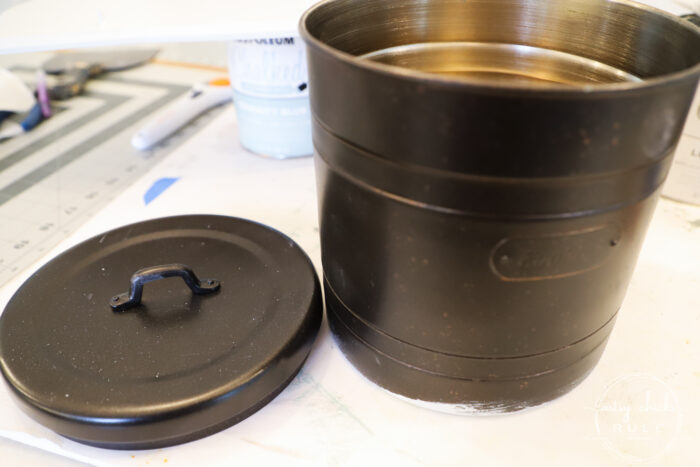
Then I used the Linen White Chalked Paint to go over the top. I did two coats.
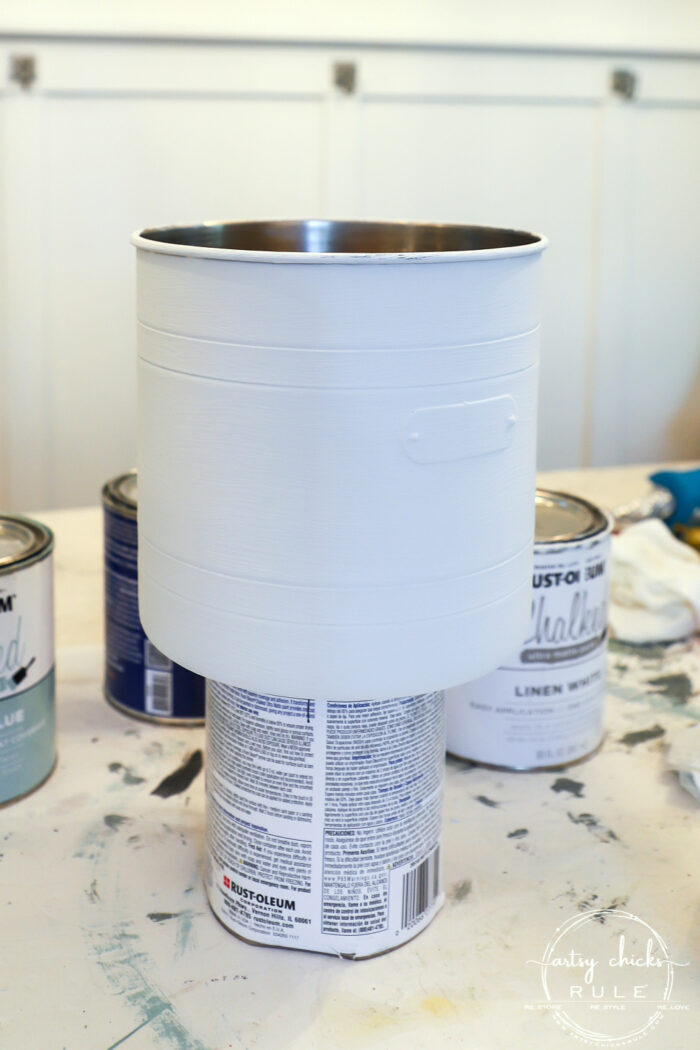
Then I sanded all the way around the distress. I wanted to bring that oil rubbed bronze back through.
And thankfully the engraved “cookies” was fairly shallow so it was easily covered with paint.
I made this vinyl “stencil” using my Silhouette Cameo.
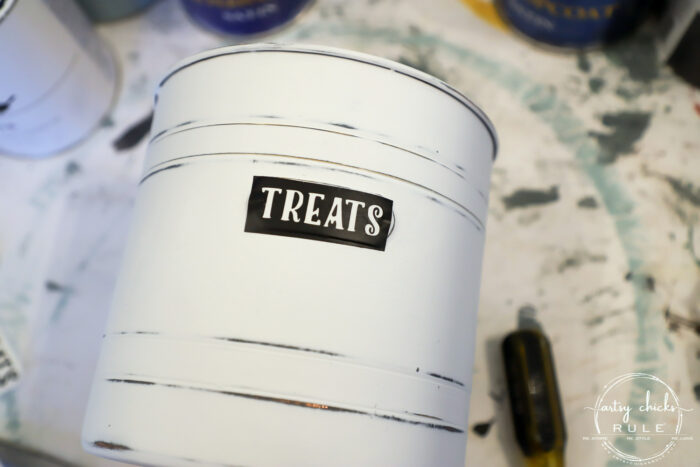
I taped around it to protect the white paint.
Then I used a small foam roller to apply the black for the letters.
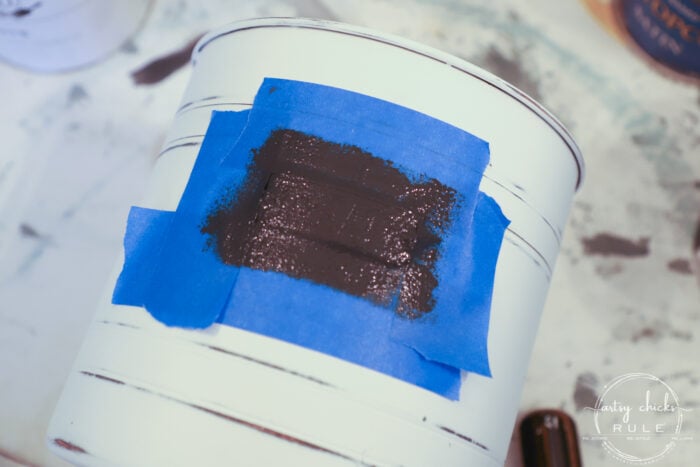
SO simple!
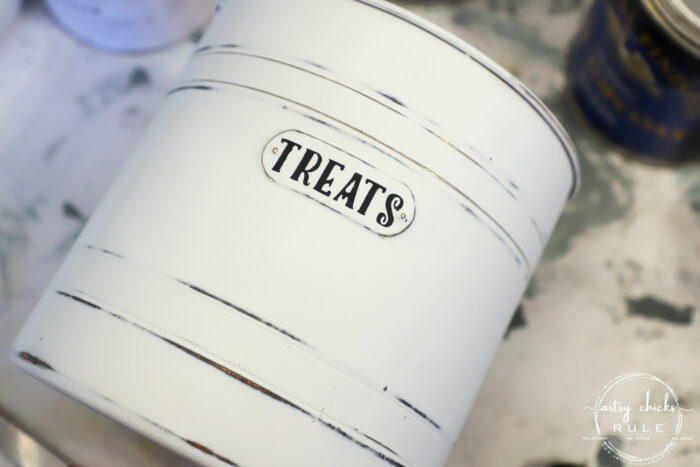
I already have a treat jar for Ryder here so I am going to take this one to the beach house.
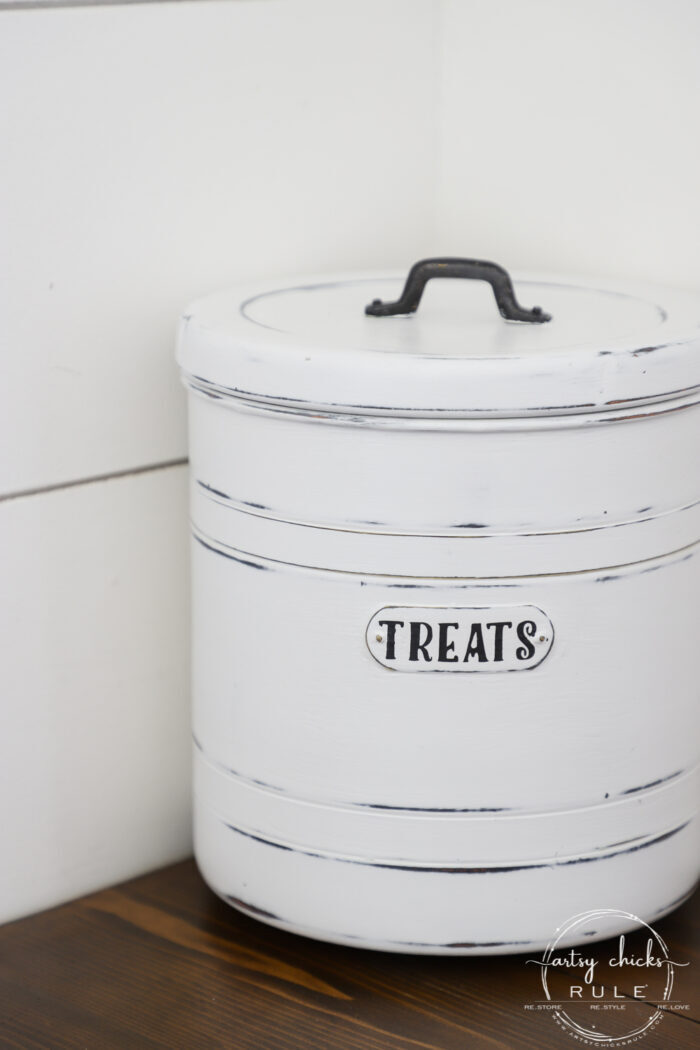
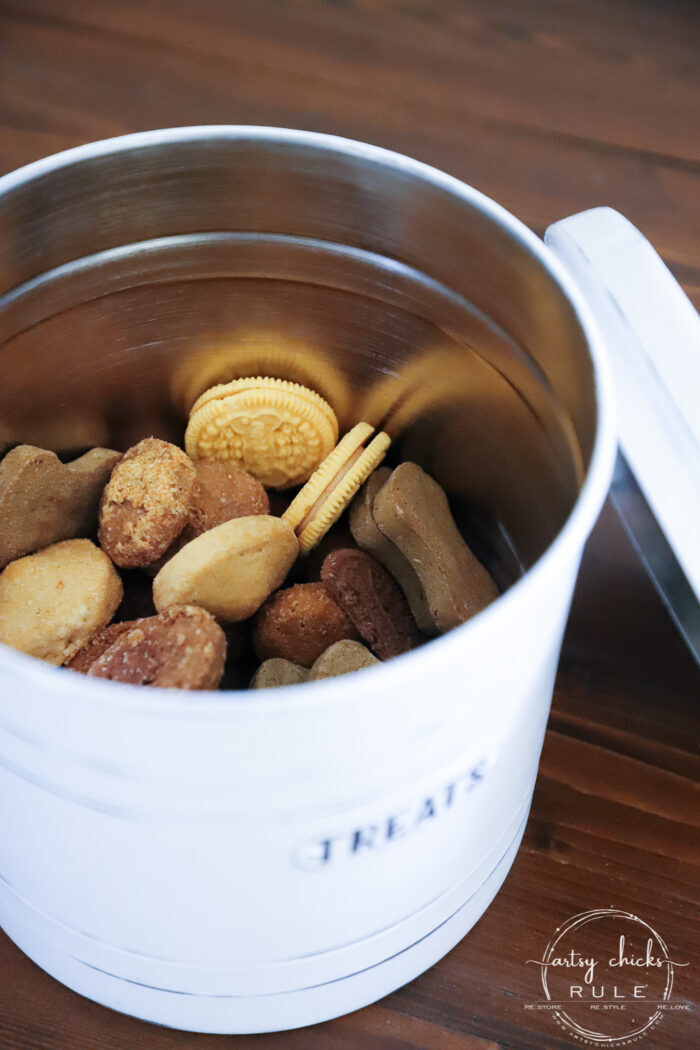
Those “cookies” are indeed dog treats. Have to be careful around here!! haha
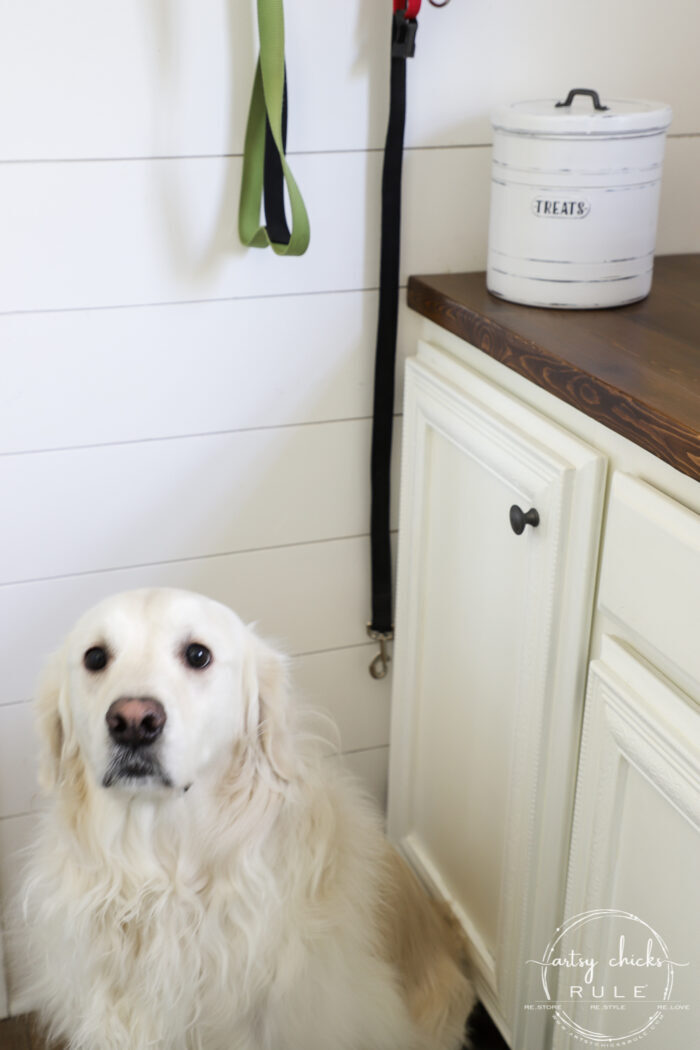
Ryder patiently waiting for me to throw him the treat in my left hand! lol (he’s not taking his eyes off)
Last one…
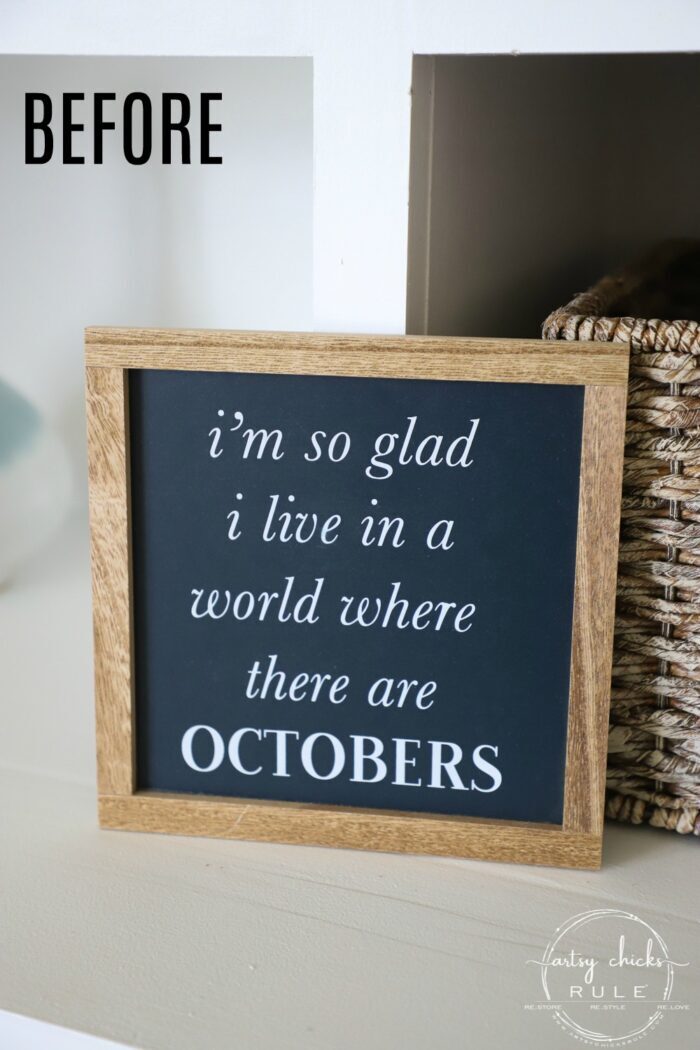
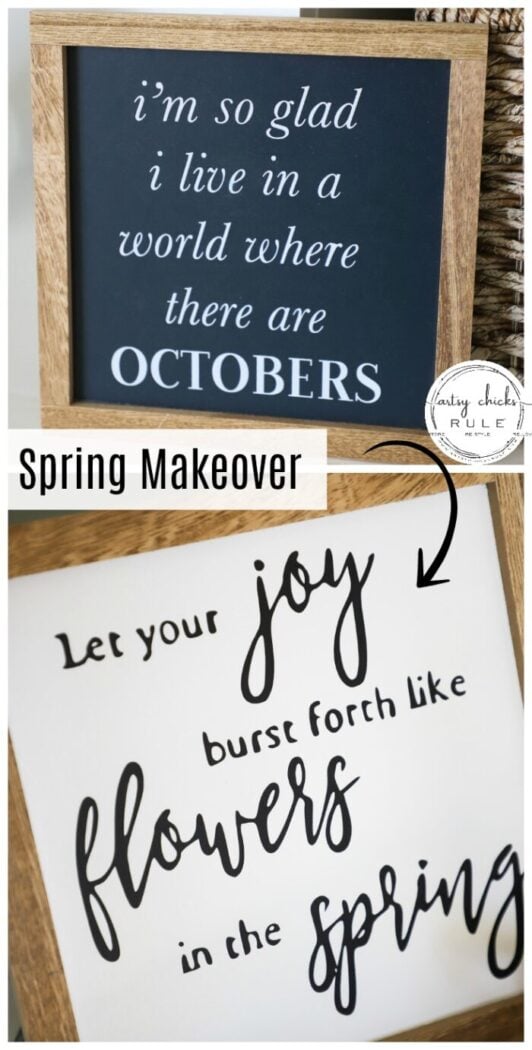
Not a thing wrong with this one either.
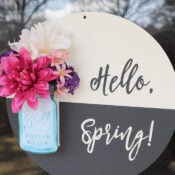
Except, yes, I love fall, but I much prefer spring. ;)
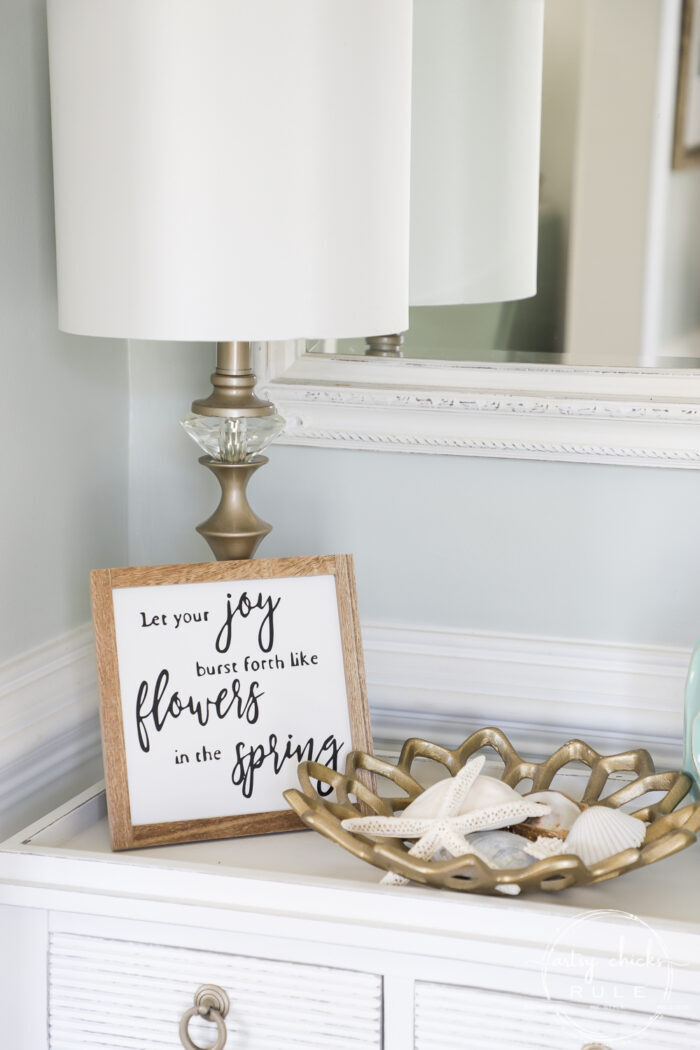
So this one got a spring makeover.
I started by taping it up to protect the frame and spraying it white.
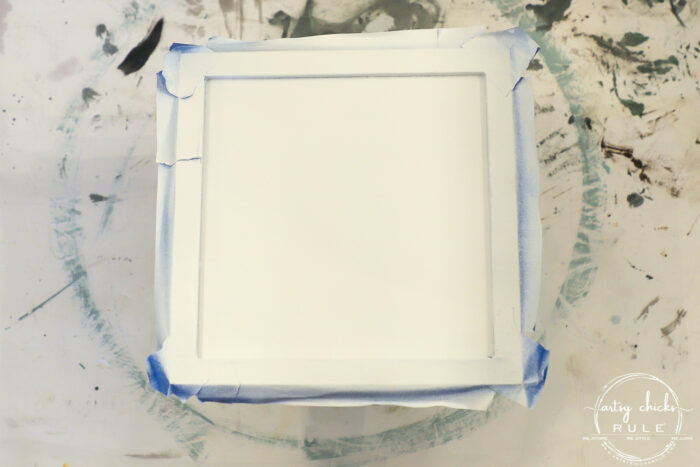
I did have to sand the lettering down a bit so it wouldn’t show through. It was only very minutely raised but it didn’t cover evenly after the first coat.
But after sanding it a bit, it was smooth and good as new.
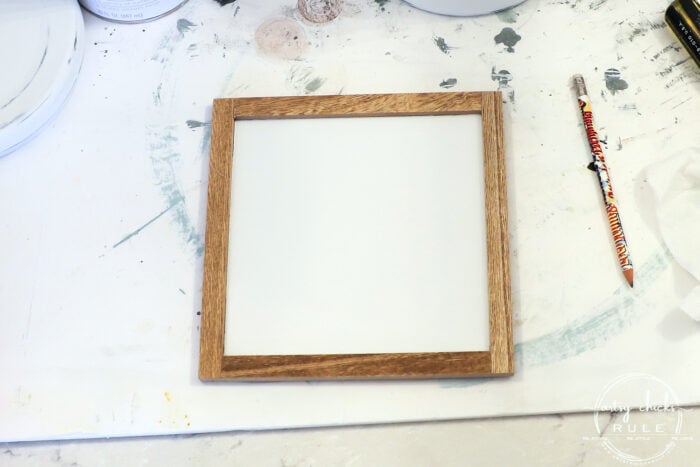
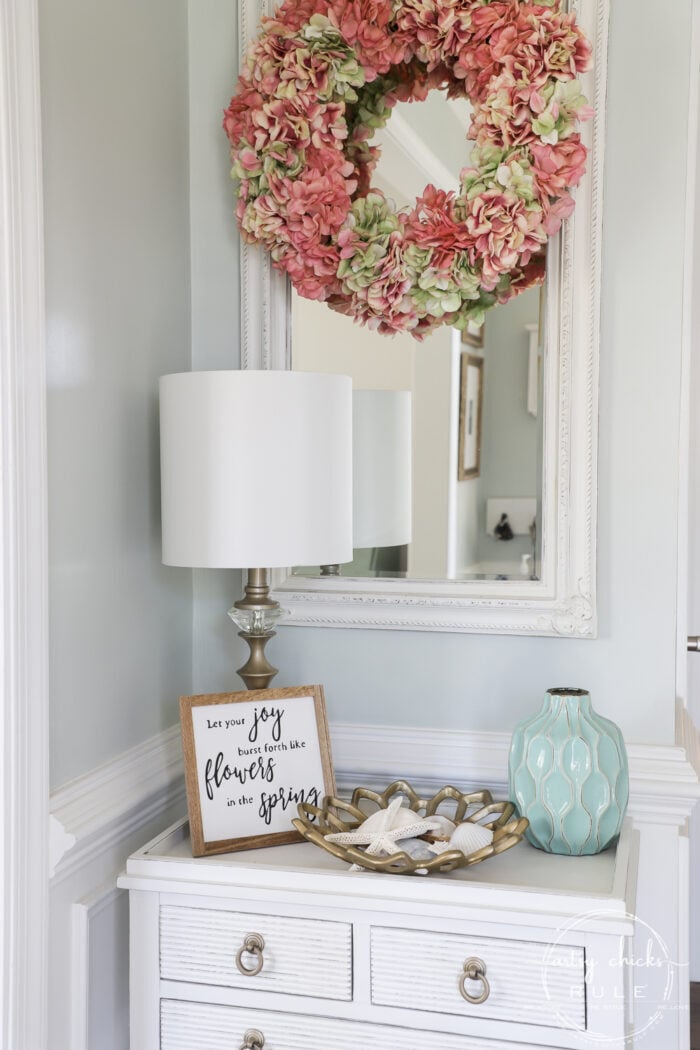
Fresh and bright, ready for spring.
I created this spring printable for it and cut it out on my Silhouette Cameo.
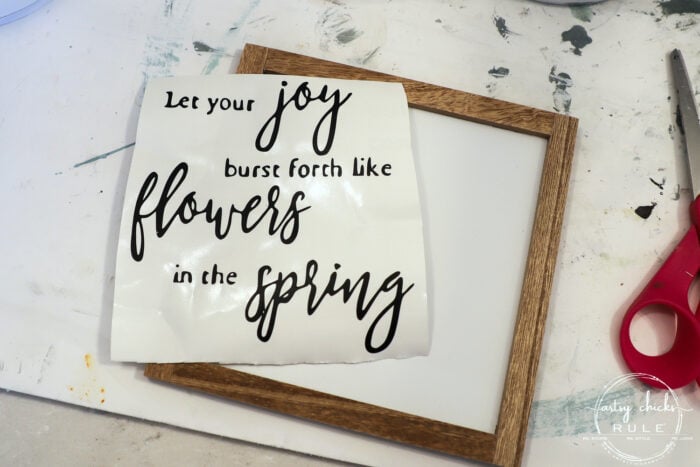
Want the free printable??
If you are already a subscriber, you can click here, enter your password (it can be found near the top of all my emails to you) and download this or any other graphic I’ve created over the years. (over 100!)
If you aren’t yet a subscriber, you can click here or the pink box above to become one to gain access.
I applied the transfer tape to the vinyl letters and then transferred them to my board.
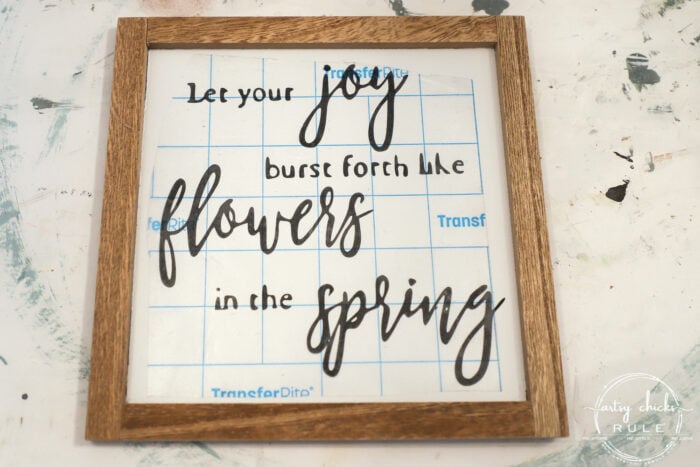
And done!
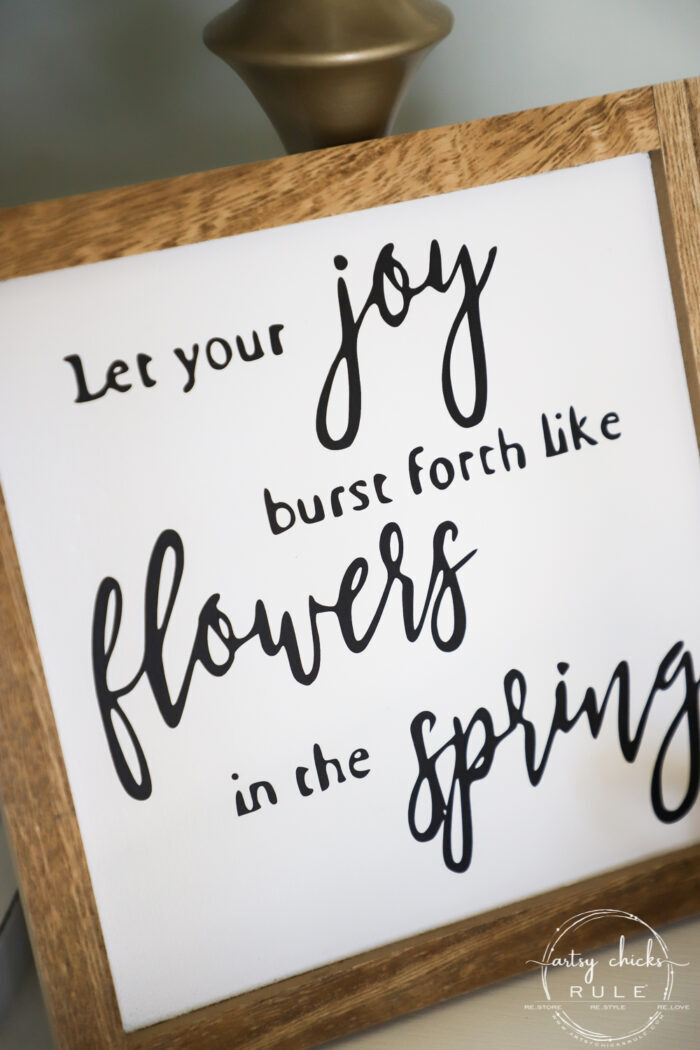
Easy way to make a sign.
But if you don’t have a Silhouette Cameo, you can visit this post to read about all the other ways I like to transfer graphics. (no machine required) >>> How To Transfer Graphics
I took down all our “winter decor” this past weekend so I am all in for spring. I really enjoyed it but it was nice to see it go!
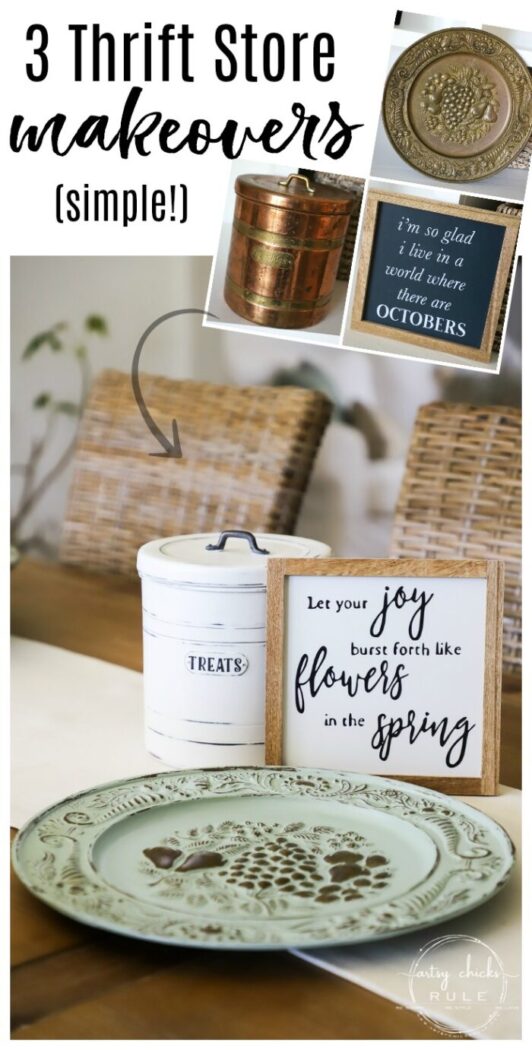
That’s it. Three brand “new” thrift store upcycles.
I paid less than 7 dollars for all three. Bargain…and a great way to decorate your home on a budget.
PIN it to save it!
But wait! Don’t go yet. Hop on over and check out these awesome trash to treasure makeovers. (links below)
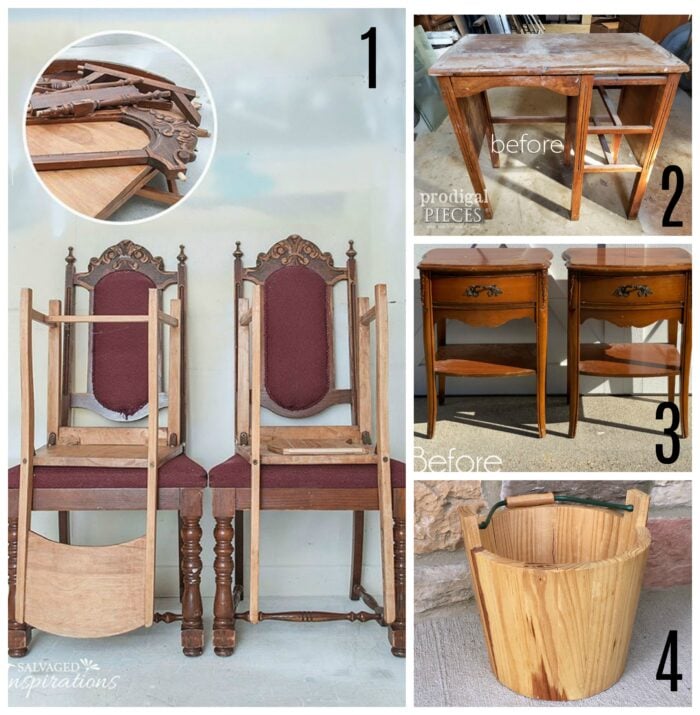
Want to see even more trash to treasure makeovers?? >>> Trash To Treasure Transformations Archive
I hope you enjoyed all of these makeovers today! Lots can be done with all that “trash” out there. It doesn’t need to go to the landfill. So much usefulness yet.
Maybe it just needs a little paint … or love. :)
OH and if you do follow along on Instagram already, you might have seen my story about our newest project … also in the master bedroom. :) I am SO excited about it and can’t wait to share more with y’all. If you don’t follow along yet, be sure to as I’ll be sharing it in my stories as we DIY it!
If you missed any of the rest of this haul’s makeovers, you can see them all right here:
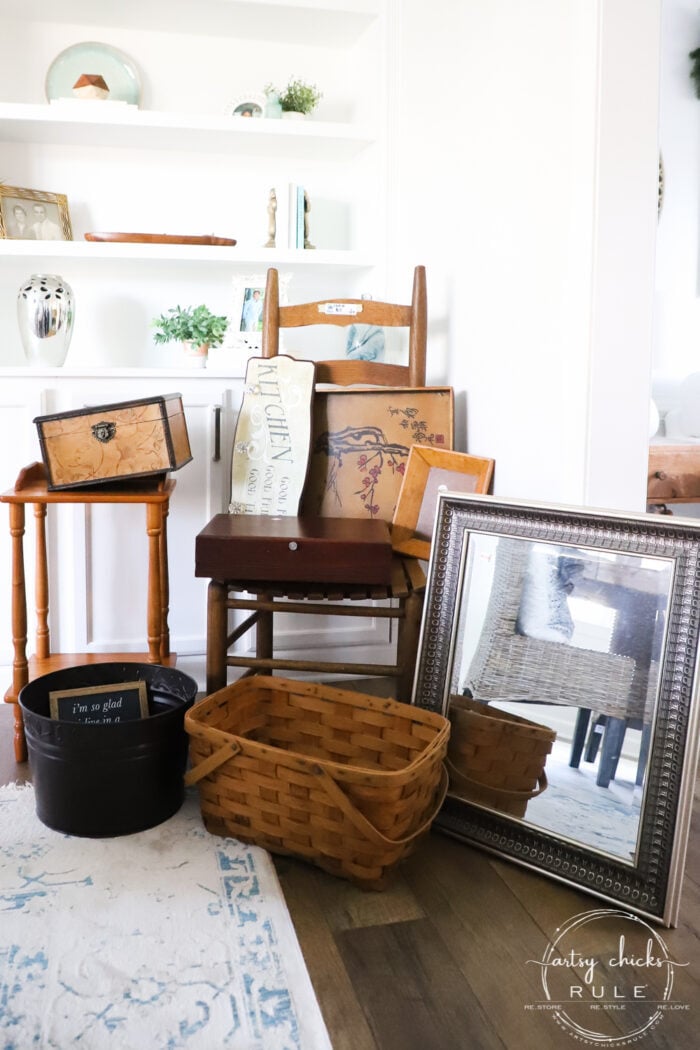
- Give Us This Day Our Daily Bread Sign/Tray
- $3 Wood Bowl Makeover with Paint & Tile
- $8 Ladder Back Chair Makeover (simple wood update!)
- Basket Makeover For Spring (with water-based stain)
- Have Courage and Be Kind Table Makeover
- Give The Look Of Patina Gold With Paint
- 3 Thrift Store Upcycles (simple, thrifty home decor!) (you are here!)
- Decoupage With Tissue Paper Makeover
- $4 Flatware Box Makeover For Spring
I’ll see you back here on Thursday… I think with that kitchen sign I asked you guys about.
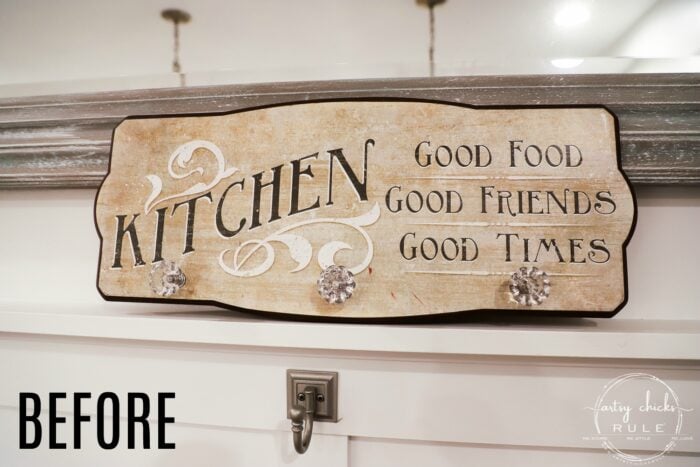
UPDATE!! See it now, here!
Have a wonderful week,
xo





All so sweet! You made such fun new pieces.
Thank you, Larissa! :) xo
HI Nancy, I love a repurposed/upcycled project! Love your dog and the dog treat cannister.
laura
Thank you, Laura! :) xo
Nancy, you are so creative! The treat can is a great idea! I would not have thought to paint the dark color first…tips and tricks from the Artsy Chick! Hee-hee…I can’t wait to see what you do with the mirror..I have one similar and need some inspiration! XOXO
Thank you, Cecilia! And yes, haha! :) xo
OMG! You did the mirror! I gotta look back and see what you did….
Oh yes, I did! I love how it turned out…I’m trying to see if I can fit it at all anywhere in our beach condo!! lol We’ll see! xo
Oil-Rubbed Bronze is my all time favorite color! LOVE the treat can. And Thank You for MY goodies!
Mine too! So many things you can do with it!! And yes, you are so very welcome!! Congrats again. I am hoping to get it mailed out today. I will send you tracking info once I do. :) xo
I love all three pieces! I love how you re-purpose things, and in such a thrifty way! Heading to my local thrift to scour up some pieces for spring decorating. Thanks for your inspiration!
Thank you, Deanna! And good luck (and have fun searching) :) xo
The brass plate was my favorite. What a glorious transformation. Trash to treasure. Reminds me of our lives, when we are willing to grow and put the past behind. We go from a tarnished mess to a beautiful creation!
Thanks so much, Helene! That one really came to life with paint, I think! And yes, you are so very right. :) xo
Super cute!! My favorite is Ryder’s treat jar! XOXO
Thanks, Christy! Mine too…keeping that one! xo
The update on the brass plate brought it to a totally new level. Brass plates have certainly not been “in style” for decades, but your upcycle with the chalk paint and distressing updated it. The plate looks beautiful as you have styled it on the shelf. I just love it.
I will look for cans/containers that can be repurposed like the “treats” can to use for my door prizes at our family reunion! Great idea.
Thank you, Barbara! Oh, love that idea for the canisters! Good luck and have fun searching! :) xo
Win, win, win! You turned three thrift store items into wow items! You did such a great job!
Aw, thanks so much, Diana! It’s really fun to watch them transform. :) xo
Triple Triumph!
I especially like the little sign. I love Spring.
Thanks, Colette! Me too! :) xo
Nancy, I adore brass and copper … so to see this canister so beat up saddened me. i am so glad you gave it new life. Clearly Ryder was more interested in the contents. :)
You really gave all 3 items new life. Spring is coming soon! Beautiful makeovers!!
Me too! Yes, it was in such sad shape! I tried cleaning it up before I decided to paint it but it was a no-go. :( And yes, he definitely was! lol Happy weekend to you! xo
What wonderful transformations. Great job on the upcycling.
Thank you, Colleen! :) xo
I love all your creations Nancy. It’s fun to see old items turned into lovely treasures….
I especially love the doggy treat can !!
I am wondering if you made that beautiful pink wreath? I love it as well.
Thanks for sharing.
Thank you, Julie! Yes, it really is! No, I found that at At Home, I think it was last year, or maybe the year before. I did make one similar though. You can see it here >>> https://www.artsychicksrule.com/diy-hydrangea-wreath/
These are all super cute, Nancy! I think the treat canister is my favorite though! xo
Thanks, Jen! xo
Great make-overs!!! Those cookies look like people cookies…..I want one or two!!!!
I have passed up tins like that, thought they were useless….like what you did to it!!!
Thanks, Addie! And yes, haha, they really do! I do wonder if they taste like “our” cookies. I’ll never know! lol :) xo
I have a plate almost identical to the one you just repurposed here. I didn’t exactly as you have done yours! I love the tin treats canister but as I am a fall type person well I loved the original!
Oh, how fun!! Yes, it was really pretty with the copper, etc, but so tarnished and beat up, unfortunately. I did try to clean it before I decided to paint it. Guess I couldn’ve just called it “character”. ;) xo