$3 Wood Bowl Makeover With Paint & Tile
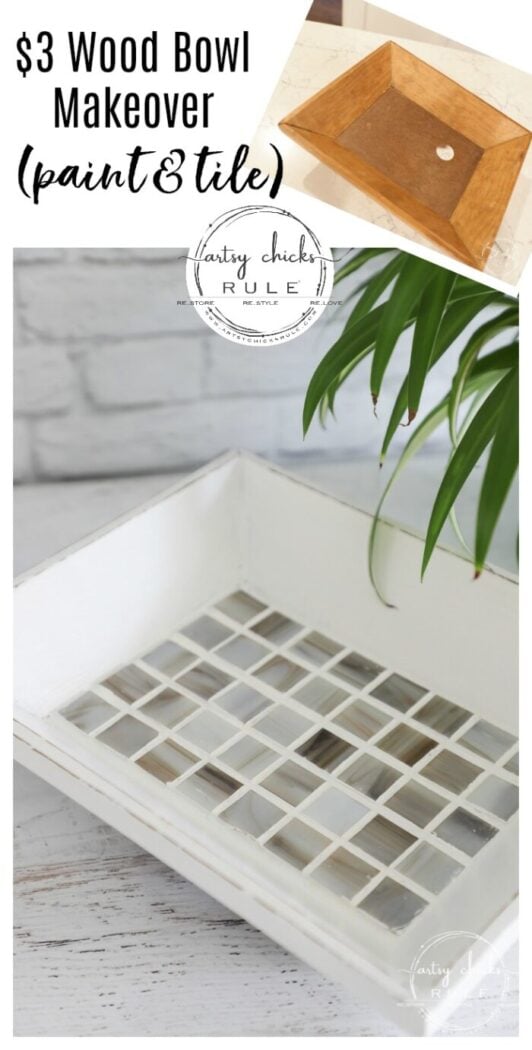
This $3 wood bowl makeover was simple to do with paint and tile (easier than it sounds!) and all ready to be reused and reloved!
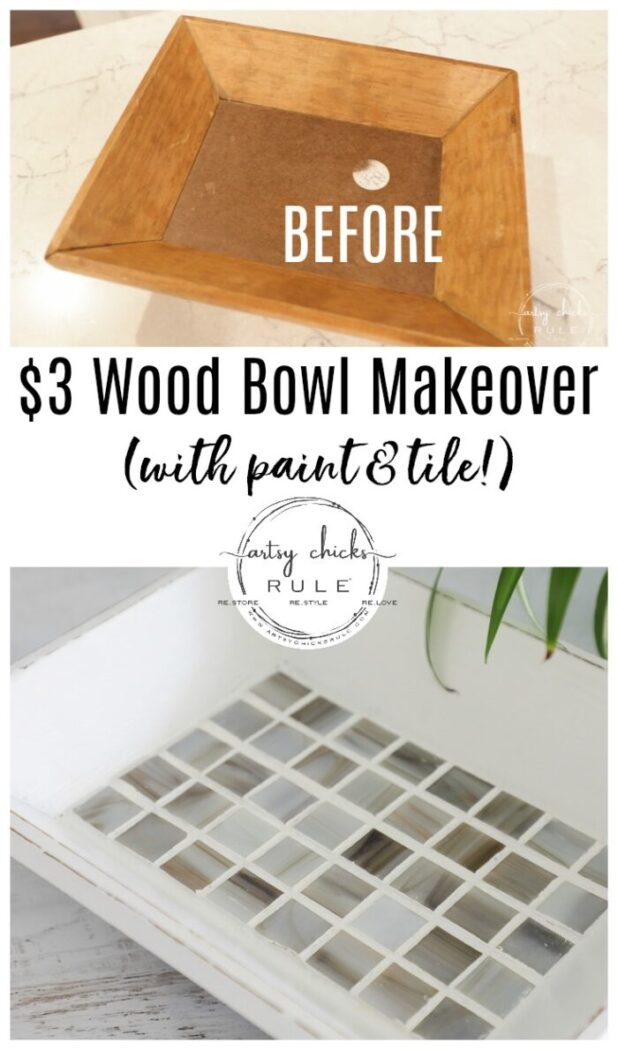
These small makeovers are some of the most fun. Mainly because they are do-able for all. They are not intimidating, etc. Not only that, but they are great at getting your confidence up to tackle those larger pieces. And how about gift giving?? Perfect for that too. Budget home decorating? Check!
So, one more thrifty makeover marked off the list of these finds today.
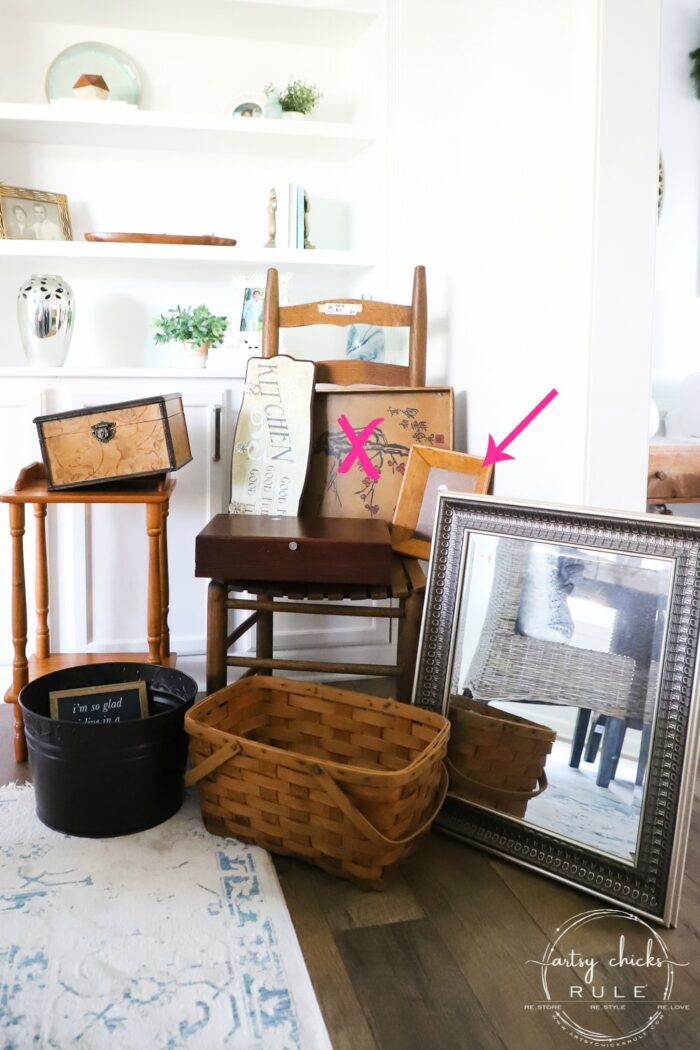
If you missed the first one I did, you can see it here >>> “Give Us This Day Sign/Tray”
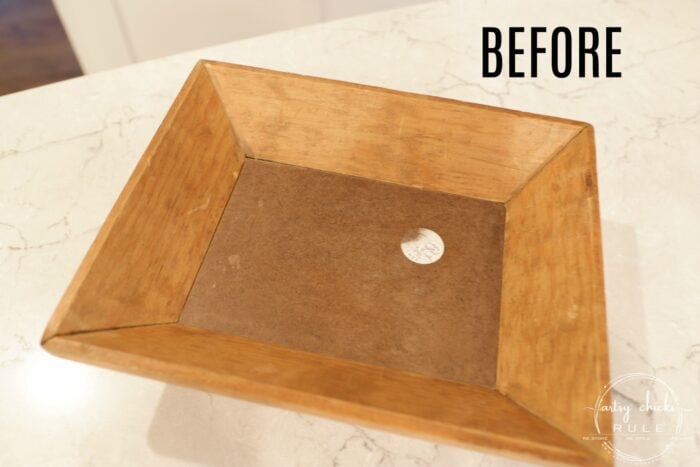
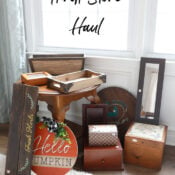
Today I making over the small wood bowl/thingy there. I called it a wood bowl because it’s deep like a bowl…but not round.
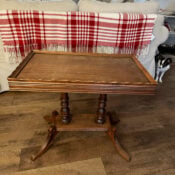
If you follow along on Instagram, you might have seen me working on that little orange-y shelved table thing back there on the left. What is it called, do you know?? Is it a telephone stand? Anyway, I’ll be sharing that one next week.
$3 Wood Bowl Makeover with Paint & Tile
I originally thought I’d stain the wood darker and leave it that way.
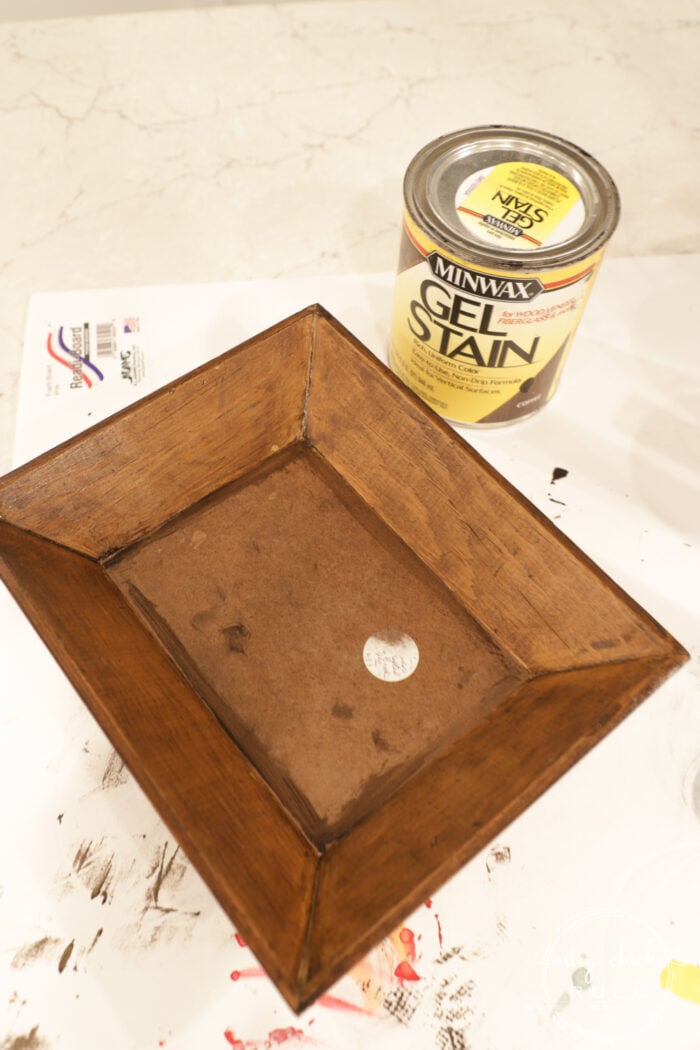
So I used that Coffee Gel Stain pictured above. It’s the same stain I used on our stairs, in this post here >>> Update Stairs With Gel Stain
The bottom of the bowl was just a simple piece of board, almost like cardboard but harder. Definitely unfinished so I’m not sure what might have been in there originally? If anything?
So I either needed to paint it, add some decorative paper or something to the bottom.
I decided to use tile.
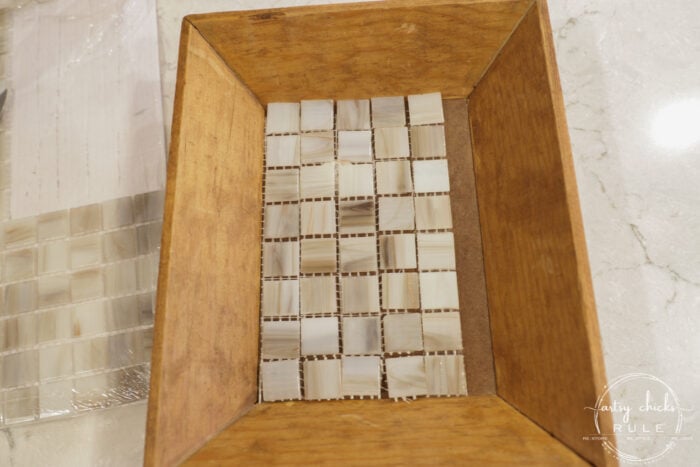
But it didn’t really line up well without me having to cut it. And I didn’t want to mess with that. lol
But I am not easily deterred.
I will find a way to make most things work.
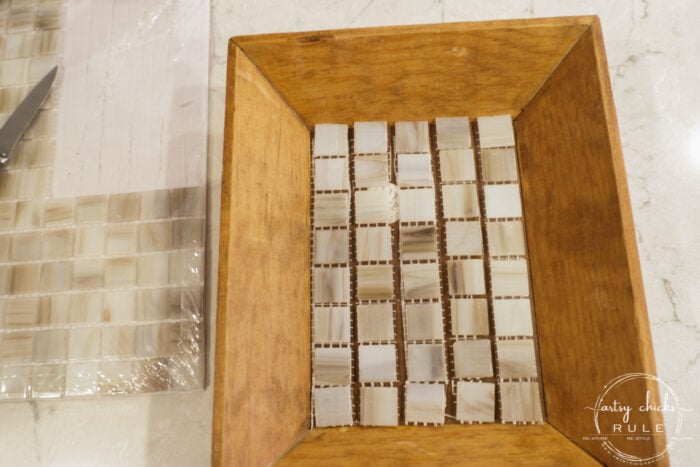
I will just spread them out a bit.
So that is what I did.
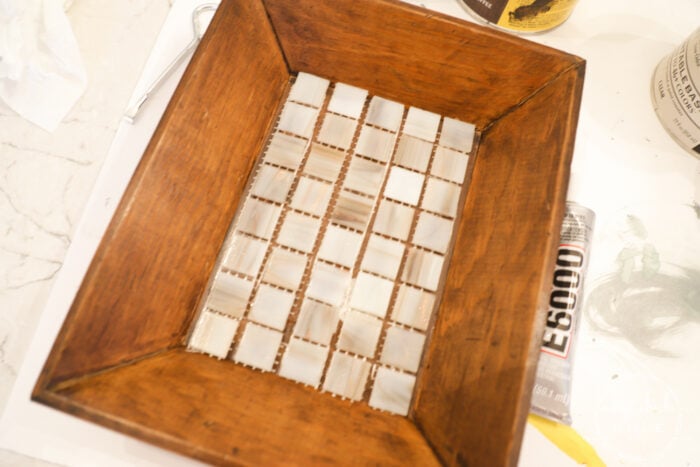
And as usual, for small projects like this, I will just attach them using glue instead of mortar.
You need to let that dry overnight before applying the grout though.
I mixed up a small amount and applied it to the tiles. I was trying to be really careful so as not to get it on the wood. (I used white grout leftover from previous grouting projects…you can use any type here)
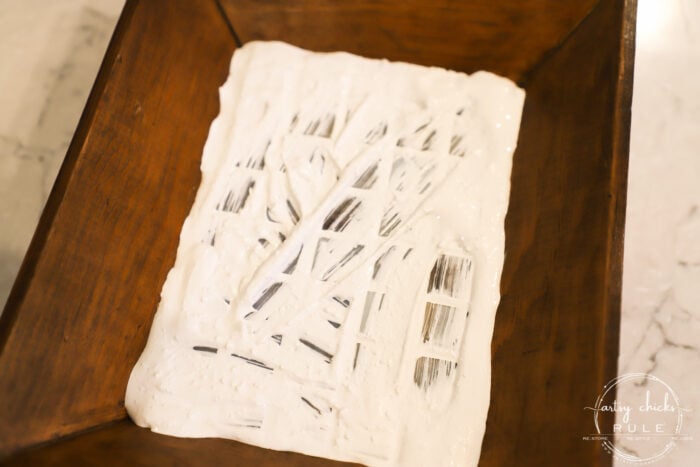
But after it was all said and done, I decided to paint the wood bowl anyway!
I gave it two coats with my favorite white paint, lightly sanded and then added my favorite top coat.
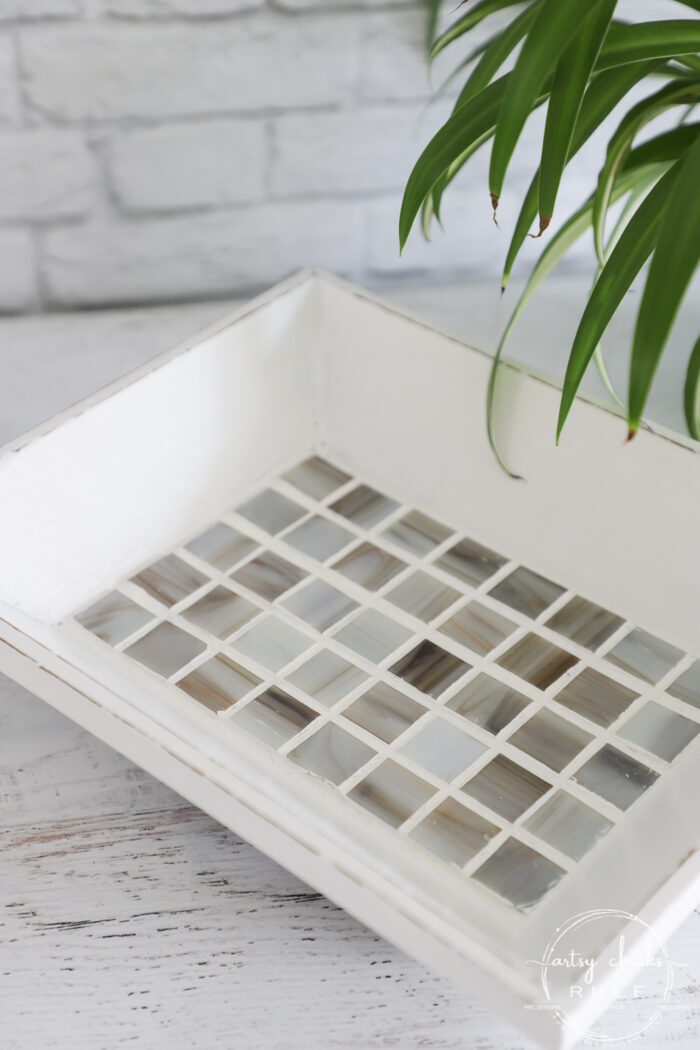
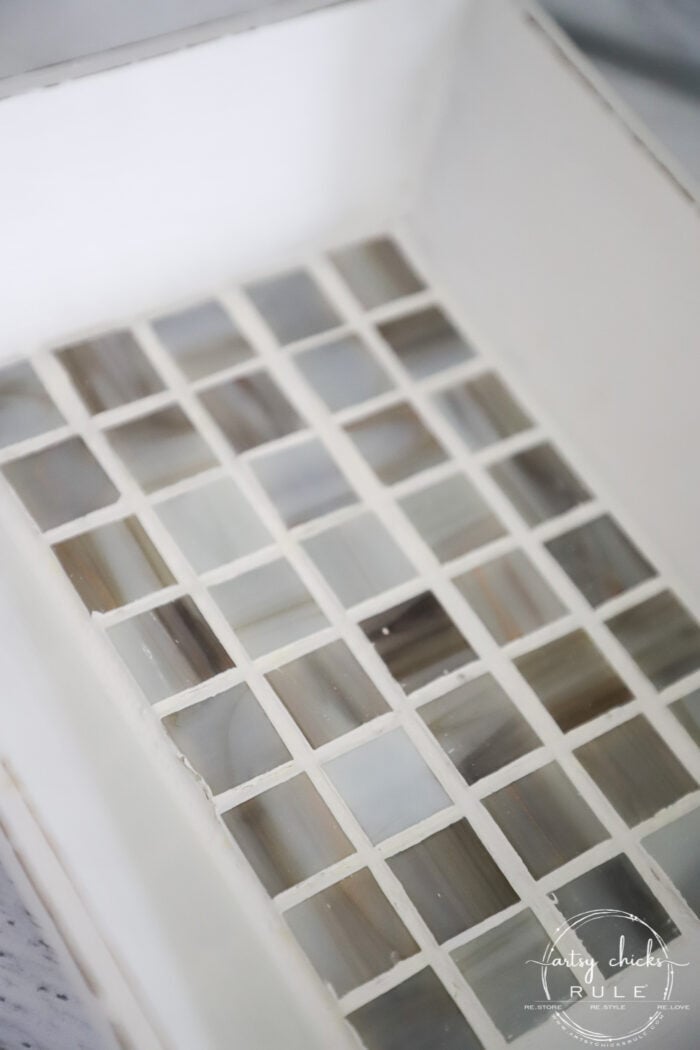
I like it so much better painted.
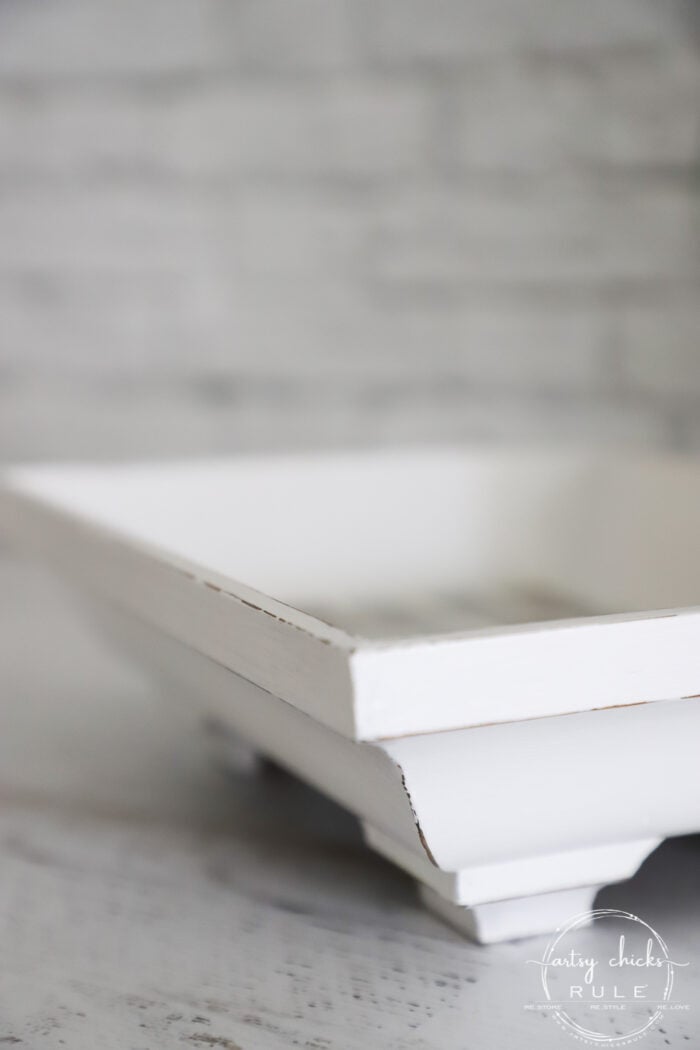
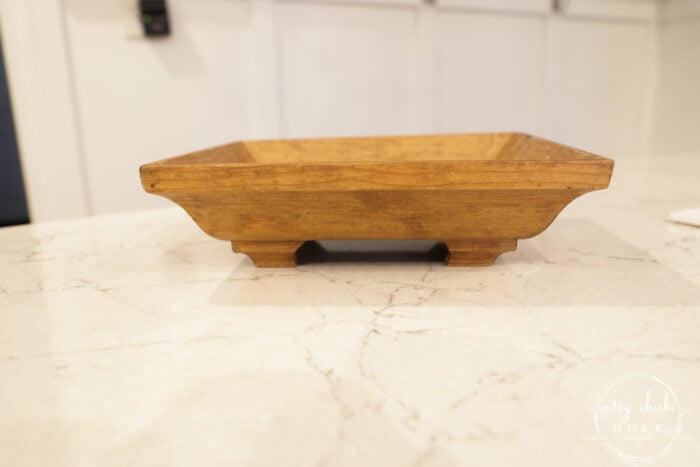
Brings out all the sweet details of the sides, feet, etc.
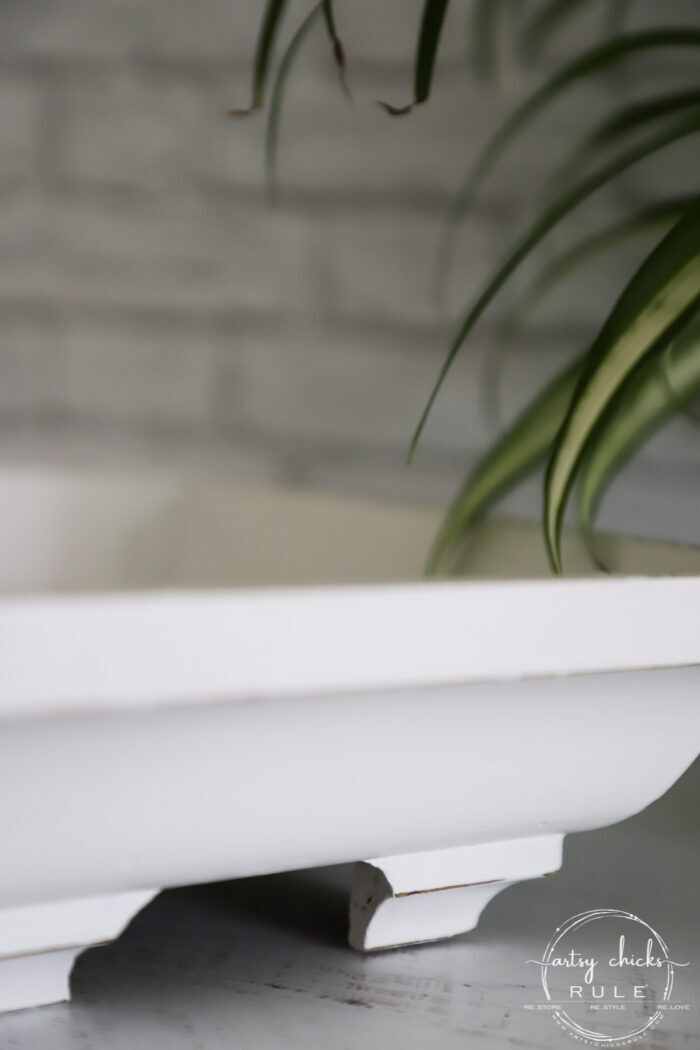
And gives it a more relaxed feel.
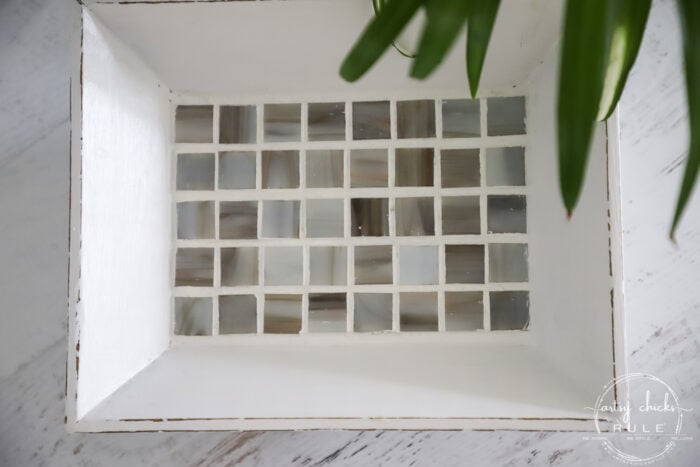
Now it’s all ready to be reloved.
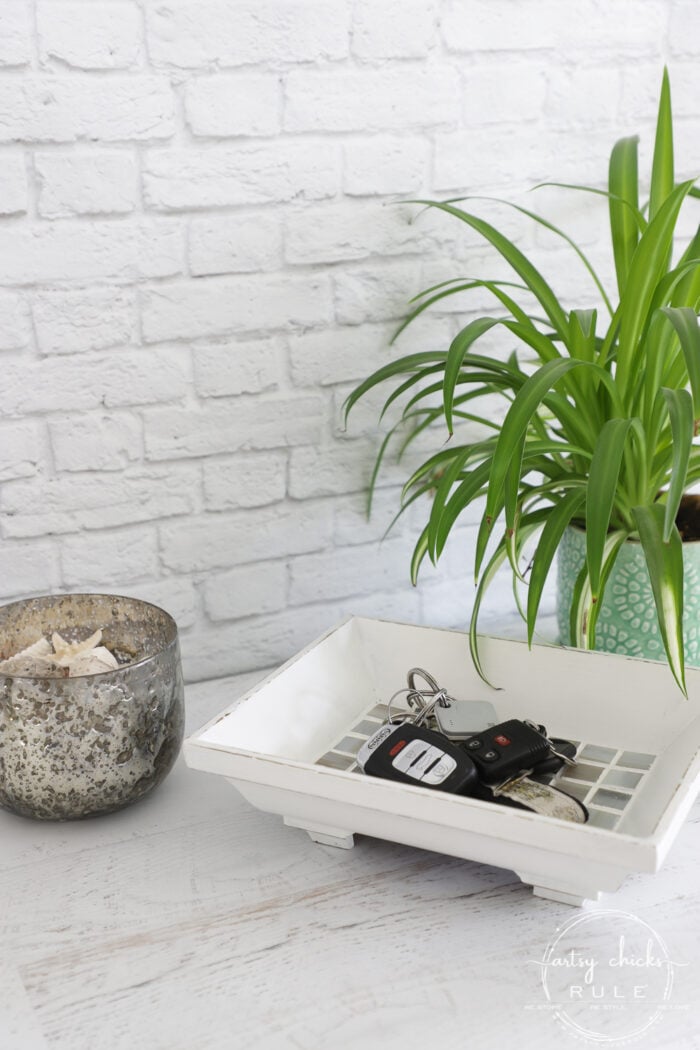
Perfect as a catch-all for keys by the front door.
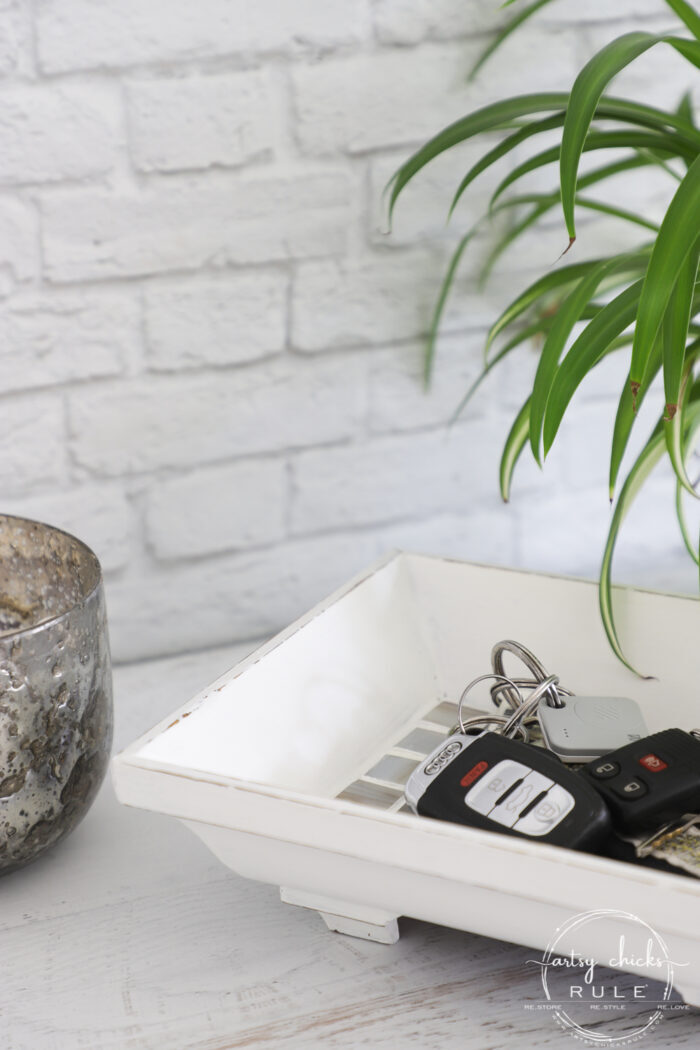
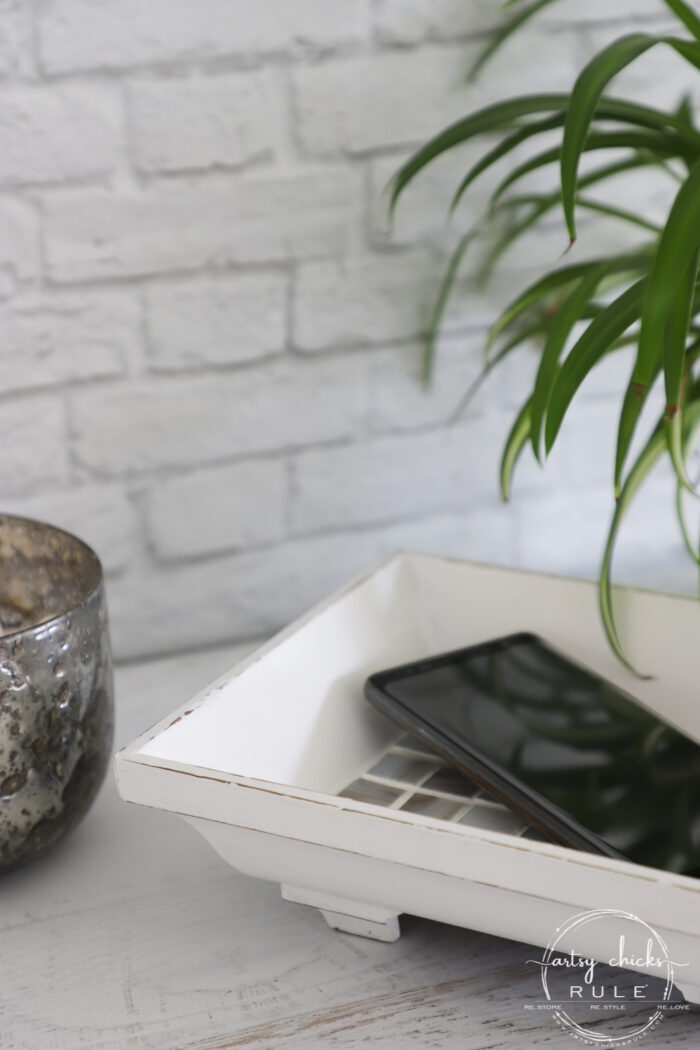
Or even a place to sit your phones when they are charging, etc.
Or just for decorative purposes.
Would look great in a coastal styled home. :)
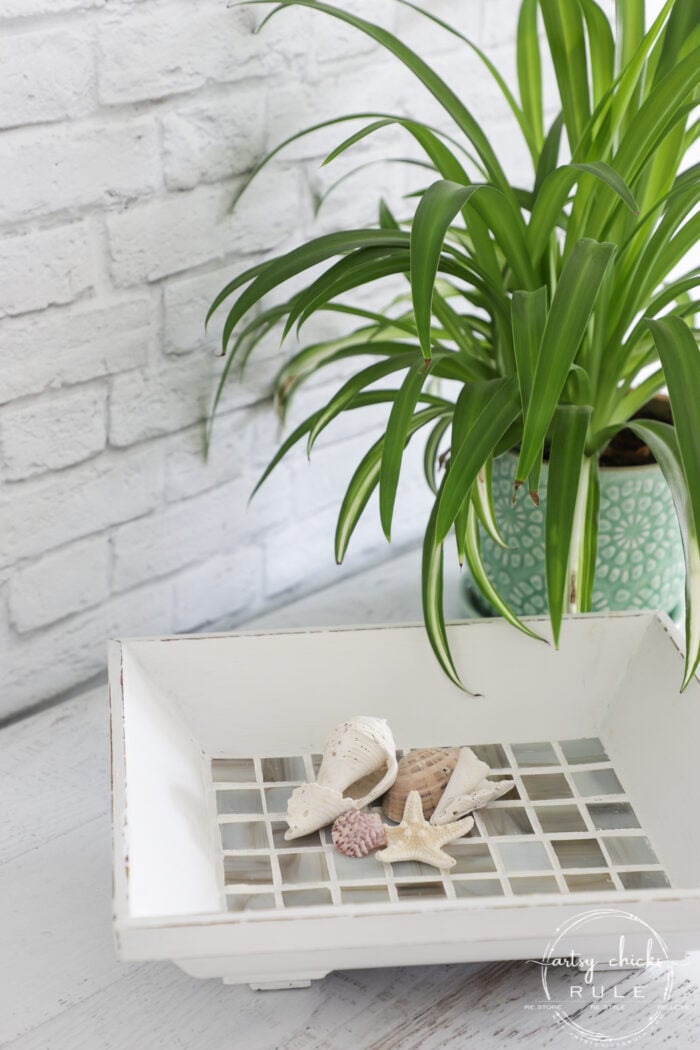
So cute now.
Glad it didn’t end up in the landfill!
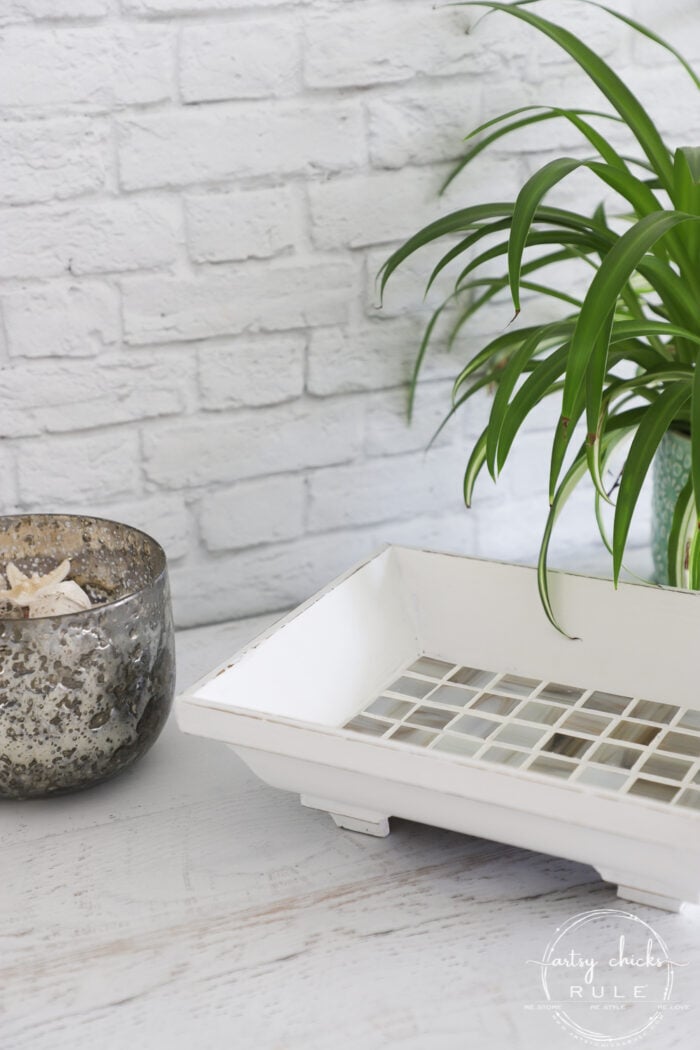
Do you want to see even more tiled makeover projects?
- How To Tile A Tabletop
- Simple Thrift Store Tray Tile Makeover
- Thrift Store Makeover With Tile
- DIY Tiled Table Top
- DIY Blue And White Tile Tray Makeover
PIN it to save it!
I’ll be back later this week with … drumroll… just kidding, but hopefully the large round coffee table I’ve been working on. (I’ve shared it in my Instagram stories) It’s been a bit of a bear, so we’ll see. lol If not, I’ll pull something from up my sleeve! ;)
And be sure to check back to see what I did with
If you missed any of the rest of this haul’s makeovers, you can see them all right here:
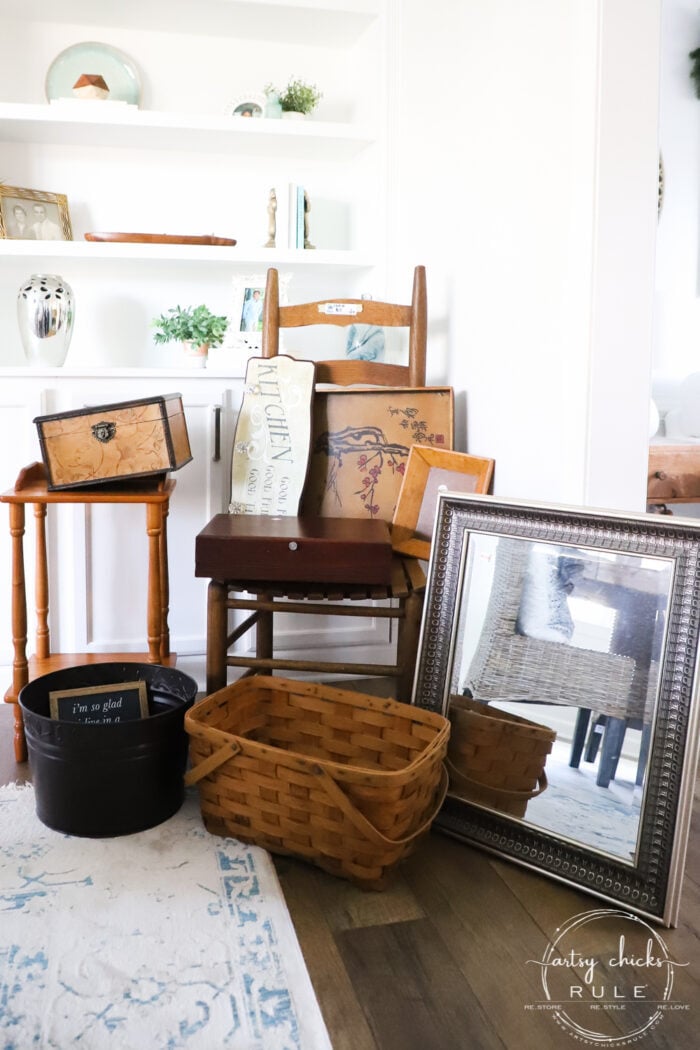
- Give Us This Day Our Daily Bread Sign/Tray
- $3 Wood Bowl Makeover with Paint & Tile (you are here!)
- $8 Ladder Back Chair Makeover (simple wood update!)
- Basket Makeover For Spring (with water-based stain)
- Have Courage and Be Kind Table Makeover
- Give The Look Of Patina Gold With Paint
- 3 Thrift Store Upcycles (simple, thrifty home decor!)
- Decoupage With Tissue Paper Makeover
- $4 Flatware Box Makeover For Spring
this basket!
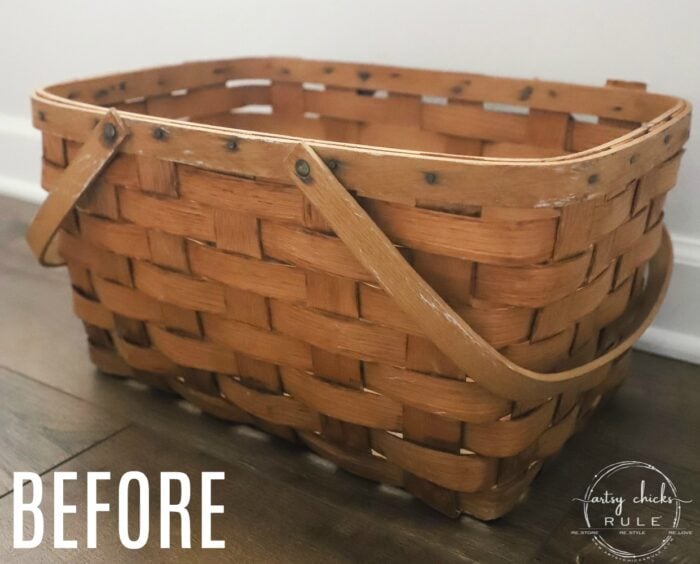
UPDATE!! You can see it now, here!
Have a great week, friends!
xoxo


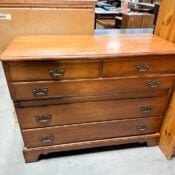


your little orange-y shelved table I have seen used as indoor plant stands. Have also seen these where it’s tucked in a corner with small lamp on top.
Oh, I like what you done by putting tiles in your tray. I need to do that to my next one.:}
Thank You and have a great day
Yes, that is what I was thinking it might be! You do, try the tiles, they are so much fun. :) xo
Sweet makeover Nancy!! I’m so glad you painted it white. The tile looks so natural and warm in there. Great fix to just space them out. :) I also adore how you showed different uses for the little tray. It almost looks like a picture frame with feet. Beautiful job!!!
(Give Ryder an ear rub for me)
Thanks, Christina! I am too, the white really went so much better with the tiles. It really does look like a picture frame, I wonder what it was originally meant for? And yes, I sure will!! :) xoxo
Everytime you post a new project I want to put my sewing machine away and pull out one of my (too numerous to mention) projects and get busy. You are an inspiration.
I am so happy to hear that!! Sewing is fun and creative too though! :) xo
What a forlorn little container that was. I think there was a tile in the bottom before – strange that it’s just unfinished. Now that you’ve painted and tiled it, it’s ready for the spotlight! Of course, I thought, Nancy will just move the tiles to make them fit. And so you did. I’m learning from you! This would look lovely in the beach house (just sayin, in case you’re considering keeping it 😉).
It really was! It really is a mystery as to what it’s original purpose was? Haha, yep, you know me well!! ;) xoxo
I love it. I don’t think I would have been as creative as you were with the bowl/tray. It sure does make me think out of the box which is what I have been wanting to do. I so enjoy your blog and all your creativeativeness. Thank you for taking the time to share.
Thanks, Becky! I am so, so happy to hear you enjoy the blog! And very glad to have you here. :) xoxo
you have my wheels turning. must go on a hunt. as always enjoy all you create.
Oh good, that’s what I like to hear! ;) Have fun, Roseann!! xoxo
The “orangy” thing is a telephone table. Telephone went on top, phone books on the bottom shelf. I know this tells you I am older than dirt, but it was sure nice to share information! Great job on the bowl. Now, see, that is something I can do today!!! Thank you!
Oh yes, that’s what I was thinking, that or a plant stand. But I think you might be right! Thank you, Linda! xoxo
So cute !
You have a great creative eye. ;) It Does have adorable little feet.
My brain tries to resist painting wood…. but sometimes it just adds so much !!
Thanks for sharing.
the orange thing-y does look like a phone table. Yes -I’m clearly older than dirt as well. ;)
p
Aw, thanks p! I agree, I resist somewhat too. And haha, yes, same here…as that’s what I considered it might be too!! ;) xoxo
I love that you saved this from the landfill. So cute and useful….a little catch-all!!! I love seeing all your make-overs. So creative!!! Keep going through that pile!!!
It did turn out so cute! So happy with it and happy it didn’t end up there too. :) Thank you so much, Addie! xoxo
I LOVE IT!!
Thanks, Robyn!! :) xo
Did it originally have feel on the bottom or did you add those? I did’t read that you added feet. Just wondering! I love the tile and the painted look! Thanks for sharing!
No, the feet were there already, it was part of it. I actually added another photo to the post to show that. (I meant to add it originally but missed it) Thanks, Pam! xoxo
Yes, the paint is perfect with the tile. It all blends together so nicely. Cute tray for many purposes! Could even serve bread in it!
I think so too!! So glad I didn’t leave this one stained! Thanks, Cecilia! :) xoxo
Hi Nancy! It turned out so cute. I need to try using tile. thank you for sharing your inspiration with the world.
Thanks, Cheryl! Yes, you do, it’s so much easier than it seems and adds so much to some of these makeovers. :) xoxo
It;s amazing how you took and turned a not so good-looking piece, and turned it into a gem.
thanks for sharing.
Thank you, Ivory! xo