All Are Welcome Here Upcycled Wall Hook Sign
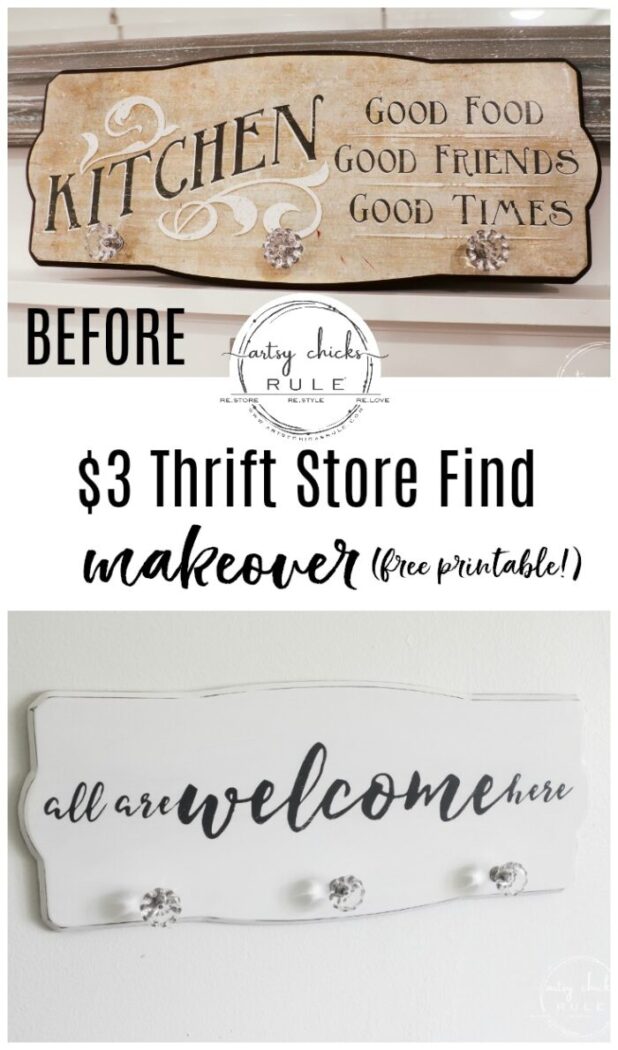
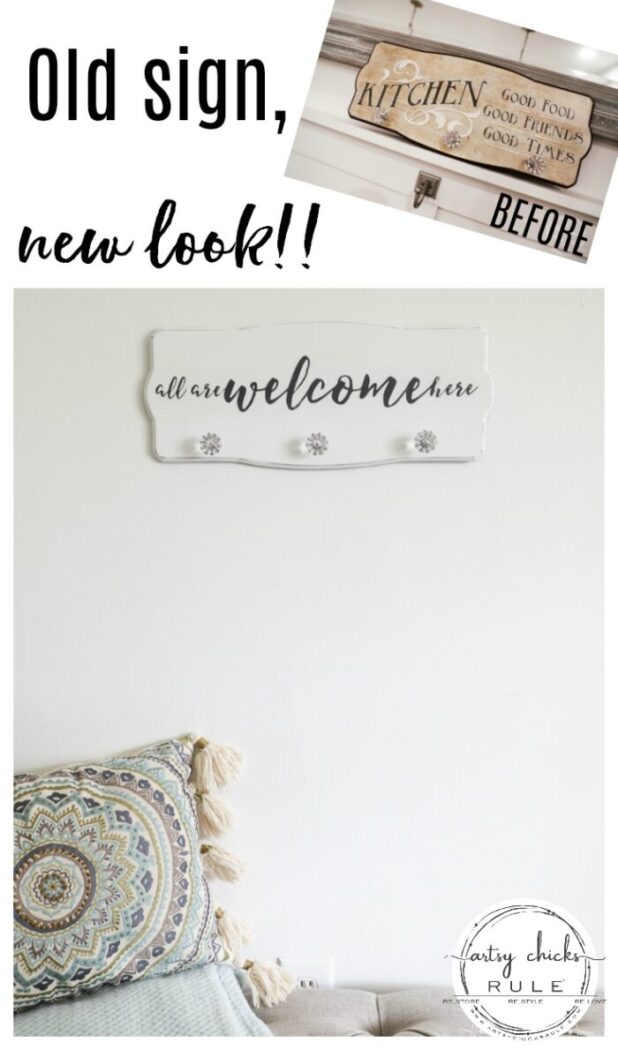
Create a welcoming sign with this “all are welcome here” free graphic I’m sharing! Plus see how I transformed this $3 thrift store find with a brand new look.
Yippee!
One more marked off of my recent haul.
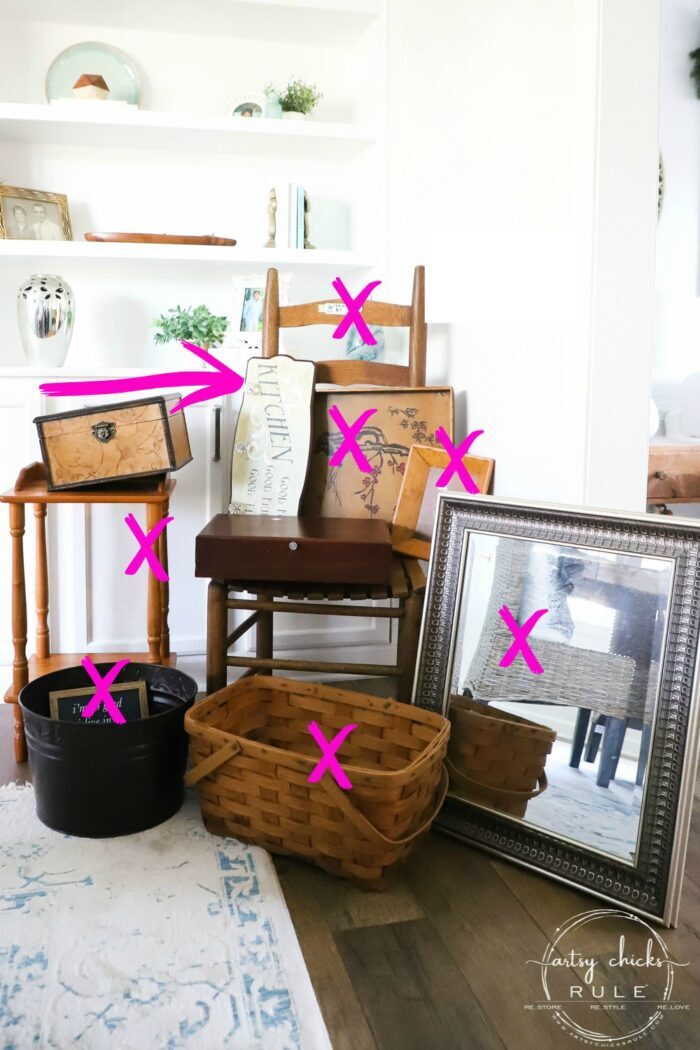
Eight down, only three to go!
Do you know what that means?? It means it’s almost time to take you thrift shopping with me again. :)
If you missed that last “thrift shopping trip” you can see it here (and see all the other goodies I found) >>> Come Thrift Shopping With Me!
And if you missed any of the makeovers I’ve done above, you can see them all here:
- Give Us This Day Our Daily Bread Sign/Tray
- $3 Wood Bowl Makeover with Paint & Tile
- $8 Ladder Back Chair Makeover (simple wood update!)
- Basket Makeover For Spring (with water based stain)
- Have Courage and Be Kind Table Makeover
- Give The Look Of Patina Gold With Paint
- 3 Thrift Store Upcycles
Okay, first let me say a big thank you for all that emailed me with ideas for this sign. You guys gave me such great ideas and inspiration which really got my mind going. I appreciate it so much.
I decided to kind of do a blend of what you all suggested.
For the “words”, I used the saying that is on our front doormat.
This one… “all are welcome here”…
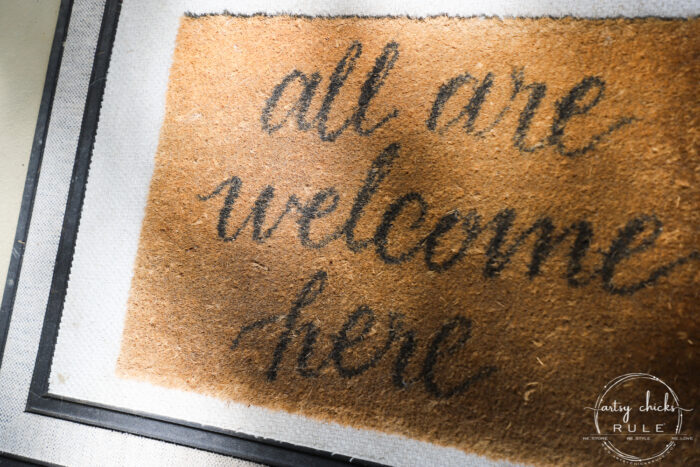
If you like this mat, you can find the exact one, here.
I think with that saying this can be used at an entrance to your home, in a bathroom, mudroom or guest room.
All Are Welcome Here Upcycled Wall Hook Sign
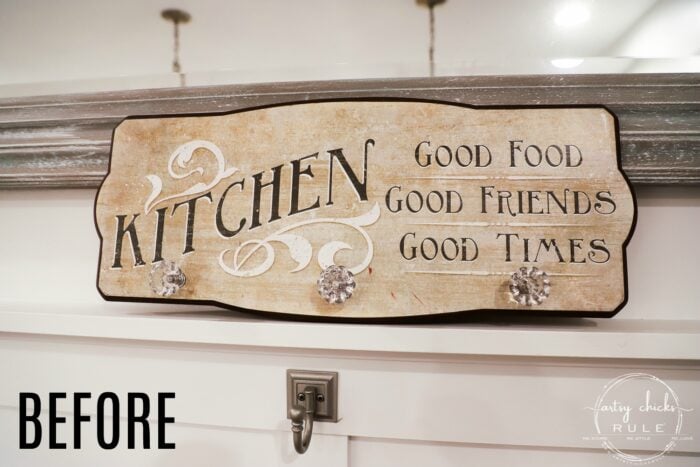
I’m really happy with how it turned out.
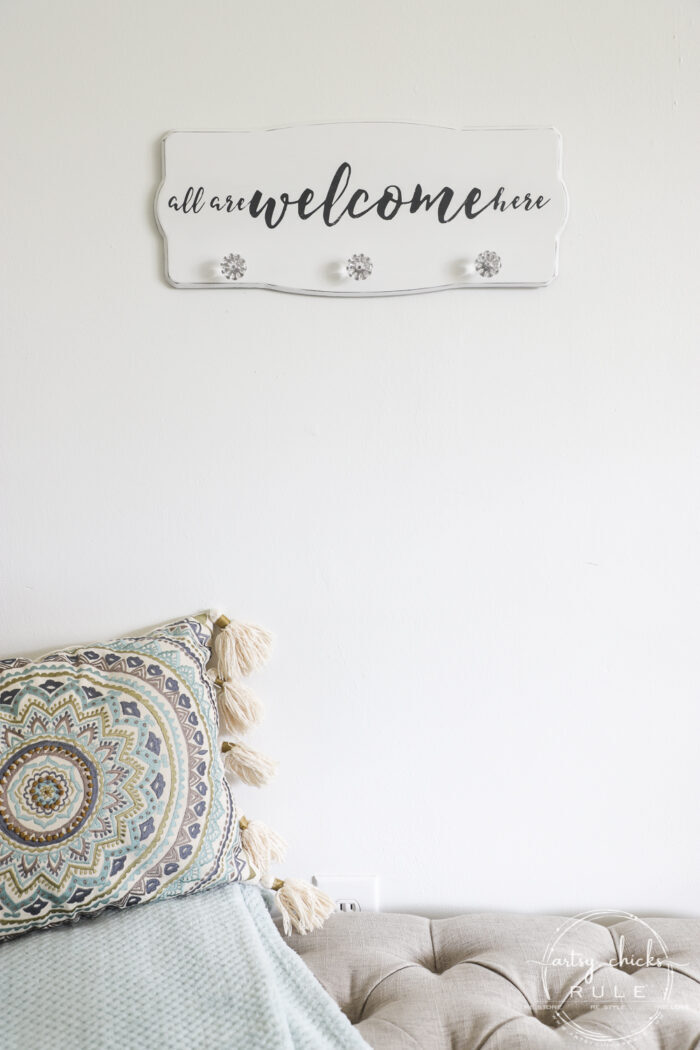
You can hang keys on it, robes, jewelry…whatever!
Here’s how I did it.
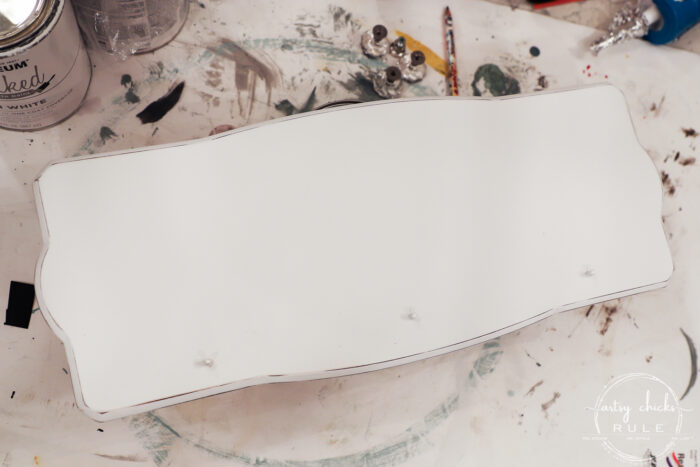
I began by painting on 2 coats of white paint. I used this one. (works great and is MUCH cheaper than all the other “chalk style paints”)
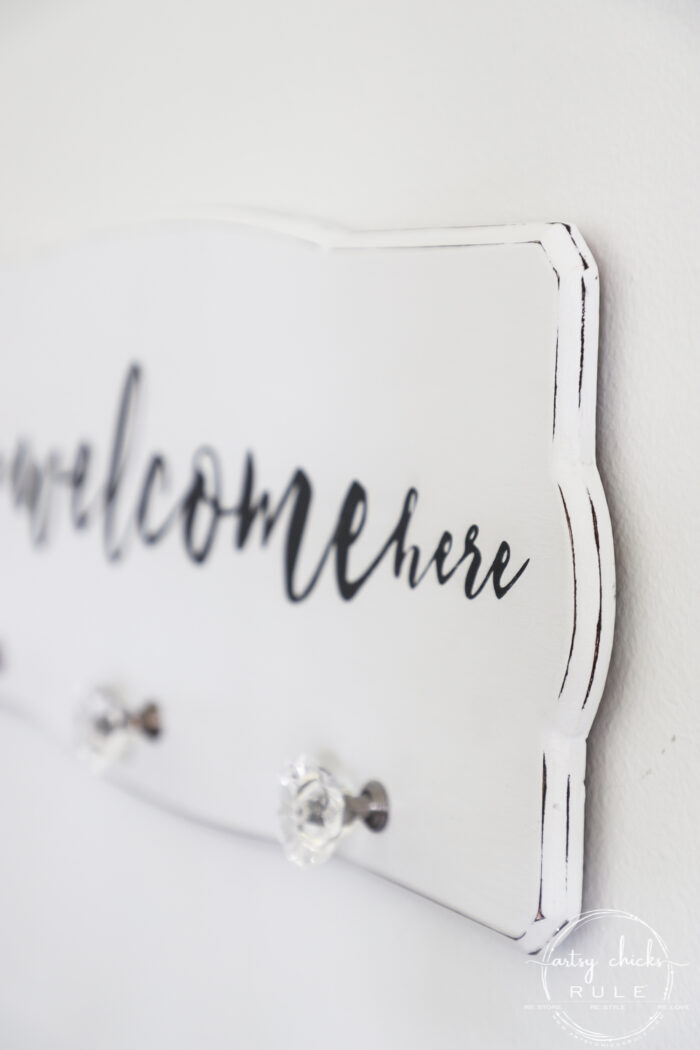
As you can see above, I decided to lightly sand the edges to distress a bit…and bring that brown out from underneath.
I like doing that in this instance because it sort of frames the sign.
Here’s the source list and links for all the products I used in this post.
MATERIALS LIST
- White Paint
- Black Paint
- Silhouette Cameo
- Black Vinyl (you can use plain ole contact paper for this too)
- Transfer Tape
- Small Foam Roller
- Matte Top Coat
Then I created the graphic on my computer. (free for you to download and use too!)

Love this “all are welcome here” free printable?
If you are already a subscriber, you can click here, enter your password (it can be found near the top of all my emails to you) and download this or any other graphic I’ve created over the years. (over 100!)
If you aren’t yet a subscriber, you can click here or the pink box above to become one to gain access.
Then I cut it out on my Silhouette Cameo to make a stencil.
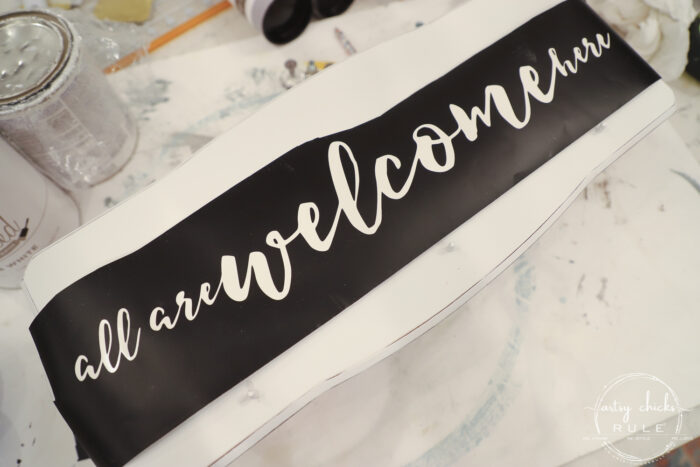
To do that you just pull out the vinyl letters you cut and use the other portion as a “stencil”. It’s super easy to make your own stencils in the Sillhouette Cameo.
If you don’t own one, I do have other ways you can transfer this graphic though. Check out this post here >>> My Favorite Methods For Transferring Graphics
Next, you just attach the “transfer tape” (be sure to line it up using the lines in the tape), peel off the back of the “stencil” and align it onto your project.
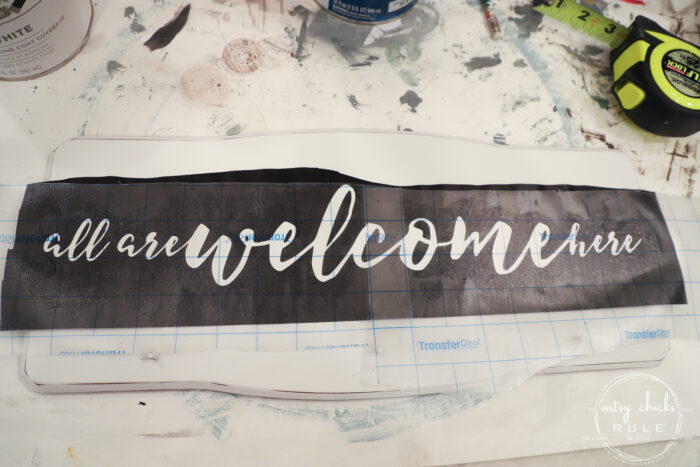
Measure!
Peel off the transfer tape and paint it in. (I added a piece of painter’s tape where it was close to the white so it wouldn’t get black on it)
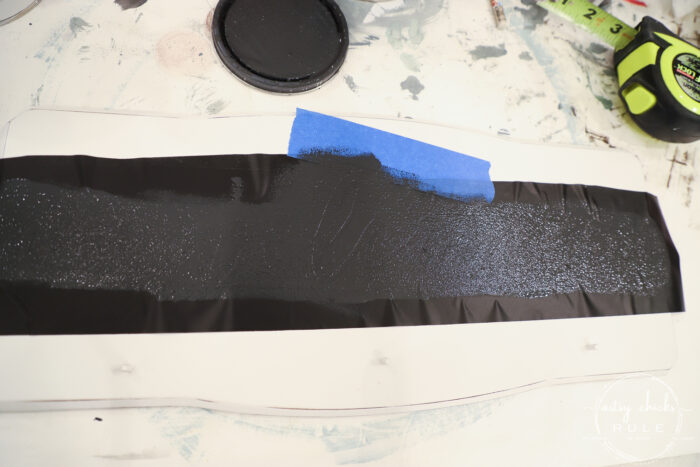
I like using a small foam roller instead of brush for this. Works so much better (and quicker).
I peeled off the “stencil”, lightly sanded (once dry) and added a coat of poly to seal it up. I used Varathane, matte, clear and really like it. (it’s linked above)
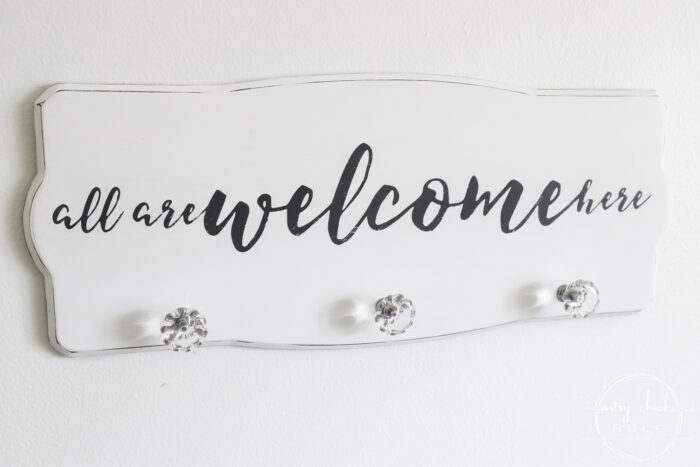
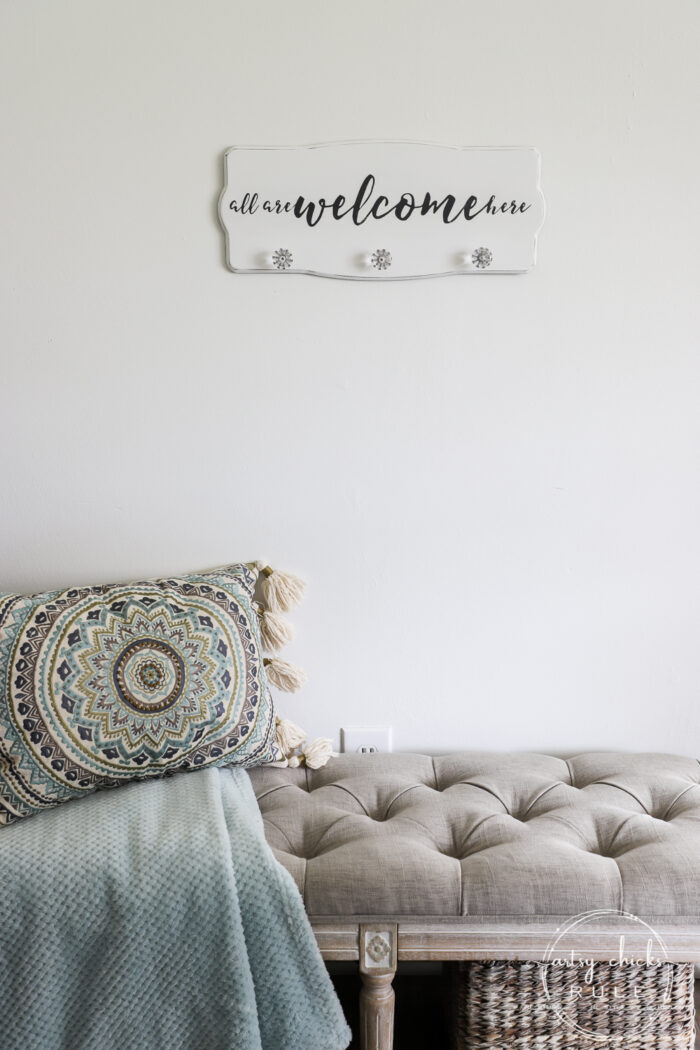
See anything you like in our home? Check out my “Shop Our Home” tab.
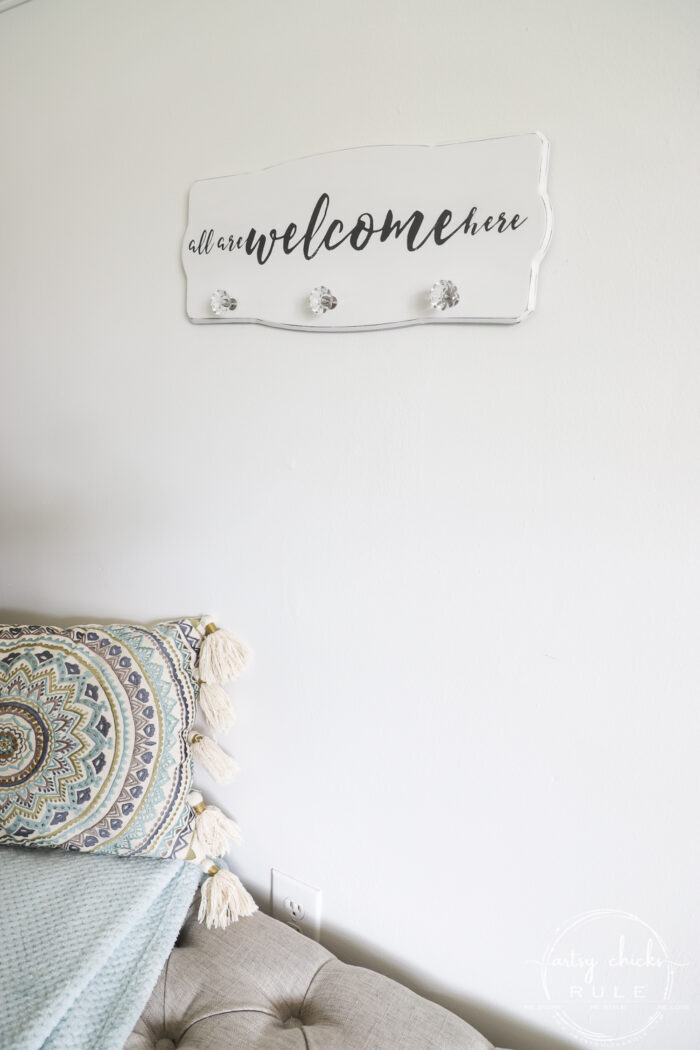
Simple!
But what a different look than how it began, right?
And with that saying, you can pretty much use it in any room.
PIN it to save it!
Oh! Be sure to keep an eye on Instagram today. I’m going thrift shopping with my blogging bestie, Christy, so you might just see a little of our adventure over in my stories today! Stay tuned to see what we can find…and what kinda fun we can get into. ;)
And I’ll see you back here on Tuesday with this…
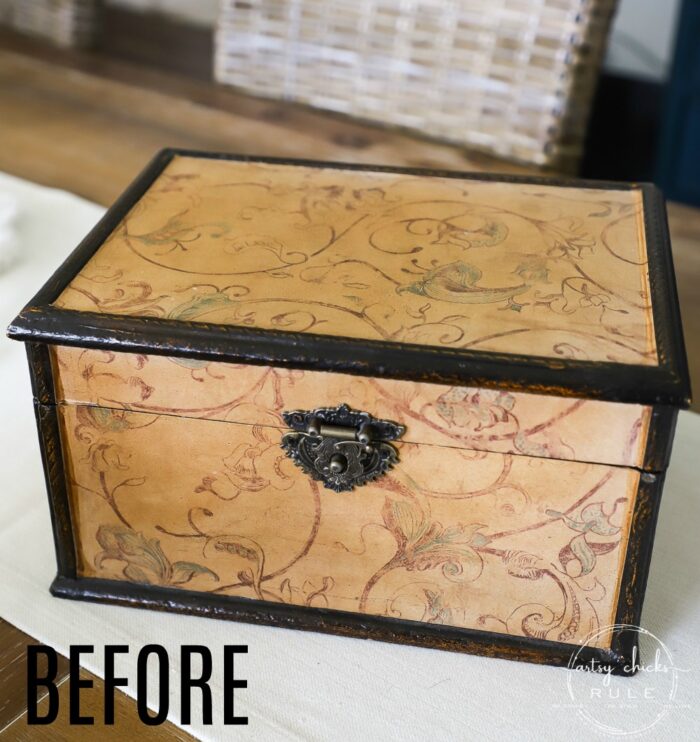
UPDATE!! See it now, here!!
I hope you have a wonderful weekend!
xoxo








That turned out so cute! Gives me a few extra ideas!
Thanks
Thanks, Vicki! :) xo
Whoop! Thrifting time!!
Yes, girl!! Just in time! We are all homebound now for the time being. So glad I found several things to work on for the next few weeks! Although my sweet husband reminded me that we have 2 storage units filled with things that I’m supposed to be working on too. lol I have plenty to keep me busy without having to go out and get more! ;) xo
Hi Nancy, this is such a sweet sentiment, it makes this new sign perfect.
Hey, Kaycee! Thank you. :) xo
How did you keep the middle of the small e? I can’t see anything to keep it attached to the rest of the stencil.
Hi Alison, okay, so since this is a vinyl cutout you have to attach those to the project and then remove them with a hook tool afterward. (they are not attached to anything) If you take a look at this post, I think it will make more sense. >>> https://www.artsychicksrule.com/metal-beach-sign/
I loved the before, but after seeing the after, I am in love. You nailed this project.
Thanks so much, Ivory! :) xoxo