Metal Beach Sign ($3 thrift store makeover!)
This $3 thrift store wall decor got an entirely new look with paint and a free printable! This fun metal beach sign is budget-friendly decor at its best!
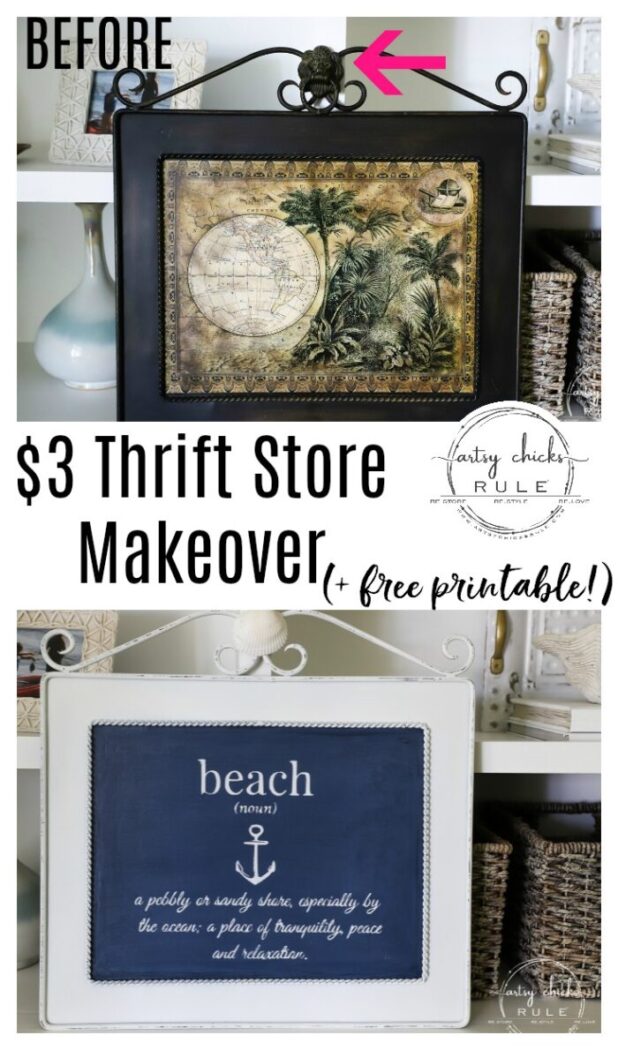
Yes, yes, yes, I know it’s fall. But hey, this really isn’t about a sign that says “beach”.
It’s about finding something that’s been “tossed” at the thrift store and making it over to fit your own home style.
Or maybe even as a gift.
That could be “beach” or anything else that you might like. Those options are endless.
Seeing something not for what it currently is but what you might be able to turn it into is the key here.
The idea is simply budget-friendly decor (and having fun while you create/change/makeover it!)
Metal Beach Sign Makeover
Here’s how my little $3 metal sign began…
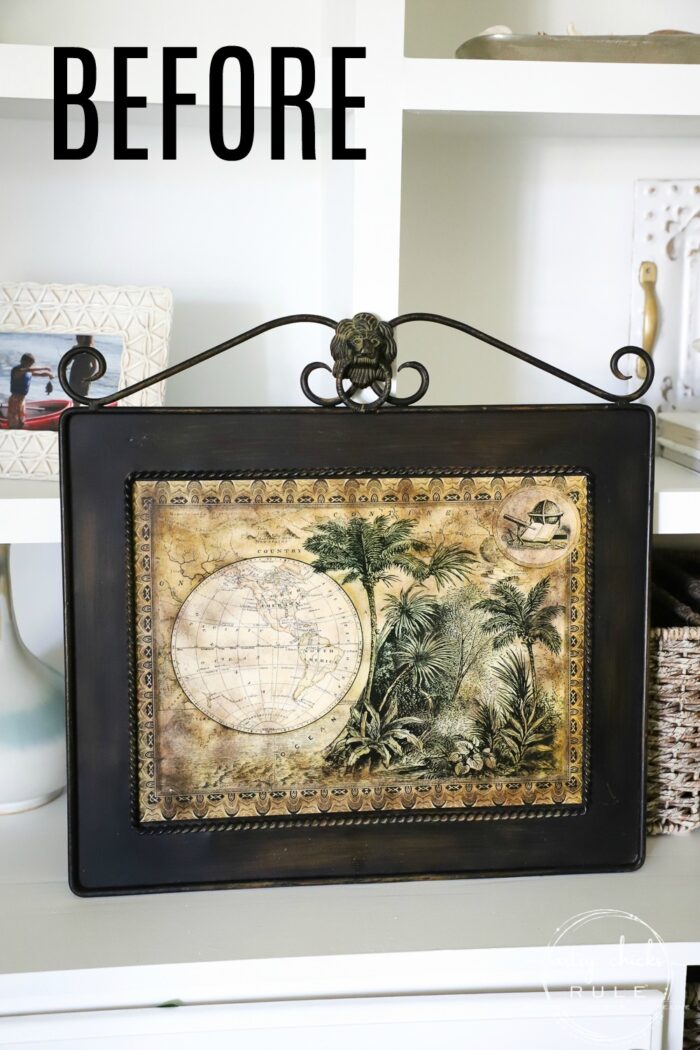
Not bad at all if you are into that style of decor.
I mean, even better, because all you have to do is come home and hang it! Win!
But, this one just wasn’t my thing.
I did like the cool design of it and the fact that it was metal though. (and, of course, the $3 price tag! ;) )
I began the makeover by removing the paper print in the middle.
It was glued on…very well. haha
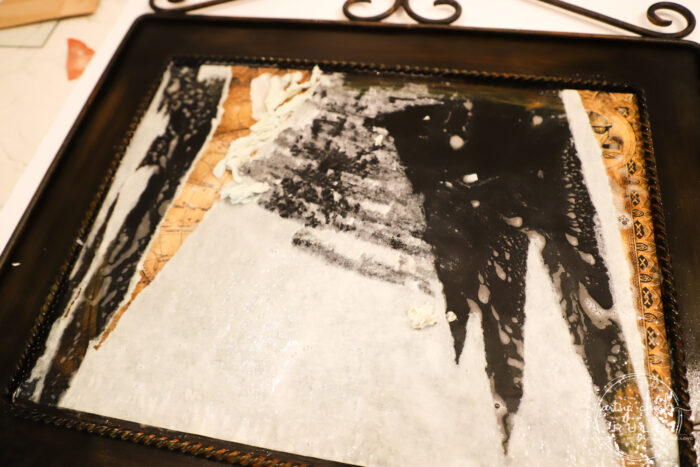
And was a bear to remove!! Ugh.
I considered leaving it and just painting over but the edges of the paper were all loose and lifted.
So I had to keep at it now.
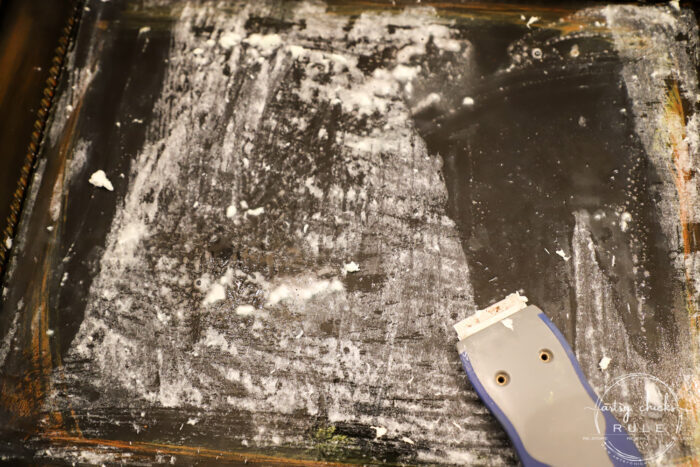
It took a while so I can’t say this makeover was a quick and simple one! lol
With some perseverance (and good ole elbow grease) I did manage to get it all off.
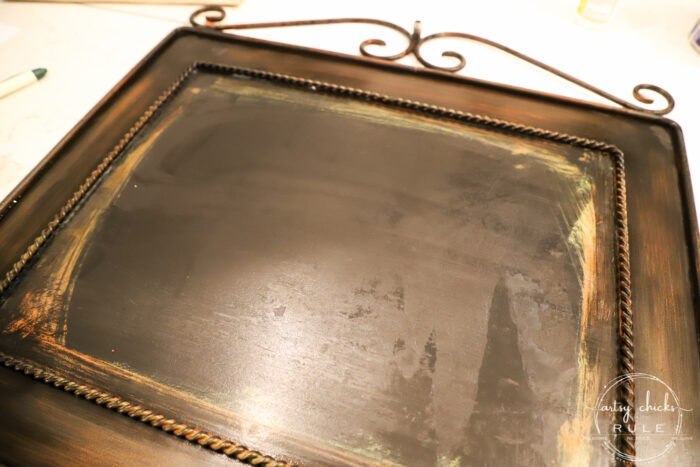
Yippee!
A clean slate. Yes, I love a clean slate.
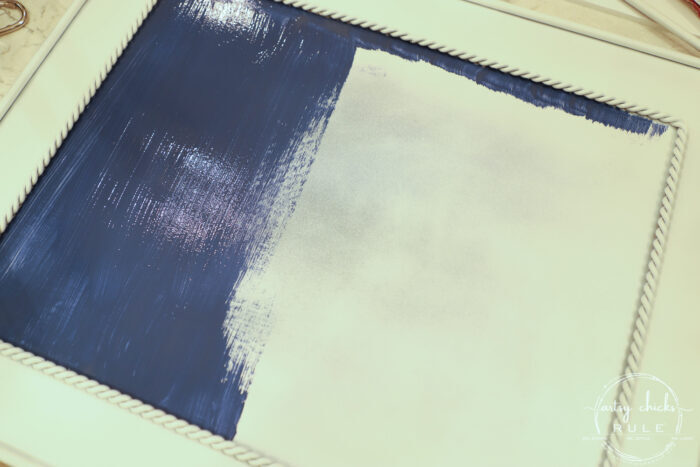
I took it outside and sprayed the whole thing white.
Then I brought it in and painted the space where the paper had been, Coastal Blue—love this color! (let it dry well after this)
Here’s all the items I used for this makeover.
MATERIALS LIST
Then I cut out one of my favorite beach graphics using my Silhouette machine.
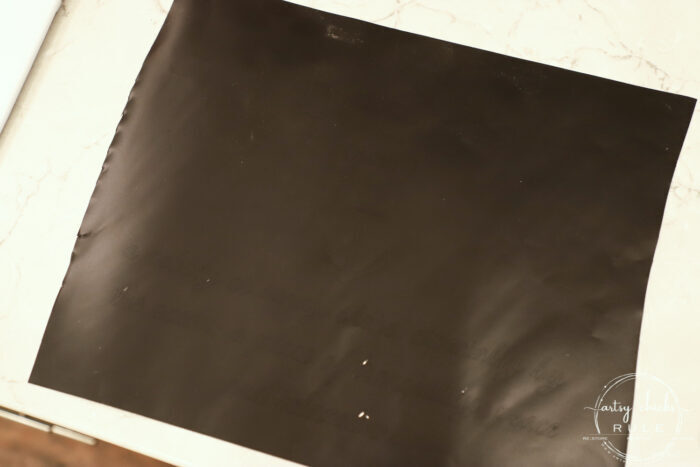
It’s hard to tell, but that piece of vinyl has been cut.
I removed all the lettering to create a “stencil”.
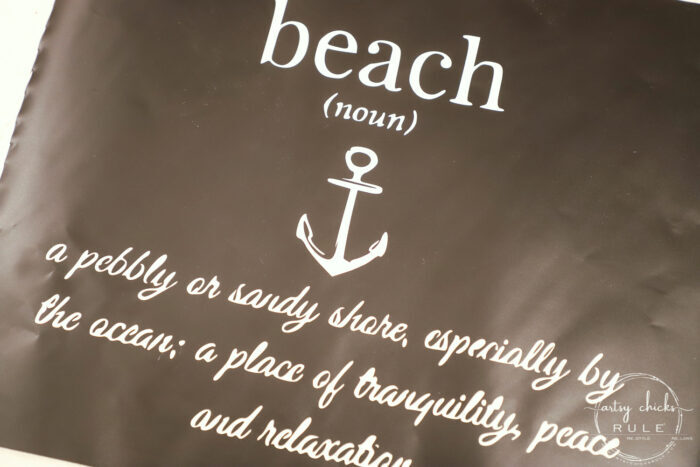
Then I attached the transfer paper to apply the vinyl cutout to the metal beach sign. (be sure to use a removable vinyl when doing this…or even simple contact paper from the Dollar Store works too)
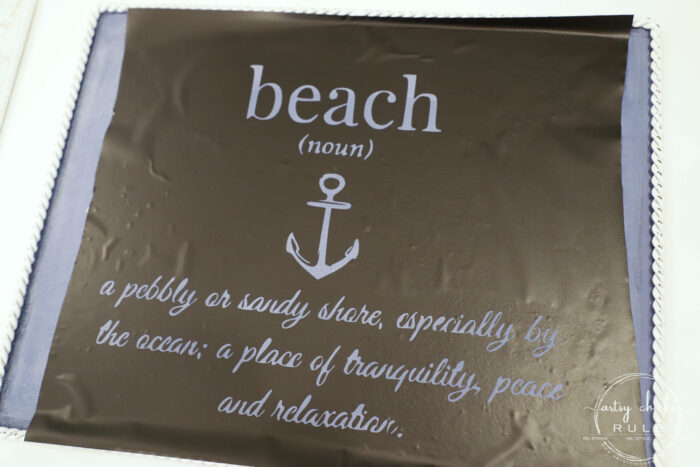
I used a small sponge roller to apply the white paint.
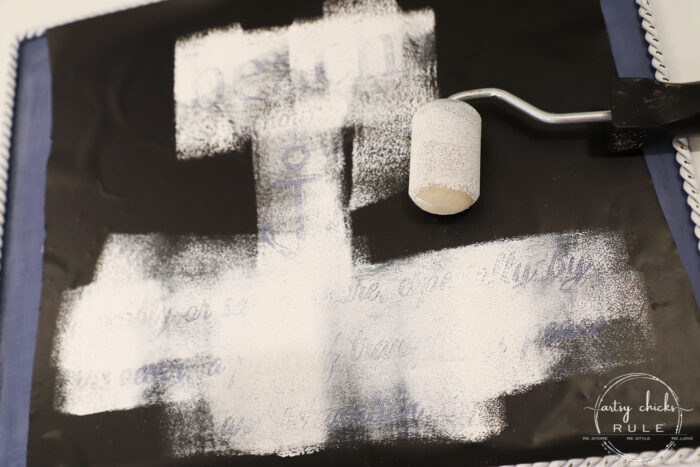
This is so simple. I love how easy it is to use a roller instead of a brush for this.
Gently pull off the vinyl and you have your pretty beach print.
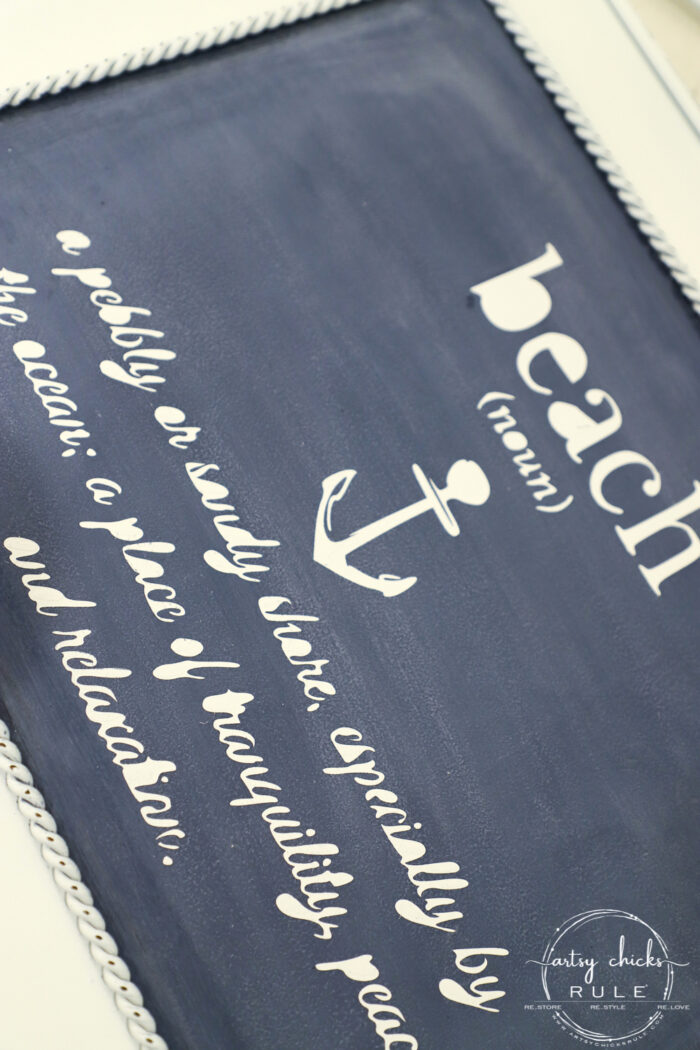
I still have the small pieces inside the letters to pull off. (the vinyl inside the loops, etc)
I used this tool to remove them all. (it comes with the Silhouette Cameo bundle I linked above in the “materials list”)
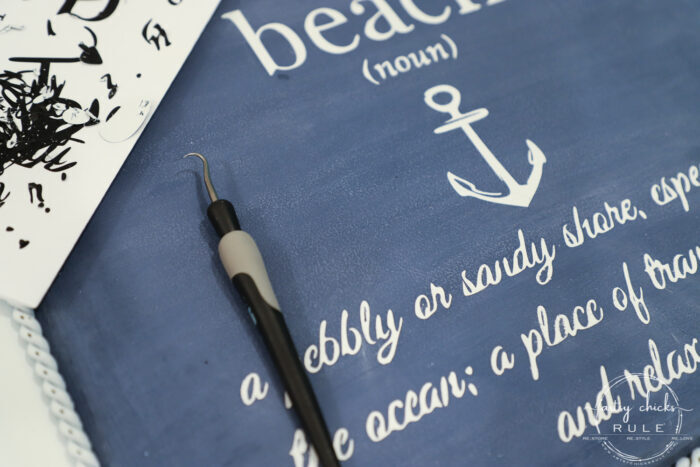
Want to see a more detailed explanation of how to use the transfer tape to attach the vinyl to the board? See this post, here.
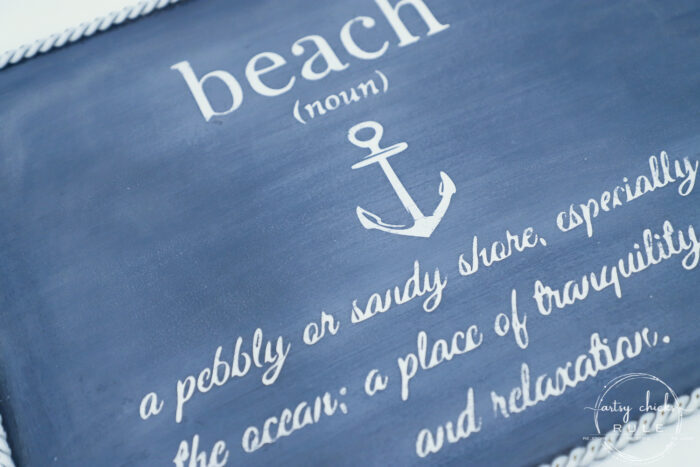
If you don’t own a Silhouette and don’t have plans to purchase one, you can also use any of the many transfer methods I have shown in this post, >>> here.
I added the flat finish topcoat to the blue area of the metal sign because I didn’t want it to be shiny.
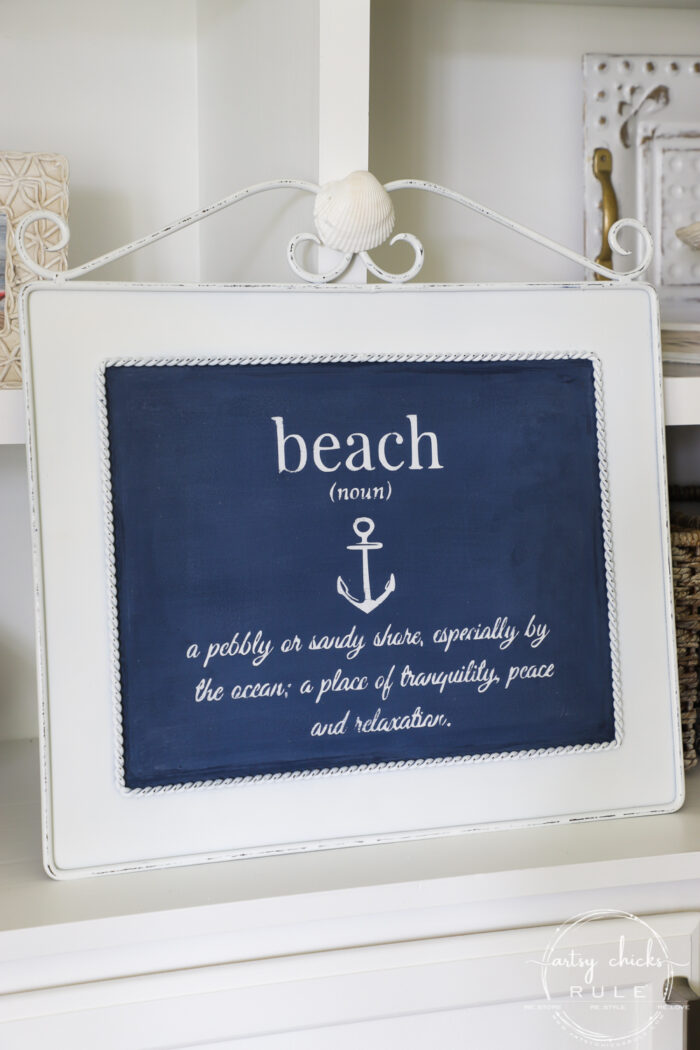
And I lightly sanded the raised areas on the white part of the sign to add a distressed look.
But if you noticed in the “before” photo, there was a distinctly non-beachy looking adornment on this sign.
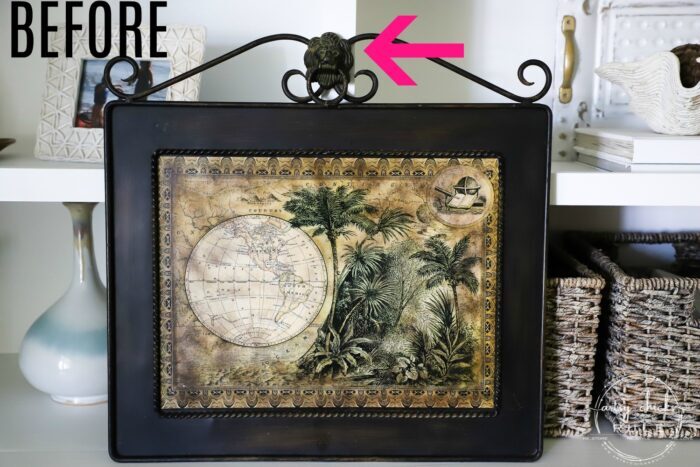
Yep, this guy.
Remember, this is metal, so I had a little bit of a time getting him off.
But with the help of my sweet hubby, we got it off. (by beating the heck out of it…it was welded on, haha)
I thought a seashell in place of it would be perfect. (I forgot to take a front photo showing the metal piece that was left once I removed that medallion)
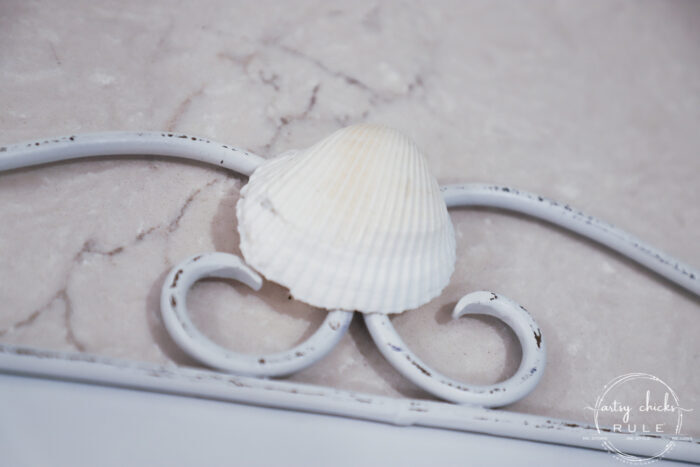
I turned it upside down and laid the shell in place and marked with a pencil where I needed to add the E6000 glue.
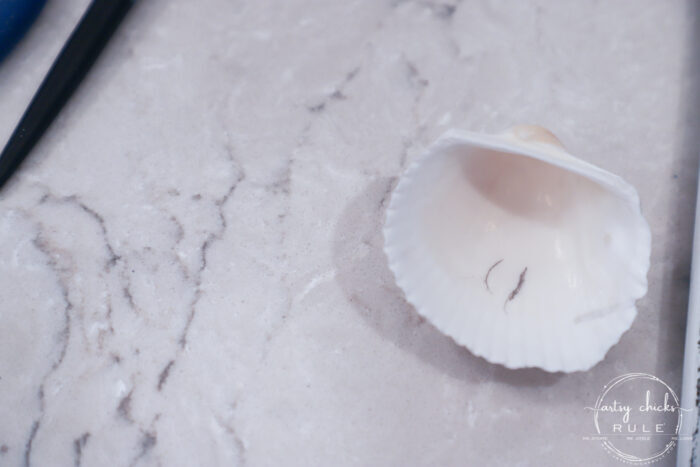
Then I added glue and set the beach sign on top to dry.
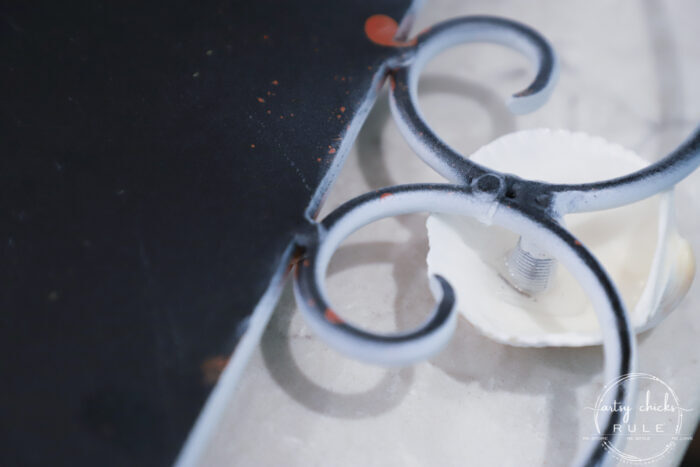
You can sort of see the threaded metal piece there jutting out so I had to cover it with something.
Pretty cute, I think.
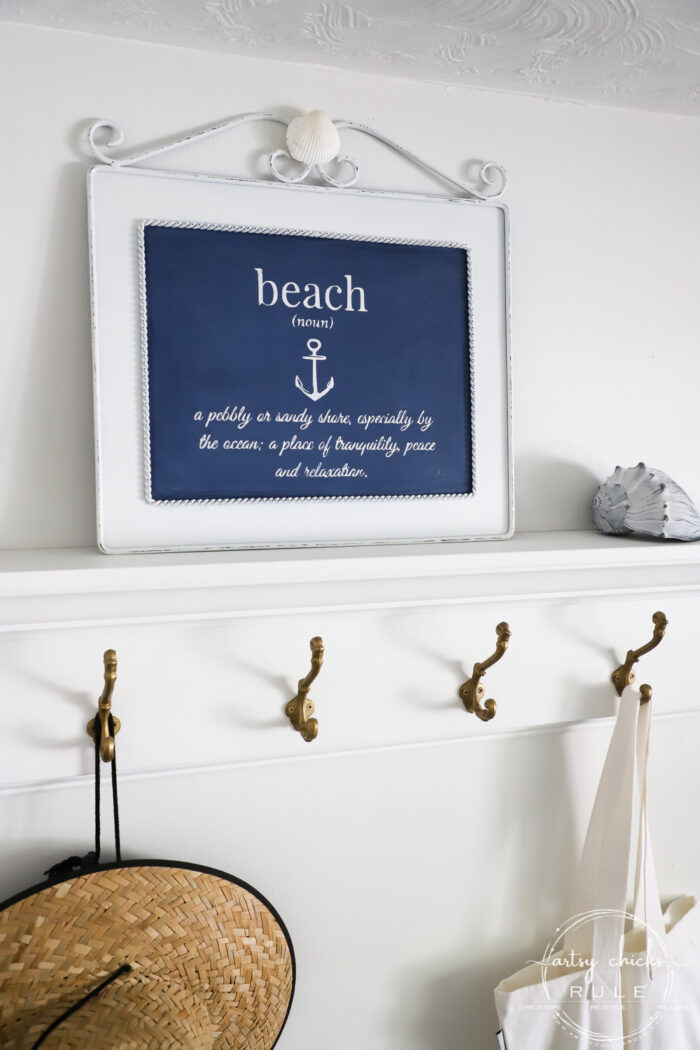
The seashell certainly goes along with the beach theme.
Want the beach definition printable?
If you are already a subscriber, click here to go straight to the printables resource library.
(if you don’t remember your password, check your latest email newsletter from me – scroll all the way to the bottom to find it)
Here are a couple more projects I’ve used this fun beach graphic on…
I’m not sure where I’ll use this one or if I’ll even keep it. (I’m running out of space here! ;) )
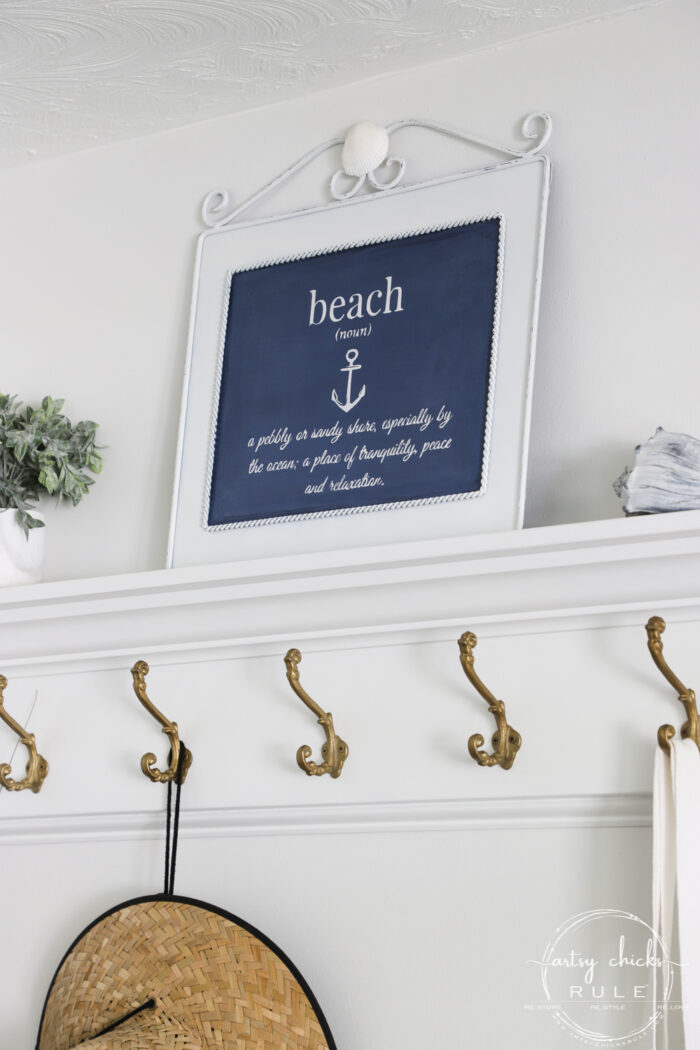
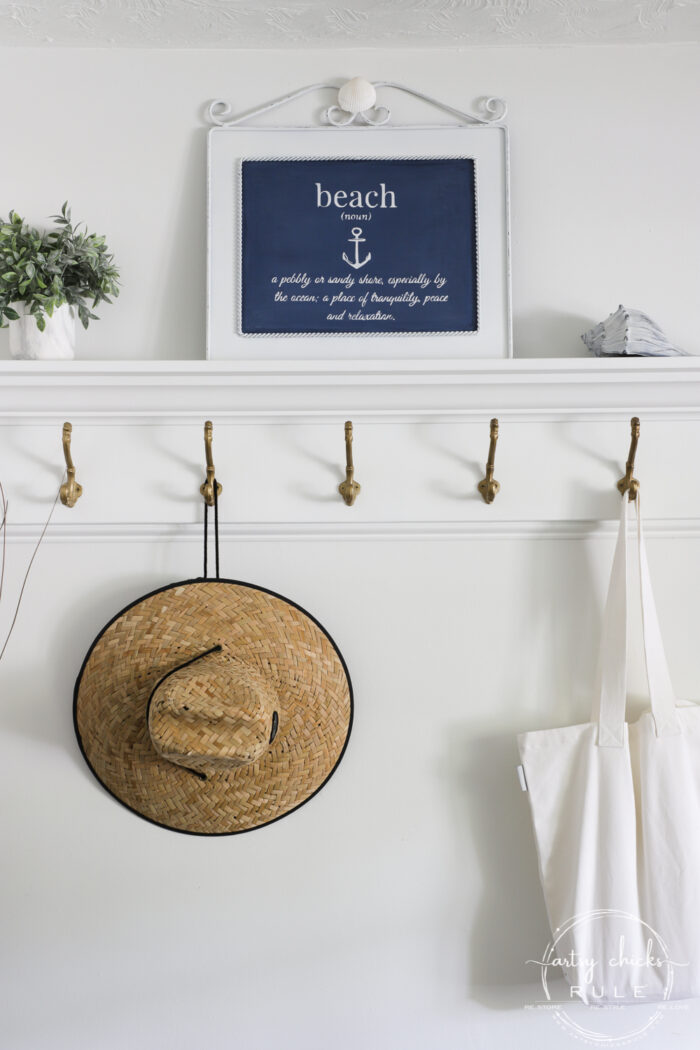
But it sure does look cute up here on my DIY wall coat rack.
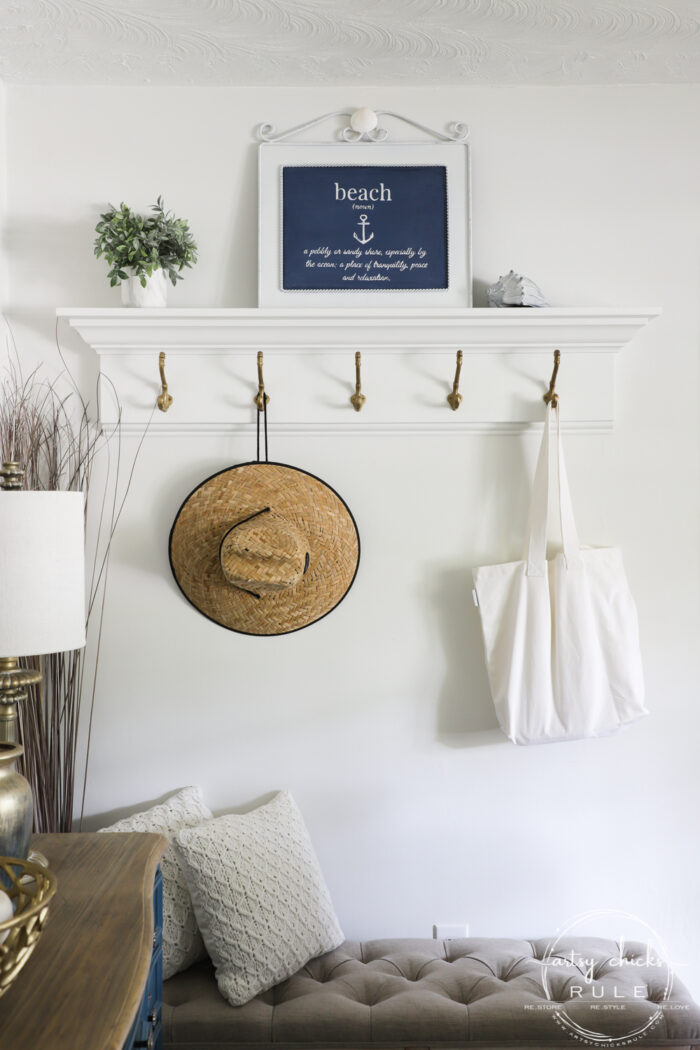
I might use it in our new beach house, so I think I’ll hold onto this one for a bit and see!
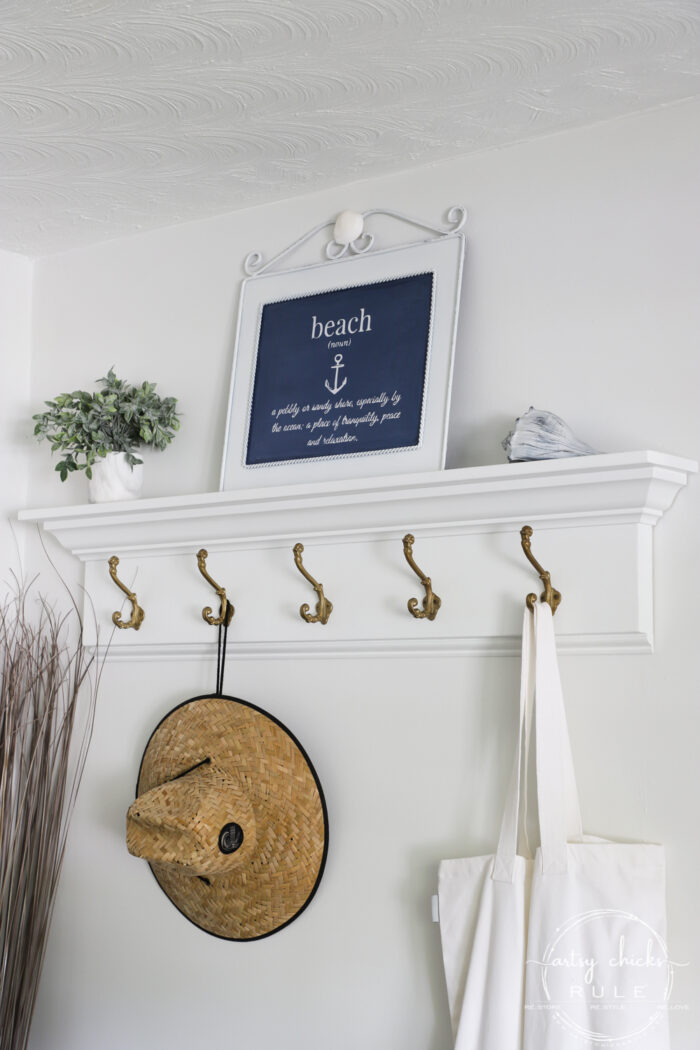
I hope you were inspired by this $3 thrift store metal beach sign makeover. Go visit your local thrift store and see what they have for you today.
Never know what you might find. And you never know what you might find that will strike inspiration inside of you. :)
They are getting holiday things out so now is a good time to create something fun for your holiday home.
I picked up a few things from the Dollar Store today to create a pretty little something for Christmas.
Stay tuned for that. (I’ll be sharing it next month….but get on over to yours today because they have some great stuff out already!)
PIN it to save it!
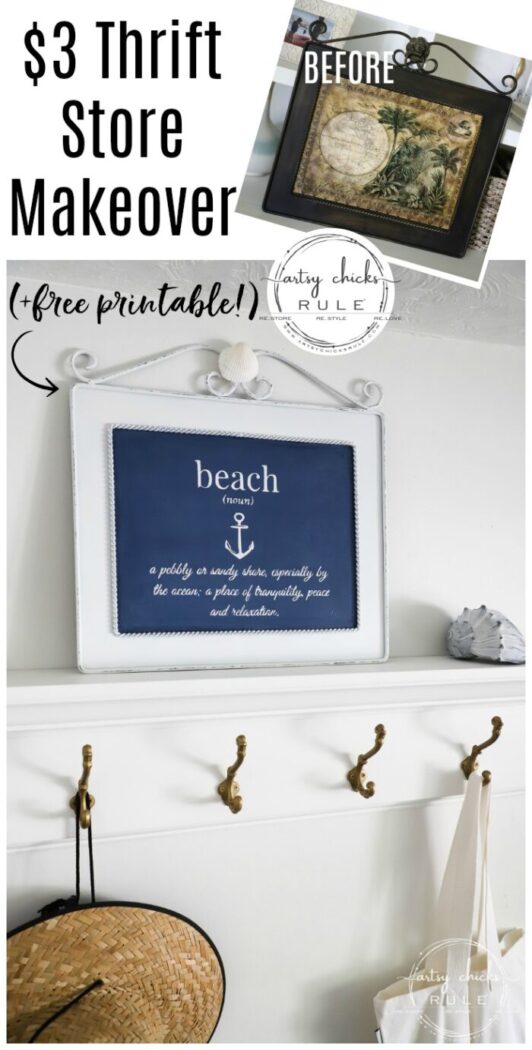
This one got a complete transformation! Be sure to check back to see it!
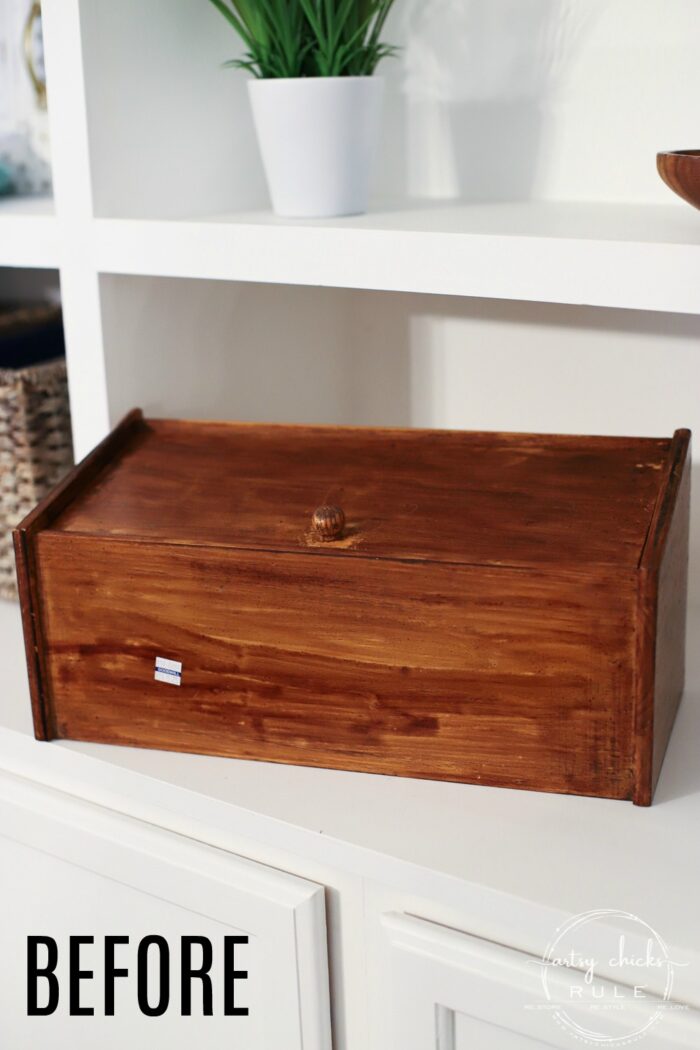
Update!! See it now, here!
Have a wonderful fall weekend, my beautiful friends!
xoxo







Wow, Nancy, you nailed this one! It was a lot of work but it looks beautiful, way to go!!
Thanks, Christina! Have a great weekend! :) xoxo
Beautiful!
I love your little beach place too, and can’t wait to see how you make it yours!
Thanks so much, Tracey! :) xo
I love when you take something dated and make it “Nancy.” It will look great in the new place!
Hah! Yes! Thanks so much, Marcie! :) xo
I love this project. I do have a question about the transfer paper. I am not sure where or what purpose it has for the contact paper stencil. Could you clarify? My confusion could be due to reading this at 5:30 am while having morning coffee so I apologize.
I’m sorry Marlene! I edited the post to include this link to another post that details it a little better. :) See it, here. (I was out of town since Thursday, sorry for the late reply) xo
I love both the old sign and the new one! Any idea who made the original sign? It would be perfect in my bathroom!
Thanks, Tracy! No, sorry, it doesn’t have any identifying marks. (our bathroom used to be this same decor too! And you are right, would’ve gone perfectly.) :)
Love it.. especially for your Beach house. $3 to spectacular
Thank you, Rita! Yes, can’t beat $3! :) xo
I love this! My friend lives near the lake, so I’m going to tweak your idea a little to make a “lake” sign for her house to give as a hostess gift next time we go there.. Thanks for the great idea!
Oh nice, yes, you so could do that too! I love that idea! :) xo
I really like this little sign! Cute!
Thank you, Rose! :) xo
Turned out so cute!! Personally I love lions and would have left him 😁
Thank you, Deb! And aw yes, that would’ve been a great one for you!! :) xo
Love the Beach Sign that was hiding in plain site!
Ha!! Yep! Thank you, Cyn! :) xo
Yes!!! Very cute!!! I am always amazed how you and Christie do all those lettering projects…….AND
then you say it is easy!!!! Good job!!! Love it!!!
Aww, thanks so much, Addie! That part is easy, with a Silhouette, for sure! Getting that paper label off…now that was hard this time!! lol xoxo
So sorry you missed the blog trip and hope you’re recovered from whatever attacked you🥺. This sweet sign is great and I love how you can transform something so ugly into classy wall art. Enjoy the week end! XOXO
Thank you, Cecilia! Yes, I was so sad to miss! :( But thank you! And yes, had a wonderful weekend away with my husband visiting old friends! :) xoxo
Oh Nancy! The possibilities are endless when you know how to work a Silhouette. I would be able to pick up more stuff while thrifting! Thank you for sharing.
Oh yes, you are so right, Cheryl! It really does make the job easy and quick. I used to do lettering the old way for years (and still do at times) but wow, game changer, for sure! :) xo
Hi Nancy, Well isn’t this a great way to make a pretty new sign! I love it up on the shelf of your coat rack too. Have a great day!
Thanks so much, Kaycee! Yes! So fun to find these old things and transform them! :) xoxo
Love this!!! It looks so good on that shelf…you should definitely keep it there!! XOXO