$20 ReStore Compass Rose Dresser Makeover (simple to do!)
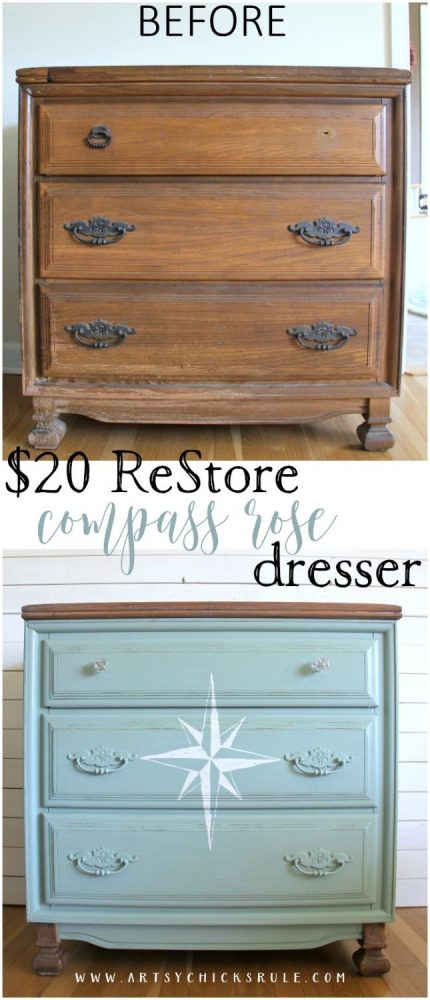
From blah to beauty! This ReStore compass rose dresser is a stunner now!
Hello sweet friends! I’ve got another furniture makeover for y’all today, as promised.
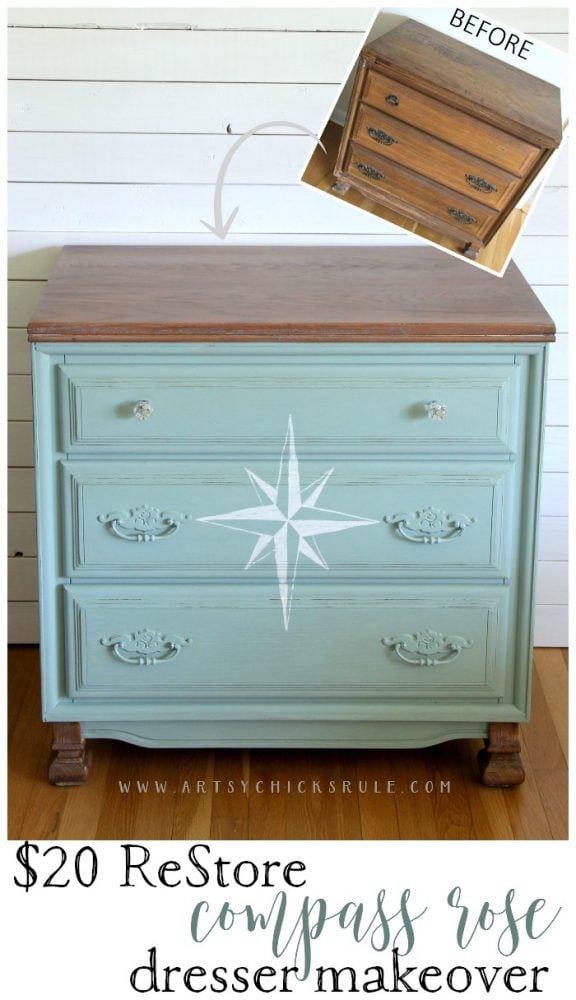
An awesome $20 find from the ReStore that I turned into a compass rose dresser.
(PIN it to save it!)
I was so excited to find this as it’s really hit-and-miss out there these days.
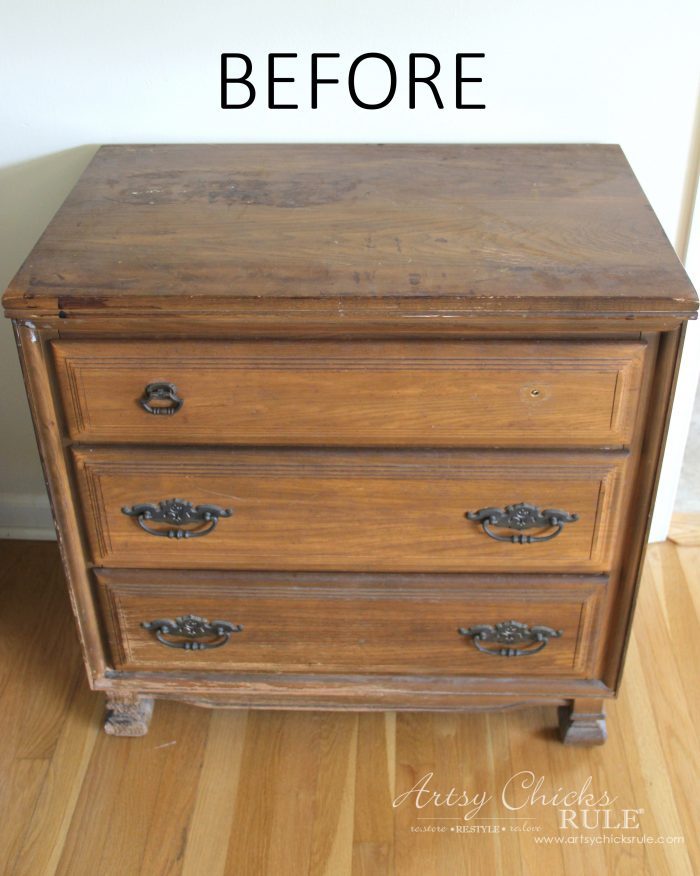
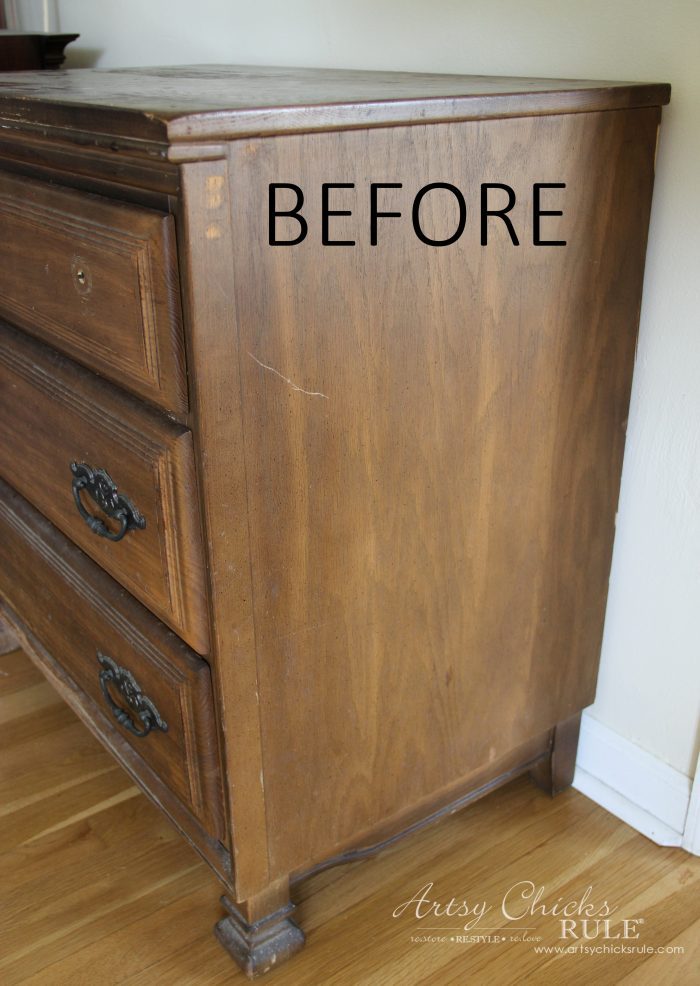
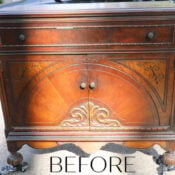
It was in pretty yucky shape but it was solid and the drawers were perfect.
There is quite a bit of damage outside but the inside looks almost brand new.
As I was giving this little piece the once over, a nice lady came up and said “You know, you could take that home, paint it, and make it a really nice piece”.
I just giggled a bit inside and smiled nicely back and said, “You are so right and I’m going to do just that!”
Take a look at that top….eek.
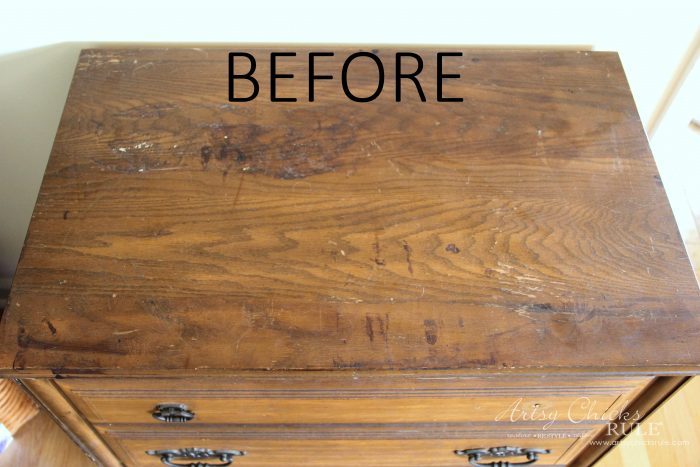
Poor, sad dresser.
Well, I got busy removing the finish from the top with my favorite stripper, Citristrip.
PRODUCTS NEEDED FOR THIS MAKEOVER:
- Citristrip
- Paint Scraper
- Sandpaper
- Paintbrush
- Old rags
- Stain
- White Wax
- Paint (this color is very similar)
- White Paint
- Projector (I found mine on Craigslist for $35, 5 years ago)
- Poly Top Coat
- Script Liner Brush
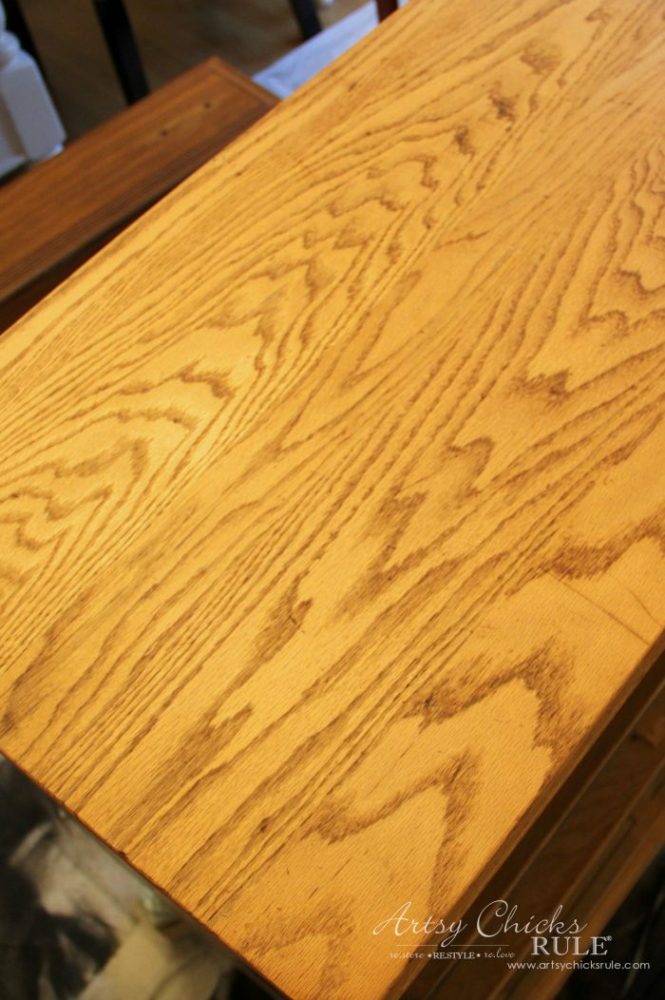
What a difference, right?
But pretty orange-y colored. (you can see how dark it was before by looking at the drawer directly behind it in the photo)
And the rest of the dresser…
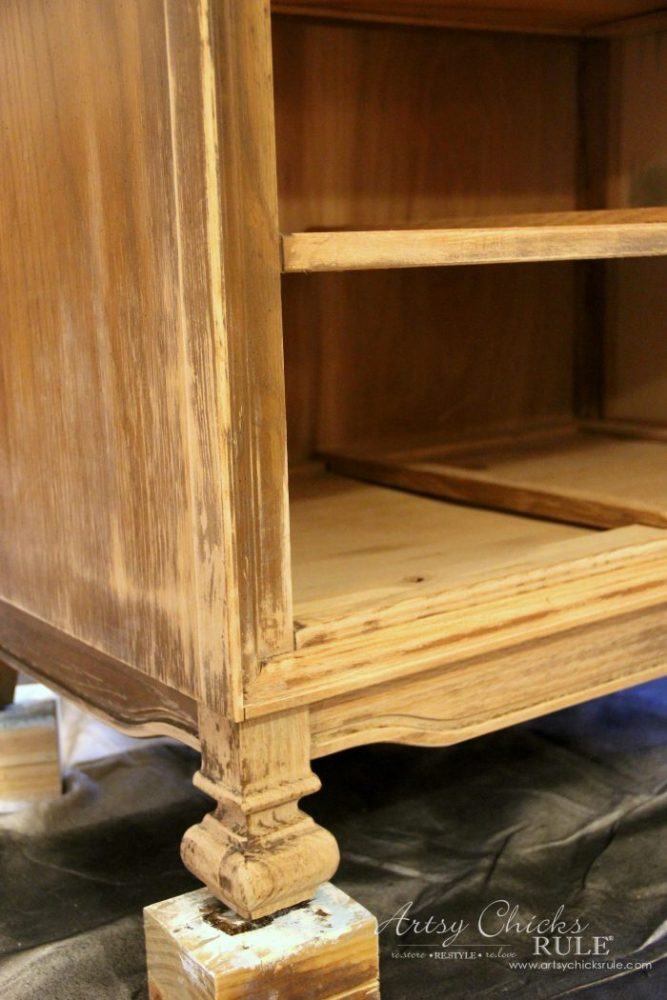
There was quite a bit of sanding to do to remove the loose finish.
The dresser got painted and then sat for about 2 weeks as I tried to decide what to do with the top.
Recently I completed this little french script table with a nice, rich, stained wood top so wanted to do something different here. I considered doing a whitewash over that wood but I was afraid it was just a bit too orange. So in the end, I finally decided to conceal some of that orange by using a walnut stain over top.
General Finishes Gel Stain is what I used on my pretty, little compass rose dresser.
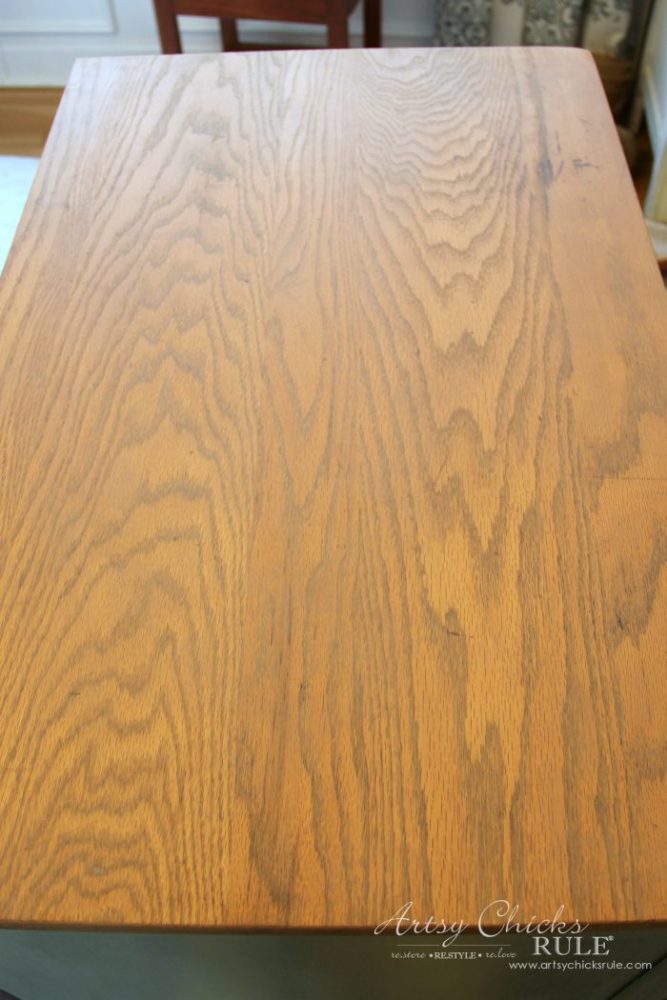
This is one coat. I love this stain and it’s so easy to apply.
Just use an old rag rub it in and wipe away the excess.
This is 2 coats…
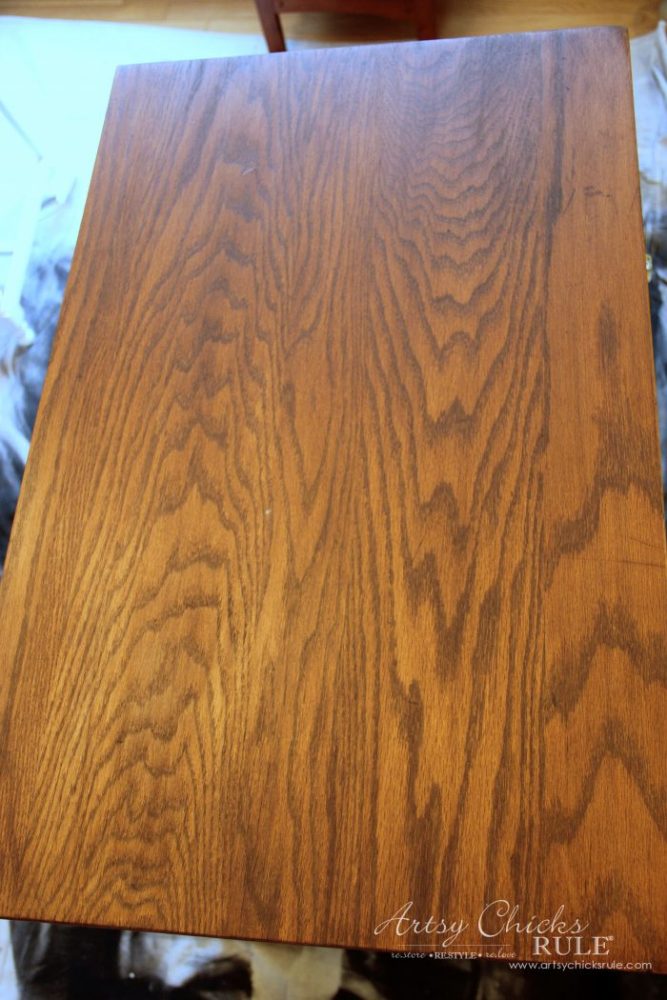
Wowzers!! Look at that gorgeous grain. Love!
And then I let it sit a few more days because that was just not doing it for me on this particular piece.
As gorgeous as that top was now, it just didn’t “go” with the rest, to me anyway.
So let’s talk paint while we mull that over.
I used Annie Sloan Chalk Paint in Duck Egg Blue. I love this color. (this is a similar color here and I love it just as much, if not more)
Here it is on my prized and very loved garage sale secretary desk, rescued patio table, thrifty end table, ReStore painted upholstered chair, and even my kitchen island.
I sealed the entire piece with a poly topcoat instead of wax. I hadn’t originally planned to add a graphic to the front.
If I had, I’d have waited to apply the poly until after I added the compass rose.
It worked out fine this way too though. Just a bit more work adding more poly in the end.
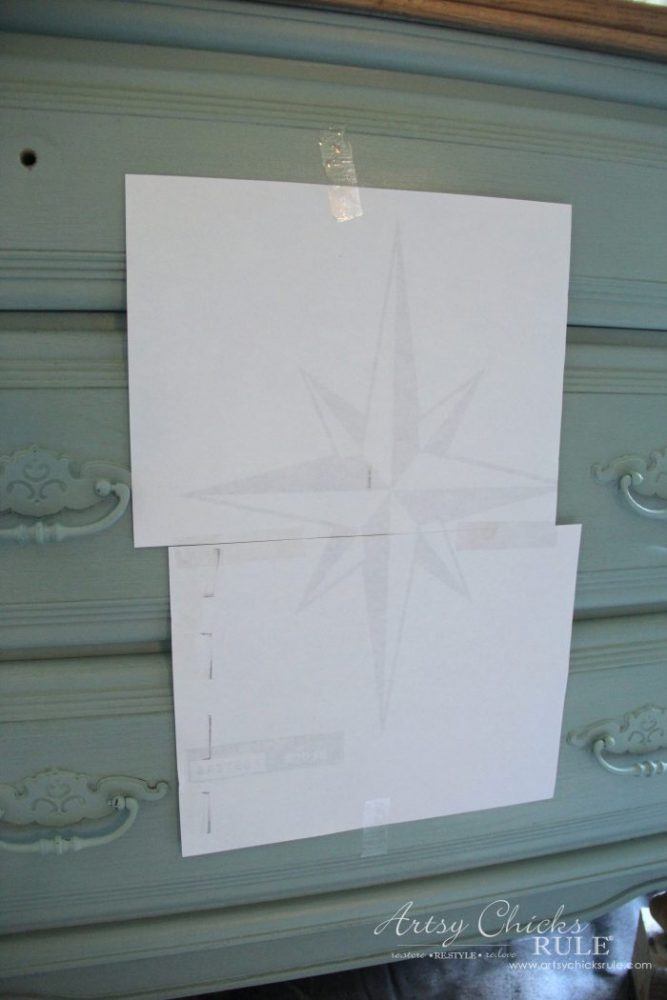
As you can see above, I tried using one of my favorite ways to transfer graphics but it didn’t work out.
The drawers were really presenting a problem with all of their lumps and bumps.
So back to the drawing board….and back to my old, tried and true way of transferring graphics.
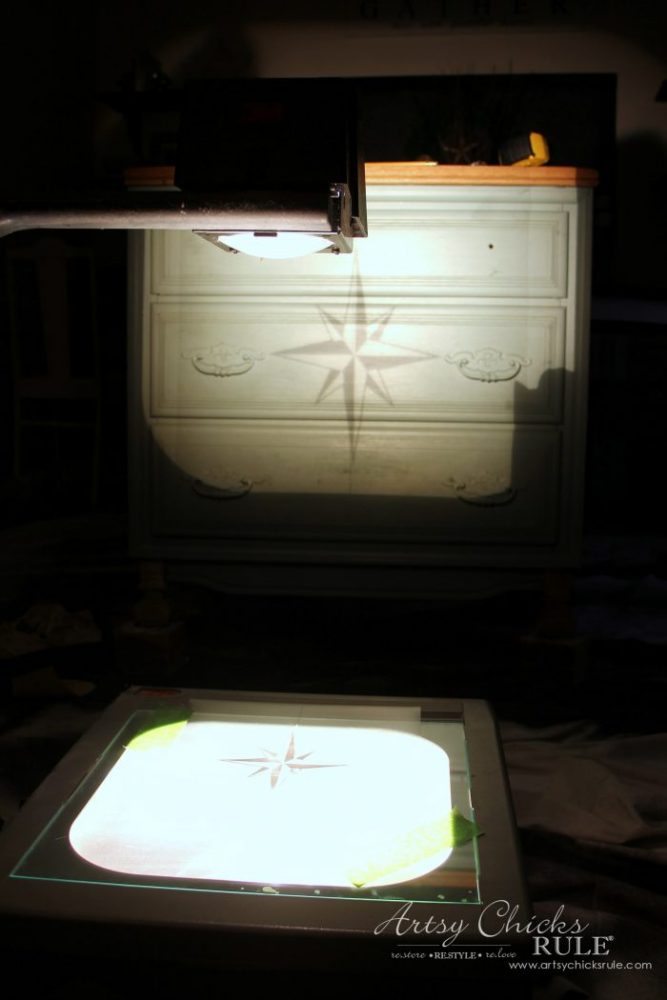
I created the graphic and then printed it out on clear sticker paper. (not the best option but all I had that was clear)
You can download it here …

You can also save to a thumb drive and take it down to your local print shop, Office Max, etc.
They will print it onto a clear sheet for you.
I did find these transparency film sheets for inkjets and may give them a try.
MUCH easier to print your own instead of running up to Office Max every time.
All you do is position it where you want it and then just trace around the design…
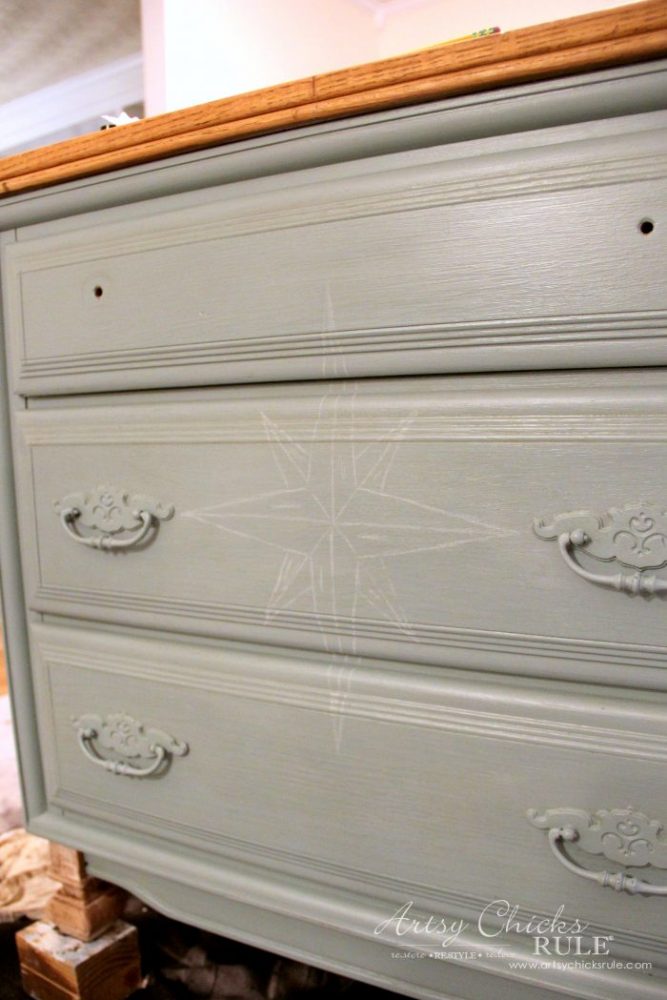
I used a white watercolor pencil since I was using white paint to paint on my design.
It also has a bright white paint color and a script liner brush.
You can see below I made sure to paint the compass rose even in the insets of the dresser/drawers.
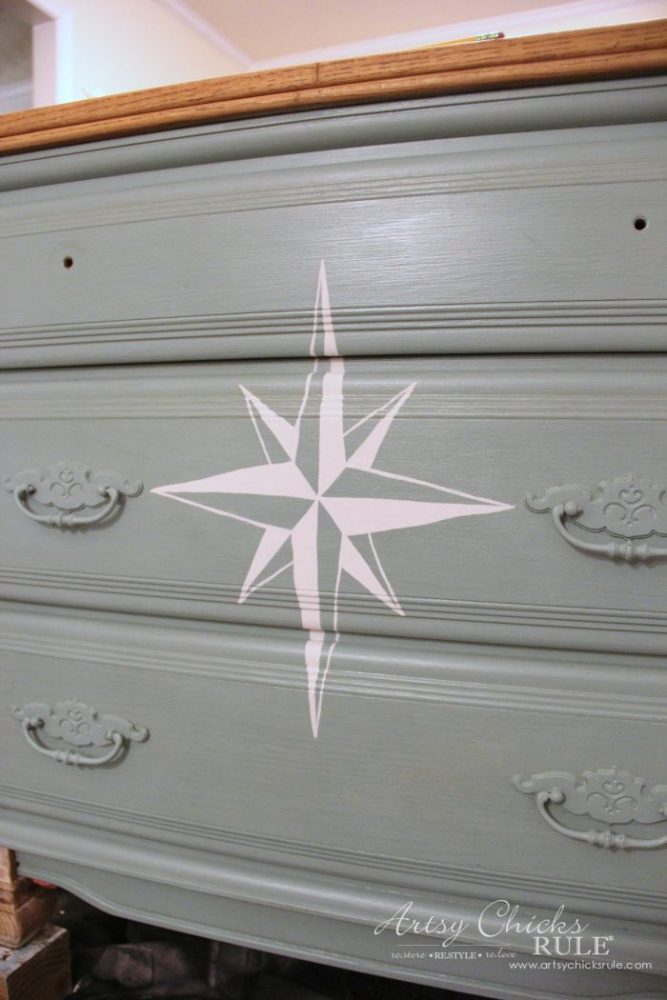
And then I lightly sanded to distress it and the dresser just a bit.
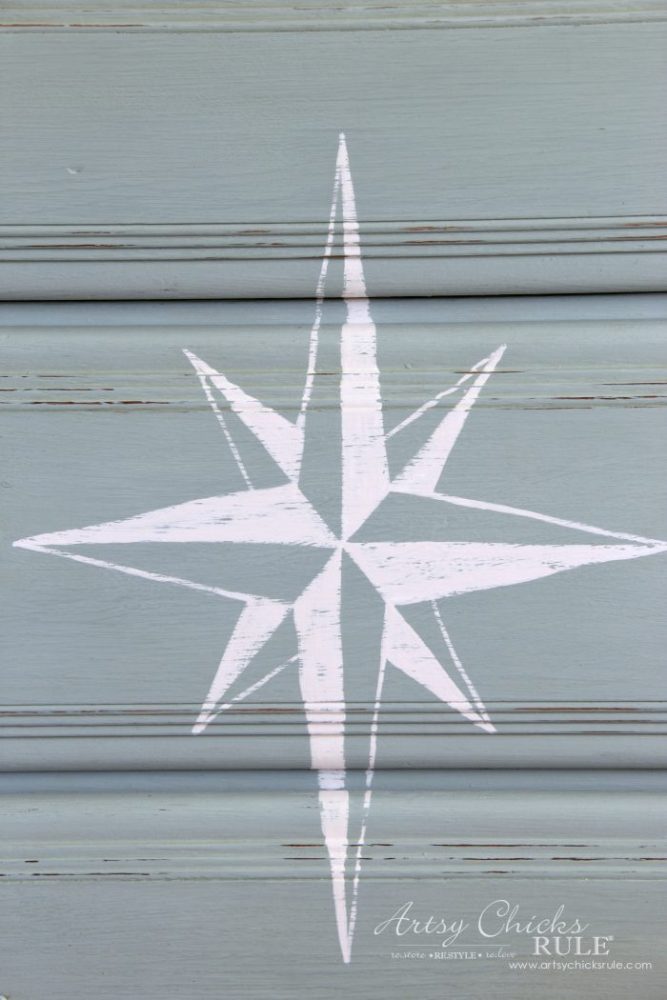
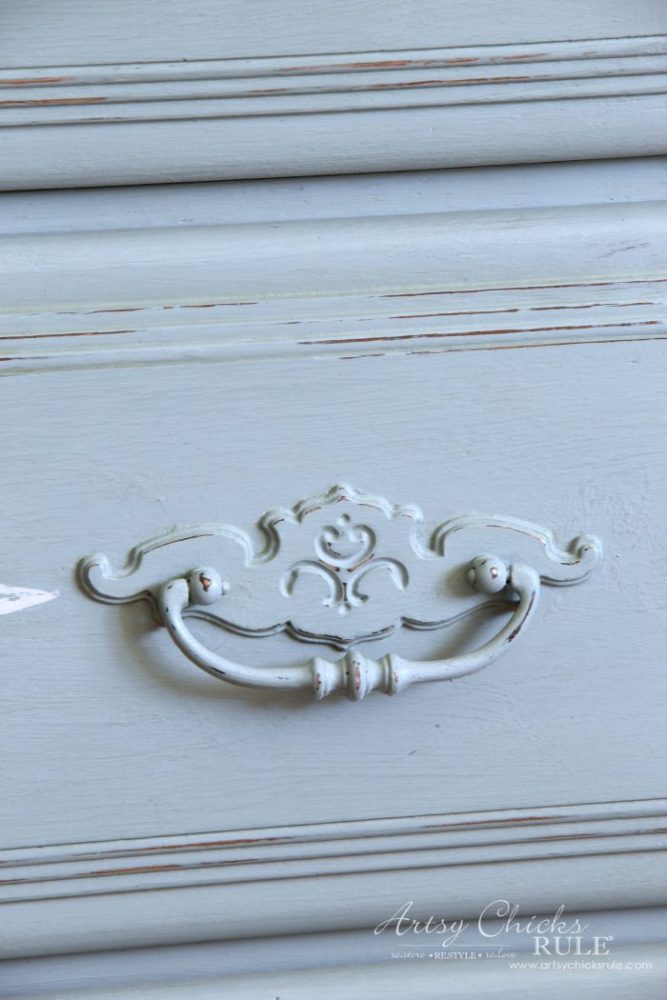
I applied another light coat of poly on the front of the compass rose dresser.
Want to know about 26 other chalk-style paints?
I’ve got the low down for you right here! >>> 26 Types of Chalk Style Paint For Furniture
So that top was still bugging me. What to do?
Weathering it in some way was still what was calling to me.
The paint, the compass rose, and the overall look of the dresser was begging for a bit of “age” on top.
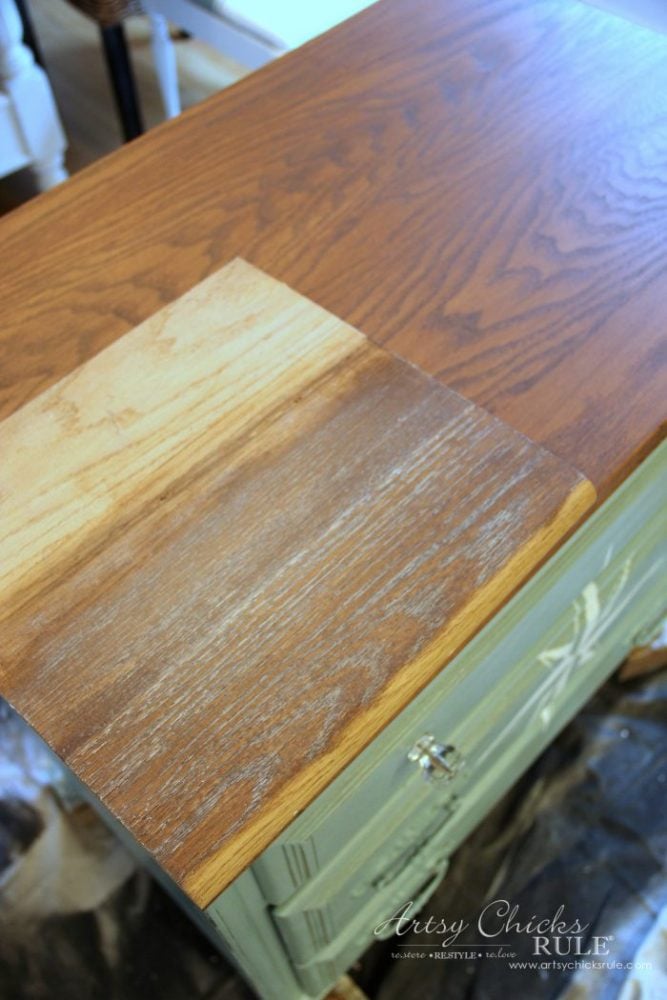
So I thought, why not white wax? I pulled out a scrap of oak left over from when we did our stair treads.
I stained it the same color and applied the white wax.
Wow, yippee, yes!!! That’s it. That is it.
Whomp, whomp, whooommp….
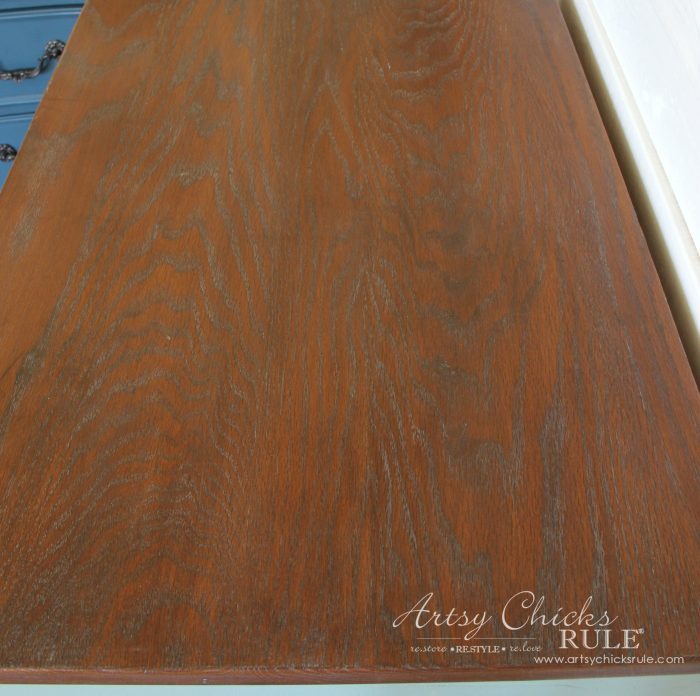
I didn’t get quite the same look when I applied it to the top, however. It wasn’t quite as rough so didn’t pick up as much of the white wax as I’d hoped it would.
BUT…I still liked it better than the plain stained wood, for this piece anyway.
The white wax gave it just enough “age” and weathering to soften it a bit. (and the wax also acted as a sealer for the stain/wood)
Buffed up to a nice sheen and done.
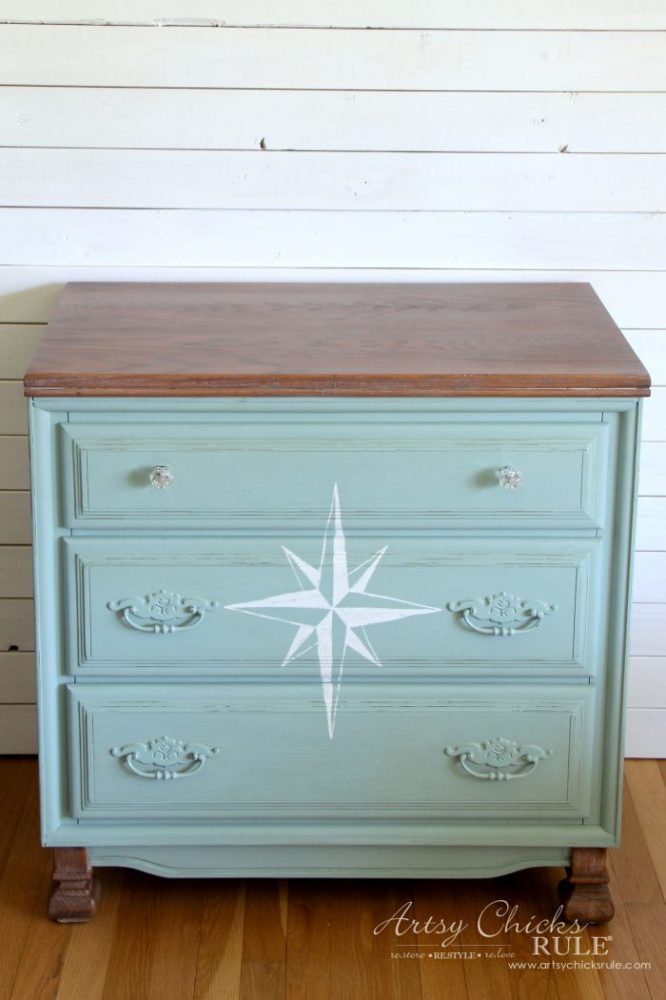
I’m pretty happy with it.
A nice medium between stained natural wood …. and a bit of soft weathering to go with the style of the rest of the dresser.
The feet got the same treatment.
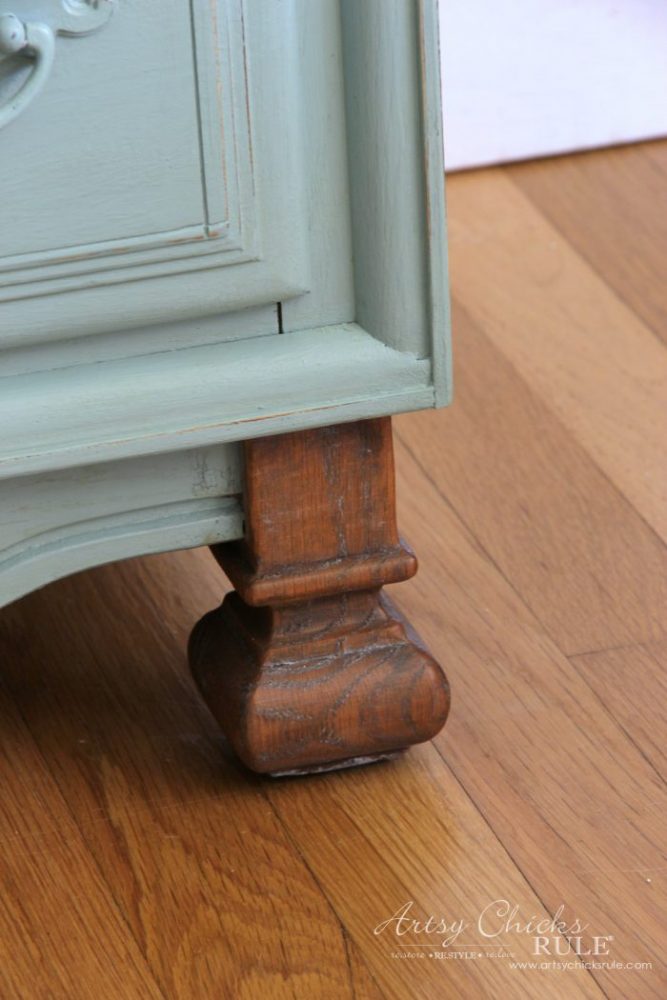
Which, by the way, I decided to not paint.
What do you think? Good choice?
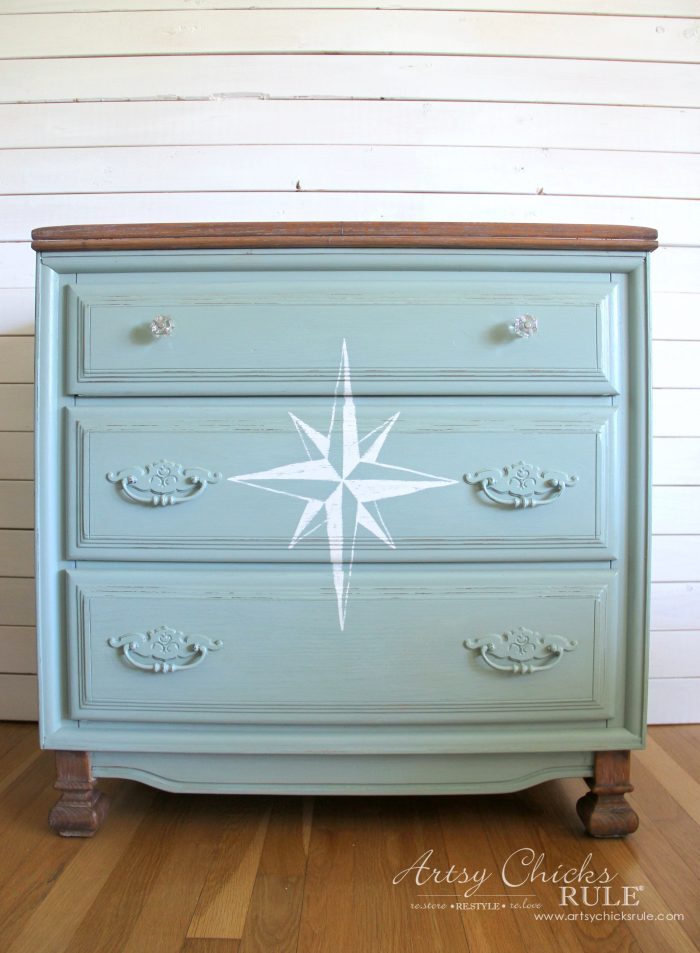
I just thought they stood out and were so decorative and pretty, they deserved to continue to stand out.
So I didn’t paint them along with the rest of the dresser.
Quite the difference, no?
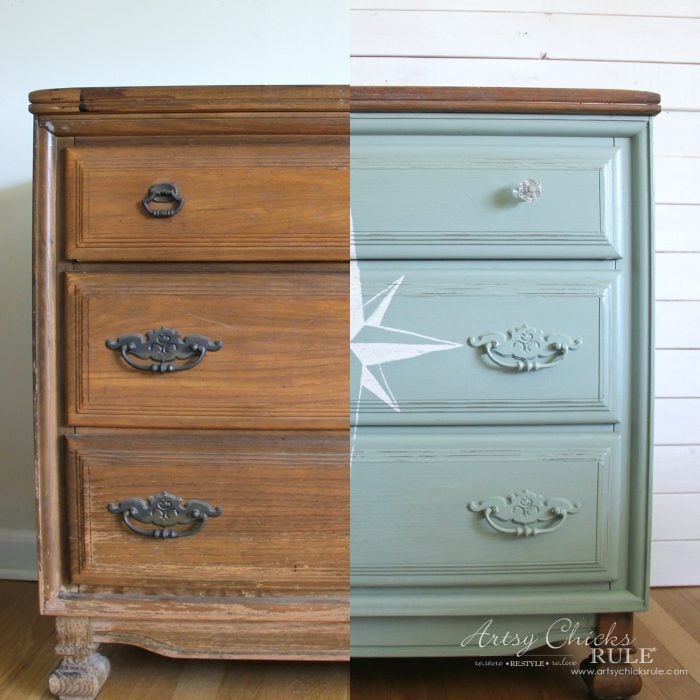
Now a few pretty photos…
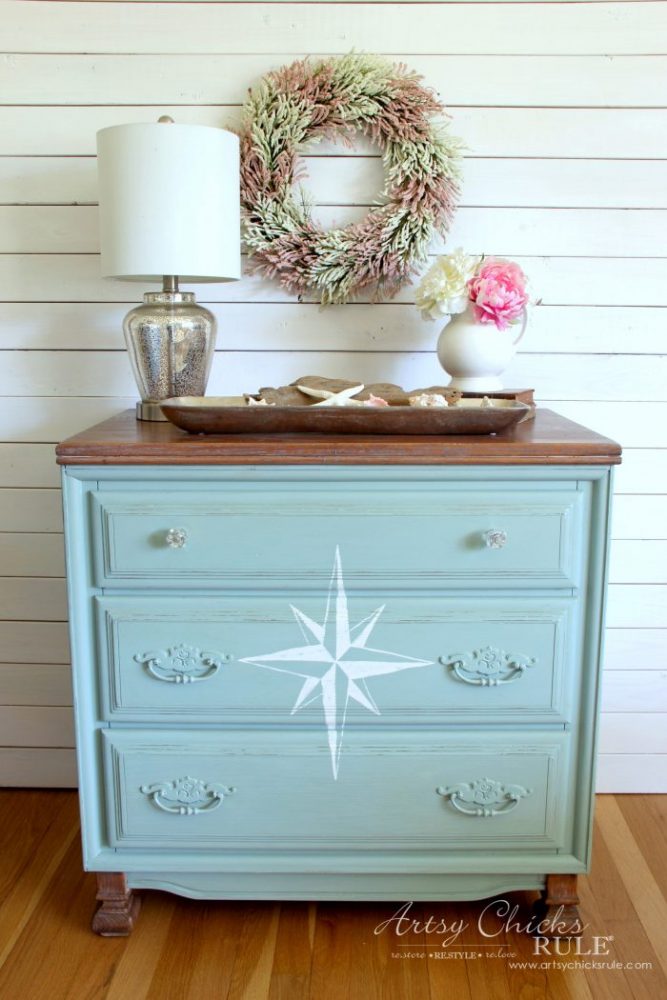
This compass rose dresser looks a bit different than the first photos I snapped.
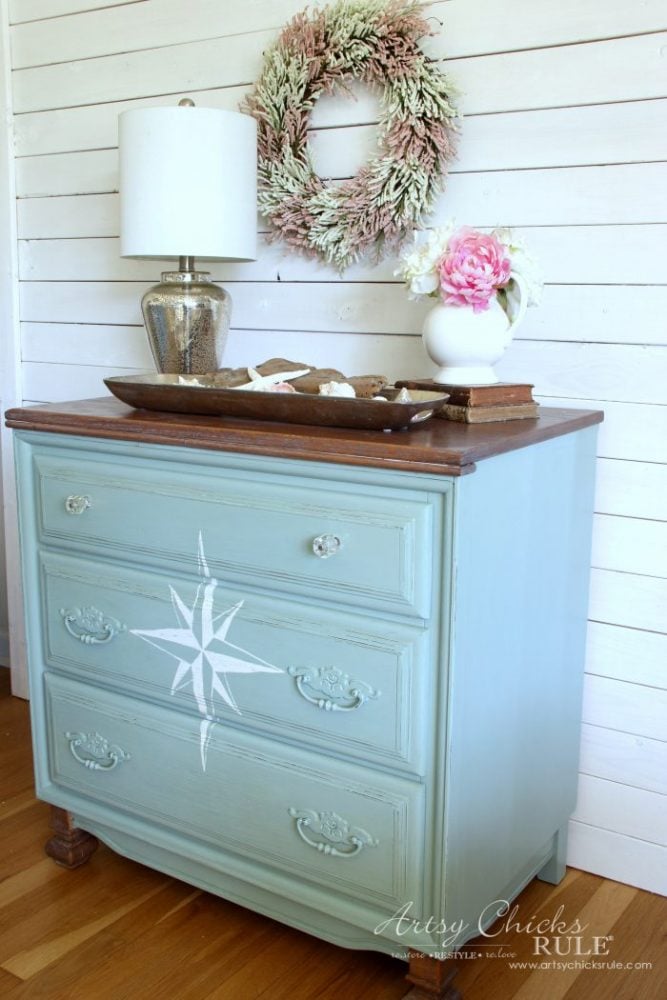
Why pay crazy prices for brand new furniture when you can find treasures like this?
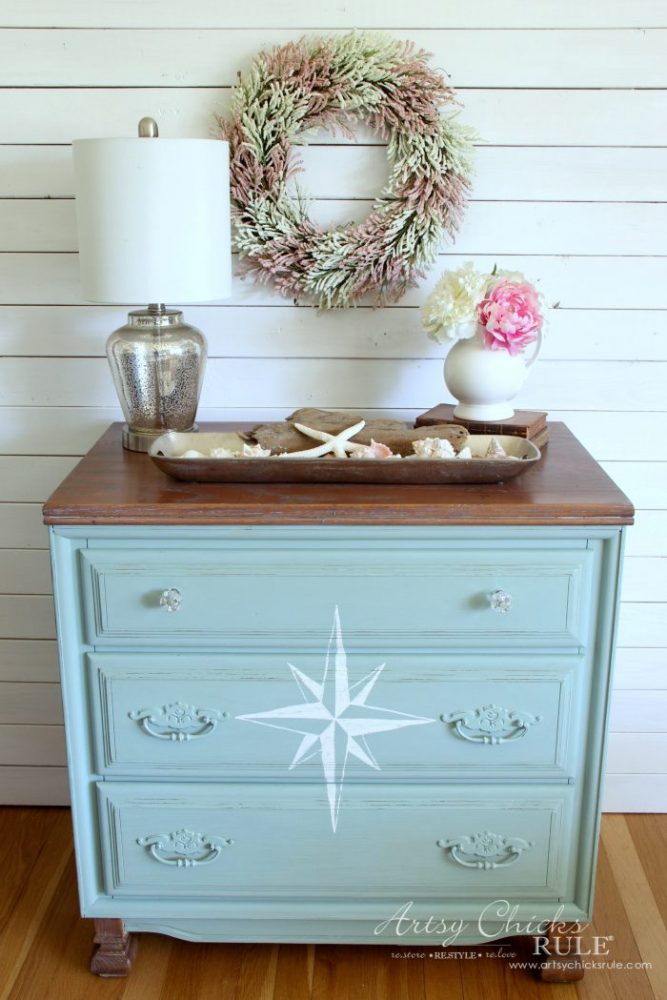
$20…solid wood, heavy, well made.
Can’t beat that!
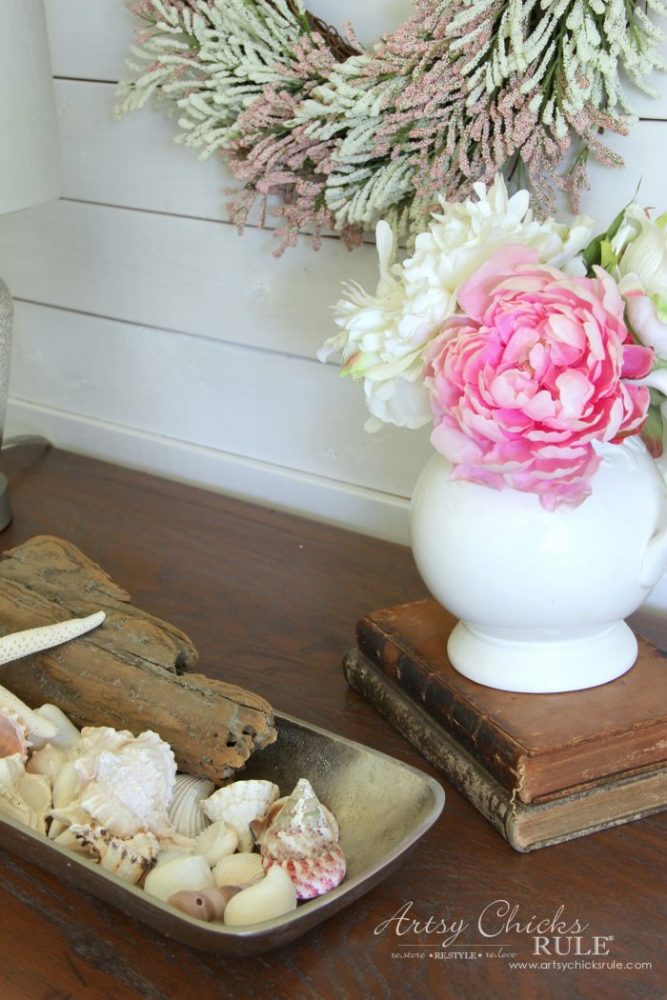
I hung one of my favorite DIY spring wreaths on the wall…goes so nicely, I think!
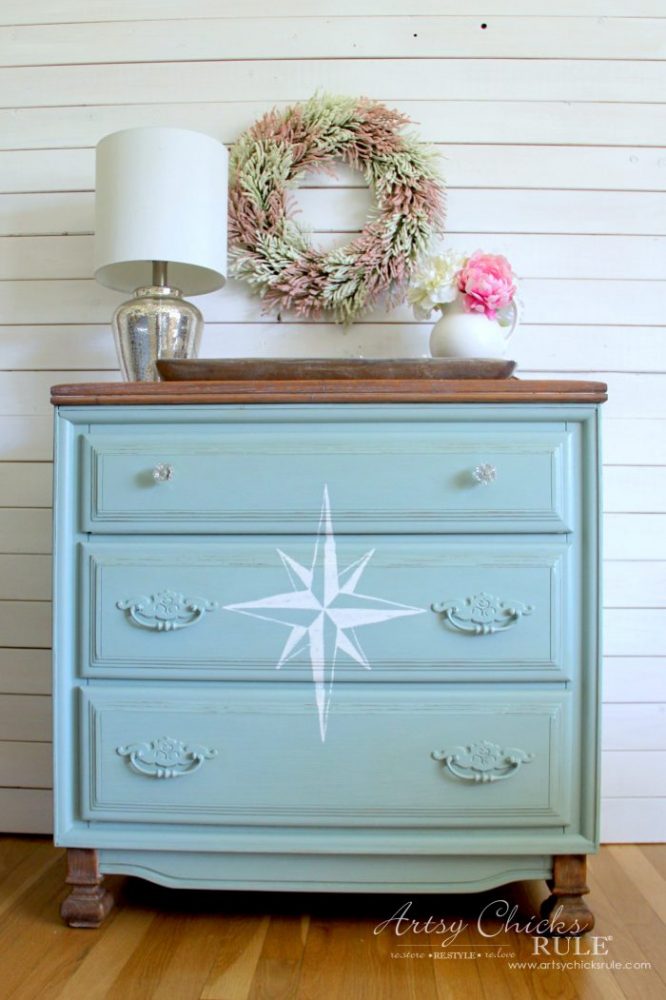
You can see the top a little bit here…
And one with my sweet Ryder boy. :)
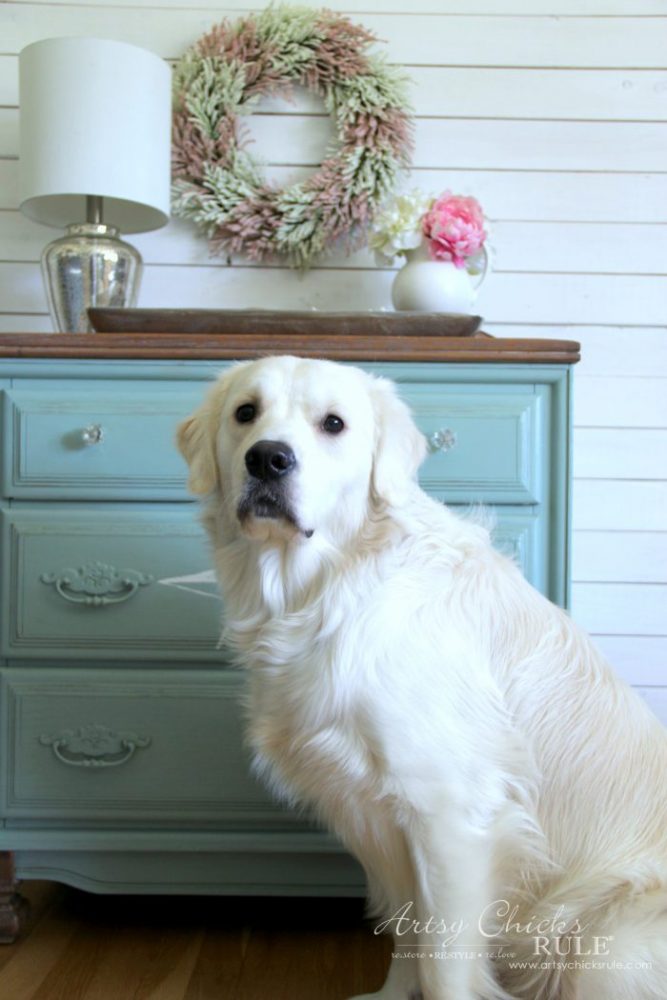
He’s a super sweetie…love him so much.
So there you have it. Go shop the ReStore! If yours are like mine, you never know what you’ll find.
BUT it’s so worth it to give it a check every now and again. I’ve gotten more than a few great pieces there.
PIN it to save it!
Here are a few more compass rose makeovers you might like:
Hand Painted Compass Rose Tables (2 different styles)
Metallic Compass Rose Table Makeover
Compass Rose Wall Art
Check back in later for my next furniture makeover! (and yes, I said furniture…because that is what this became!)
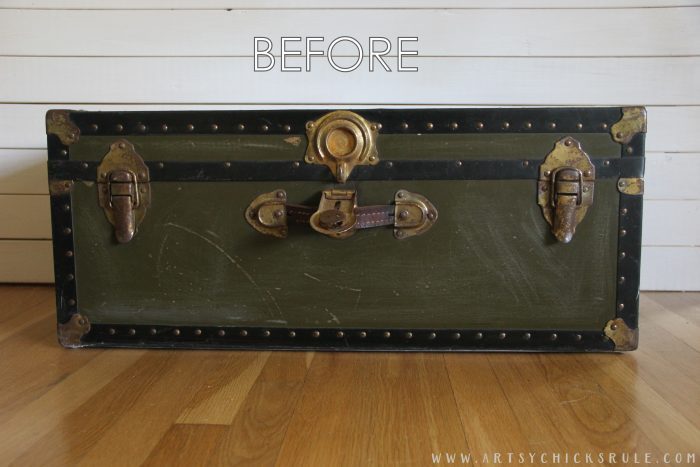
UPDATE!!! See it now, here!!
xoxo




What a lovely make-over. I have a 3 drawer dresser much like what you have; (free curb side find) wondering what I could do with it and now I know; paint on bottom and stained on top. Thank U.
Thank you Colleen! :) I free, curb side finds! Have fun! xo
Beautiful make over! I love that you left the feet unpainted, it really ties in with the top.
I appreciate the step by step process as I am relatively new with painting furniture.
Ryder is beautiful! Is he a cream colored Golden retriever?
Thank you Susan :) OH yay on the feet! I was unsure when I started but decided I liked it once I finished up! ;) And yes, he is, thank you. xoxo
Hi Nancy
So beautiful – Love the color and your pup
Much love,
Rose
Thank you Rose :) He is a sweetheart! xoxo
I love a good find like that. You did a beautiful job.
Me too Sheila!! All day long! I miss the days of being able to find them all day long too! ;) Thank you!xo
Beautiful piece of furniture. You do great work. You and Christy are my fav.
Aw thanks Janice! :) Christy is a fave of mine too! She’s a great friend and does really beautiful work. xo
Love!
Thanks Lizzy! :)
Nice job. I love Restore too, have acquired several beauties there. I really like the unpainted feet on this bureau.
Thanks Marcia! :) And yay, I wasn’t sure on the feet at first but I really like them that way too. :) So nice to hear others do too! xo
This turned out gorgeous, Nancy!! I love that you kept the feet the wood tone as well…such a great find!! XOXO
Thanks Christy! Me too…but I was iffy at first!! ;) xo
Definitely looks much improved and someone will love it! You gave it a second life!
Thank you Rose! :) xo
Such a lovely makeover, Nancy! Love the duck egg paired with the white waxed stained wood. I really like the look of the feet kept stained rather than painted.
Thank you Marie :) Oh yay, another feet lover! So glad that everyone seems to like that I left them that way. xoxo
I wonder what it would have looked like if you had left the little skirt at the bottom unpainted as well? Just a thought . . .
Hi Carolyn,
I’m not sure. For some reason, those feet are really the only that stuck out to me. I think maybe cause the skirt on the front and sides were similar but the feet on the front and back were different. (the back are plain) :)
Beautiful makeover Nancy! I love how you left the feet natural, it’s prefect for this piece <3
Thank you Annie! :) I’m so happy with those little feet! xo
I think it was a great idea that you left the feet unpainted! They are so unusual looking that they pop against the paint color! Nancy,you always do a wonderful job on your furniture makeovers and this one is no exception! It’s gorgeous!!
Hi Sandy!
Thank you so much for the very nice words. So kind and so appreciated. :)
Hope you have a wonderful weekend!
xoxo
Nancy
That chest was really a steal for $20.00 and it turned out so cute. I personally like the legs unpainted to match the top of the chest.
I love that color, and the fact that you painted the hardware. I never thought of doing that before but I’m going to try it. I have an old hope chest that I’m going to strip and re-do and I want to pick the right color. I’ll have to check out your site. Thanks for the inspiration!
Glad you like it, Jen!! Thanks!! And yes, give it a go! :) xo