How To Get The Bleached Wood Look (without bleach!)
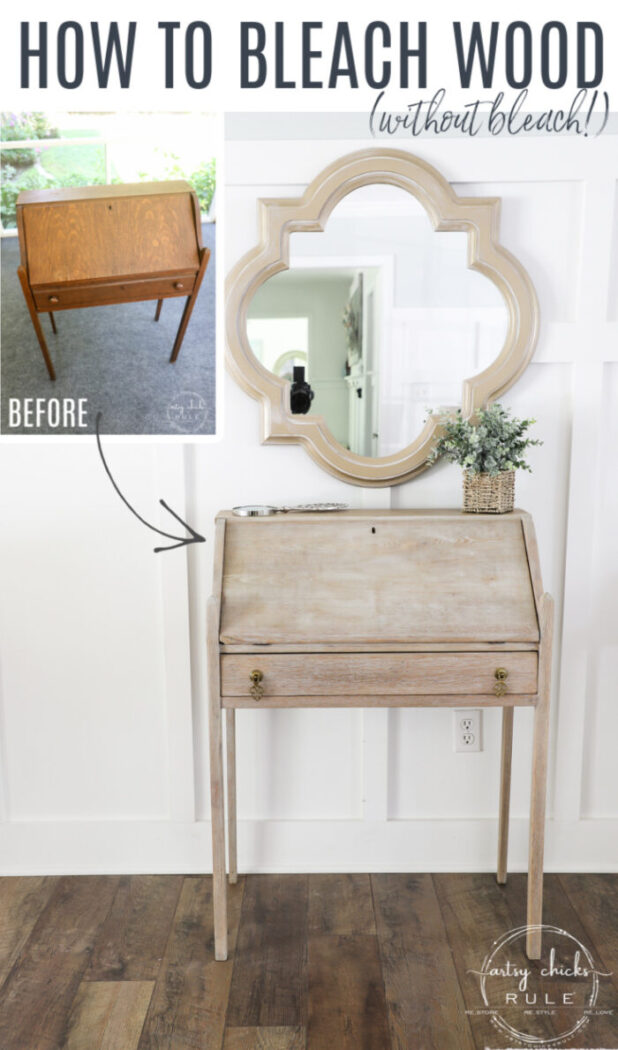
Ever wondered how you can get that cool bleached wood look?? Well, you can actually bleach your wood…with bleach, or you can do it this way instead!
Hello, there beautiful friends!
I’ve got a fun new post and technique for ya today.
How to get the bleached wood look … without using bleach.
I mean should I even call it bleached wood then?? Of course! Since I am describing the look not the technique, right?
And it is so much easier and much less involved. No laundry bleach or oxalic acid to deal with.
There are other ways of lightening up wood…or ways to make it look as if it is.
I love the look of bleached wood. Bleach wood furniture is pretty timeless I feel. It goes especially well with any farmhouse or coastal-style decor. As a matter of fact, I plan to do some pieces like this for our beach house too.
So in doing a little research on the subject, I found that you actually DO use bleach (regular household bleach as well as some other types of “bleaching agents”) to bleach wood. But yuck, what a mess. I didn’t really want to deal with that. That does not mean that I might get the urge to do it in the future though! lol You just never know with me. Stay tuned.
But right now? Nope, not interested in messing with bleach or similar to get that look.
So, as usual, I am not to be deterred. So I came up with another DIY way.
A much simpler way.
And I’m going to share all the details with you today!
But first, let me remind y’all that today is Trash To Treasure Tuesday, and not only am I sharing my fun new treasure but my friends are too. So be sure to scroll all the way to the bottom of the post to see their makeovers too!
I should mention that this project is the first piece of my latest haul. OH! I haven’t even shown y’all what I did bring home with me from my latest shopping trip. I’m so bad, sorry! Well, here it is.
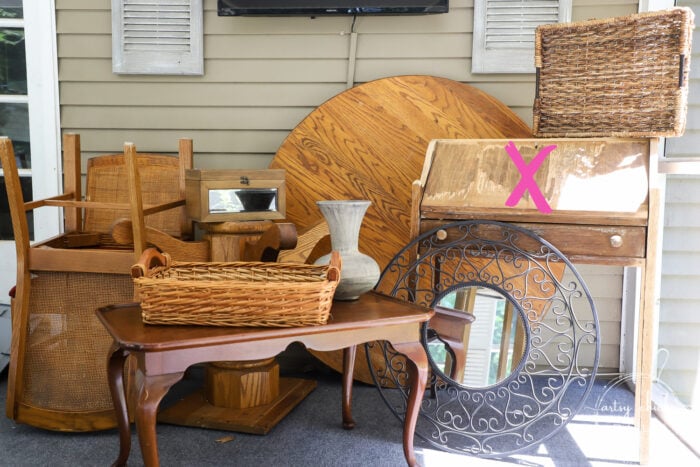
Do you recognize any of this from the trip I shared? (linked above)
The table upfront you haven’t seen as I found that on a subsequent trip to the ReStore.
And do you see what I see?? YEP! I brought home the oak table and chairs for $60. How could I not?
Well, in all honesty…I didn’t come home with it…but I did go back for it and thankfully it was still there!! haha
How To Get The Bleached Wood Look (without bleach!)
Now, keep in mind, some woods are darker than others so if you have a darker wood this may not work as well. And with that, it’s important to note that in general, darker woods don’t really bleach up well anyway (with bleach or without). So take note of the color of the wood before you begin.
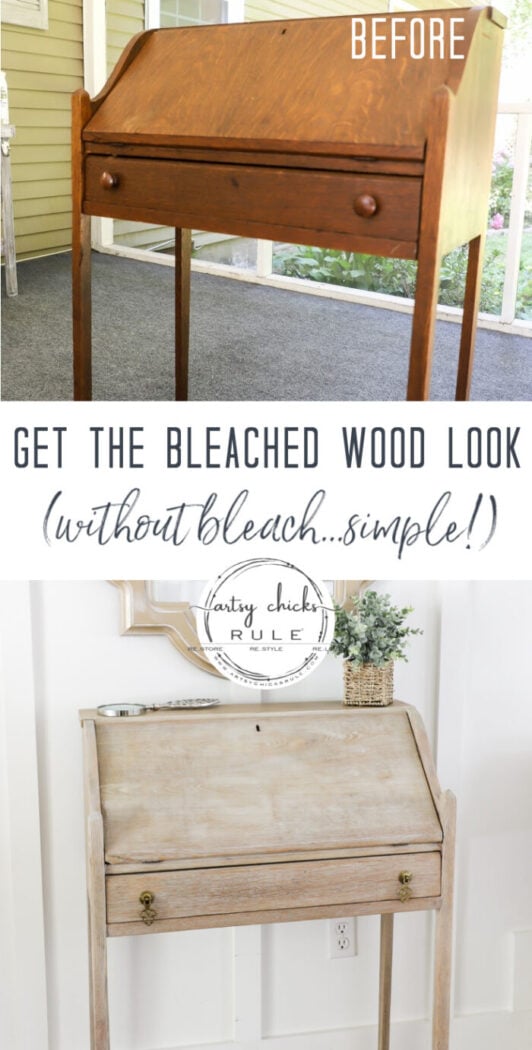
If you follow along with me on Instagram, you might remember this small desk I found at the ReStore a couple of weeks ago. I shared it in my stories there.
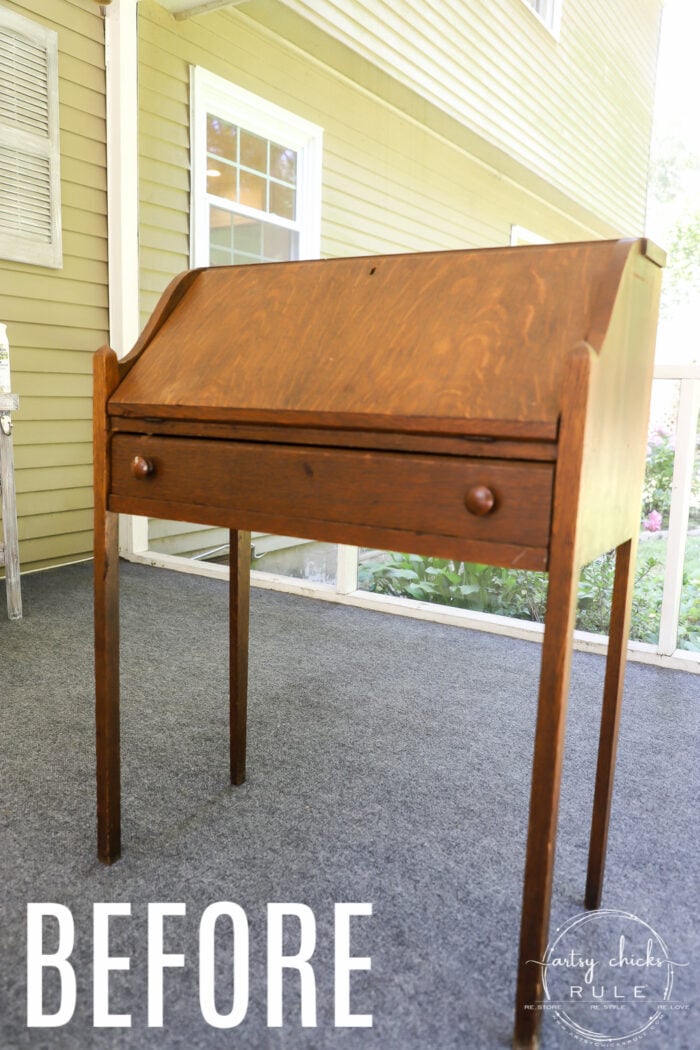
I love making over small wood pieces like this so I snatched it right up. Who am I kidding, I love to make over any piece of furniture!
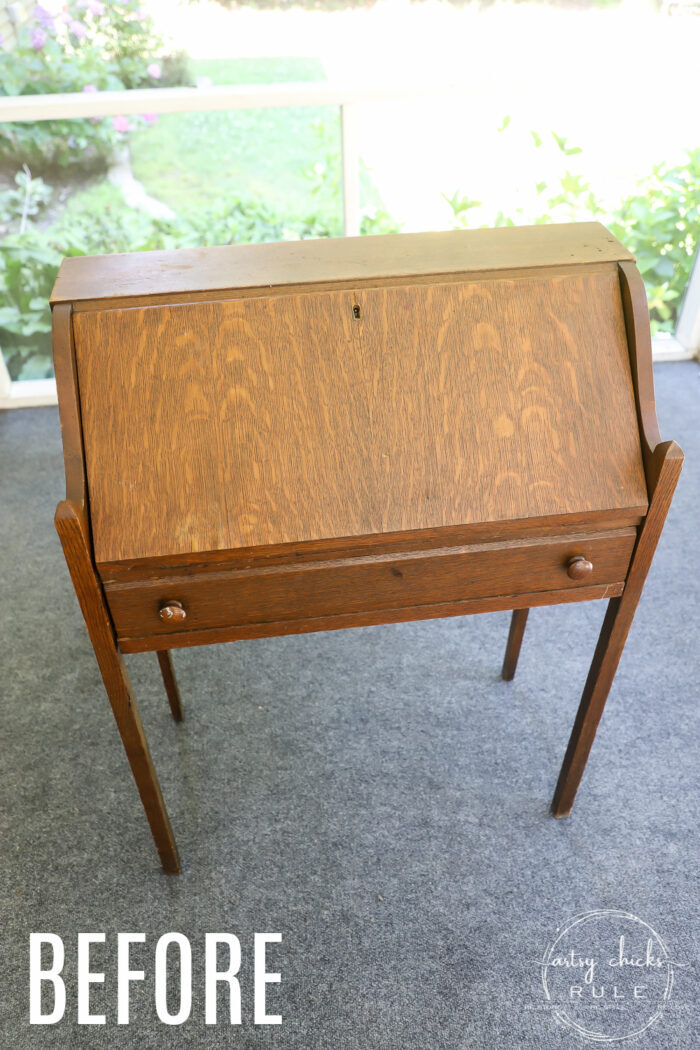
I knew exactly what I wanted to do with it when I saw it.
It was a little rough and a little wonky but not too bad at all.
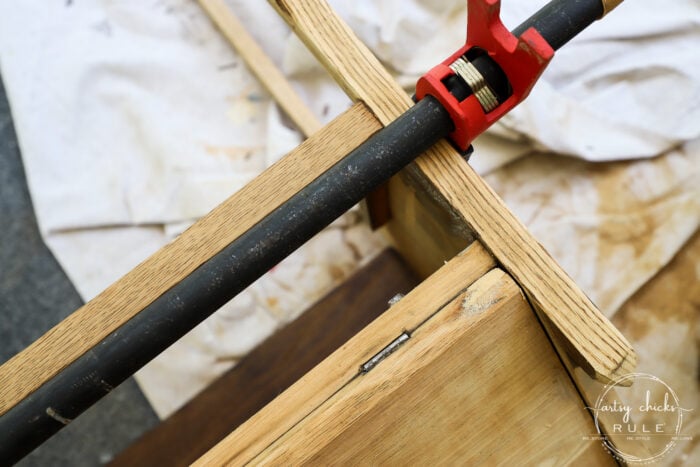
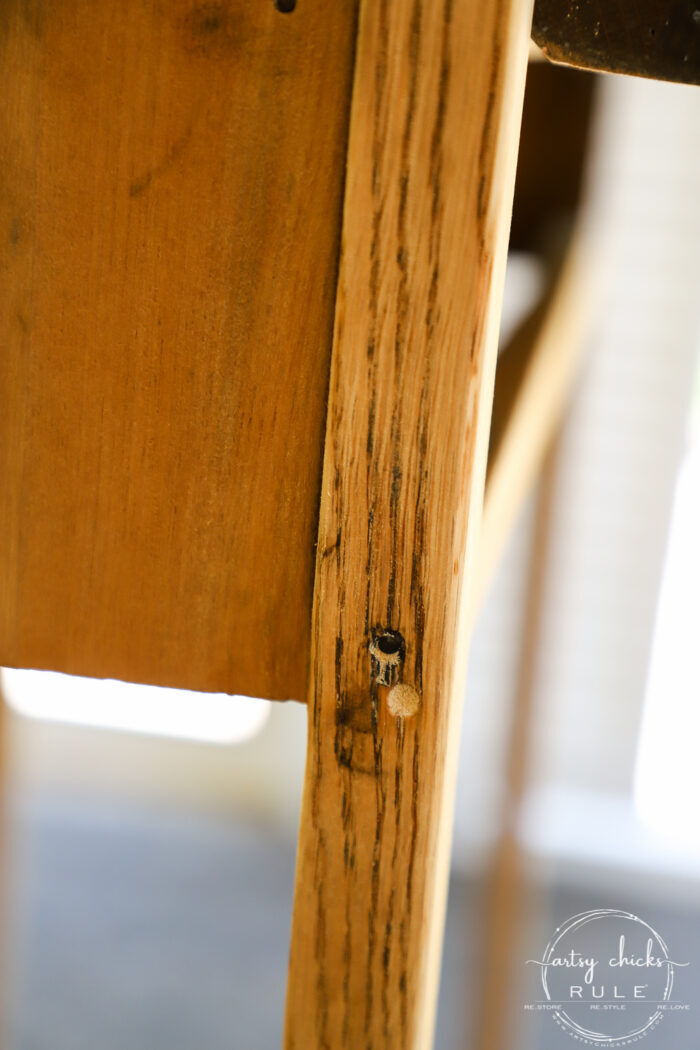
A screw and some glue on each side and it was good to go.
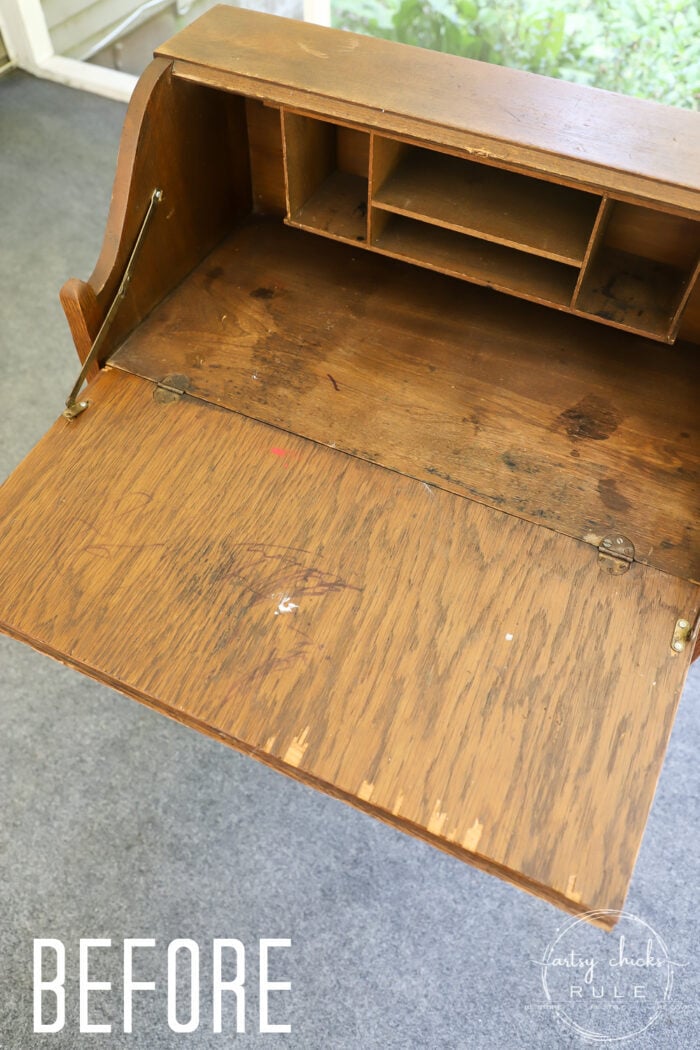
Luckily, I managed to lightly sand off those marker marks. But the old ink stains (which is what I believe those to be there inside the desk and inside the drawer) would not come out. I didn’t really want to sand the inside all the way down since I planned to stain it dark anyway, so I left them and called it “character”. Part of its antique charm and history.
I began deciding whether or not I would have to (or want to) remove the veneer on the outside and inside.
The inside was already chipped away in spots and more was loose. I chipped away what was loose and decided to use some stainable wood filler.
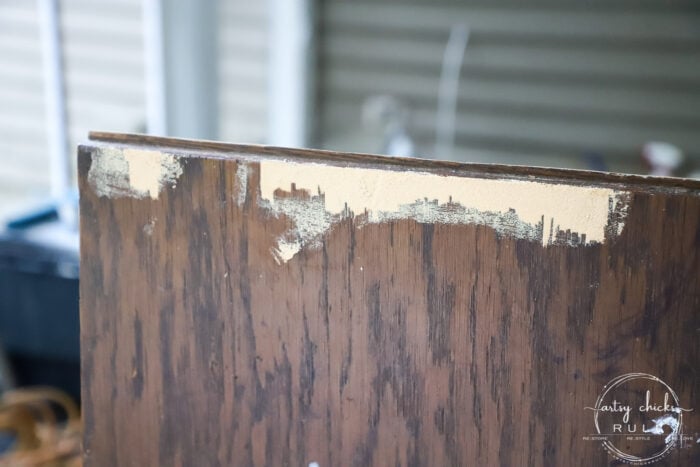
For the outside, well, I considered trying to glue it back down but in the end, I realized it was probably a little too far gone.
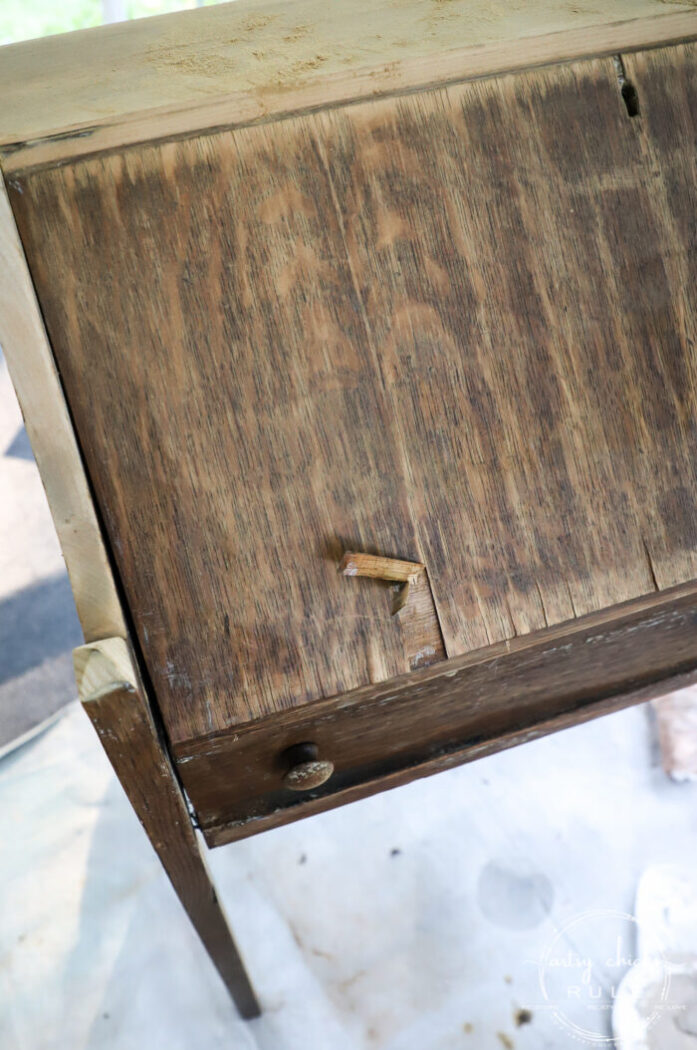
It was just loose all over, top and bottom.
So off it came….slowly.
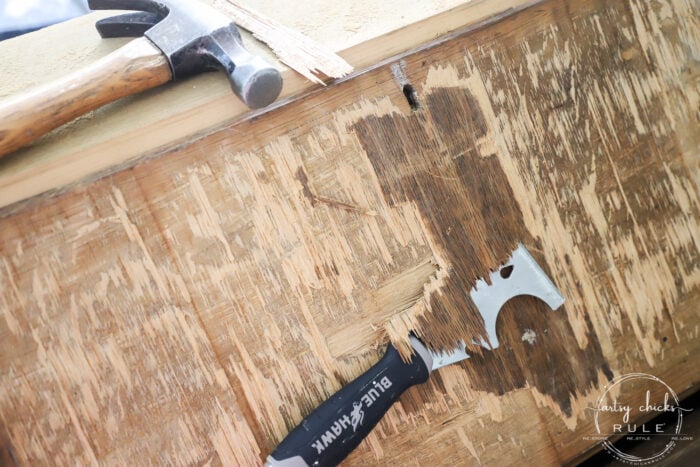
Most of the upper and lower came off great. I had to resort to a hammer and “chisel” for the inner area.
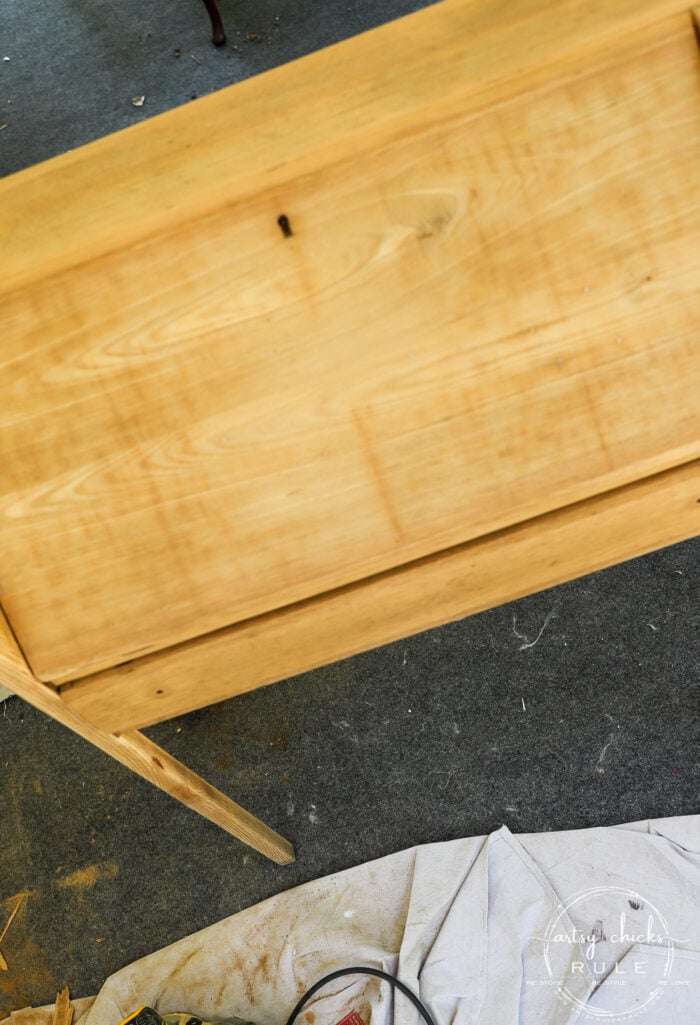
Then I finished sanding the entire piece. You may need to use a stripper like Citristrip first if your piece of furniture is painted.
I used 60 grit on the front section and 80 on the rest. Then I went back over it all with 150 to smooth it out.
I love my cordless sander but I had to pull out the corded one for this job. Be sure to wipe away all of the dust before you begin the next step.
Here are the links to all the products you’ll need to do this makeover.
MATERIALS LIST
- Sander (with varying grades of sandpaper)
- Wood Stain in the color “Riverbed” (this is no longer available so try these substitutes here, here, and here)
- Chip Brush and Old Rags
- Wood Filler (stainable)
- Sanding Sponge 220 grit
- White Wax (I used Annie Sloan but this is very similar)
- Java Gel Stain
- Gel Topcoat
Now, let me first say, this process will vary depending on the wood you do it on. Every wood variety has different coloring, etc.
Most woods have an orange-y tone that you want to “bleach” out to get this look. And since we are not bleaching, we will have to get the look in another way.
Step 1
Step one of the other way to achieve a bleached wood look is this…
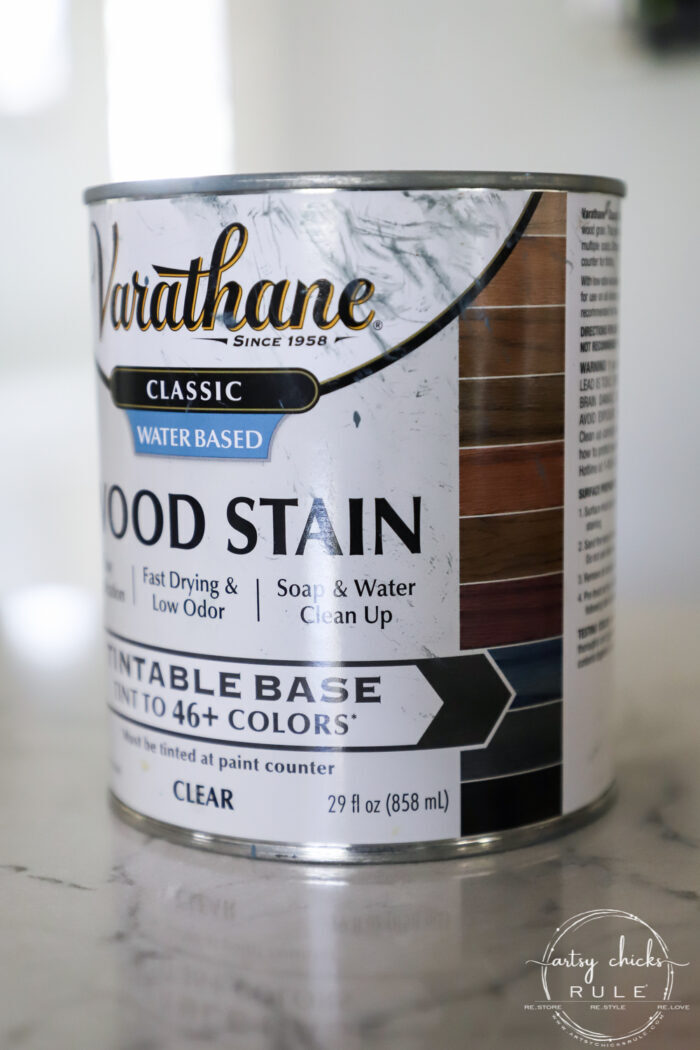
Apply a water-based stain in an opposing color to get rid of the orange. I am not sure if I’ve mentioned it before, but I am a trained cosmetologist and still hold my license. It’s been many, many (many) moons since I actually did it for a living (because I still do my own and my family’s hair ;) ). But being a colorist of hair, I was reminded about the color wheel. Green neutralizes red/orange.
So, I pulled out my greenish hued stain that I previously used on this old thrift store basket.
Be sure to wear gloves so you don’t stain your hands too.
I didn’t want my little desk to be green, so I watered it down quite a bit. More of a stain wash.
And I could do that because this is a water-based stain, which I really enjoy using, by the way.
I don’t have an exact water/stain ratio but if I had to guess, I would say somewhere along the lines of 6 to 1. (water to stain) My best advice is to start with the smallest amount and go up from there if needed. And considering that all wood is slightly different in color, etc., I would recommend you do it this way anyway.
If you don’t notice any change, add a little more stain to the water mixture. So on and so forth.
TIP: Keep in mind though, that the change is SUBTLE. So don’t jump to adding more stain if it doesn’t look like it’s enough of a difference in the wood. Give it a chance to dry first, then assess. You don’t want it green (or orange), you want the color canceled out so it looks more bleached.
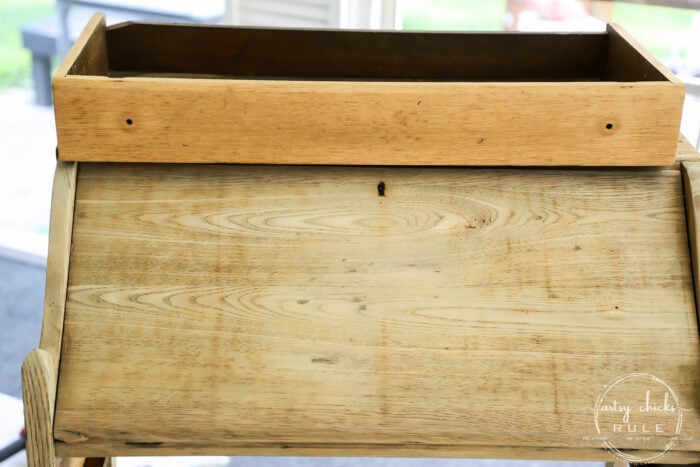
The desk is drying from the stain while the drawer sitting on top has yet to have it applied.
See the difference?? Very subtle but absolutely successful at removing the orange-y color. And in turn, creating more of a bleached look.
Once it was dry from the water/stain mixture, I went over the whole thing with a 220 sanding block to smooth it out again. The water makes the grain raise so you will need to do this to get a smooth finish.
Step 2
Apply the white wax.
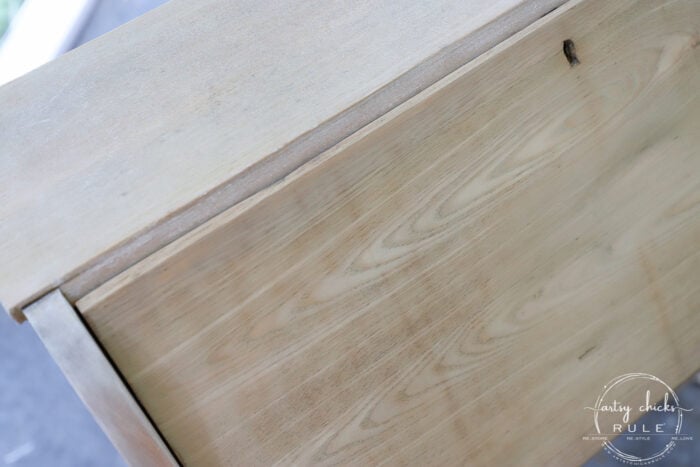
You can see above, the top and side have already had the white wax applied. The front has not.
See the difference?
Not all wood grains have this much texture, so some will pick up more of the white than others.
This little desk had tons, so it grabbed a bunch of that white color.
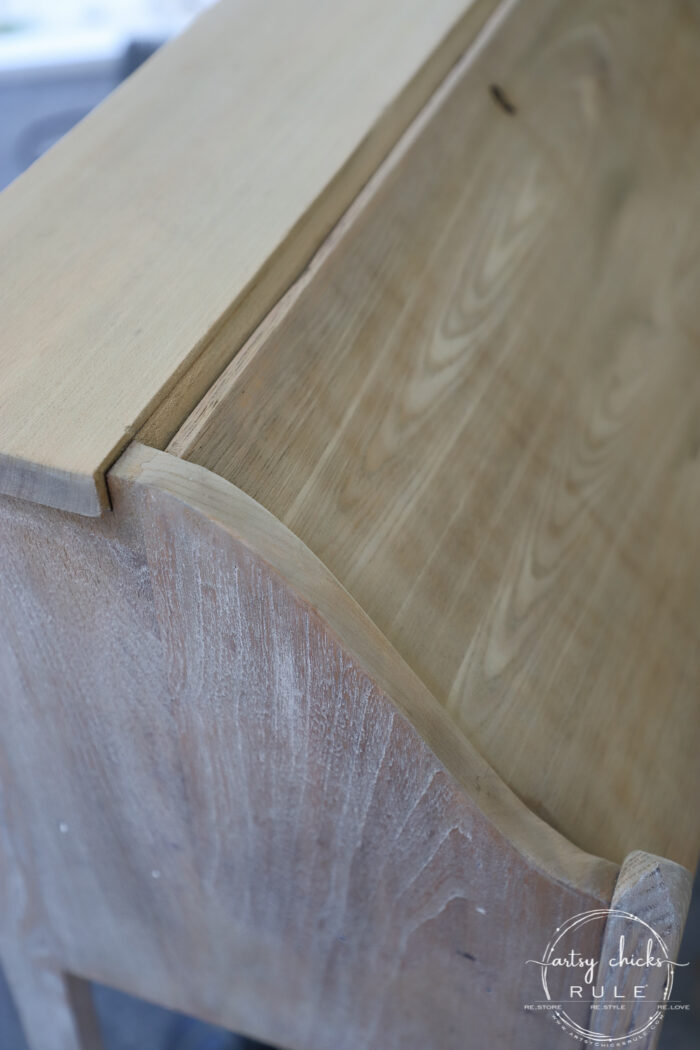
In this photo above, the side has been waxed, but the top and front have not. See how lightened it up?
I don’t love using wax so much on painted pieces anymore these days (but occasionally will) but I love using wax on natural wood.
For the inside of the desk and drawer, I simply cleaned it up and applied the Java Gel. Once it was dry, I applied a coat of Gel Topcoat with a soft rag.
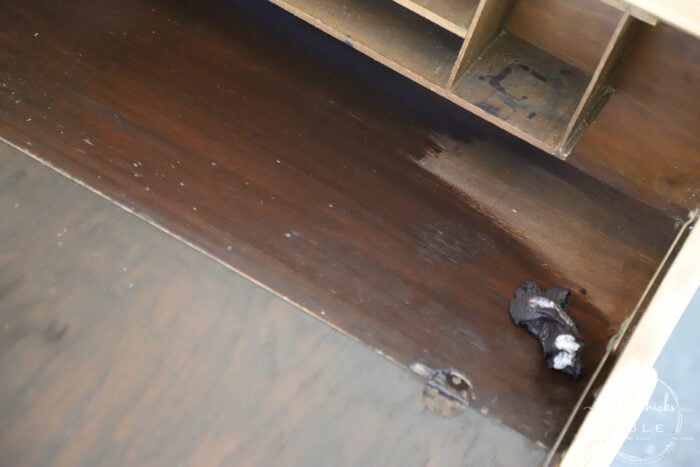
What a difference!
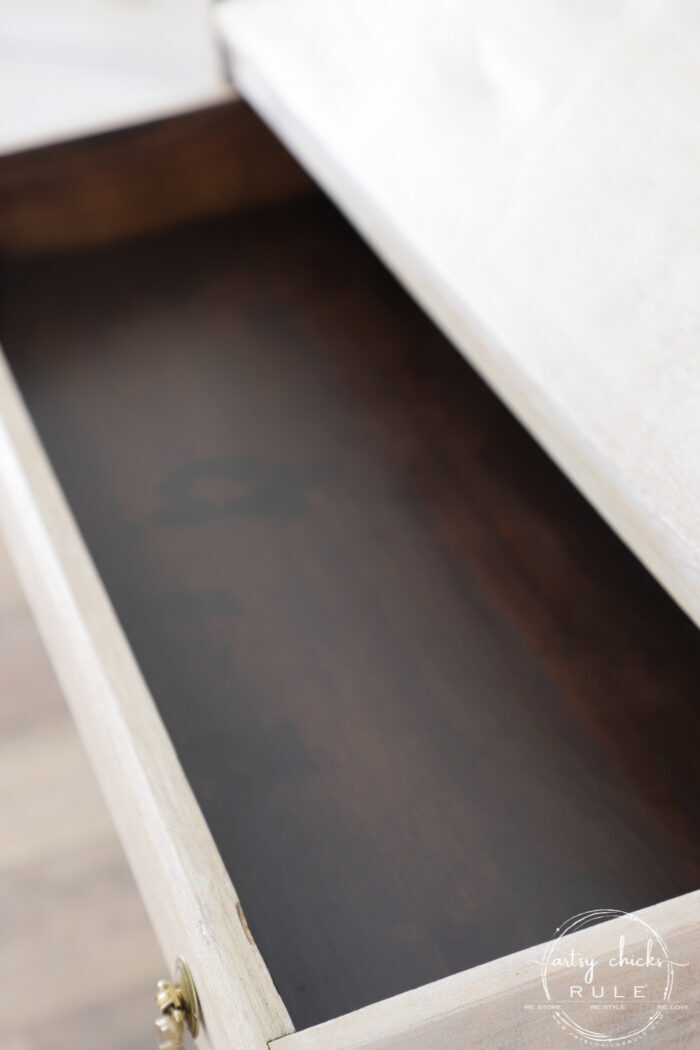
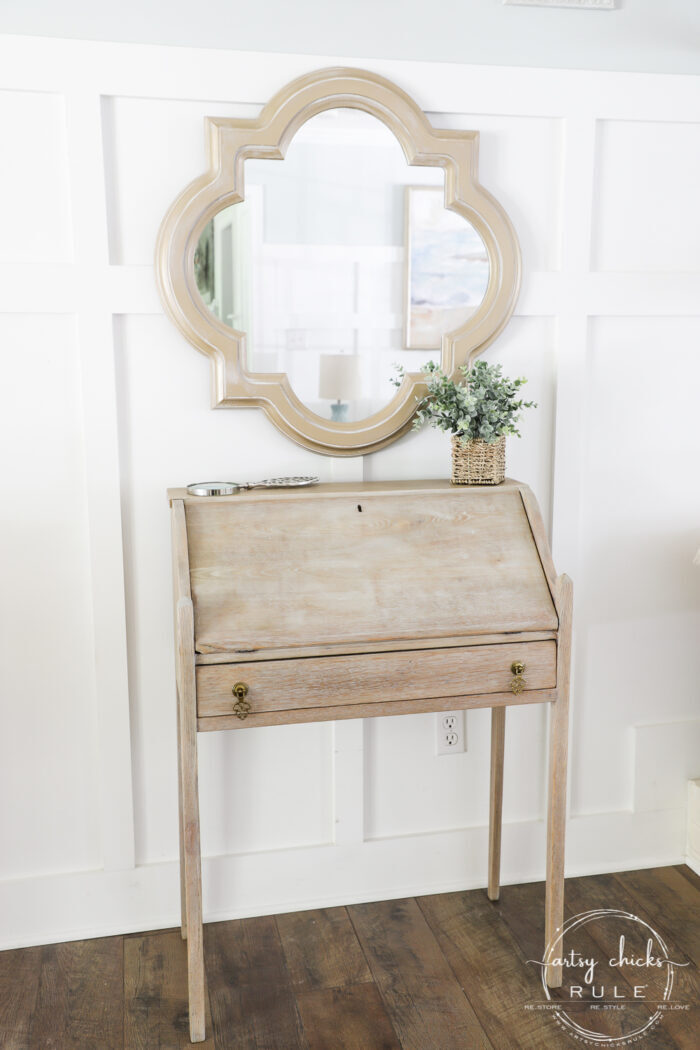
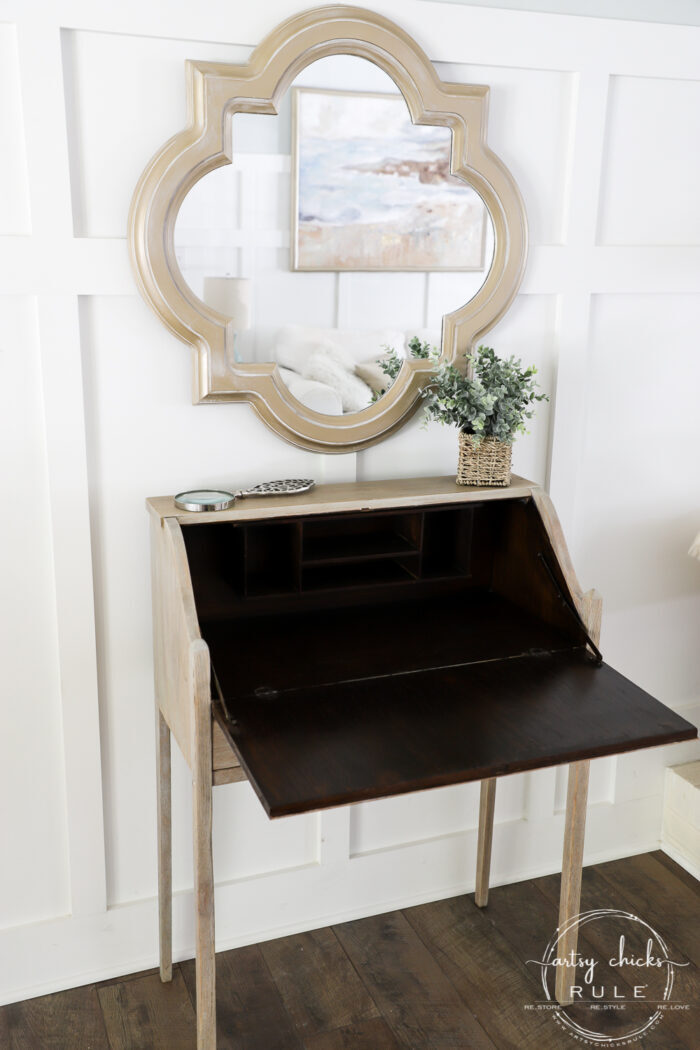
I absolutely love the contrast of the dark wood inside and the bleached wood on the outside.
See the round ink bottle stain? I think that is most likely what it is. Looks like it to me but who really knows?
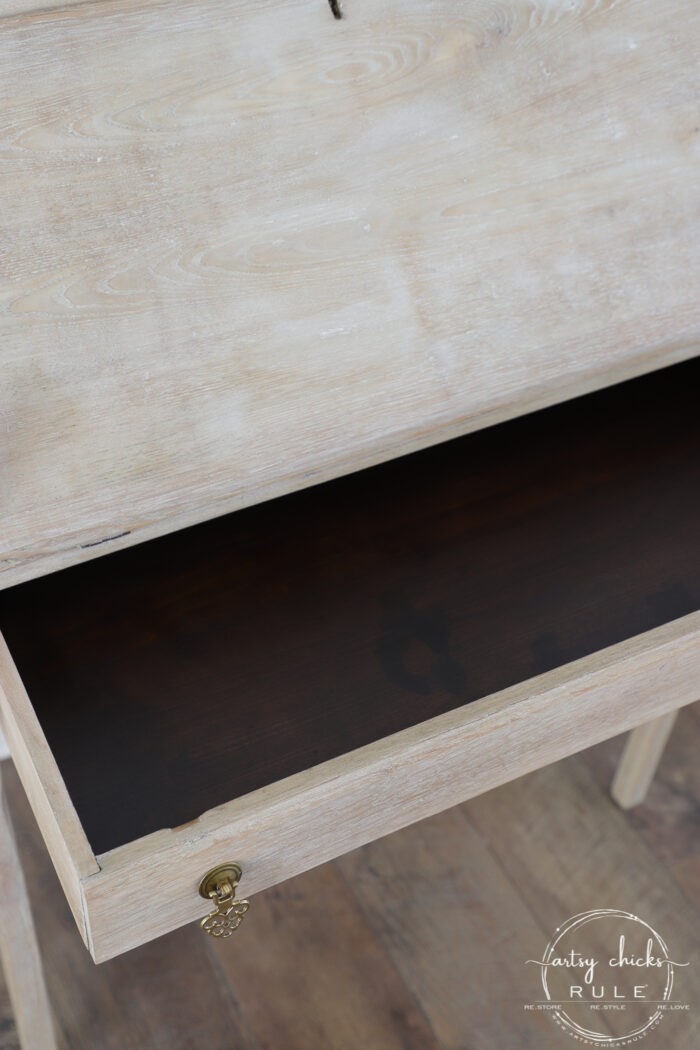
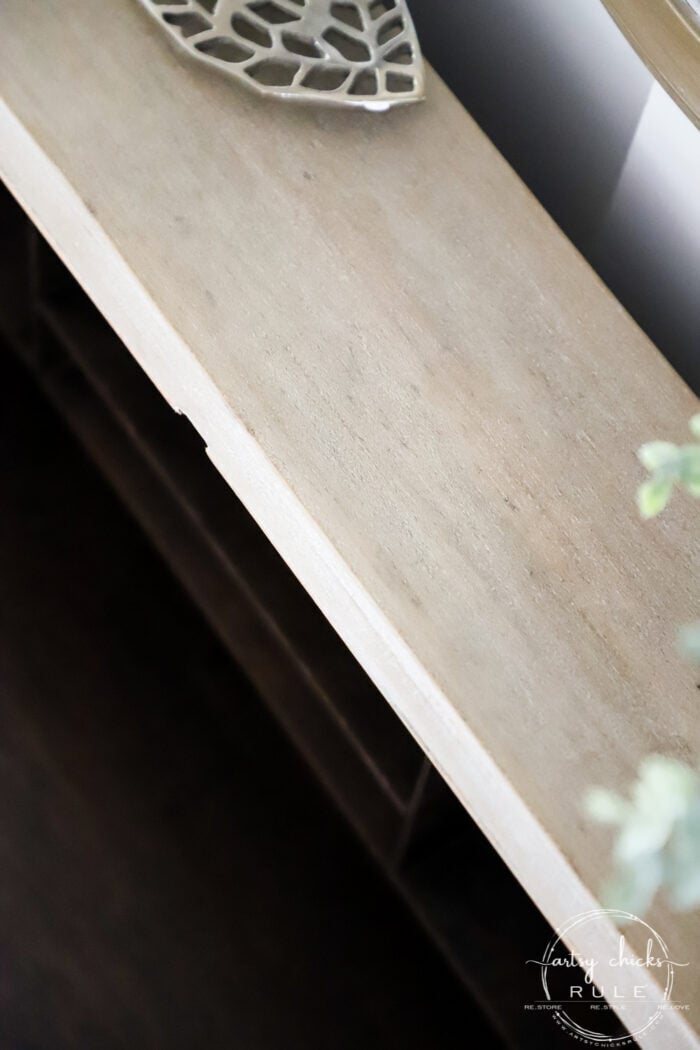
And that is it.
A bleached wood look without all the mess… or work! Well, you do have to sand but you’d have to sand either way to get to the bare wood.
No strong chemicals or multiple applications, having to neutralize the bleach, etc.
I’m really thrilled with how it turned out. I can’t wait to try it again on another piece soon.
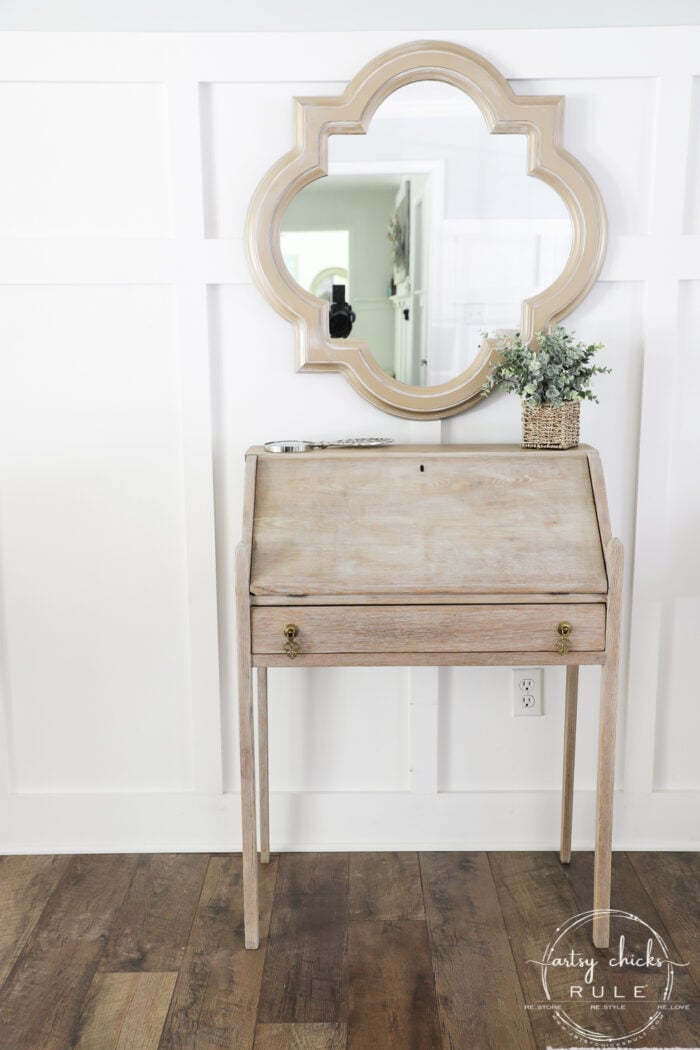
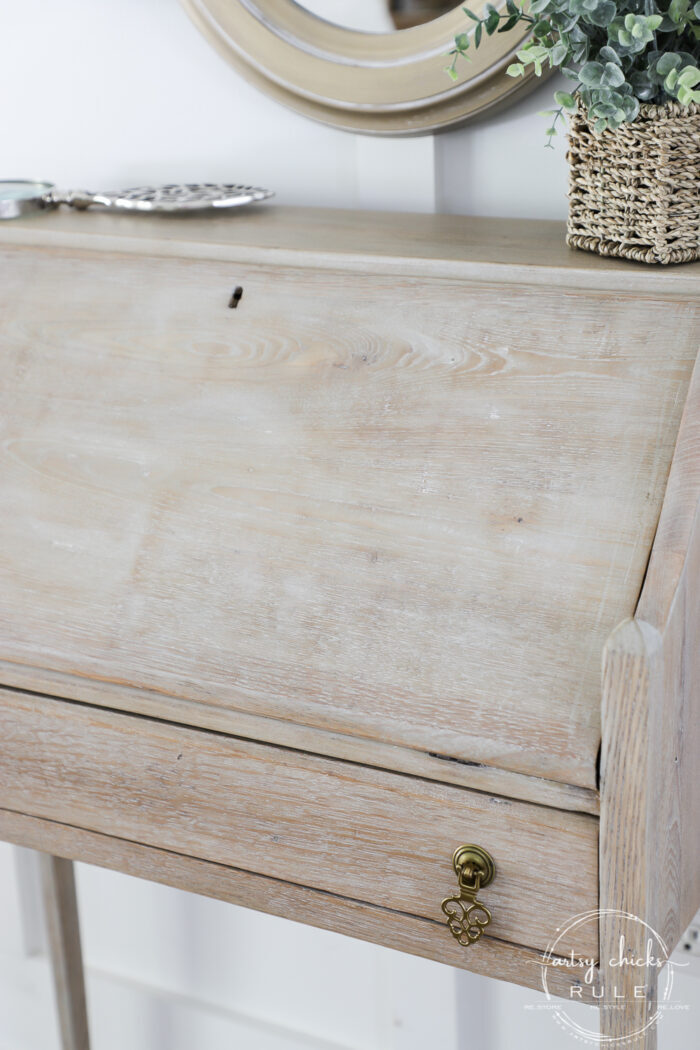
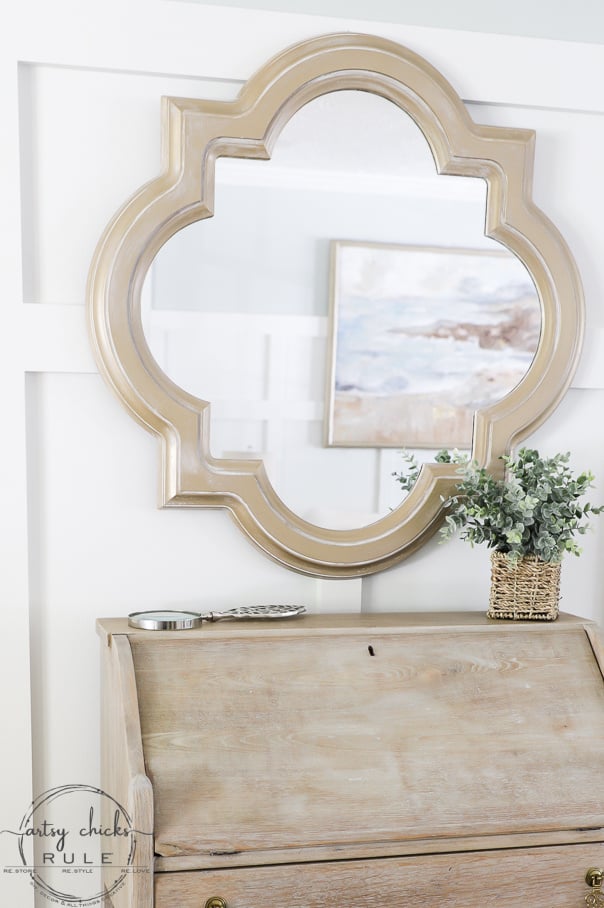
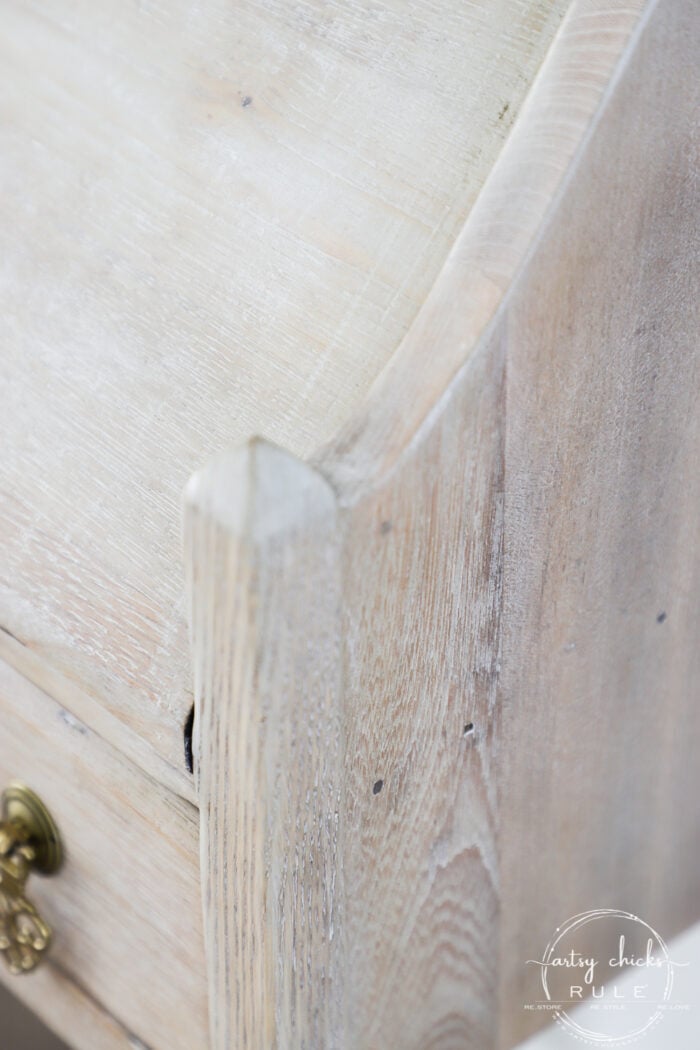
Up close of the white wax…
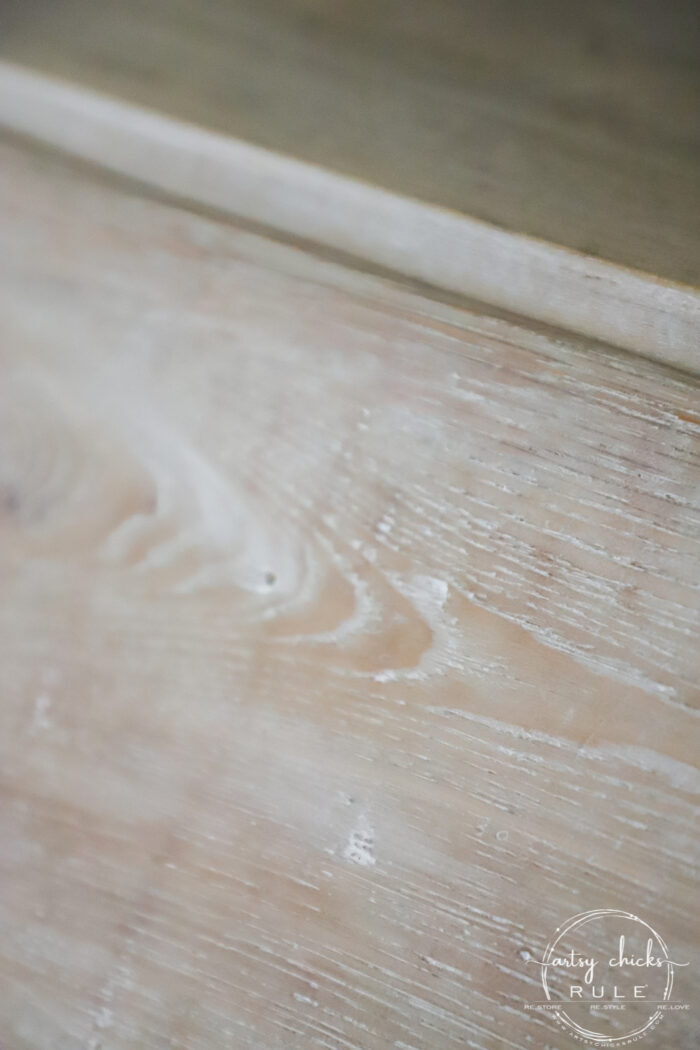
Don’t forget to buff that wax to a gorgeous sheen.
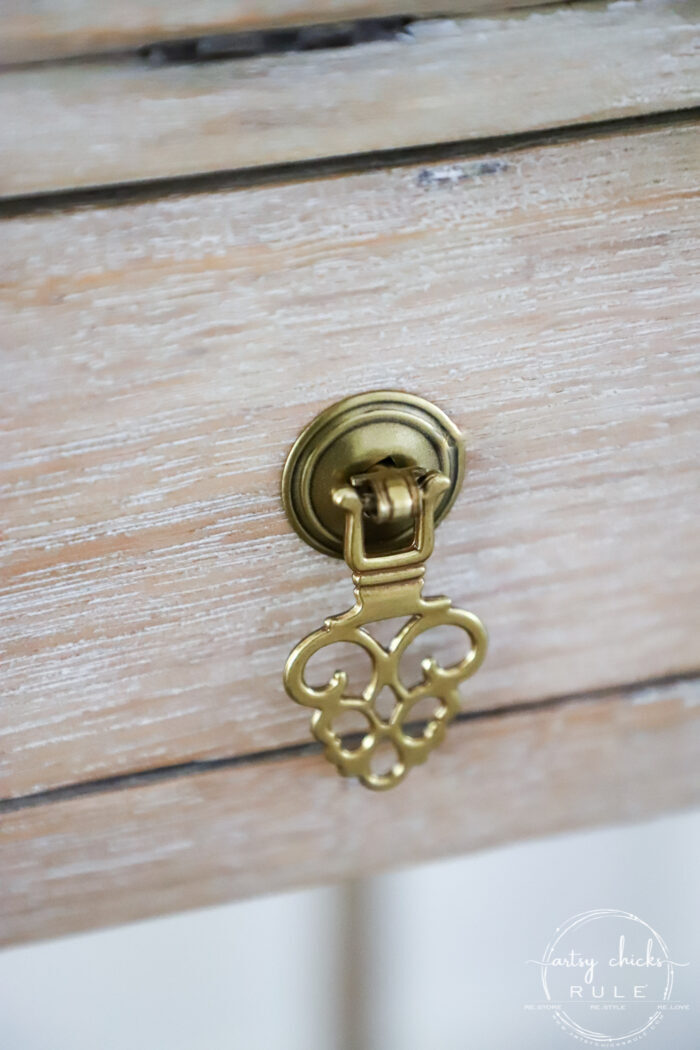
Oh, and the hardware I chose to use on it. (it had round wood knobs originally)
Another shot of the inside.
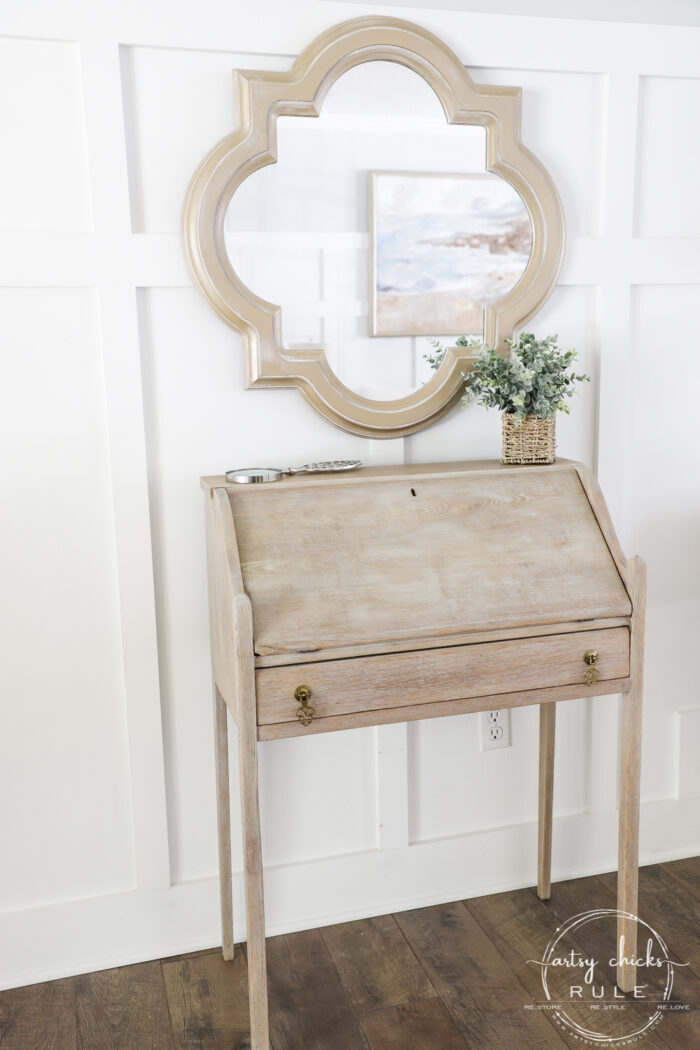
I hope you enjoyed today’s post! It was a fun one to do. I love trying new techniques.
This is something that you can do on furniture or even small wood decor pieces.
Hope you give it a try!
More posts in the “back to basics” series:
- How To Create Faux Verdigris (and video)
- How To Create Faux Patina (and video)
- How To Dry Brush
- 26 Different Types of Chalk Style Paint
- Pros and Cons of Chalk Paint For Furniture
- 5 Top Ways To Seal Chalk Paint
- How To Chalk Paint Furniture & More!
- How To Transfer Images
- How To Import Images Into Silhouette
- How To Restain Wood Without Stripping
- How To Use Gel Stain
- How To Bleach Wood
PIN it to save it!
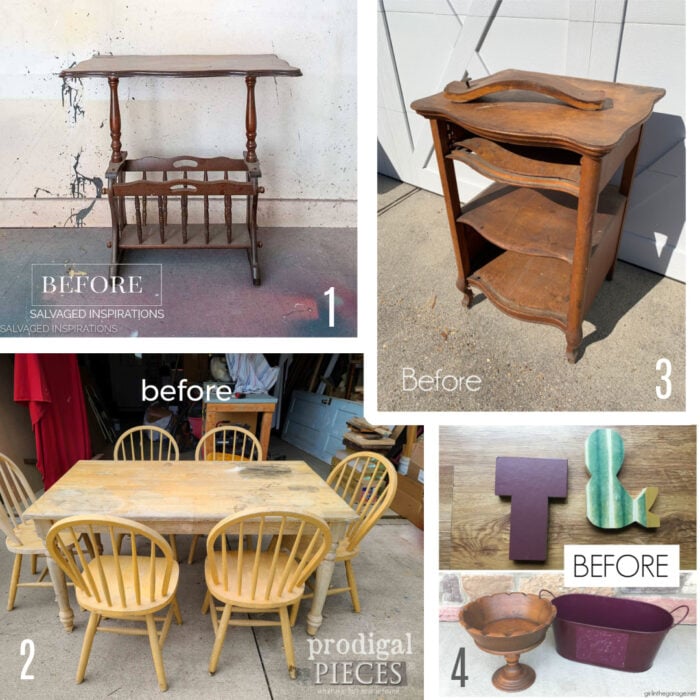
Don’t go just yet! Take a look at my friends’ makeovers now. The link to each project is below the photo.
Want to see even more from the Trash To Treasure girls? Check them out right >>> here.
If you decide to give this bleached wood hack a try, send me a picture of your project, I’d love to see it! :)
If you missed any of the thrifty haul #3 makeovers, you can see them all here:
- Bleached Wood Desk Makeover(you are here!)
- Painted Ceramic Vase Makeover
- Navy Blue Coffee Table Makeover
- Thrifted Basket Makeover Ideas
- Etched Glass Whitewashed Box
- Oak Table & Chairs
I’ll be sharing this next!
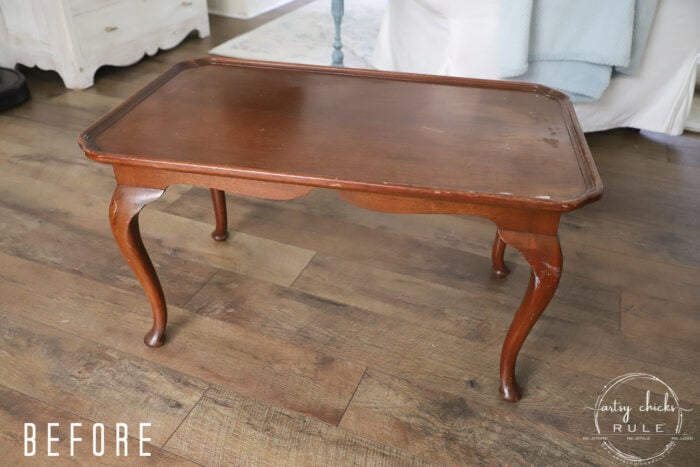
Update!!! See it now, here!
Have a wonderful week, friends!
xoxo








What a gorgeous transformation! You didn’t let it beat you and your hard work paid off. 💪🏼😍
Thank you, Larissa and yes it sure did! :)
I love this, it turned out looking fabulous and I really love the inside to, a kind of ‘nod’ to its past, a beautiful piece.
Thank you, Janette! :) xo
Nancy, this is, once again, a beautiful piece. The bleached wood look is perfect and your method was inspired. High five!!
Thank you, Christina! xoxo
Looks so sweet. Good job.
Thank you, Frances! :)
I absolutely love this! Can’t wait to try it. Thanks so much for the info!
Oh yay!! I hope you do!! :) xoxo
Hi Nancy! That technique was brilliant. I did not know that about green. This little desk/table is so cute. Thanks for sharing. Learn something new every day.
Thank you, Cheryl!! I love to play around with different finishes. Have a wonderful weekend! xo
I love when you redo furniture!! It is gorgeous…I know it was a lot of work, but so worth the end result!! And yes, ha ha…when you showed your haul, I thought…How did I miss that? Lol! The oak set was a steal!! XOXO
Aw, thanks, Christy! I wish I could do more but it’s tough these days! And yes, I can not wait to get busy on that oak set! xoxo
BEAUTIFUL!! LOVE IT!!
Thank you, Lesley! Have a wonderful weekend! xo
Love this piece! Fabulous!
Thank you, Audra! xo
Love, love the new ook. What an amazing transformation! The bleached wood contrasted with the dark stain inside – just gives the piece a high-end look!. I also love the new knobs. You certainly brought this piece into the 21st century. Thanks for sharing.
Thank you, Sue! I really love how the dark looks with the lighter wood. I wasn’t sure as I was imagining it so I’m happy it is a good look! ;) xoxo
That impressive !! Amazing use of your color knowledge.
Thanks for sharing. You saved this piece in a soft beautiful way. ;)
p
Thank you, Phyllis! :)
Nancy, I swear you are a genius!
Aw, thanks so much, Lynn! :) xo
This bleached look is amazing! I have my great grandmother’s desk which I have redone in black, stripped and naturally stained, and the most recently redone it in red!
I really love it!! I can’t wait to do it again on something else. :) And you sound like me!! Do and redo! ;) xoxo
Everything you post is such tasteful ideas. Thanks for sharing your wonderful ideas.
Thank you so much! I appreciate the kind words. :) xo
I absolutely love what you did with this piece Nancy. The bleached finish with the stained interior looks amazing! What a great tip about neautralizing the orange tones with green stain! PINNED! XOXO
Thank you, Denise! :) xo
One of my all time makeovers! I ADORE the dark inside light outside – just perfect!!!
Aw, really?! Thank you so much, Kathy! :) xo
So pretty, Nancy! This sounds like a technique I would like to try sometime. We recently moved and still trying to get settled in, but someday I would love to do more makeover projects, possibly to sell. You came home with some great pieces from your thrifting trip! That’s table and chairs was such a deal!
Thank you, Vicki! Oh yes, I hope you do give it a try. I am looking forward to trying it out again on another piece soon. Congrats on your new move, that is exciting! :) xoxo
FANTASTIC! I love it. I have a bread box I’ve been holding off on. I think this would be a great finish for it. the words Bread is carved and stained in black. Thanks for sharing!
Oh yes, this would be great for that! And it’s a small piece so perfect to try it out on. :) xo
Nancy, this turned out so gorgeous! I love the bleached wood look you achieved here. And those pulls are perfect!! xo
Thanks, Jen! :) xo
Looks great! The dark interior was a shock!
Thanks, Rose!! I know, wasn’t it?! :) xo
I’m all for getting the look of beached wood without the bleach. Thanks for these great tips, Nancy! The desk and mirror are beautiful.
Thanks, Marie! I really enjoyed doing this one!
I’m so happy to see you using the white wax. I have a big jar of it and I was looking for some ideas to use it and this bleached look is perfect! You put a lot of work in this little trick and the end result is wonderful!
What a beautiful little secretary! I love the transformation. I once had to remove the damaged veneer from the top of a vintage Lane cedar chest. I bought a heat gun after (too much) elbow grease during a hot Texas summer and it worked beautifully. I was able to get it off in large sheets and just had glue to sand down. Highly recommend going that route!
Thank you! That is a great idea! I have read about the heat guns (I have one but haven’t used it in many years!) but didn’t try that. I will definitely next time! Thanks for the tip on that! :) xoxo
Nancy, did you use a wax brush or a cloth to apply the limed wax? Thank you
Hi Lisa, I used a rag (like an old tshirt material) to apply it and that is what I would recommend. :)
Hi Nancy, Would this technique work for a staircase? I worry about high traffic.
I don’t see why not. It’s like any other finish…will be protected with a poly coat. With that said, I would use something other than a flat finish, something with more sheen (like satin or semi gloss) as that will hold up better. :)
Quick question, did you apply the oil based Gel Topcoat to the entire piece? Or only inside the drawer?
Hi Lexi! No, only the inside. The outside got wax. It served a dual purpose, adding color (white) and finish. :)
The use of a neutralizing color is brilliant! I have a couple orange-y, yet beloved, pieces that are perfect candidates for this technique.
What green stain did you use?
Oh, it’s linked in the gray box in this post…Varathane, Riverbed
Yes, you will love it!
Hello. I absolutely think this technique is pure genius. So, I’m working on a desk made out of mahogany wood. I’ve already removed the previous stain and it’s down to the raw wood. The problem is that I want a warm antique stain and mahogany wood is naturally read. I’ve read that the only way to achieve this is to bleach the wood but I don’t want to. Can I use this method as a way to “bleach” my mahogany and afterwards apply the antique walnut that im going for. Thanks!
Hello!
Hmm, it is hard to say. The greenish stain would most likely cancel out some of the red but mahogany is a very red-toned wood so I don’t think you will end up with the tone you are looking for. You could of course try it somewhere inconspicuous or somewhere that you can then sand back down if it doesn’t work out.
I would probably suggest exactly what you have read though…bleaching, with bleach, to lighten it up a bit before you stain.
I love your flooring, could you let me know, is it real wood or vinyl. If vinyl what brand?
Thank you! So beautiful!
Thanks, Susie! Here’s the link to all the info on it. :)