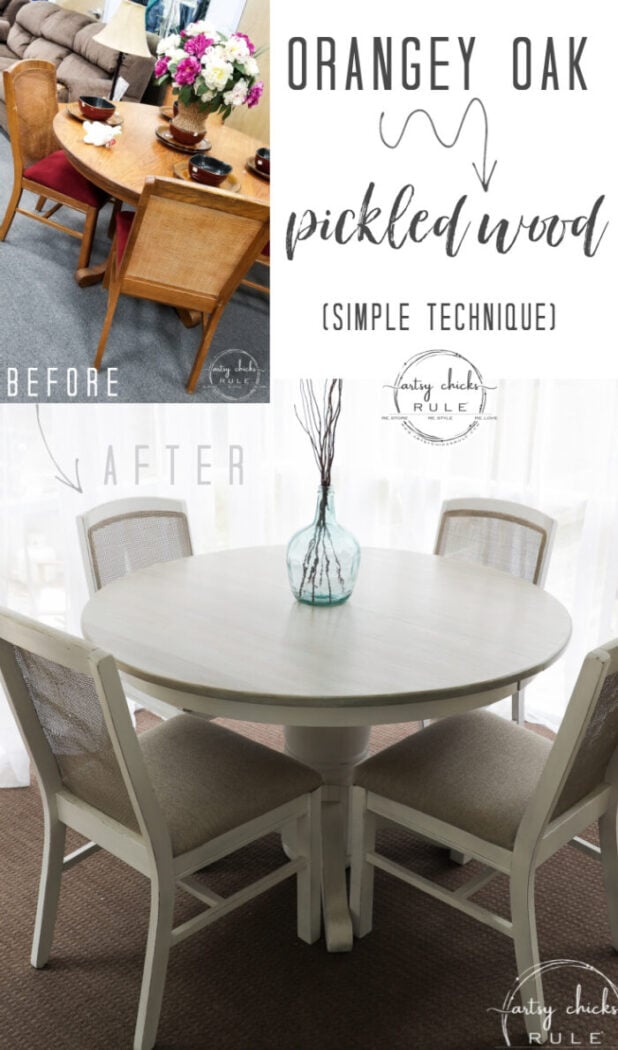
How To Get A Pickled Wood Look (simple technique)
Create a pickled wood look finish on your old orangey oak…simply with these 2 products!
Hey, hey friends!
We spent a long weekend in the Outer Banks at our beach condo this past weekend…and we are finally turning the corner. Meaning I’m not about to lose my mind anymore. haha
I can see it coming together and it makes me so happy. It’s been quite a bit of work but as I always say, do-able.
And if you watched my Instagram stories, you know what I took on this time. Yep, going ahead and peeling the paint off the doors!
What?! lol
I might have lost my mind with that one. No, kidding, not yet. ;)
What I did lose is my checkbook…haha…expenses are adding up so I decided to try to make the doors work instead of buying new. And guess what…I’m thrilled to say I came up with a way that didn’t break my back (or the bank) trying to get all that peeling paint off and I’m going to share it on Thursday.
All 9 doors are ready for a light sanding, primer, and paint which I’ll be doing this coming weekend…yay!
But let’s talk about today’s post.
Guess what I am finally sharing.
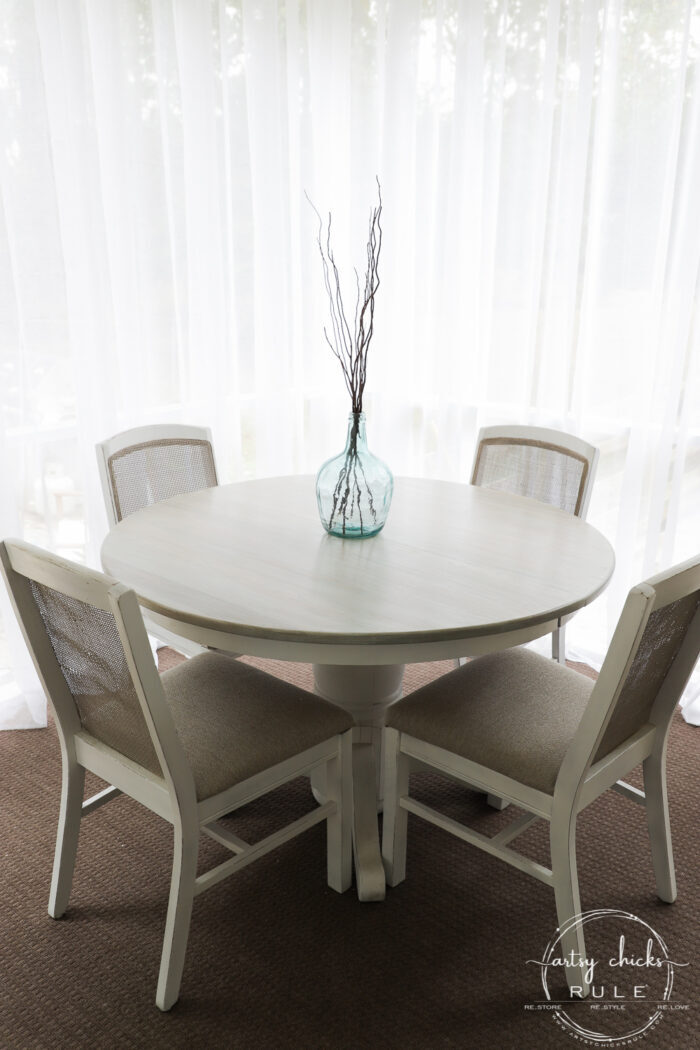
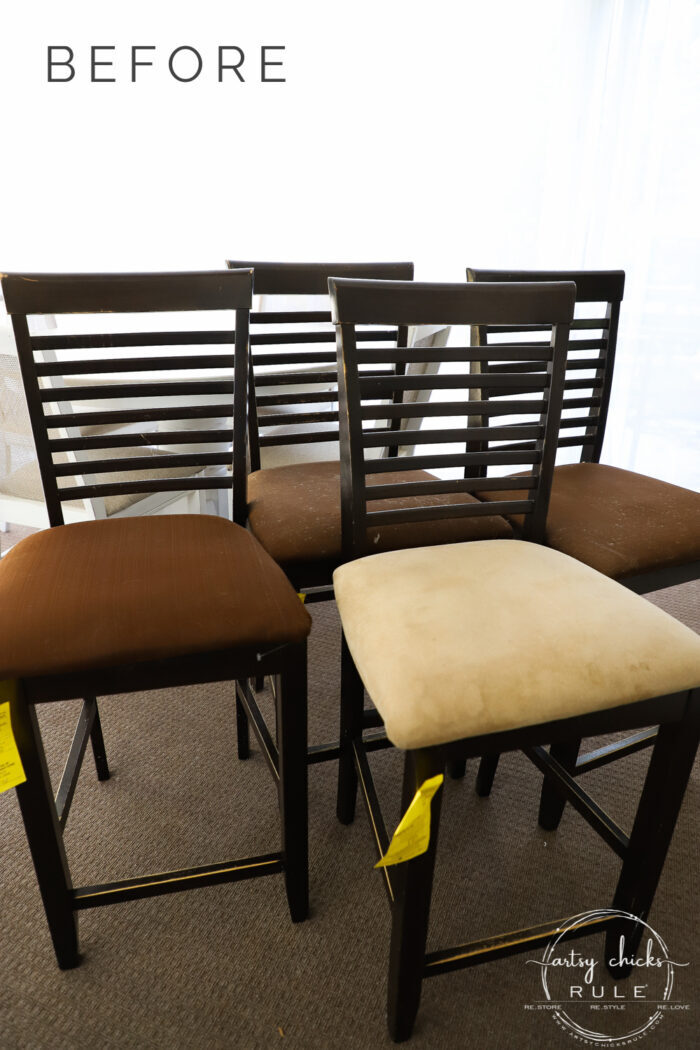
The oak table and chair set I picked up in thrift store haul #3…for $45!

This one…remember?
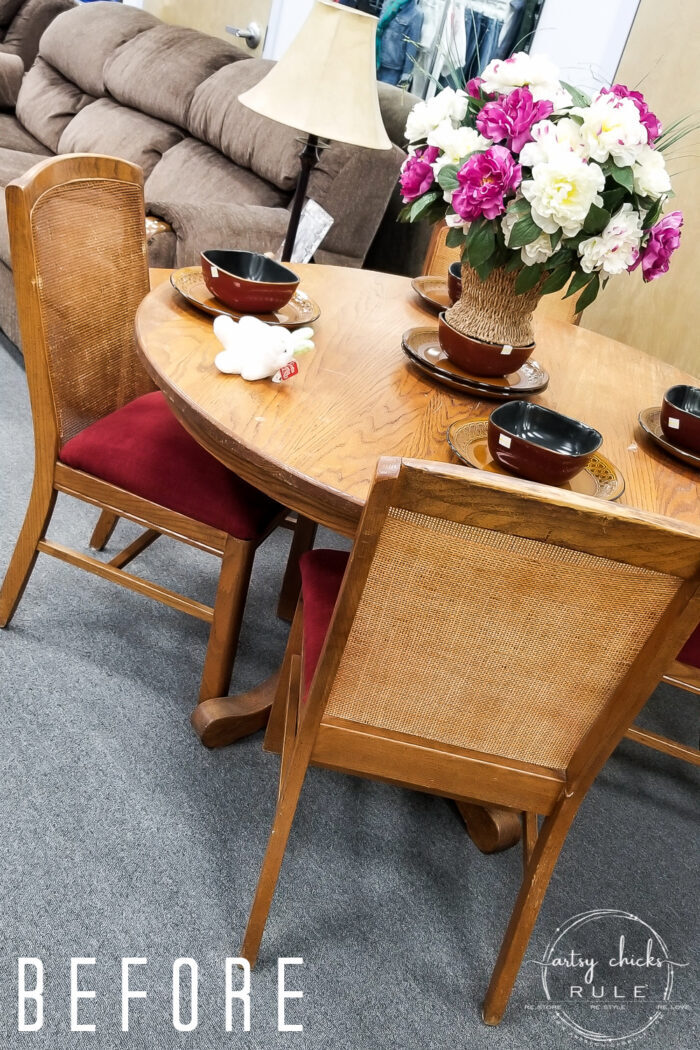
I didn’t buy it on my first run-in with it but I quickly ran back to get it. So glad I did because it’s perfect out on our porch.
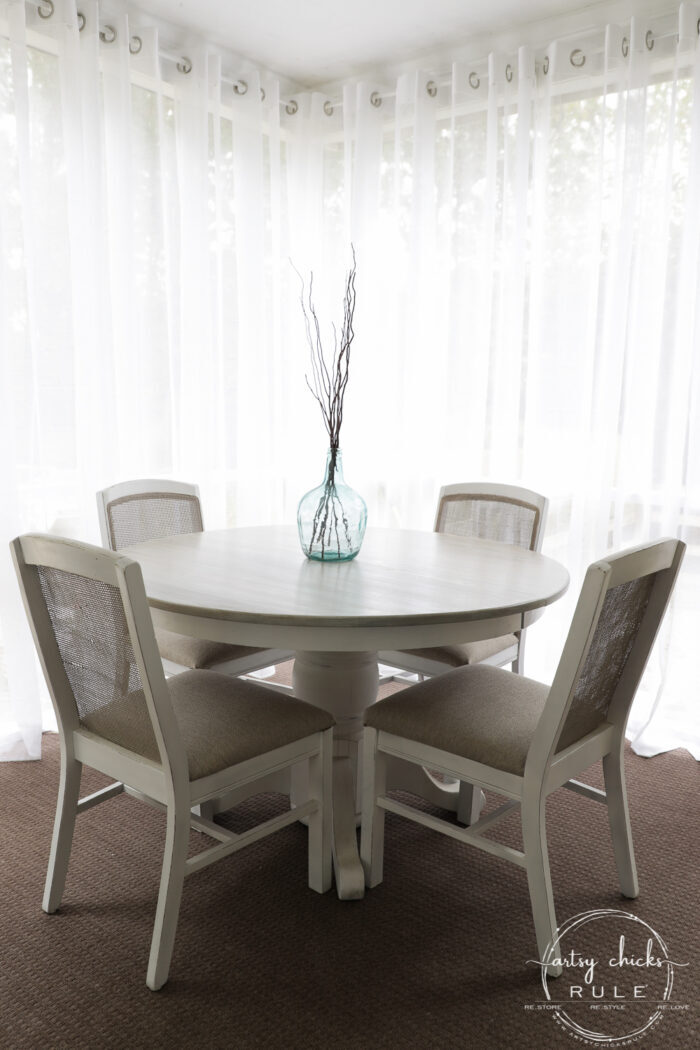
I have had it finished for a while but was trying to wait to get the back screened porch finished before I shared it. Unfortunately, that is still not quite done but I’m sharing the one little corner with the table and chairs anyway.
It’ll be so nice to be able to sit out here and enjoy this space again. It was in need of an overall for sure.
And this table… it is solid oak (and I mean solid).
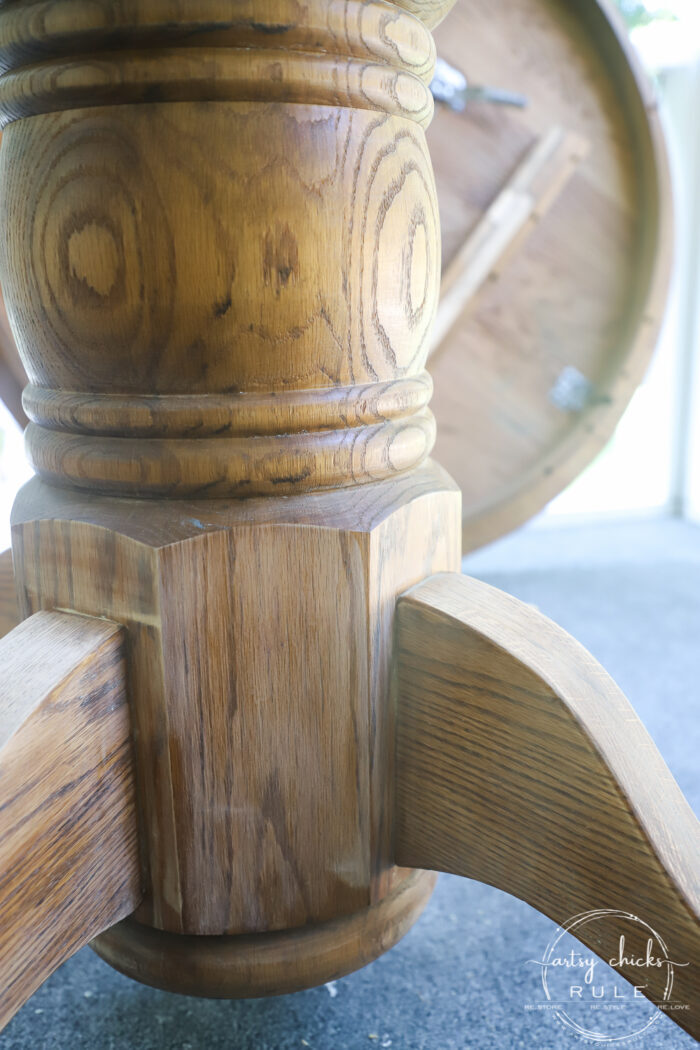
I started the makeover by removing the top completely so I could work on the base.
I lightly sanded and then painted the base in Linen white. (see box below)
Materials Source List
- Sandpaper
- Chalked Linen White
- Satin White Spray Paint
- Fabric of Your Choice
- High-Performance Top Coat
- Varathane Water Based Stain (color Riverbed)
- General Finishes Gel Top Coat
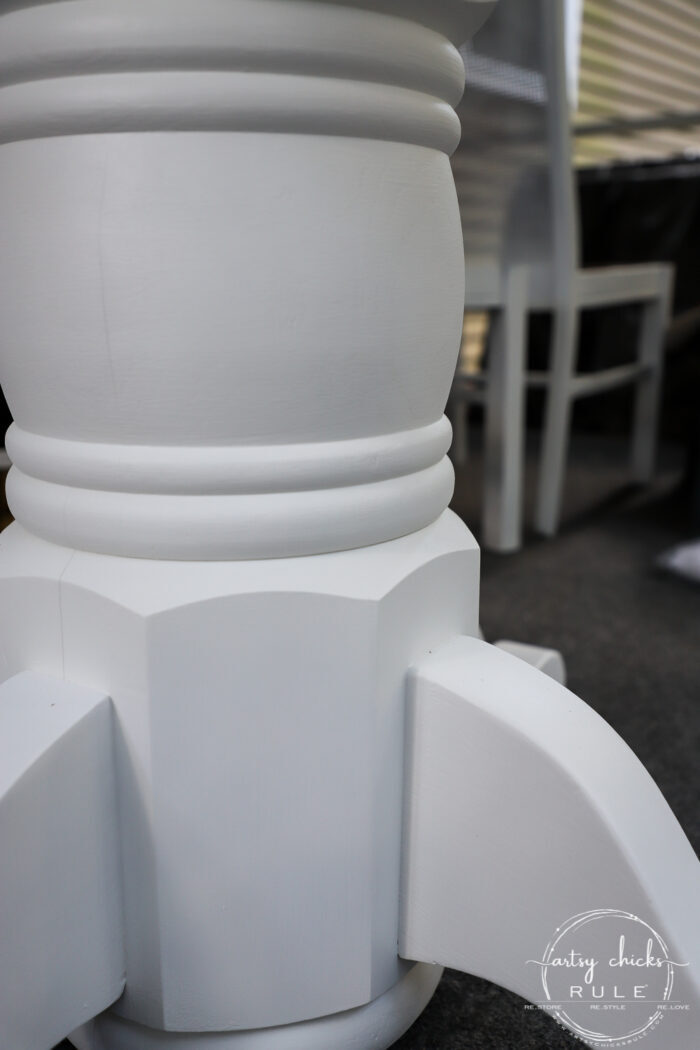
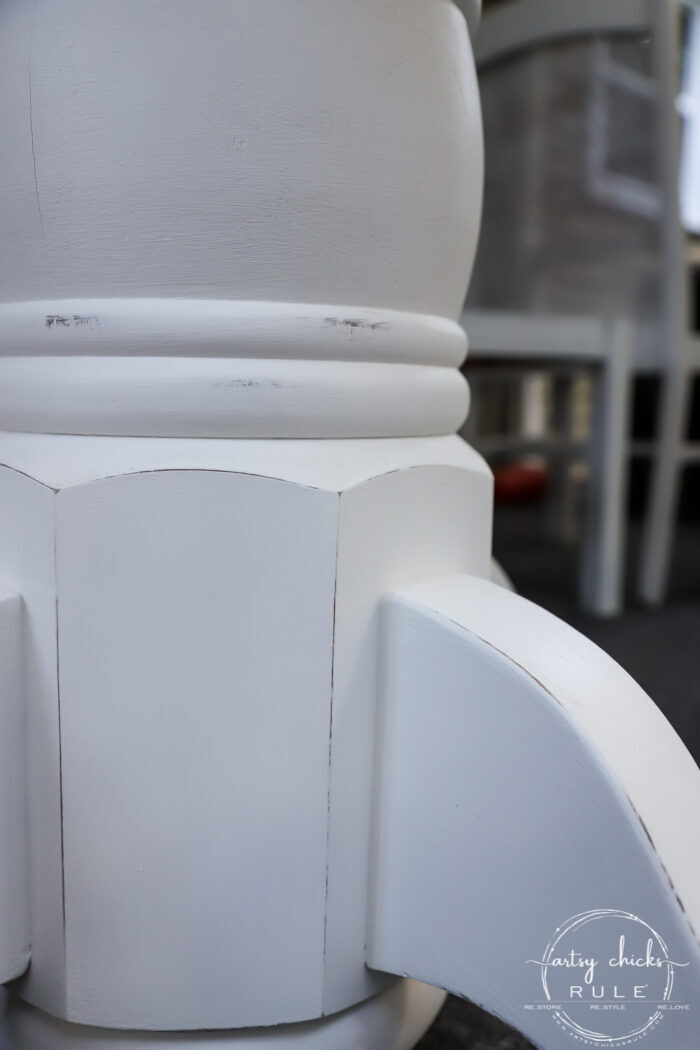
Once dry, I lightly sanded the whole thing to smooth it out and then a little more on the edges to reveal the wood underneath.
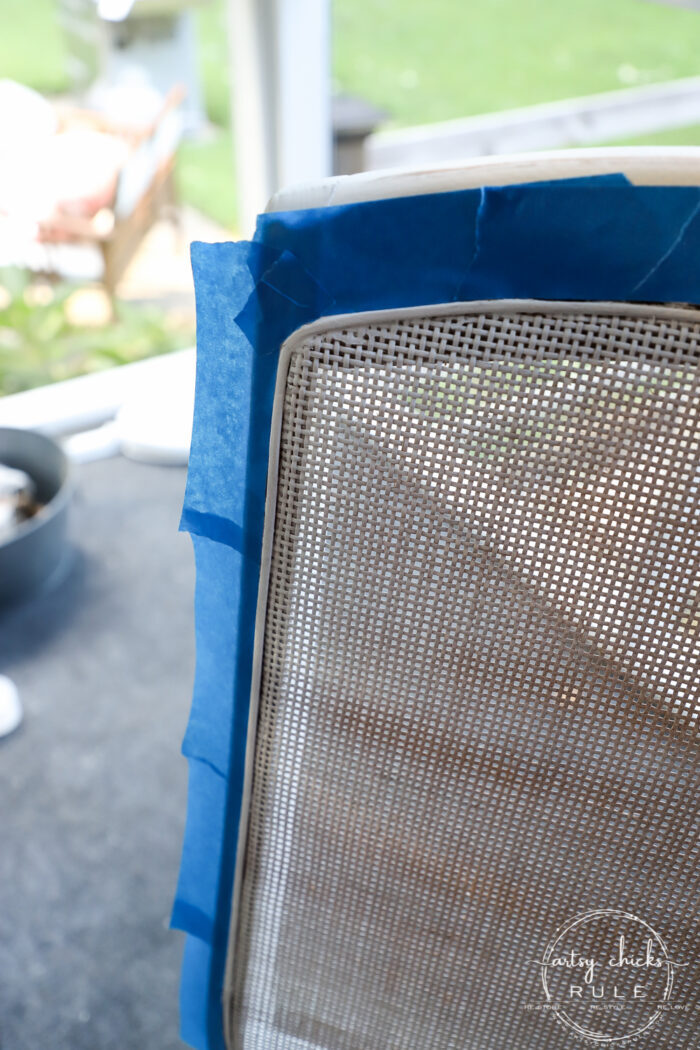
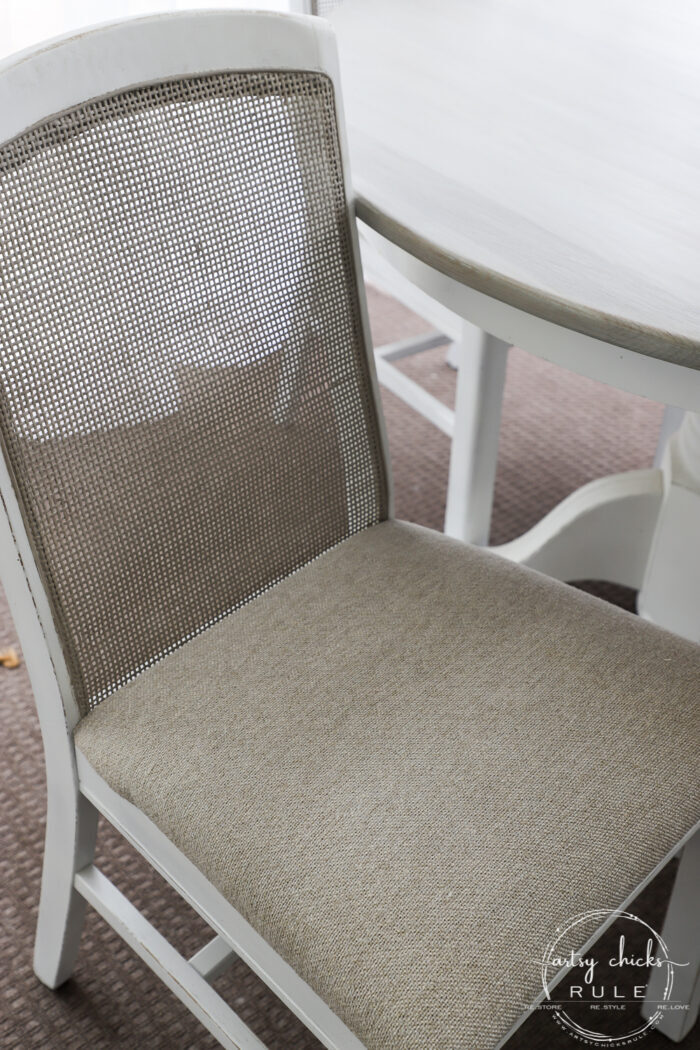
I painted the chairs with white spray paint.
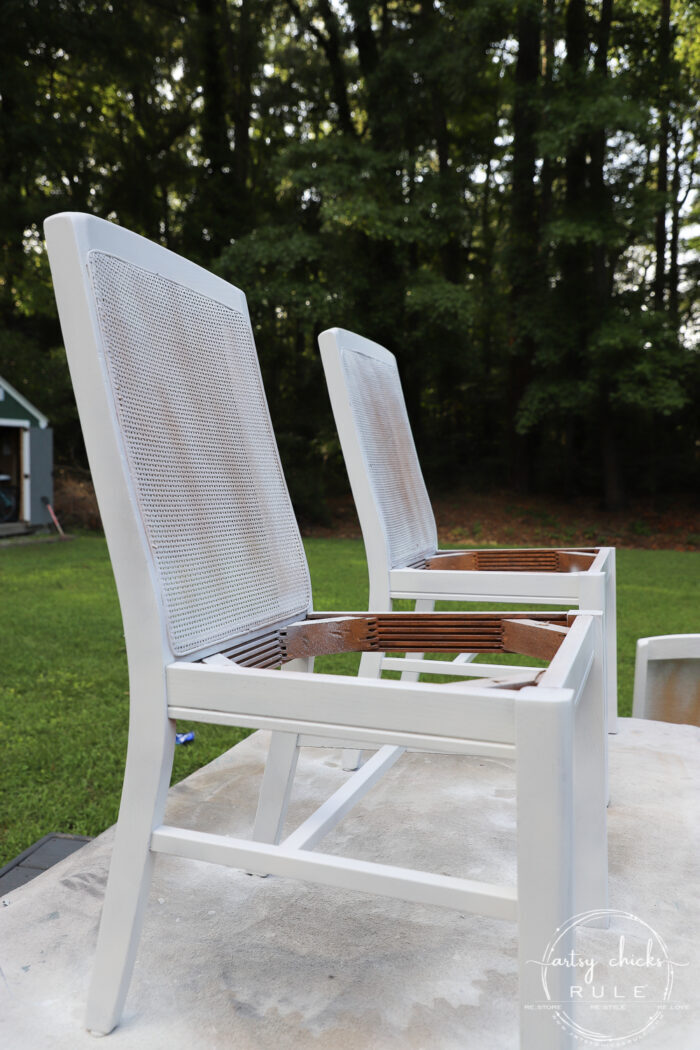
Then I mixed up some paint to try to match the fabric I purchased for the seat cushions.
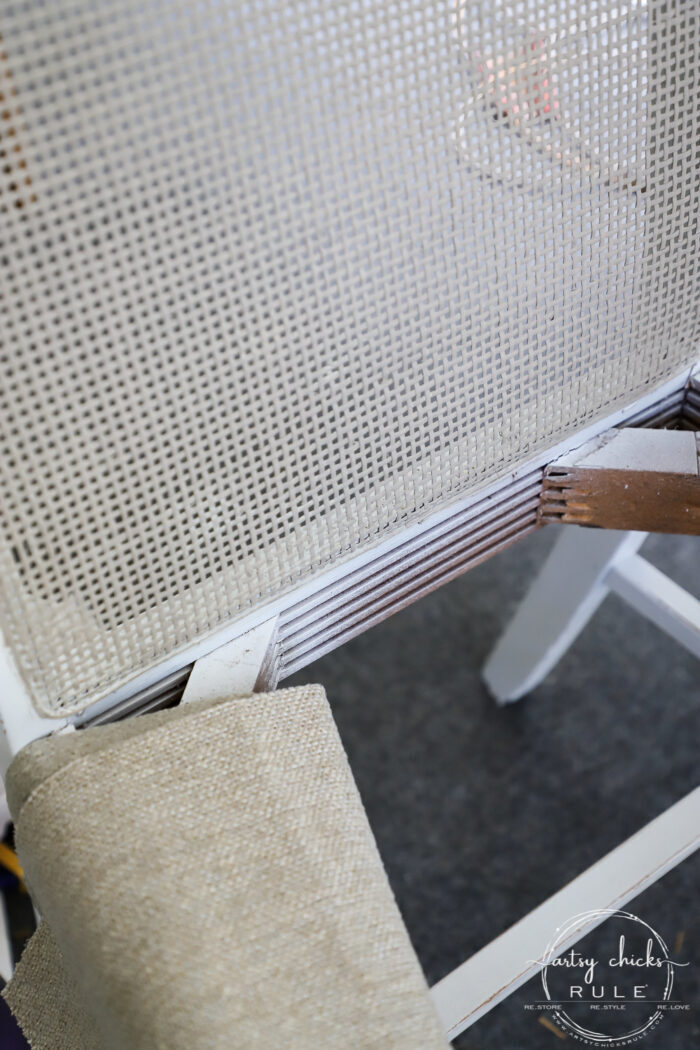
I taped the edges and painted the cane part only. (and I did this twice, boo, as I didn’t like my first color blend…it happens!)
And then I recovered all the seat cushions.
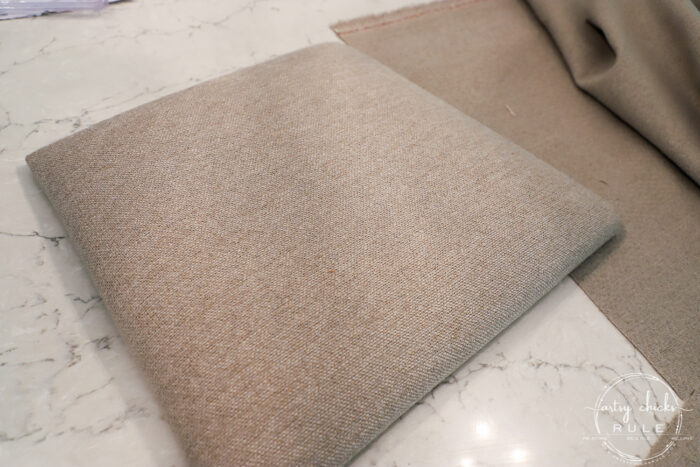
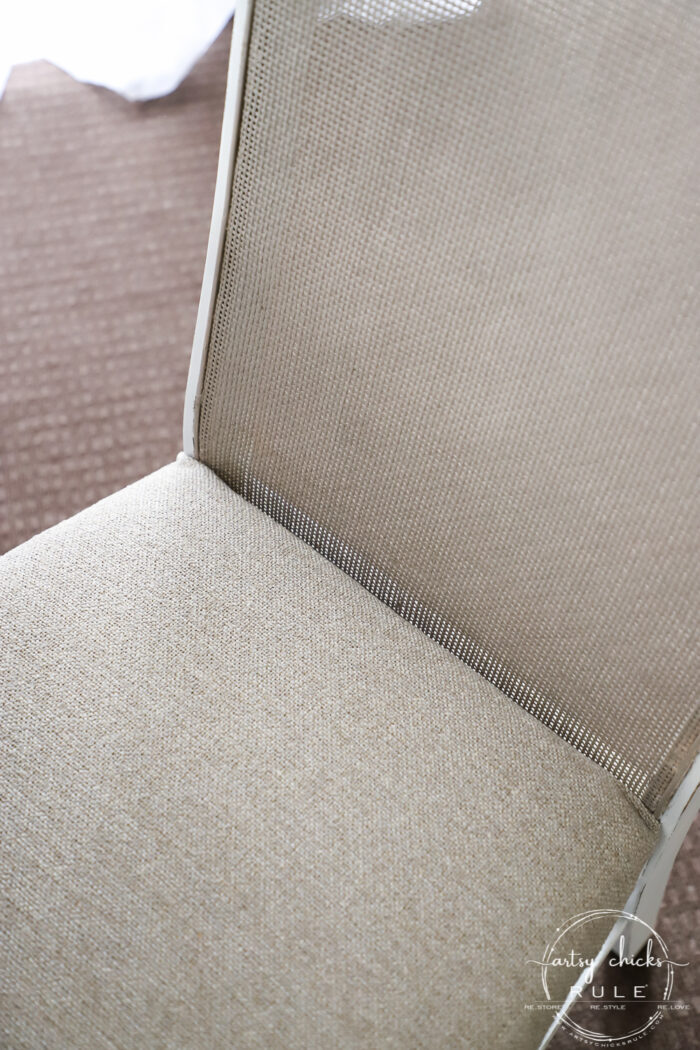
Like new!
Okay, let’s talk about this pickled wood look.
How To Get A Pickled Wood Look (with a water-based stain and paint…simple!)
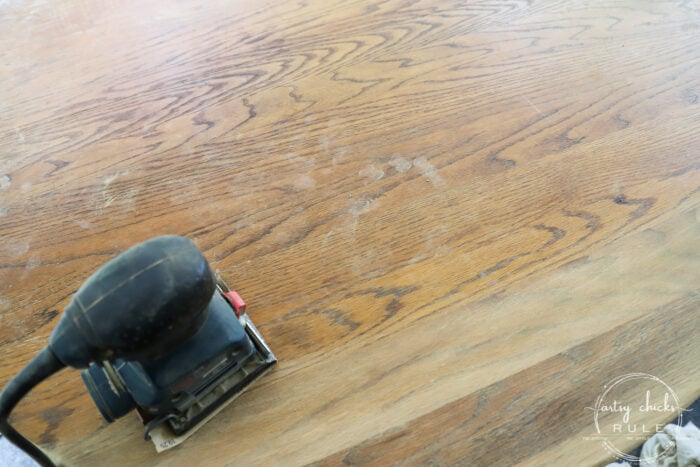
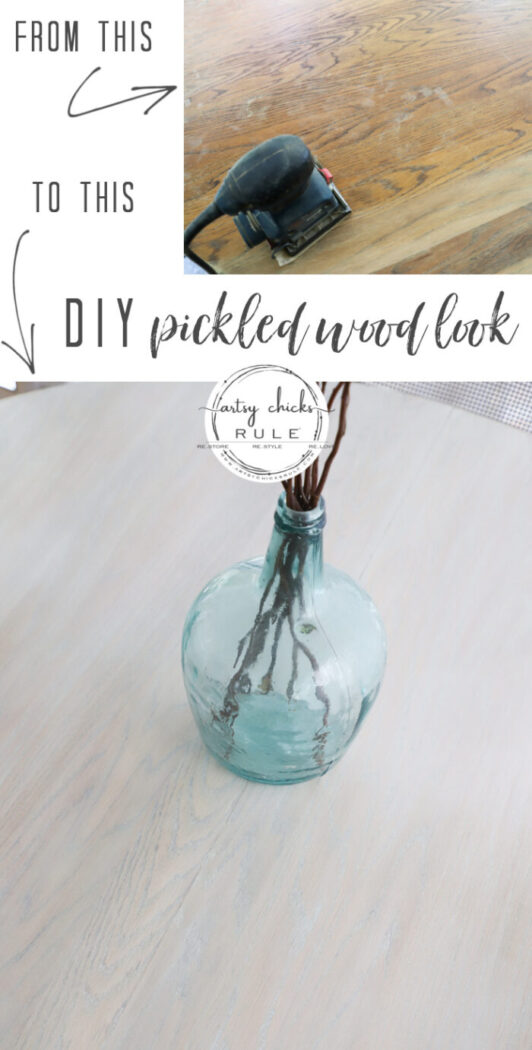
I began by sanding off the finish to get down to the bare wood.
I started with about 120 grit, then moved to 220. I didn’t want to go any finer than that as I didn’t want to remove all of the grain.
Next, I mixed up some water and the “greenish” hued stain linked above. This works perfectly to neutralize that orangey color.
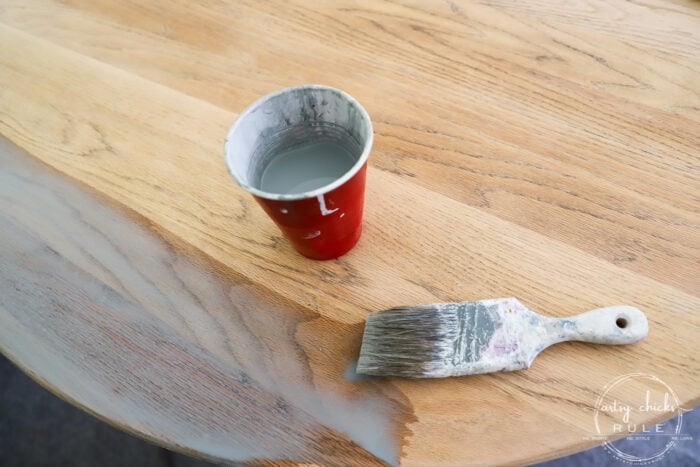
Apply it with a brush and let it soak in. You can see I add quite a bit of water to the stain.
Here is how it looks after drying from one coat of that. See how much different it looks from the above photo?
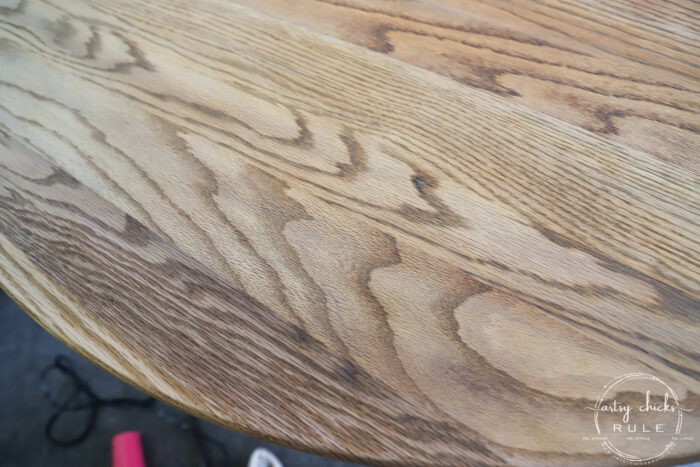
It works wonders to neutralize the orange color.
I wanted it a little more neutralized so I did a second coat of the watered-down stain.
(by the way, it always looks a bit more orange when wet)
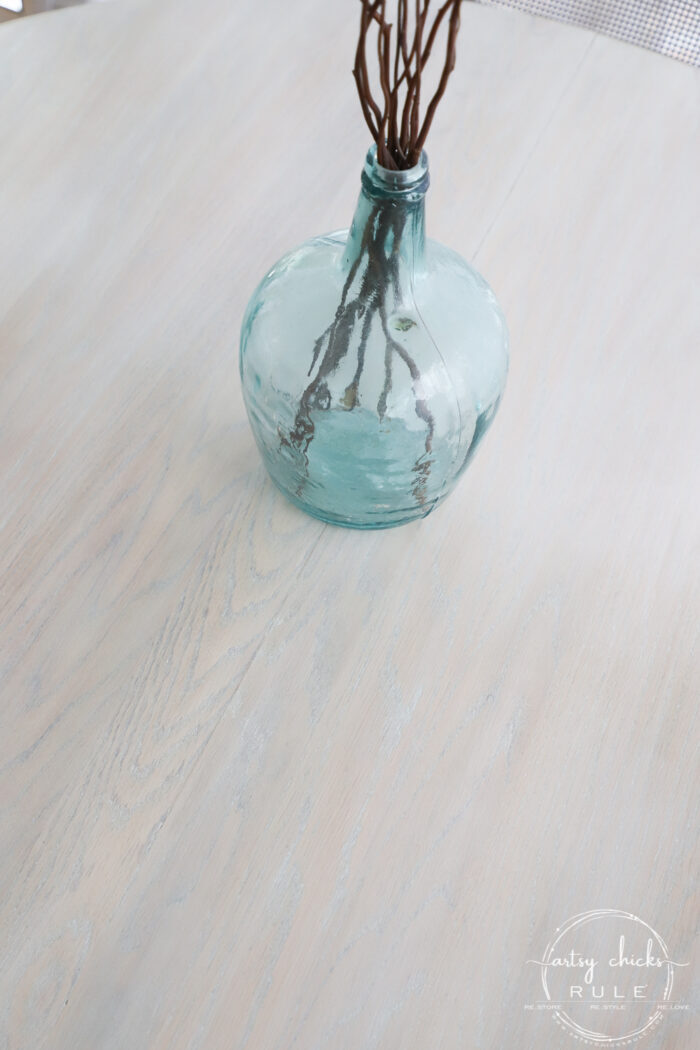
And this is how it came out after the second application.
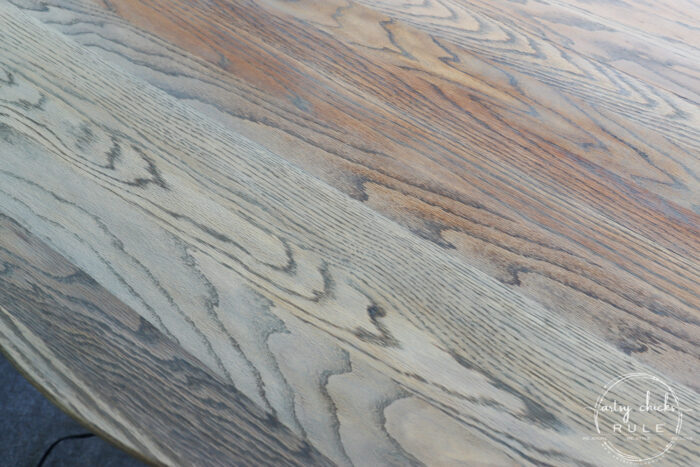
You can see it worked very well on some parts of the table but there was still a bit of orange on some of the darker areas.
That’s okay because the white “wash” will help that and you do want some variations.
Once it was dry I went over it with the 220 grit sandpaper very lightly again. The water in the mixture will raise the grain somewhat and make it a little rough so you’ll want to smooth it out again.
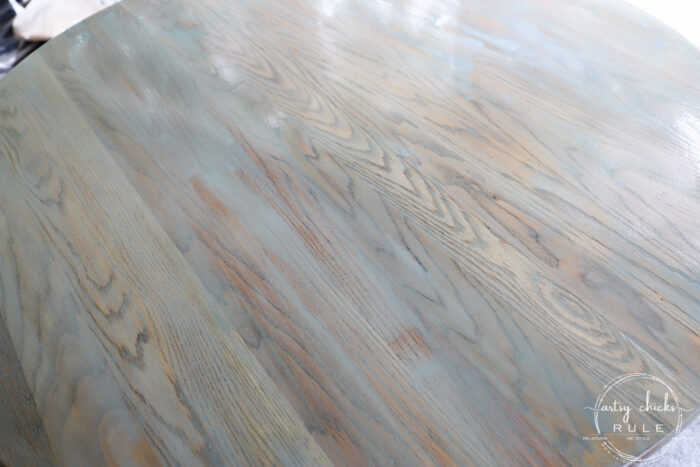
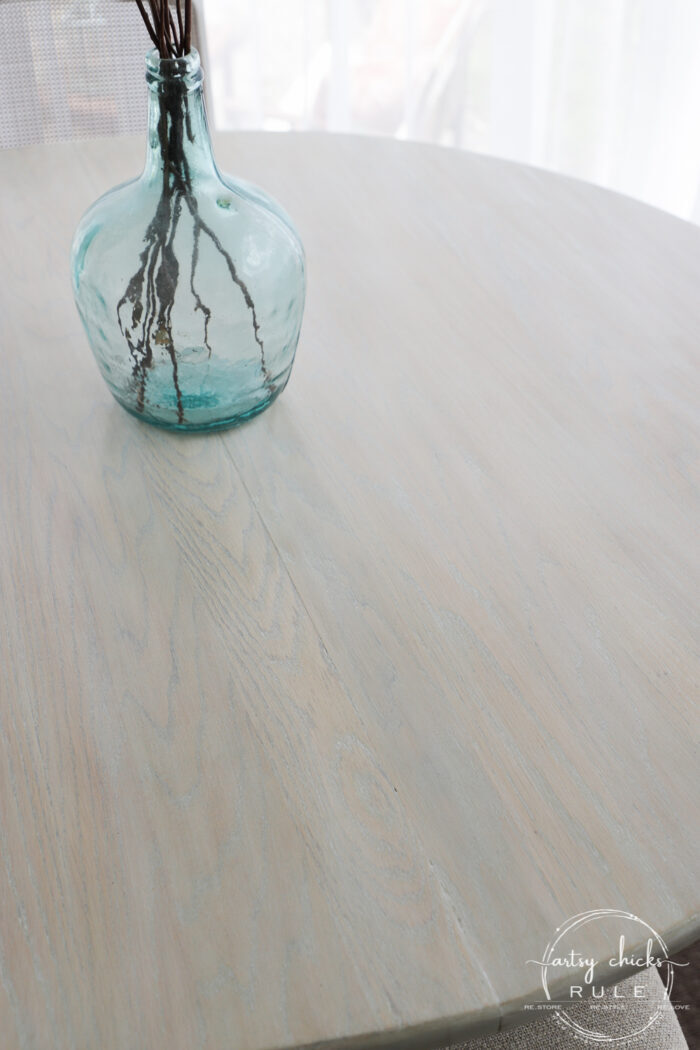
Once it is dry again, for this next step, I simply mixed the “Chalked” paint linked above with water. (about 50-50) and applied it with a brush.
Then, go back and wipe away the excess.

See how that changes the wood?
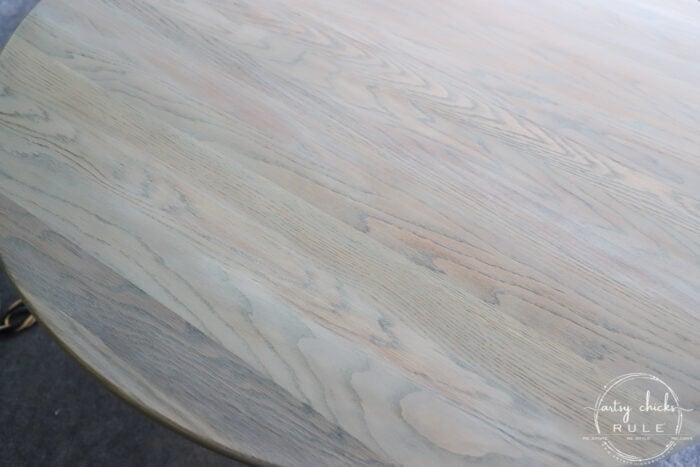
I love this look.
Just to give you an idea of how much I’ve changed it to this point…
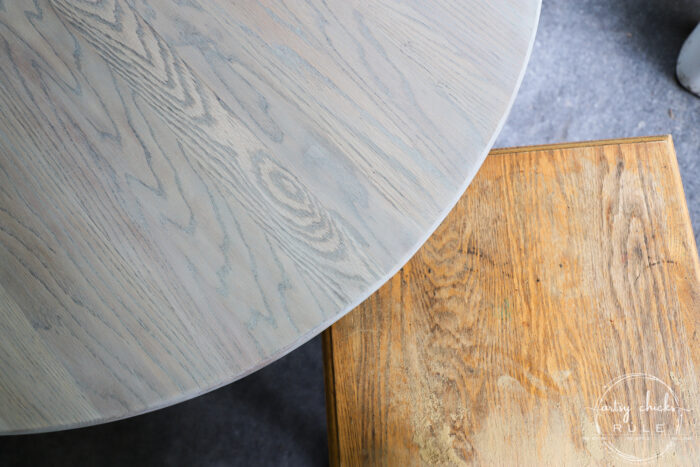
That little end table is the same exact color the table was originally.
What a difference, right???
You might remember this end table. It is the one I did a similar finish on.
I “bleached” (without bleach) to create this look below.
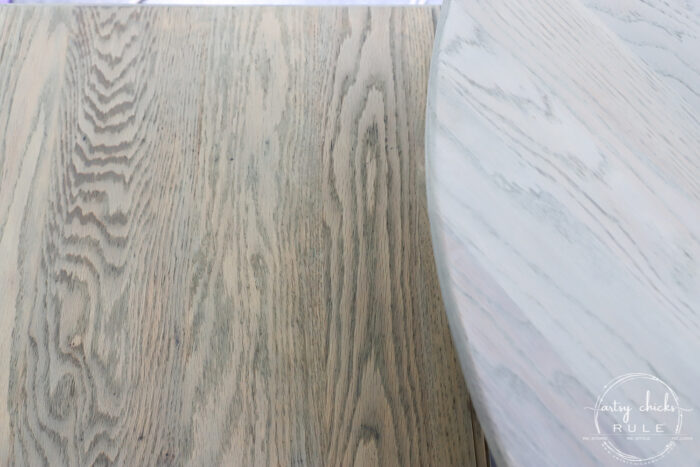
“Bleached” end table on the left and the pickled wood look round table I’m sharing today is on the right.
Quite a different look.
If you missed that little end table that I gave a “bleached wood look” to, you can see it here >>> How To Make Orange Wood Look Bleached (without harsh chemicals)
It wasn’t quite “washed” or “pickled” enough for me so I applied another coat of the white “wash” a little bit thicker this time. (but still not “thick” because you want it opaque) with a brush then gently wiping away the excess.
You can see how it settled into the wood grain below.
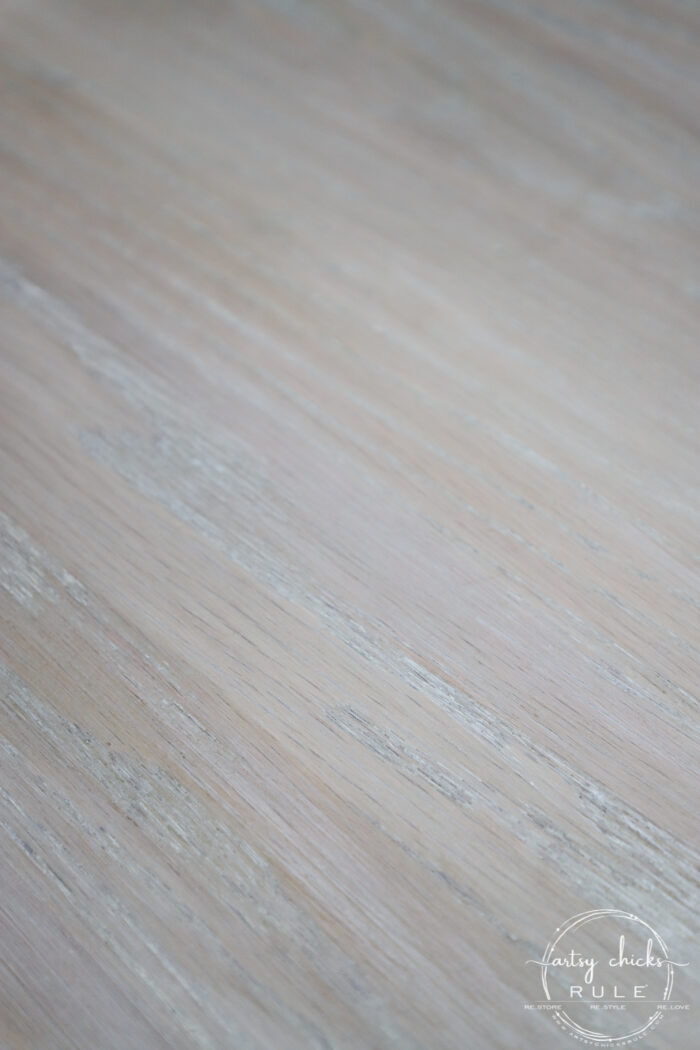
Exactly what I wanted.
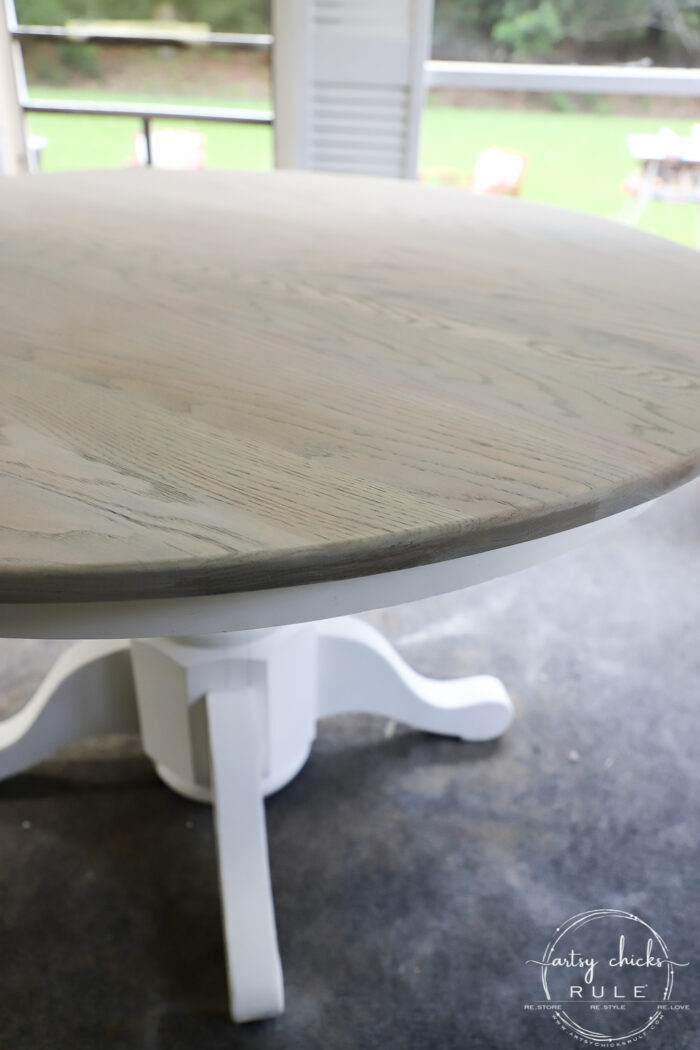
I let this sit for a few days and then finished up with the seal coat.
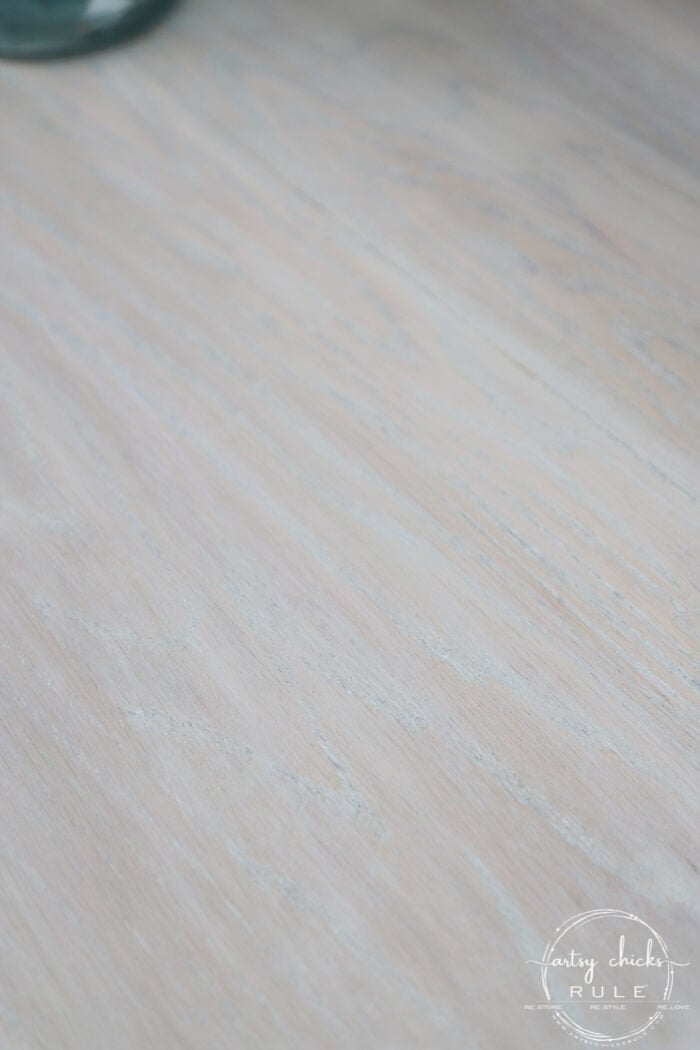
Perfectly pickled.
And that sheen.
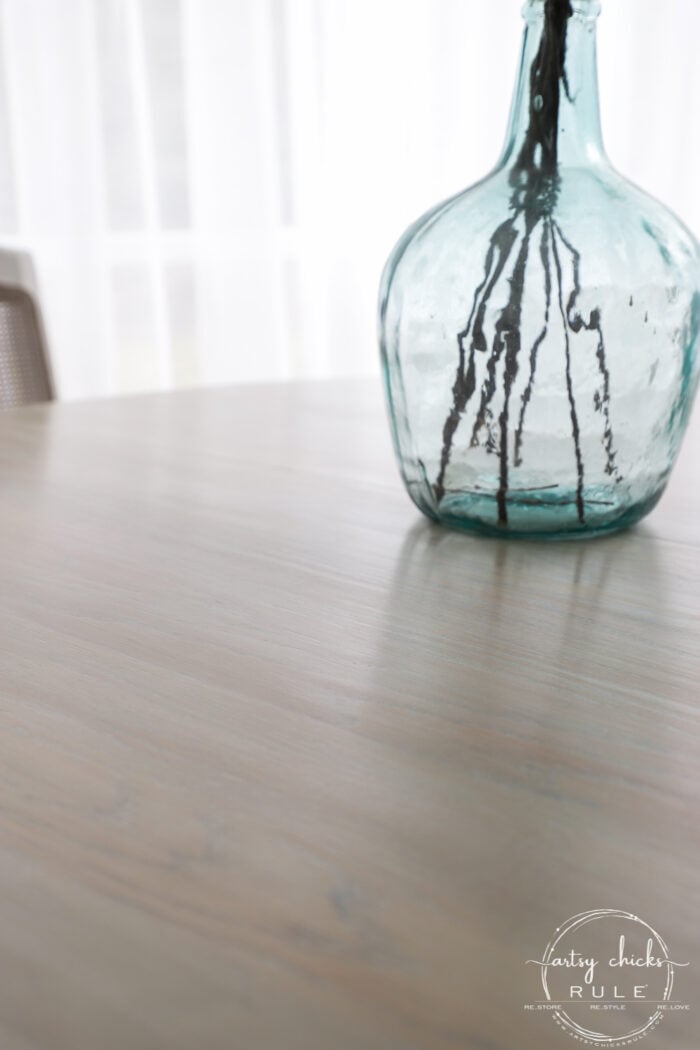
I ended up using the Gel Topcoat that is applied with a soft (lint-free) rag. I also used this finish on my favorite coffee table >>> Coastal Coffee Table Makeover
I mean, it’s just like butter. So smooth. I just adore this topcoat.
Even though it’s not actually in the weather, I wanted to use something oil-based since it’s outside.
Would you ever think that an old orangey thrift store table and chairs could look like this??
And the price…can we talk about the price? Where and how can you get a solid oak table with chairs for $45??
What a deal and a steal.
I’m so thrilled with how it turned out and can’t wait to eat breakfast or dinner out here on our newly made-over porch.
It might have to be next spring since the weather is getting colder by the day, darn it! But that’s okay, I’ll be ready. :)
PIN it to save it!
I am so happy to finally wrap up “haul #3”.
If you missed any of the thrifty haul #3 makeovers, you can see them all here:
- Bleached Wood Desk Makeover
- Painted Ceramic Vase Makeover
- Navy Blue Coffee Table Makeover
- Thrifted Basket Makeover Ideas
- Etched Glass Whitewashed Box
- Oak Table & Chairs (you are here!)
I hope you enjoyed today’s post (finally, I know!! I’m sorry!). It was a long time coming, thank you for your patience. We have a lot of irons in the fire over here. I’m hoping we’ll be less busy one day. But probably not!! lol
As a matter of fact, I know we won’t because I have some fun, exciting things I’m working on for you guys. (you know, in my spare time, lol!) More on that later!
But hopefully, we’ll be getting our master bedroom done soon so I can show that to you too. Do you follow on Instagram? Because I shared today (Monday) some headboards in my stories I went and picked up from the Restore for TEN DOLLARs each. What?! >>> Go look >>> Instagram.
Yes, and I have such fun plans for both of them (both a little different…one for the beach condo master bedroom and one for our master bedroom here) I mean how can you beat a $10 solid wood headboard?? You can’t!!
Stay tuned to see what I do with these!
UPDATE!! See them now, here!
I’ll see you back here on Thursday with the little secret of how I removed the peeling paint from our doors without losing my mind. (made the job so much easier!)
xoxo


")


")


Absolutely excellent. Ty!
Thank you, Denise! :)
Wow, Nancy, you knocked it out of the park with this one!!! Positively gorgeous!!
Thank you, Christina! So happy to have found this one! xo
What a dramatic change, Nancy. I never would think to paint the cane, and it’s just beautiful with the new fabric. Thanks for the idea!
You are so welcome! And thank you, Marcie! I’m thrilled to have found such a great set! xoxo
A beautiful refresh! 😍
Thank you, Larissa! xo
Wow! I absolutely love that look. Fantastic job!!
Thank you, Tracy! A labor of love!
What a lovely transformation!!!💖 Beautiful job!!!!
Absolutely gorgeous, you are such an inspiration!
Aw, thanks so much, Anita! xo
Thank you so much, Stacey! xo
Awesome DIY, I love it!
Thank you, Debbie! xo
Looks spectacular!!
Thank you, Connie! xo
I have been waiting for this reveal. LOL! Absolutely stunning! I have orangey oak tables/end tables in my house that thank you for your inspiration!
Oh yay!! Sorry it took so long!! Thank you, Deanna! Have fun with yours! xo
WOW!!! NICE SAVE!!!! Beautiful work. Enjoy the fruits of your labor!!!!…..Addie xoxo
Thanks, Addie! Yes, definitely! xoxo
It looks so much better! Enjoy!
Oh WOW!! Night and day!! I can’t believe it was only $45! Well, yes I can ha ha with the deals we come across, but now it looks so high end!! XOXO
Like everyone else. I love it and thank you so much for sharing your method.
Love the makeover and all the details you shared getting this look. Absolutely a winner and you can never go wrong with solid oak and your beautiful finish. Thanks for sharing.
Just love it!
Wow! what a difference, beautiful!!
Thank you, Lily! xo
I love it, Nancy! It is so gorgeous! And now you have inspired me to do the same to my foyer table! I was trying to decide how I wanted to finish that table… and now I know! I hope mine turns out half as good as yours did! xo
Oh yay!! That’s great, Karen! I’m sure yours will be great. :) xoxo
This tutorial is great – exactly the look I am going for on a very orange piece. Your link to the stain doesn’t work – I don’t think they make that riverbed color anymore. Having trouble finding green stain online. Any suggestions?
Hi! Glad you like the tutorial! I have updated the post to this link. I’m not sure if they make it or not anymore but it still shows on Rustoleum’s site. It’s one that has to be mixed so you’d have to go into the store to get this one.Also, looks like Minwax has a water based on that is similar called “Modest Mint”, but still has to be mixed in store. Hope this helps! :)
Thank you Nancy for this excellent tutorial, especially your brilliant idea of using a cool-colored stain to neutralize an existing orange color.
I’m going to try your technique on the rough-surfaced, exposed tongue & groove pine ceiling over my kitchen. It’s stained orange and makes the kitchen too dark. But I can’t sand it.
Not sure how wiping the chalked white paint will work out on the rough surface. And I suppose gel topcoat is pointless on a ceiling.
I’d welcome any thoughts you may have, based on your experience. Thanks!
You are so welcome, Michael!
Okay, as far as wiping the watered down white (as a wash) on the rough woodwork, yes, it will settle more in the areas that are raised (and look more white in those areas). You will not get an even look if that is what you are after. Neither is bad, just depends on the look you are after. If you indeed use actual chalk paint, yes, I would recommend some sort of seal coat, especially since it’s in a kitchen area. Be gentle when applying (I would use a roller) as you don’t want to raise the chalk paint. Go over it once, and don’t repeat, etc. I hope this helps! Good luck with your project!
Thank you, Nancy. Your comments are very helpful.
You are very welcome! Oh, and after reading my response it may be confusing, but I didn’t mean don’t repeat as in a second coat. I meant don’t roll over the area more than once or you risk raising/removing some of the chalk paint wash.