Repurposed Drawer Front Sign (and free printable!)
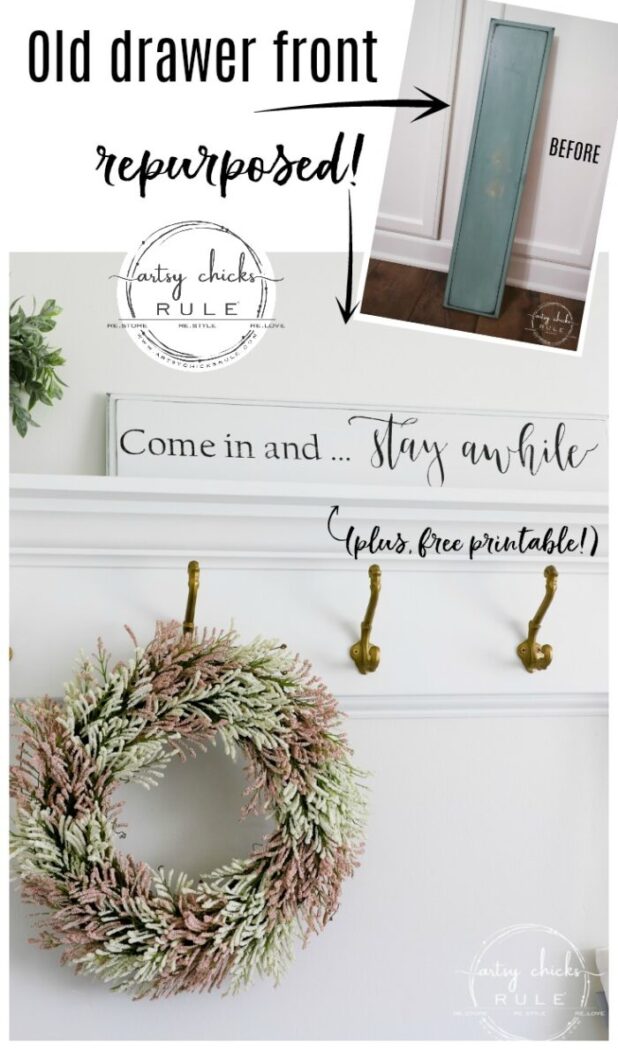
This repurposed drawer front makes the sweetest sign! Don’t throw out those old drawer fronts and cabinet doors, create something pretty for your home instead!
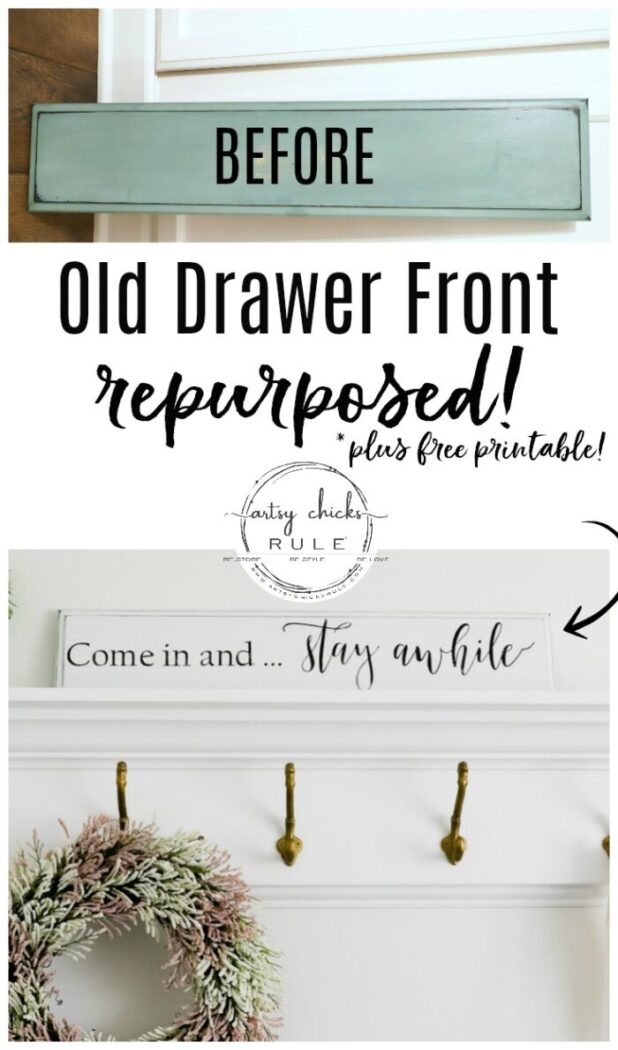
Happy Trash to Treasure Transformation Tuesday, friends!
One of my favorite days of the month. It’s always so much fun to see what my friends and I are sharing each month.
That’s right, my friends are sharing their fun new treasures too. Be sure to scroll all the way to the bottom of this post to see them!
Repurposed Drawer Front Sign – Come in and … stay awhile
As you all know, we recently did a full remodel on our kitchen AND gave the kitchen island a much-needed update.
If you missed either of those, you can see them here >>> DIY Coastal Kitchen Reveal and DIY Kitchen Island Makeover
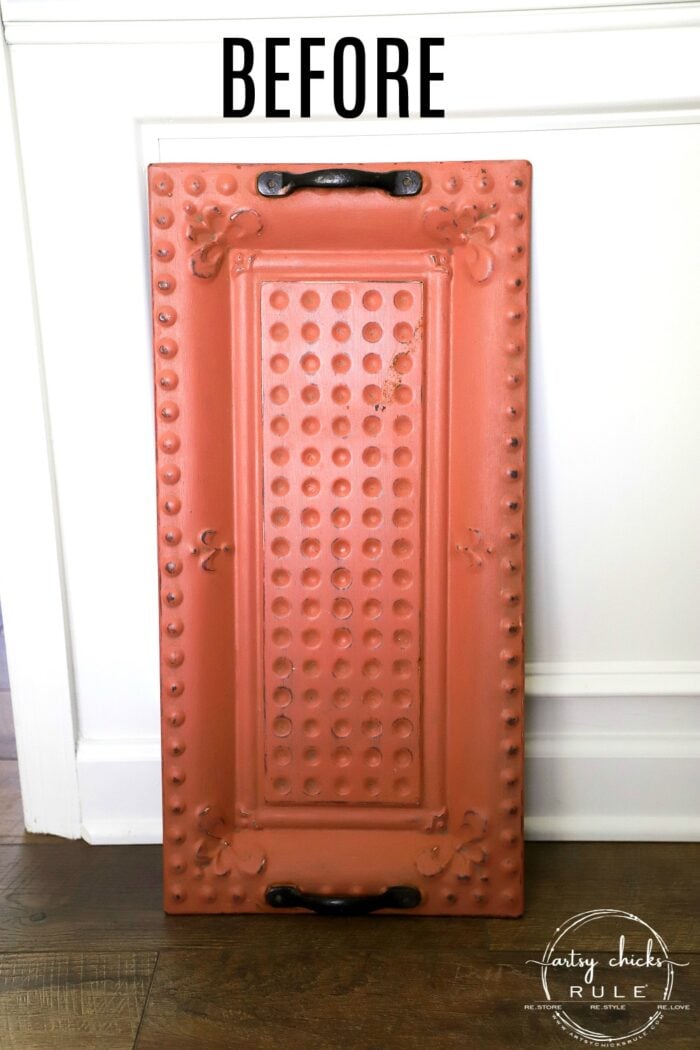
Since I’m not one to throw away perfectly good things, like these drawer fronts off the island, I decided to turn this long one into a brand-new sign.
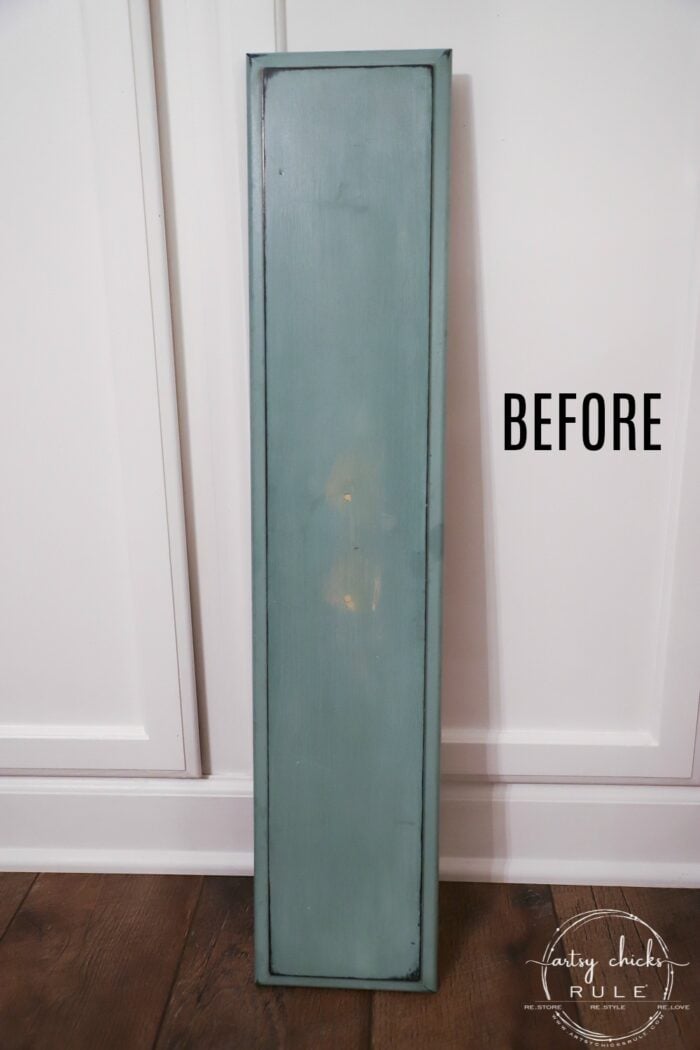
I’d been wanting to create a sign to go above our DIY wall coat rack we built before the holidays anyway.
Something along the lines of “welcome”, some kind of blessing or such.
I decided to go with “Come in and… stay awhile” because I just felt that it was a really sweet sentiment to guests.
Missed our DIY wall coat rack?? You can see it here >>> “How To Build A DIY Coat Rack“
I made another sign out of one of our kitchen doors we had left over a while back with a similar saying.
You can see that one here >>> “Stay Awhile Sign“
I’m keeping that one to use in our OBX home. (for whenever we get one…hopefully this summer…we’ll see how that goes! ;) )
MATERIALS LIST
- white paint
- black paint (any black craft paint will work for this part)
- sealer top coat
- small roller applicator
- black vinyl
- transfer tape
- Silhouette Cameo – this is a great bundle! (see other transfer methods here)
I began by creating this graphic in PicMonkey.

Click this box to download the printable.
Already a subscriber?? Click here and enter the password found in any of the newsletter emails I’ve sent you.
I then uploaded it into my Silhouette program. (Have a Silhouette? See this post to see how to upload your own graphics, simply)
Now, I could have used the actual letters, or I could pull the letters out and use it as a stencil.
That is what I did.
I originally thought I’d use the letters, but decided to create a stencil so I could distress the paint.
You can’t really distress the vinyl letters.
If I had originally planned to create a stencil it would’ve made more sense to use contact paper from the dollar store instead of the pricier vinyl.
Oh well, that’s what happens when I change my mind. (or run out of contact paper, which happens too, lol)
But first, I gave the drawer front one quick coat of sealer and let it dry overnight.
You can wait until you are all the way done before adding sealer but I like to do it before stenciling sometimes.
You can do it either way, though.
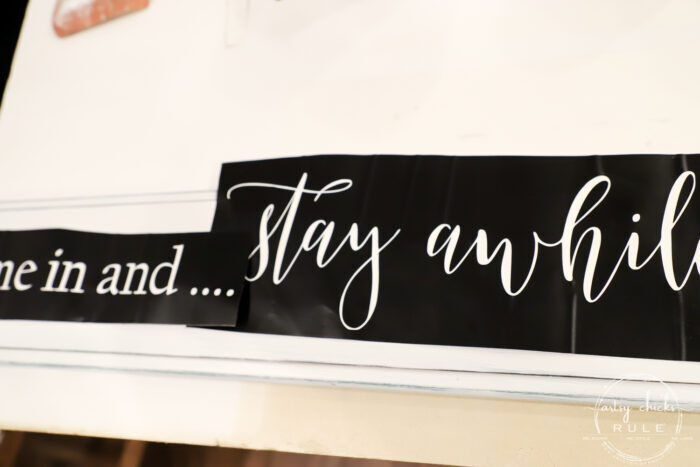
I pulled the letters out and attached transfer tape to the front side of the vinyl.
Then I pulled the back paper off and attach it to the board. (be sure to measure!)
Then pull the transfer paper off of the front and you are ready to paint.
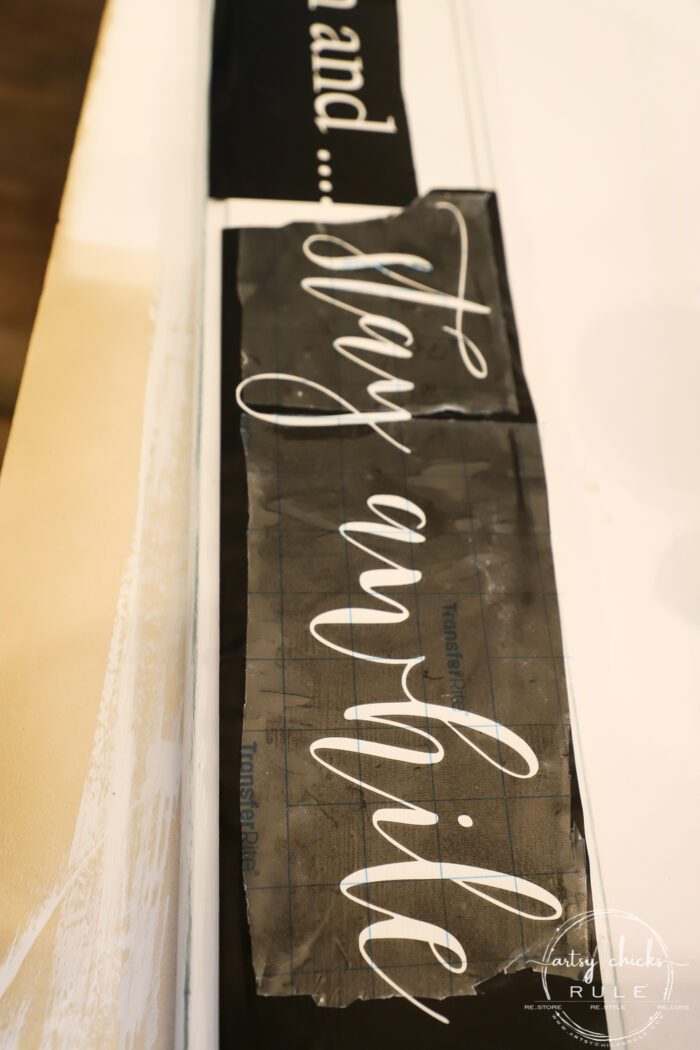
I used a small sponge roller to add black paint in the “stencil” area but you can use a paintbrush or stencil brush to do this.
I like using the small sponge rollers best.
As it goes sometimes, it ended up a bit splotchy.
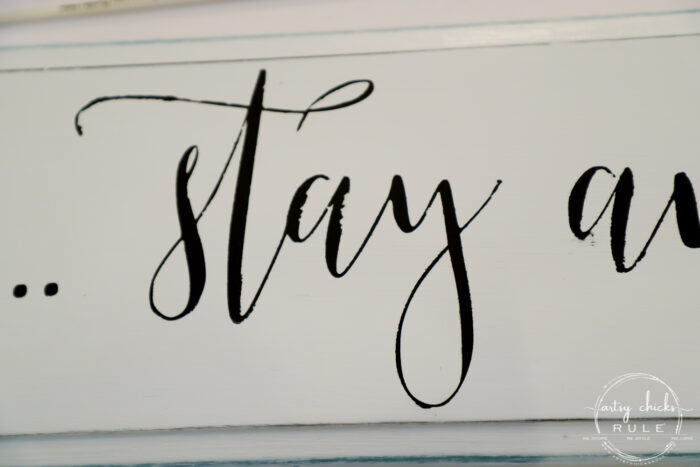
I fixed that up with an artist’s paintbrush and black paint.
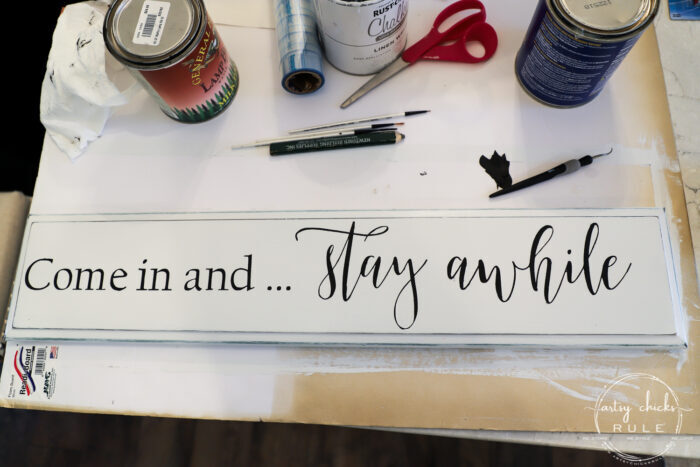
BUT…do you see it???
Ha! I measured nicely for the up and down but not so much for the right to left. (more space on the right side than the left…oops)
And the vinyl was stuck really well before I noticed it. So I went ahead and painted in the stencil and figured I’d do something to “fix” it in the end.
Here’s how I fixed it…
I simply added a flourish at the end of the “e” to bring it closer to the edge on the right.
Not the best plan but it worked out okay! So, when you mess up, there is usually always something you can do to fix it.
I do still wish there was a bit more space between the “C” and the left edge of the drawer front.
But whatcha gonna do?? It is what it is, right?
Okay, so after touching up the black lettering and letting it fully dry, I gave it a light sanding to distress it somewhat.
Distressing adds character, softness, and “age” ….and hides a multitude of sins! lol
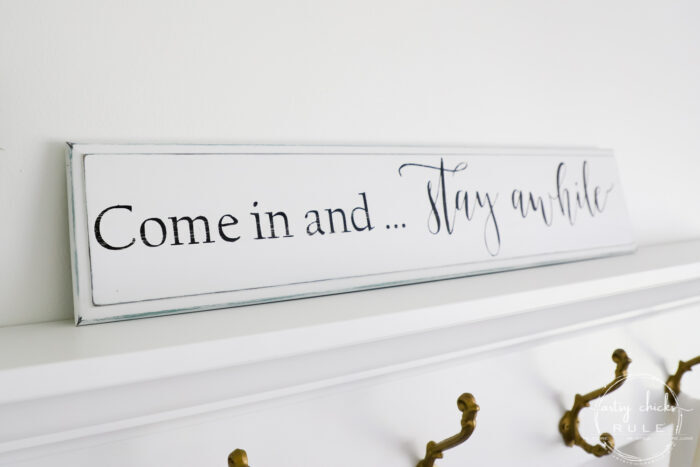
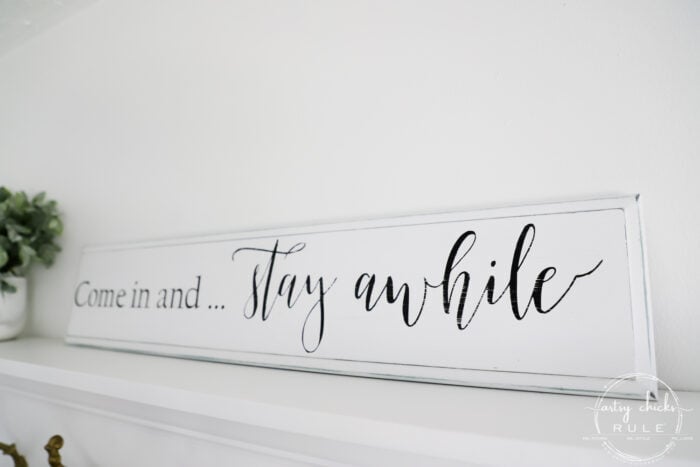
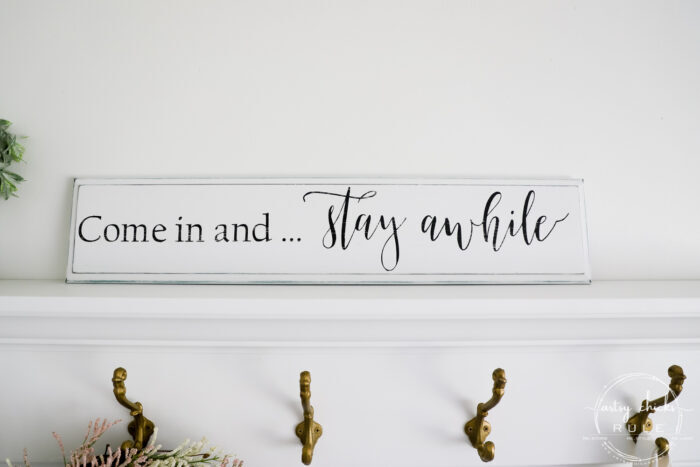
Then it got one more coat of the top coat sealer…and done!
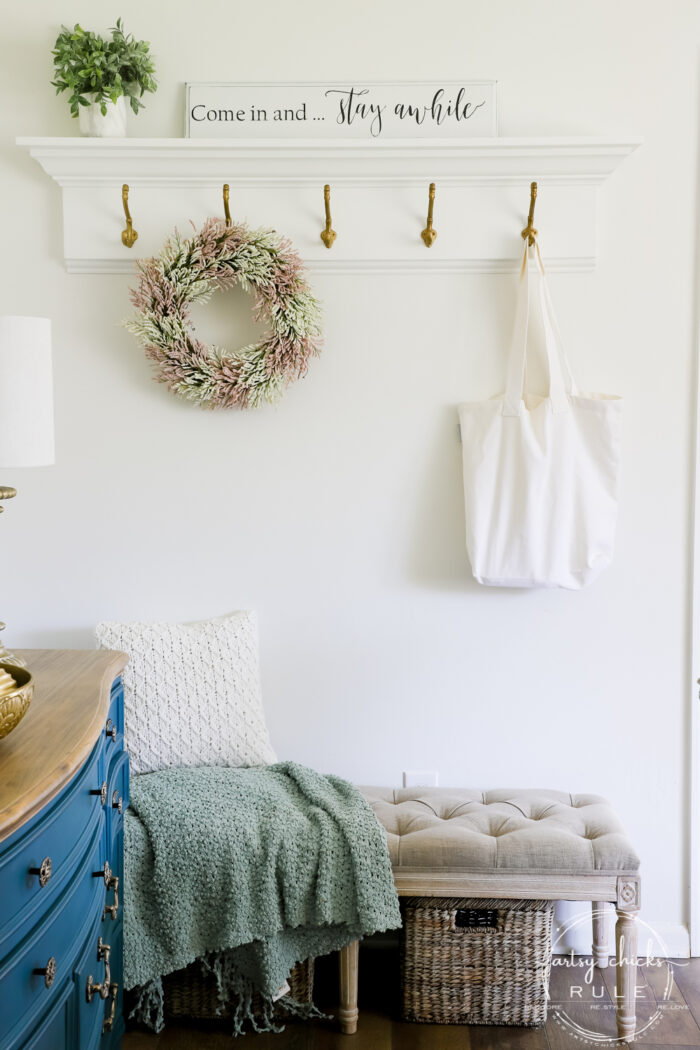
I just love how it turned out! Would you ever guess it was an old repurposed drawer front??
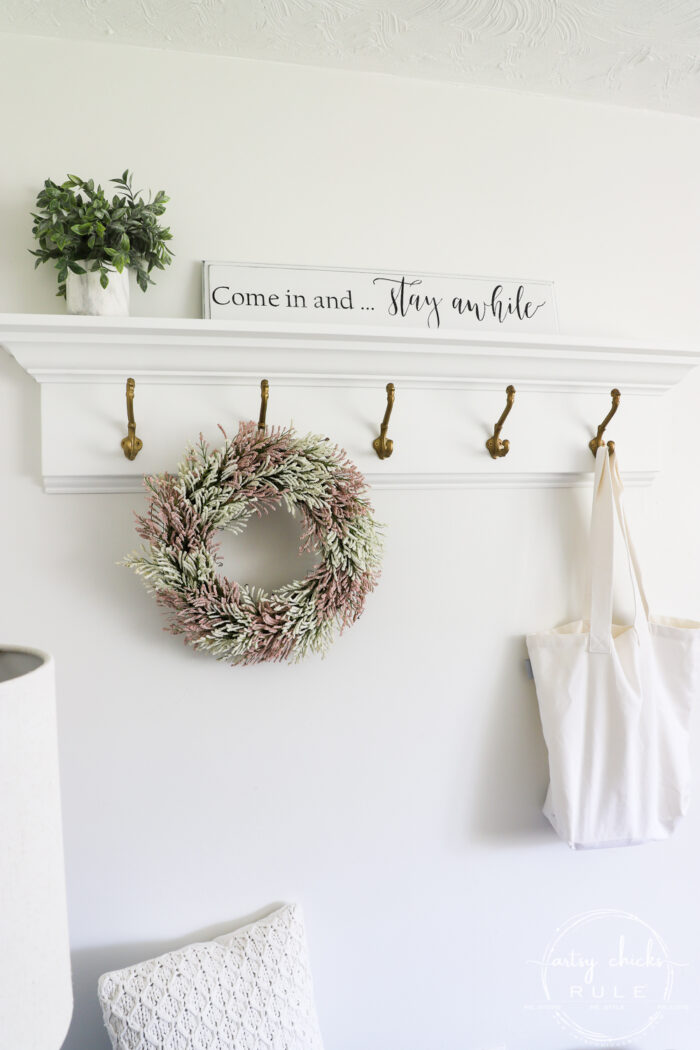
You can find the DIY Pink & White Spring Wreath details >>> here.
It looks so great over the top of the coat rack.
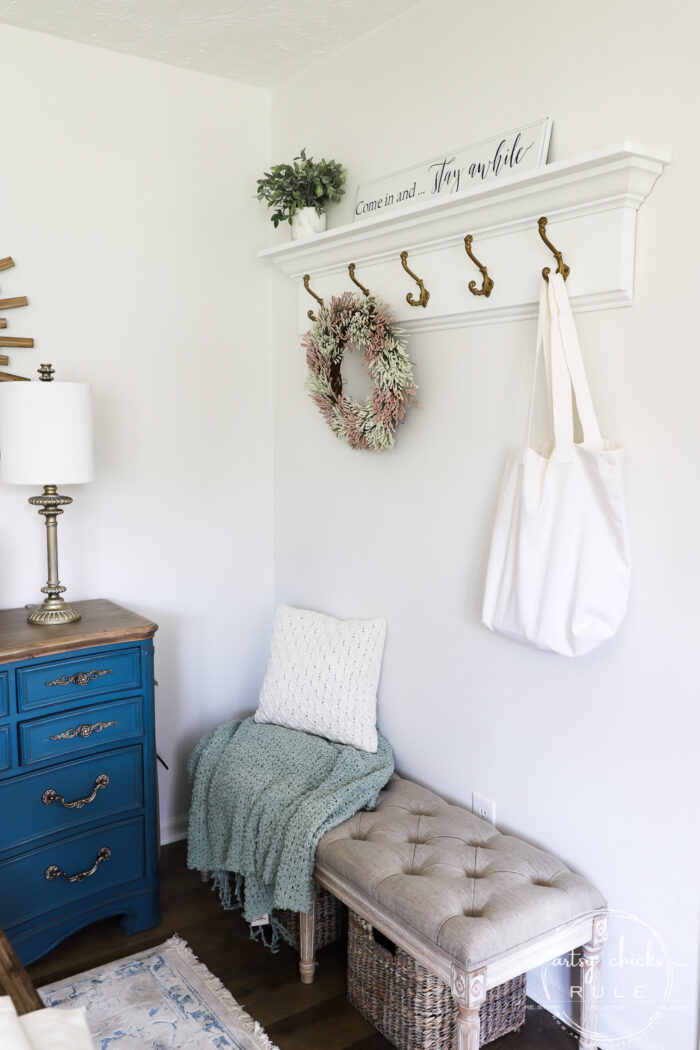
This repurposed drawer front is now a keeper.
Want to see some of these projects in “live” time? Hop on over and follow along with me on INSTAGRAM. I’m always sharing in my stories as I’m doing projects, finding new furniture, fun finds….just all the day to day behind the scenes.
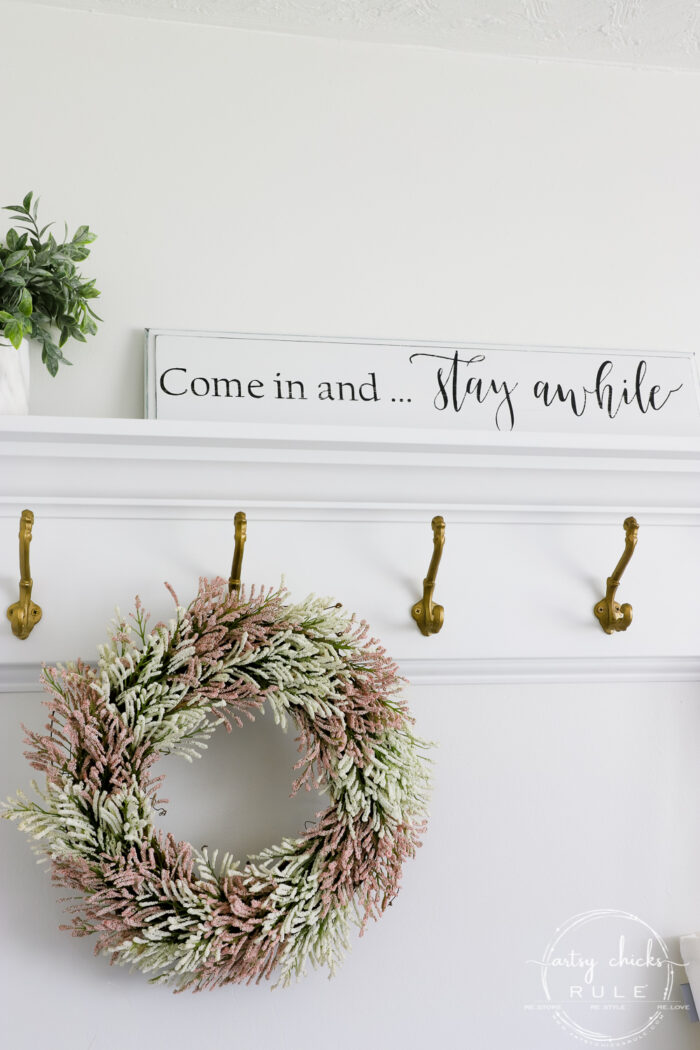
I had thought I might hang it from the wall above the coat rack but I like it leaning on the shelf instead.
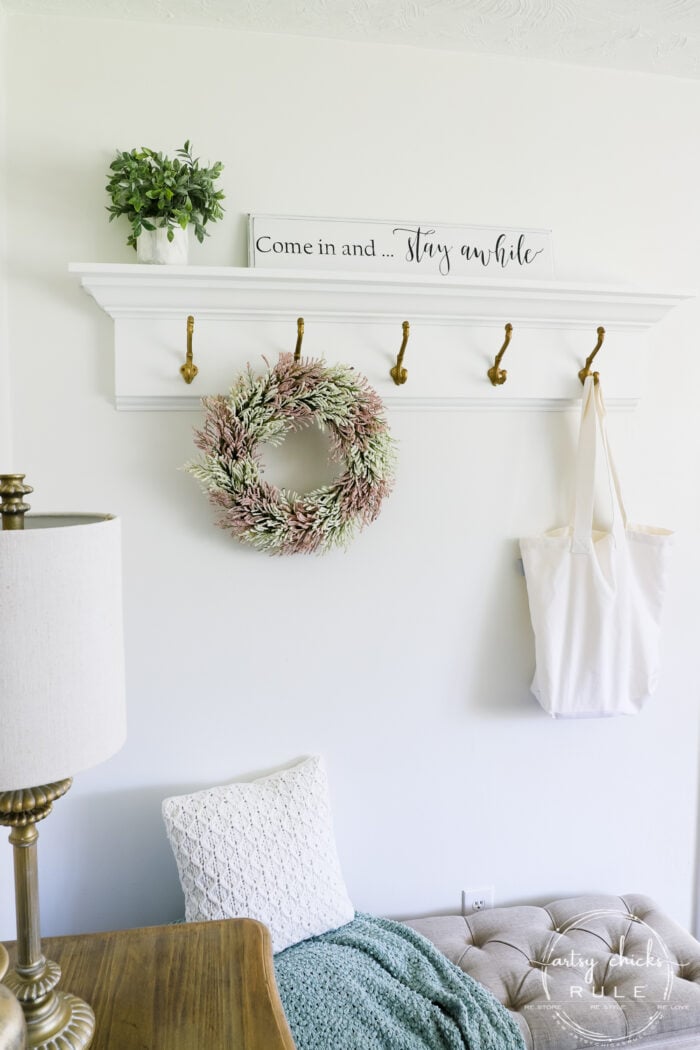
Hope you liked this project. It was a really simple way to use those old drawer fronts left over from other projects.
Just one of the ways!
You could make a coat rack out of it, or maybe a jewelry hanger. So many ideas.
PIN it to save it!
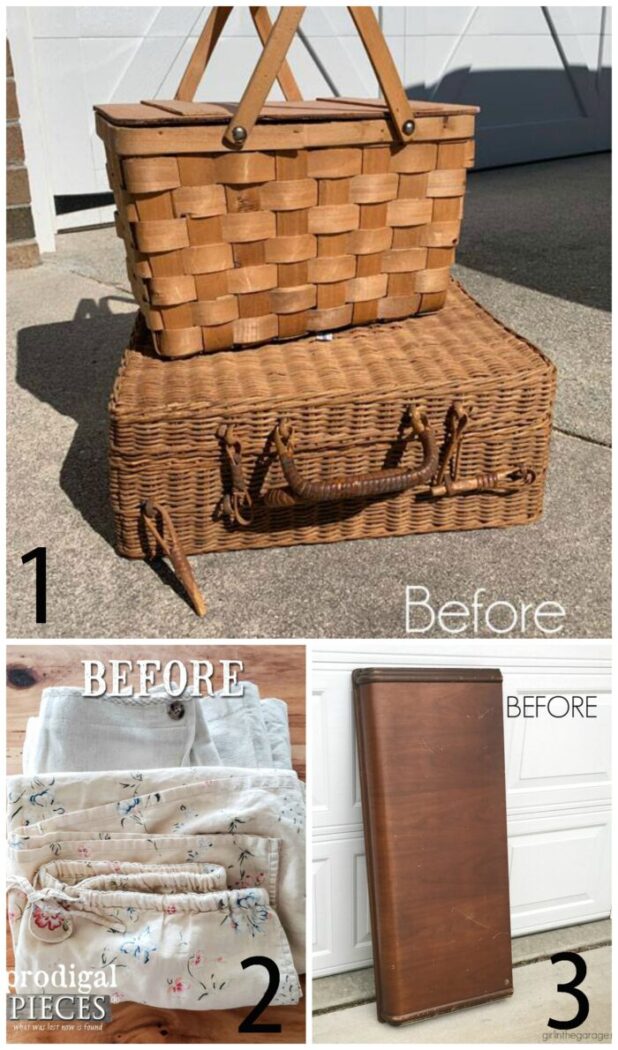
Don’t forget to check out my friends’ makeovers today too! (links to each are below)
This will be a fun one next time! It’s getting a completely new look!
UPDATE!! See it now here!!
I’ll see you back here on Thursday! Have a great week!
xo






Simply perfect! Love how it adds that personalized touch.
Thanks, Larissa! :) xo
Fun sign Nancy! YOU notice the offset but no one else will. :) It just looks completely charming. Great job!
Haha, you are probably right. We are all our own worst critics, right? Thank you, Christina! :) xoxo
Love the sentiment and it looks perfect atop your new coat rack! Great save with the flourish too! XOXO
Thanks, Christy! Yes, the flourish saved the day for sure! ;) xo
So pretty, Nancy! Love the upcycle of the drawer front! We’d love to have you link-up at Homestyle Gathering today (no pressure, of course!)
Thanks so much, Julie! Yes, I’ll come by! xo
Super cute upcycled drawer front, Nancy! And I think I spy some of that pretty blue peeking around the edges. xo
Thanks, Jen! Yes!! You do! And I was hoping for that. :) xoxo
You’re soooooo Inspiring!!! Thanks for sharing your beautiful talents. : )
What a great idea, Nancy! And if you hadn’t mentioned it, I don’t think I’d have noticed the spacing. Now, to find a drawer front….
Aw, I’m so glad to hear that! It sticks out like a sore thumb to me. ;) And yes, these are just perfect for signs (and lots of things). I have 6 more left to make things with. Not sure yet what all I’ll do with them but I’ll do something! xo
Such a sweet way to welcome people into your home! I think having the words off center show that it was done by a person and not a factory. I am sick of seeing all the signs from China in Hobby Lobby and other stores. Great idea!XOXO
I so agree, Cecilia! And I love the way you look at that! So true. Thank you for that. :) xoxo