White and Gold Tray Makeover (simple to do!)
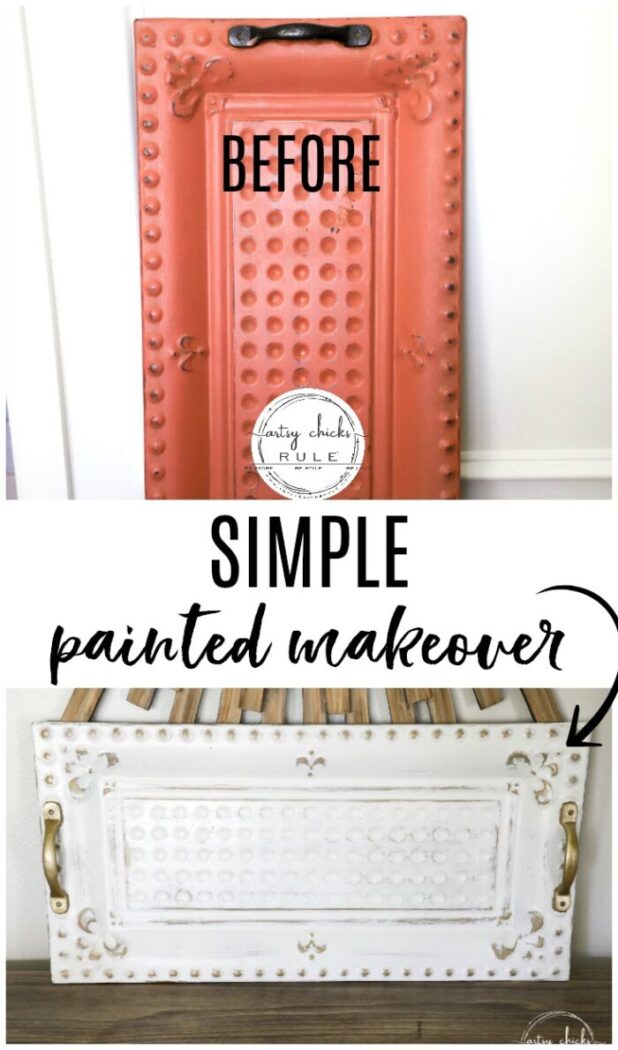
Have lots of old decor you just don’t love anymore?? Don’t throw it out, change it up and re-love it! That just what I did with this whit and gold tray!
If you’ve been around here awhile, you know I like to reinvent things in my house… a lot.
It’s so much cheaper than always buying new.
And I actually bought these things because I liked them so when they “go out of style, or my current style”, I should say, that doesn’t mean I don’t still love them.
Maybe I just don’t love the color anymore?
White and Gold Tray Makeover
Which is exactly the case with the white and gold tray makeover.
I have now reinvented it TWICE to fit our decor! lol
I am a recycling queen. ;)
It was originally a mustard color (I think??) and came from Southern Living At Home. (again, I think, I’ve had it a long time)
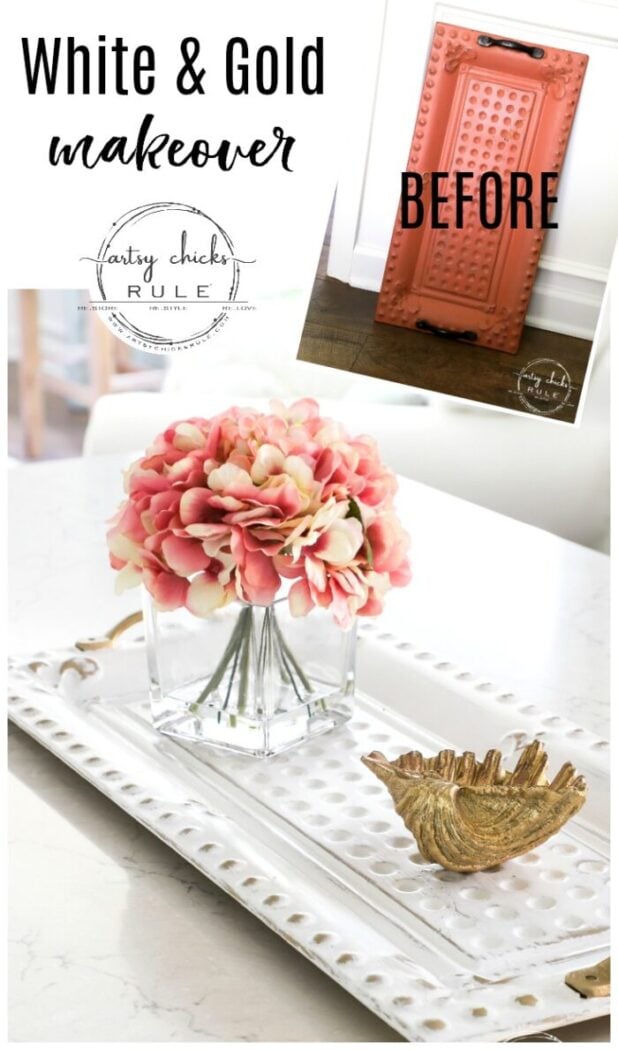
Some years back I loved and used quite a bit of coral color in our decor, so I painted it in Annie Sloan’s Scandinavian Pink.
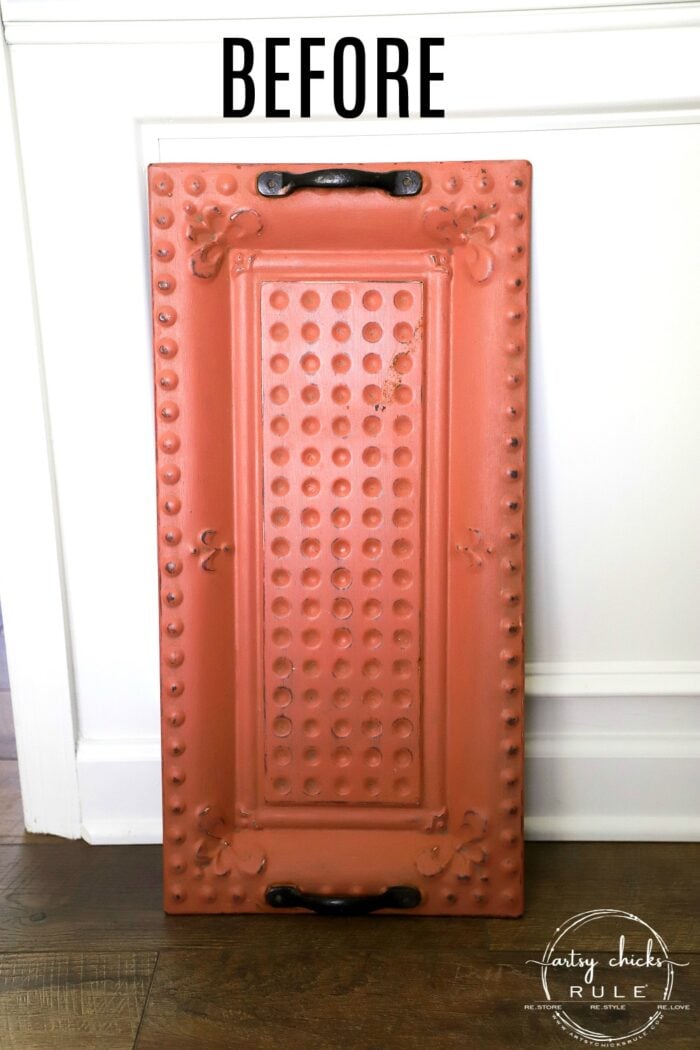
I don’t have a photo of what it looked like before this makeover though.
It’s a lovely tray, just not the right color for my house so I changed it up…again!
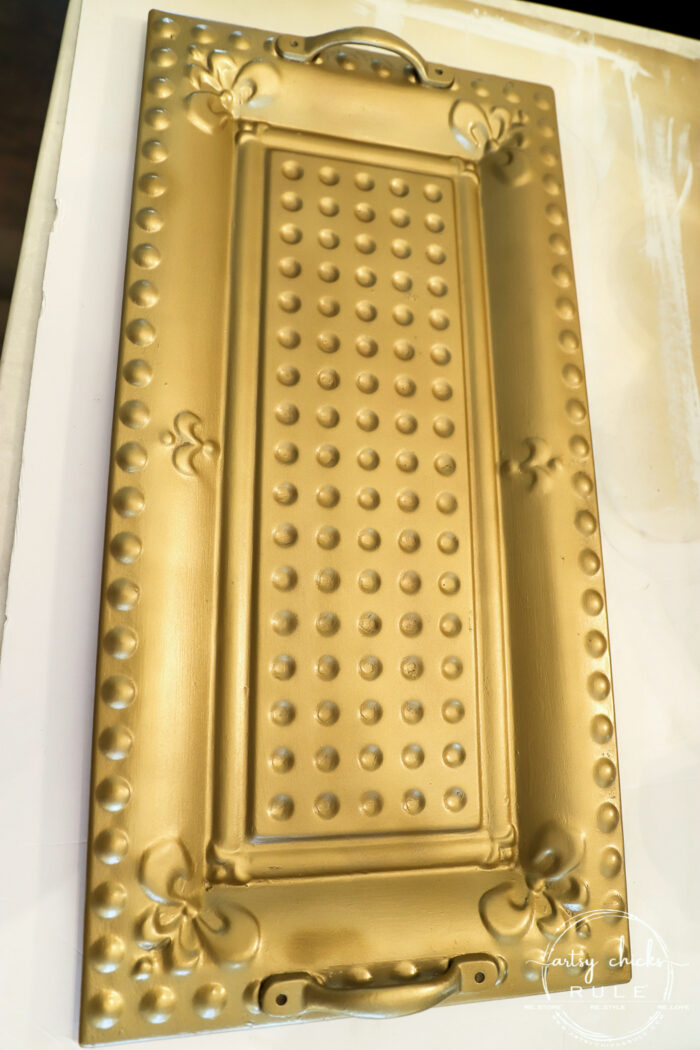
I started out by painting the whole thing in this gold color. (one of my favorite golds)
MATERIALS LIST
Then once that was dry I painted two quick coats of this my fave white chalk style paint.
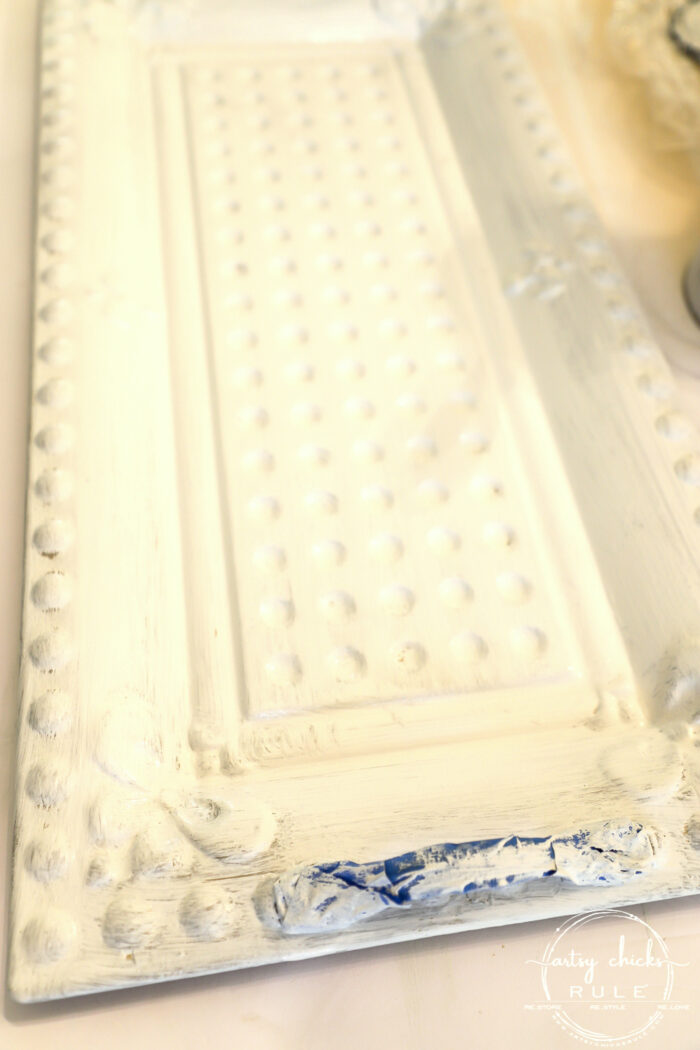
I used some tape to protect the handles as I wanted those to stay gold.
Once that was dry, I took a damp cloth and rubbed the paint away on all the raised edges.
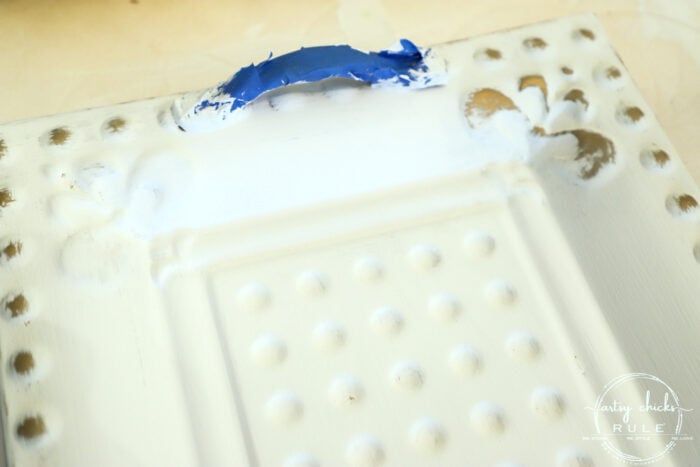
You don’t have to be really neat here, just rub away some of the white to show the gold underneath.
As I mentioned in a recent post, it works really well to use spray paint (or latex) underneath of chalk style paint if you are wanting to distress in this way.
The underneath paint will stay put and the chalk paint will come off.
I shared a snippet or two of this project while I was working on it over on Instagram. Maybe you saw it.
Want to see some of these projects in “live” time? Hop on over and follow along with me on INSTAGRAM. I’m always sharing in my stories as I’m doing projects, finding new furniture, fun finds….just all the day to day behind the scenes.
Okay, so once I was done with that, I sealed it all up with one of my fave top coats.
Then I pulled the tape off the handles.
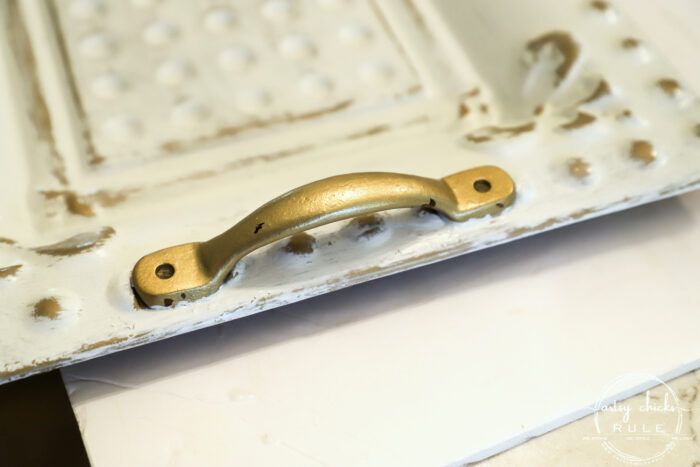
But oops…some of the gold paint came off with it! lol
I taped it up pretty soon after I painted it. I was worried that might happen.
Yikes.
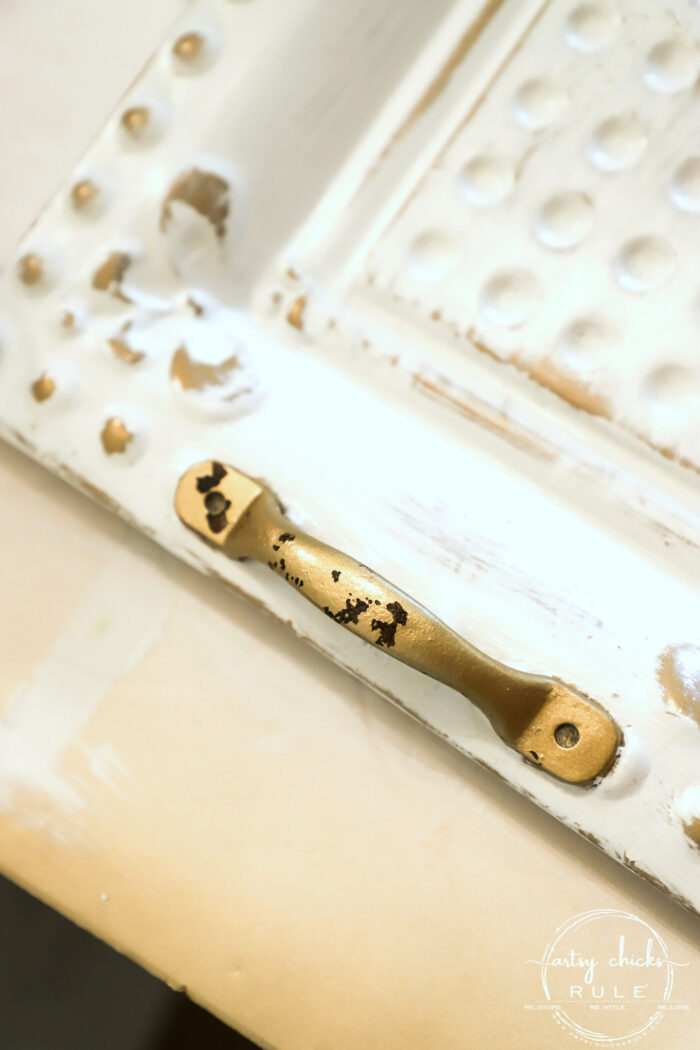
So I stuck a few plastic bags in and around to protect the white and gold tray while I sprayed the handles.
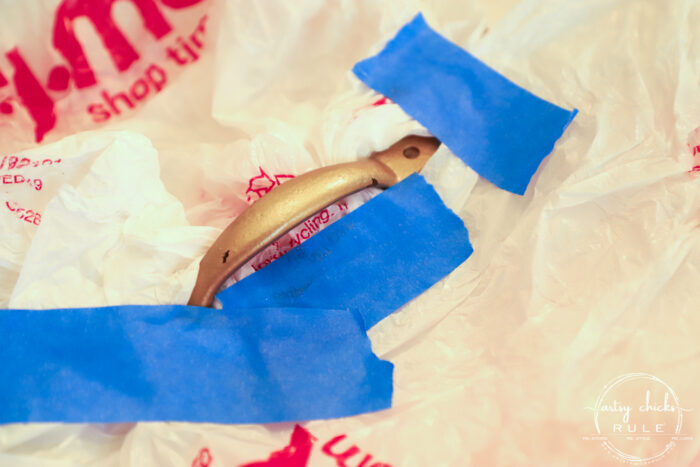
Easy enough!
And done.
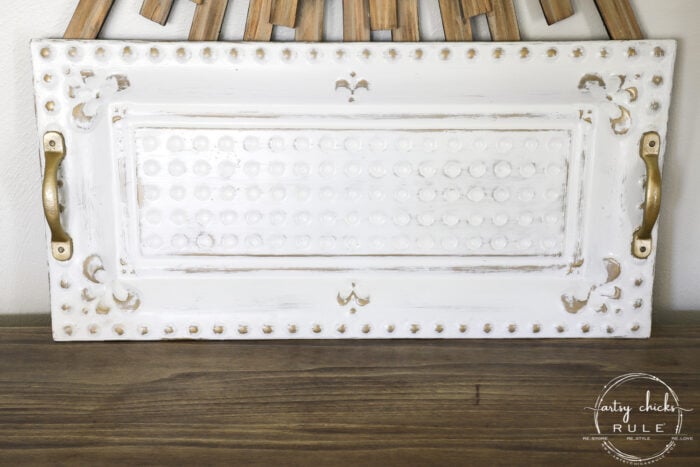
Completely reinvented all over again.
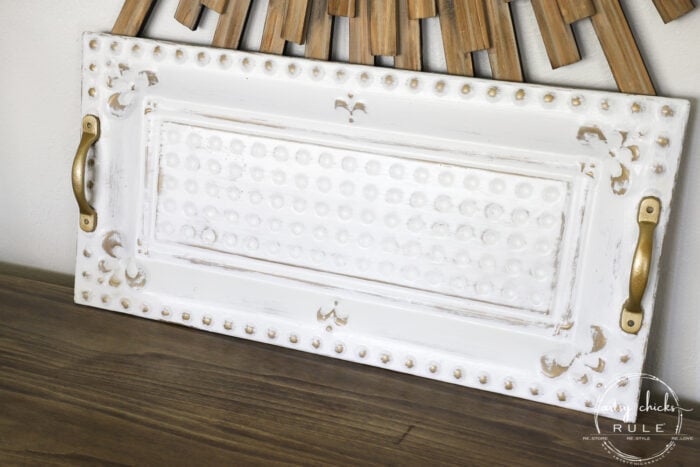
I love the new look!
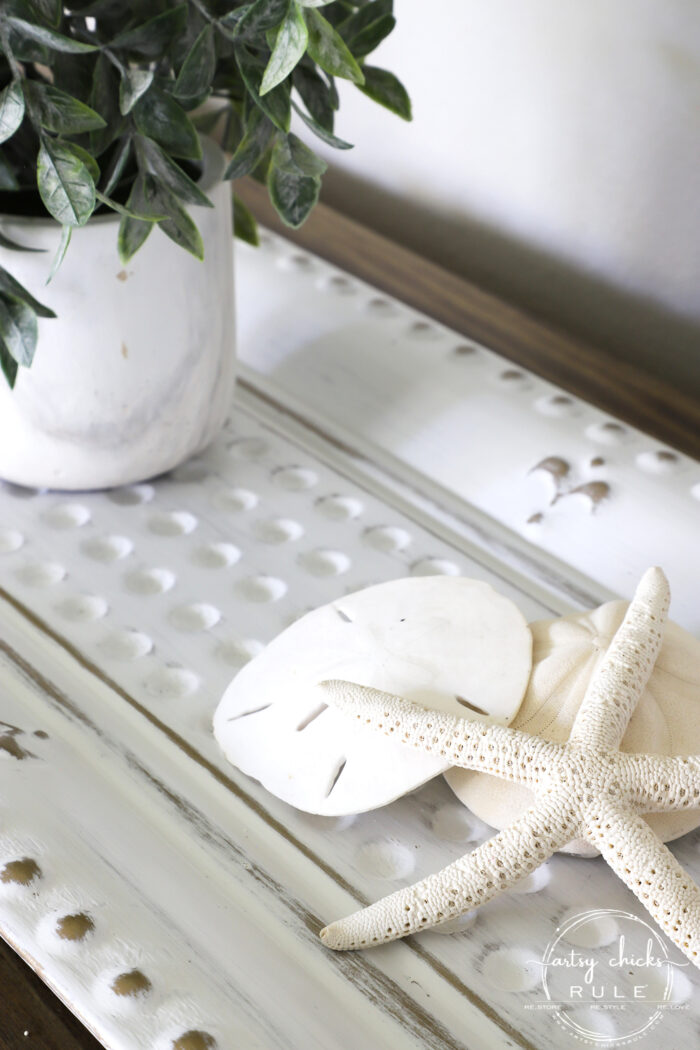
Up close…
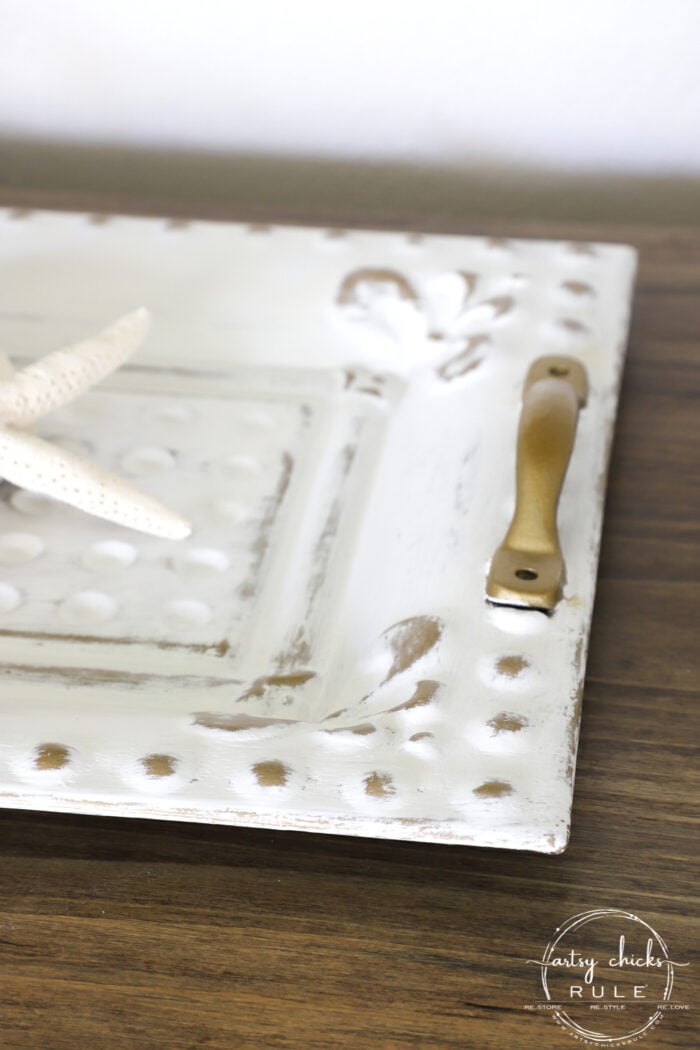
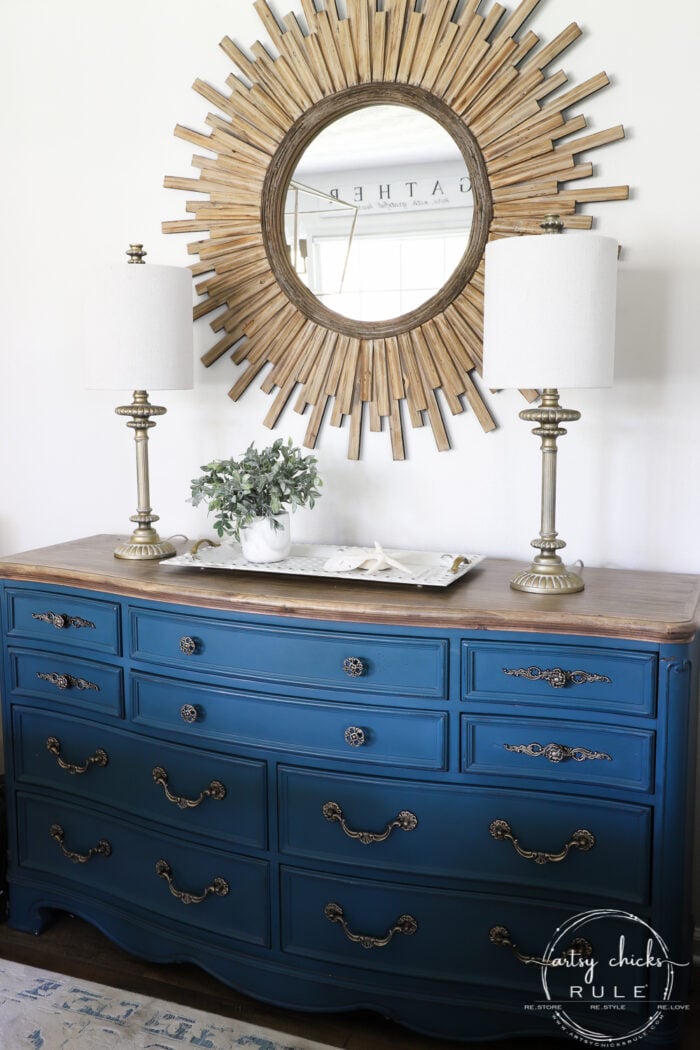
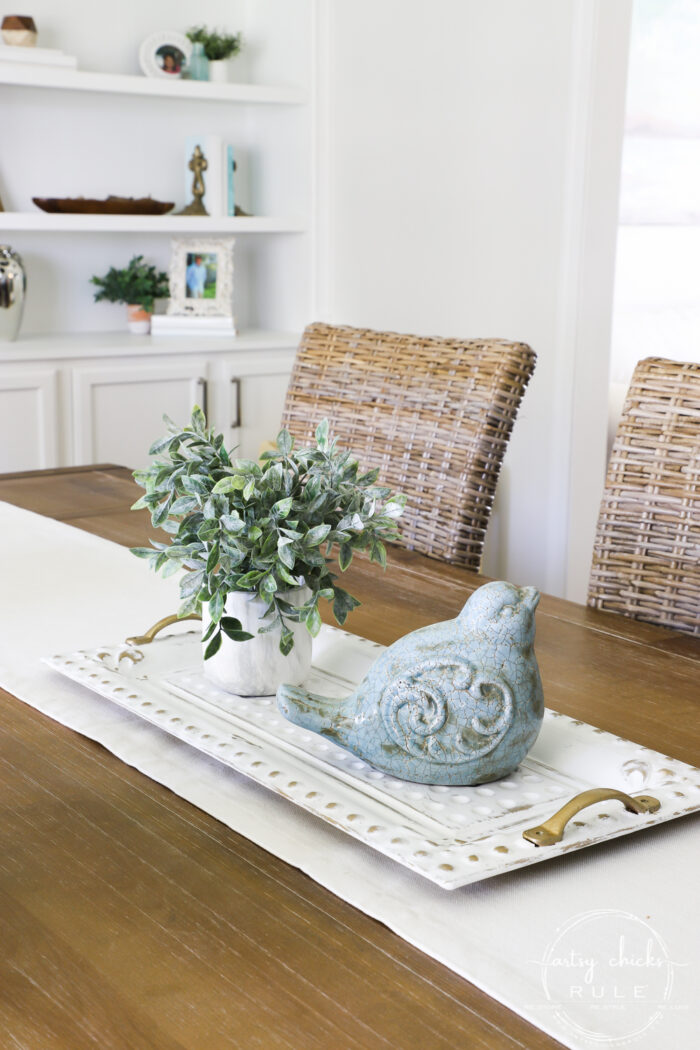
And on our dining room table…
Oh and look who I spied watching me…
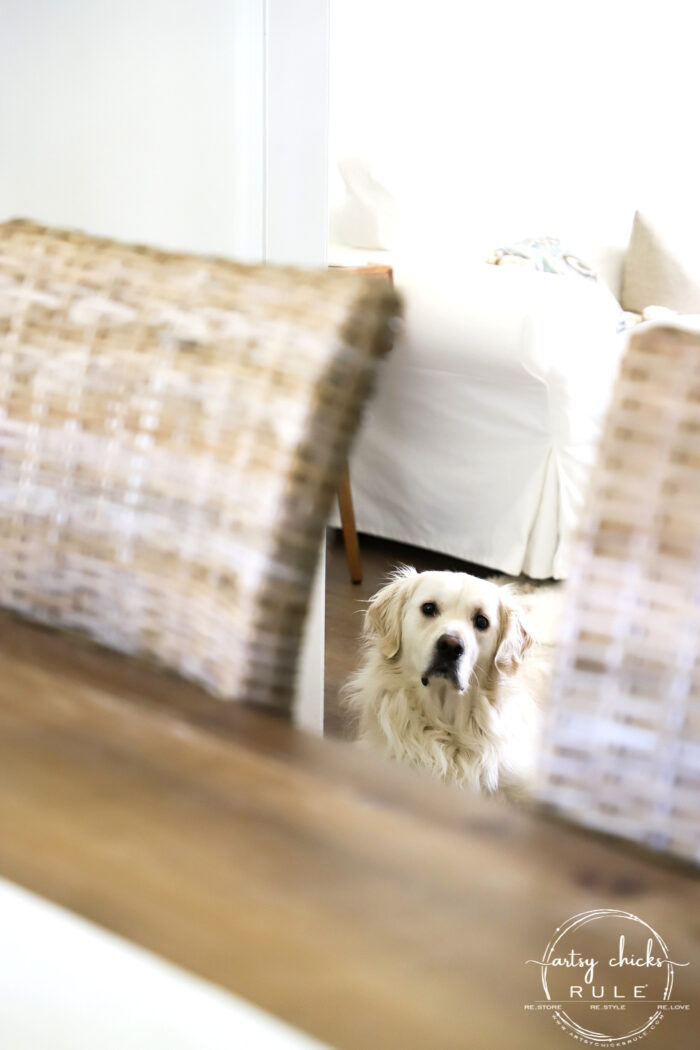
Cutie <3
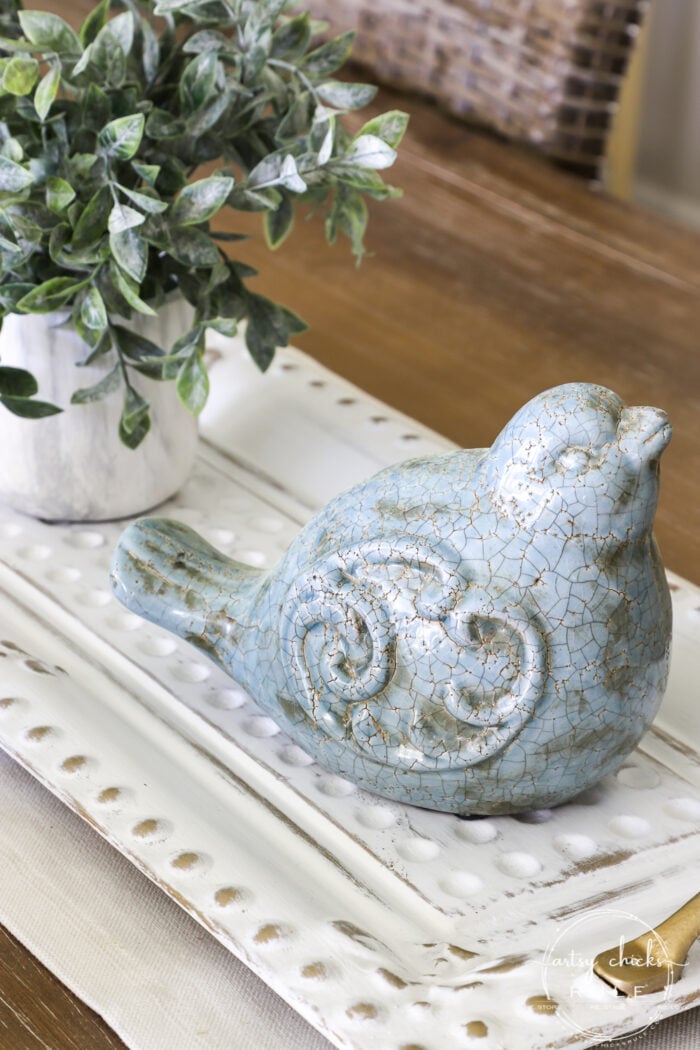
Lots of places I can now use this pretty white and gold tray.
It pretty much goes in any room of the house.
Here it is on my kitchen island.
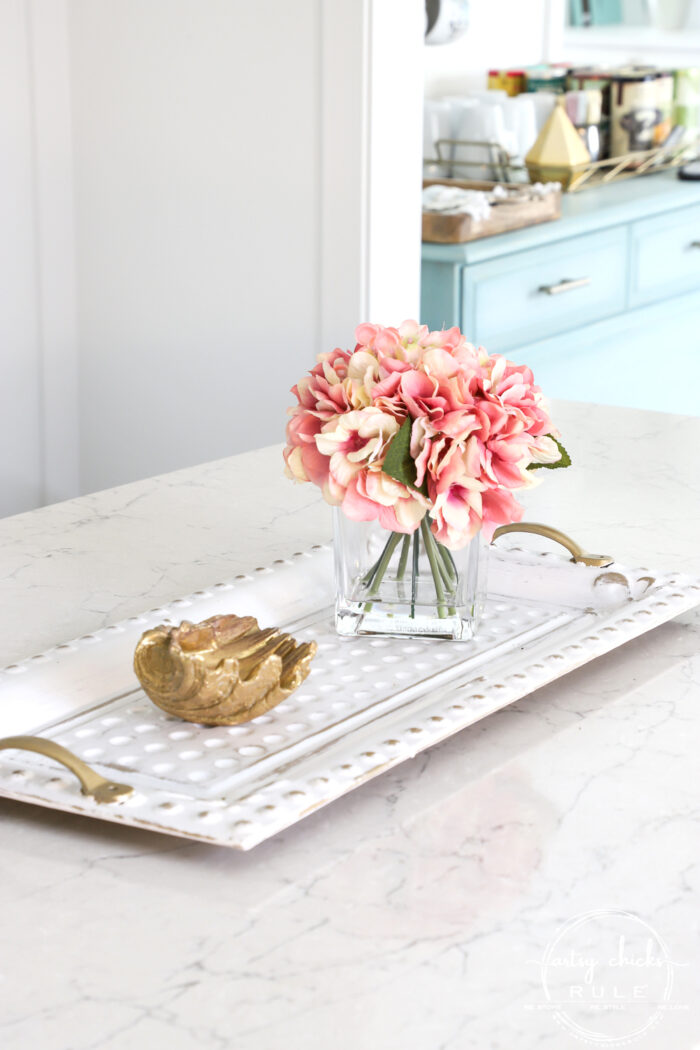
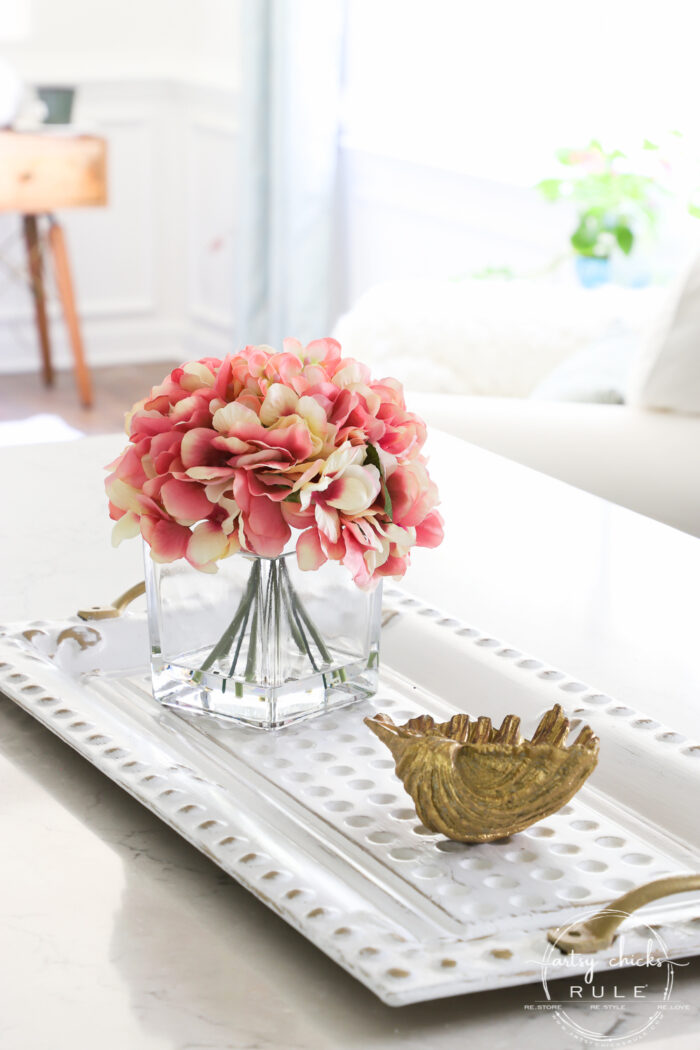
I think I like it here best.
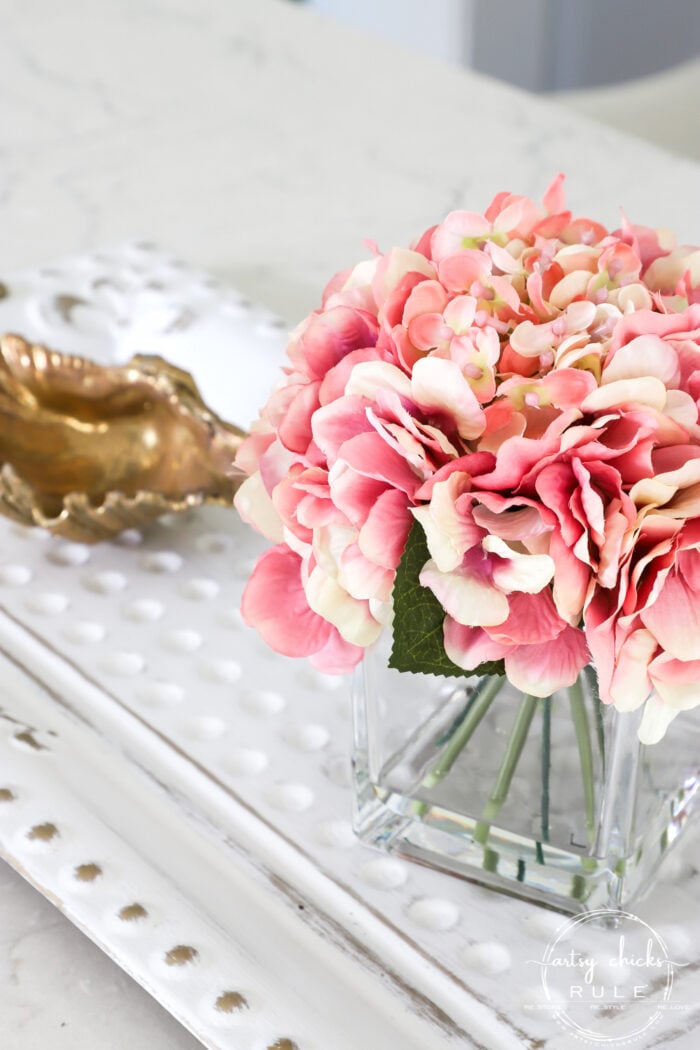
I have really enjoyed these faux flowers I found at the At Home store.
You might be tired of seeing them in so many of my photos lately. ;)
Alrighty, I’m gonna give the spiel I’ve given a million and one times around here…
If you have old decor you don’t love anymore, paint it or give it any kind of makeover, and then you can re-love it!
It’s a really budget-friendly way to keep your decor fresh AND save the things you loved originally, too!
PIN it to save it!
See you Thursday!! Have a wonderful week, friends!
Check in next to see what I do with this old tray!
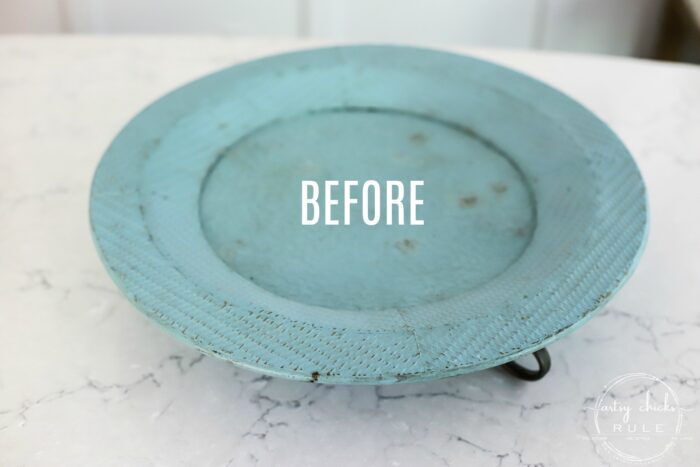
UPDATE!! See it now, here!!
xo






Nancy, I do love the way your mind works! :) This tray turned out so sweet and looks great in so many places. Thanks always for such wonderful inspiration!
Haha!! Yes, my mind is always trying to figure out how I can paint something to make it look different! Thank you, Christina! Hope you had a wonderful weekend! :) xoxo
Love the tray! I have two of these and I think this will be the new look for one of them. I have a pic of the original finish if you are interested. Awesome job!
Thanks Angie! And yes, do it! Thank you so much for the offer! :) xoxo
Just have a question as to the technique, I’m just trying to learn. Why did you spray the whole thing gold then paint white over it? Would you not have gotten a similar result by painting it all white and then dry brushing the gold accents? Was it personal choice or is there a particular reason the dry brushing would not have worked as well?
Thank you! Your style is amazing and I’m just trying to soak up all the information I can.
Be blessed!
Hmm, you know Amy, you could really do it either way. Each looks a bit different, even if only slightly. I really wanted the white worn look so went this route. But you can do either!
Thank you for the sweet words, too!! :) Hope you had a wonderful weekend! xoxo
Nancy, Ryder is so cute peeking at you. He is like Waldo…never know when he will turn up! Love the tray makeover and how versatile it is for you. Will the gold stick ok on metal or did you prime it before spraying? I guess since it had already been painted then it didn’t matter. Does that make sense? I’m working on a couple of projects using your printables! Love the spring pictures. Have a wonderful Holy Week. God Bless. XOXO
Isn’t he a doll?! I just love him so much! And yes, lol, just like Waldo! ;)
Since I was using spray paint, it stuck just fine without primer. If it were slick, I may have lightly sanded it but usually with spray paint, it’s not as necessary. Yay! I hope you enjoying using those printables. So happy to hear that! I hope you had a blessed weekend and holiday! xoxo
What a beautiful looking tray Nancy, and I love the colors you used! I have a lot of the dark metal decor all stored away in a closet, your painting technique might be just what these pieces need!
Thank you, Kaycee! :) Oh yes, give it a go! I have a large metal “vase”? Not sure what I want to call it but it’s a deep maroon color, almost black and I’m thinking I need to do the same to it! It’s been out in my garage for forever. You might just see it up here on the blog soon! ;) xoxo
Love it! I used to have this tray and yep, it was mustard lol! Wishing I had it back now…it looks fantastic in the white and gold! XOXO
Thanks!! I think everyone had this tray!! lol I’m loving it in white and gold! xoxo
Revamped t ray looks great. A tip I use when a problem like the handle/paint issue comes up for me: spray a little dab of spray paint onto cardboard, paper plate, what ever and touch up with a small brush. I find it quicker this way. I have even dabbed it on with my finger. No, it doesn’t show! Just thought I would put it out there!
Thank you, Linda! Oh yes, I have done that with a tooth pick (or my finger) before! It really does work. I had so many areas I just re sprayed instead. But you are so right! I could have done it that way too. Thanks for sharing that awesome tip with everyone here! :) xoxo
Fabulous! I love it. Be proud of this treasure.
Thank you, Helene! :) I’m so enjoying this “new” piece! xoxo
Lol, I have that tray! And yes, it has been around for awhile! Yours looks great re-done. Thinking I might need to spruce mine up some, too.
Oh so funny! I think everyone had this tray at one time or another!! Yes, get that paint out! ;) xo
Love how that turned out! I, too have some trays that could use some dressing up and you’ve inspired me to make that happen!!! So simple with such beautiful results….thanks so much for sharing this!!
Thank you, Karolyn! So simple is right! Have fun giving yours makeovers! So many possibilities! :) xo
So the tray is gorgeous in the white and gold which just happen to be 2 of my decor colors right now. Do you recall where the tray came from? I’d love to have one of these. I have to say, when you pulled the tape off the handles and it took some of the paint with it, well I loved the look it created and I think I would have left that alone. For me that would totally work with my decor and I think it had a unique look. Just my opinion but I do love what you did with it.
Now, I don’t usually comment about animals, but that is one beautiful dog! I love that look on his face…so precious! He is just beautiful! What breed is he? Sorry, I subscribe to so many blogs that I never really have the time to go through everything but I think I need to slow down and take more time on yours and a few others because you do some very nice work!
Thank you, Shirley! :) The tray was originally from Southern Living At Home, remember them? And yes, I can totally see what you are saying about the handles. I do agree about that.
Thank you…he is an English Cream Golden Retriever….and the absolute sweetest pup ever. :) xoxo
Well HE is just gorgeous! I will be keeping an eye out for one. OH and guess what? I went to a search engine, typed in Southern Living At Home. Tray and guess what popped up?…lol Yes, you guessed it, the tray that someone happened to be selling on Etsy, and now it’s mine! I can’t wait to get it!! So thanks for the info. I greatly appreciate it! Keep on crafting!
Shirley
Aw, thanks Shirley! And no way!!! Really?!!! That is so awesome! I’m so happy for you!!! :) xoxo
Helloooo! I picked up a sister to your tray and sprayed it black then painted it with white chalk paint. When I tried to wipe off the chalk paint it kept smearing and I couldn’t get a clean look–bummer:( maybe I wasn’t wiping it good enough. So, I resprayed it and there it sits. I love how your tray turned out and need some tips on how to wipe off the white paint. Thanks so much!!
Oh well, dang, Cecilia!! Hmm, so are you wiping while it’s still wet-ish?? If so, maybe have two rags, one that is damp and one that is mostly dry. Wipe away with the dry one and go back with the damp one to take the “smear” part off. (if it’s looking hazy …I’m thinking that might be what you mean) If it’s drying too quickly, have two damp rags, go first with the “wipe away one” and go back with the clean one to remove the haze/smear. Does that make sense? Give that a go and let me know! :) xo