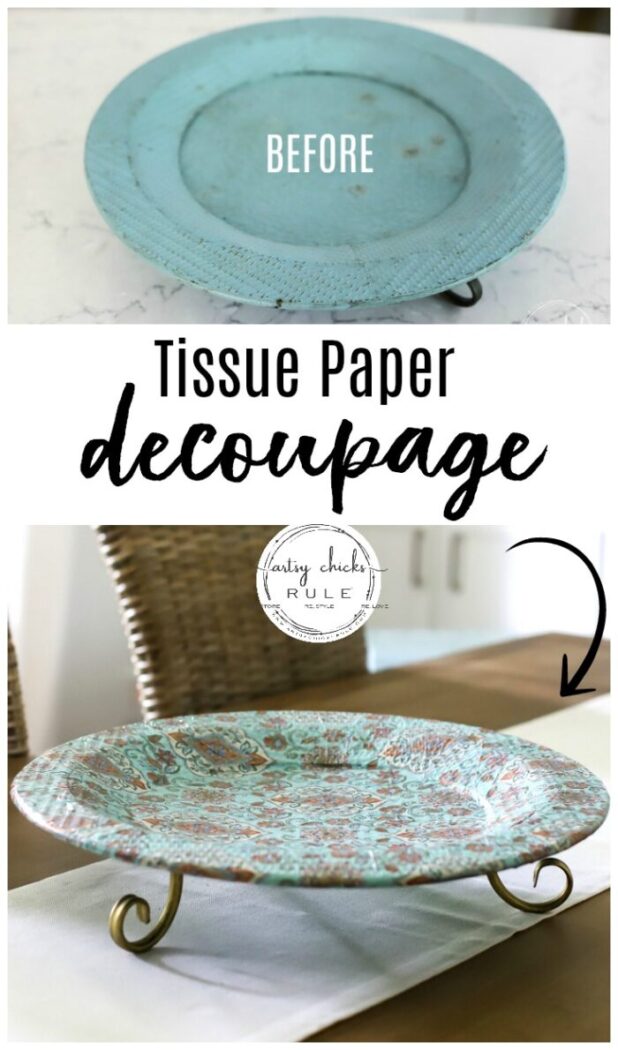
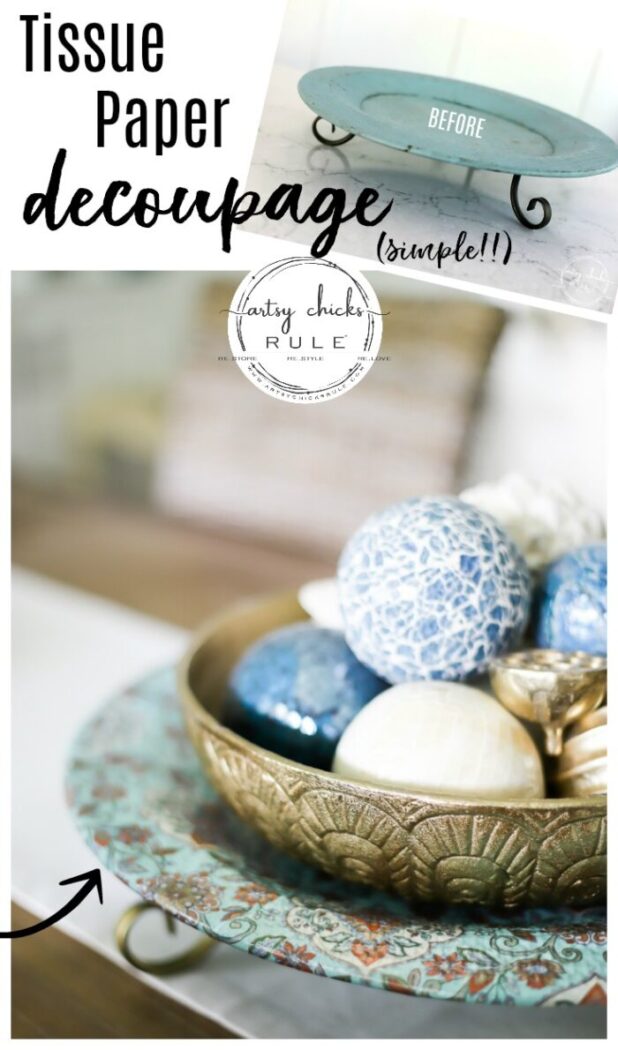
Today I’m sharing a re-makeover of a previously made over home decor piece I have…with a fun & colorful tissue paper decoupage!
As I change my decor, move things around, etc, I will sometimes put some of my other decor pieces away in the garage for later.
And since I like to change things around from time to time, it only makes sense.
I hold onto the ones I love and think I’ll use again.
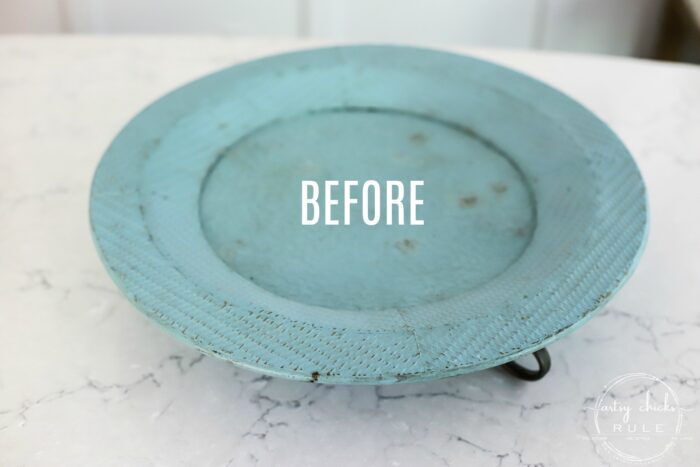
Like this pretty tray of mine.
I have had it for probably close to 15 years now.
It started out a dark bronze color (I think!) and I used it with my “Tuscan” decor way back.
About 7-8 years ago, I decided to paint it with Chalk Paint. (I told you, I paint just about everything around here! ;) )
As a matter of fact, I even talked about it and shared it in this post here >>> Chalk Paint – It’s Not Just For Furniture
I shared other home decor makeovers in that post too. (even the white and gold tray I recently made over, yet again)
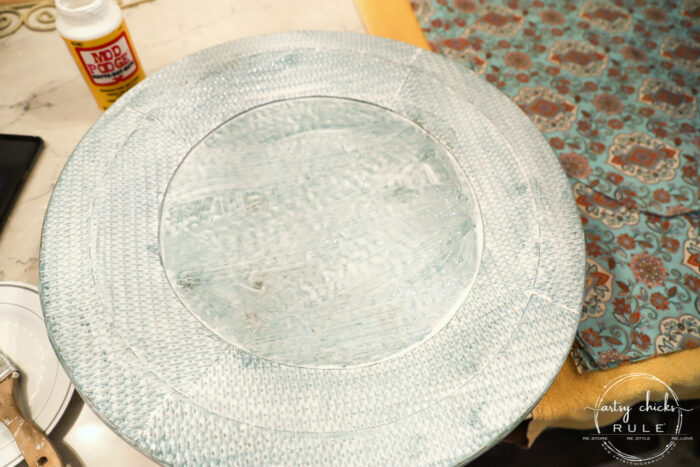
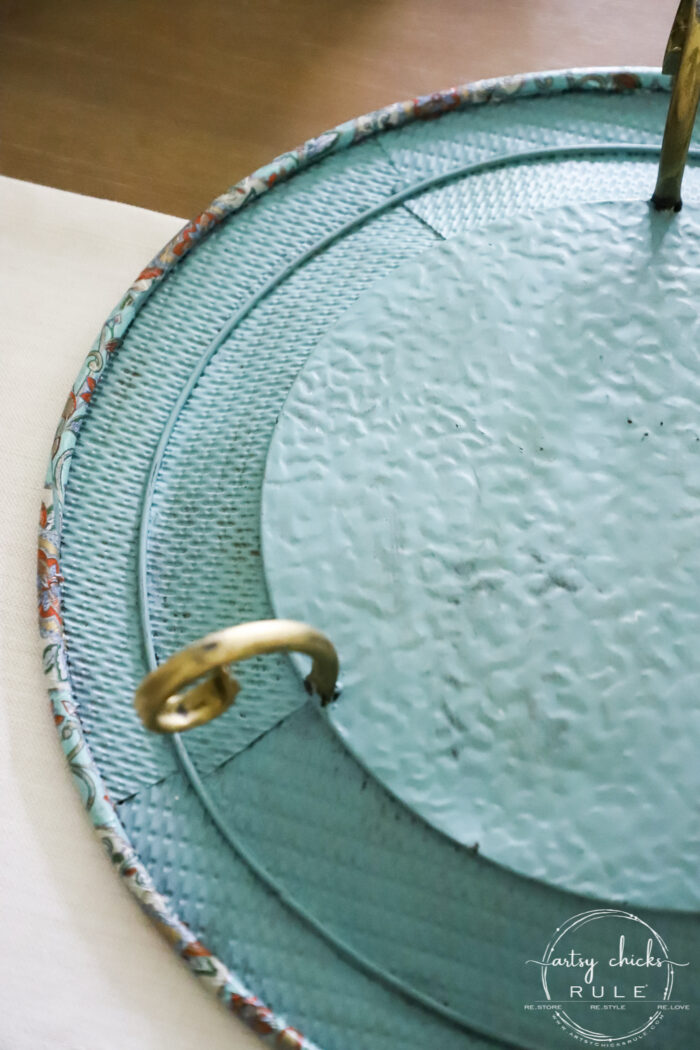
The color of it currently is Provence. Which is going to work perfectly for the tissue paper decoupage I plan on doing.
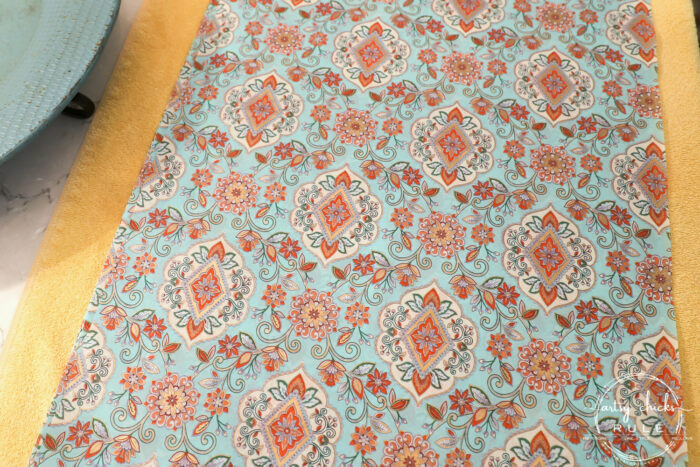
You might recognize this tissue paper as I’ve used it on other projects around here AND it went home to a lovely winner of one of my giveaway goodie boxes! You can see this other project I used it on, here.
The tissue paper comes in a small bag folded up so it had all kinds of lines and folds in it.
I simply ironed it quickly on low heat and that took care of that.
You don’t want lines or folds as they might possibly show up in the finished project.
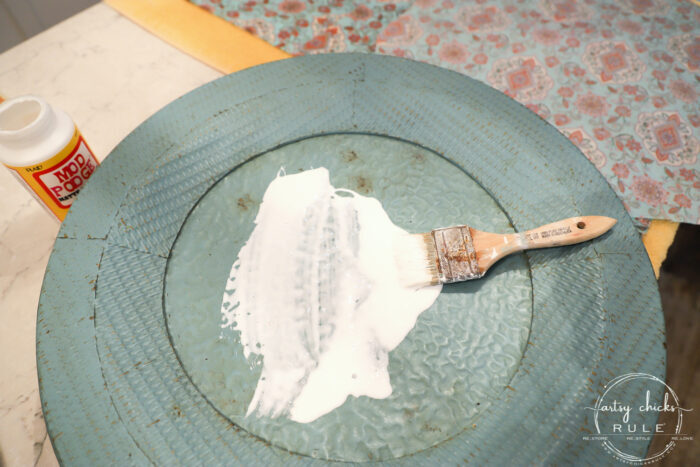
Be sure to spread an even coat all the way around.
Want to see some of these projects in “live” time? Hop on over and follow along with me on INSTAGRAM. I’m always sharing in my stories as I’m doing projects, finding new furniture, fun finds….just all the day to day behind the scenes.
I tried to make sure I had enough so that it wouldn’t start drying in sparse areas before I could get the tissue paper decoupage applied.
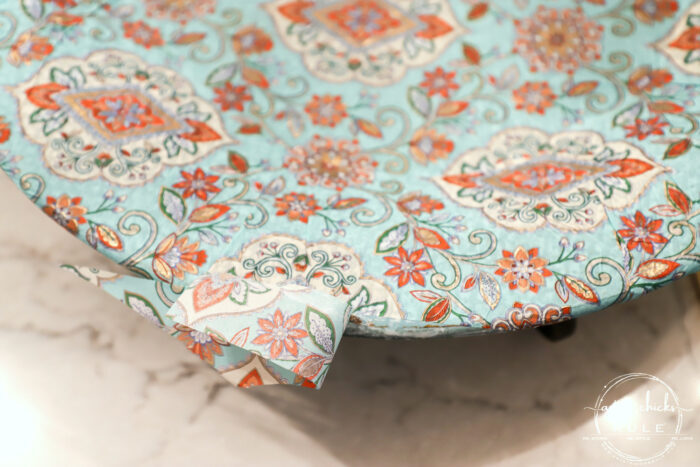
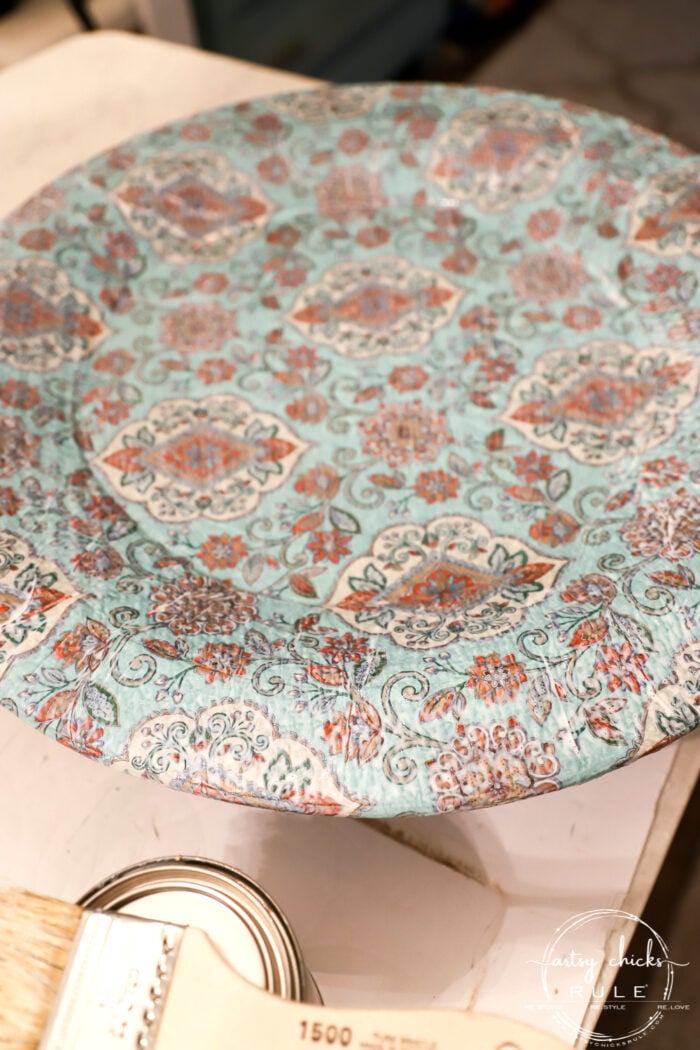
Next, carefully lay the paper onto the Mod Podge’d tray and gently press it onto the tray.
I didn’t worry too much about the overlap on the underside at this point. I will get to that after I get the top all smoothed out, etc.
You will probably get a few wrinkles here or there. That is just the nature of using such thin paper, such as tissue paper.
Don’t freak out if you do!
Just try to smooth them out and stick them down.
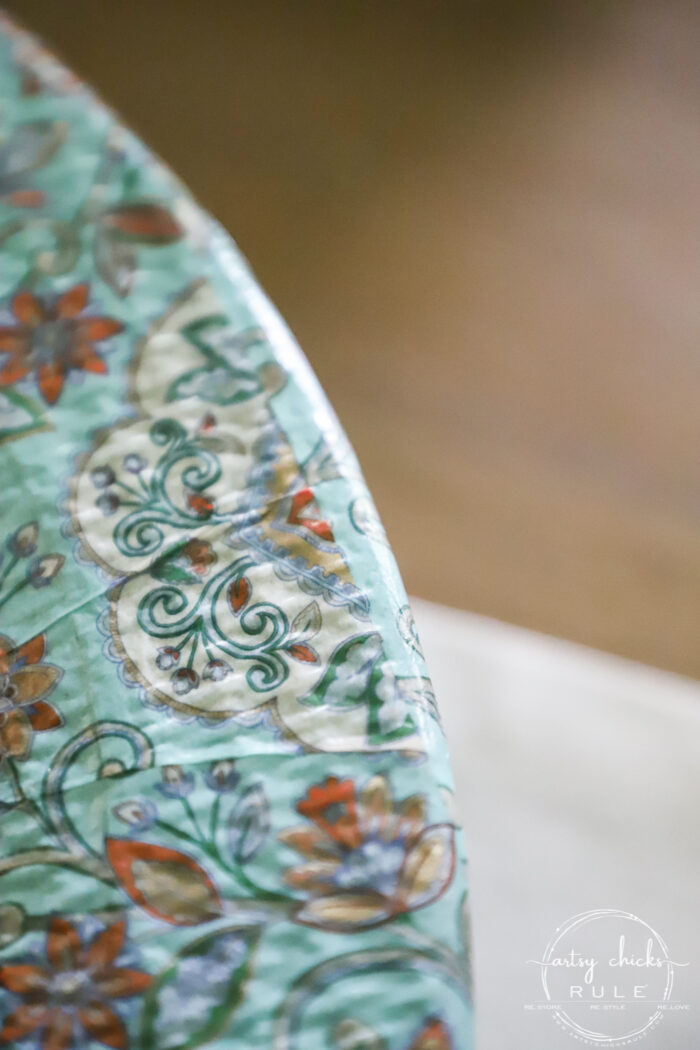
I didn’t get many at all, surprisingly, but here are a few to see up close. That was pretty much it.
And I almost got away with using just one piece of tissue paper for the top but it was short by about a 1/4 inch on one side.
I simply lined up a scrap piece and glued it down.
I considered cutting a piece to match up the pattern exactly but figured it was small and wouldn’t really matter.
And it doesn’t …. except I know and it’s bugging me!! haha
Oh well, it is done now.
It’s not that big a deal, I’m just obsessing over it too much probably. ;)
Because you don’t really notice it unless you know it is there. (and I know it is there…and now YOU know it is there, haha)
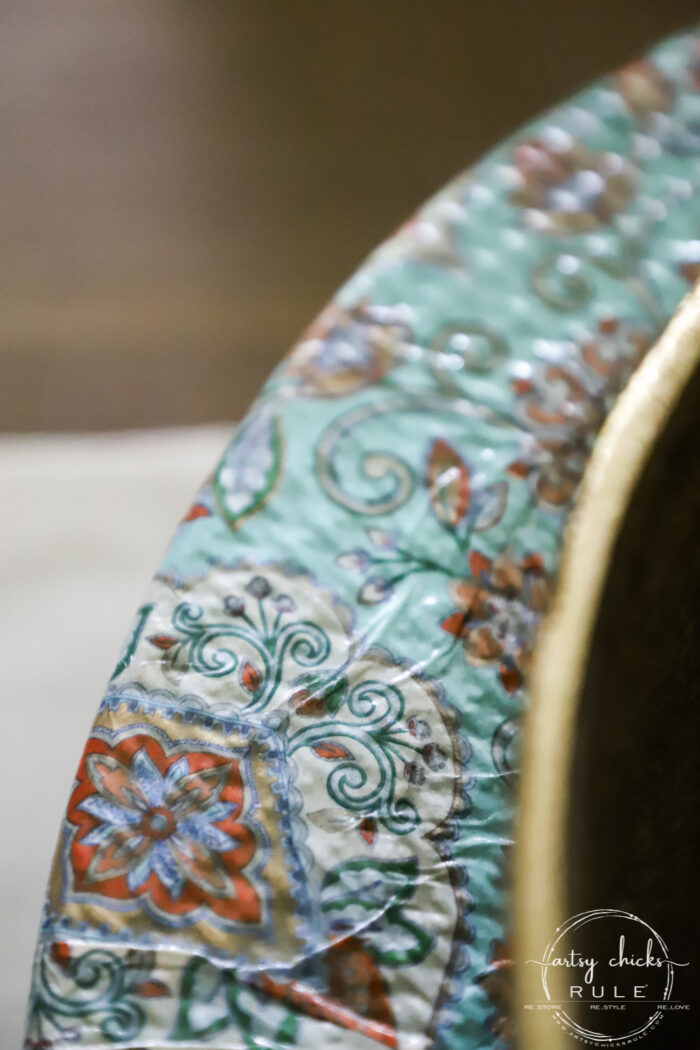
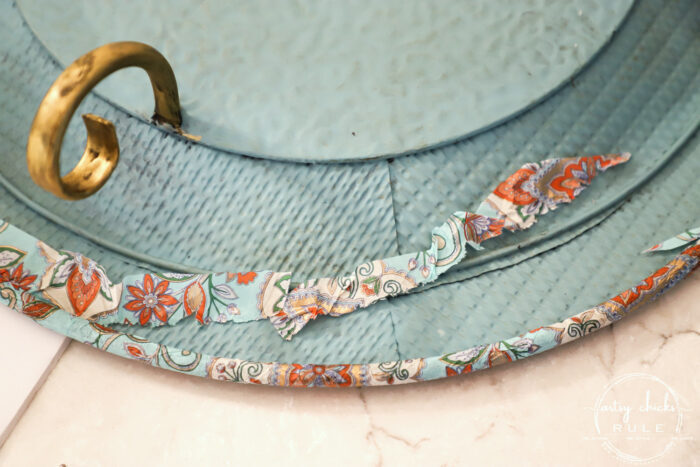
After I had that good and done, no air bubbles, etc., I turned the tray over and added a little more Mod Podge with my chip brush around the rolled edge.
Then I stuck the paper up and under the crease. (Or tightly to the crease) Don’t worry about overlap at this point. We will cut that off later.
See the overlap around the edge below?
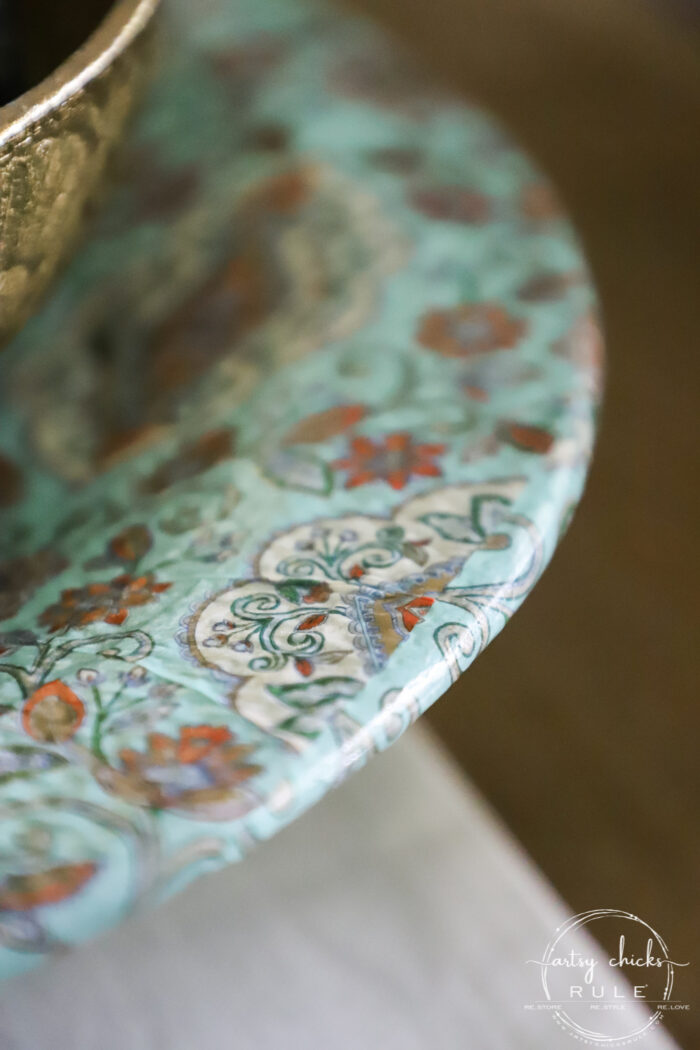
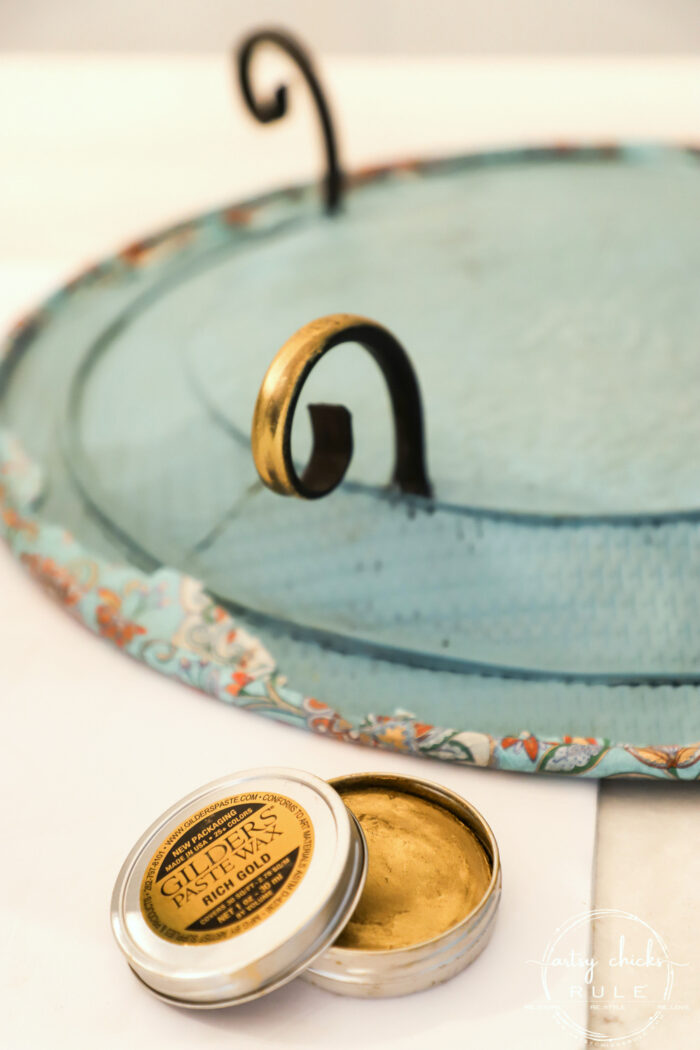
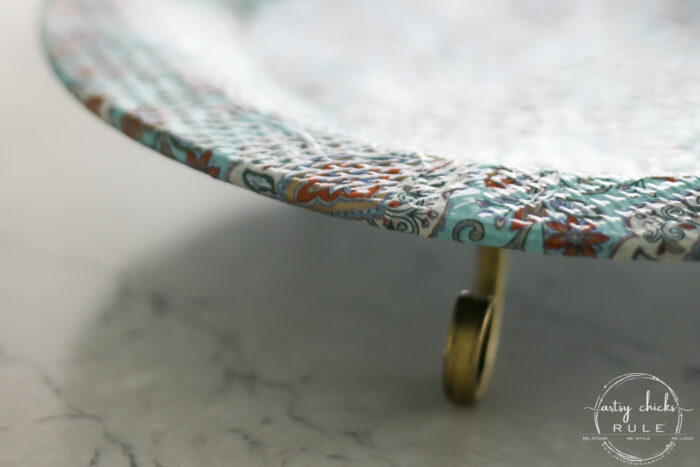
I knew I wanted to paint the legs gold since the pretty paper I’m using has gold in it.
Instead of taping everything up and trying to spray paint them, I used one my Gilder’s Paste waxes instead.
SO easy! Just rub it on and buff.
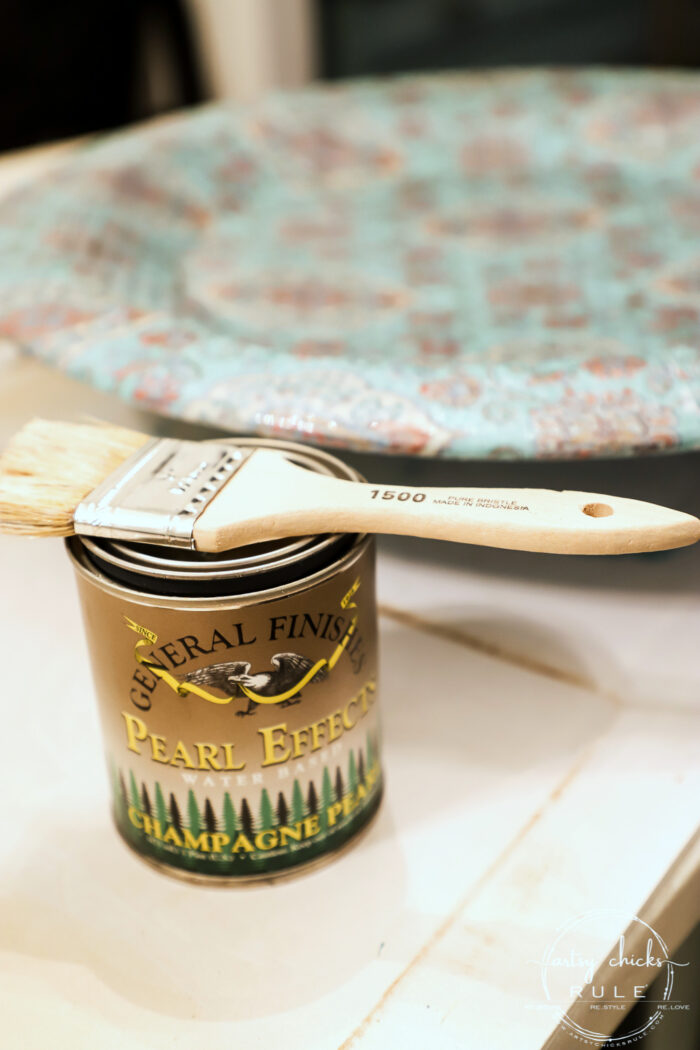
Once the Mod Podge was dry, I gave it a quick coat of my top coat sealer and let that dry.
For the underside, once it was all dry, I took my scissors (a knife or xacto knife would be better) and traced around the inner crease to remove the extra paper.
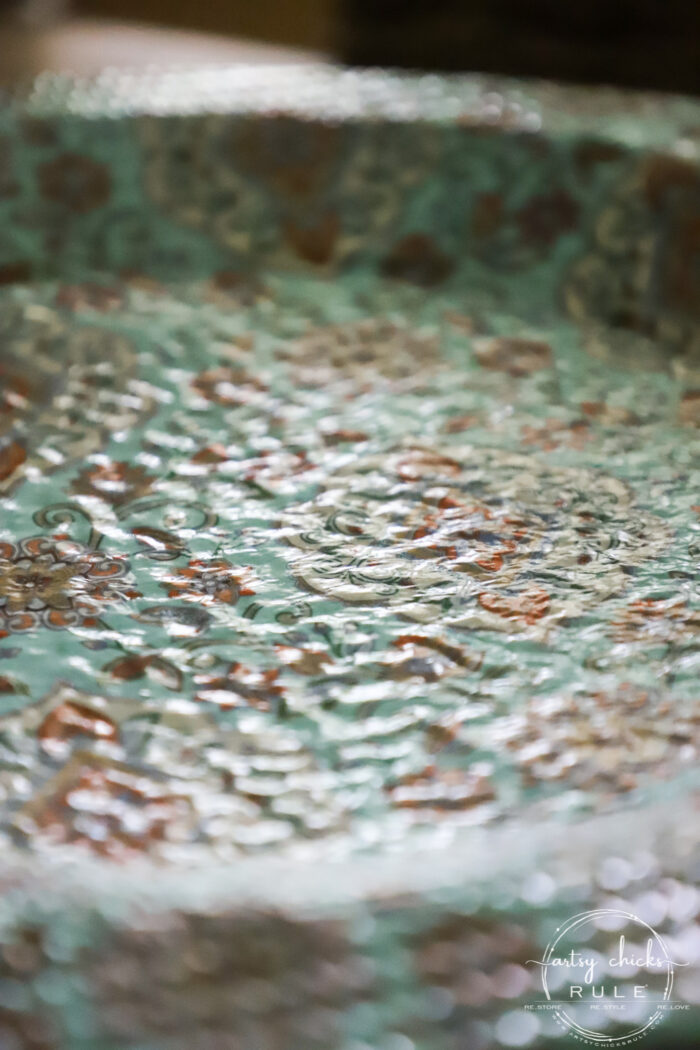
I was hoping for a little more of the pearl to show up but it doesn’t really.
Not in the way I wanted, anyway. BUT it is more “lustrous” looking than it was with just the normal top coat sealer so it’s still a “win” in my book!
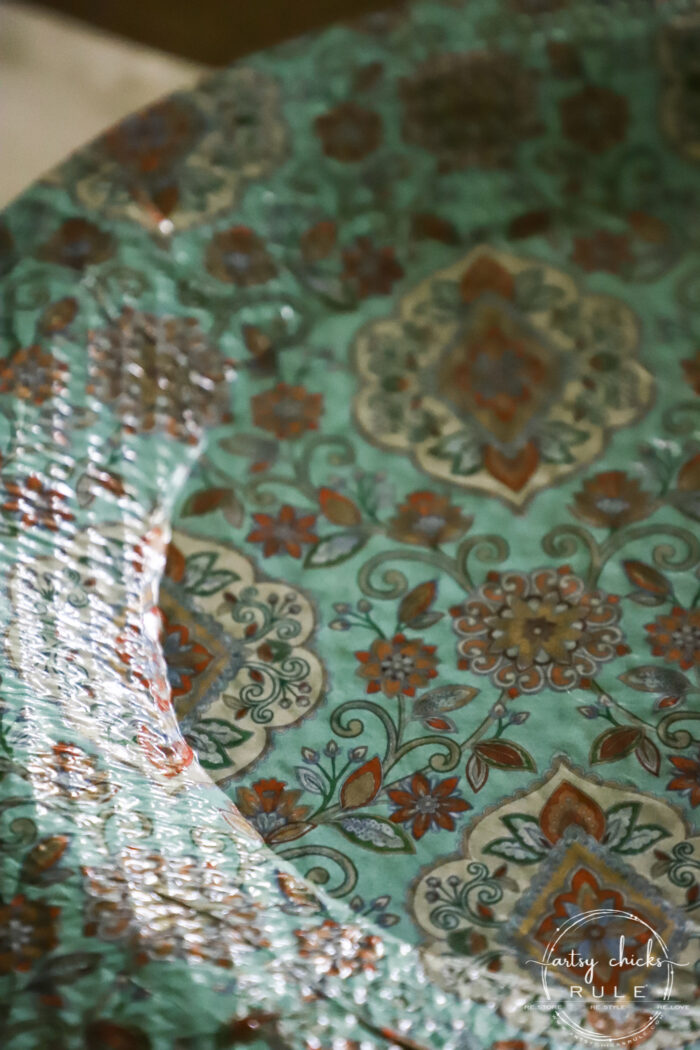
I love how the tissue paper ended up “hugging” the divots in the tray.
And how the underside looks all finished up.
Nice and neat.
Here’s another project I used with a tissue paper decoupage. You can read all about it >>> here.
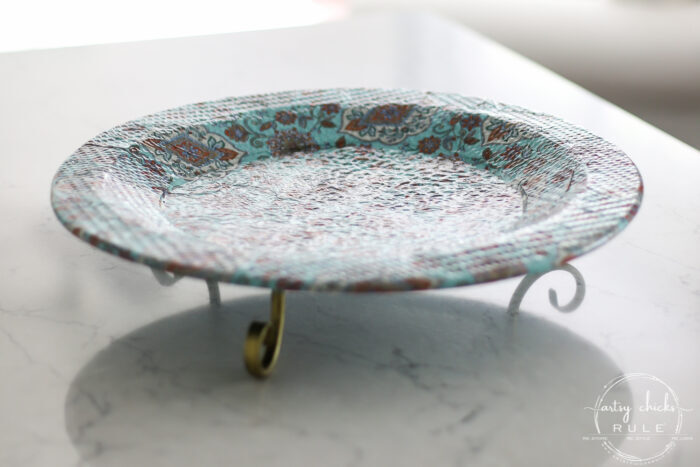
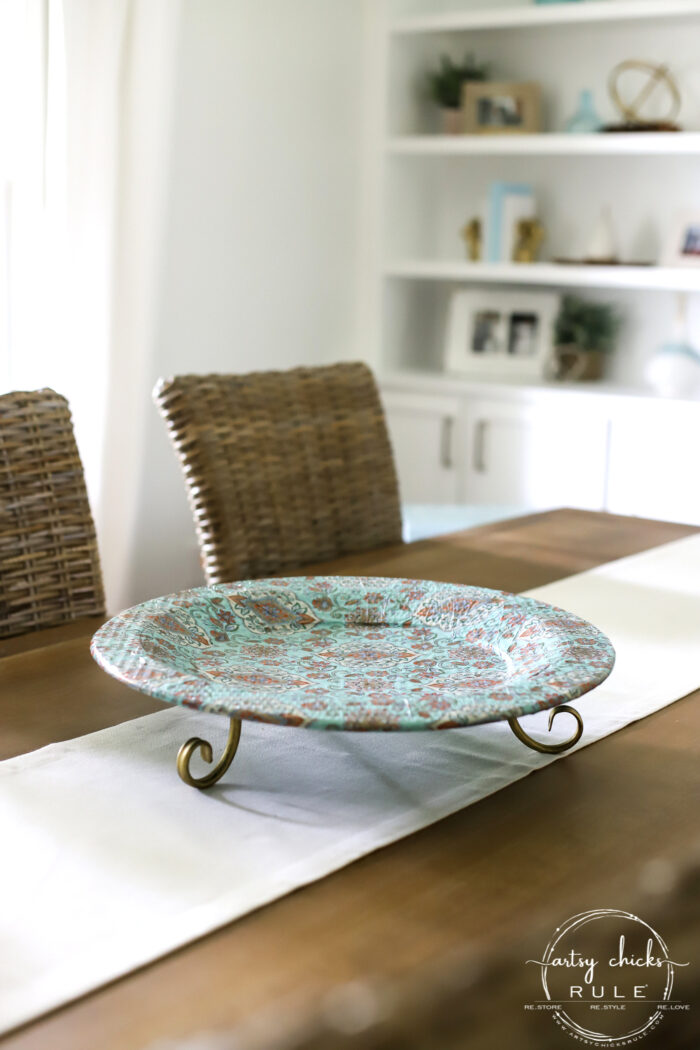
Another tray you can use in so many places or ways.
Looks so pretty on my kitchen island.
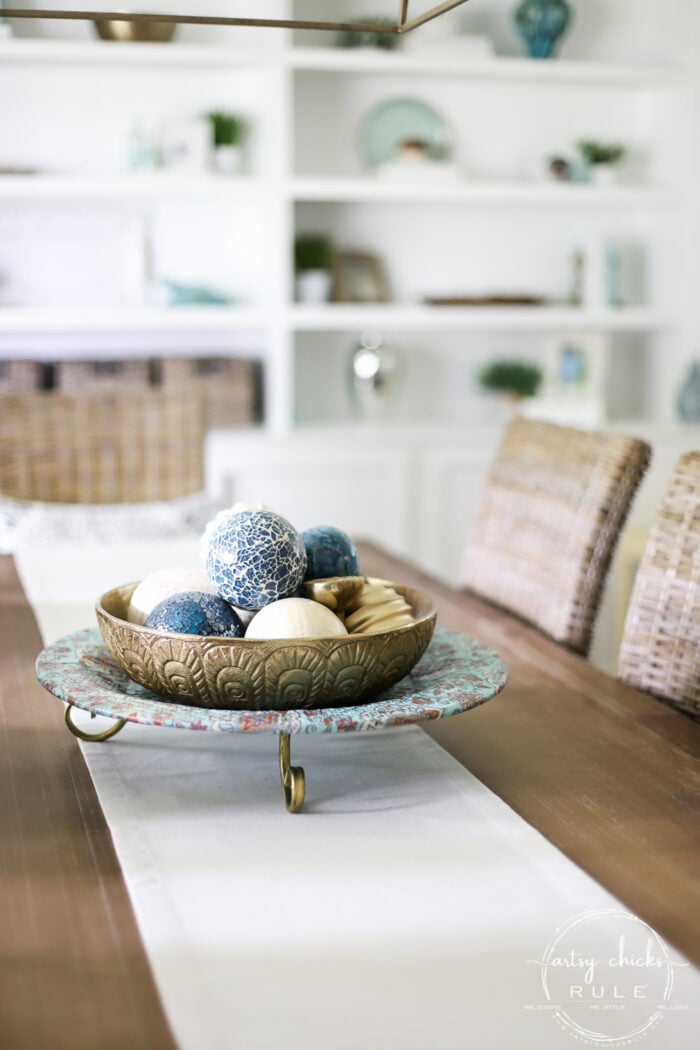
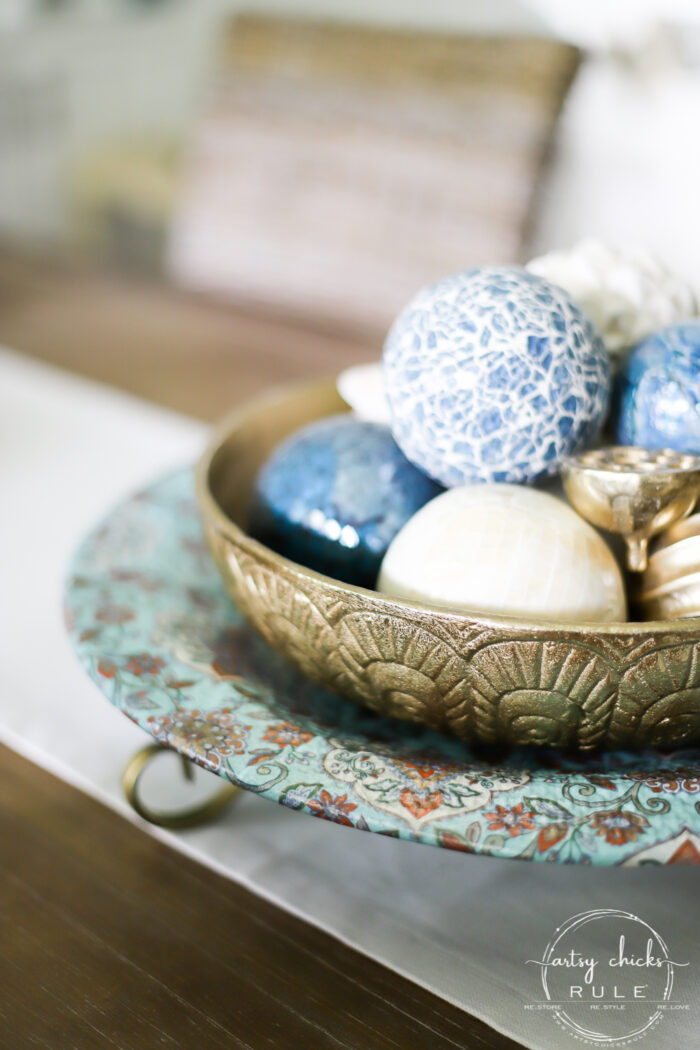
But I’m really loving it here…
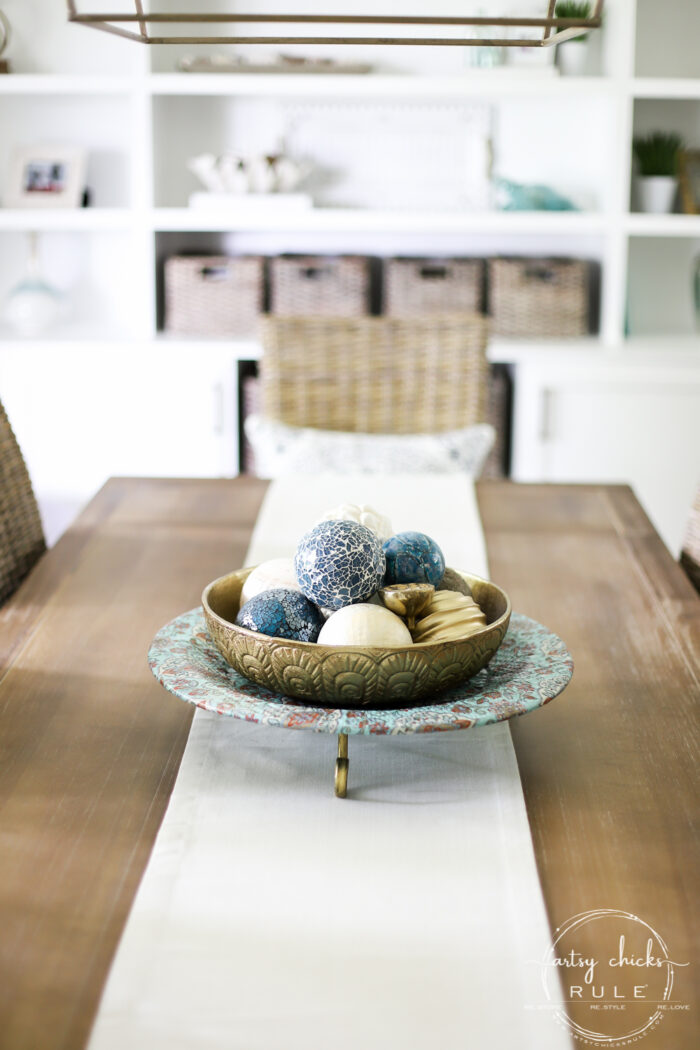
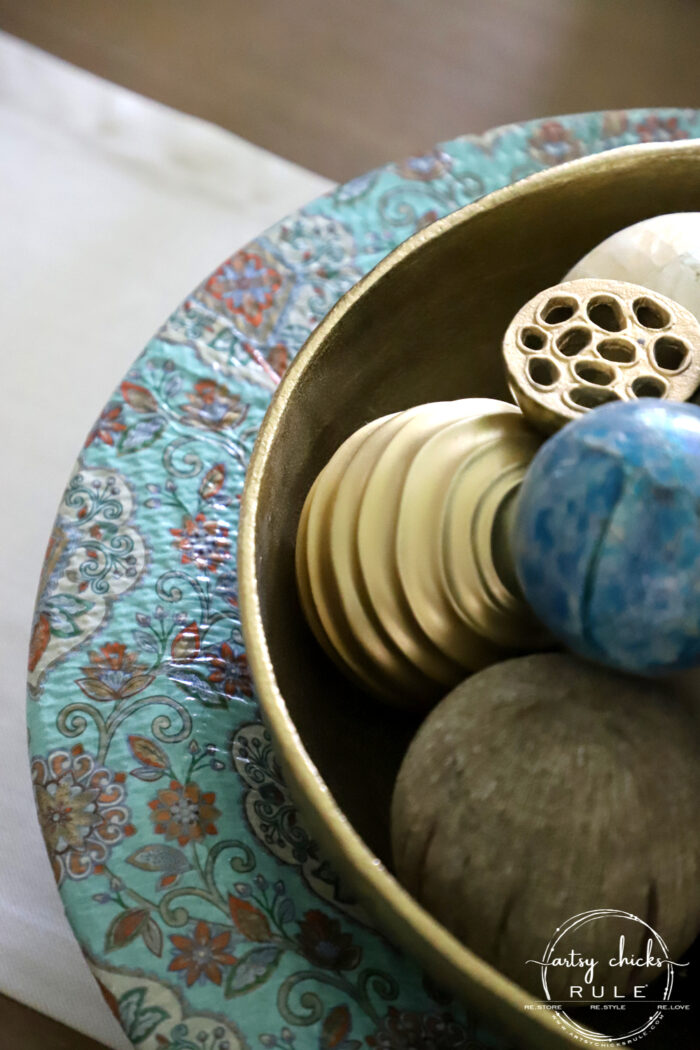
To style it, I was going to use the spheres from the bowl inside it…
But I ended up just sitting the gold bowl right on top and loved it!
So I just left it like this.
As a matter of fact, even after I styled and shot it, I decided I liked it so much that it stayed.
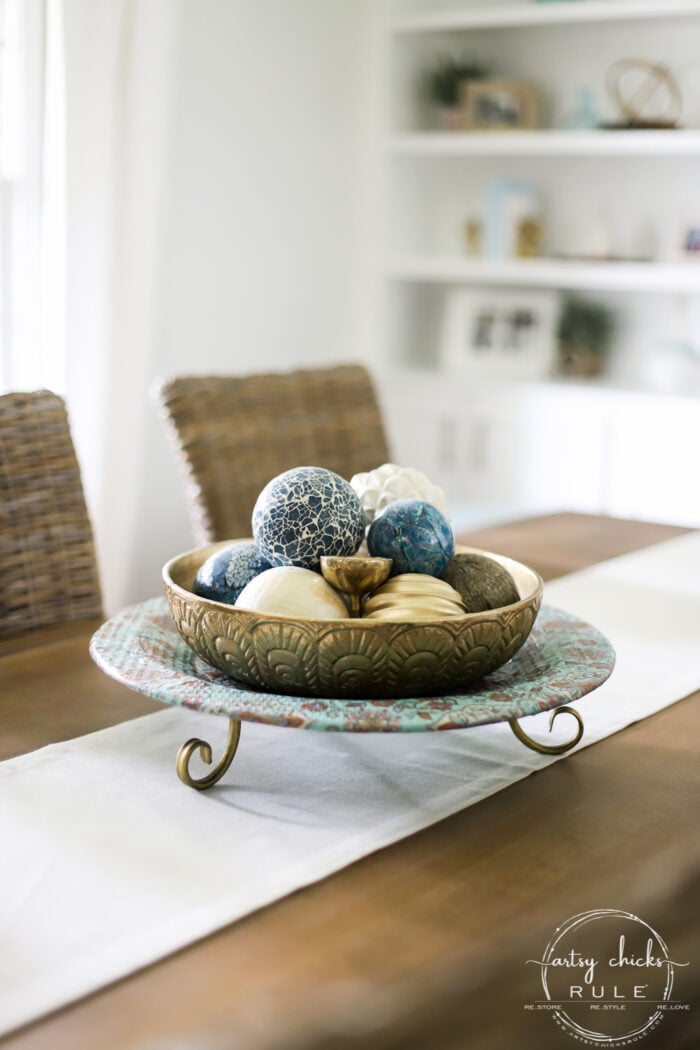
Now I need to find something to go over on the Aubusson dresser where I stole it from! lol
More close-ups…
I’m so thrilled with how this one turned out.
You know, because I’m never quite sure if what I see in my mind is going to look like I think it will once done!
Love when it does!
PIN it to save it!
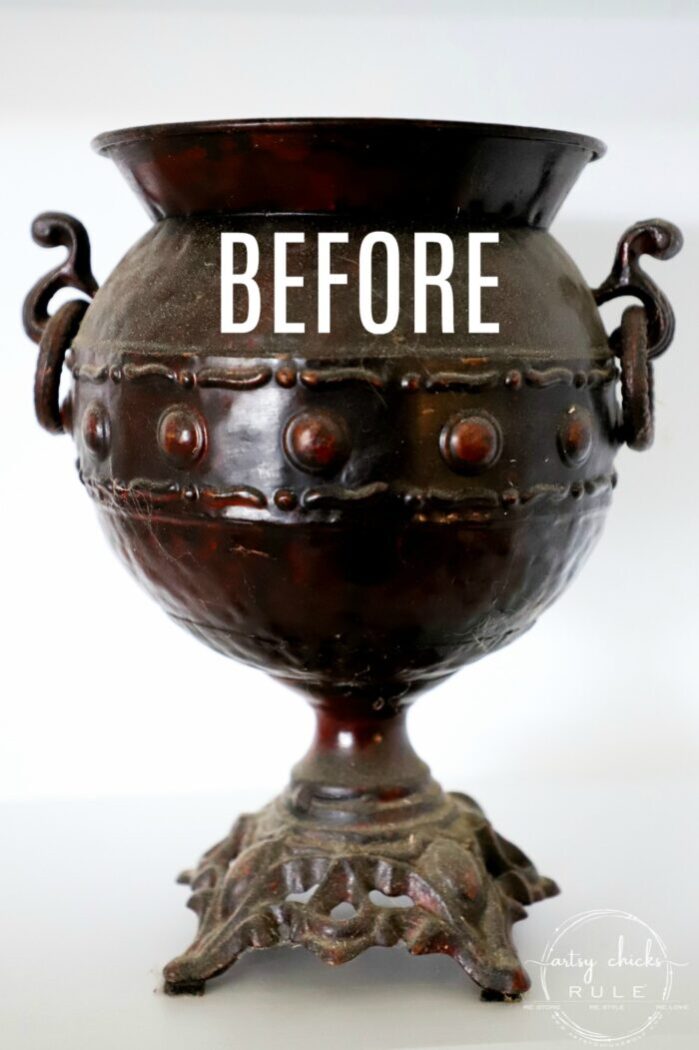
I’ll see you later this week with another “small” makeover!
This…
I pulled it out of the garage too. (as is evidenced by all the dust!) It got a brand new look.
Nancy, despite your reservations about the decoupage process, this turned out great! Love it on your island.
Wonderful idea for customizing some inexpensive chargers too. Though it may be a LOT of work to do many.
Thank you!!
Hi Kathy! Yes, you sure can. This is metal (but painted) and if it weren’t you sure could. If using tissue paper though, you want to be mindful of the color of the metal underneath as it will probably show through in some kind of way. That is why this one was perfect for the paper I was using. :) xo
Hi Kathy, that really depends on the paper you choose. You will want something with a complimentary color. Not something that will take away from it or one too dark. As far as kind, primer really isn’t necessary if using a spray paint or chalk style paint. :)
Very pretty! I love Gilder’s Paste! I bought silver to add to the trim on my chalk-painted hutch. I later used it to change a pretty gold frame to silver! It really didn’t take that much wax or time and now the frame works in my room. I also have Italian Bronze that I used to highlight the edges of frames and a candlestick. I’d like to try the tissue decoupage–all I need is a tissue paper I love!
Thank you, Nancy! Me too! Isn’t it so easy to use?? And I love what it can do. Have fun with your tissue paper project when you find the paper. (so many pretty ones out there!) xoxo
Gosh, I thought it was me!! Glad you got it working and this is an awesome makeover!! I like Christina’s idea of using old chargers. Would make great Christmas gifts or any kind of gift! Thanks!! XOXO
Haha!! No, it was all me!! ;) Yes, me too, techy stuff just is no fun at all! Thank you, Cecilia! Yes, wouldn’t those make a great gift? I thought that was a totally great idea too. xoxo
Thanks for the tutorial, Nancy. I’ve been wanting to do a decoupage project and since I haven’t done one before your post will be helpful. The tray turned out really well, I think. Just shows what you can do with something “less than pretty”, shall we say, to make it attractive and useful.
Hi Nancy, What a great makeover on this tray! I love the colors and print on the tissue paper, it made such a big, beautiful difference! I love it with the bowl layered right on top of the tray too!
This came out awesome! I can’t tell you how many times I’ve bought or made a piece to put in a specific place and found it looked so much better elsewhere. I don’t do that anymore. Now I let things talk to me. I just bought a lamp for a specific place and I don’t like it where I wanted it, which I kind of new I wouldn’t. I do have the perfect spot for it though once I get that area put together. I love covering plates and chargers with different things. My favorite is fabric.
Thank you, Shirley! Oh yes, I have to let things talk to me too, I get it! Sometimes it tells me wrong though!! haha But that’s the fun part. ;) You sound like you’ve done a lot of fun things! xoxo
I’m much much older than you and yes I’ve done a lot of diy and crafting over the years. It’s always been my passion. Even now, I can’t do everything anymore but I still do as much decorating, renovating and crafting as I possibly can. Keep doing what you do for as long as you can as long as you love it!
Hi Nancy, that is such a pretty makeover! I have just covered
An old bowl I found in a charity shop. I tore the tissue paper to use the pattern in a different way, looks good and sits nicely on the dresser I painted with frenchi c paint.
Hi from England!
Katrina
Want to be inspired, learn new skills, discover all the tricks to furniture makeovers, creating new out of the old and more? You'll also receive my FREE ebook "Creating Fabulous Finishes" PLUS access to my private Printables Resource Library, too!
Sign up to get the Weekly Newsletter! Our emails include an unsubscribe link and you may opt-out at any time. Your information will *never* be shared or sold to a 3rd party.


")
")
")


")
")

Nancy, despite your reservations about the decoupage process, this turned out great! Love it on your island.
Wonderful idea for customizing some inexpensive chargers too. Though it may be a LOT of work to do many.
Thank you!!
Thanks, Christina! Oh yes!! That too! And it probably wouldn’t be so bad. This went really quickly, actually. I just love that idea! xo
What a really lovely piece! This turned out very well! I think I might try this today! Kind of excited about this now! Thanks for the post!
Oh yay!! This makes me so happy to hear! Have fun with yours and thank you!! :) xoxo
Can decoupage process be used on metal?
Thanks,
Kathy
Hi Kathy! Yes, you sure can. This is metal (but painted) and if it weren’t you sure could. If using tissue paper though, you want to be mindful of the color of the metal underneath as it will probably show through in some kind of way. That is why this one was perfect for the paper I was using. :) xo
What kind of primer should be used to cover metal color for tissue decoupage?
Hi Kathy, that really depends on the paper you choose. You will want something with a complimentary color. Not something that will take away from it or one too dark. As far as kind, primer really isn’t necessary if using a spray paint or chalk style paint. :)
Very pretty! I love Gilder’s Paste! I bought silver to add to the trim on my chalk-painted hutch. I later used it to change a pretty gold frame to silver! It really didn’t take that much wax or time and now the frame works in my room. I also have Italian Bronze that I used to highlight the edges of frames and a candlestick. I’d like to try the tissue decoupage–all I need is a tissue paper I love!
Thank you, Nancy! Me too! Isn’t it so easy to use?? And I love what it can do. Have fun with your tissue paper project when you find the paper. (so many pretty ones out there!) xoxo
Gosh, I thought it was me!! Glad you got it working and this is an awesome makeover!! I like Christina’s idea of using old chargers. Would make great Christmas gifts or any kind of gift! Thanks!! XOXO
Haha!! No, it was all me!! ;) Yes, me too, techy stuff just is no fun at all! Thank you, Cecilia! Yes, wouldn’t those make a great gift? I thought that was a totally great idea too. xoxo
It turned out really beautiful Nancy! It looks so nice on your table!! I love it. xoxoxo
Thank you, Aunt Jo! :) xoxo
Thanks for the tutorial, Nancy. I’ve been wanting to do a decoupage project and since I haven’t done one before your post will be helpful. The tray turned out really well, I think. Just shows what you can do with something “less than pretty”, shall we say, to make it attractive and useful.
You are so welcome, Naomi! I am so glad this will be helpful to you. And me too! I have another “re-makeover” coming on Thursday! :) xoxo
Hi Nancy, What a great makeover on this tray! I love the colors and print on the tissue paper, it made such a big, beautiful difference! I love it with the bowl layered right on top of the tray too!
Thank you, Kaycee! :) I just love that tissue paper! And yes!! I sat it there…and it stayed. And it’s still there because I loved it so! xoxo
This came out awesome! I can’t tell you how many times I’ve bought or made a piece to put in a specific place and found it looked so much better elsewhere. I don’t do that anymore. Now I let things talk to me. I just bought a lamp for a specific place and I don’t like it where I wanted it, which I kind of new I wouldn’t. I do have the perfect spot for it though once I get that area put together. I love covering plates and chargers with different things. My favorite is fabric.
Thank you, Shirley! Oh yes, I have to let things talk to me too, I get it! Sometimes it tells me wrong though!! haha But that’s the fun part. ;) You sound like you’ve done a lot of fun things! xoxo
I’m much much older than you and yes I’ve done a lot of diy and crafting over the years. It’s always been my passion. Even now, I can’t do everything anymore but I still do as much decorating, renovating and crafting as I possibly can. Keep doing what you do for as long as you can as long as you love it!
Hi Nancy, that is such a pretty makeover! I have just covered
An old bowl I found in a charity shop. I tore the tissue paper to use the pattern in a different way, looks good and sits nicely on the dresser I painted with frenchi c paint.
Hi from England!
Katrina
Oh how fun!! I bet it is quite lovely that way! And England, at the top of my bucket list!! One day! :) xoxo