French Rose Decal Tray Makeover
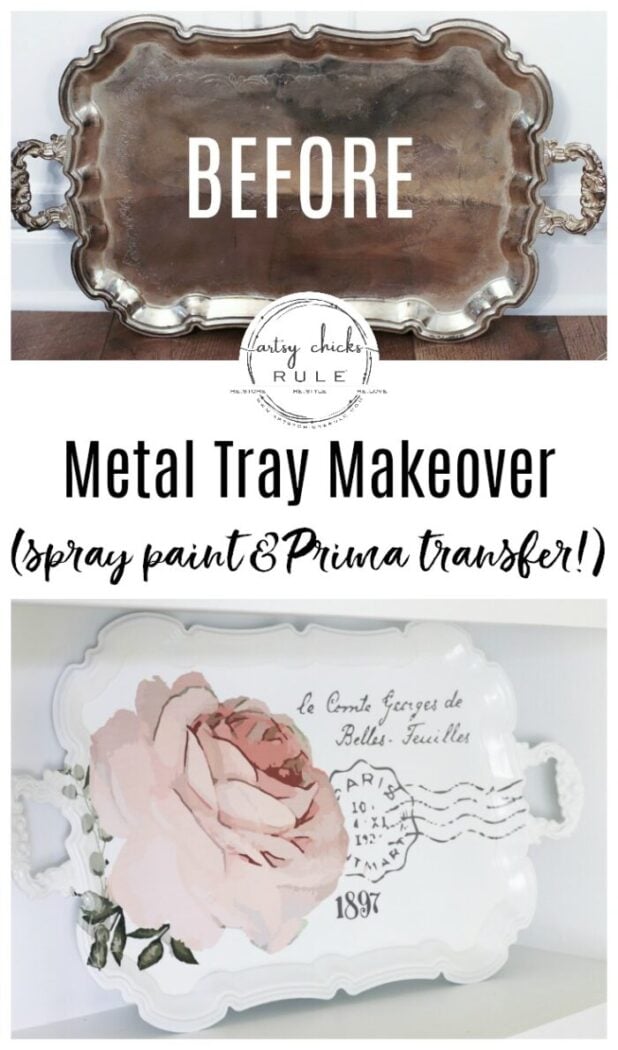
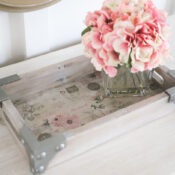
This pretty French rose decal was the perfect addition to this old metal thrift store tray!
Happy Trash to Treasure Tuesday, friends!
If you are new around here, a few of my friends and I get together the second Tuesday of every month to bring you a “trash to treasure transformation”.
Although, I do quite a lot of that around here every day, right?!
But this one is so much fun because you get to see 5 awesome brand new transformations in one day.
So be sure to scroll all the way to the bottom of this post to catch their makeovers too.
French Rose Decal Tray Makeover
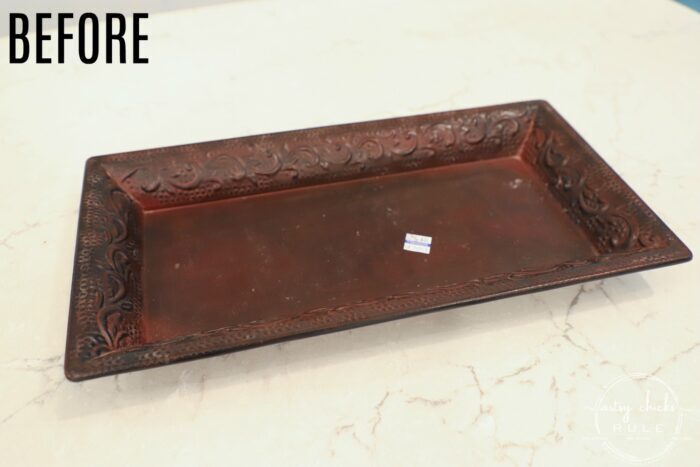
Today I’m sharing this old thrift store find of mine from years ago, this metal tray.
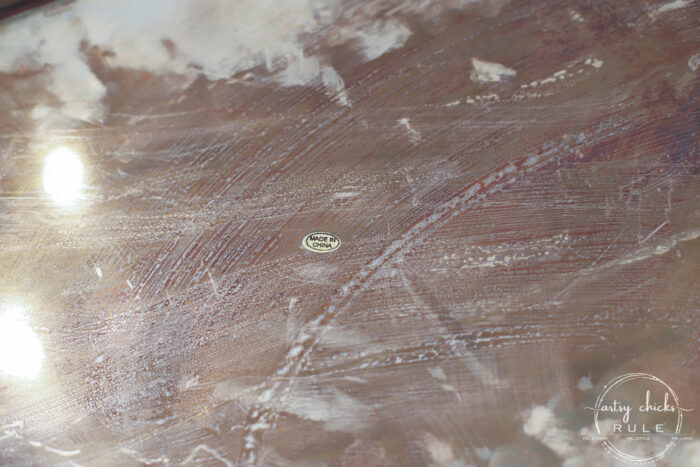
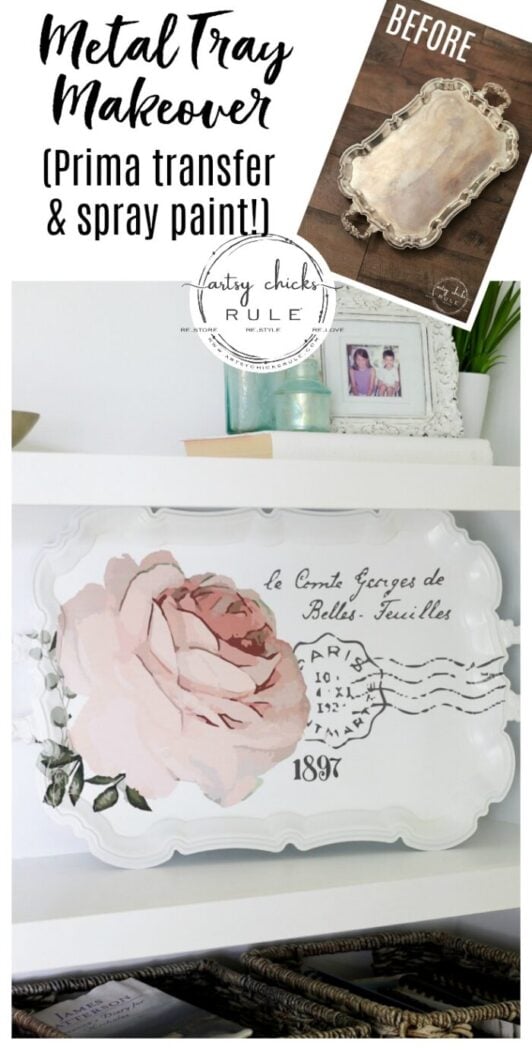
As you know, it didn’t look like that when I found it, it looked like this…
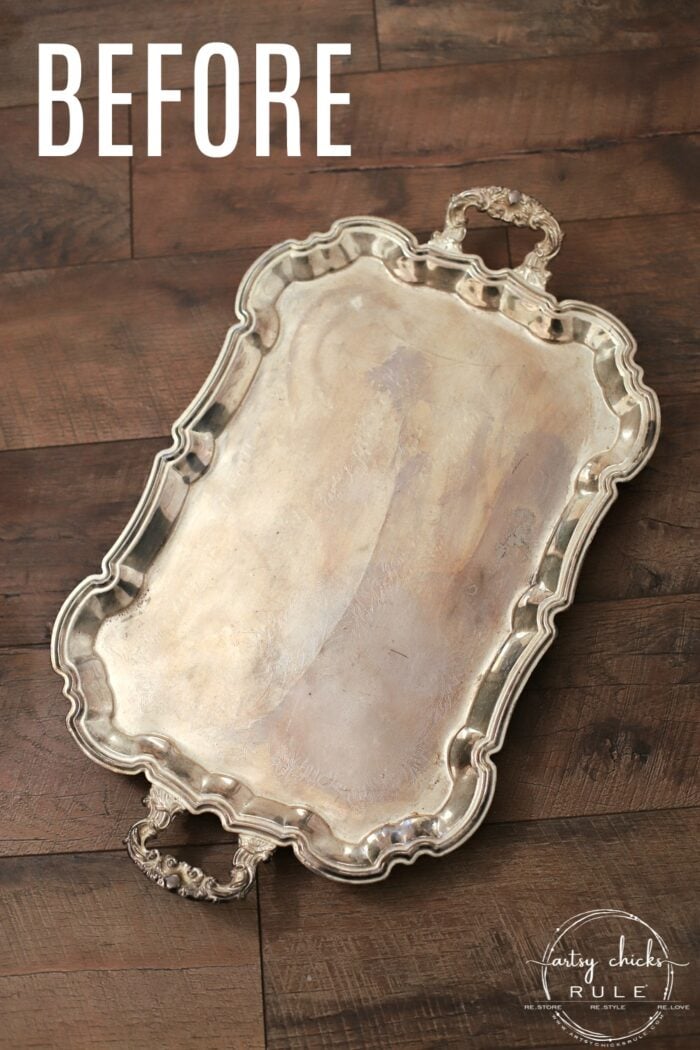
I’ve used it in various places over the years but put it away awhile back.
I found it in my stash and decided to pull it out and give it the makeover it deserves.
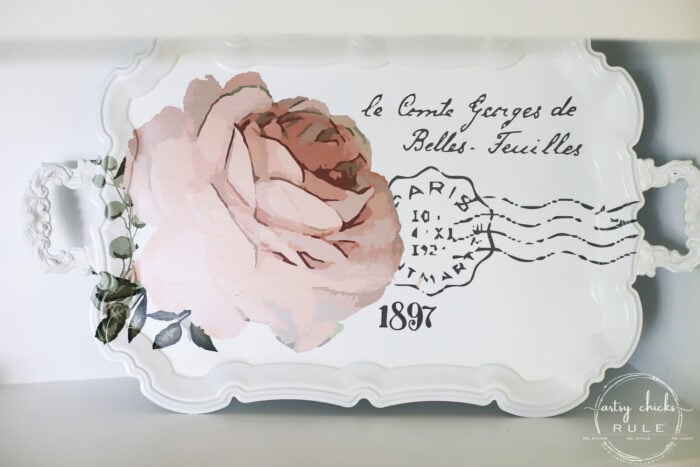
I was thinking something like this…
I love trays and have made over quite a few.
- French Basket Tray Makeover (with decal)
- Simple Thrift Store Tray Makeover (with tile)
- White and Gold Tray Makeover
- Blue and White Tile Tray Makeover
- Thrifty Print Turned Coastal Tiled Tray
This one was SIMPLE!
MATERIALS LIST
I didn’t mind painting it as it wasn’t a pricey heirloom or anything.
I cleaned it up and took it outside, gave it a few thin coats of white spray paint (drying well in between…the heat and sun do a good job of that!).
It’s always best to do nice, thin coats when spray painting something. It dries quicker, has better durability and looks nicer.
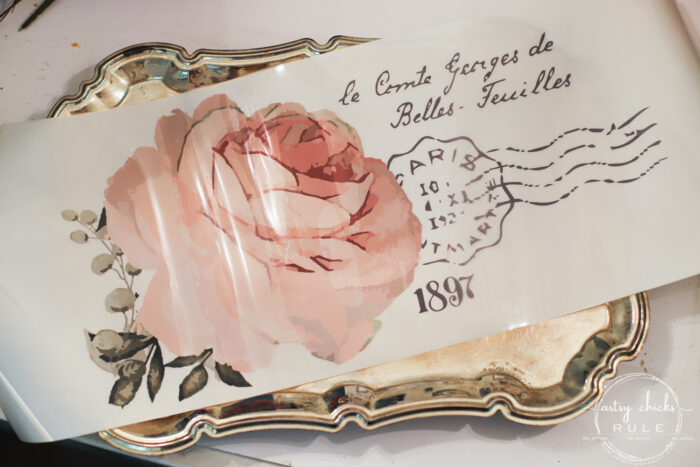
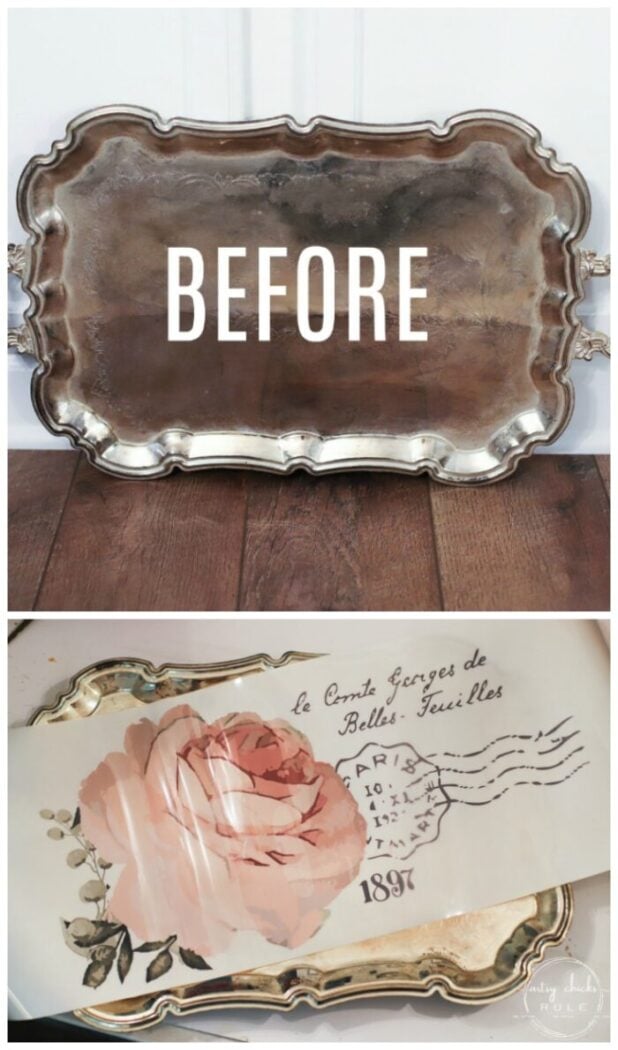
Then I brought it inside and applied this French rose decal. Or I should say, part of it.
There are still 2 other gorgeous parts to this transfer that I can use on something else.
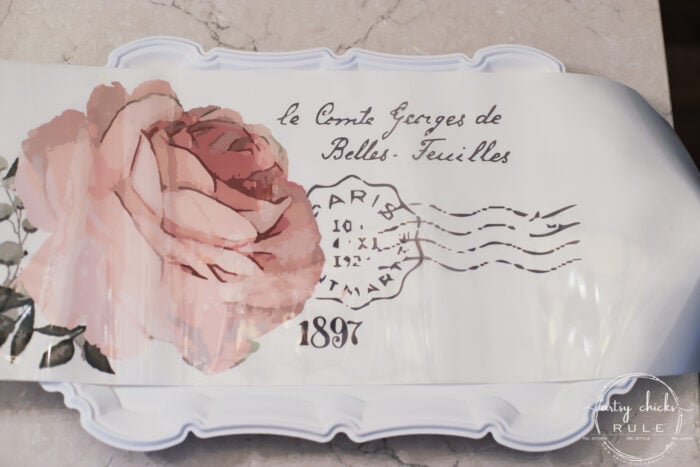
I pulled the backing off and very carefully lined it up on the tray.
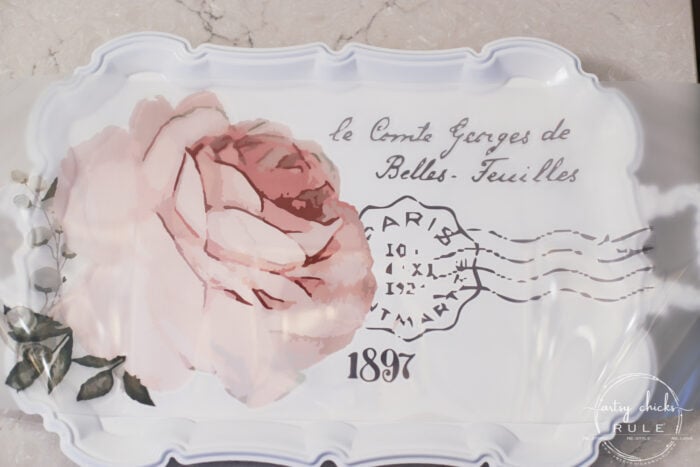
I then started transferring the pretty rose decal.
Which basically consists of rubbing it with the stick that is included.
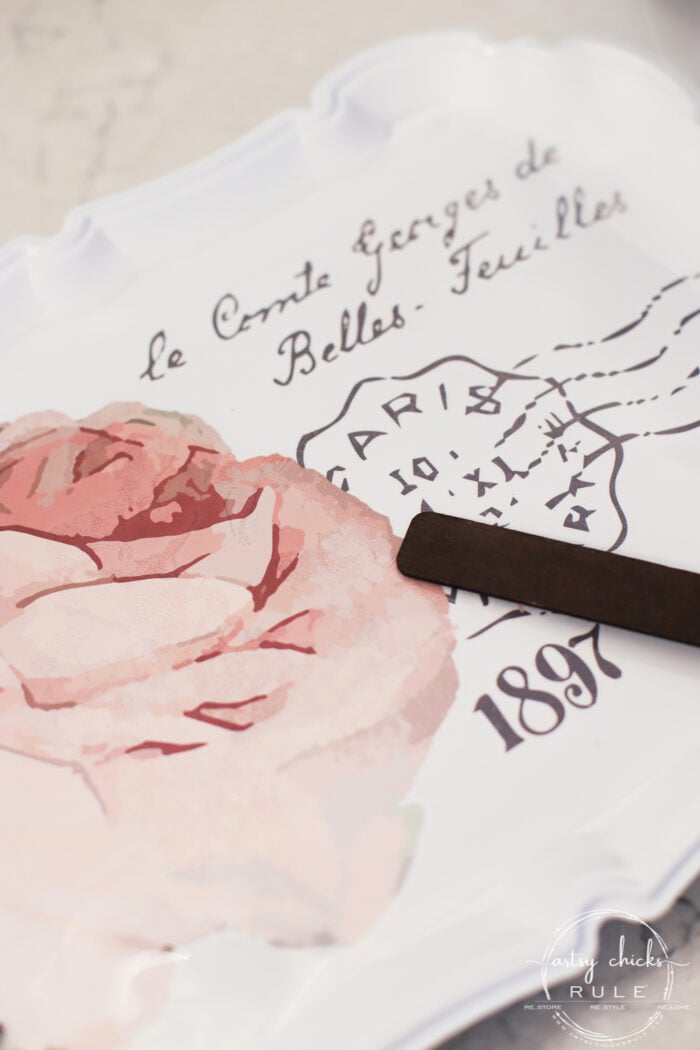
As you go, if you find that it’s not all transferred (carefully lift as you go to check), simply put the decal paper back down and rub it a bit more.
Soooo easy, ya’ll. And so easy to create something beautiful this way.
I made it overlap on the edges similar to how I did >>> this other transfer project.
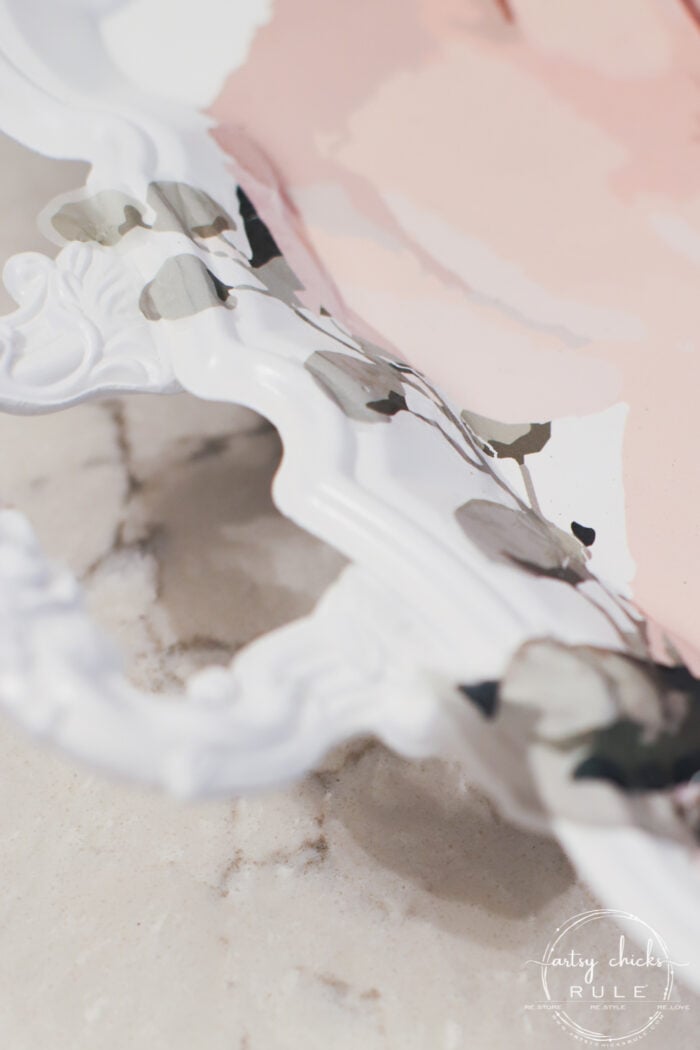
Just gently fold the transfer around and underneath.
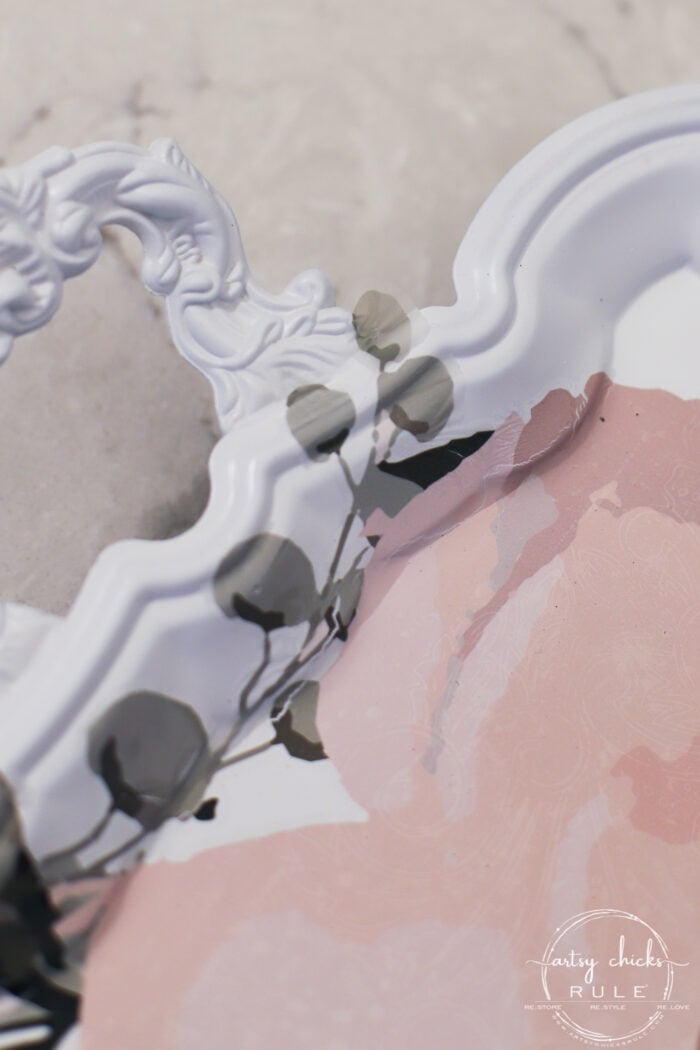
That’s it!
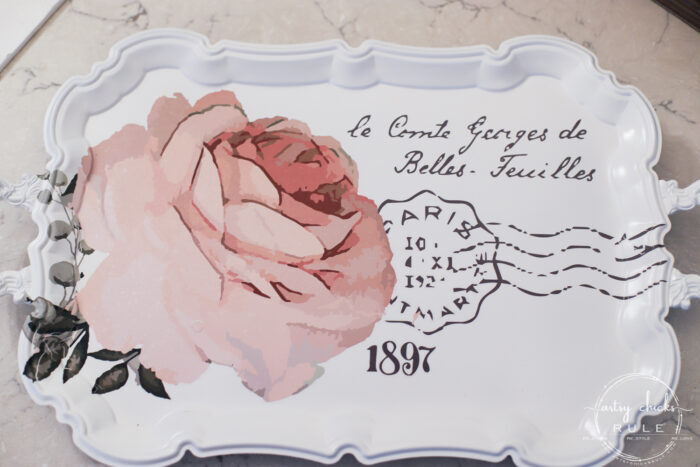
Well almost, I then sealed it up with one coat of this sealer. (still my fave!)
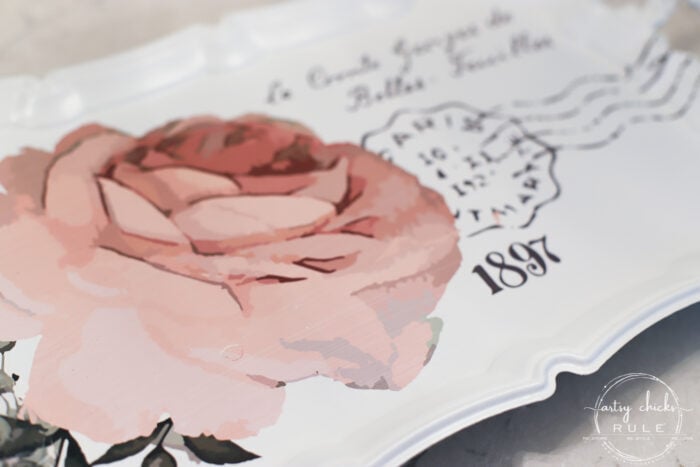
I had considered sanding the edges a little and adding some dark wax or a brown glaze over top to give it an antique look as I did on this mini chest recently.
But before I did that, I decided to take some photos of that nice, clean, bright white look first.
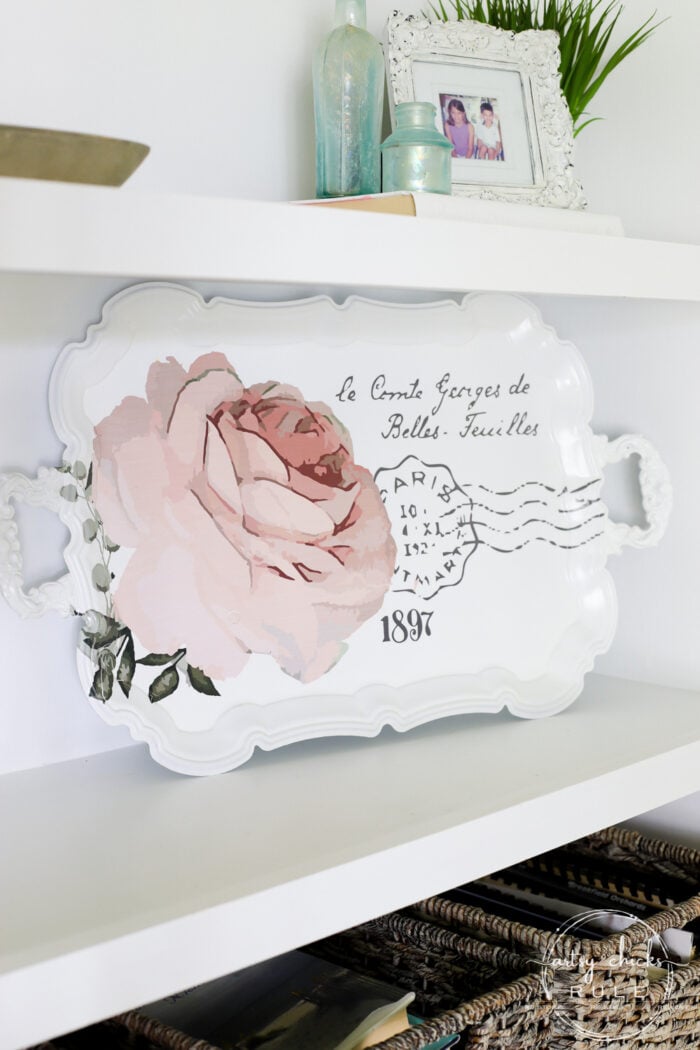
I plopped it right up here on our built-in bookcase for a few photos.
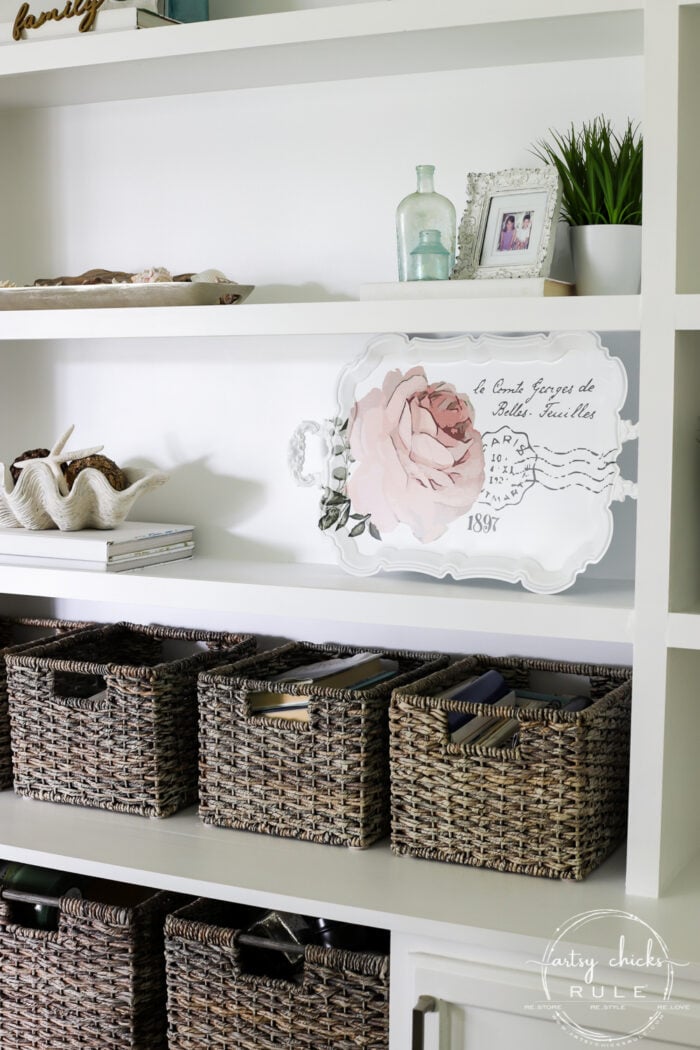
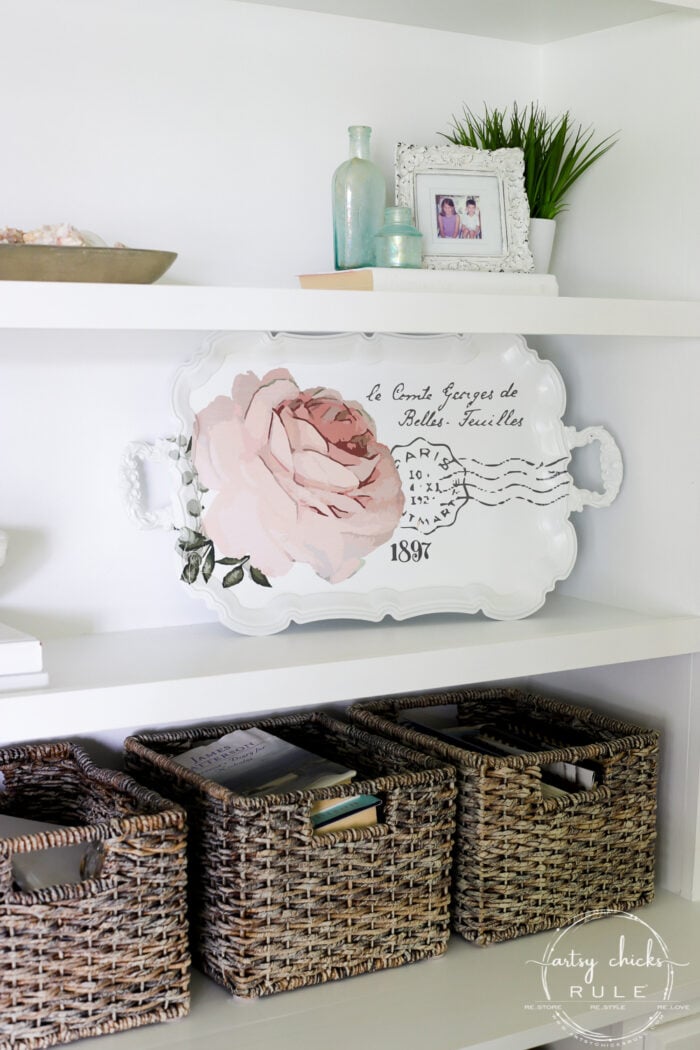
I was loving the fresh, clean look of it white and not distressed…or dark, that I decided to leave it alone.
It was just so pretty in its “pristine” condition.
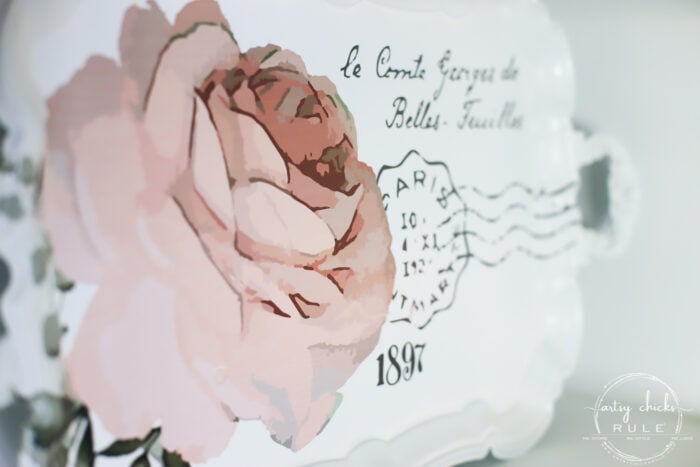
And I also didn’t really want to mute that pretty pink color of the rose, which the “antiqueing” would have surely done.
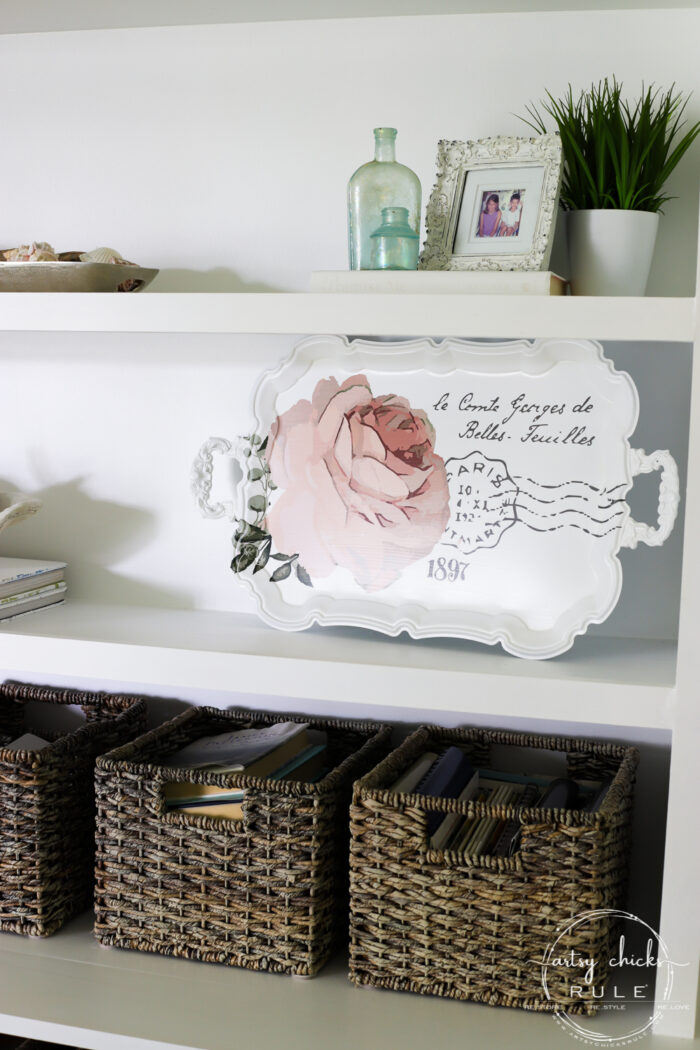
What do you think??
Bright white and pink, or muted and distressed with an antique look?
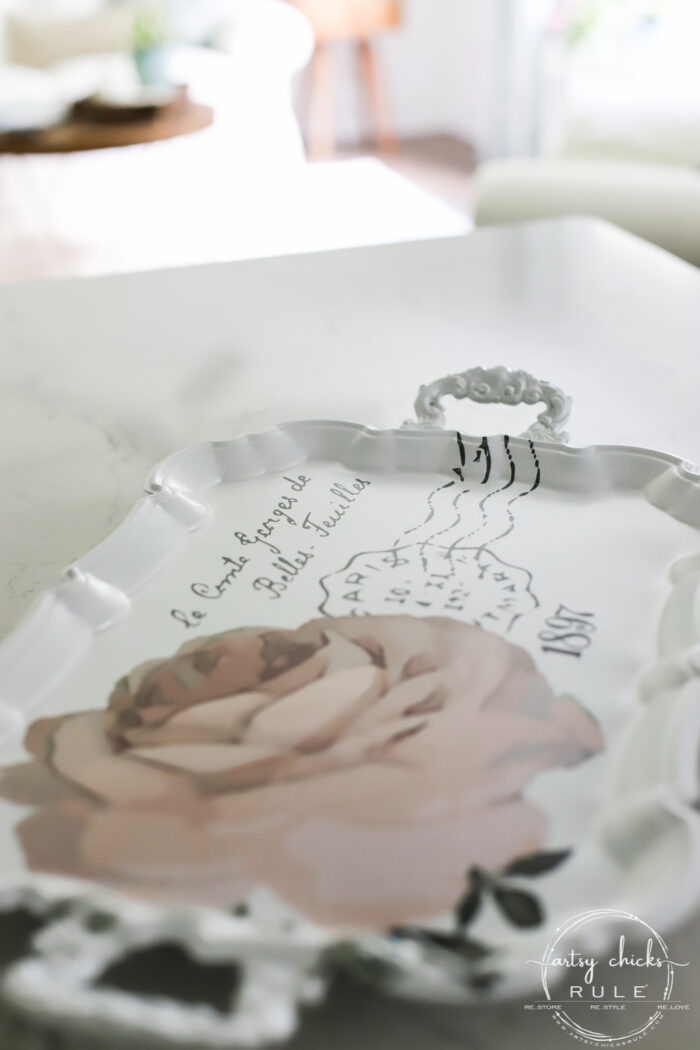
A fun and simple little makeover. But a big transformation.
PIN it to save it!
Hop on over and see what my friends did with their “trash” this month! (the direct links to each are below the photo)
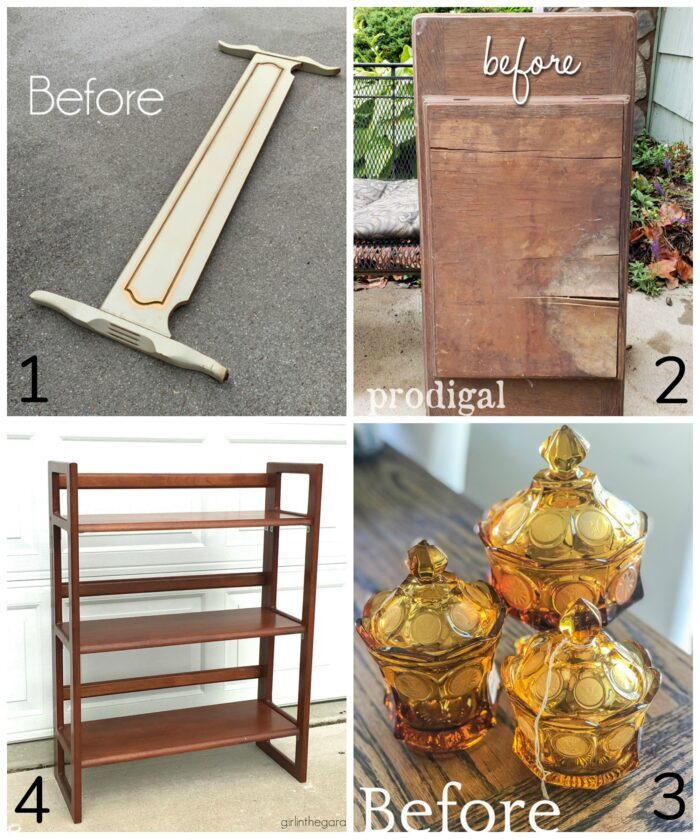
Want to see even more of our Trash to Treasure Transformations? Click here to see more projects.
I hope you enjoyed these fun new treasures today.
I’ll see you back here on Thursday with tissue paper makeover!
UPDATE! See it now here!
xoxo




Ooh, la, la, Nancy! Such a beautiful makeover. 💗
Thanks, Larissa! :)
Did you also spray paint the back of the tray or leave it?
Very pretty makeover Nancy!
Thank you, Aunt Jo! xoxo
Oh Nancy, this is beautiful, please do not antique it! :) I adore the colors on the bright white. Love the detail of both the tray and the transfer. Way go go!!
Thank you, Christina! I adore the colors too, it’s staying white! :) xoxo
Just beautiful!!❤️❤️
Thank you, Roseann! :) xo
Could you tell us the products you used for this project? I don’t know if I missed them or they aren’t listed. I have 2 similar trays and want to paint them for a wedding. Thanks
Hi Lisa! I always list the products I’ve used 2 ways in my posts, the blue linked product words in the text of the post and inside the gray box that says “materials list”. :)
I love the pristine look of the rose. Keep it the way it is.
I wish I could find the transfers at my local craft retailers. I hate waiting a day or two to get started on a project.
Keep posting the Tuesday Trash to Treasures!. So inspiring.
Cheryl D
Me too, Cheryl! I’ve decided it needs to stay white! :) Yes, they are online only as far as I am aware. I actually bought up several at a time and then pull em from my stash when I find something I want to use of them on! xoxo
This is lovely, Nancy! What a great way to repurpose those old trays that always show up in thrift shops. The transfer was the perfect finishing touch for this one and although I like age and patina, I think it would be beautiful either way.
Thank you, Marcie! Yes, you are right. Wood letter trays, old flatware boxes and silver platters are always some of the easiest things to find out there. So many things you can make out of/with them! :) xoxo
Hi Nancy! This little dish is so sweet. I just went and bought some silver trays from our Good Samaritan Thrift store so now i know I am going to have to paint one and add a transfer. You are so creative and I appreciate all of your great ideas.
Hi Cheryl! Oh yay! So much fun and it’s so easy to make something really beautiful with these transfers. :) Thank you! xoxo
Just beautiful! Such a great way to dress up that tray! XOXO
Thank you, Christy! I agree! Love those transfers! xoxo
Nancy, I really like the pristine look that you gave this tray. So pretty and the rose transfer adds that perfect touch!
Thanks, Sue!! Me too! It’s staying! ;) xoxo
Hi Nancy, I also love the bright white and no wax or distressing. What a sweet and very fresh looking tray you have created!!
Hey Kaycee! Me too, it’s staying clean and white! :) Thank you, friend! xoxo
That is lovely! I have a few trays that were passed down to me that are gathering dust. The problem is that I don’t know if they are worth anything. This has inspired me to find out. If they aren’t silver, I can do this!
Thanks so much, Lizzy! Oh yes, make something new and pretty with the ones that you can. And put em back to use, in your decor, wherever! :) xoxo
I vote for bright white! It is beautiful just the way it is! <3 xo
Thanks, Karen, me too!! ;) Thanks so much! xoxo
I love the simple white. Well done! Do you find you need to sand a metal tray or scuff it before painting? Love seing your makeovers.
Thanks, Donna! I didn’t sand it but you could. I just cleaned it very well and sprayed very thin, light coats, drying well in between. That really helps the durability (and overall look) of it. :) xo
Love that you gave new life to the old tray with such a sweet transfer. These old silver plated pieces have nowhere to go in the world of silver once the silver plate wears off. I’m happy to see your restoration and it sounds rather uncomplicated. My idea of the perfect DIY! XOXO
Thanks, Cecilia! And yes, you are so right. This one was hanging out in a pile in my office. Time for it to shine again! Yes, very uncomplicated! :) xoxo
Lovely 💕 Please keep it the way it is now.
Thank you, Colette! Yep, I have decided it needs to stay just like it is! :) xoxo
This turned out so pretty, Nancy. Those transfers sure are game changers for makeovers! xo
Thanks, Jen! Yes, they really do! :) xo
I have painted silver trays several times. But I love adding the transfer. I actually have this one, sitting in my she shed. But I like how you’ve sealed it. I have GF – food safe coating. I plan on using that, but did you use a brush, foam brush or a cloth to apply?
Thank you, love the fact you’ve left it white.
I used a brush but you could certainly use a small foam roller or brush to apply, if you like. :) xo
Love it so much I tried it, but with a water transfer. different and I think a little more difficult than the rub on. I’ll try that next time. Thanks for always showing us that, yes, we can do it!
Hi Carol! Oh yes, I’ve tried those before too…these are easier. And yes, you absolutely can! xoxo