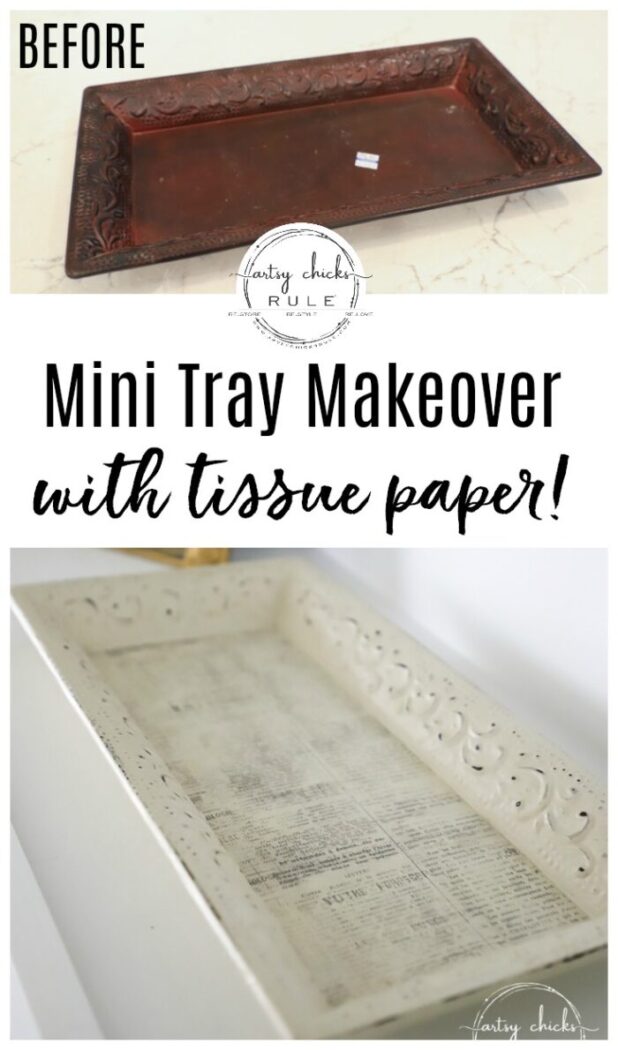
Mini Tray Makeover (with tissue paper!)
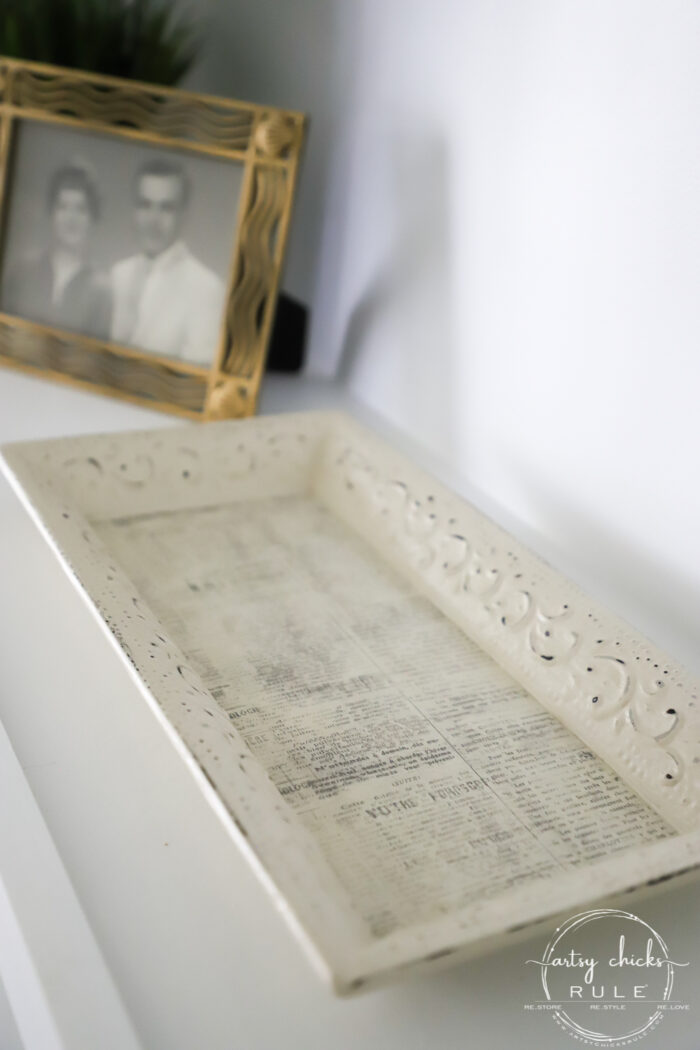
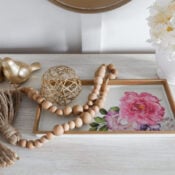
This mini tray makeover was SIMPLE with paint and tissue paper! Perfect to use for so many things or just decoratively in your home.
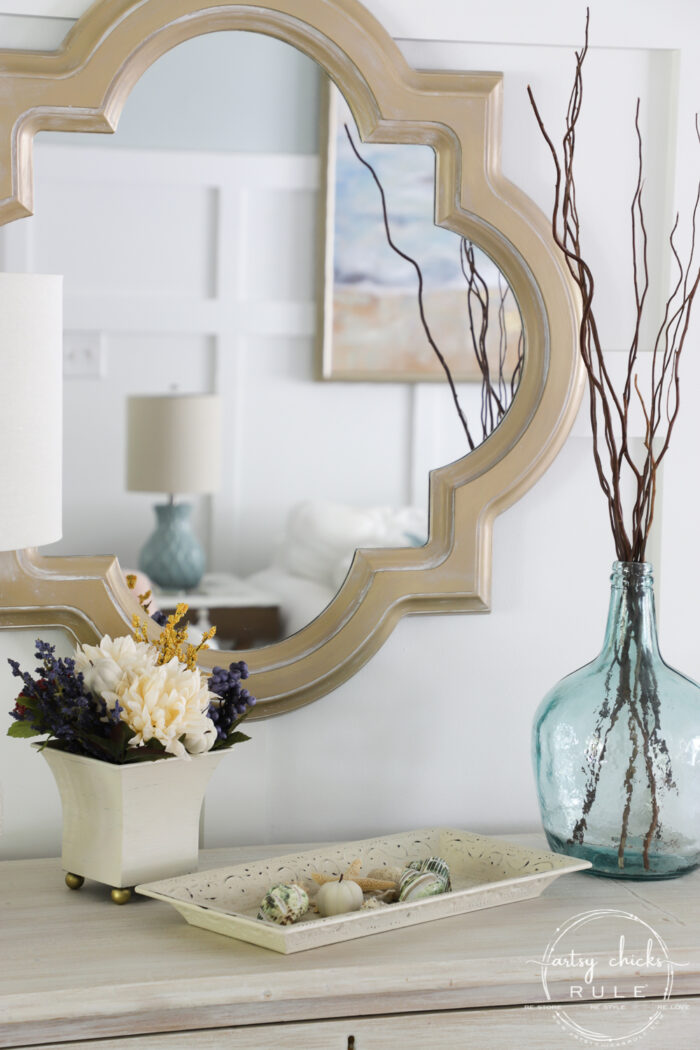
I love finding these old mini trays at the thrift store to make over.
They can be used for so many things, storing things or even just decoratively.
I’m sharing this quick little makeover I gave it and how to use it both ways.
Mini Tray Makeover
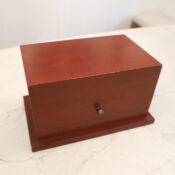
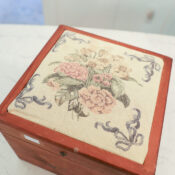
Here is how it looked when I found it.
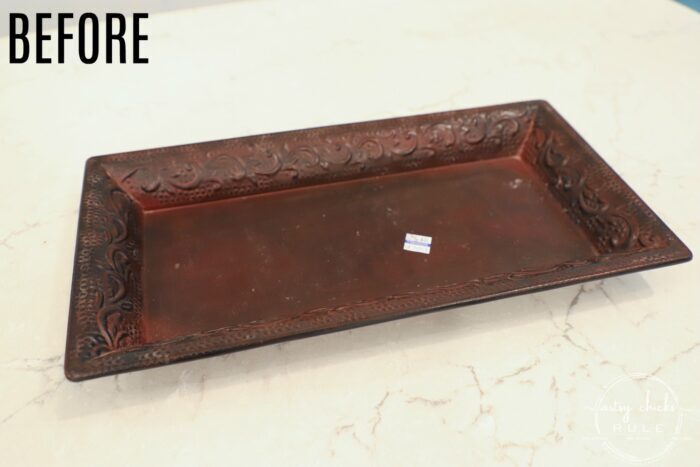
Not loving this so much.
But it doesn’t take much at all to make it loveable again! ;)
Paint…
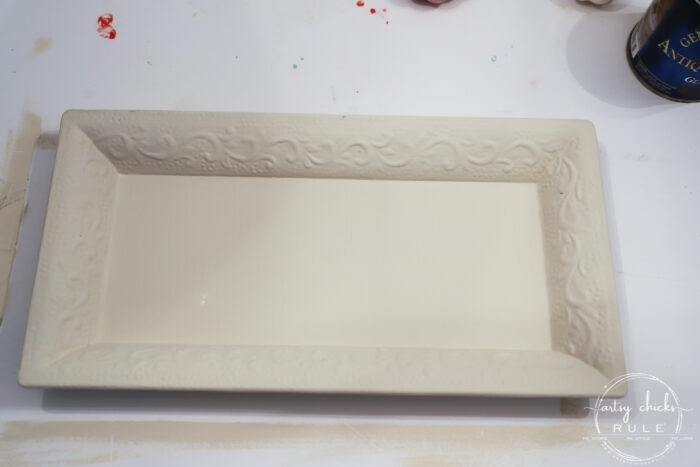
And tissue paper…
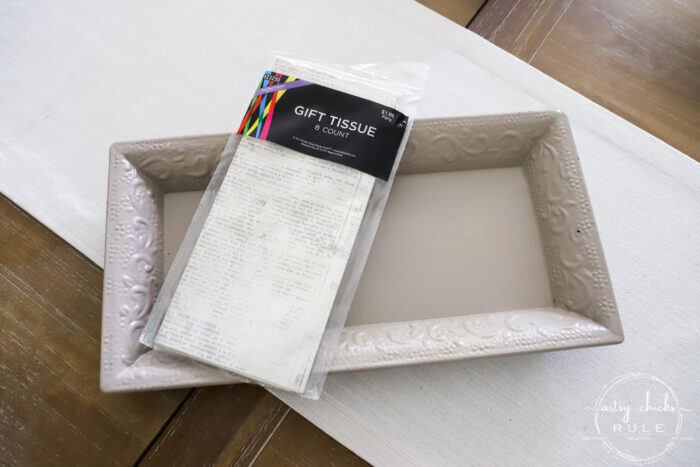
That’s it!
I bought that tissue paper forever ago (years) at, I think, Hobby Lobby.
I found this somewhat similar one that would also look great. As a matter of fact, I think I like it even better. ;)
You can find it, here.
For the paint, I used Dixie Belle Drop Cloth.
Which just so happened to match my tissue paper perfectly!
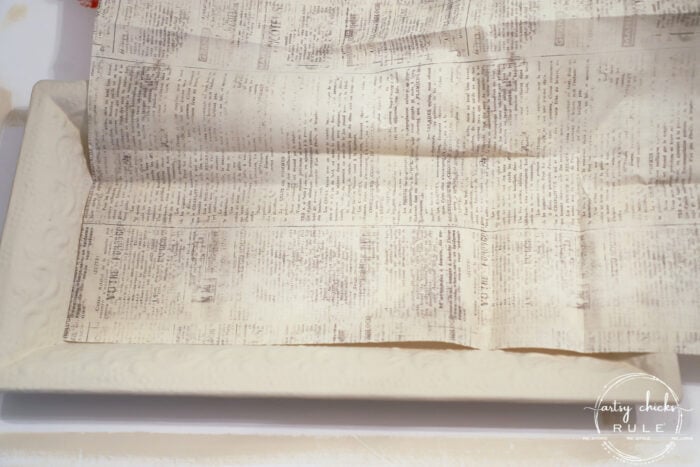
To cut to size I simply laid the corner edge of the paper inside the corner of the bottom of the little mini tray.
I then pressed the paper down around the 2 other sides of the bottom of the tray to make a line to cut.
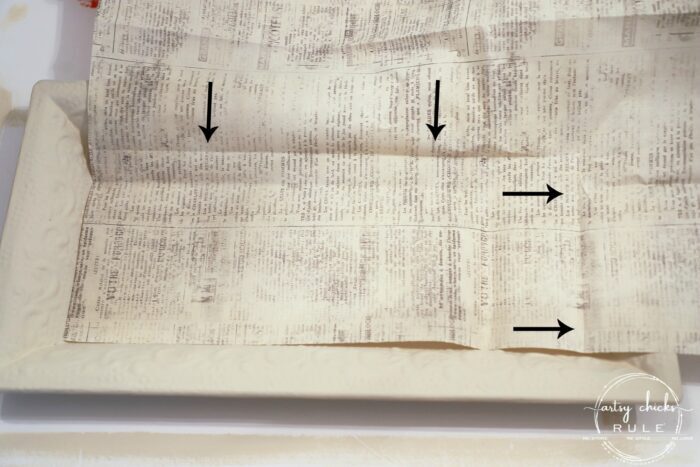
See the lines I made?
I simply cut those and…
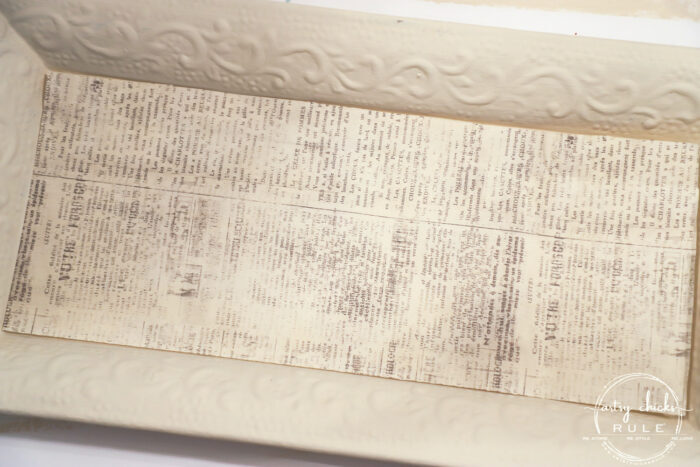
… pretty much a perfect fit.
Then I used Mod Podge to glue it down.
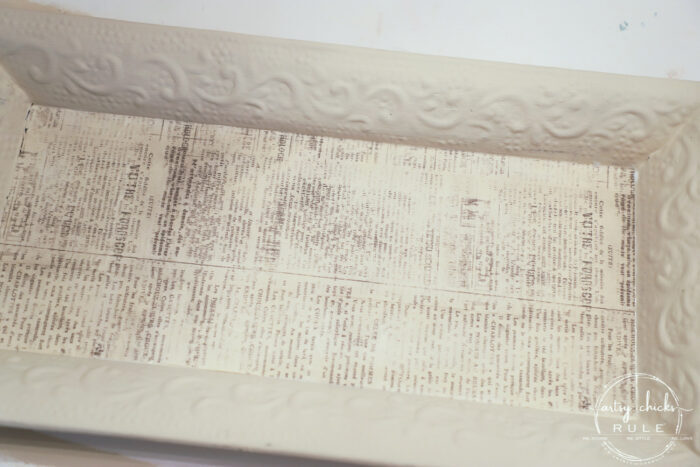
Next, I lightly sanded all the raised areas and edges to bring out some of that detail.
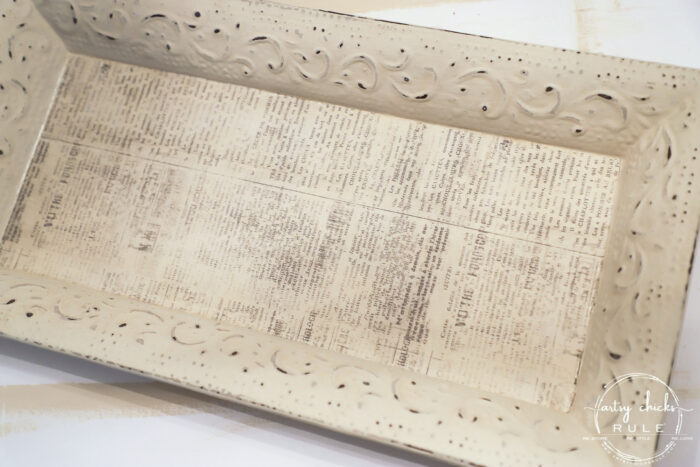
And after the Mod Podge was good and dry I gave it one coat of this top coat sealer.
Isn’t that paper fun?
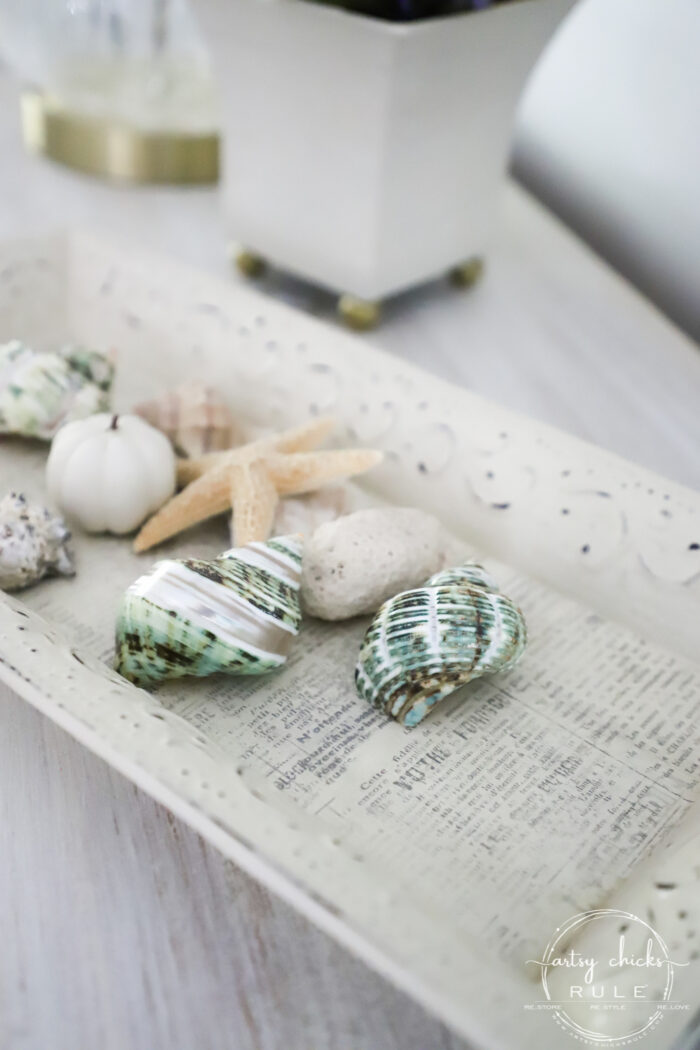
I love how it seems like that is how this mini tray was originally made to look.
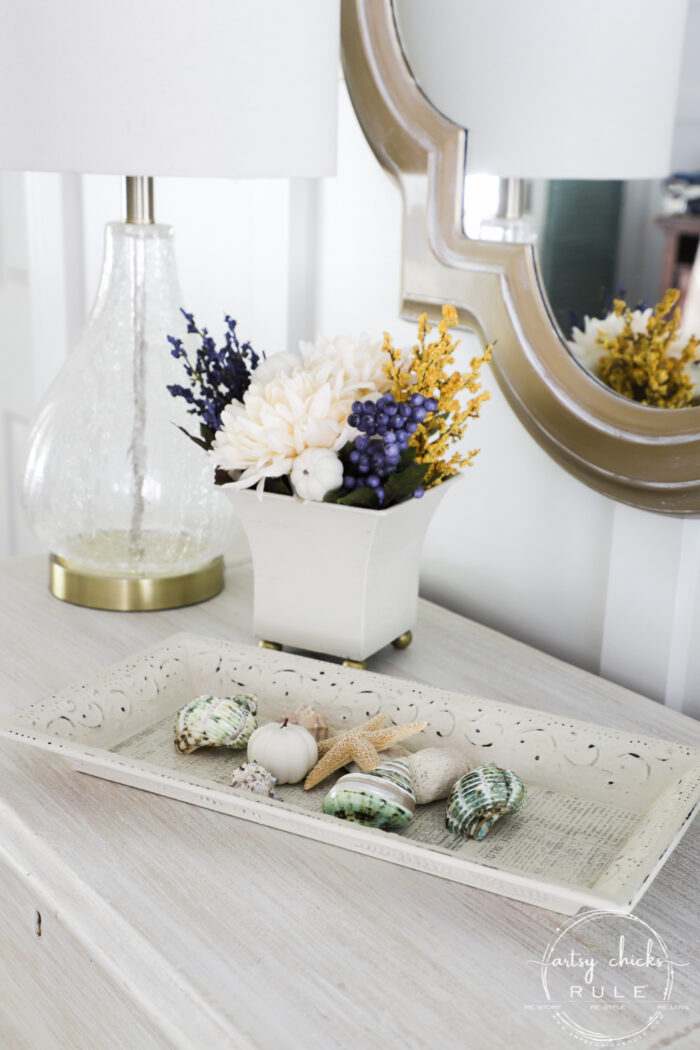
Do you see the little pumpkins in my mini fall floral arrangements? Remember I said I would add those and take new photos?
Well, I did add a couple to the post, you can see them here >>> Pretty Floral Arrangements for Fall
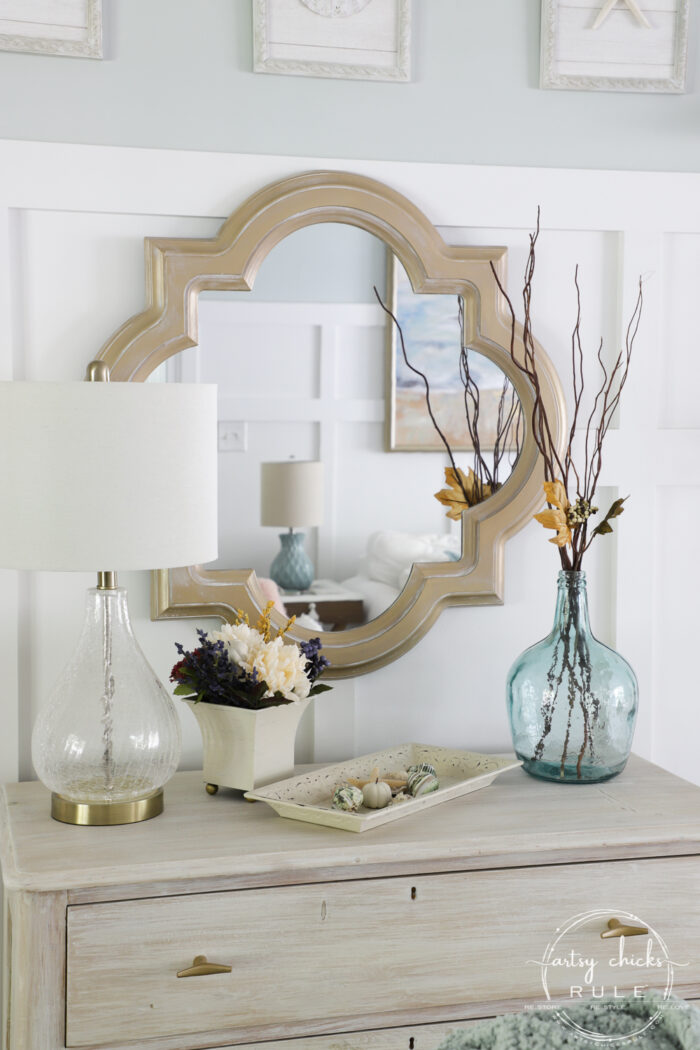
So there it was in a decorative way, with small items inside.
And here it is as a “remote” tray and keeper.
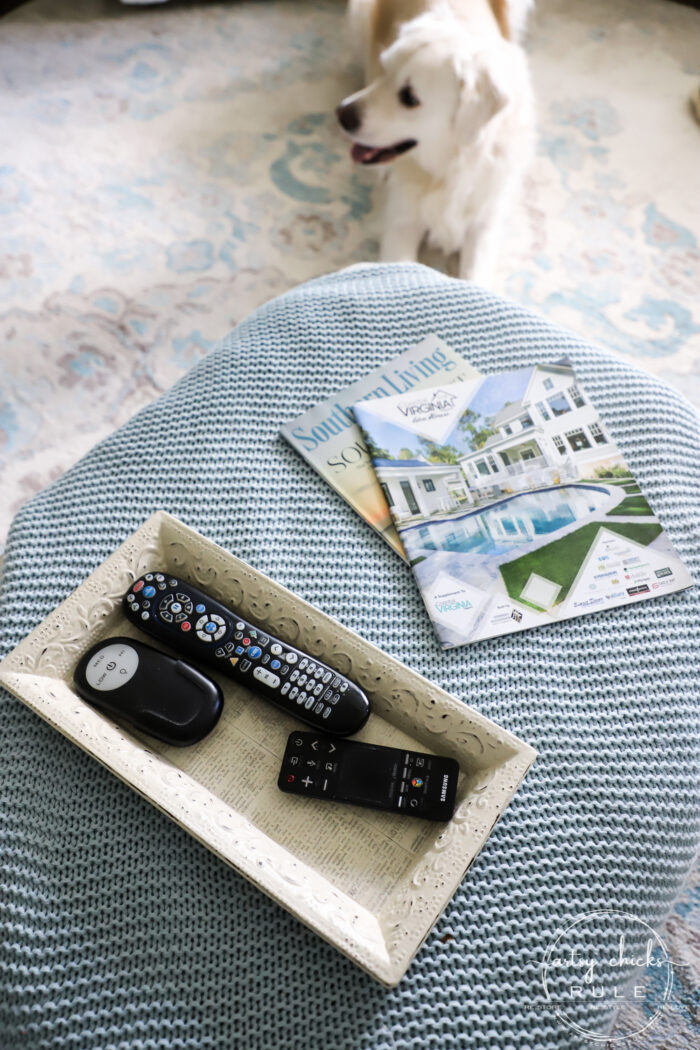
Hey there Roo! :)
(Ryder is affectionately known around here as Ryder, Ryder Roo, RooRoo, Roo and so on! lol)
But this sized tray is perfect for remotes.
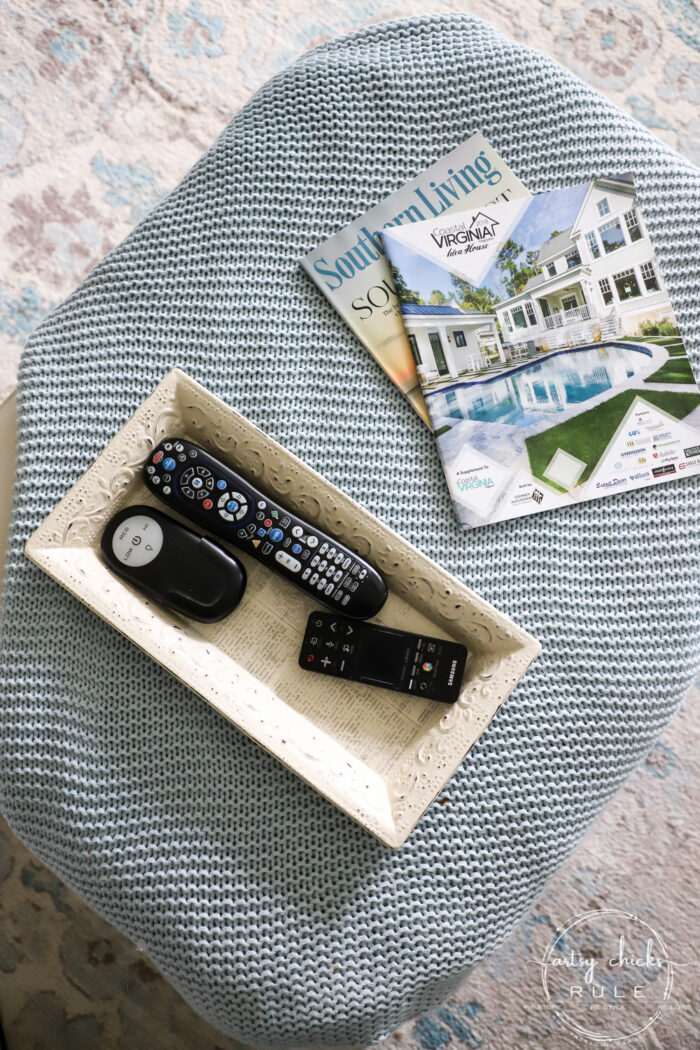
Sort of keeps things neat and orderly.
I always get asked about this rug so I thought I’d share where to find it.
It, and other things in our home, can be found on this page here >>> Shop Our Home.
And lastly, I placed it over here on our DIY built-in bookshelf.
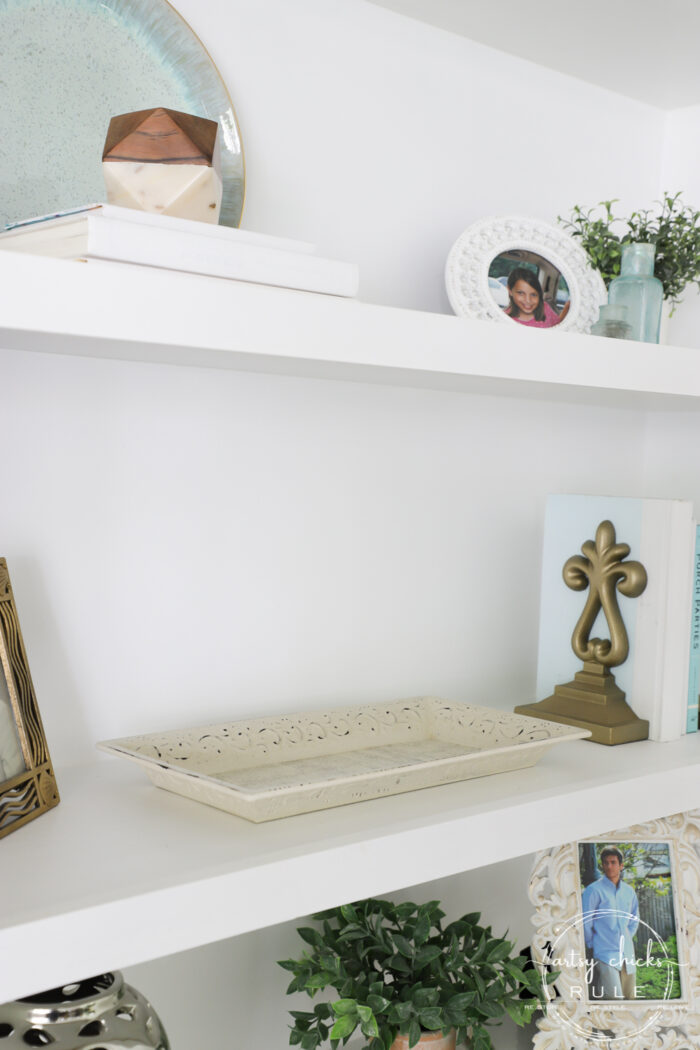
Just empty, simply decorated.
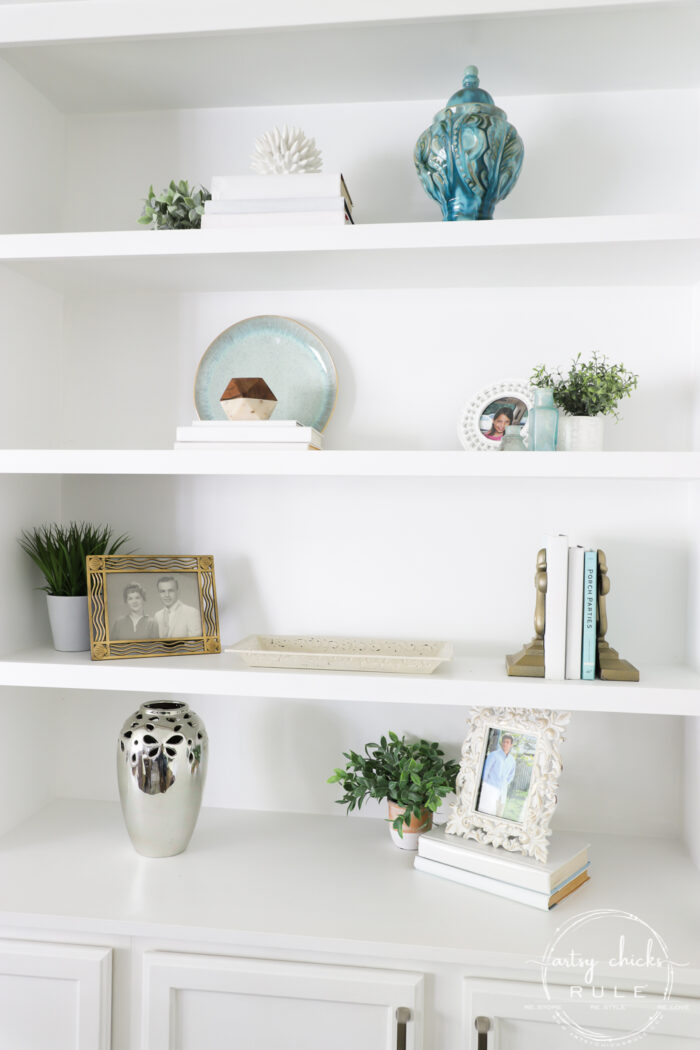
You can read more about styling shelves in this post here >>> How To Style Shelves
Super simple makeover today!
Hope you are inspired to go find some goodies at the thrift store to makeover too.
PIN it to save it!
I’ll see you back later this week with a brand new one.
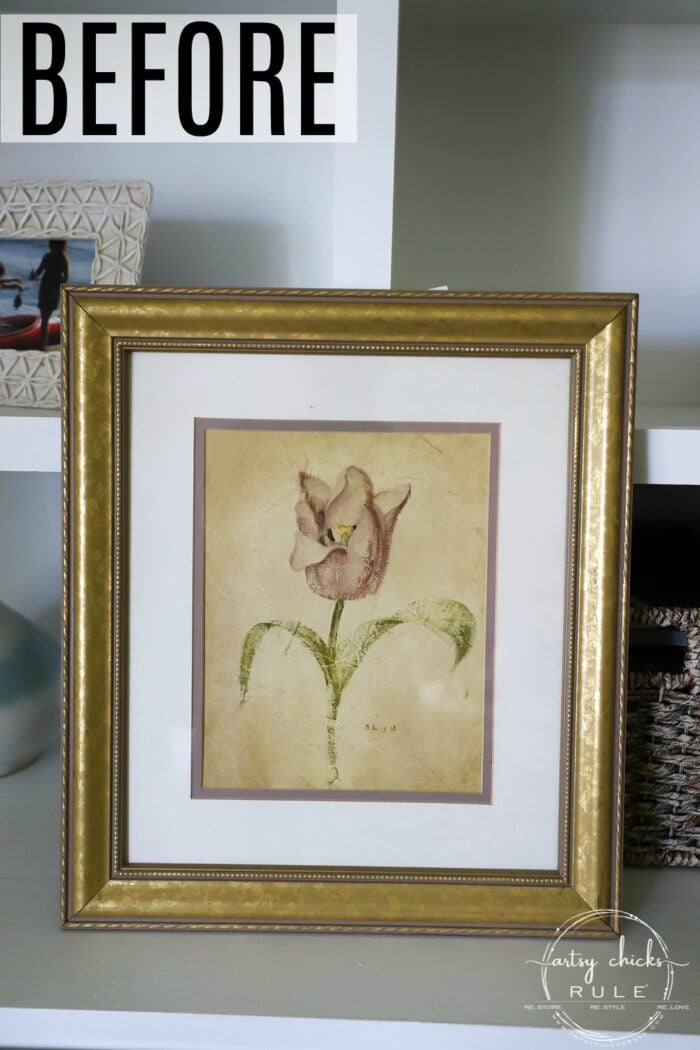
UPDATE!! See it now here!
xoxo




WOW, so beautiful now, and I have the exact same try that I bought at the thrift store. I just bought it a couple of weeks ago and I have been trying to decide what to do to it to make it beautiful, now I know!! Thanks for the inspiration, and so easy to do, gotta love that!!
Thanks, Mary!! And wow, you do?! That is so neat! You are very welcome, have fun with yours! xoxo
Just beautiful Nancy! Great tissue paper choice!
Thanks, Christina! Tissue paper makes it fun! :) xo
Wow. That tray was so ugly before, I am not sure I would even have thought to see the potential. And now, it is lovely!!!!! Thanks for sharing.
Thank you, Angela! It’s hard sometimes!! :) xo
What a great idea to use the tissue paper. The tray looks great!
Thanks, JoAnn! Tissue paper really makes it fun! Possibilities are endless with it. :) xo
Cute! It could be used in so many ways!
Yes!! Thanks, Rose! :) xo
Another beautiful makeover Nancy! You can’t go wrong updating out of style pieces with paint, and then kicking it up a notch with the tissue paper. Love it girl!
Thanks so much, Kaycee! Isn’t that the truth?! And there are so many out there just waiting!! ;) xoxo
Love the tray makeover! So cute wherever you put it 🙂
Thank you, Joanne! :) xo