Mini Treasure Chest Makeover (with Prima Transfers)
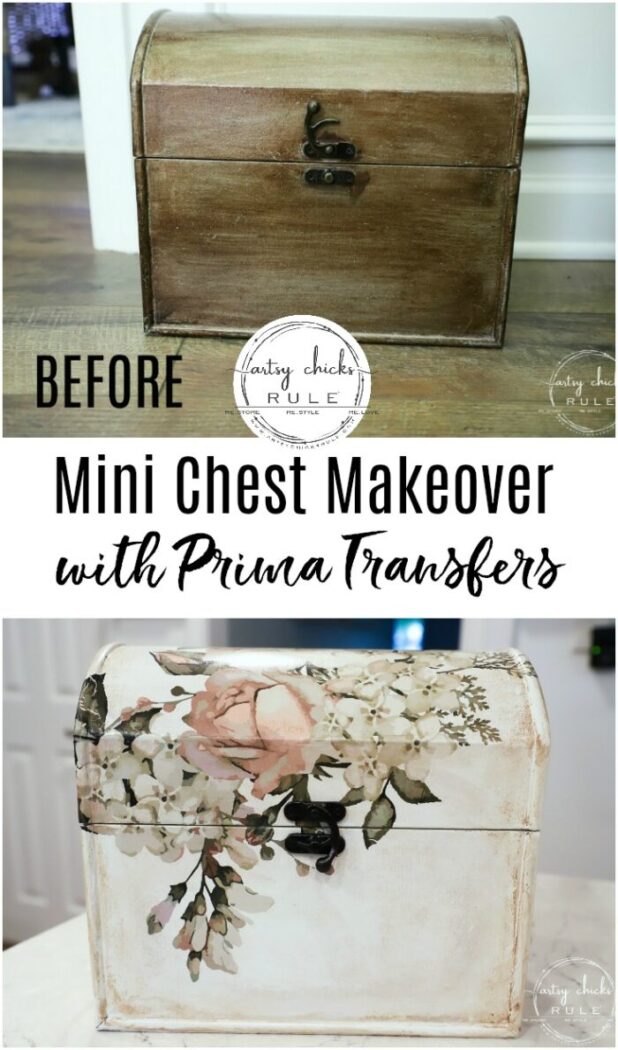
The last makeover in my latest haul is this mini treasure chest made over using a Prima Transfers.
Hey friends! I’m back today sharing the last of my latest little haul.
This one…
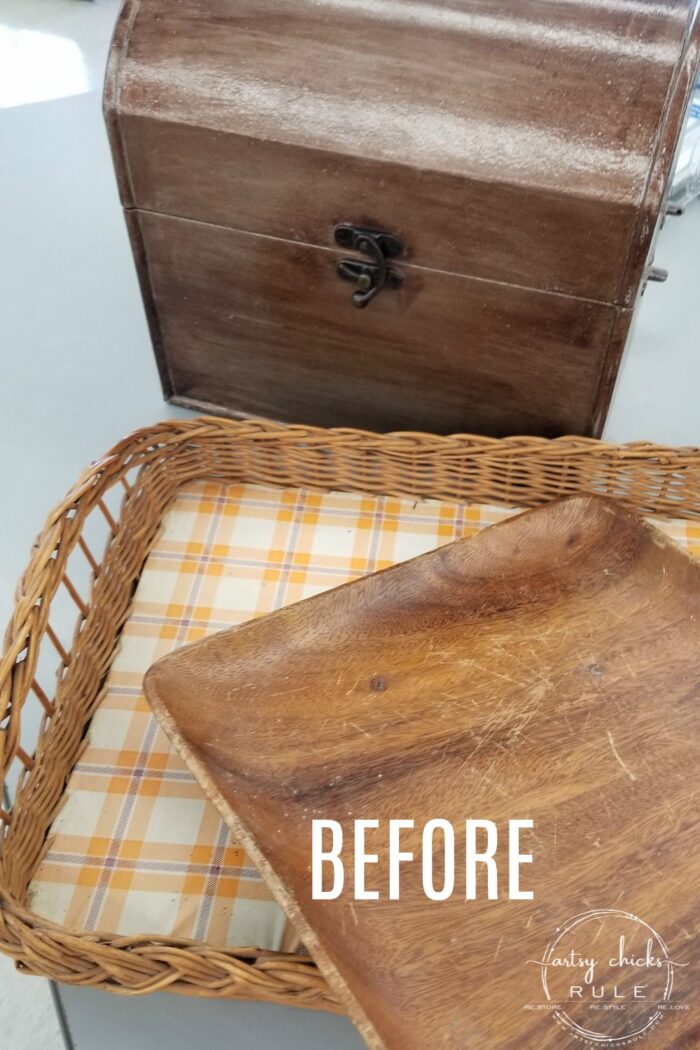
If you missed the other two makeovers you can catch them below:
Today it’s all about this mini treasure chest. Can you guess what I did to it?
Well, I shared it on Instagram as I was working on it…along with the rest of this thrifty haul.
Remember, I used a Prima Transfer on the basket tray makeover? Well, I am actually using another part of that very same transfer for today’s project.
AND, I’m using the rest of that transfer for another project I’m working hopefully for next week! So, one transfer, 3 projects. :)
Can’t beat that!
Mini Treasure Chest Makeover
Here’s where we started…
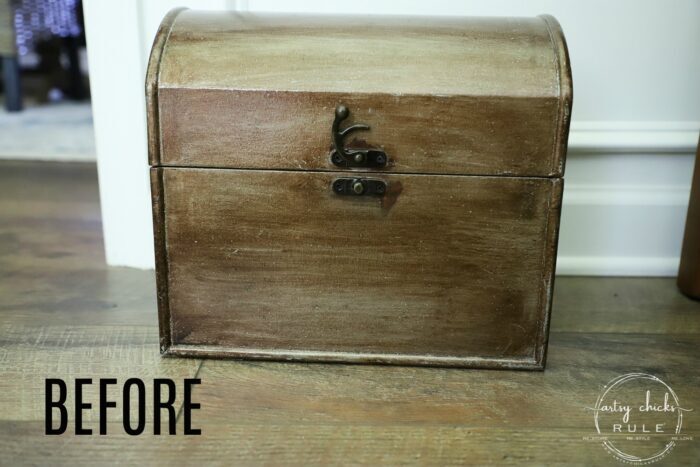
It looked to me like someone had tried painting it or something. Maybe with some kind of stain?
It almost looked like the Polyshades stain or something similar.
I knew it could be totally adorable, so brought it on home with me!
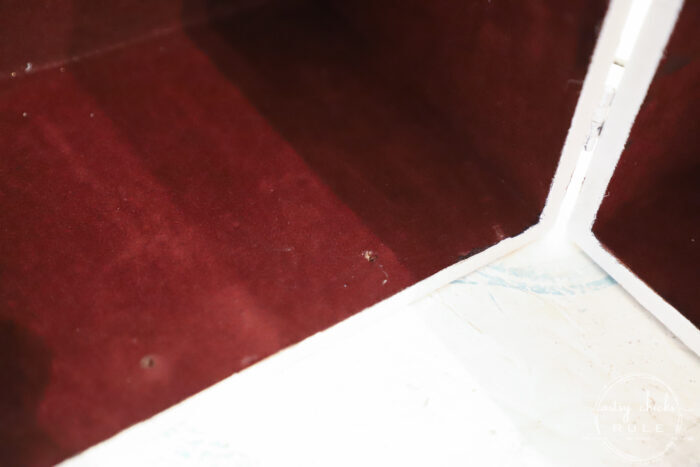
Here’s the inside…
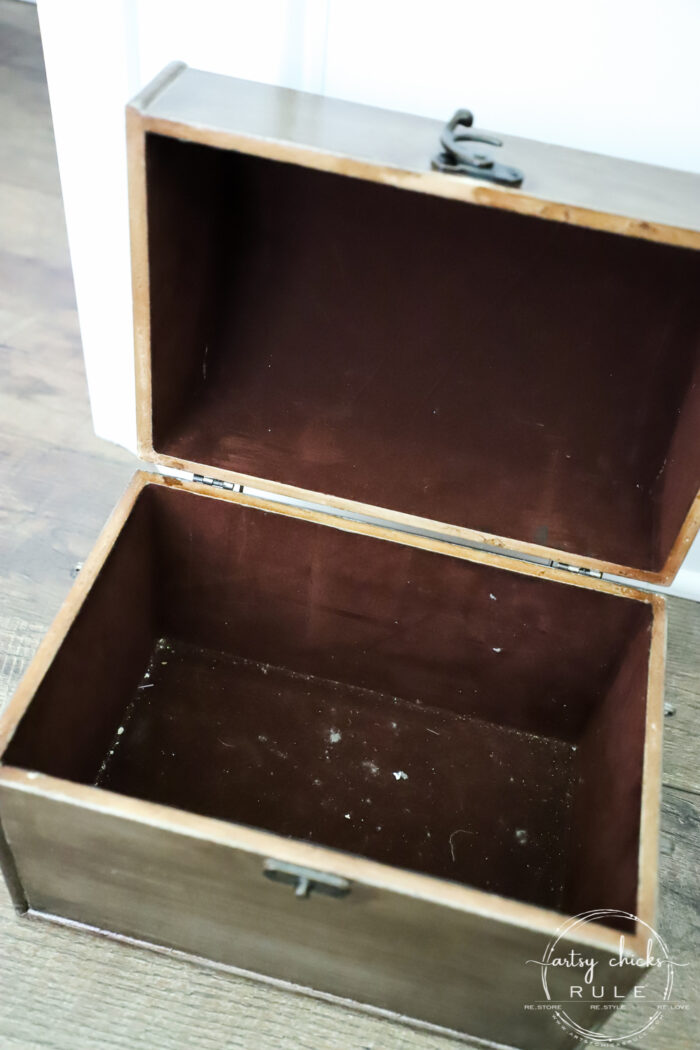
Not in bad shape at all, just dirty.
I decided to leave the inside alone since it was in such good shape. Dirty, but a nice soft velvety material in good shape otherwise.
I simply used one of the sticky rollers and removed all the junk. (ripped them off the roll and pressed them in and around the box…worked great!)
I started out by removing the lock on the front and painting the box white with spray paint. I knew I wanted the lock to stay dark this time so I didn’t spray it white along with the rest.
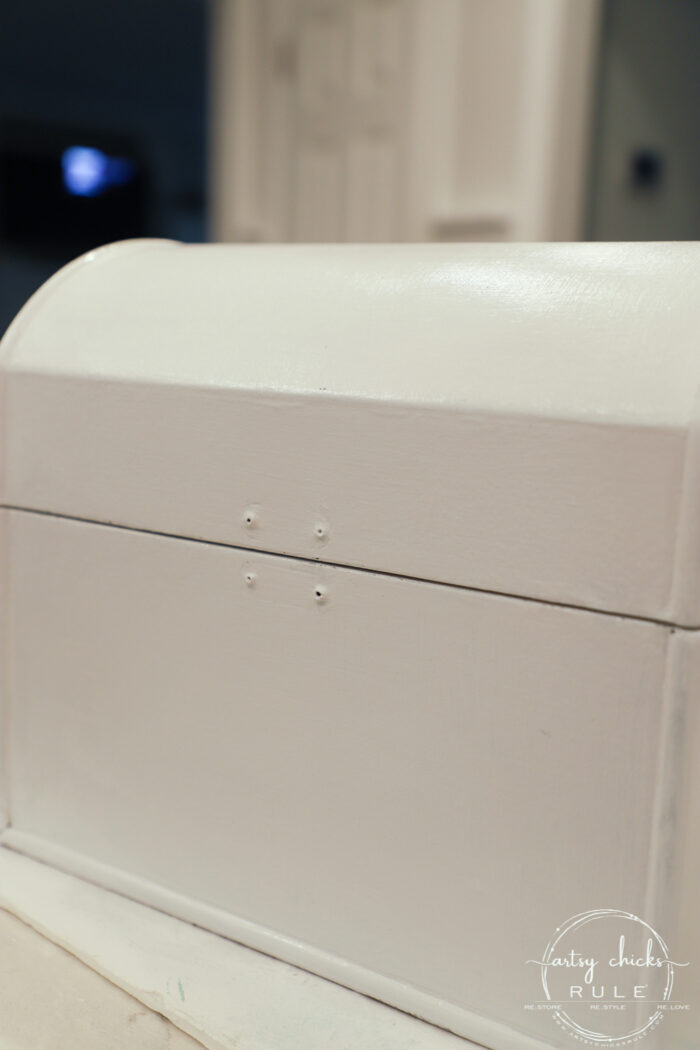
I also removed the side pieces where handles used to reside. The handle portion was broken/missing when I bought it.
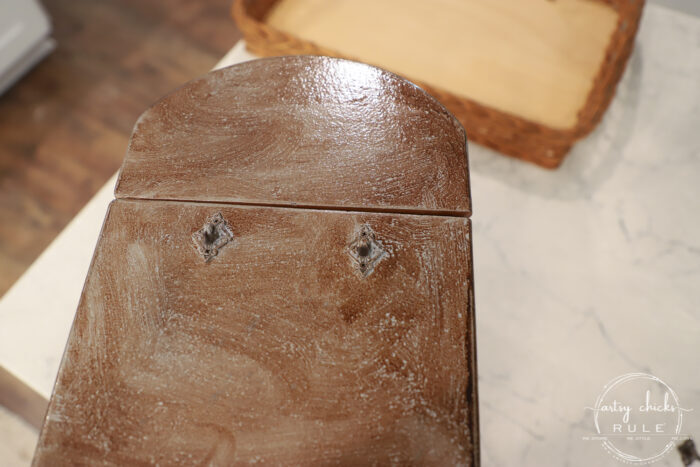
I filled them in with wood filler but forgot to take a photo of that.
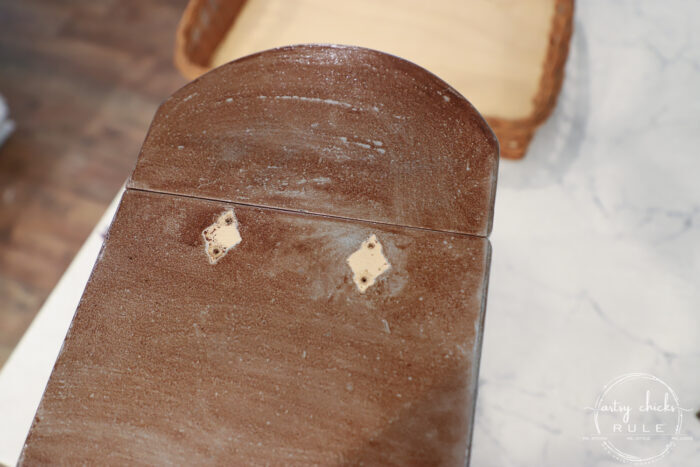
Pretty simple! I was planning on putting new handles but knew I’d not be using those so filled in the holes, etc.
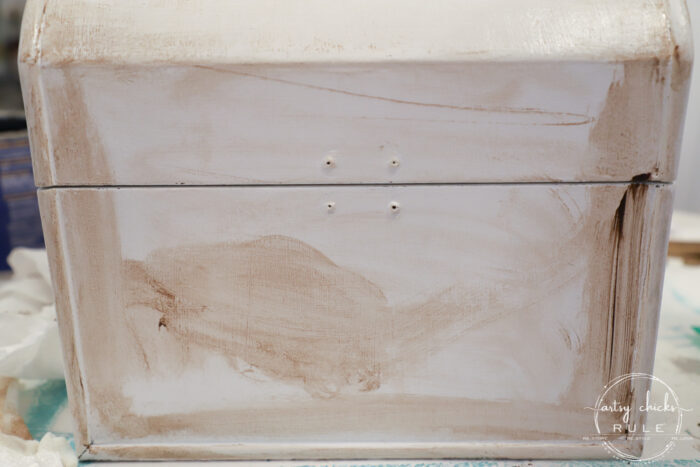
Once the white paint was dry, I added some dark glaze.
Before we get too far ahead, here’s the materials list for all the things I used on this project.
MATERIALS LIST
I just used an old rag and wiped the glaze on and around the edges mostly. Then rubbed more all over.
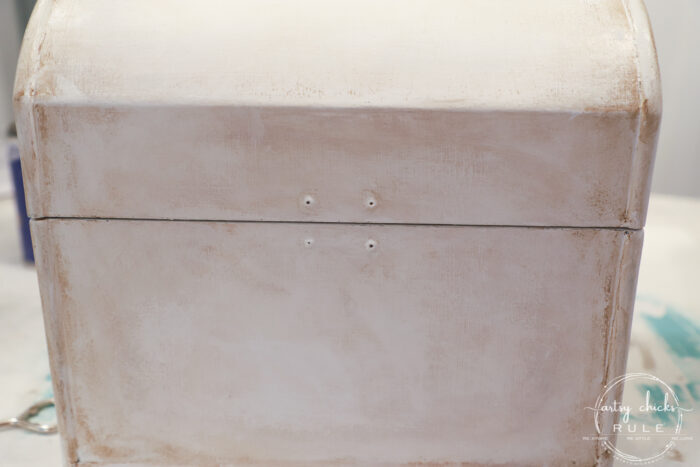
I wanted to give it an aged look since I was adding the flower portion of the transfer.
I think this is the perfect look for it.
I found that if I got too much of the brown glaze in one area, I would just wet the rag a little and wipe again to remove some.
That worked well. You mainly want it around the edges so when I wipe some away, it was more towards the middle sections.
Once it was dry, I positioned the transfer where I wanted it to be and started rubbing it on with the wooden stick provided.
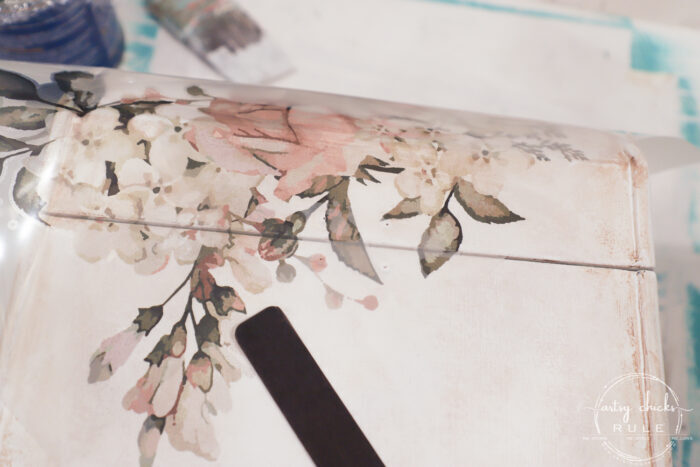
I went right over the area of the seam as you see above.
Once it was transferred, I carefully cut along that edge and then rubbed it on well on each side of the opening.
I let the design overlap on each side…
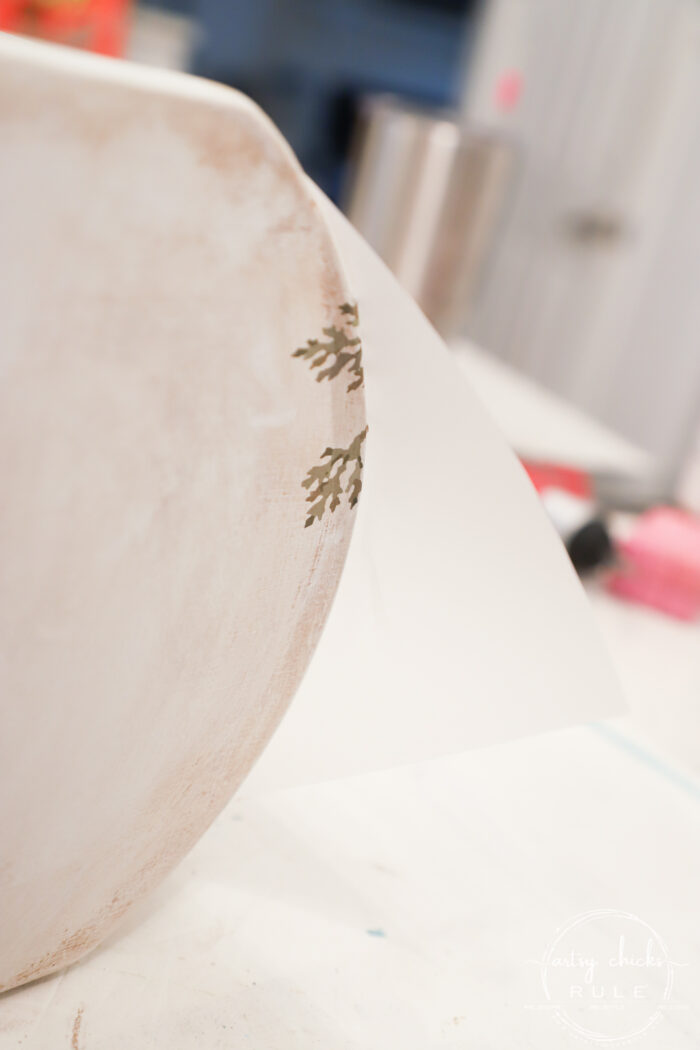
I had to carefully fold it over and rub it on.
And over the backside.
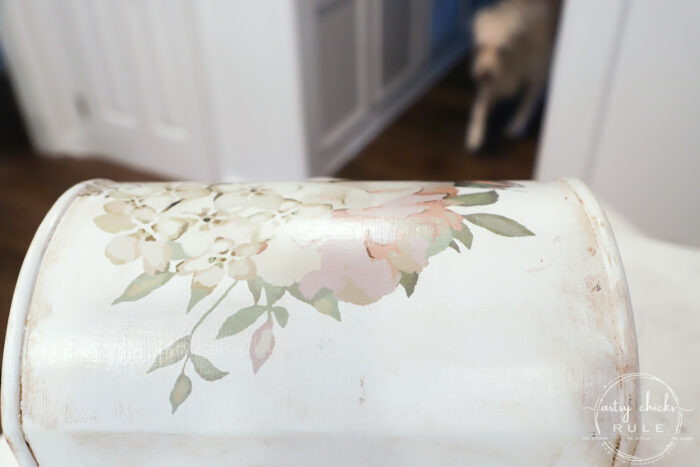
Got a little photo bomber there. ;) Cutie.
This side had a little “crackage” in the leaves, but I’m okay with it! The look is “aged” so all the better.
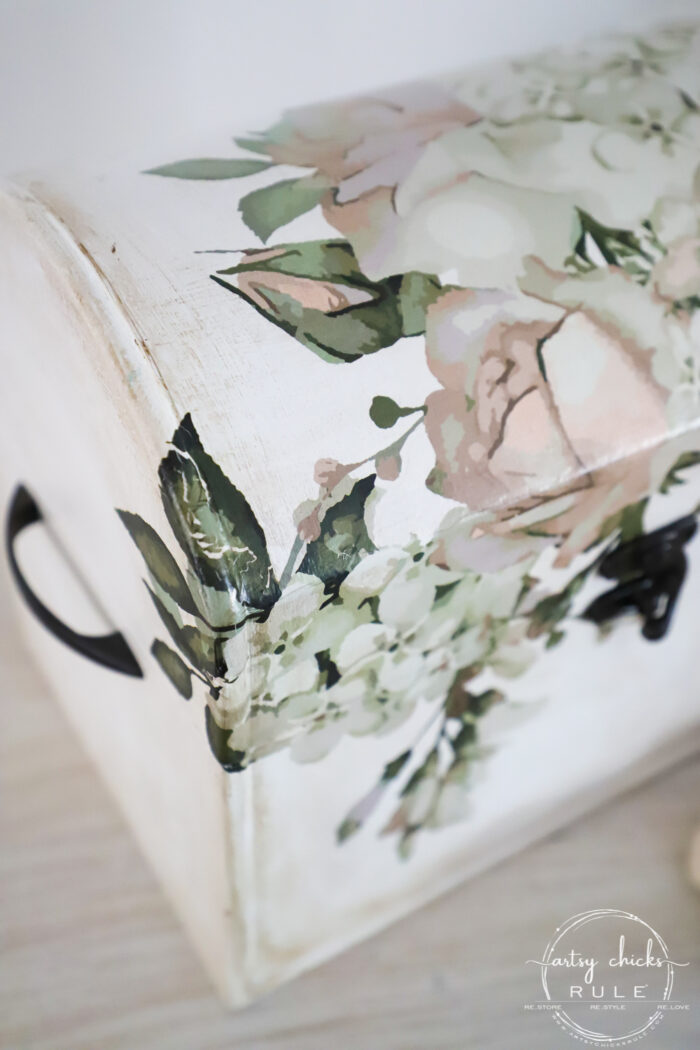
But do you see how I wrapped the transfer around? Just go slow and methodically rub it on.
Next, I drilled new holes for the handles I decided to put on each side.
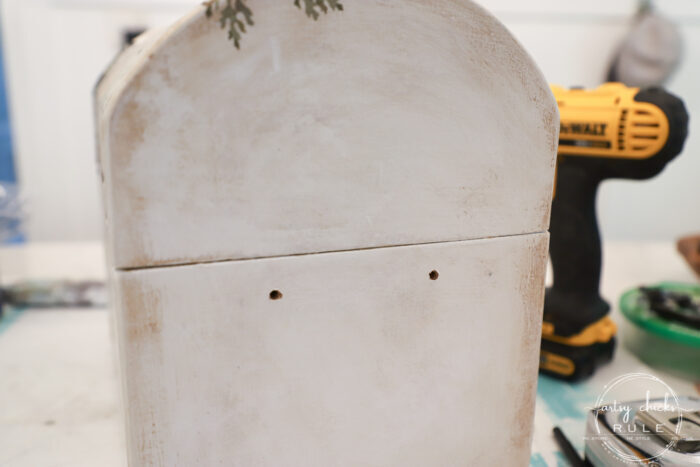
And spray painted the formerly silver handles, oil rubbed bronze along with the latch/lock on the front.
I gave the whole thing one coat of sealer and then attached the handles.
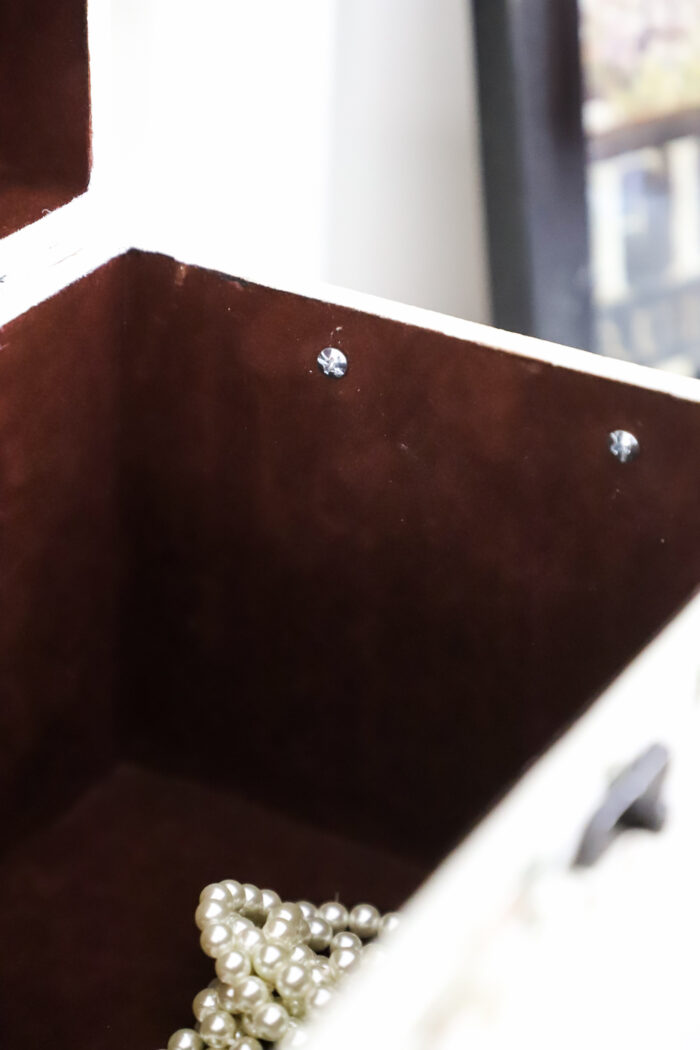
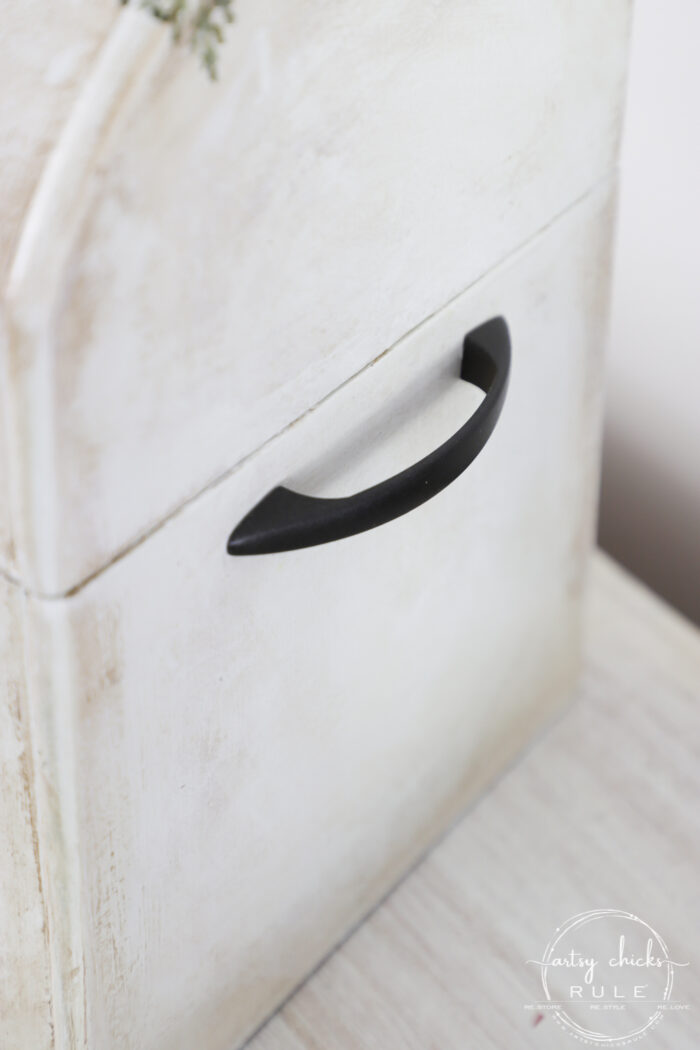
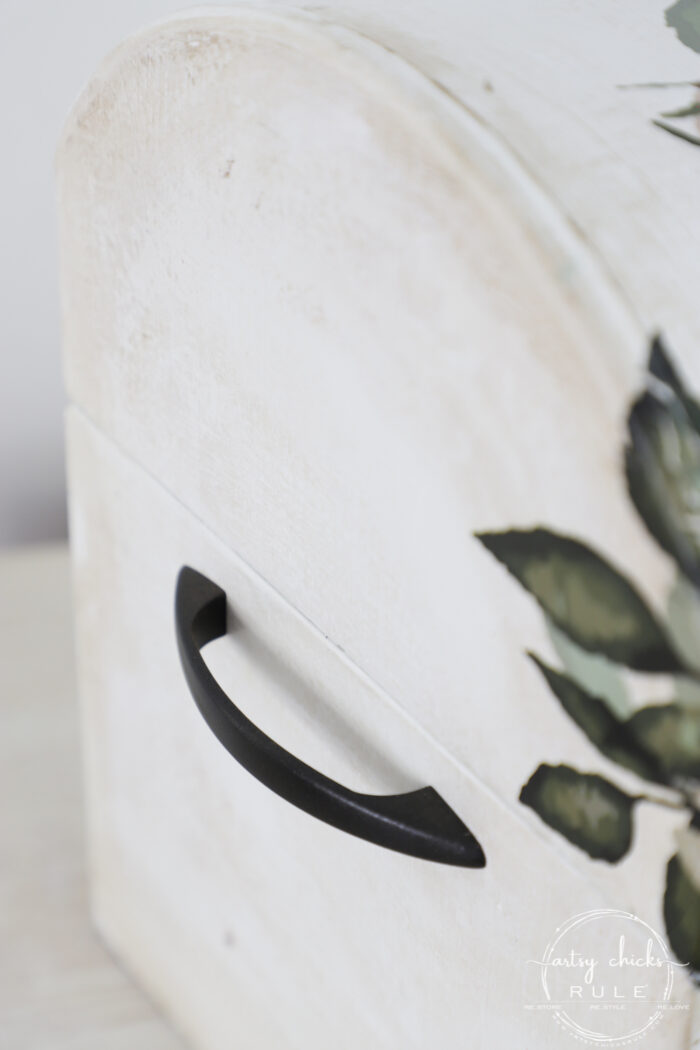
And front latch.
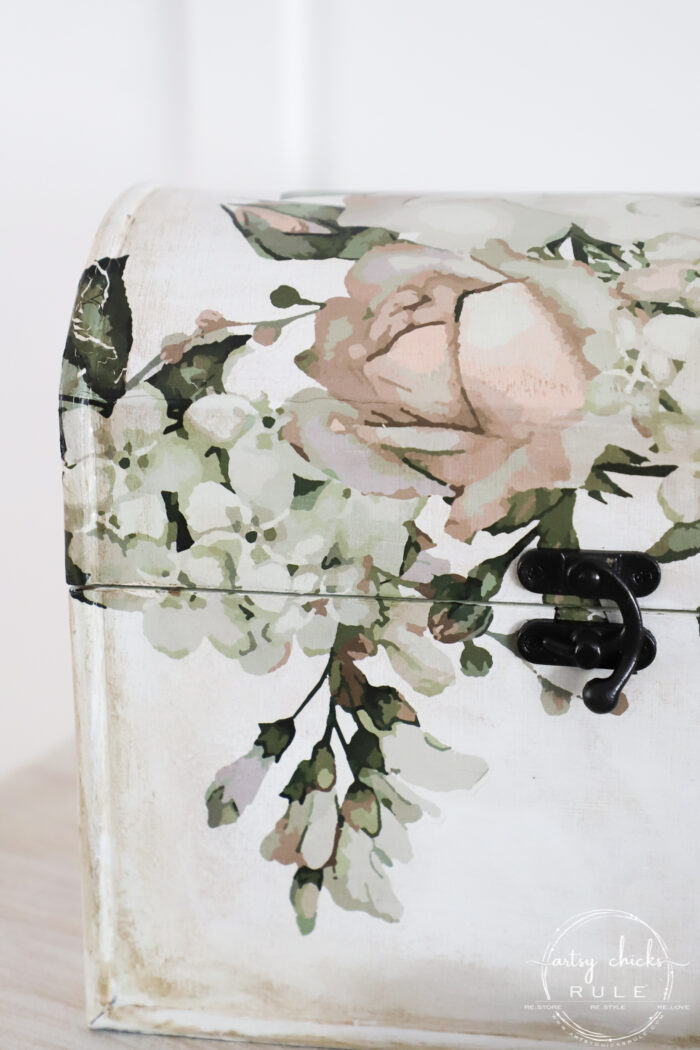
Pretty simple!
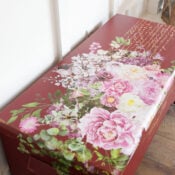
I love how this transfer looks on this mini treasure chest.
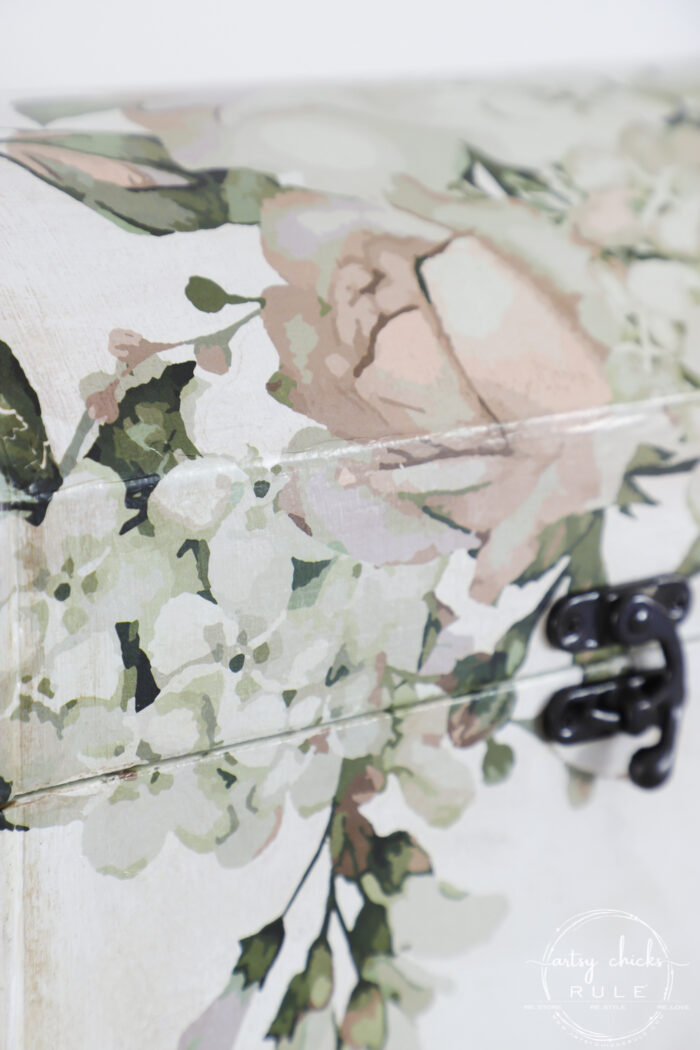
The flowers were just perfect for it.
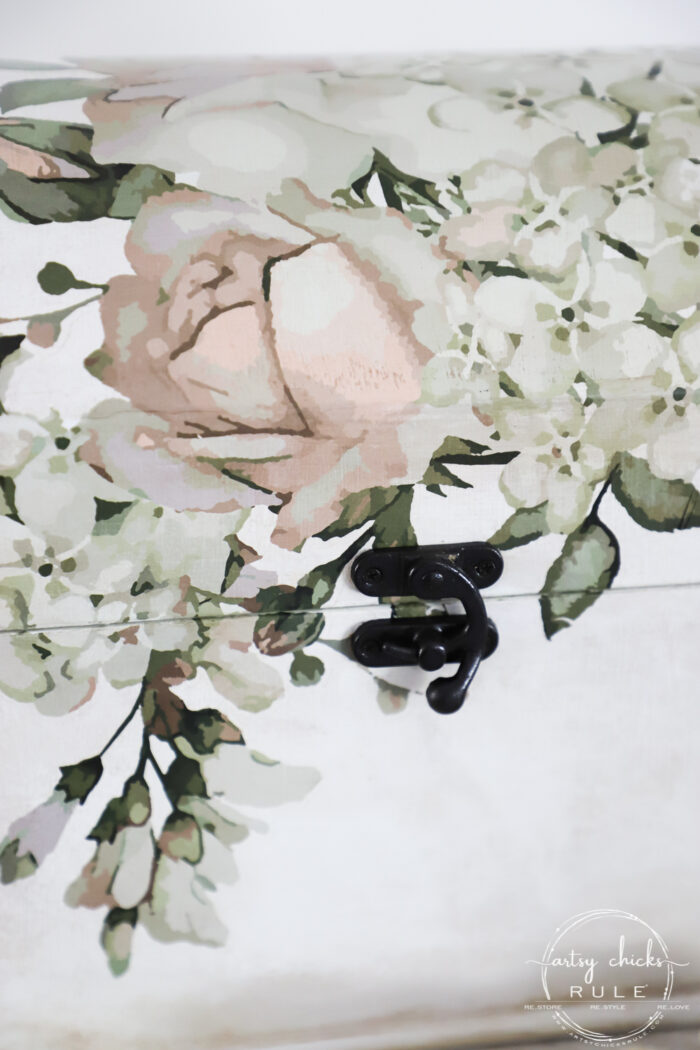
Isn’t it so sweet??
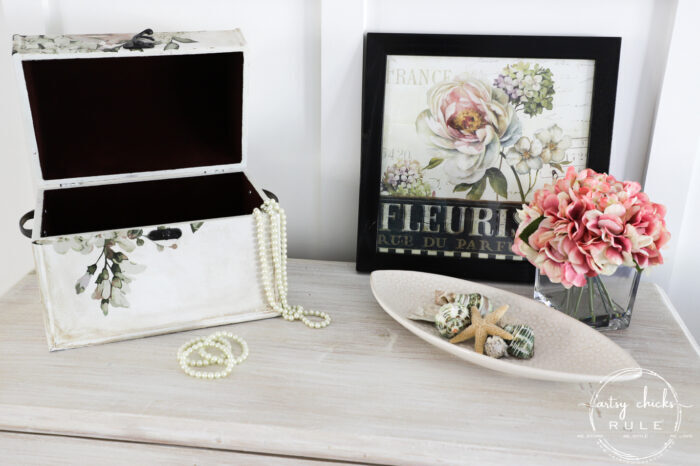
Perfect for holding jewelry or all kinds of things!
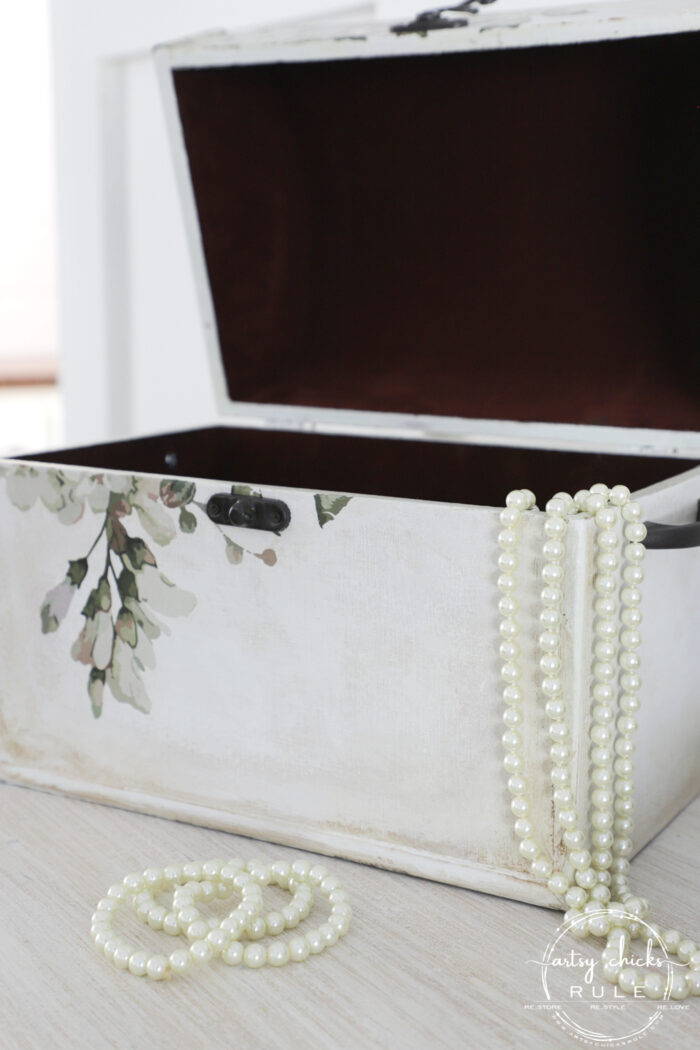
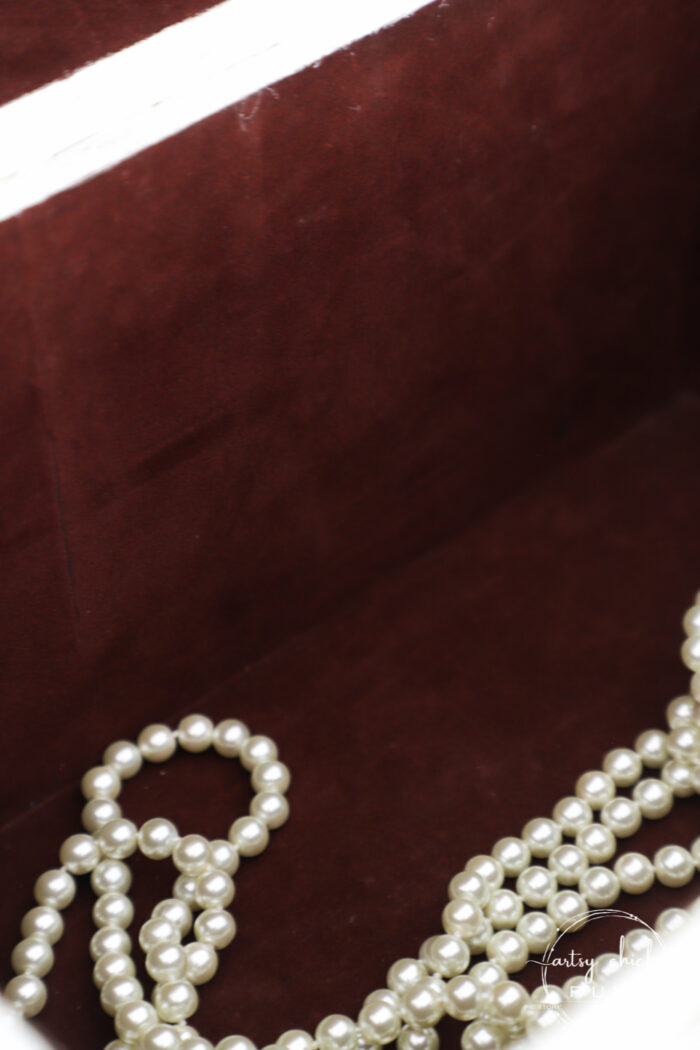
It’s fun having pretty containers/decor like this to stash things away.
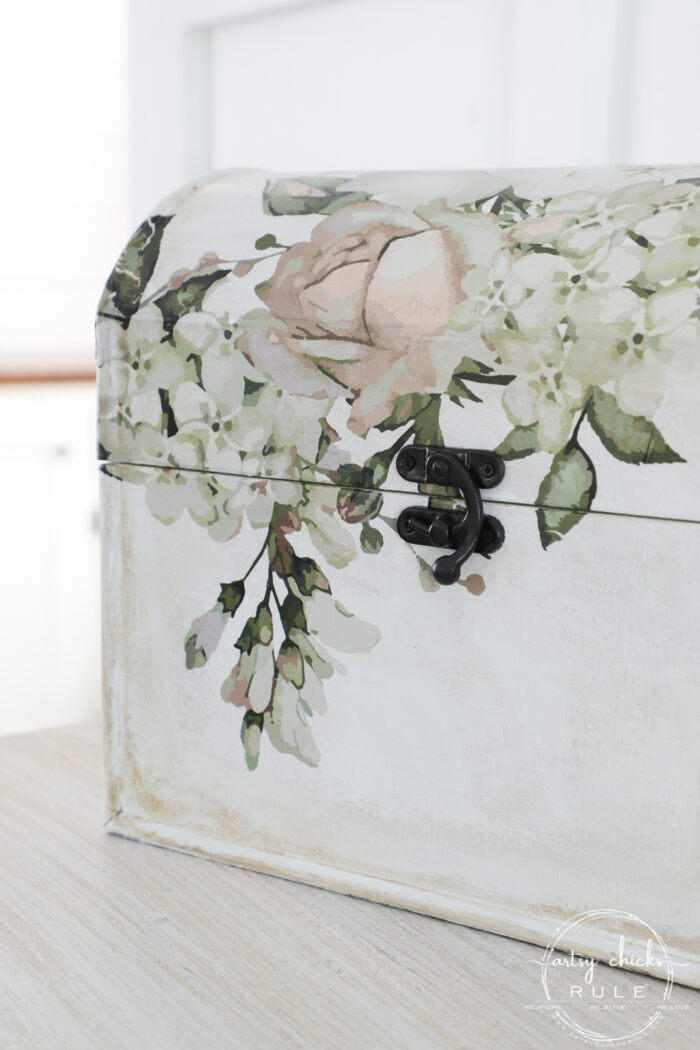
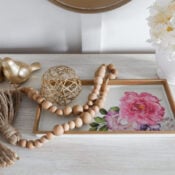
I love the seashells in the picture with this because the colors were exact.
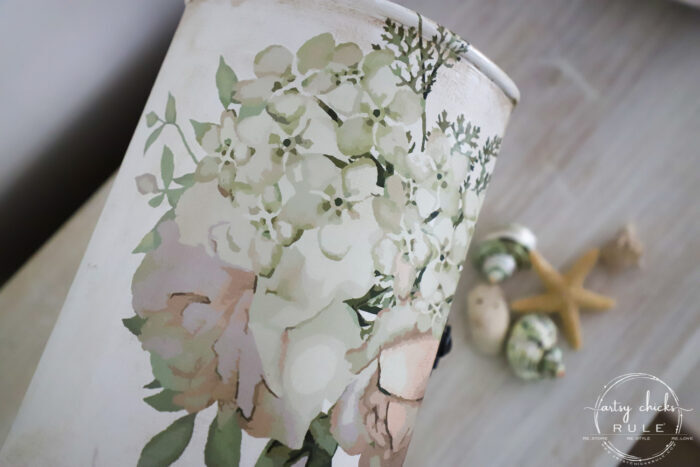
The coloring in the flower/leaves and the shells… perfection.
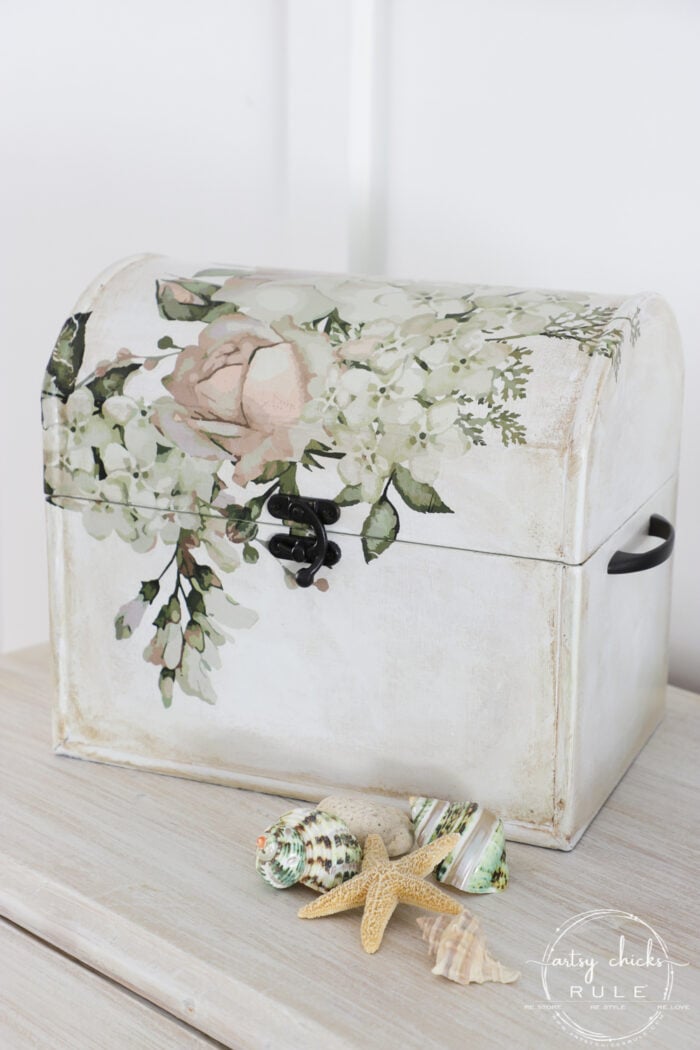
Such a fun one! I haven’t used dark glaze on anything in a long while so I really enjoyed giving this one an “antique-y” look.
The flowers made that the perfect choice for this makeover.
So this Prima Transfer has 3 parts to it, I’ve used 2 so far and the third one will be used on an upcoming project I’m working on currently.
If you follow along on Instagram, you might have seen me post about it in my stories this past weekend. ;)
PIN it to save it!
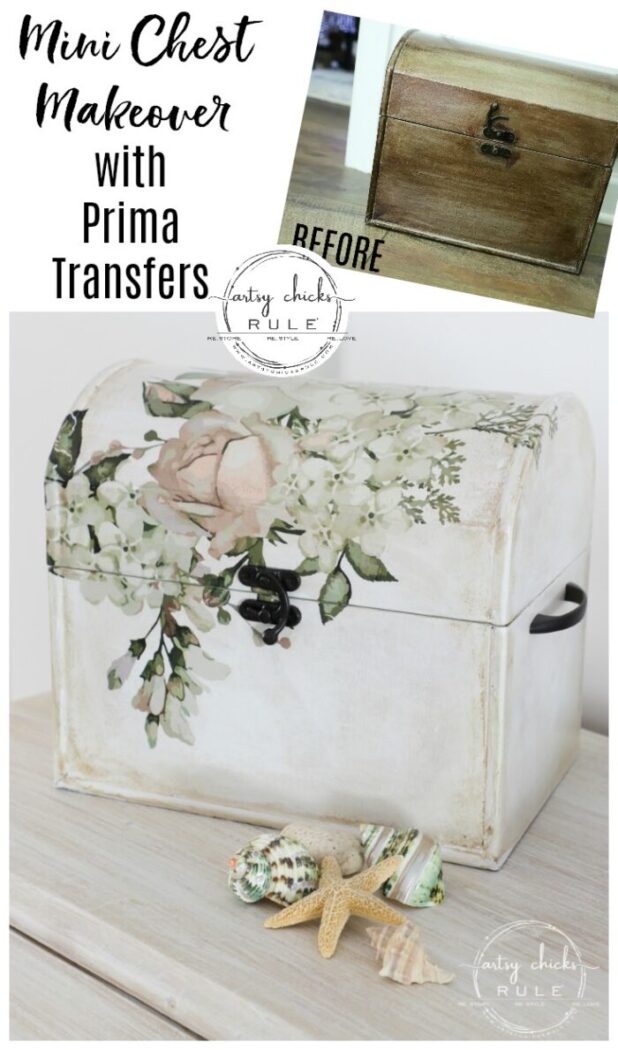
Happy week to you, see you right back here on Thursday with this!
UPDATE!! See it now here!!
xo





This is so beautiful love it. Very elegant, could be used for a wedding card box.
Thank you, Christina! And oh yes, that would be a perfect use for it! xo
OMgosh how cool is that! Certainly one of those ugly duckling to beautiful swan transformations that you are so great at. You’ve given me some inspiration for a piece I have stashed away. Thanks so much!
Aw, thanks so much, Vicki! :) And yay for inspiration! Love that! xoxo
Such a beautiful job!! I love it! Would love to learn to do this!
Hi Jayne!! You can do this! It is so easy! I just love using these transfers. :) And thank you! xo
Perfection, indeed! The transfer is so beautiful, but the first thing I noticed was the glaze. They go together incredibly well, and the dark hardware is just the right finishing touch. I have a lot of those handles from a kitchen redo, hadn’t thought to paint them. This one is just magnificent, Nancy!
Thanks, Marcie! Yes, I thought so too! That floral transfer just looked sort of antique-ish to me so I am glad I went with the glazed look! And yes, I keep all the handles/hardware! ;) Never know when you’ll need them for a project. Pull those things out, paint em and put them to use! xoxo
Nancy, that little trunk looks just fabulous! I am wanting to try something like this myself. Just have to find the right piece. Thanks for the inspiration!
Thanks, Mariah! Keep looking, you’ll find it! Have fun! :) xo
Oh how I wish this was mine! It’s beyond beautiful. Love it!
Aw, thanks, Barbara! :) xo
Ooolala! What a beautiful transformation! Thank you for always linking your sources.
Thank you, Kathy!! Yes, I hope that is helpful! :) xo
What a CHARMER!!I love the floral and the colors. Its a keeper. You are right,those little boxes add the finishing touch to a lot of spaces. Useful as it is beautiful. Fab job
Thanks so much, Charleen! And yes, the useful ones are the best! I love having extra storage no matter what size! ;) xo
My gosh, that is STUNNING!! I’m going to need some of those transfers in my life. Do you think I could get the same look with dark wax? I haven’t only used it once and got kinda scared of it.
I was wondering the same thing! If you put clear wax first then the dark, it will rub off if you don’t like it. I always tone the dark wax down with white before applying.
Thanks so much for the tip!
Yes, this is true! Clear always goes first. That dark wax is a bear! ;) That is a good idea. I sometimes mix it with clear because it is just SO dark.
Aw, thanks so much, Kelly! And yes, I do. The only reason I didn’t use it is because I was afraid it wouldn’t adhere as well. So with wax, I would just wait and apply the wax after you apply the transfer. And yes, dark wax can be a bear. I never apply it without applying clear wax first. It’s just too powerful. So, apply a layer of clear wax and then go back with the dark wax where you want it. :) xo
Thanks so much for your help. (:
You are very welcome, Kelly! :)
The transfers can make anything elegant. Your creativity is amazing! XOXO
You are right about that! I love them! And thank you so much, Cecilia! :) xo
Funny, i have a 2-bottle wine box that is as beautiful as your finished box and i’ve been thinking of painting it a solid color – i am now rethinking that! just now sure how to make it a bit more special since it’s tall and narrow and definitely looks like it’s for wine!
Oh yes! Perfect!! Try a transfer on it! :) xo
This one took my breath away. Absolutely gorgeous. I’m late on my comment because I’m catching up on old emails.
Aw, thanks, Laura! And no worries at all!! We are all so busy and it’s hard to keep up with all the emails, I know! ;) xoxo
Although I’m really not a fan of transfers, this particular one is very nice. I’m just too picky about the flowers and leaf patterns and they just don’t appeal to me knowing there is something in the pattern I don’t like. I hope you understand what I mean.
I actually love the way you painted the box. The dark inside is what caught my attention. The pic above with the box and picture frame…that’s me! It’s still modern but with a vintage flair. My cup of tea! I love almost all of your work. I always have and I can’t wait for your next one!
OH yes, I totally get that! :) I am so so happy to hear that you enjoy what I do here! I so hope it provides inspiration and just joy in some way! Blessings to you, Shirley! xoxo
Hi, Nancy! This comment is quite late as I had not started following you yet! I love what you did to this domed box! I love the transfer. I think it is really pretty. I have a domed box, actually a lunch box that I decoupaged for my mom over 40 years ago. I planned to redo it, and your domed box just gave me the inspiration that I needed to completely remake it! Thanks so much and thanks too, for the specific details and links that you provided. I am ready to tackle it! Have a great weekend.
Oh, that is so awesome, Sue! Yes, it will be so lovely. :) Have fun with it!! xoxo