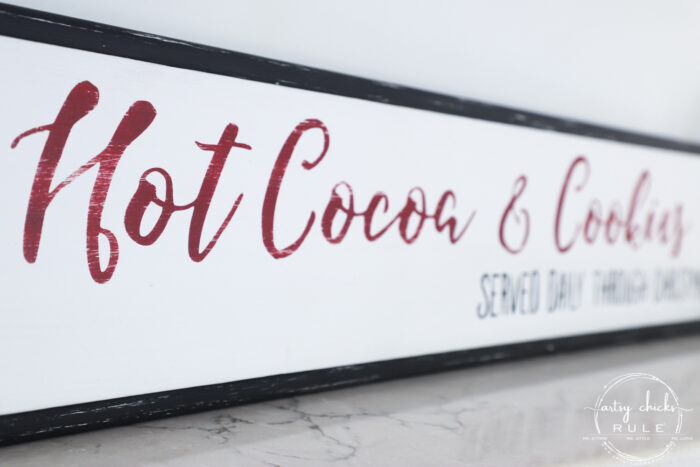
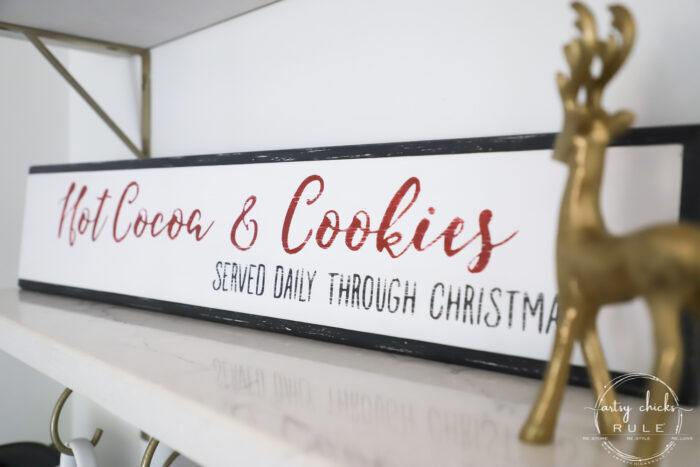
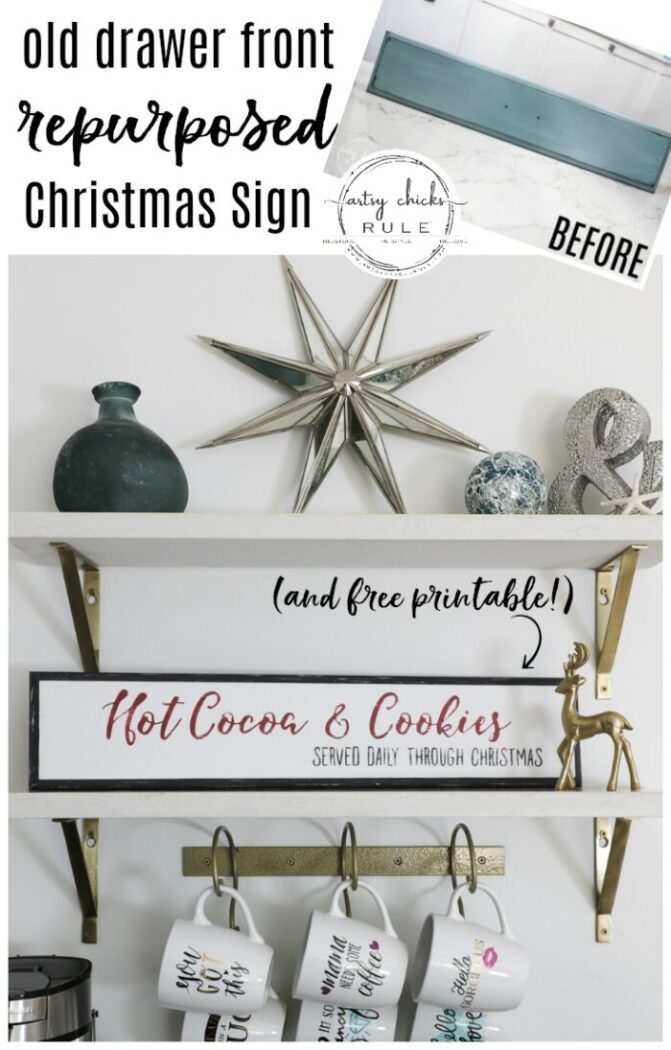
Hot Cocoa And Cookies Christmas Sign (and free printable!)
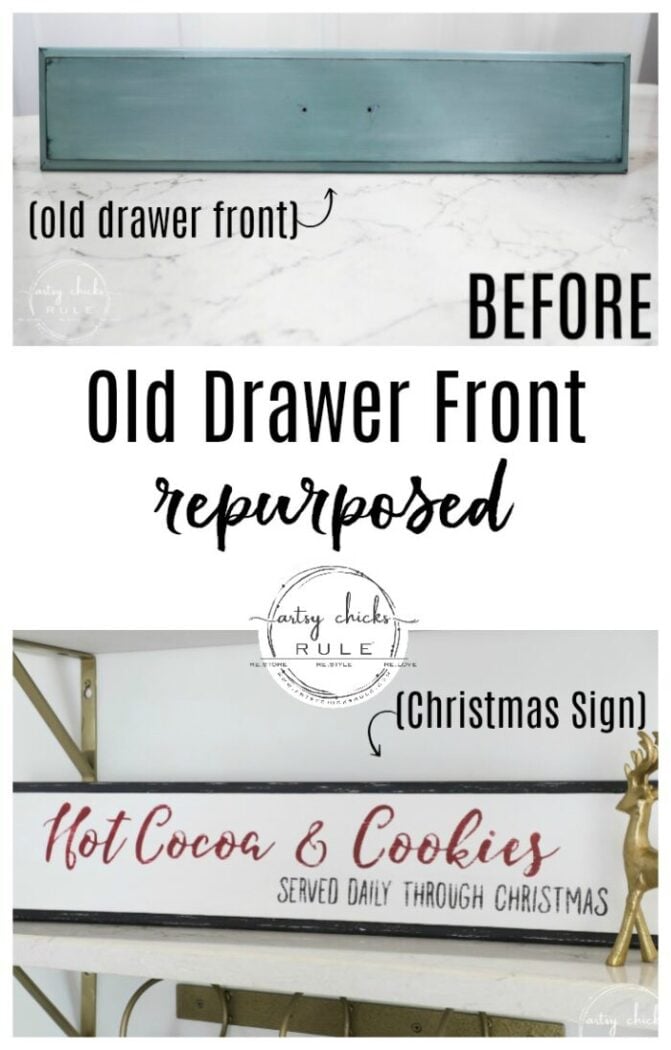
This old repurposed drawer front was the perfect size for my Hot Cocoa & Cookies Christmas Sign. Get the free printable so you can make one too!
It’s Trash To Treasure Tuesday, friends! Every month a few friends and I get together and share our “trashy” makeovers with you.
So be sure to scroll all the way to the bottom to see what kind of goodies they are sharing today.
I’m sharing another one of my old drawer fronts from my recent kitchen island makeover.
I saved them all from the trash and have made quite a few things with them and the doors from our recent kitchen remodel as well.
Here’s a few of the things I’ve made:
- Cabinet Door Repurposed (coat rack/old door)
- Create Your Own DIY Abstract Art (old door)
- Come In And Stay Awhile Sign (old drawer front)
- Stay Awhile Sign (old door)
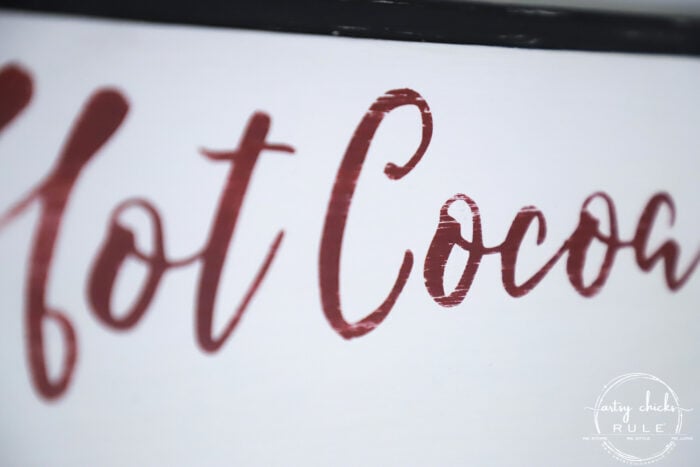
Hot Cocoa & Cookies Christmas Sign
I’m making my first holiday craft today. I have several more things planned so stay tuned! :)
Here’s how this one started…
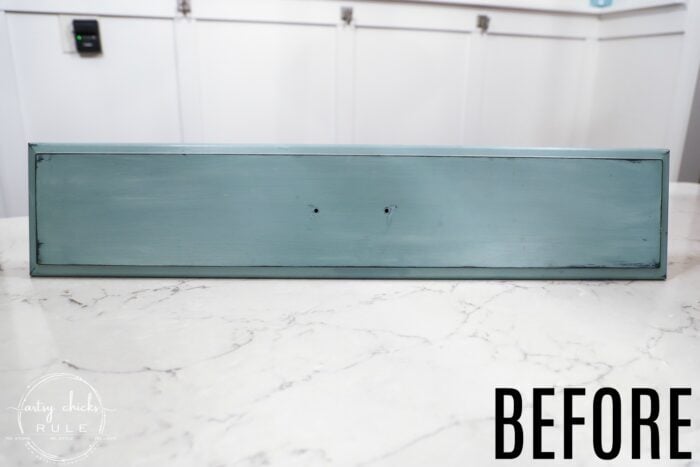
I began by cleaning it up well, then filling in the holes with wood filler.
Here’s the products I used for this project…
MATERIALS LIST
- Wood Filler
- White Paint
- Black Paint (any craft paint will do)
- Red Paint (I used left over latex)
- Contact Paper (Dollar Store)
- Transfer Tape
- Silhouette Cameo
- Small Roller
- Flat Finish
Once the wood filler was dry, I lightly sanded to smooth out where the holes were.
Then I painted on 2 coats of white paint over the whole thing.
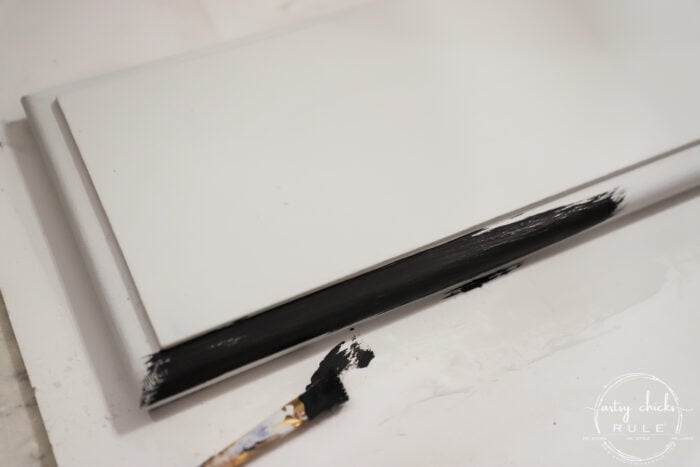
After that was dry, I used the black paint to paint around the edges to create a “framed” look.
Here is the graphic I created on my computer for this project…

Get the non-watermarked and larger sized free printable by clicking the box below.

If you are already a subscriber, click here to go straight to the printables resource library.
(if you don’t remember your password, check your latest email newsletter from me – scroll all the way to the bottom to find it)
……………………..
Using my Silhouette Cameo to create a “stencil” makes this project soooo easy! (and quick)
I almost always use it for any type of graphic I need to transfer to projects.
BUT…if you don’t have one, and don’t intend to get one, I’ve written a post that details all the other ways you can transfer images like this to your project…without a machine. You can read all about them here >>> “My Favorite Methods For Transferring Graphics“.
If you DO have a Silhouette but aren’t sure how to get this graphic that you’ve downloaded into it, you can read this post I wrote to show you how.
>>> “How To Import Designs Into Silhouette Cameo“.
……………………..
Since I wasn’t using the letters this time, only using it as a “stencil”, I used regular contact paper from the Dollar Store.
I’m going to describe in photos below exactly how I did it and how I use the transfer tape to transfer the contact paper stencil to the drawer front.
Below you see the top photo which is the finished piece cut out by the Silhouette. I’ve lined up the transfer tape and applied it directly over top.
The bottom photo shows how I lift the contact paper and transfer tape off of the backing that came on the contact paper.
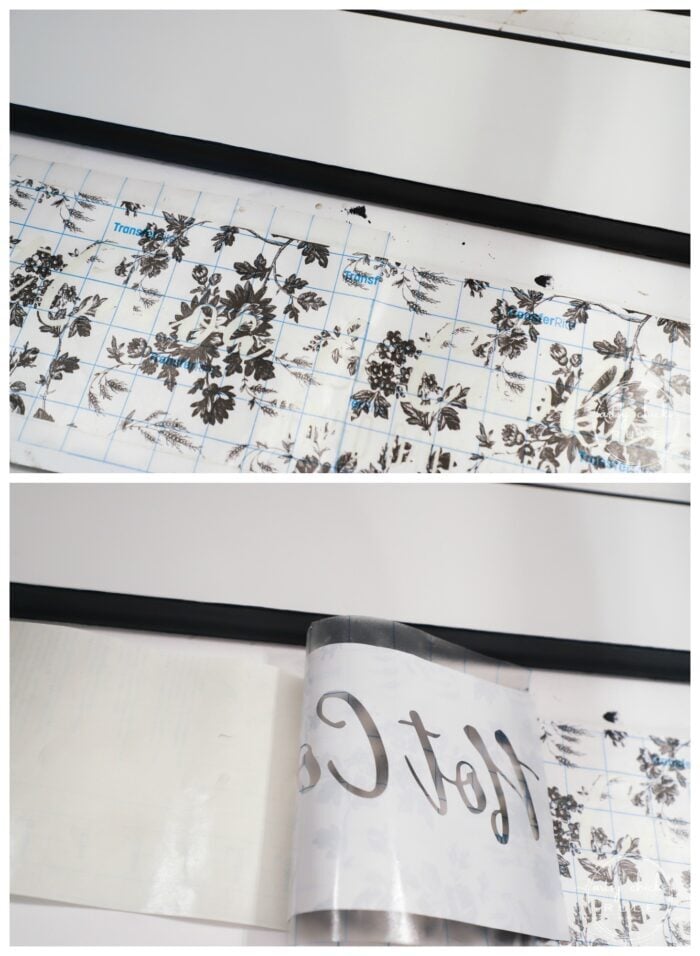
Now I’ve got a sticky side to attach to the drawer front.
The first picture below is the sticky side ready to attach to whatever project you are doing.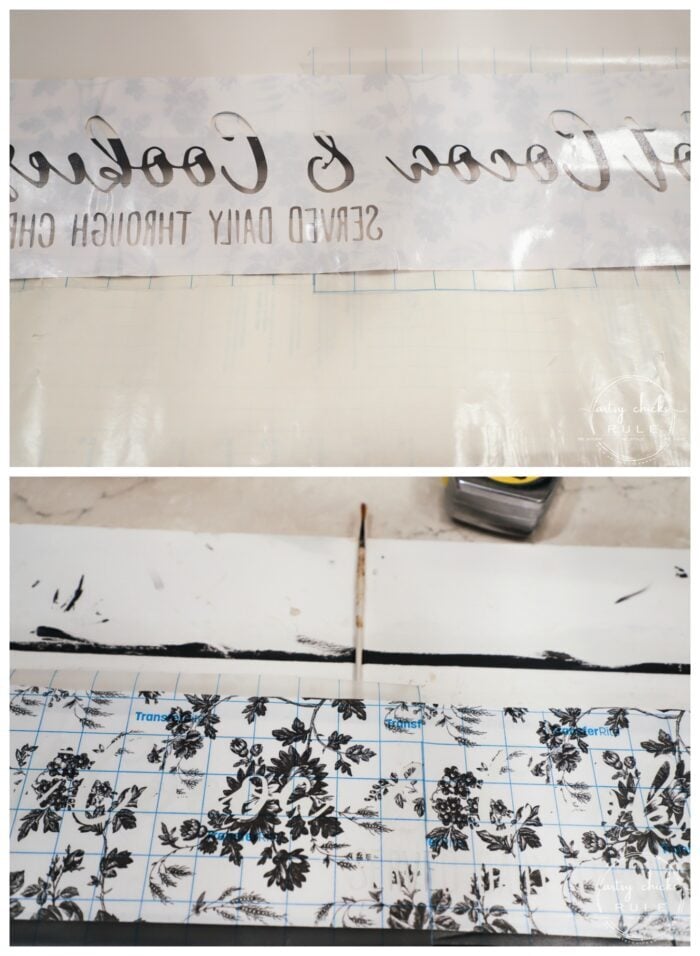
I’ve measured and found the middle of my graphic.
Then I measured and used that small paintbrush to notate the middle of the board.
I then laid the “stencil” on the board making sure it was all aligned correctly and pressed to attach.
Next, I carefully removed the transfer tape. (which I will reuse as many times as I can, I just roll it back up onto the roll)
What’s left behind is now the stencil (contact paper) stuck to the drawer front.
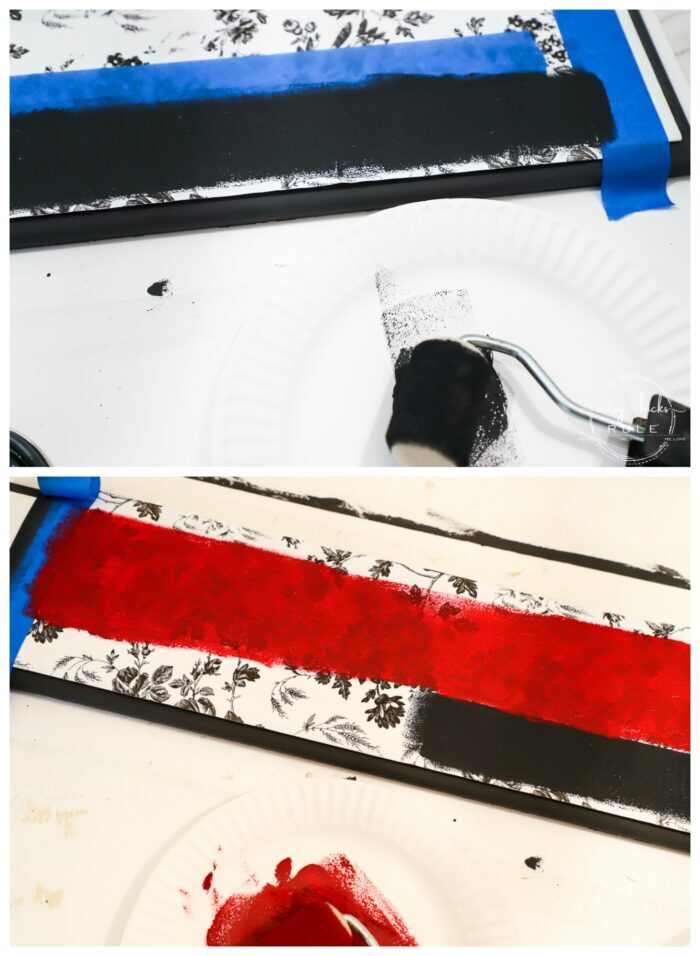
The bottom picture shows where I added some tape over the top row of lettering so I could paint the black in the bottom row.
Then using the roller again I painted the top row of letters in red.
I like using a small roller for stenciling because I think it gets better coverage and because it doesn’t seem to bleed as sometimes using a brush can.
Remove the contact paper gently.
The small inside pieces have to be removed with that pick tool. (it comes with the Silhouette Cameo I linked above)
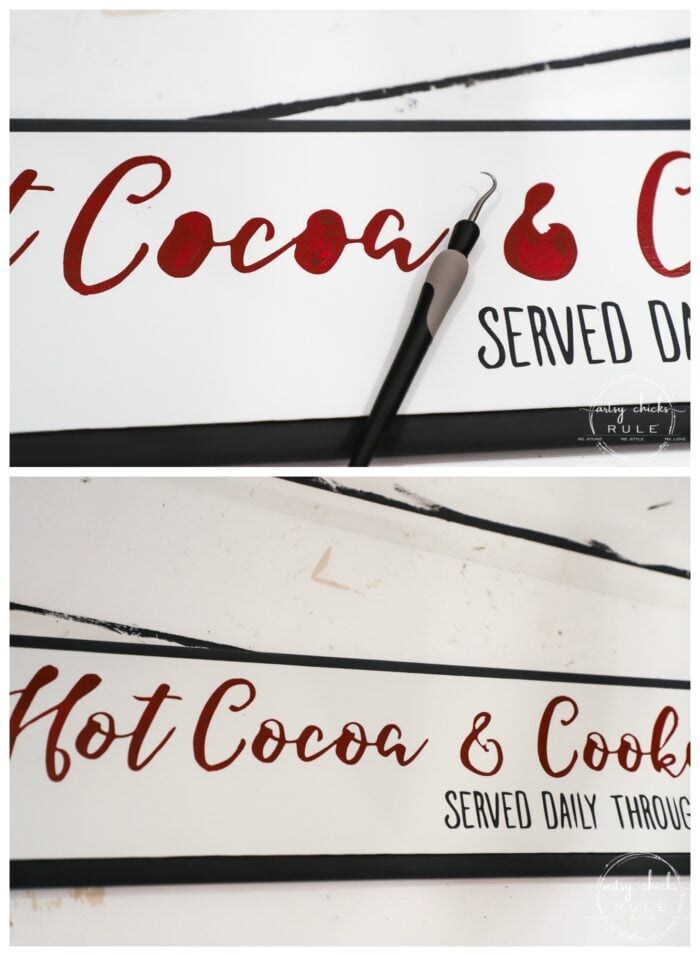
I love the look but wanted it a bit more “worn” looking, softening it up just a bit.
So I sanded everything, even the black frame to bring out the white I painted underneath.
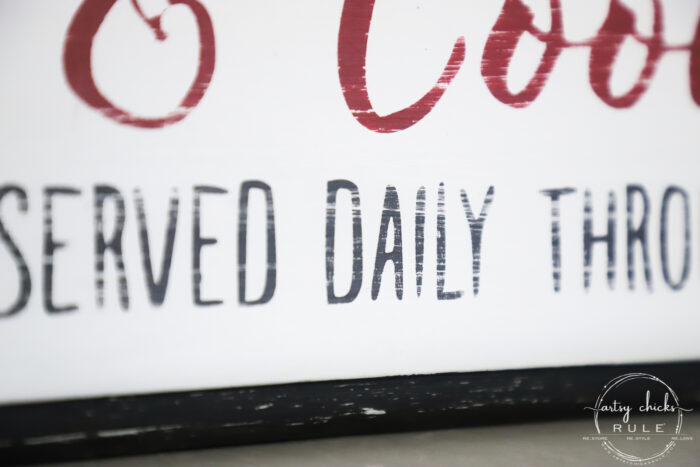
For the final touch, I sealed it all up with a flat finish topcoat. I didn’t want it to be shiny since I distressed it.
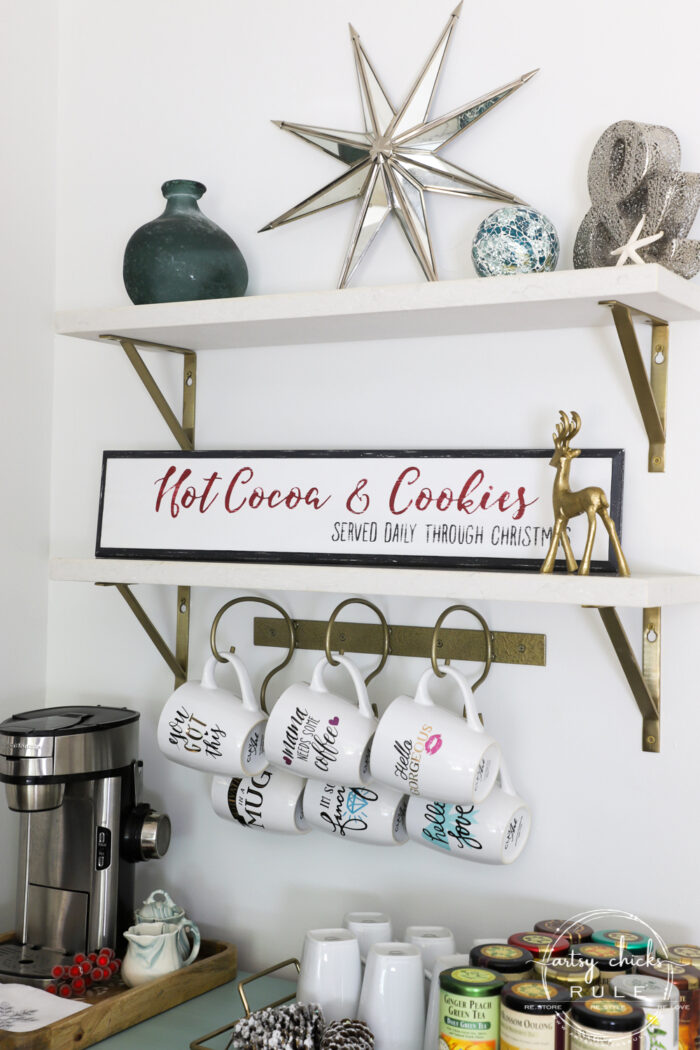
I don’t have any of my Christmas stuff out yet so I had to go and try to pull down some of the boxes.
We have 11 stacked in the far corner of our garage…plus 4 tree boxes up top on a shelf! I could only get a couple down so added a few holiday touches to the photos.
I’m pretty happy with how it turned out.
Definitely better than in the landfill!
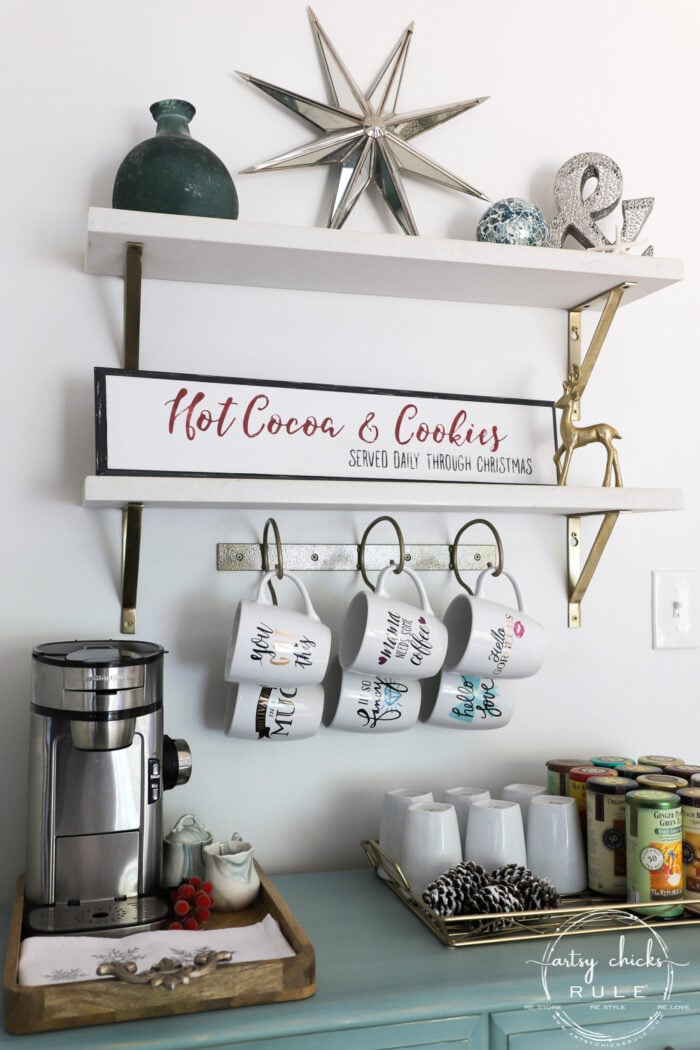
(the mug rack can be found, here)

And I know I was all about enjoying Thanksgiving (and I am!), but I think I’m going to have to get myself in gear and get decorated for the holidays sooner than later.
If I don’t, I’ll have nothing to share with you guys holiday decor-wise until late into December.
The life of a blogger! We have to stay ahead.
And we have to change it up every year. That gets challenging. haha
I have come up with a plan to make things a bit different than last year though, so I’m excited to get on with it!
Keep an eye out over on Instagram because I’ll probably share along the way.
This little cutie today is the first thing up because it’s staying right there.
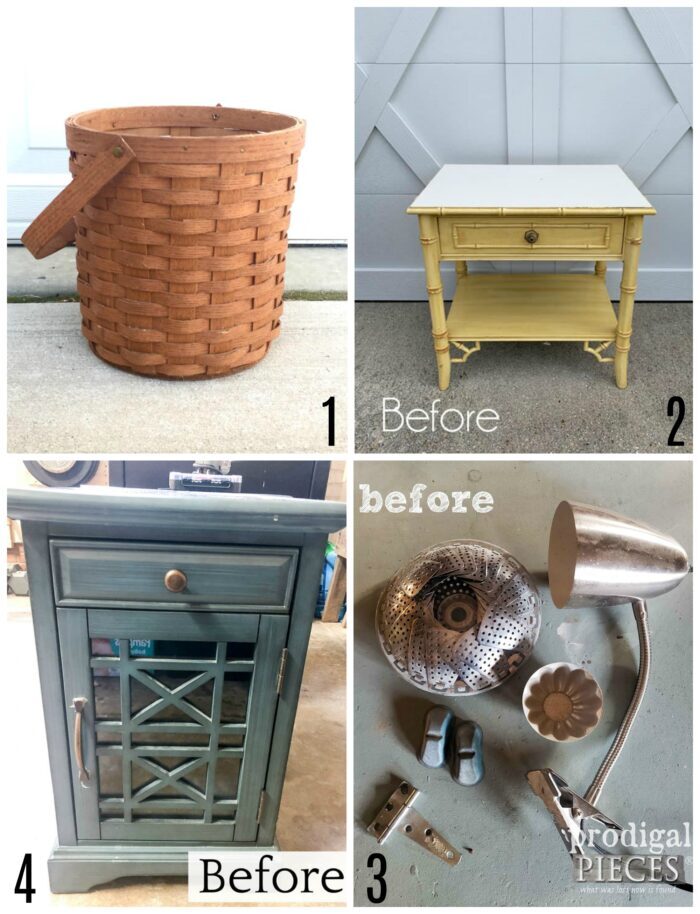
Now scroll on down and see what beauties my friends are sharing today too.
PIN it to save it!
Click the links below the photo to see what these “before” projects look like now:
So what’s going on at your house? Putting up any holiday decor yet? Before blogging, I always started decorating the weekend of Thanksgiving, never before.
I am noticing this year, that more and more people are decorating already. (not just bloggers)
So I am curious, have you changed your timeframe of holiday decorating in recent years?
I will say, I noticed holiday music on my Satellite radio several weeks ago and I just can not listen yet! lol
Even if I start decorating, I don’t think I can listen just yet…give me a couple more weeks and I’m there. ;)
As always, I don’t get all up in arms over it, “you do you” is key.
If it makes you happy to decorate early, then decorate early. If it makes you happy to wait, then wait.
Right? Yes, yes, yes.
Be sure to pop back over on Thursday, I’m doing a fun little giveaway. (something for your home this time)
xoxo

")
")


")
")


Mmm…this sign gives me warm fuzzies! ❤🍫
Me too!! :)
Great sign from your cabinets! You have 2 places to decorate this year! Yea! Yvonne Pratt always says “less is best” and I’m using that as my mantra this year when I decorate for Christmas. Looking forward to seeing your new ideas!
Thank you, Cecilia!! Yes, I considered it but I don’t’ think I will! Maybe just a few small things over at our other place. I will definitely do the “less is best” on that one this year! ;) xo
Super cute Nancy! Great to see the stencil doesn’t pull up your paint. :) Wonderful coffee/ hot cocoa bar too!
Thanks, Christina! Oh yes, that can happen sometimes! Not as much with chalk style paint but latex, craft OR if I add a topcoat. I have to really make sure I let it sit for a full day before attempting this in those situations. Also, that is one way the contact paper is so great. It’s not near as sticky as the Silhouette brand vinyl, plus so much cheaper too! xo
Sweet sign. May I ask ,where you found the mug rack?
It is adorable.
Thanks, Frances! I got it from Amazon. :) I have added a direct link to it in the blog post AND added it to my list in my Amazon store. You can find it, here. (FYI, it comes in black but I painted it gold) xo
Cute! I do seem to drink more cocoa in winter!
Yes! Yummy. :) Thanks, Rose! xo
Cocoa and cookies served daily? I’m coming to your house lol!! I always love your signs and this is a perfect one to kick of the holiday season! Both my parents and inlaws have already decorated for Christmas! XOXO
Yep!! Somewhere, I’m sure!! lol Looks sweet anyway! ;) Wow, they are on the ball!! xo
Hi Nancy, what a pretty and festive sign for the Christmas season! I love how you have your beverage station all staged and ready to go. I have not started decorating for Christmas yet, I start that after Thanksgiving. By then I have been inspired and have ideas in mind of how I may want to change things up from last Christmas. I have always been an, “I’ll do me” kind of rebel, lol!
Thanks so much, Kaycee! We do enjoy our beverage station and use it all the time. :) And that is the only thing I have semi decorated so far. I am so busy with finishing up the bathroom/closet remodel that I haven’t been able to pull anything out yet! I said I was going to go ahead and start but it will probably end up being later anyway! lol And yes to being a rebel!!! xoxo
Nancy this sign is adorable – and it looks so professional! You really are the queen of making repurposed signs!
Aw, thanks, Jen!! Don’t know about that but I sure have made a “few” over the years! lol xoxo
Too cute!! You are my favorite blogger. Your ideas are awesome and you give very detailed instructions. Thanks!
Love all your projects! I have a Silhouette I use all the time. I would love to see a way to get a license so I could use your designs in my projects I sell.