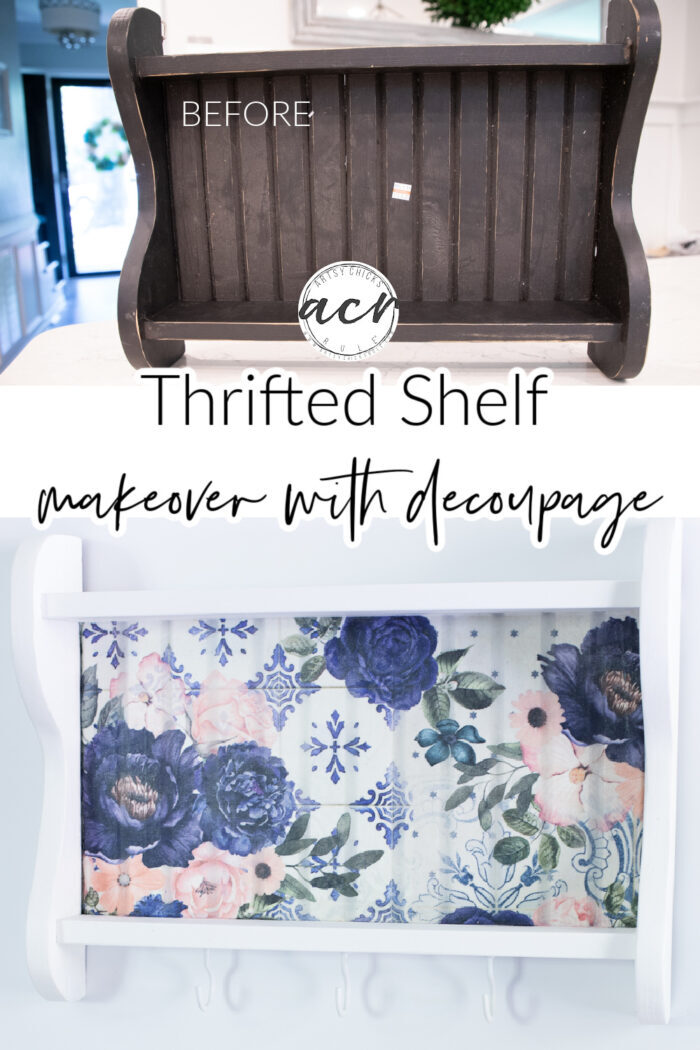
Floral Decoupage Shelf Makeover
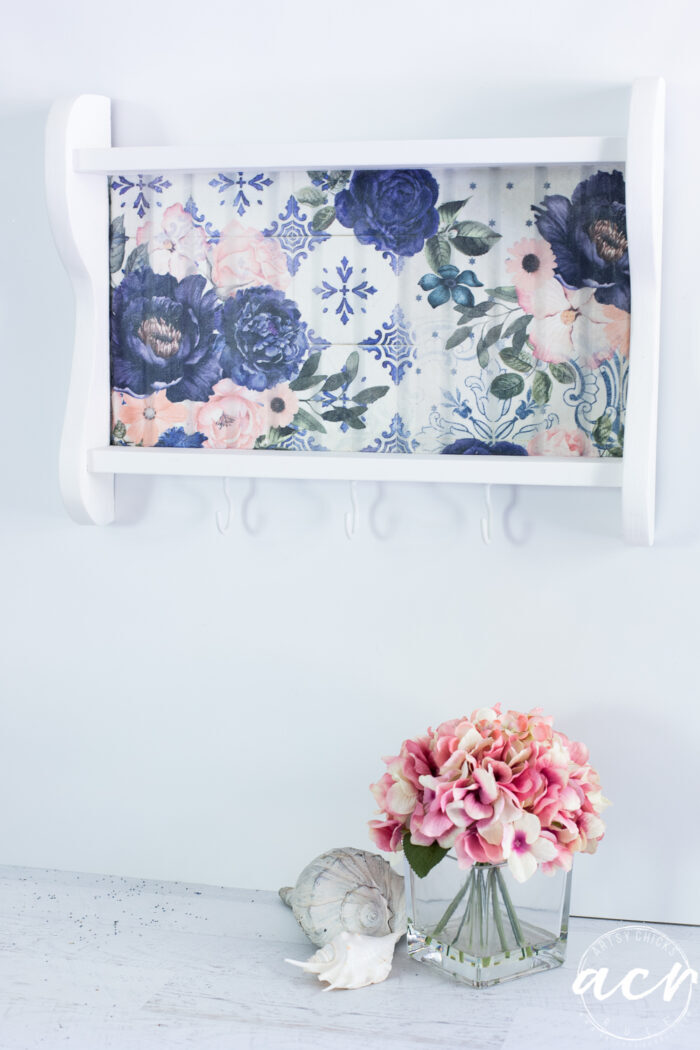
This beautiful floral decoupage paper completely transformed this tired old shelf. The added hooks gave it even more function!

Hello friends!
How is your summer going? Rolling on by, isn’t it? I sure wish it would slow down as I am not ready for fall (and winter…ugh!) yet.
If you follow along over on Instagram with me, you might have seen what we are up to now. Haha! Yes, we are indeed ripping out again. What? You thought we were done with our house?
Ha!! Always never done, right?
Well, here’s the deal, we gave our hall bath a makeover very soon after moving in oh, 17 ish years ago. So, it was in need of another (a better one this time). So we are recoating our tub and pulling the plastic surround we put up (after removing old dated tile way back when) and I am going to do tile the walls as I did in our master shower.
Fun, fun!
Not really wanting to do it but we really hated to have to list our home with every other single thing fairly newly redone…except this bath. So here we are. ;)
Follow along here (if you aren’t already) to keep up with us on that.
Today I am sharing a pretty floral makeover using decoupage. Decoupage is so fun and such a great way to completely change something up, besides paint, of course!
And it’s Trash to Treasure Transformation Tuesday too.
So my friends are also sharing their goodies today too. So don’t forget to scroll all the way to the bottom to see theirs.
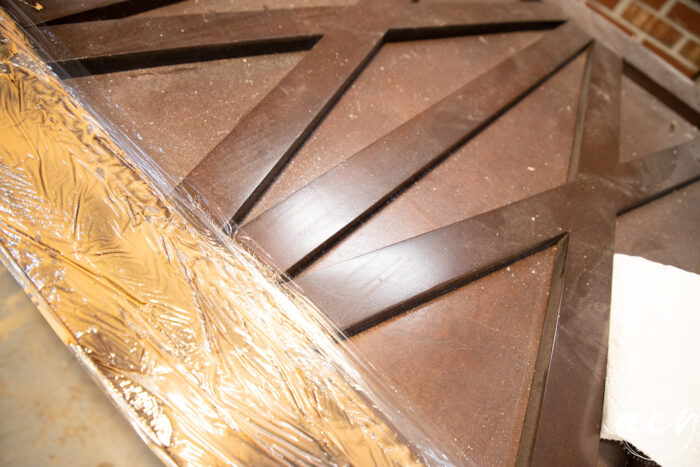
My trash to treasure is this part of my latest haul…
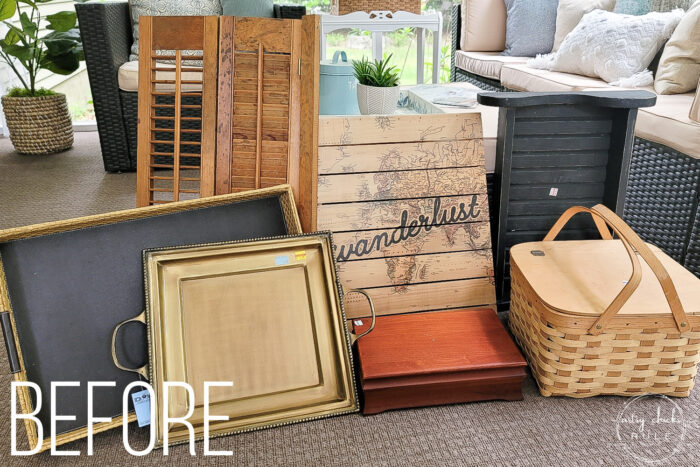
You can see the others I’ve completed from this haul here:
- Decoupage Tissue Paper Tray
- Life is Like the Ocean Sign
- Bird Paper Decoupage Jewelry Box (that I recently gave away!)
- Compass Rose Tray
Floral Decoupage Shelf Makeover
And this shelf is the last of the bunch. (because I found out the basket is a collectible so I’m going to leave it as-is)
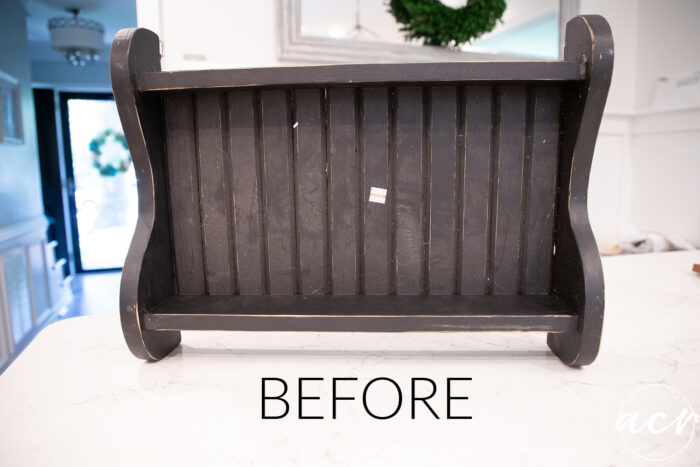
I considered several different options for this one. I had thought I’d do some “beachy” type wording on the slats then decided against it.
Next, I thought I’d paint it a deep rose color and use a pretty rose/cream tissue paper on the back.
I started down that path but wasn’t loving it so switched gears. (I do that a lot don’t I? haha)
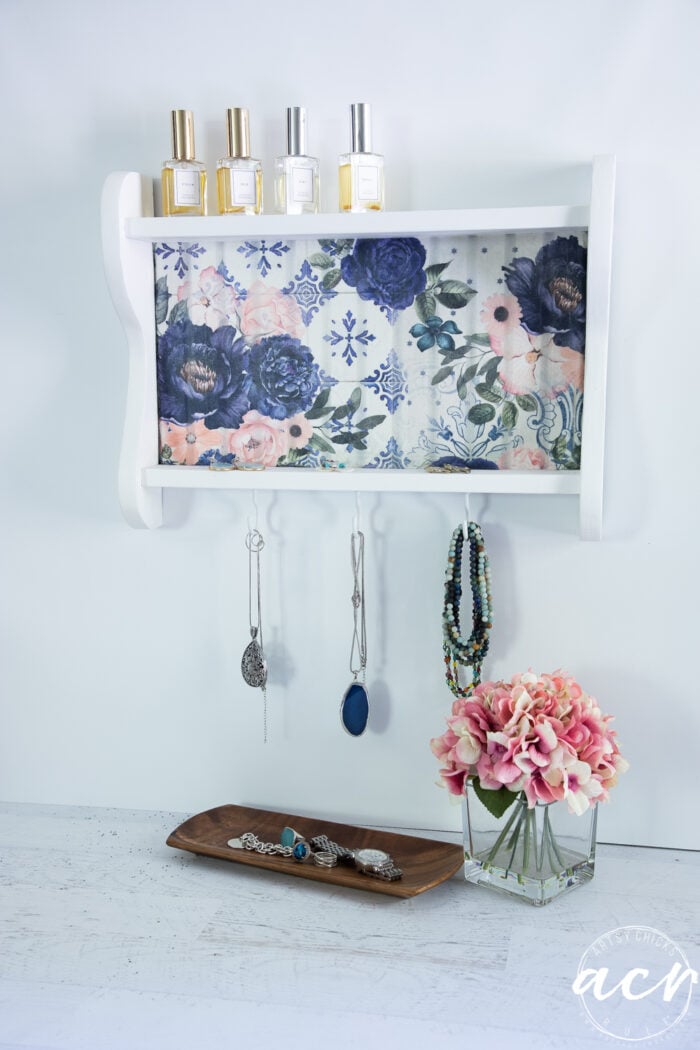
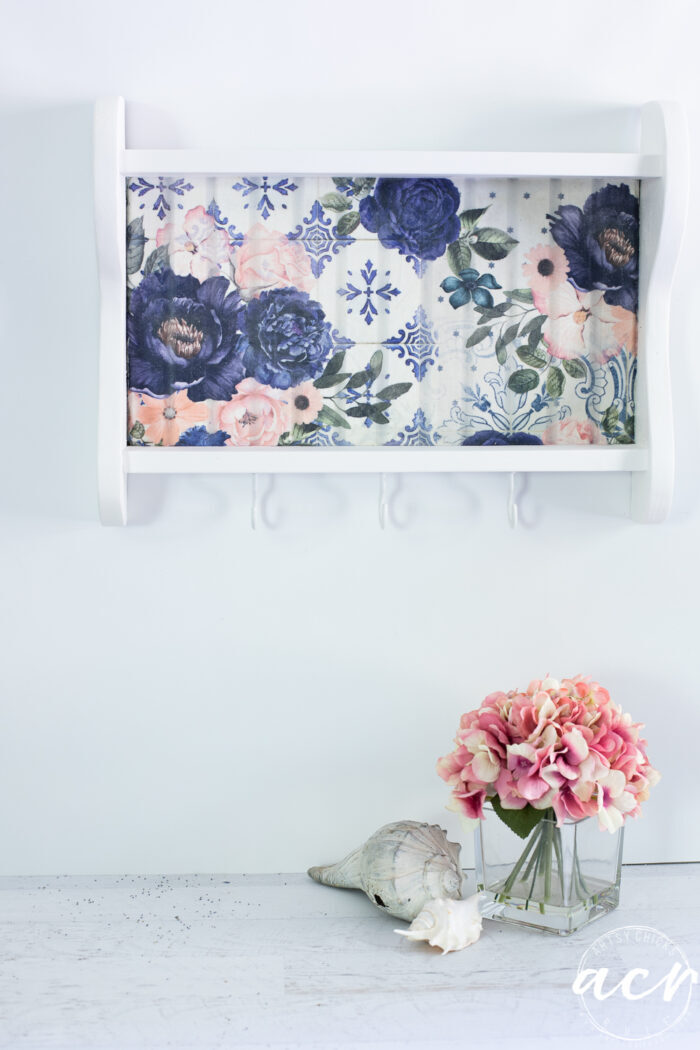
So I sprayed it white with a satin finish white spray paint (any brand will do) and used this pretty blue tissue paper instead.
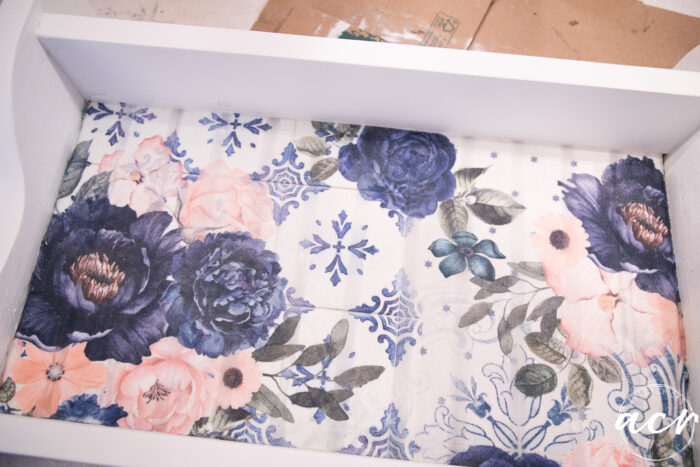
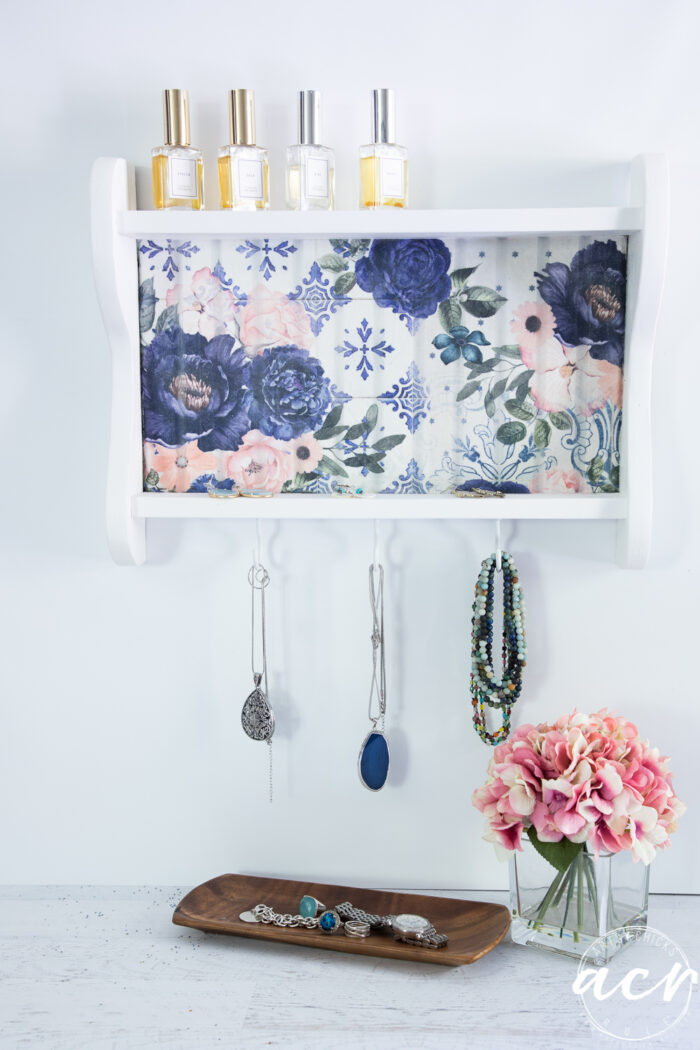
I thought I might try to push the decoupage “fabric” down into those slats but it wasn’t working well so I just went straight across instead.
I used Mod Podge underneath and on top to seal it.
Here’s all the things I used for this project:
MATERIALS LIST
- White Spray Paint
- Mod Podge
- Floral Decoupage Paper
- White Hooks
Simple!
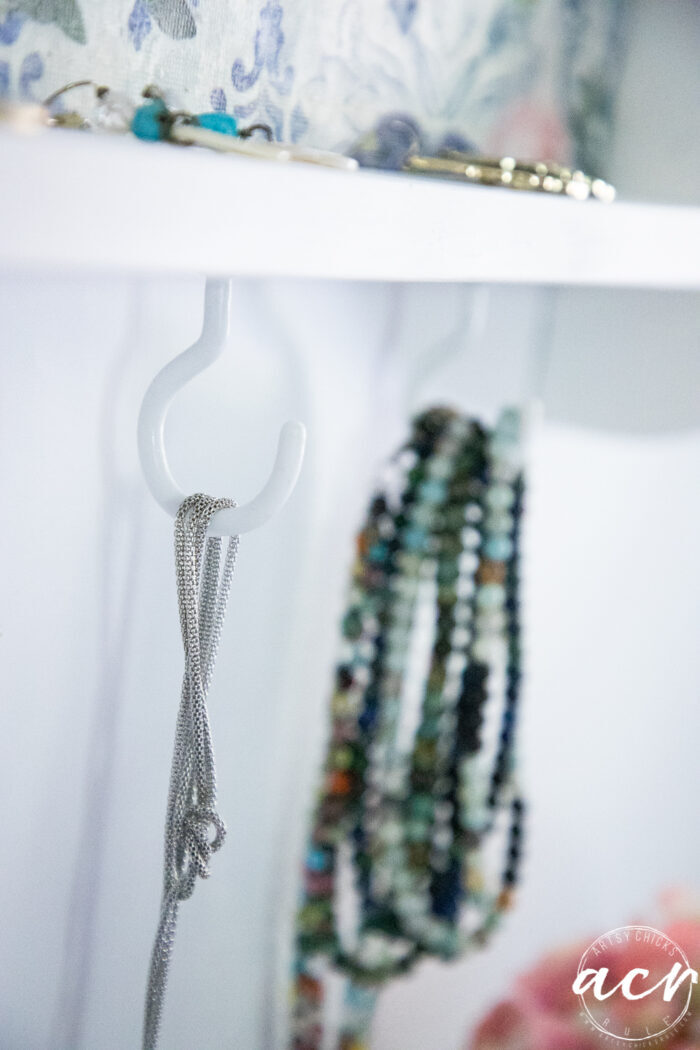
Next, I added the white hooks on the bottom to hang these, as desired.
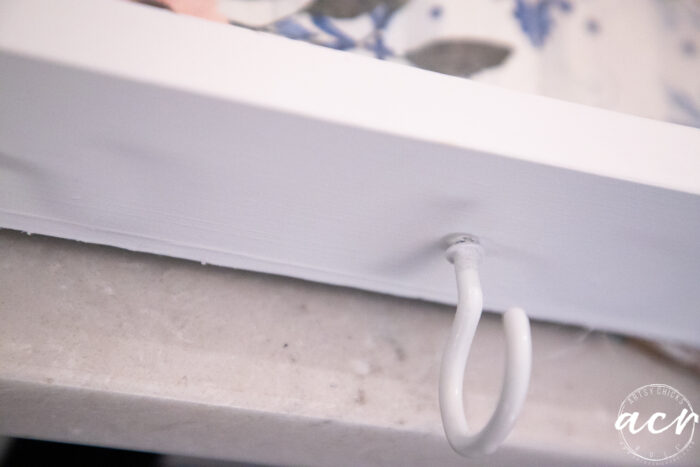
And that’s it! Done!
It’d be pretty in a girl’s room to hold here perfumes (top shelf), earrings/rings (bottom shelf), and necklaces/bracelets (hooks).
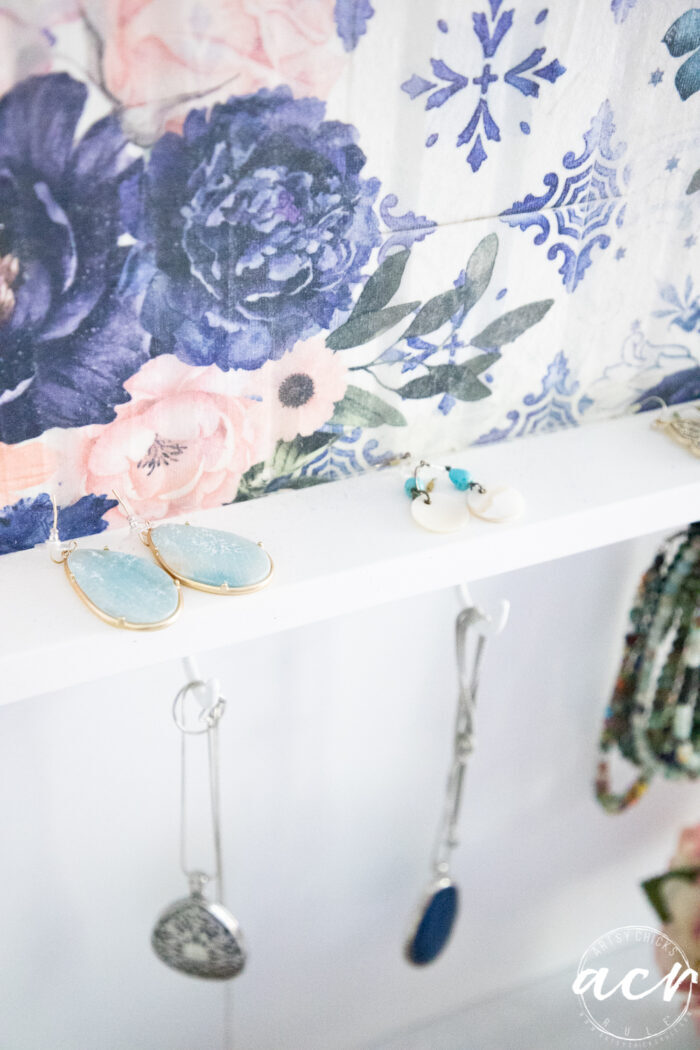
By the way, this decoupage paper is really a little more like fabric and along with the Mod Podge, is actually pretty stiff.
I say that to let you know in case if anyone was wondering about the spaces behind the paper where the slats are. It is very sturdy and does not dip in at all.
It doesn’t have to be used for jewelry, it can be used for scarves, keys or anything really.
Completely different look though, huh?
PIN it to save it!
Don’t forget to hop on over and visit my friends too!
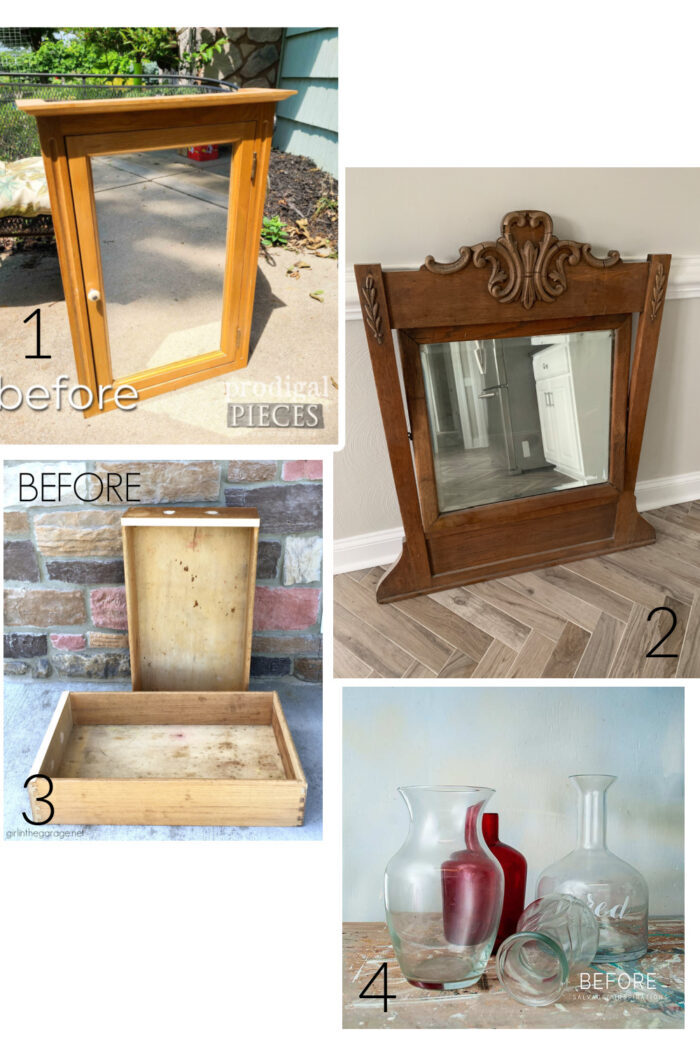
- Prodigal Pieces/Larissa
- Confessions of a Serial DIYer/Christy
- Girl in the Garage/Jen
- Salvaged Inspirations/Denise
………………………………………………………………………………………
Have a wonderful week, friends!
See you on Thursday!
UPDATE!! See it now here!
xoxo


")


")

Totally different look… beautiful! Perfect for jewellery or scarfs! Pinned XOXO
Thank you, Denise!
Ooh…excited to see your bath reno! And, what a beautiful update to a dated piece. Love that paper! 💙
Such a transformation! Very pretty with the paper and white paint. Can’t wait to see your bathroom makeover. Have a great week, my friend!
Thanks so much, Cecilia! I am looking forward to getting the bathroom done! :) xo
Thanks, Larissa! Can’t wait to get it done! :) xo
Super cute Nancy! Love the details on the decoupage paper and it is a lovely choice. A whole new life for this little shelf!
Thank you, Christina! :) xo
This is a great makeover from a dark and heavy shelf to one that is light and bright! I love the decoupage idea because you can customize the paper to fit your décor.
One idea to prevent the “ghost lines” of the slatted boards from showing through the background paper: use spackle to fill in the slats before painting. Fill with spackle as directed on package, let dry thoroughly, sand smooth, wipe clean, and paint. This will add time to the project but is not difficult at all. Now the “ghost lines” of the slats will not occur.
Oh yes, you are so right Nancy! I actually had planned to push the paper into those but it didn’t work out so well. But since I already had it on there, with the Mod Podge, I just “let it roll”. ;) xo
I love this paper so much, and you always have the prettiest jewelry! I can’t believe ya’ll are ripping out the last bath ha ha! Someone is going to get the most perfect home ever! XOXO
Aw, thanks so much, Christy! I know, we are crazy!!! haha But the faucet kept leaking and it was old and we tried to fix it a million times and, and, and!! lol So we figured, let’s update it better than we did 15 years ago to match the rest of the house. And here we are!! haha xo
Very nice. I love the idea of using it for jewelry. I would install hooks under the shelf at the top too for hanging more necklaces. The decoupage paper just makes it. Wish I could find one like that to do up!
Yes! Isn’t it such a pretty place to hang lovelies? Thank you, Naomi! xo
Nancy, that is so pretty! AND functional. Hard to even believe it is the same piece.
Very well done. And can’t wait to see what you are doing with that bathroom!!! Best wishes!
Thank you, Michele! So different, huh?! I love watching the transformation as much as I love sharing them with you all! :) xo
Hi Nancy! I have this same decopauge paper. I just need to look for something to put it on. Thank you for the inspiration.
Oh yay!! It’s such a vibrant blue-purple, I love it! I am sure whatever you use it on, it will be amazing! xo
Very pretty makeover. I like the colors in the decopage paper and the white background. The hooks underneath make this very practical, especially for jewelry! Thanks for sharing. I miss seeing Ryder! Have a great week.
Thank you, Sue! The colors are so vibrant and pretty. :) Aw, I will have to get him in some of my upcoming posts! xoxo
Ryder seems to be such a great pet. I love seeing him, even if he is asleep, one paw showing, etc. Thanks for sharing him as well as all your creative endeavors. I look forward to seeing them each week!
Aw, yes, he really is Sue! The happiest dog I know! I am SO thrilled to know you enjoy seeing him too!! :) xoxo
Super cute idea, Nancy! That paper is so pretty :)
Thanks, Jen! :)