Coastal Style Chalk Paint Makeover (simple weathered finish with paint!)
Love a faux weathered finish? Follow along as I share this coastal style Chalk Paint makeover and the simple way I created it’s faux weathered finish.
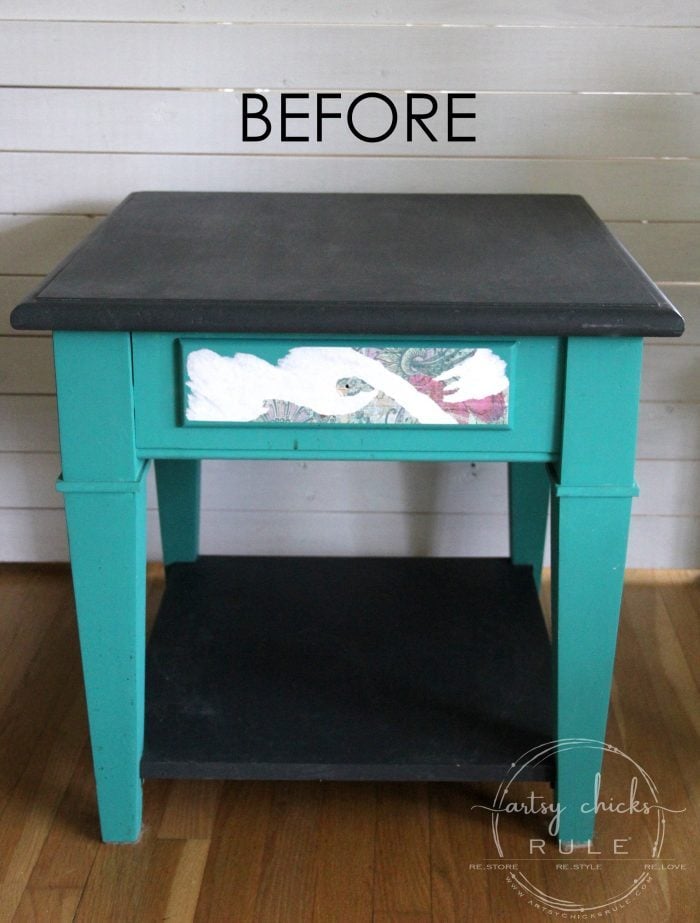
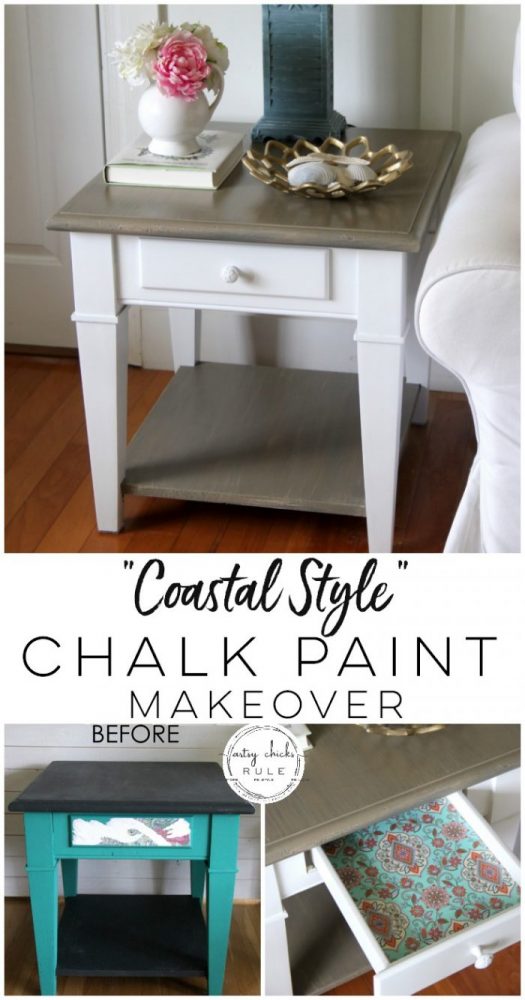
and now looks like this….
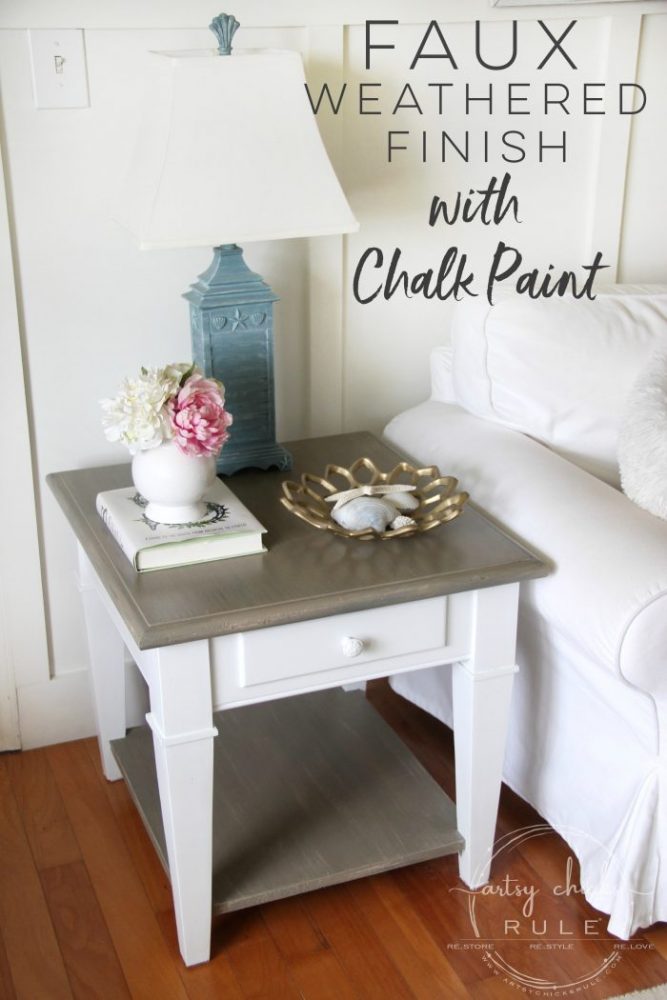
It’s Trash to Treasure Tuesday and my friends and I are sharing our fun new treasures with you today.
I’m sharing this old thing that I gave a brand new Chalk Paint makeover to…..
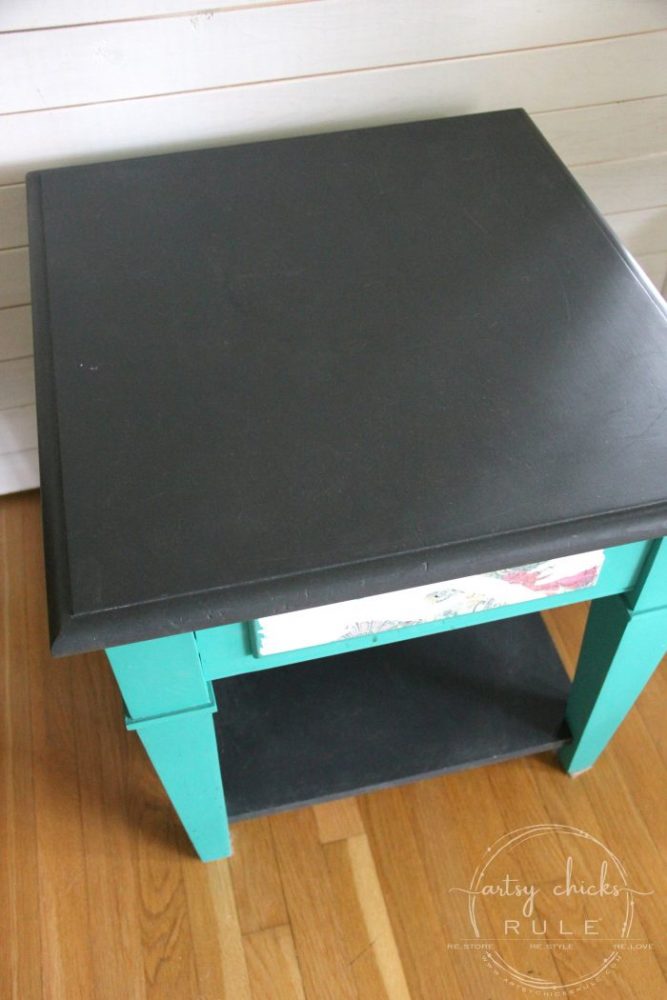
Poor, pitiful sad thing. ;)
And I did that to it!! haha
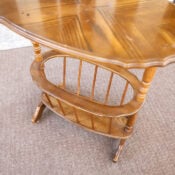
Yep, this end table was part of a set that we had in our family room downstairs.
It was originally a cream base with an orange-y wood top and bottom. You can see the rest of this set, and how it looked, in this post.
Anyway, I thought I wanted to make a fun, bright colored room for my office, oh, about 7-8 years ago.
This one piece of painted furniture was as far as I got with that theme! I quickly realized, no, wrong direction. ;)
Not even sure I can call this a RE-makeover since I hate to even call what I did to it the first go round a makeover of any kind to begin with! lol
So it sat for YEARS….until now.
I’ve been going through all of our rooms and all of our stash, trying to purge, makeover, and get rid of what we don’t need or use.
I figured it was time to finally give this poor little table a much needed RE-makeover.
So…my plans for it was to sand off that black (that’s Graphite and Florence paint colors by Annie Sloan, by the way) and bring the wood back through.
Both the top and bottom and then stain them in Java Gel and paint the rest white.
I quickly decided I didn’t really want to mess with sanding. ;) (surprise!)
Even though I’m not keeping it, I thought a coastal feel would be nice for this one.
And the black happened to be the perfect base for creating a “faux” weathered finish.
So I cleaned it up and got to work.
On this mostly all Chalk Paint makeover, I used Coco (after the black that’s already there, of course) as the main color.
You really can’t mess up this process, follow along and see what I mean.
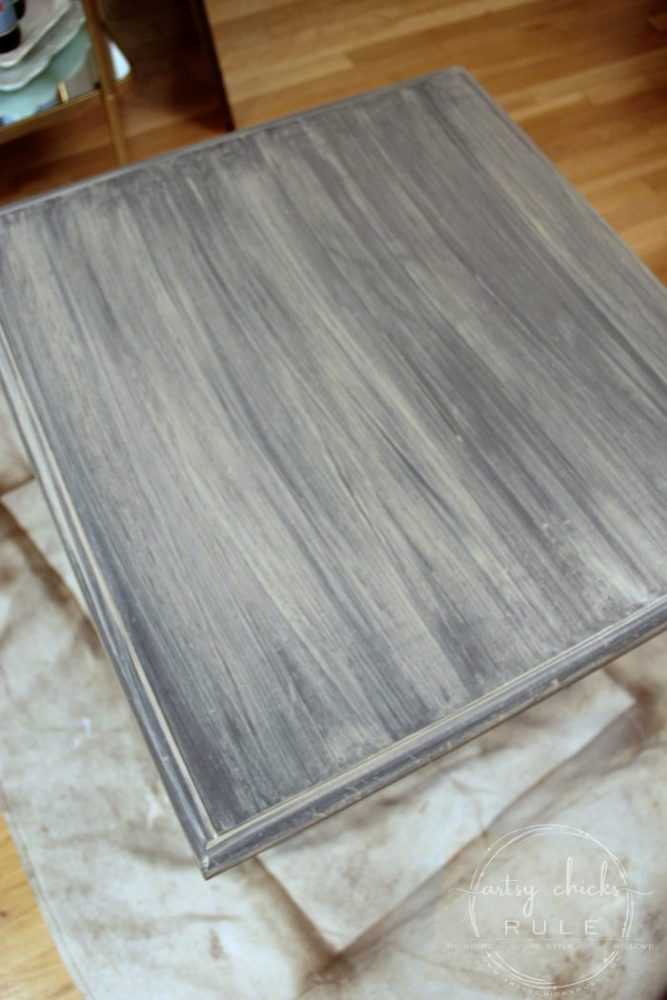
I took an old rag (old t-shirts, ripped into small sections are great) and dampened it pretty well.
Then I dipped it into the can of Coco Chalk Paint and just wiped the paint on in long strokes as you see above.
The paint should be thin and wet and not cover completely at all.
I did this to the top and bottom.
Once that first coat was dry I got out my chip brush and “dry brushed” the paint (same color) from one end to the other across the entire top (and bottom) spaces to fill in somewhat.
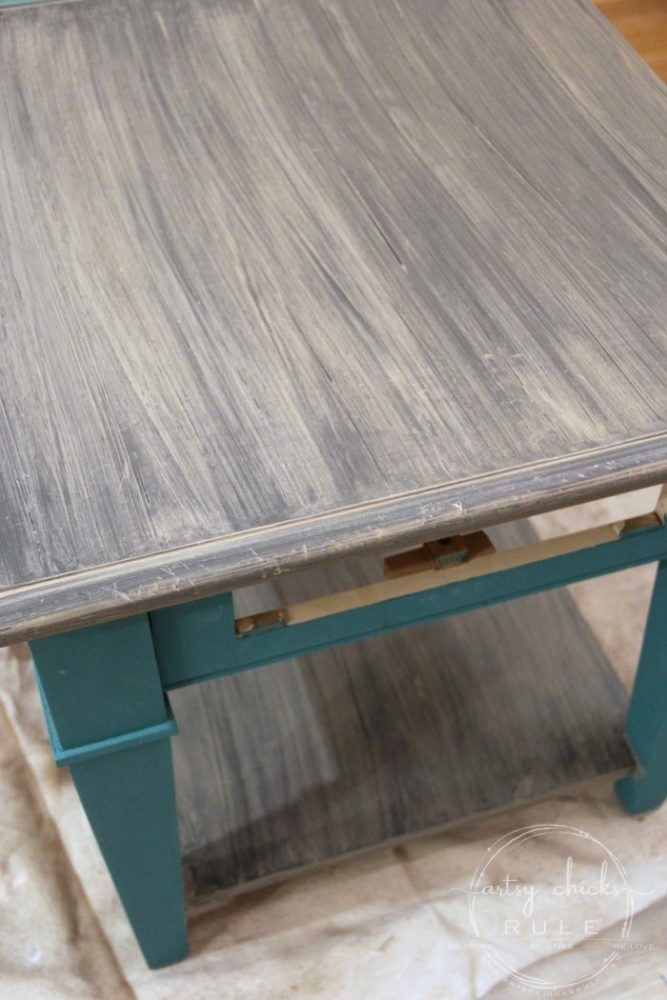
You want a bit of the black to show through so you aren’t trying to cover it completely.
Be sure to let each coat dry well in between so you don’t smear it together. Honestly is not a terrible thing with this technique except you don’t want to lose all the black underneath.
I literally did the Coco dry brushing probably a total of 5-6 times until I had covered it enough.
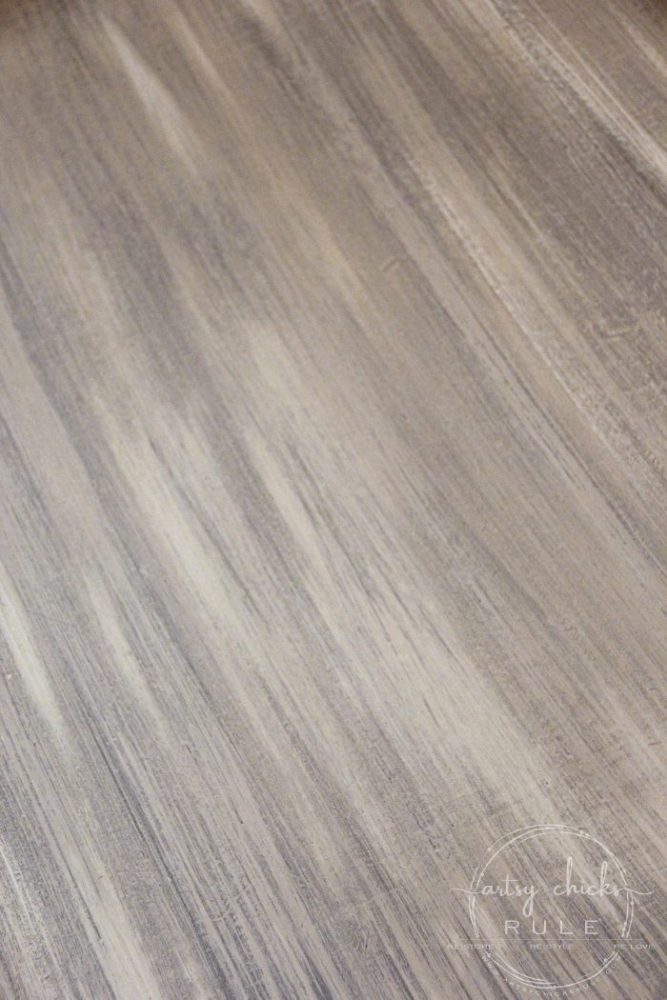
When it’s still wet, it looks as though you’ve ruined it and it’s way too much.
Then it dries and you can see that you still need more.
I then mixed up a bit of white and Coco and very, very lightly added some of it to the table. I didn’t want it too white/light so really only added a small amount of this color.
I applied it with a dry chip brush also.
I did end up being a little too heavy-handed and more white got on there than I intended so I had to let that dry and then go back over it with more Coco, which worked well to cover it up.
Here it is pretty much done (except for the white-painted base).
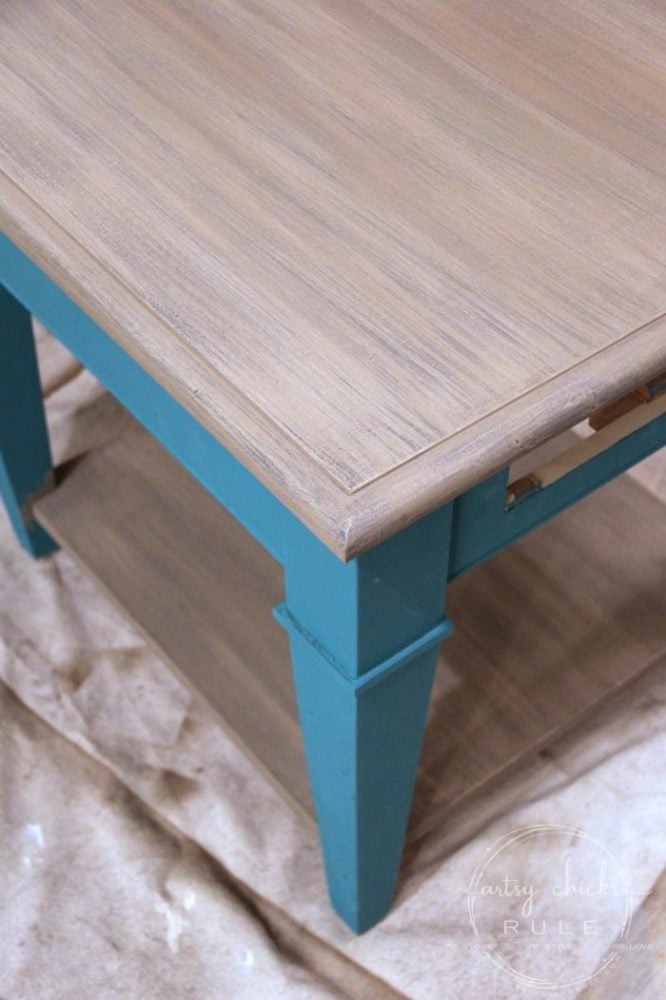
I sealed this part of the Chalk Paint makeover with 2 coats of high-performance top coat, sanding lightly in between coats for a smooth finish.
The base got 2+ coats of white “chalky” paint and a finish coat of the same sealer.
Want to know about 26 other chalk style paints?
I’ve got the low down for you right here! >>> 26 Types of Chalk Style Paint For Furniture
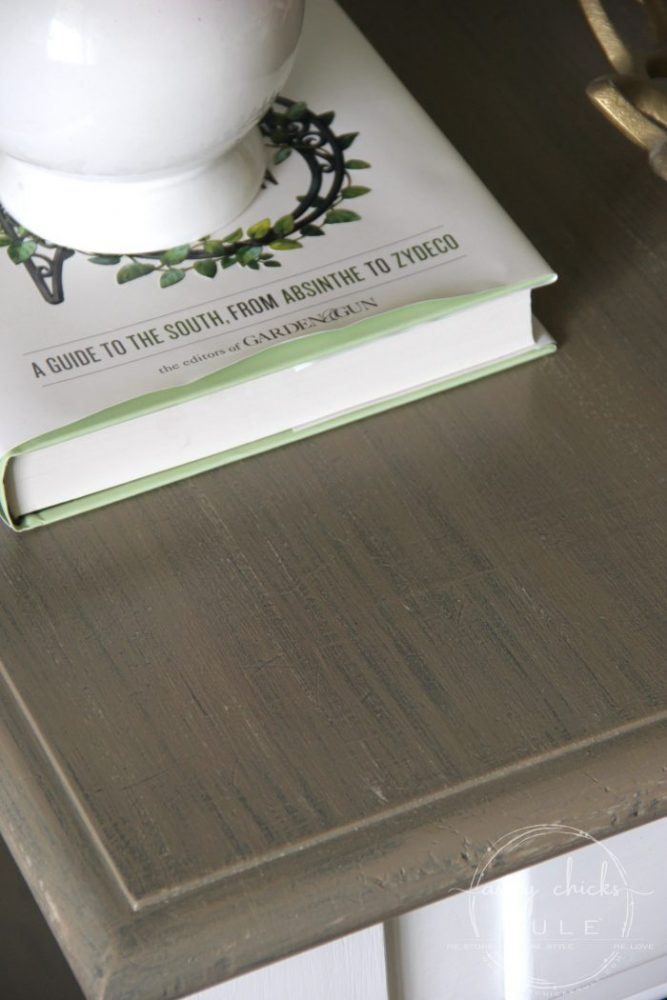
Edited to add this post I wrote about the Pros & Cons of using Chalk Paint for Furniture, see it >>> here.
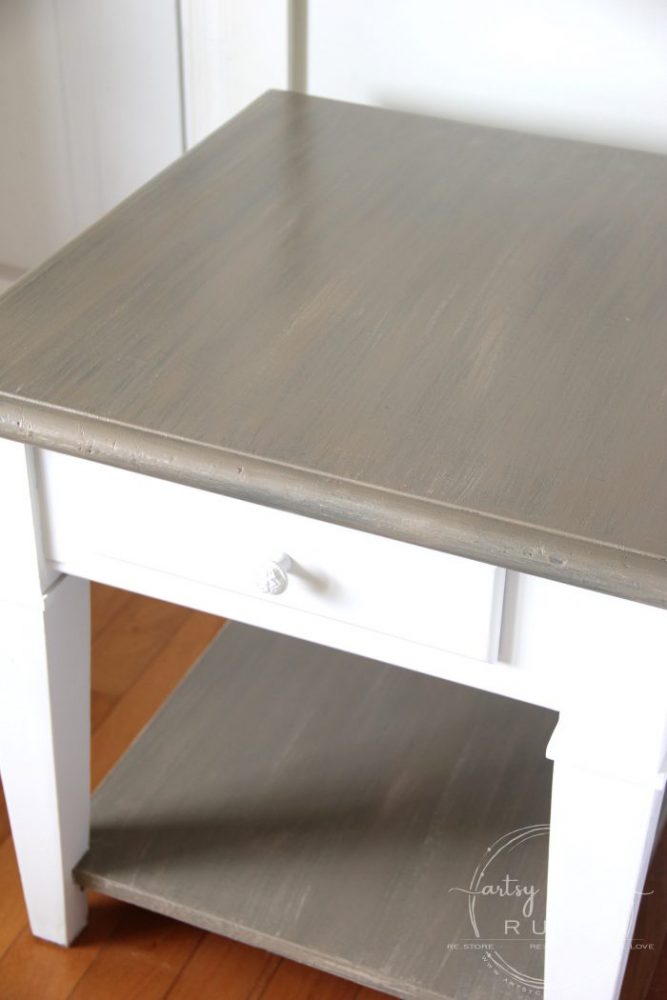
I am thrilled with out it turned out!
Now I’m wanting 2 end tables just like these, but smaller, to go on either side of my couch.
I LOVE how this color looks here and would love to create this same look on tables that would fit here.
My criss cross tables are similar in color but totally different styles. They may need to get saved for the future beach cottage.
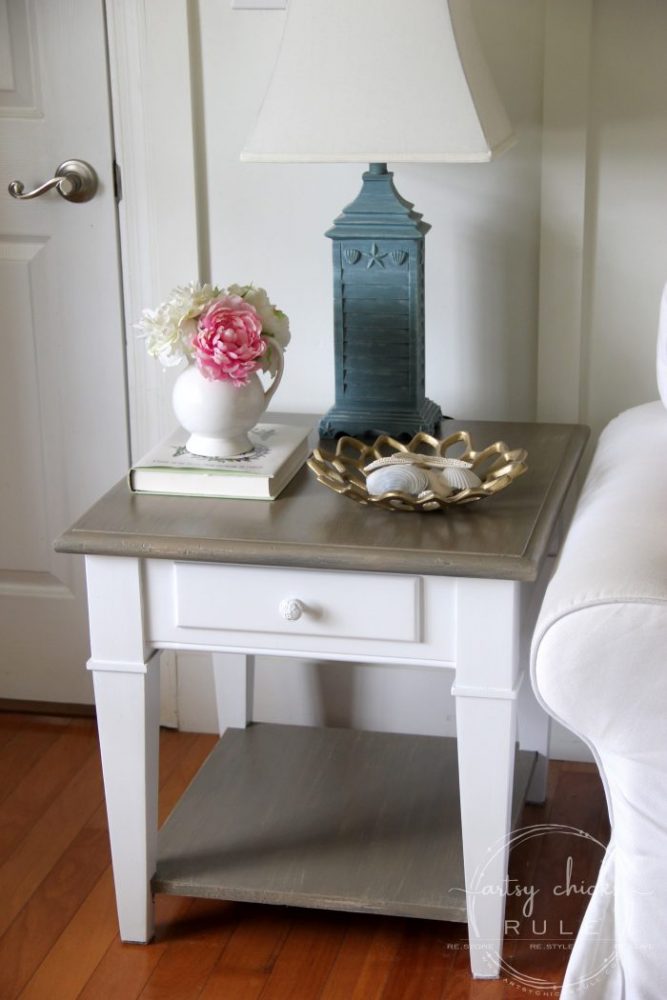
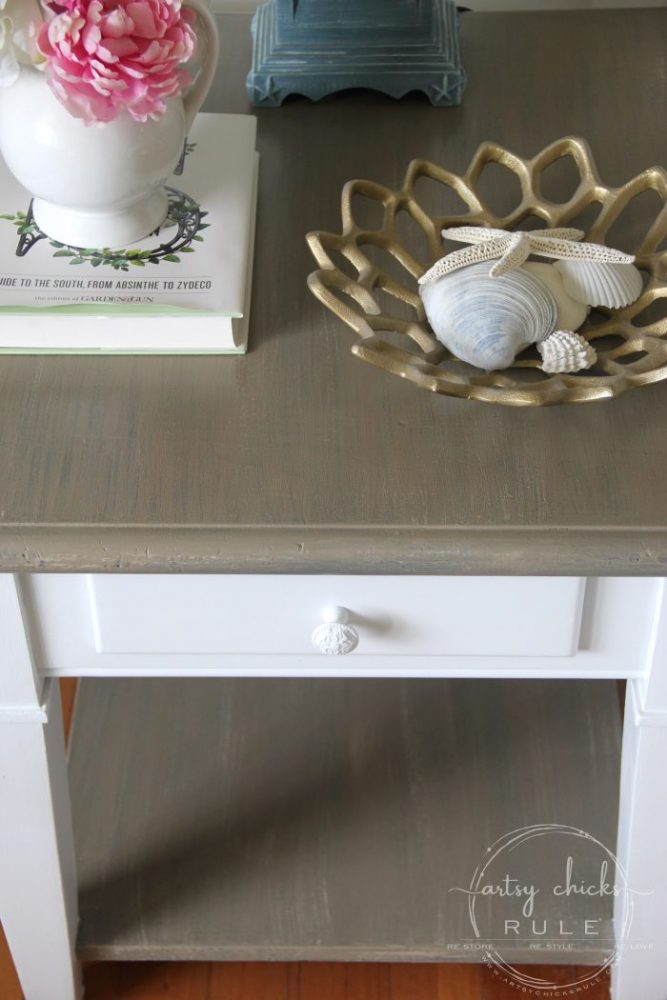
The knob that came on it was wood (plain) so I replaced it with this pretty scrolled, metal one painted in the same white.
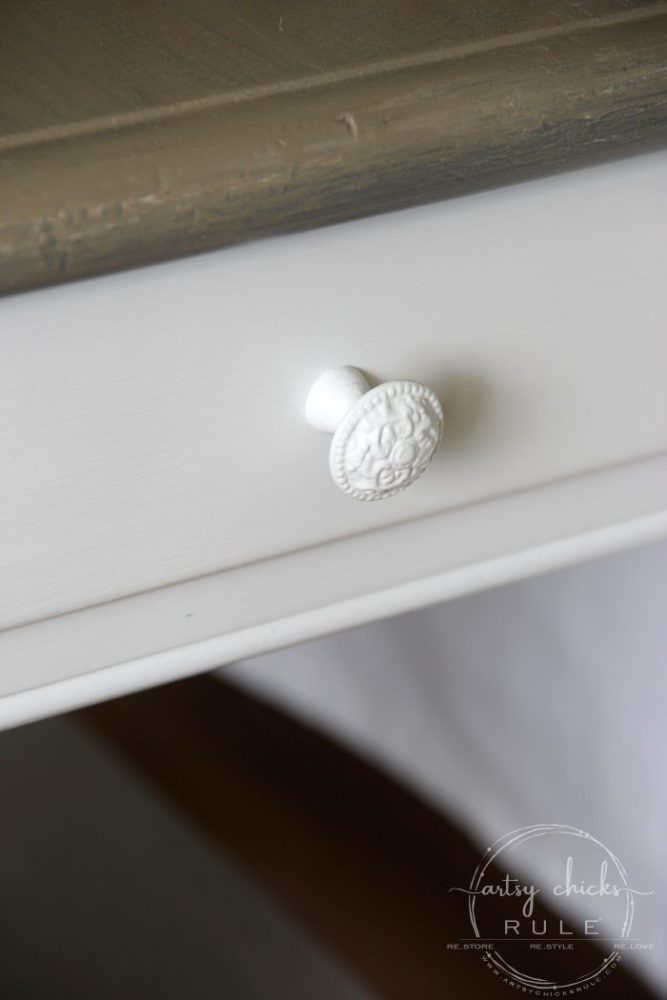
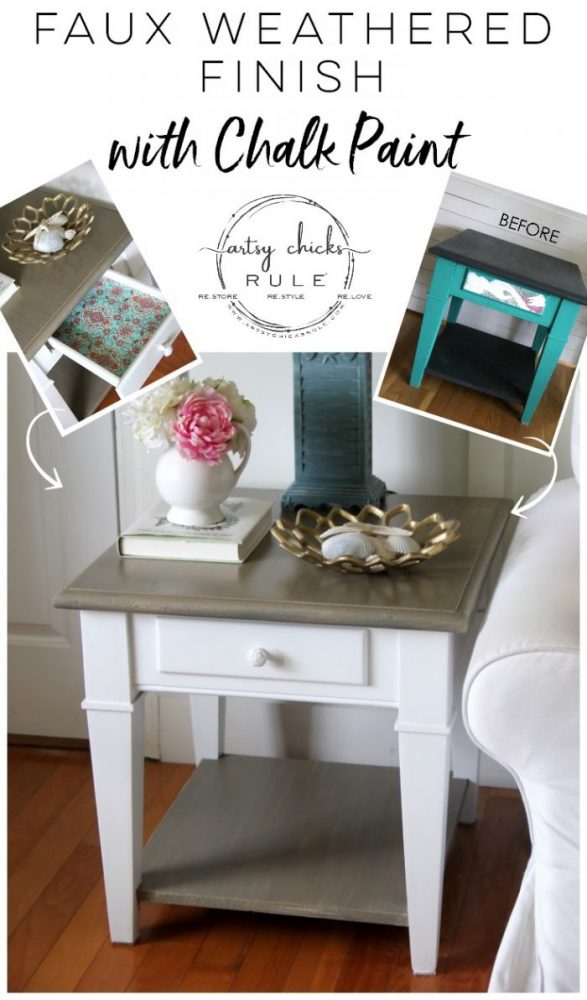
And a little surprise inside the drawer…
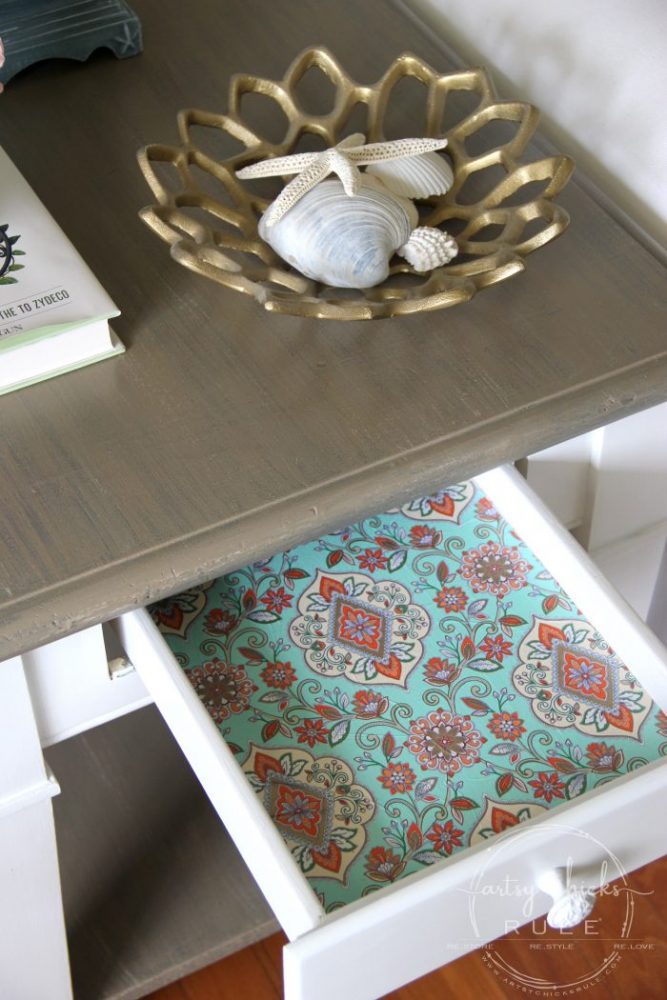
I used this tissue paper that I bought recently.
You can’t really see it in the photo, but it has gold outlines around the designs and it just shines! So pretty.
I used Mod Podge underneath to attach it and this cutter mat set you see below to cut it.
It works really well. I usually just lay the paper in and press along the seam and then cut. That works pretty well too but I’m really liking this cutting mat set.
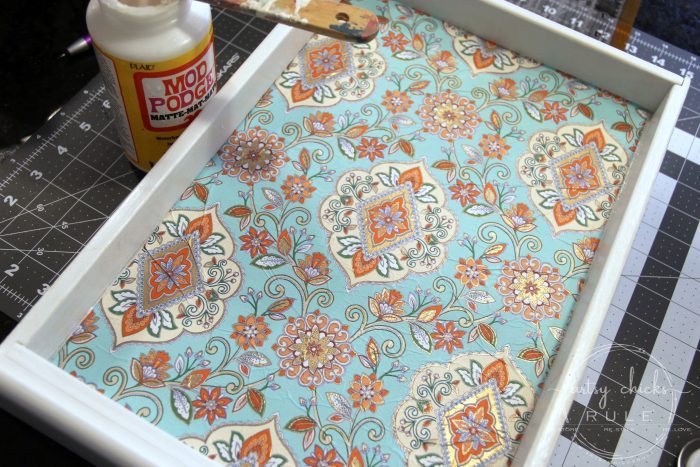
The tissue paper does wrinkle up a bit but that’s just the nature of it because it’s so thin.
I don’t really mind it as I think it goes along with the look a bit.
I sealed it with a coat of high-performance top coat. (same as the table)
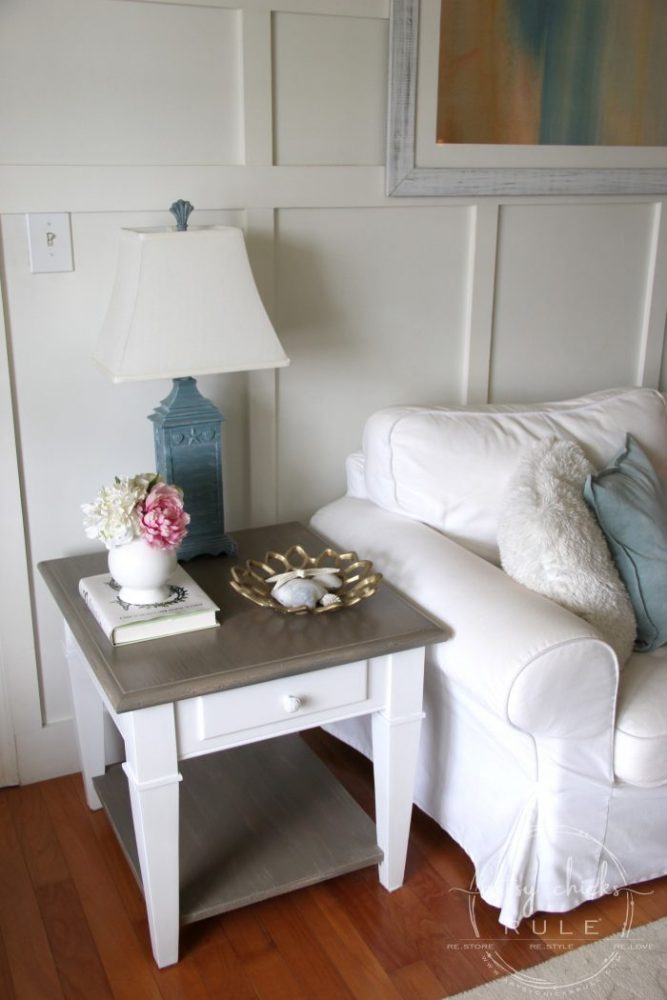
See how orange my floors are? When I was talking about installing things in varying stages, this is one of them.
We picked out this floor to “match” the existing hardwood on the other side of the house. That was before we decided to refinish it and it was a bit orange-y from age. So once we finally did decide to refinish, this no longer matched!! lol BUT it’s beginning to match again since the refinished floor is again turning a bit orange-y with continued age.
I don’t love the color of these (or having more than 3 types of flooring in connected, open rooms)…. so all matching new floors of some sort are still in the plans.
I just have no idea what IS going in yet. ;)
Okay, back to Chalk Paint makeover…
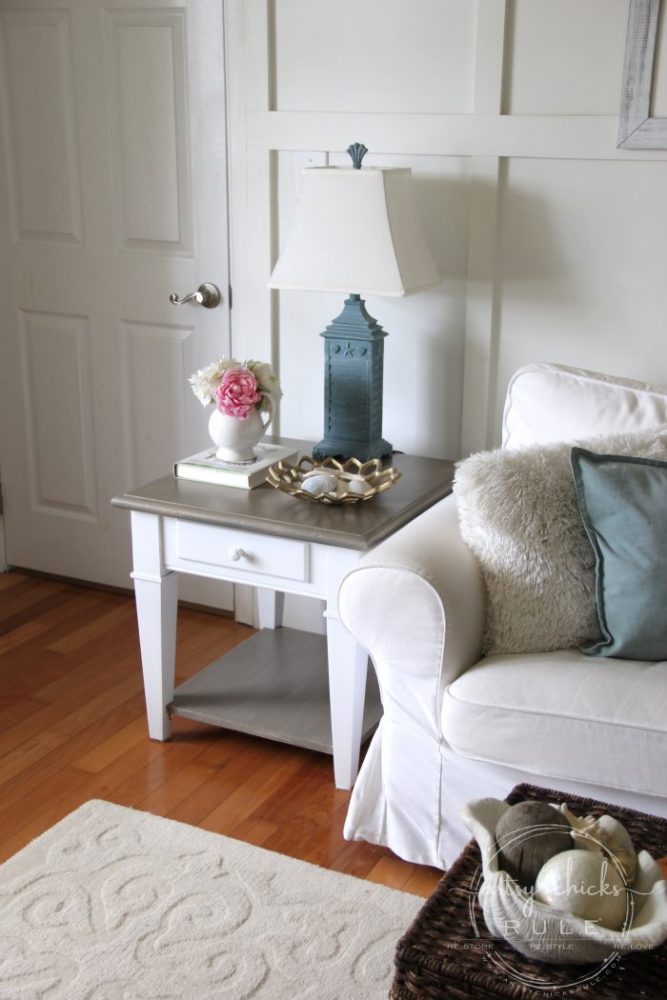
I really love how it looks in here. Too bad it’s too big…and I only have one.
I might be on the lookout now for 2 just like it, only more narrow so they’ll fit on either side.
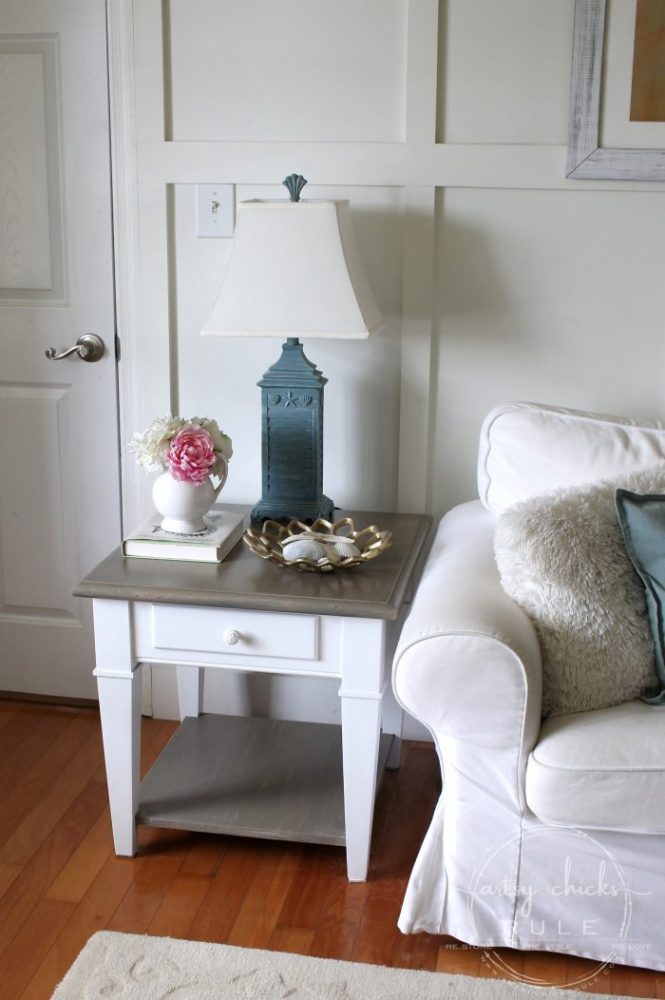
Hard to believe it’s the same table! Even for me!
What a difference.
But I just love a transformation like this. My favorite kind. (the crazier, the better!)
Want to see even more trash to treasure makeovers?
To see even more “trash to treasure” makeovers, click here.
Have a great week friends! I’ll be back sharing what I did to this (I added feet, new hardware, and a snazzy new paint job!!)
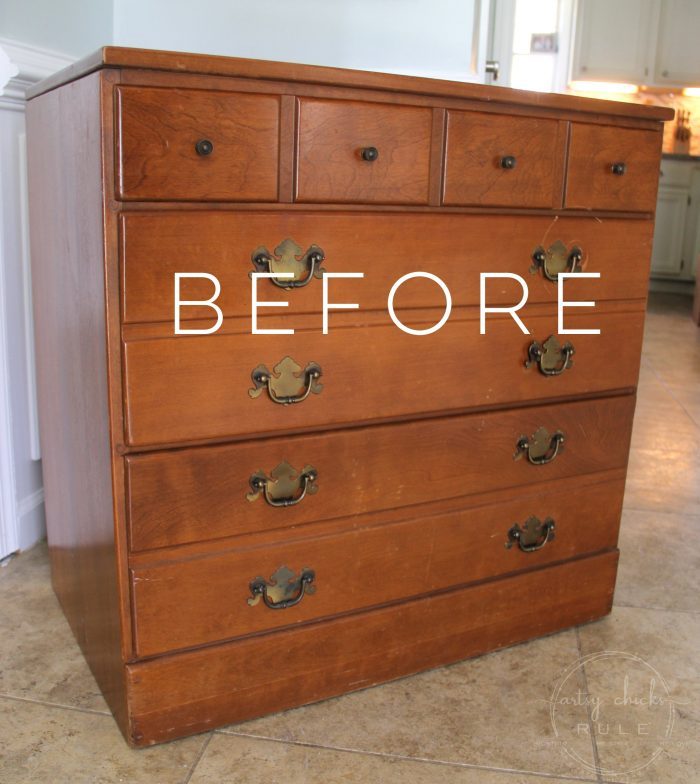
UPDATE! You can see it now, here!
See you then!
xo

You might like these similar projects:
See them now, here.
See them now, here.





Nancy, the table looks magnificent! Truly an inspired makeover. Love the top and the lined drawer. Go you!!
Thanks so much Christina! It was fun playing with paint and paper on this one! :) xoxo
Girl, you took an awfully funky table and made it shine. Bravo!!
Thanks Larissa! :) It was funky!! lol
hey girl- love the makeover! so cool!
Hey Shawnna!! Thanks so much! :) xo
LOVE how this turned out!! I never would have imagined it could look so good in its before state haha! It looks so good next to your sofa! XOXO
Love the makeover. If the table is rectangular, can you turn the table sideways? Would it fit better that way?
Thanks Sandra! :) Yep, it is slightly rectangular but it’s already the long way along the couch. :/ That space is just so small since there is a doorway on either side. It makes it hard to find end tables to fit. One reason we made the others we have there currently. I would love to have something like this though. Will have to keep an eye out! :)
Beautiful finish, Nancy! I was wondering where the tile-top tables went . . . too bad this one doesn’t fit (and there’s only one). I bet you find a pair so you can recreate the look. Thanks for the idea, I definitely want to try this technique.
Thanks Marcie! :) Yep, I still have those but would love to have something a little bit more “weighty” like these. I’ll have to keep an eye out for them. Some just like these, but skinnier would be perfect but have been elusive to me on a quick search so far! xo
Just came over from Christy’s blog and I love the transformation of your table! Great job!
Hi MaryJean! :) Thanks for hopping over to visit! And thank you so much! xoxo
Wow, this really doesn’t seem like the same table at all! Beautiful job, Nancy!
Thanks Jen!! I know, it really doesn’t!! :)
“I did that to it”… I giggled quite a bit at that. ;-) Love the technique and colors you used on the top and shelf. Looks quite coastal! Also, when I saw Christy use the cutting set, I went an purchased it immediately, as well! LOOOOOVE! Hehe.
Haha, yes!! I did!! I don’t know what I was thinking. ;) Thanks Julie and isn’t that cutting mat/cutter awesome?! xo
What a difference you made to this table! Love the new look, Nancy.
Thanks Marie! Wish I could keep it!!
Hi Nancy,
I love how you did that table it looks awesome now. I am a faithful follower of your partner in crime Christy. Love the videos, you two are a hoot. Also follow Larissa. Just looked on your back yard makeover. It turned out so amazing and I know I speak for a lot of people thank you for sharing as it gives us confidence that we could do it too. Been spending time going through your stuff on back issues and hoarding makeovers as I do stuff to redo lol. Will for sure be following along with you too!
Hi Bonnie! :) Thank you! And yes, we do have fun! :) I’m so glad you liked the backyard makeover. It was a long time coming (and sharing it!). The whole house has been a labor of love in the makeovers and renovations we’ve done (and are still doing ;) ). We’ll be done someday! Soon, I hope. And yes, I have hoarded quite a few myself! lol I need to pull them out of storage and get busy on them. Thanks for following along! xoxo
The end table looks great! If the piece is not already painted and stained black or a dark color, should a dark color be applied first before the Coco dry brushing? Suggestions?
Thanks so much Lynn! :) Yes, I usually like to start with a darker finish and go lighter from there. It can be black, brown or even a weathered dark gray color. Here’s a post showing how I applied just a bit of gray/black to start. The idea is to layer…and go from darker to lighter. I’m planning to do a video tutorial on this, so keep an eye out for it! It’s so much easier to actually show how than trying to describe in photos/words. :) xo
Table looks great!! This is exactly the color & method I was looking for. Can you tell me, what brand the coco paint is?
Thank you, Monica! It’s by Annie Sloan. :)
Do you think this method would work on kitchen cabinets?! I’m in need of a cabinet transformation & love the weathered wood look of the end table!
Yes, absolutely! :)