French Country Clock Face Table (free printable to make your own!)
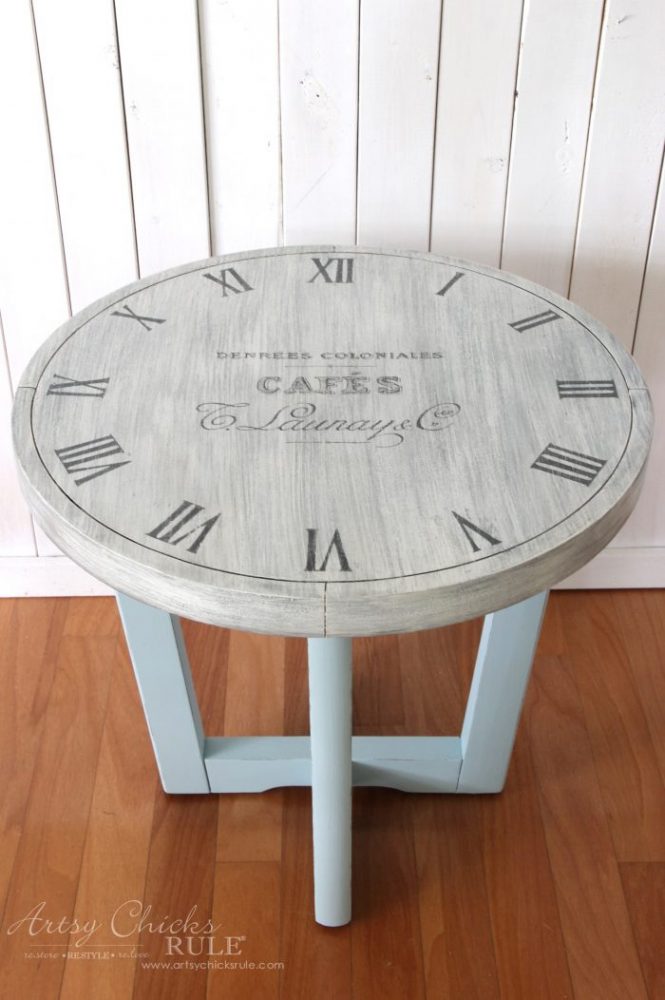
Step outside of the box on your next furniture makeover! Like this French country clock face table.
Hello Friends!
I thought I’d share something a little different today. Different as in, it’s design is not coastal. ;)
Nope, but it could be.
Maybe a bit French Country Coastal Cottage-y? Well, that’s a stretch. haha
It’s actually what I would just call, simply, French Country…..and it’s a clock face table makeover, by the way.
It may not be the typical “French Country” but it’s what I see when I look at it.
French country clock face table….
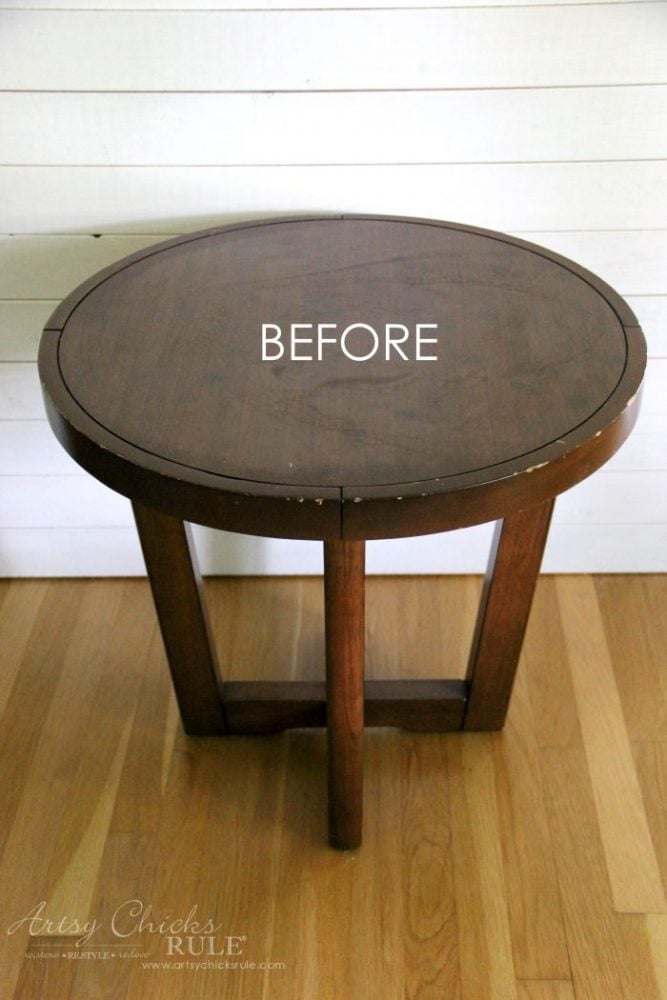
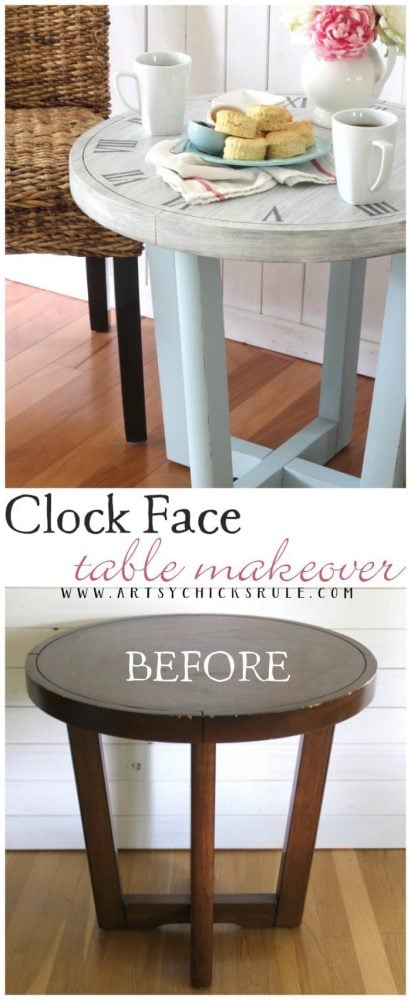
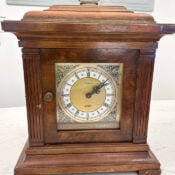
Here is what it looked like when I found it at the ReStore…..(paid $10 for it)

Not so much to look at, huh?
But I loved the round shape of it and immediately thought a clock face would look pretty cool there.
My original plan was to sand the entire wood top down and stain it with an antique walnut and then give it a heavy whitewash.
But as things sometimes go…..
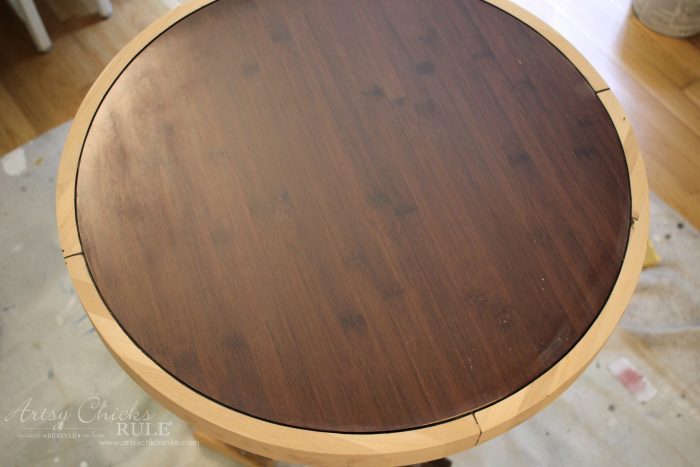
Yep….nope.
I quickly found out that the center circular piece you see there was not real wood. :(
Bummer.
So I brought it in and re-stained the sides to match.
I probably didn’t need to do that but for what I was thinking I would do, it would need to match.
In the end, it didn’t really matter. You’ll see below.
I instead gave it a layered paint effect to create the look of whitewashed, weathered old wood.
Similar to these print frames I did the same to.
I’ll include affiliate links to the products I used when I can below.
Here are the paints I used for the top: (all Annie Sloan Chalk Paint)
- Graphite
- Brown (here’s how you make dark brown color mixing Chalk Paint)
- Coco
- French Linen
- White
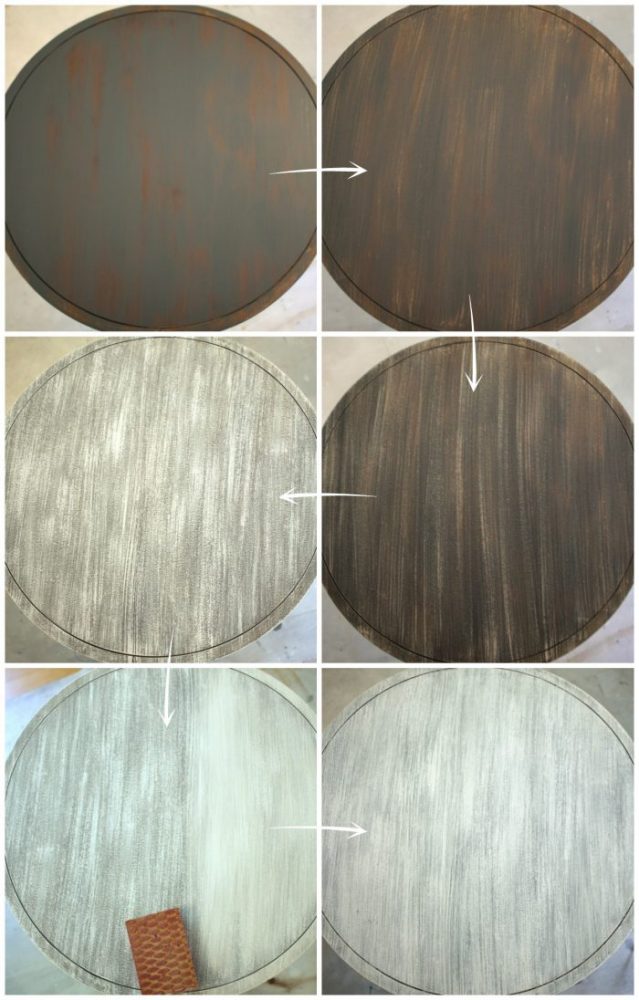
You can see from the graphic above that I literally just layered the paints lightly. (drying in between)
There really is no right or wrong way to do this.
Just layer them as you go.
I added a lot of white at the end because I wanted it quite light.
You can add more or less to get the look you are after.
As you can see above, once I had finished the layering of paints, I used a sanding block to blend and soften the edges of all of it.
Then I applied one coat of poly sealer.
Next I created these Roman numerals in Picmonkey…..
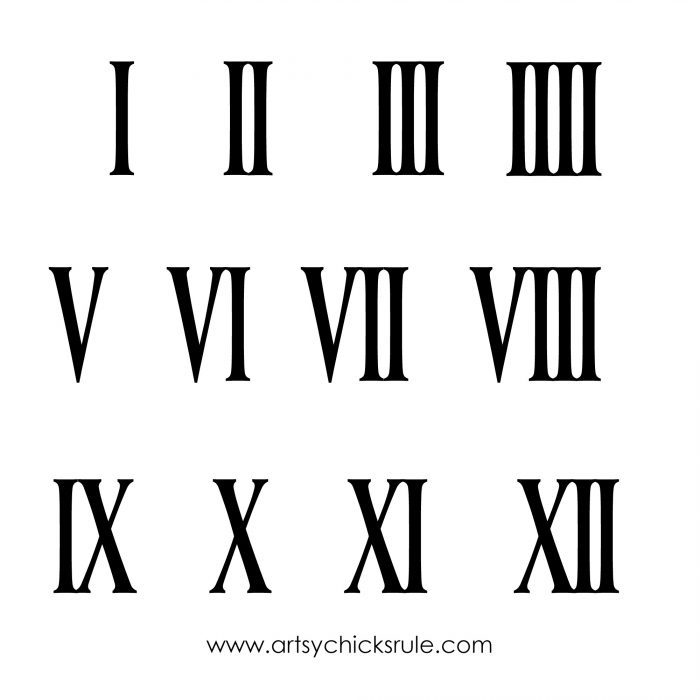
You can download these for free here…
I then used my Silhouette Cameo to cut them out.
I love using the Silhouette this way as it makes transferring graphics so much easier.
Want to see how easy it is to use your own designs inside of Silhouette? Click here >>> How To Import Your Own Designs Into Silhouette Cameo.
Or you can also use any of these transfer methods to do it if you don’t have a Silhouette machine.
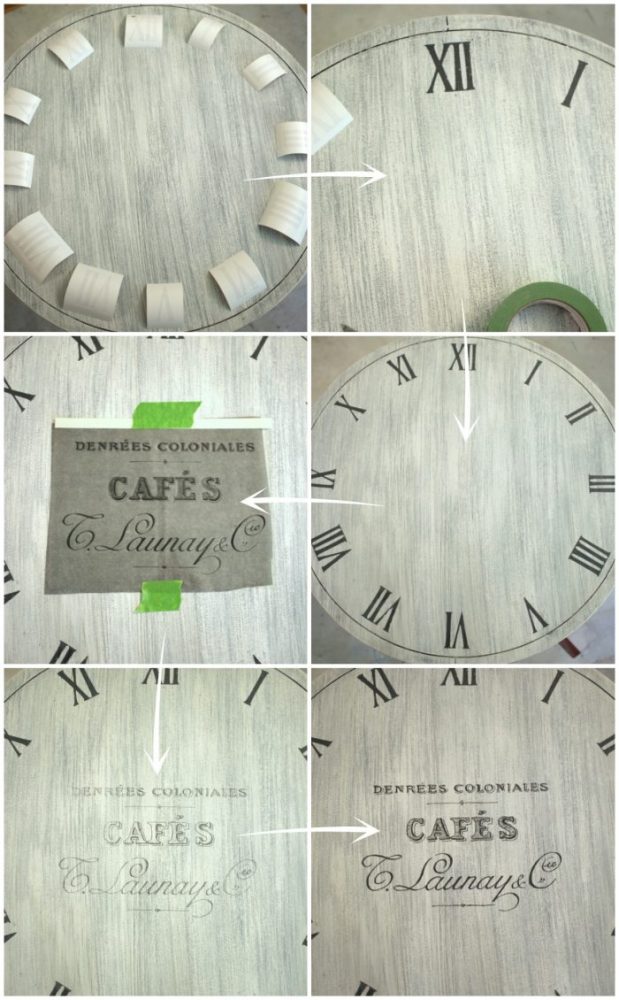
I printed/cut them out and then cut out each Roman numeral to be used as a stencil.
I went around the entire circle attaching the vinyl adhesive ‘stencil’ I created for the numerals.
Then I used this graphic for the center.
I transferred the image using this transfer paper. (by the way, that’s a transparency I had of the French graphic that I used to trace over the transfer paper)
You can see all of my favorite transfer methods in this post, here.
I hand painted the French graphic in using the Graphite Chalk Paint, the same as the Roman numerals, with a script liner brush.
I then gave the entire top a very light sanding to distress and soften all the edges.
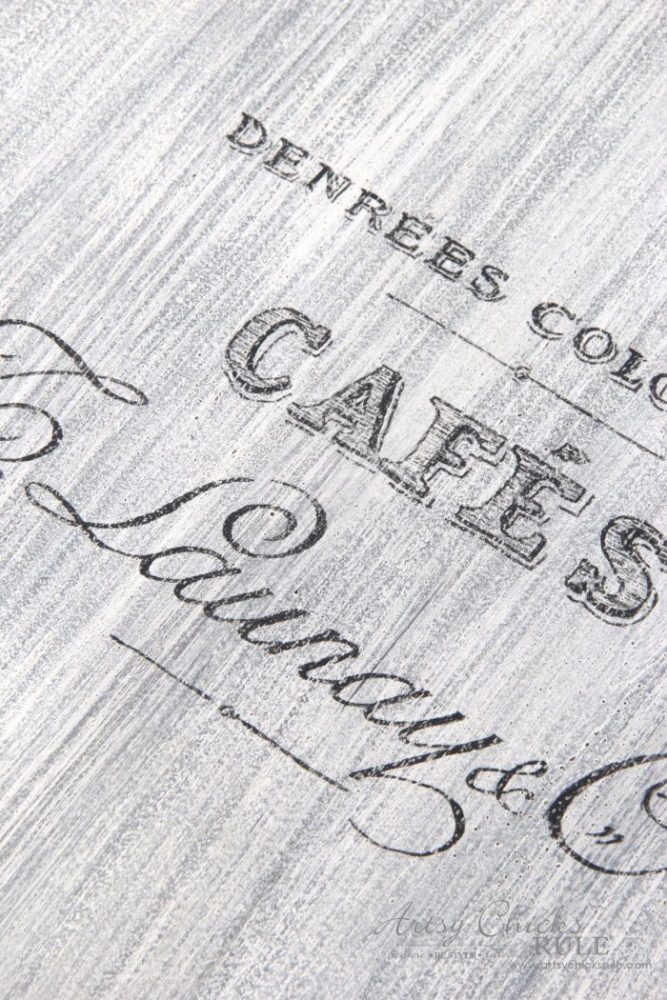
I applied one more coat of poly to seal and protect the additional paint and graphics.
Want to know about 26 other chalk style paints?
I’ve got the low down for you right here! >>> 26 Types of Chalk Style Paint For Furniture
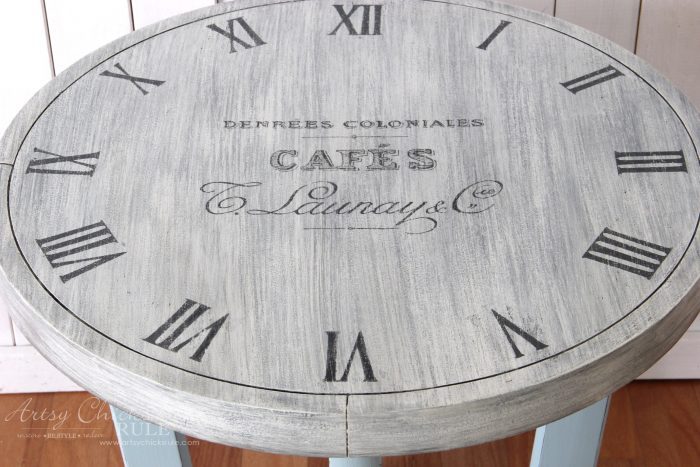
What a difference, right?
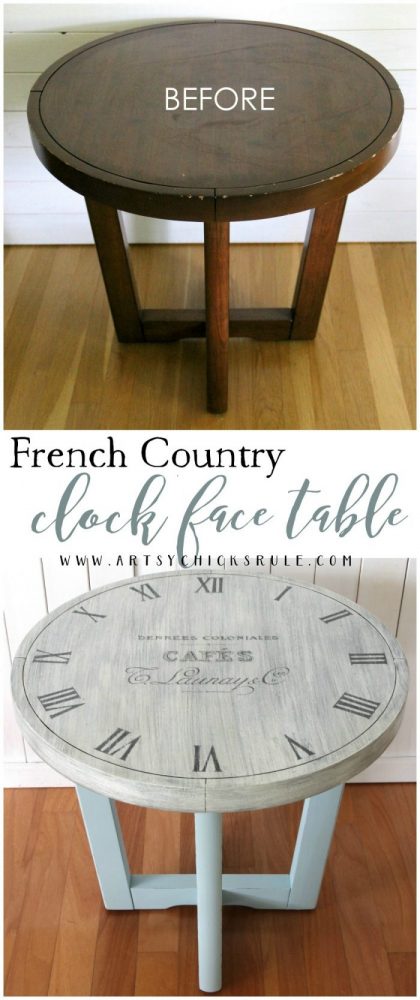
The base is painted with one of Amy Howard’s paints, Nottoway.
It’s a really pretty, soft blue that I also used on this table.
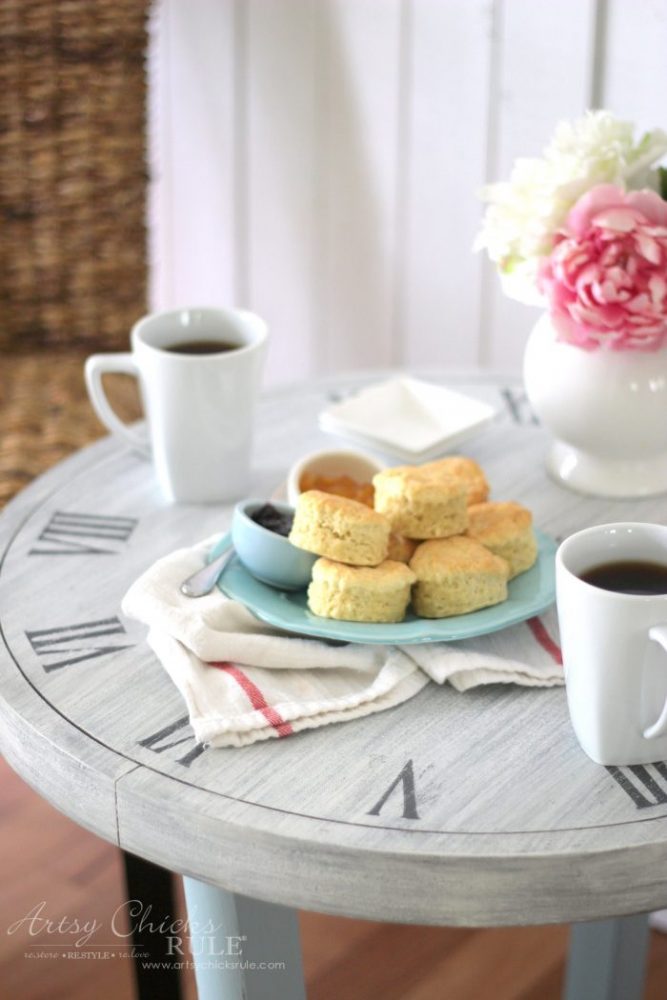
I also distressed the base just slightly and gave it a coat of poly for added protection.
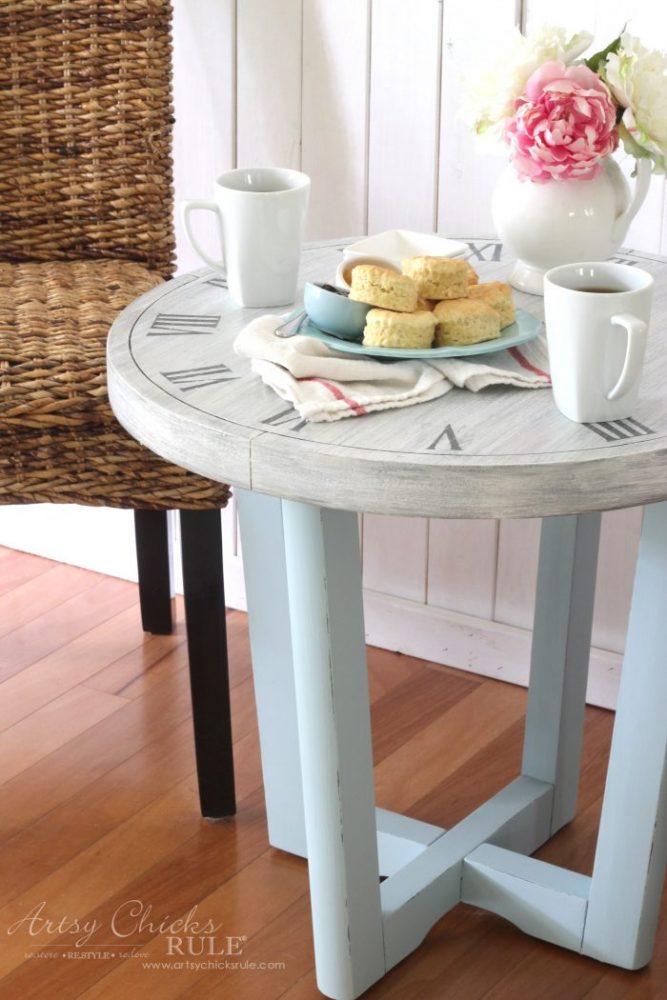
And I actually just threw these little biscuits together on the fly this morning so I could create this shot. ;)
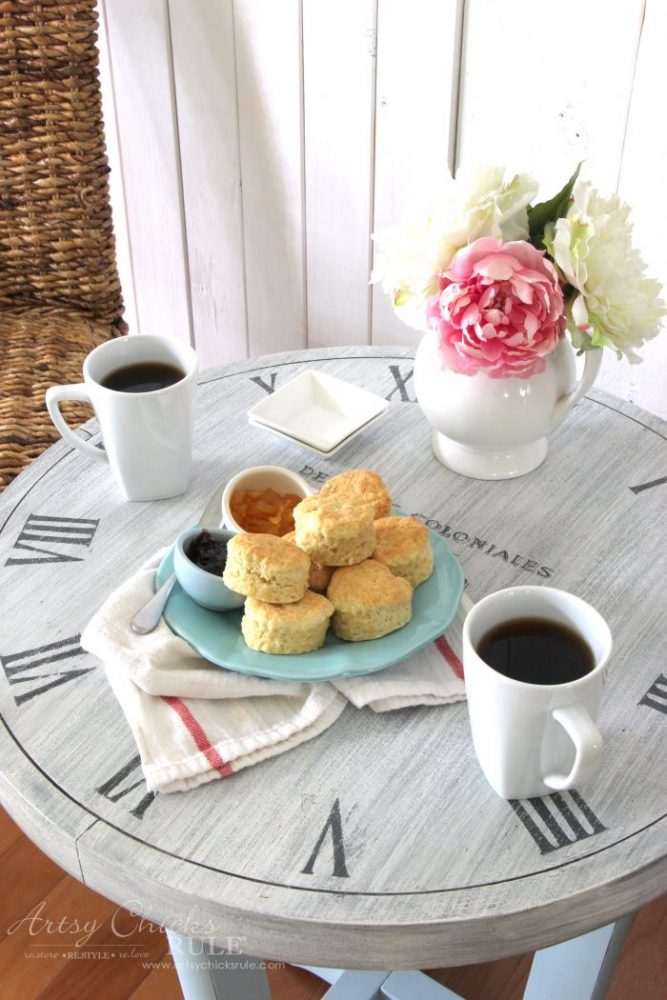
They were really good! I might have to share them over on my food blog, Foodie Chicks Rule for y’all. ;)
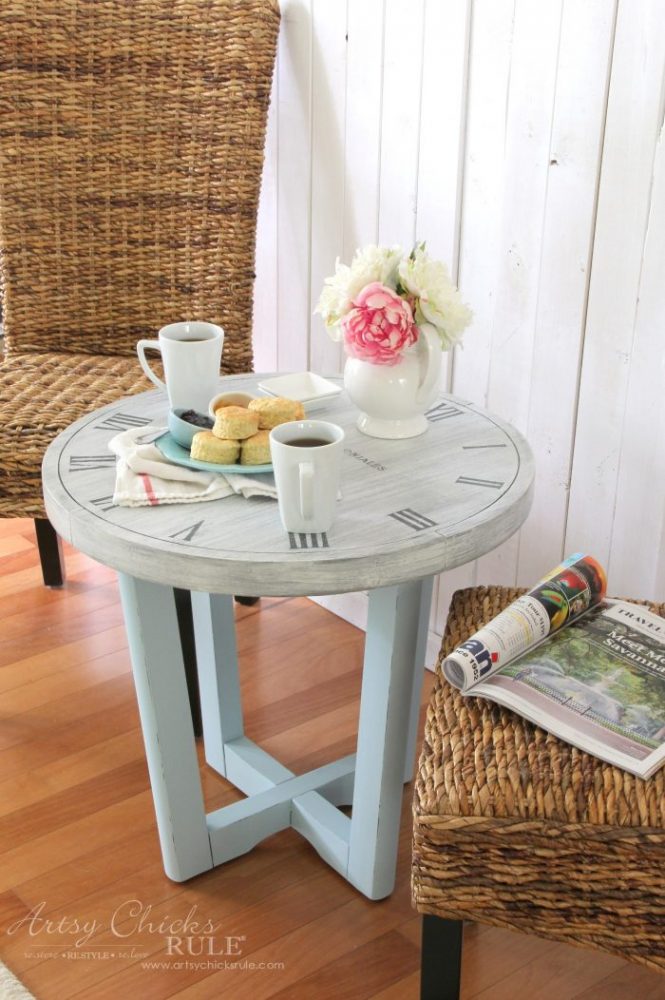
I may ….or may not …. have eaten one, or 5, of these as I was snapping photos!! haha
Hey, they are tiny little things so 5 is not a lot, right?! ;)
I know, it’s hard to focus on the cute little table when I’ve got fresh baked biscuits and jam staring you in the face.
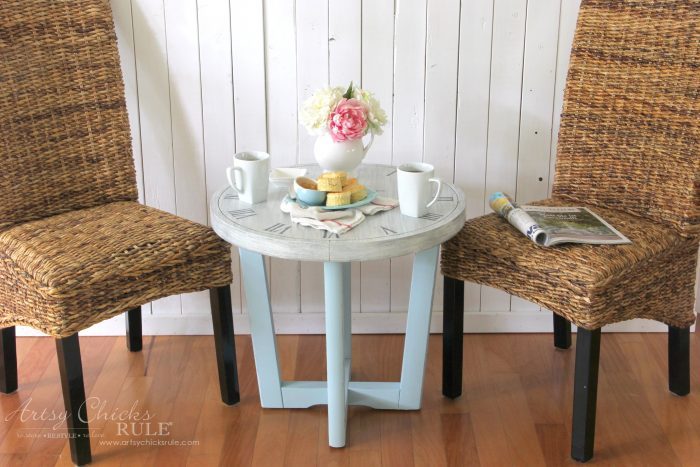
This was a fun project.
I enjoyed coming up with something a little different for this one. :)
And who knew we were getting biscuits today! I sure didn’t when I started out this morning.
PIN this French Country Clock Face Table for later to save it!
Want to see even more “before & after” furniture makeovers?? Click here.
Don’t miss the latest furniture makeover!
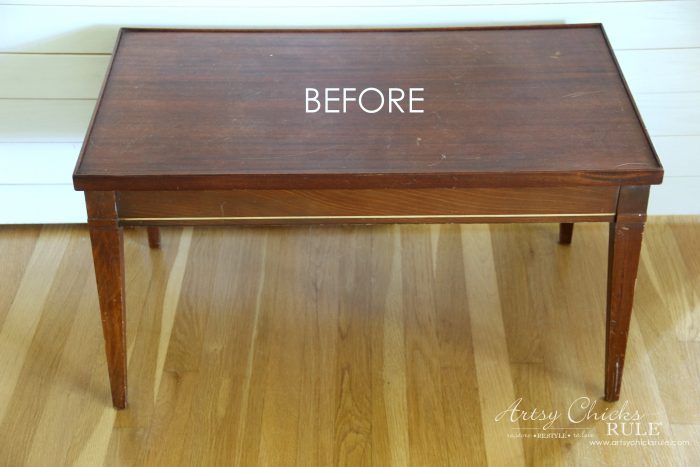
UPDATE!! See it now, here!
xo




Absolutely lovely. Very well done!
Thank you Elizabeth! :)
Oh wow!! LOVE this makover!! You turned a sad little table into a complete charmer! Love the colors and the distressed top with the clock face. GREAT JOB!!!
Hey Christina!! Thank you! It was fun to step out and do a little something different this time! :) xoxo
Beautiful job and great tute. Thanks for sharing your vision. Lovely job.
Thank you MJ! :) It was a fun project. xo
Thanks for sharing. It’s lovely!
Thanks so much!! :)
You could go one step further and buy clock workings with hands at a craft store and put a sheet of glass over the table with some risers to make room for the clock parts. But even if you don’t do this, it is so beautiful. You did an outstanding job. I would love to tr this one myself.
Oh that’s a neat idea! I had considered just drawing the hands on at a set time but ended up just leaving it as is. Thank you Kathy! xoxo
Do you have a video of how you use a script liner to fill in the letters? Yours always look so perfect. I can’t seem to get mine to look good at all. Always looks like an art piece in a preschool when I’m done with mine.
Thank you Tera! I don’t but I’m thinking I should do that. The key is to use thinned paint. I usually have a small dish of water that I will wet the brush with, then dip it into the paint and roll the brush around on a paper plate. Somewhat, as you don’t want the brush too dry either. A light hand, and sometimes going over a section a couple times. I can see how that’s best “shown” than described though. Might have to work on a video to share. :)
Love this with the clock! It is the perfect size for it. Also love the staging! XOXO
Thanks Christy! I was fighting the lighting on this one bad!! Haha!! Thank goodness for camera settings that lie! ;) xo
Nancy, you’ve done it again! What a transformation! Great job?? You inspire us with your creativity and the down-to-earth projects that inspire us. It’s amazing that you create beautiful, affordable makeovers that don’t end up costing hundreds for supplies. Thank you for sharing your talent & passion with us.
Aw thanks so much for the sweet message Kathi! I love creating budget friendly home decor and sharing with others how they can do it too. xoxo
Love the piece and love your guide and pic procession. What kind of brush are you using for the layers and for the stencil?
Disregard I see it now, Had to look on a PC the adds were messing up the view on phone. :-)
Thanks, no worries! :)
This is adorable!!! Probably on my top 5 list of your items! Question for you… to achieve that look, did it really seem necessary to use the brown paint, or could you have just used two colors and layer them? In the pics, I can only really see the two colors. But, I’m thinking for ‘depth’ you may need to use the five colors?
And, yes, the recipe please… those are beautiful for just ‘whipping’ them up! ;-)
Aww thanks Julie! I am pretty thrilled with how that one turned out! :) Yes, I think it has more to do with layers and depth. It’s subtle though. And yep, I also think you could get away with using less colors too. Okie dokie, I’ll post the recipe over on the Food blog, hopefully soon! ;) Trying to get more going and get a regular schedule of at least one new recipe a week over there! xoxo
Amazing! Amazing! Amazing! Are the wicker chairs from pottery barn?
Thank you! No, I actually found them at TJ Maxx a couple years ago! :)
I’m sorry to upset you, but your Roman digits V, VI, VII etc are upside-down. beautiful work thought!
Oh, that doesn’t upset me! I probably should’ve done it the other way but I guess it just really depends on how you look at it! And thank you! :)