Thrifty Coastal Wall Decor (easy and cheap!!)
It’s so much fun (and so easy!) to decorate your home with thrifty finds. Sometimes you have to look beyond what you see. With a little paint and some creativity, you can create a home that you love on a budget! These thrifty coastal wall decor prints ended up costing less than $3 each!
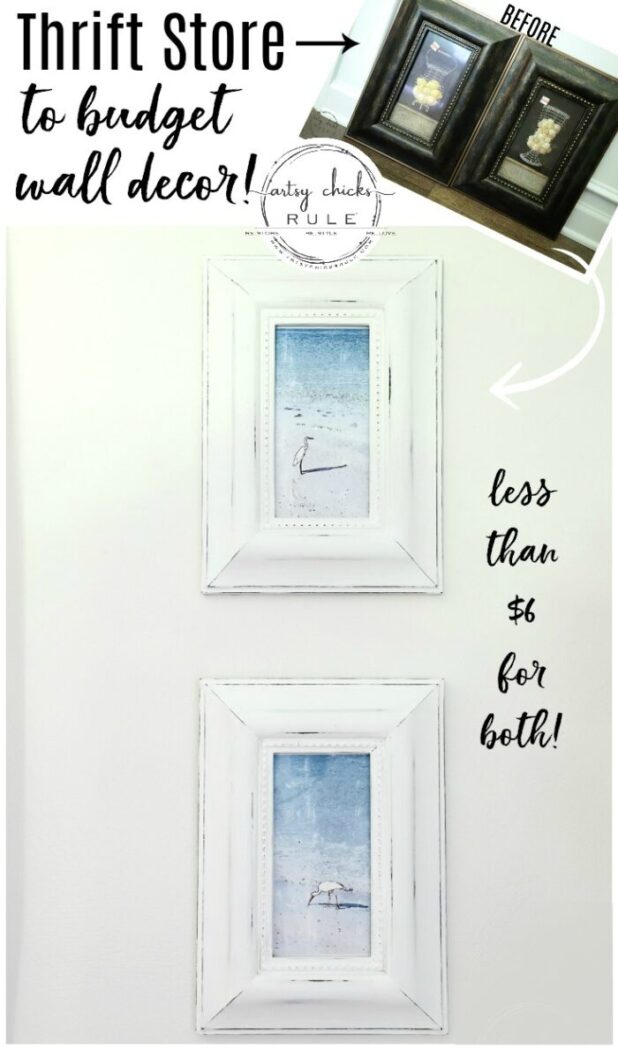
Isn’t that just crazy? Less than $6 for both.
As a matter of fact, I paid $5.25 for both, to be exact. And I didn’t spend a dime to make them over.
It’s Trash to Treasure Transformation day, friends! That means I get together with several other blogger friends and share our trashy treasures with you. (be sure to scroll all the way to the bottom to see theirs)
My find this month is this set of two prints I found at the thrift store recently.
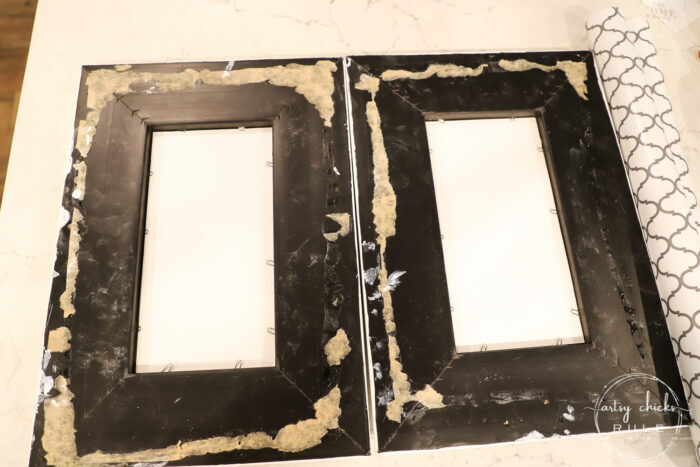
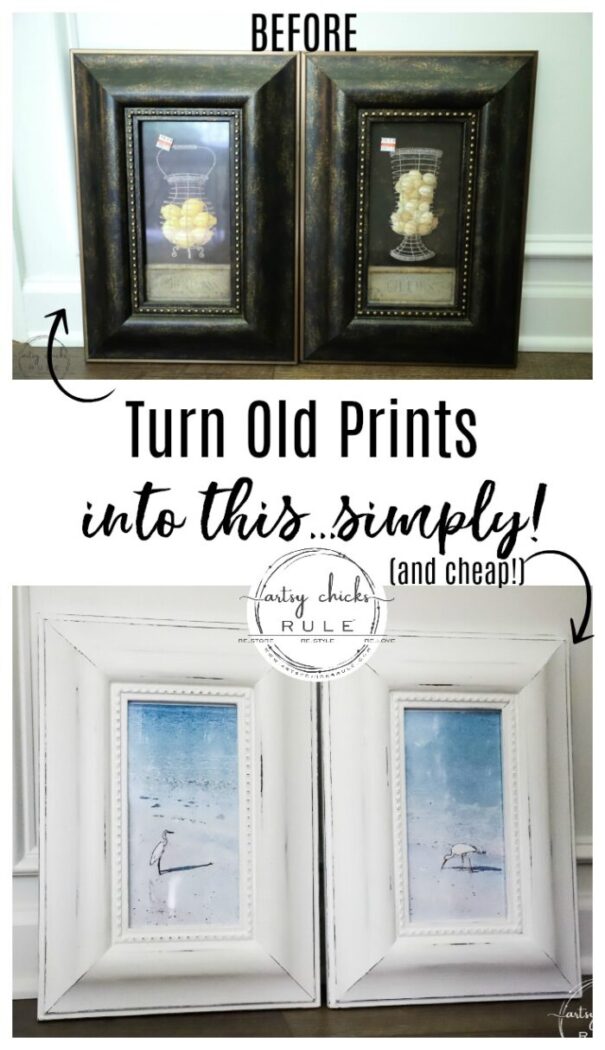
Here’s how they looked when I found them at the thrift store.
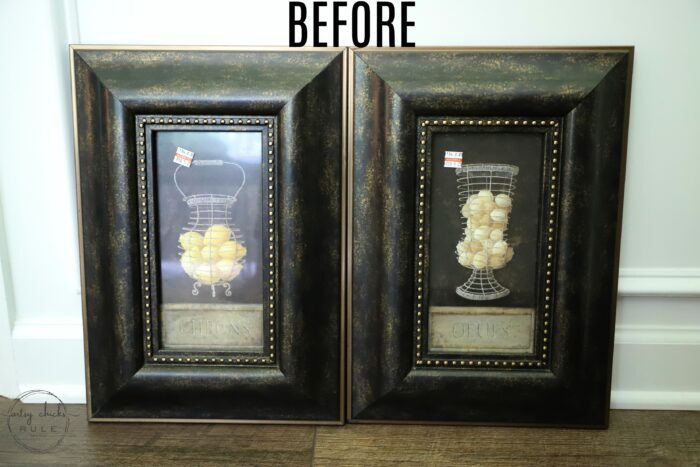
Kind of dark, aren’t they? But they are totally something I would have used in my decor some years back.
Which would’ve been an even greater find if I were still decorating in that theme.
But since I am not, it doesn’t mean these still were not a great find, because, for $5.25, you can’t beat it.
I loved the frames and the elongated style and knew they’d be great with a little paint and brand new prints.
I just needed to figure out what kind of prints to use. I had an idea of what I wanted, birds.
Coastal birds, to be exact. But I couldn’t really find what I was looking for.
Not only that, it would end up being pricy if I had to purchase prints.
So, I went through some old vacation photos and settled on 2 different photos I took while in Florida a few years ago.
You can see them and the rest of the photos from that trip, here >>> Anna Maria Island Florida Vacation
I also decided to give them a watercolor type look as well.
So as I did with these prints and photos I took for this project>>> Simple & Thrifty Coastal Wall Art Tutorial, I edited the original photos I took in a program on my phone (Samsung Note) called “Paper Artist” and then sent them over to my computer to print out.
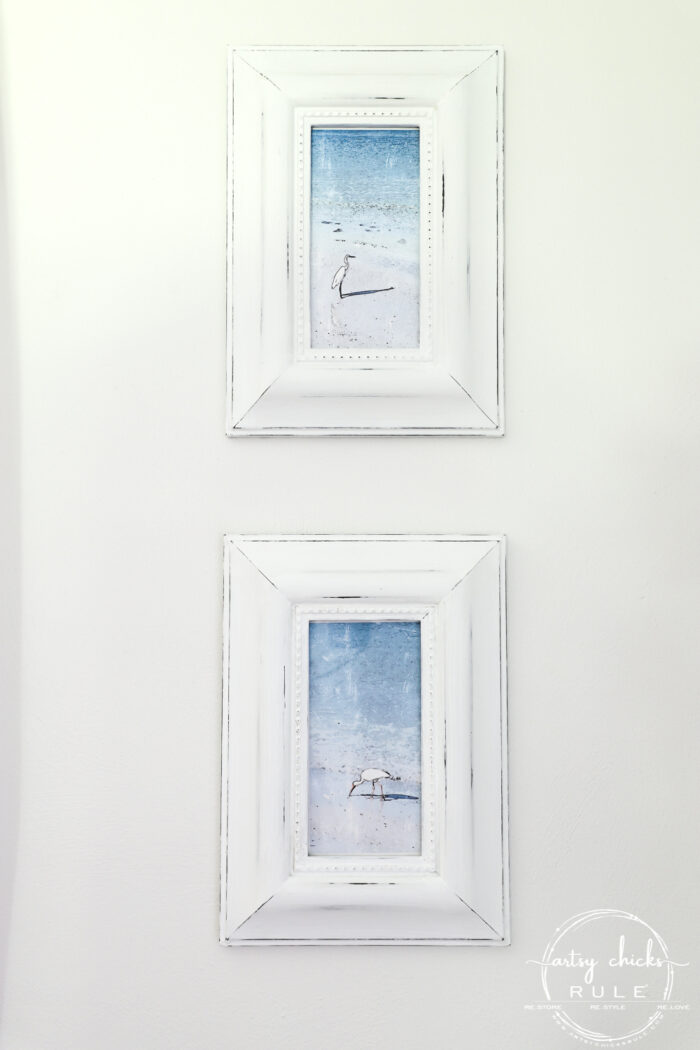
Here is what my “new” coastal wall decor ended up looking like.
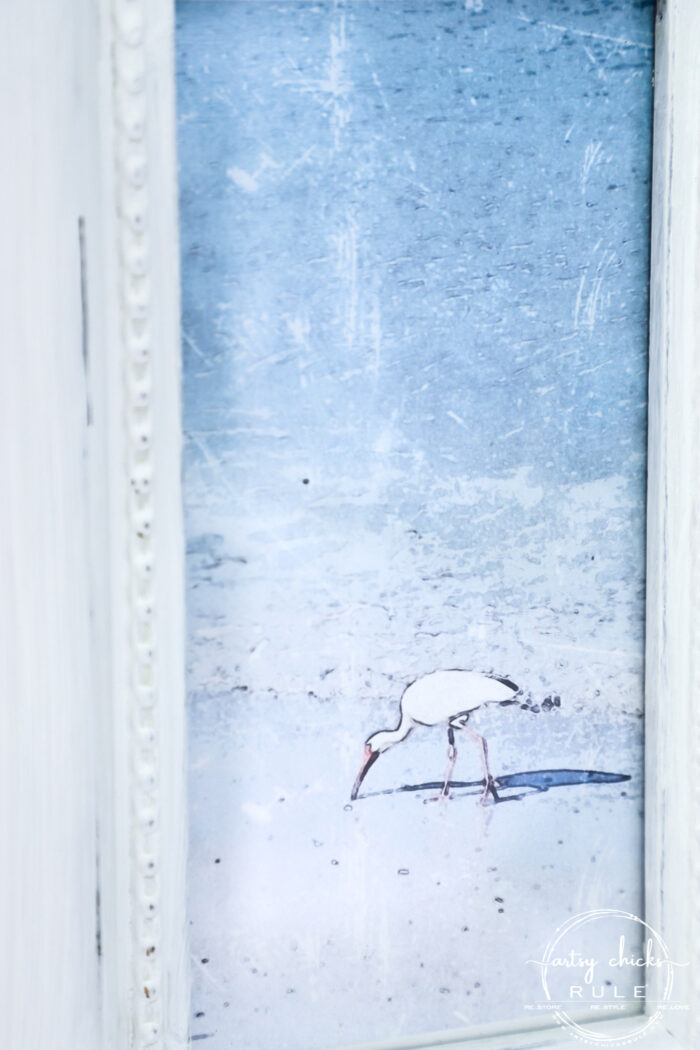
If you take a look at that Florida post I linked above, you can see how these looked originally.
I simply printed them out on matte paper. (>>>this one, since it was what I had handy)
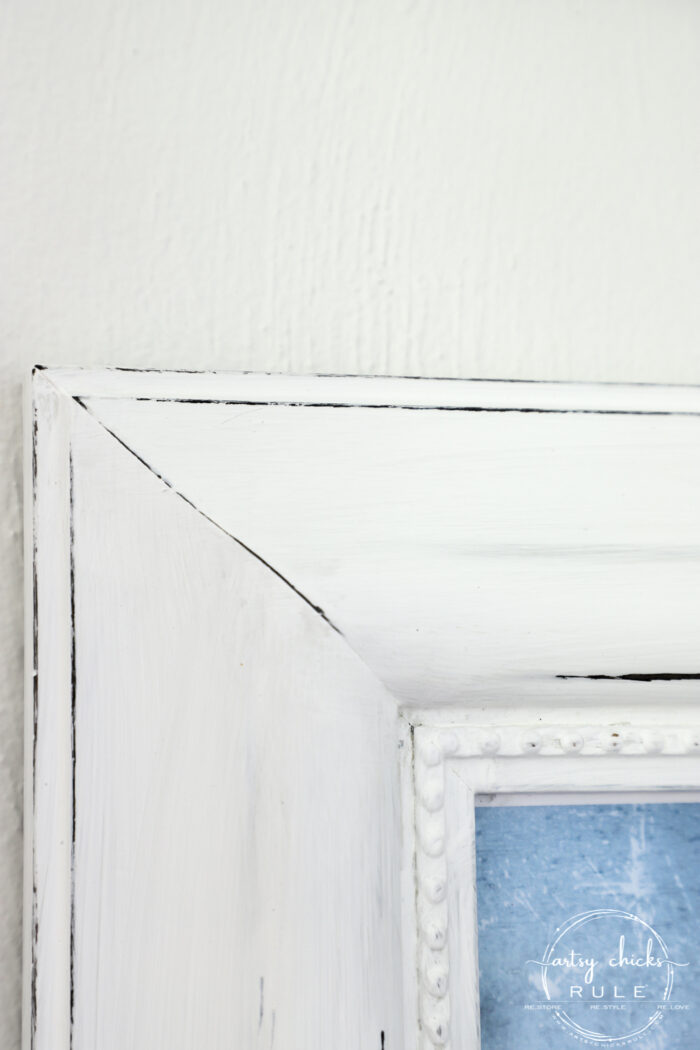
For the frames, I simply painted them white. What’s easier than that? ;)
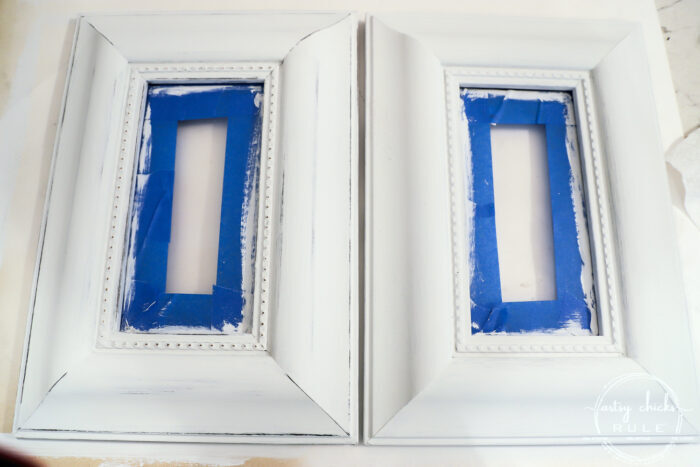
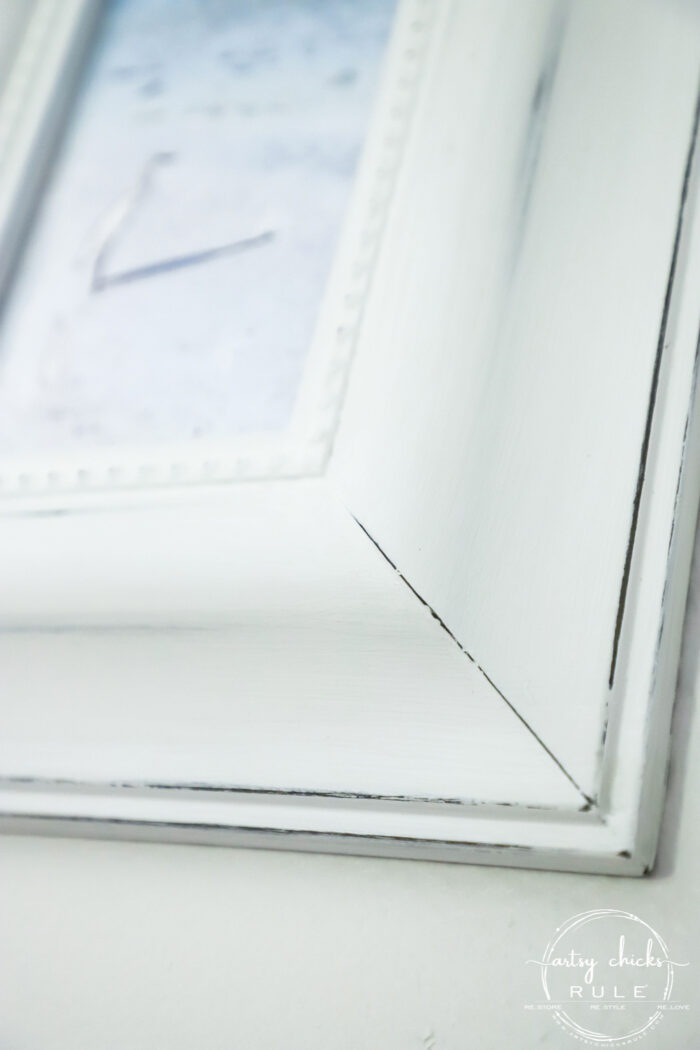
Then I lightly sanded to reveal some of the dark underneath. (the left is done, the right is not)
And to make things easier on me, I left the glass in and just taped around the edges.
I couldn’t get them out without taking all of the staples out and honestly, I didn’t want to have to restaple if I could just rebend them back over the prints, etc.
You can use any white paint, I used this one.
Want to see some of these projects in “live” time? Hop on over and follow along with me on INSTAGRAM. I’m always sharing in my stories as I’m doing projects, finding new furniture, fun finds….just all the day to day behind the scenes.
And done!
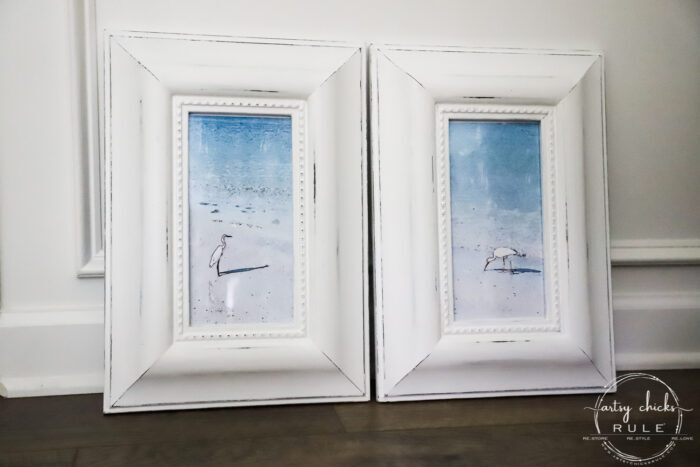
I mean, y’all, this could not have been any easier….or cheaper!
I have beautiful new art for my walls and it didn’t (hardly) cost a thing! Win!
Pretty new coastal wall decor.
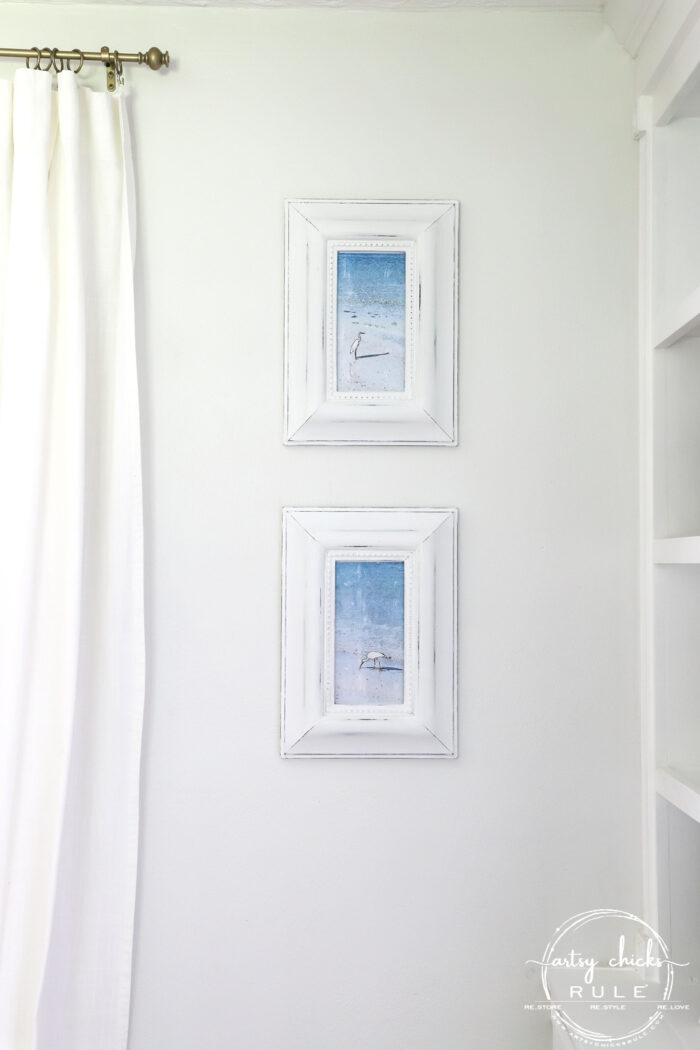
Up close….
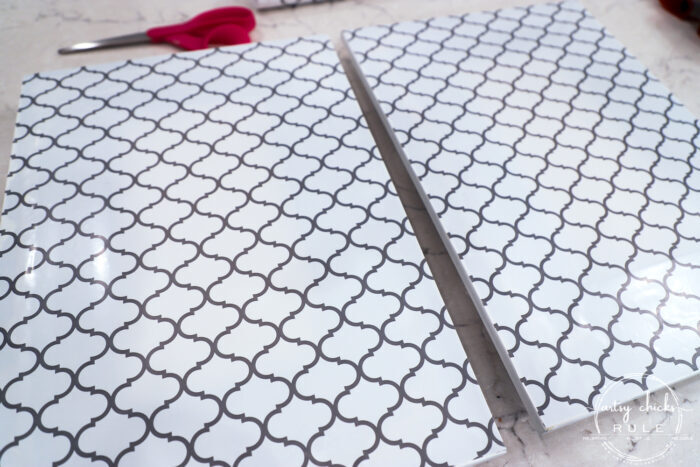
For the back side, I removed the paper backing when I had to get the old prints out and the new prints in…
So once they were in, I simply added a piece of contact paper over the back to make them look nice.
It doesn’t really matter as no one will see this side but it does create a nice finish.
(I popped out the metal sawtooth hanger and attached the contact paper and then reattached the hangers)
Also, the contact paper is technically removable so if you’d like it to be a little more permanent you can always hot glue, or regular glue it to the back instead.
I didn’t do that since they are hanging up on the wall and didn’t think it was really necessary.
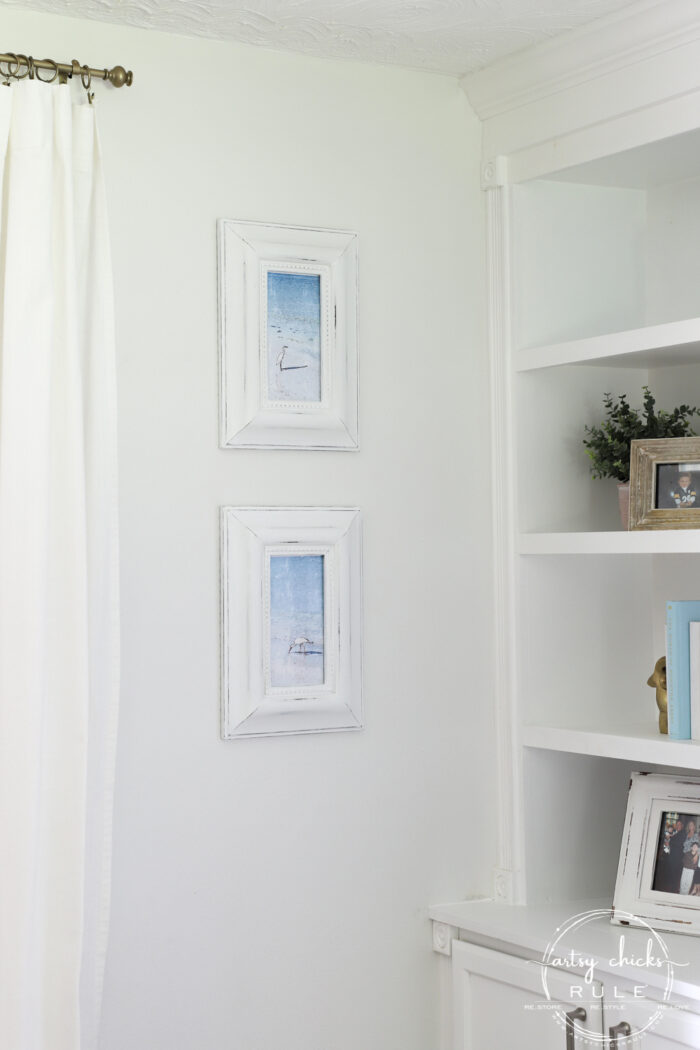
Isn’t it amazing what a little paint will do? And a new print too.
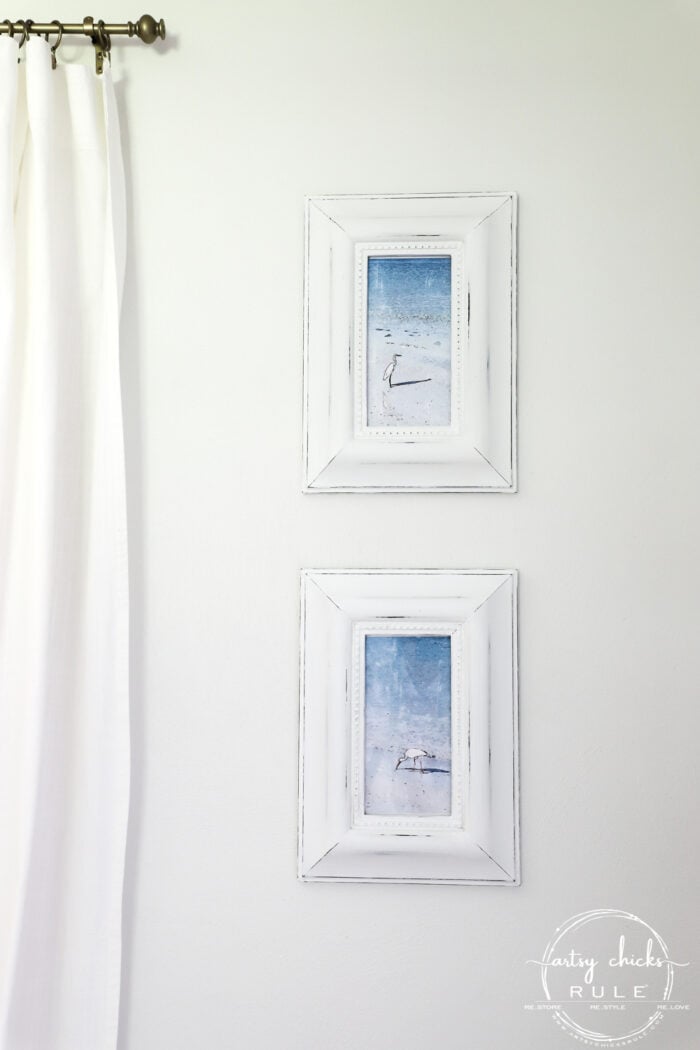
I adore the colors, the pretty aqua, and white.
Coastal wall decor the inexpensive way.
This is not only something you can do with thrift store finds, but it’s also something you can do with old decor in and around your home.
Tired of it? Change it up!
I’ve shared so many examples of that exact thing here on the blog. :)
It’s a super budget-friendly way to decorate your home or redecorate, I should say.
So why not?
PIN it to save it!
WAIT!! Don’t go just yet!
It’s time to see what my friends did with all of this:
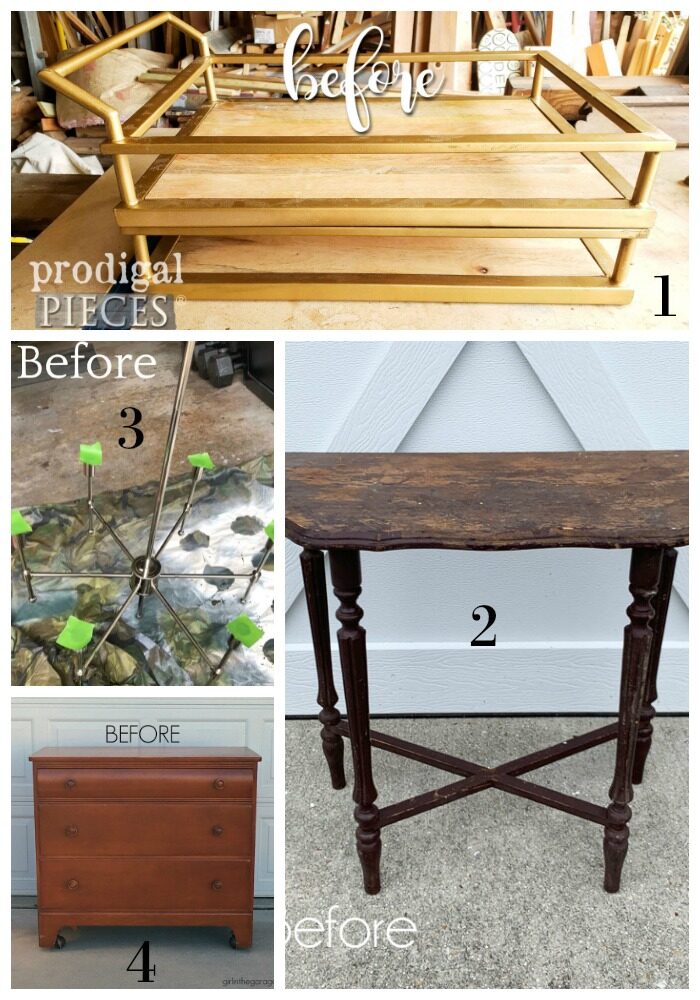
Want to see even more Trash to Treasure Transformations?? Check out all the ones from the series here >>> T2T Makeovers
I hope you enjoyed seeing all of the makeovers today. :) Remember, take a look around your home and see if there is anything you can freshen up for a new look.
Or, if you are out thrift shopping or garage sale shopping, be sure to look past what you see, and envision it instead of how it could look.
Check in later this week when I share what I did with this!
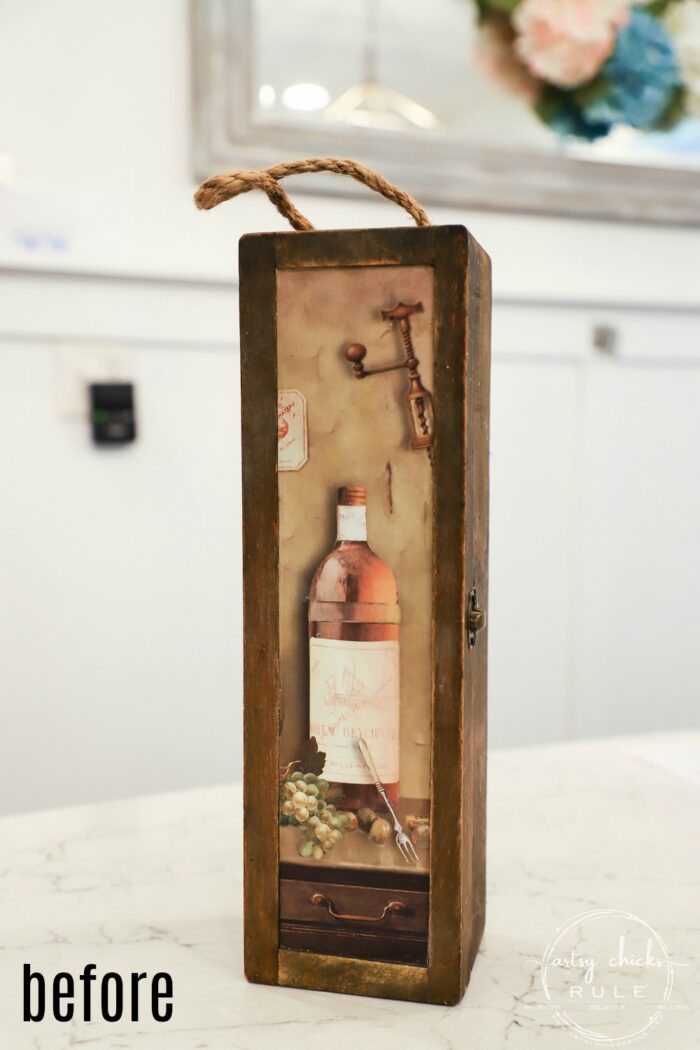
EDITED TO ADD! See it now, here!
Hope you have a wonderful week!
xoxo





You got me at birds…we love birds around here! Plus, your price tag was unbeatable. Great save, Nancy!
Oh yes! Me too! Thanks, Larissa! xoxo
Oh my, The pictures are great! I love how you changed them. The frames look smooth, so did you put anything on them before painting with milk paint? I want to try milk paint but thought it was for a chippy effect. Peace and joy!
Thanks, Cecilia! Nope, I just cleaned them up and then painted them. And I have to tell you, I do not understand why they call this paint “milk paint” because it’s an acrylic paint and not at all like milk paint. So no chippy effect here! No sealing needed either, which is nice. Happy week to you! xoxo
Winner! Love this makeover and you did a great job editing the bird photos! These are a breath of fresh air! Way to go Nancy!!
Have a great week!
Yay! Thanks, Christina! They were so fun to do. Now I’m wanting to pull more old photos out and make stuff. ;) xoxo
Love this!!! So pretty!!
Thank you, Lesley! :) xo
Super cute Nancy! Night and day makeover… doesn’t even look like the same frames and I LOVE the new print(s)!
Thanks, Denise! Love these fun little budget-friendly decor makeovers! xoxo
Oh my gosh, these look amazing!! I love that you used your own prints and now you have precious memories on display! XOXO
Thanks, Christy! And yes, I love that too! :) xoxo
The frames look great and the prints – genius! What a great idea to edit your own photos, Nancy. They look like fancy shmancy prints now!
Thanks so much, Marcie! So much fun creating pretty new decor out of old (cheap!) finds! Hope you have a great week! xoxo
Great makeover at an unbeatable price! But you left out the most important part; the fact that these are pictures you took of your vacation. Priceless!
Thank you, Melva! I agree! Can’t beat that at all. And oh yes, you are so very right there! The best part, for sure. :) xoxo
Love what you did. The prints are adorable :)
Thank you, Wendy! xoxo
So cute! You can make anything pretty!
Aw thank you so much, Lizzy! :) xoxo
Just beautiful!.I just found an app on my phone and picked a photo. Experimented with some various looks and finally settled on one. Thanks so much for the idea. Can’t wait to see my print when it comes.
Thank you, Rebecca! And oh, that’s so great!!! Have fun with that! I now want to do more with other photos. :) xoxo
Perfect, Nancy! I wanna see the photos BEFORE you transformed them… that always amazes me! ;-)
Thanks, Julie! :) They are here on the blog too! xo
i love this transformation and the way you edited your photos! they are so pretty!!
I think they are the perfect pictures for those frames and your coastal style!!
I wish I lived near the beach so I could try the same, but you’ve certainly given me inspiration for trying something similar here.
Thanks, Tracey! Oh yes, you can do just about any type or style of photo with this. Maybe a pretty, colorful garden or something? Lots of ideas! xoxo
Nancy, your upcycled frames look gorgeous with the new artwork! How cool that you transformed your vacation photos for them! xo Jen
Thanks Jen! :)
Anna Maria is indeed a magical! My husband’s sister has just moved there full time!!! My goal! Lol
Love the bird pictures! Great job!!!
Love your work!
Carrie
Oh yes, it really is! Oh, how nice is that? Lucky!! Thank you so much, Carrie! xoxo