DIY Antiqued Laundry Sign (perfect addition to any laundry!)
This DIY antiqued laundry sign is perfect for any home…and easy to make when using old thrifted signs the right size and shape!
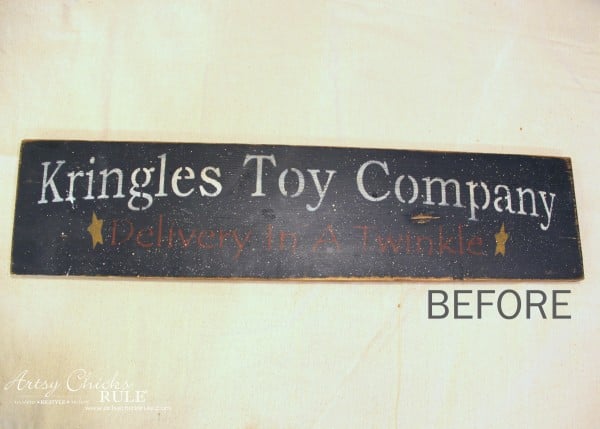
My decorating friends and I took the month of January off (of the decorating posts).
But we are back today with a new challenge!
SIGNS
Show how us how you use signs in your home.
How you decorate with them, etc.
Have you made any? We want to see those too!
I made a new laundry sign for my laundry room…..
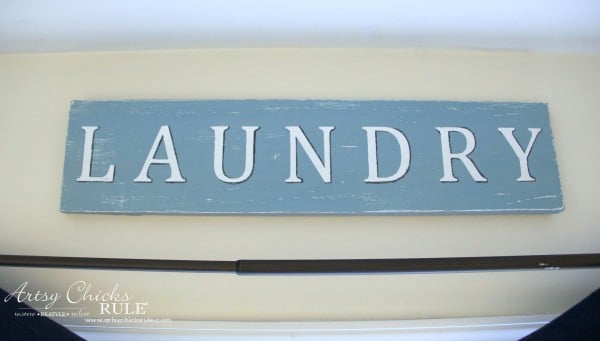
….this DIY Antiqued Laundry Sign.
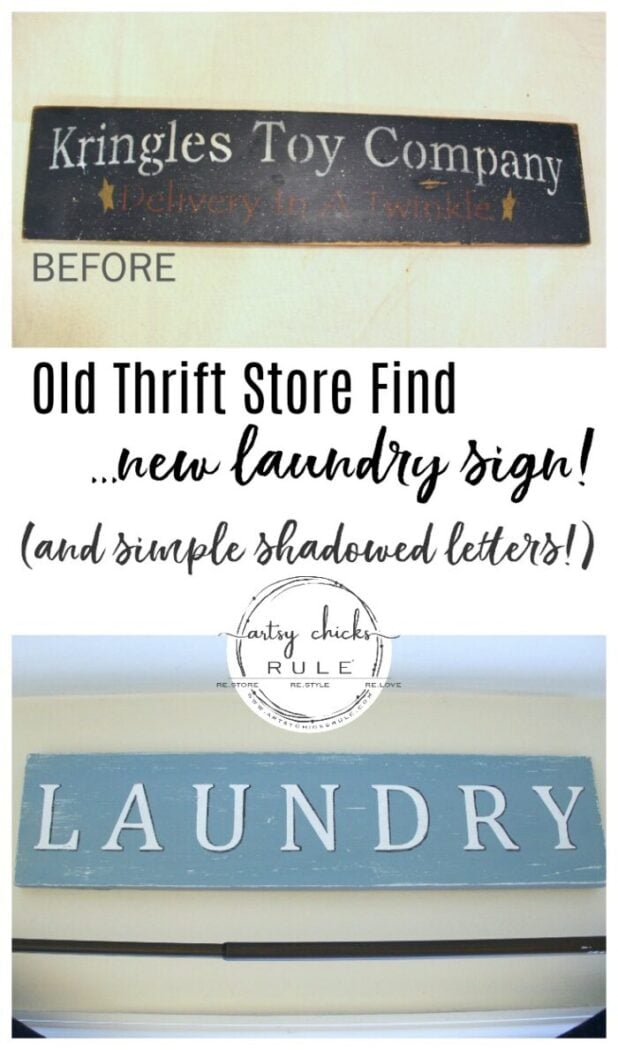
I love picking up old signs at the thrift store…..

They’re great because they are ready to go (hanger on the back and all).
Just in need of a little paint. Like most things!
DIY Antiqued Laundry Sign
So I did this sign very much the way I did the DIY Coordinates Sign (<<< click to see details) I recently completed.
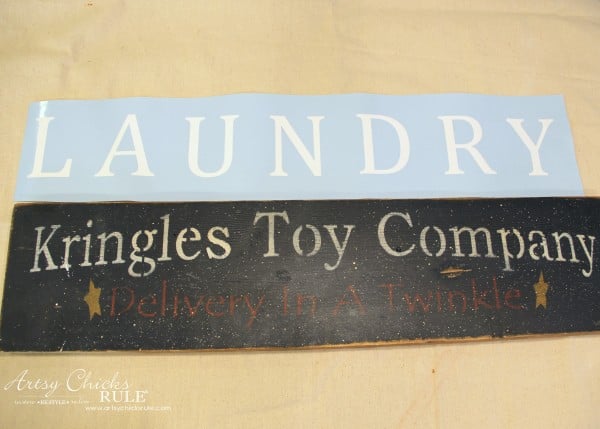
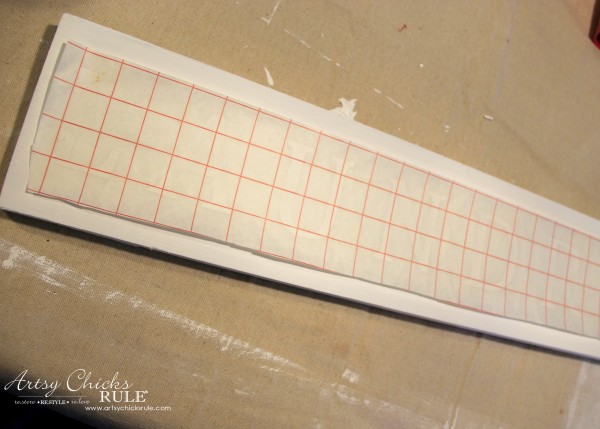
I created my graphic, then cut it out in my Silhouette.
Want to see how easy it is to use your own designs inside of Silhouette? Click here >>> How To Import Your Own Designs Into Silhouette Cameo.
Or you can also use any of these transfer methods to do it if you don’t have a Silhouette machine.
I painted the board white and applied the “laundry” letters.
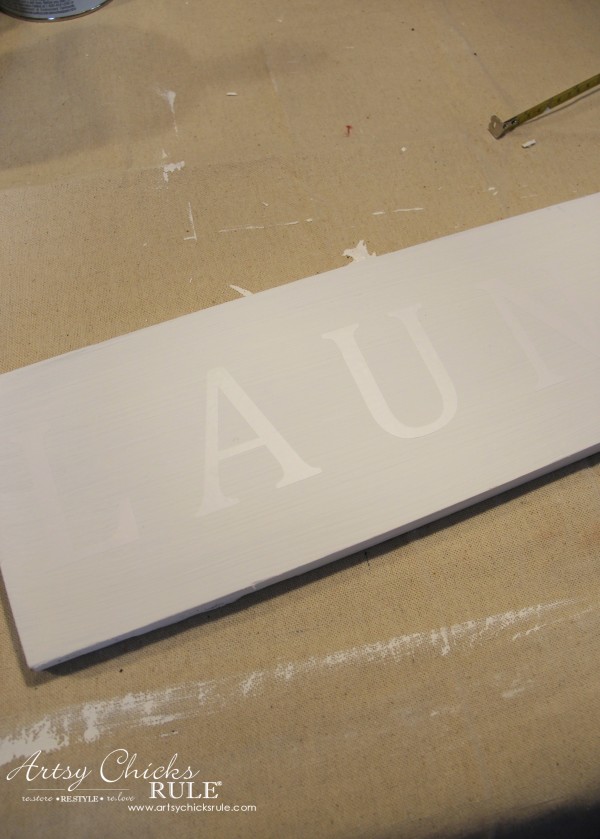
The letters are also white but hopefully you can see what I mean in the photo.
Next, I painted the board with a mix of Persian Blue and Halcyon Blue.
Then I peeled the lettering off. (again, for more details on this, see the DIY Coordinates Sign I linked above)
Want to see some of these projects in “live” time? Hop on over and follow along with me on INSTAGRAM. I’m always sharing in my stories as I’m doing projects, finding new furniture, fun finds….just all the day to day behind the scenes.
This left white lettering showing through from underneath.
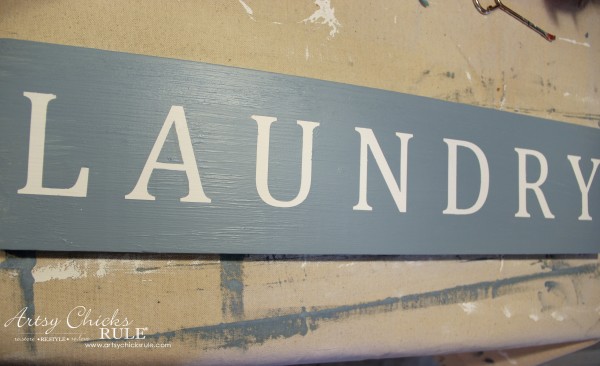
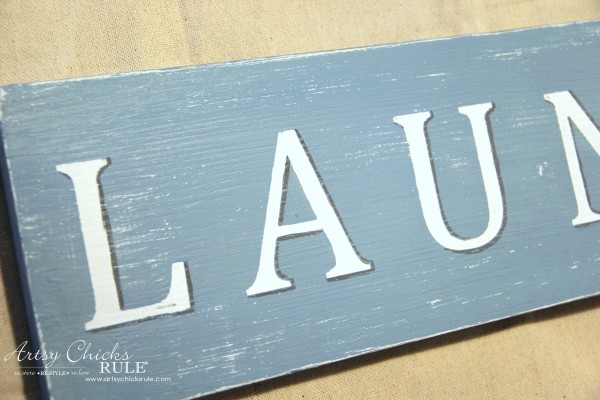
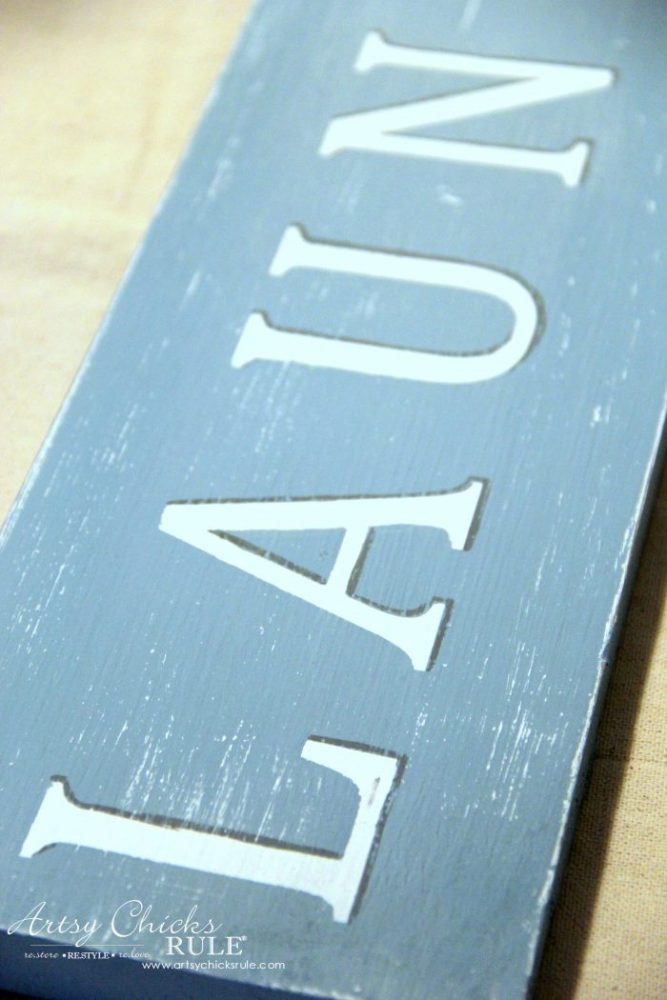
I wanted to give a bit of definition to the letters so decided to add some shadowing.
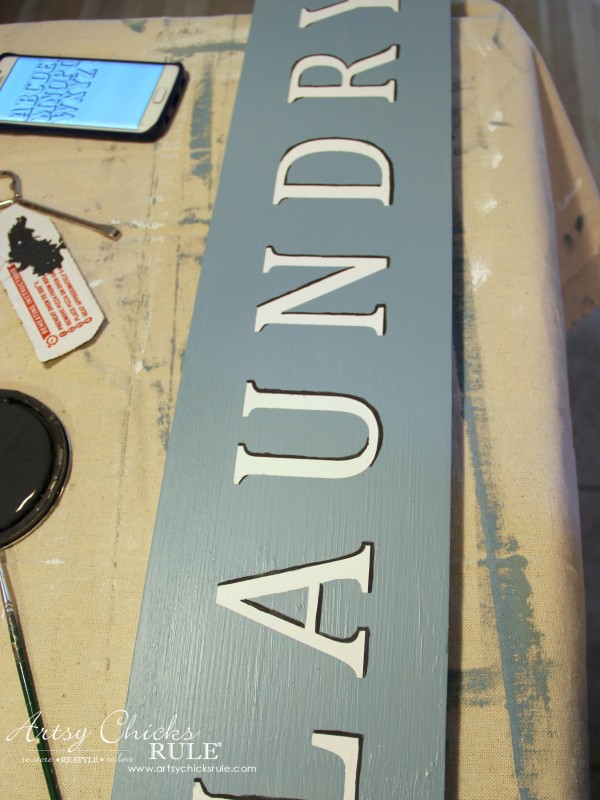
I did a quick google search for “letter shadowing” and found the one you see there on my phone.
That was a quick and easy guide to go by. So simple!!
OR you can download this handy guide I created for you.
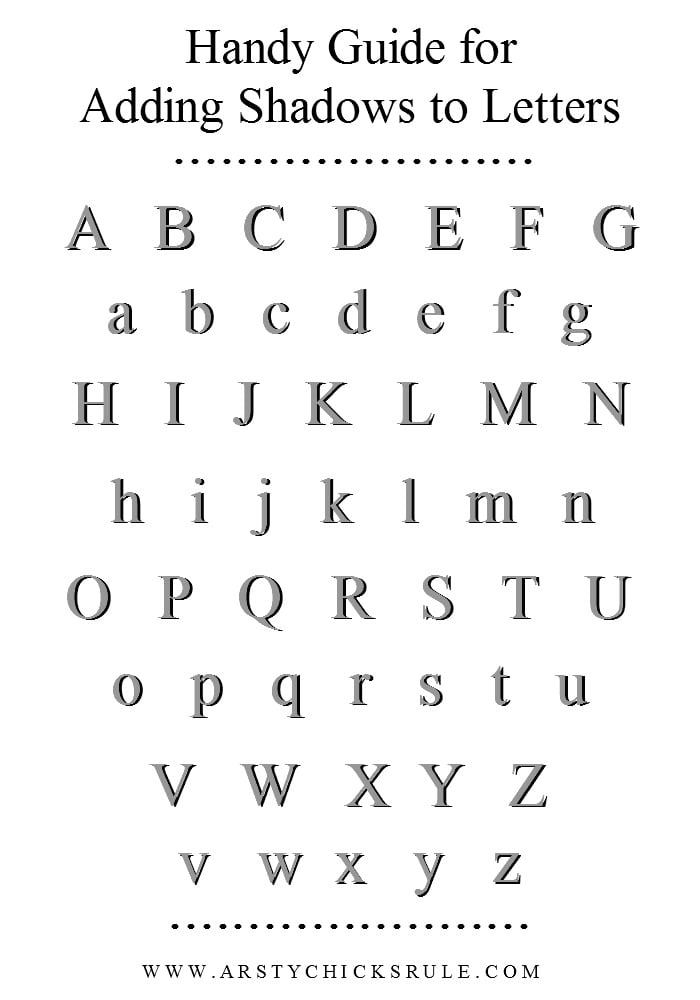
DOWNLOAD or PRINT here >>> “Handy Guide for Adding Shadows to Letters”
I think it just gives them some nice depth and a not such a flat look.
And this sign is called “antiqued”…..because I wanted it to look like an old one.
I used fairly rough sandpaper and went over the whole thing to bring that white from underneath through.
Plus, soften up and “age” those letters a bit too.
PIN it to save it!
And here’s a few more posts on shadowing:
Beach sign
Pantry Sign
Bread Box
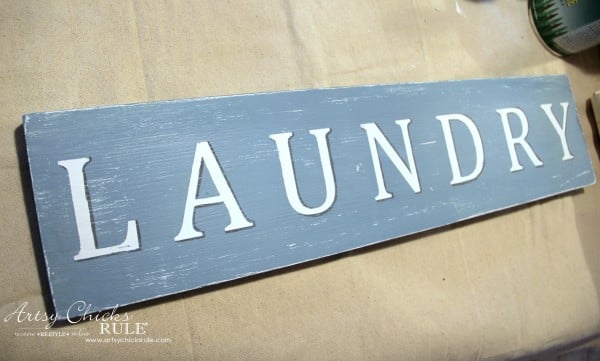
I’m so pleased with how it turned out!
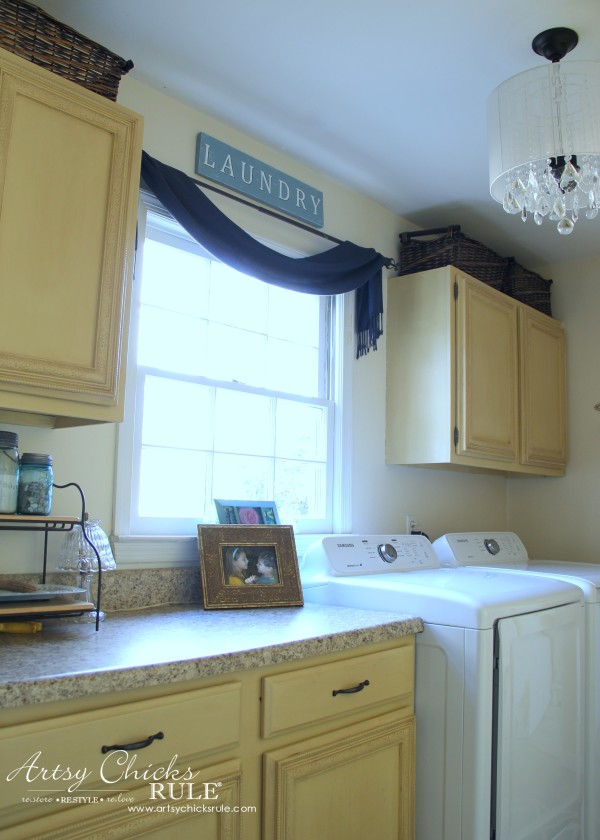
It’s hard to get a shot by a window but hopefully, you get the idea.
I do still need to find (or make) a window treatment for this window.
I think the sign goes great with my new rug in here…..
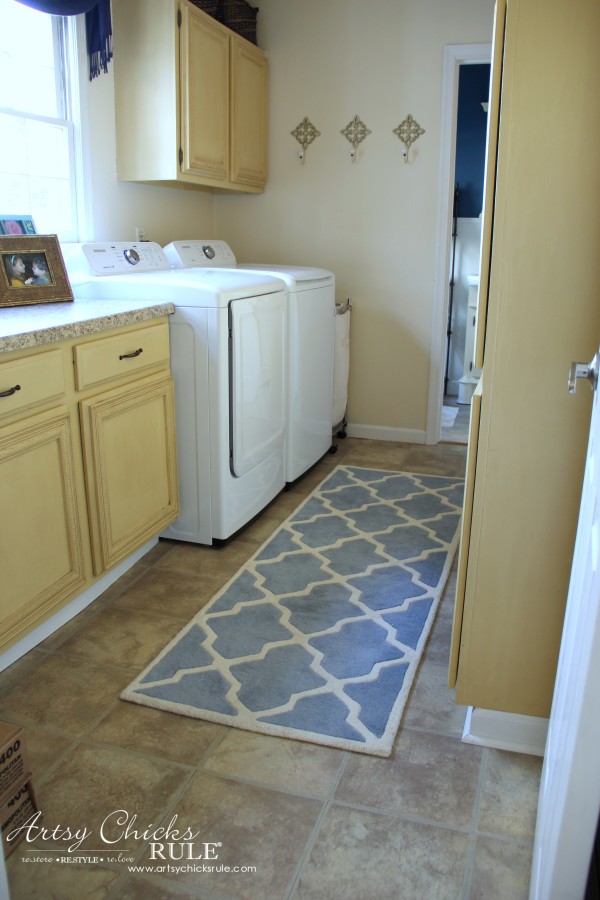
I love this rug!! It’s so plush and comfy on the feet.
Very high quality, wool and very inexpensive too.
I got it from Amazon and you can find it here >>> “Handmade Blue and Ivory Wool Area Runner“.
Really simple to make.
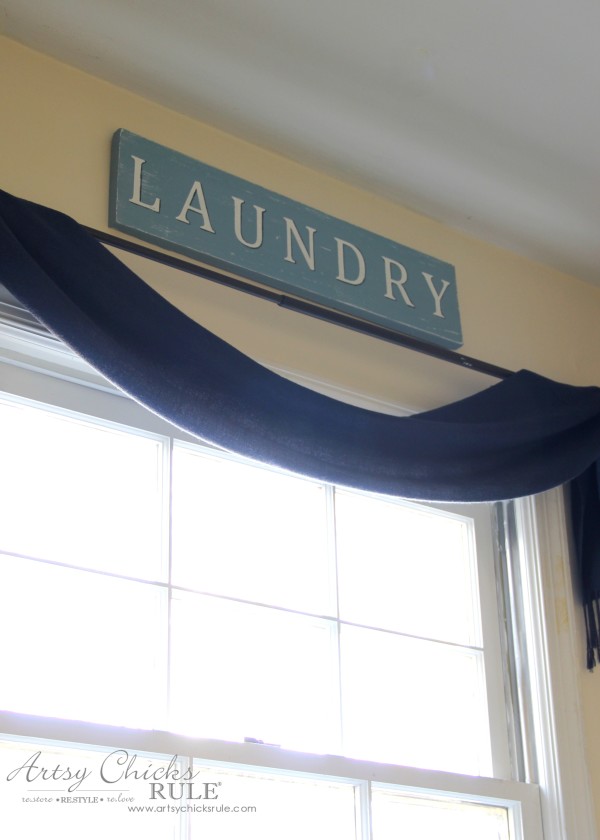
Especially so if you have an old board/sign like this to start with!
Now let’s see what my friends came up with…..
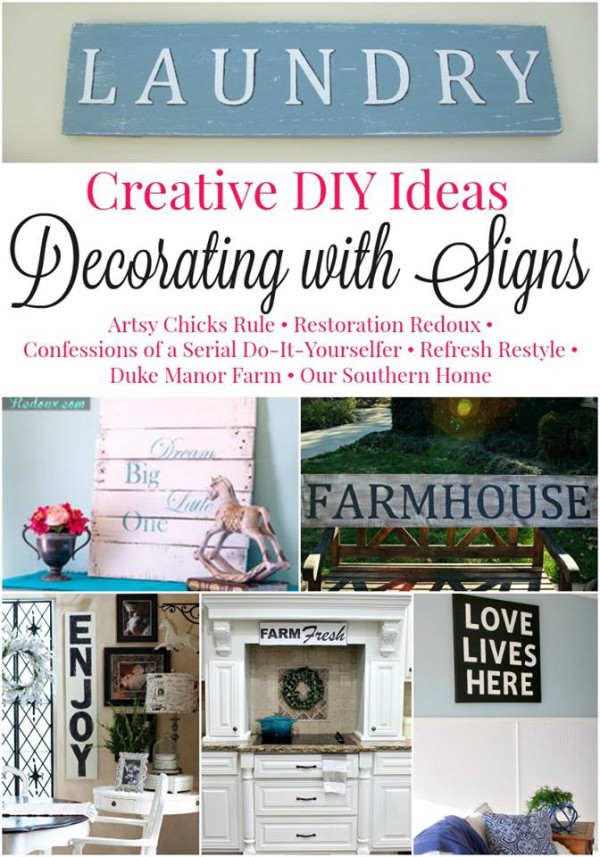
Confessions of a Serial Do It Yourselfer
……………………………………………………………………………………..
Be sure to stop back in when I share these (yep, this becomes TWO) new, “old” things for my master bedroom!
UPDATE!! See it now, here!
Have a great weekend!
xo






This method looks so simple, but I’ve never tried transfer paper. Adding it to my list of “I need to try that!” lol. Your sign is perfect for above the window, and I love the shading! XOXO
Nice job on your sign! I always enjoy your lovely posts. Thanks for sharing :-) To complete your laundry decor, have you considered: stenciling on fabric (that matches your wallswalls for that continuous flow across that area) using the matching pattern on your adorable rug, using the 2 blue colors in you laundry roomroom? Just a thought. Would love to see your laundry room when completed.
Hi Pam,
Thank you so much. :)
No I hadn’t thought of that but it is an interesting idea!
I am hoping to get moving in there again. I’m also redoing our Master Bedroom and Dining rooms.
I need to get busy!
xo
Nancy
Another sign to love this morning, the shading is most excellent.
Thank you a bunch! :)
Nancy
Your laundry room is so pretty. I think I’d actually like doing laundry there. :) Pretty sign…great upcycle!
Thanks so much Christy! :)
xo
Nancy
Oh my goodness, awesome technique! Love that shadowing and what a great find for refreshing! Love it!
Debbie
Thank you Debbie! xo
Nancy
hey girl love the post! the sign and the rug are so cool!
Thanks so much Shawnna! :)
Nancy–the shadowing makes a huge difference in the look of your new laundry sign! great job!
pinning
gail
Thank you Gail, and thank you for sharing too! :)
xo
Nancy
I love how you antiqued the sign when you were done, it adds the perfect touch. Great tips, thanks for sharing!
Thanks Laurie! :)
But my understanding of this post was that you were going to show us how you added the shadowing to the letters. “easiest way to add shadowing to your letters” was the title. It showed how you did the actual sign, then said to google for the how to, and just showed us a vague photo of your phone. Checking other posts you’d listed I see that you printed off a copy of how it should look and used that as a guide. I guess I figured you had certain tricks for doing it–because of your post title.
Hi Rosie!
I’m sorry for the confusion!:) The title of this post is actually “DIY Antiqued Laundry Sign” but I did create a pin for Pinterest with the other wording you mentioned to go along with the post since I was showing how to do that shadowing. I didn’t want web searchers, readers or Pinterest users to miss out on that since the title of the post didn’t have anything to do with the shadowing. Also, wanted to mention, I didn’t send the reader to google for the “how-to” because the “how-to” is simplistic and as already described in the post. I did, however, tell readers to search for “letter shadowing” or such, which gives you a perfectly shadowed letter to go by and to copy and paint. You can also search and print out the shadowed letters to copy and paint as well if that’s easier. For me, it was just easier to look on my phone right there. The reason I think it’s the “easiest” way is because you don’t have to depend on your mind trying to figure out where a proper shadow should be on the letters. I know that can be hard to do. Plus, if you don’t have the option on the font in your computer, you may not be able to print it out with whatever design you choose. (like my “LAUNDRY”) So this is an easy way to figure out where the shadowing goes. You simply look at the photo and copy what you see! :) I honestly can’t think of an easier way to do this. I have created and added a printable you can download or print, showing the entire alphabet and shadowing, to this post. Stop by and print it out for future shadowing projects!
Thanks for the feedback and again, sorry it was not what you expected or an easier fix for you!! Hope the printable I created helps!
Hi there! I wonder if Rosie had the same question I had. I was looking for how you did the shadow (marker, paint, stencil, something with the vinyl, etc). I got my answer reading through your response. Thank you for sharing this, Nancy! The shadowing really adds to he sign. I think I will do this from now on. Such a great idea!
Hi Heather!
Oh yes, I’m sorry, I used a small artist’s script liner brush (or any tiny art brush will do) to add the shadowing on this one BUT you could also use a marker if you like! Both will work. (I’ve done it both ways but always like the way the brush looks best). Hope the printout will be helpful to you! :) xo