Easy, DIY Pantry Sign Tutorial (Chalk Paint & Graphics)
Who’s pantry is not open 24-7?! This simple”Open 24-7″ pantry sign perfect for any busy household!
Is the pantry in your home open 24-7? With a teenage boy in my home, mine sure is!
Or he thinks it is. ;)
So I decided to make a pantry sign that says so out of this thrifted find…
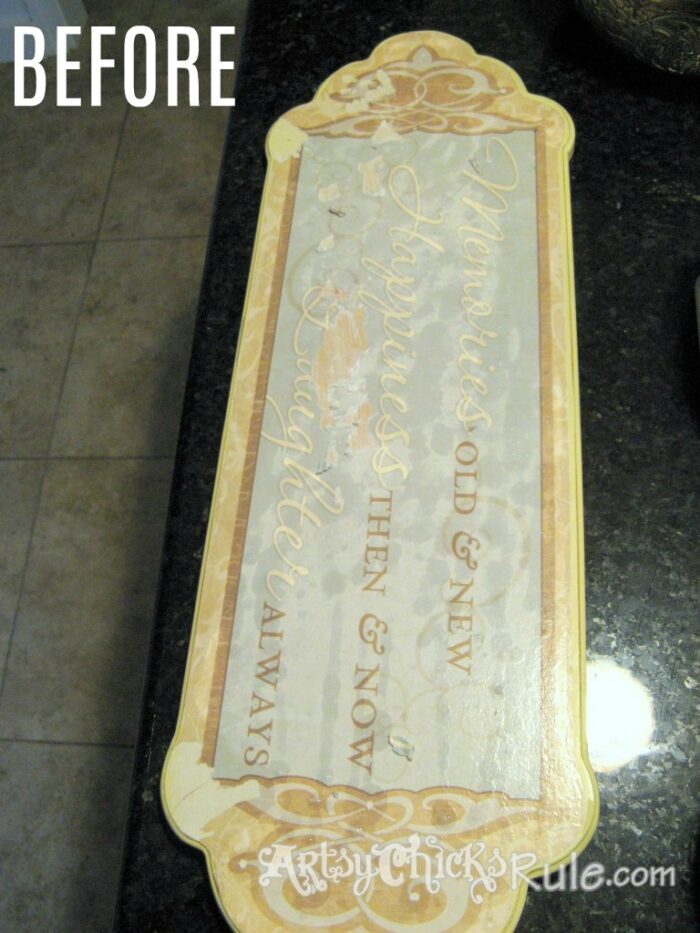
Yea, that would be what it looked like “before”.
It was a recent thrift store find…and cheap.
I loved the shape and knew it would become some sort of sign.
I’m always on the lookout for flat pieces of wood like this…especially the ones with cool shapes.
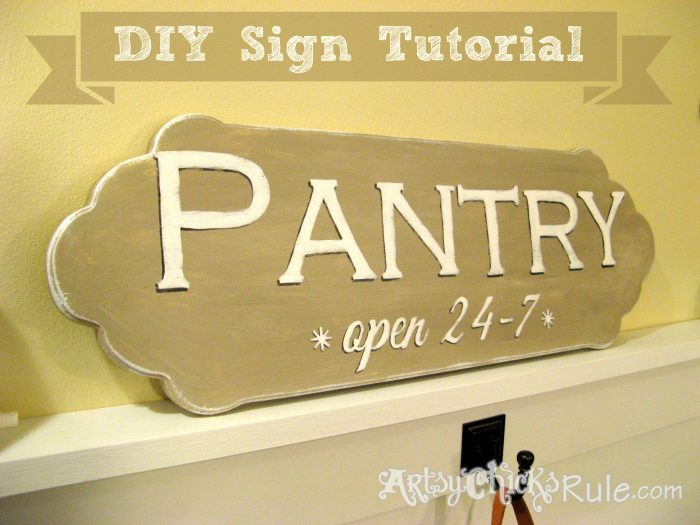
This was super fun to make and if you haven’t figured it out by now, yes, I’m a graphics freak.
I love them…all types.
My husband said to me the other day….”I don’t think we need any more signs in our home”.
No? Really? Nahhh, I think there’s room. (and I have plans for a few more ;) )
Not only am I a sign freak but I am also Queen Thrifty around here and will redo, reuse, repurpose anything I can.
Now for the pantry sign tutorial:
I decided to paint it with Coco and Old Ochre Chalk Paint mixed (after I removed the sticker paper).
Well, not completely mixed as you can see below.
I wanted a varied look to the paint so did it like shown:
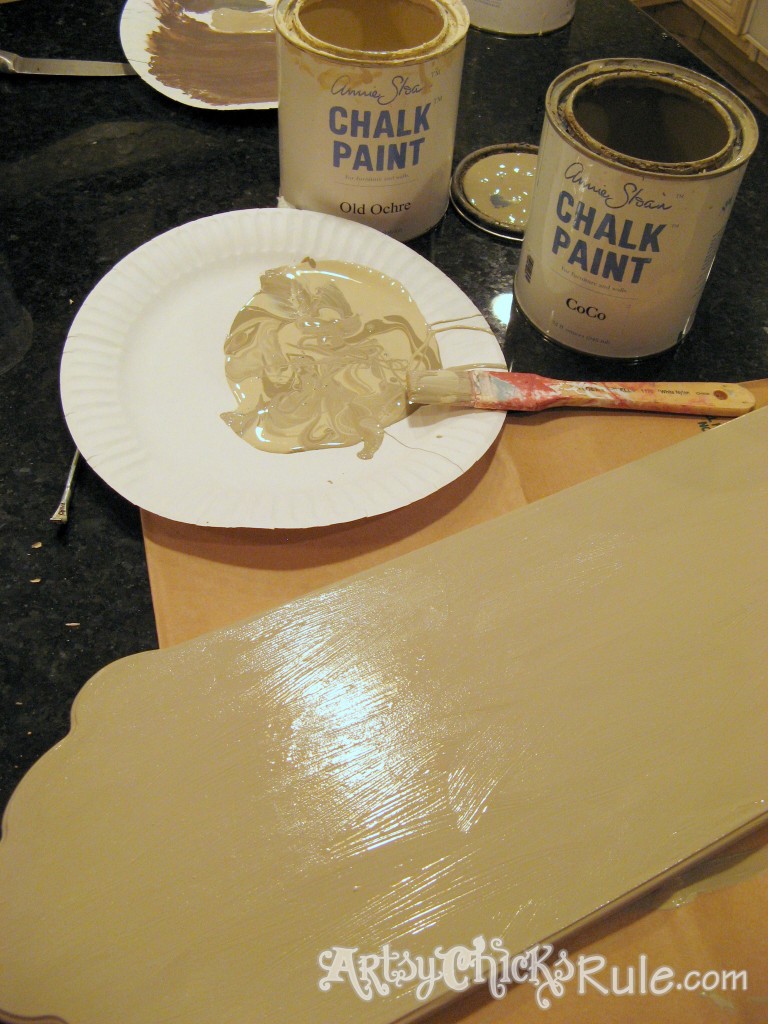
Not quite “mixed”. It’s wet here, so it’s sort of hard to tell there is a variation.
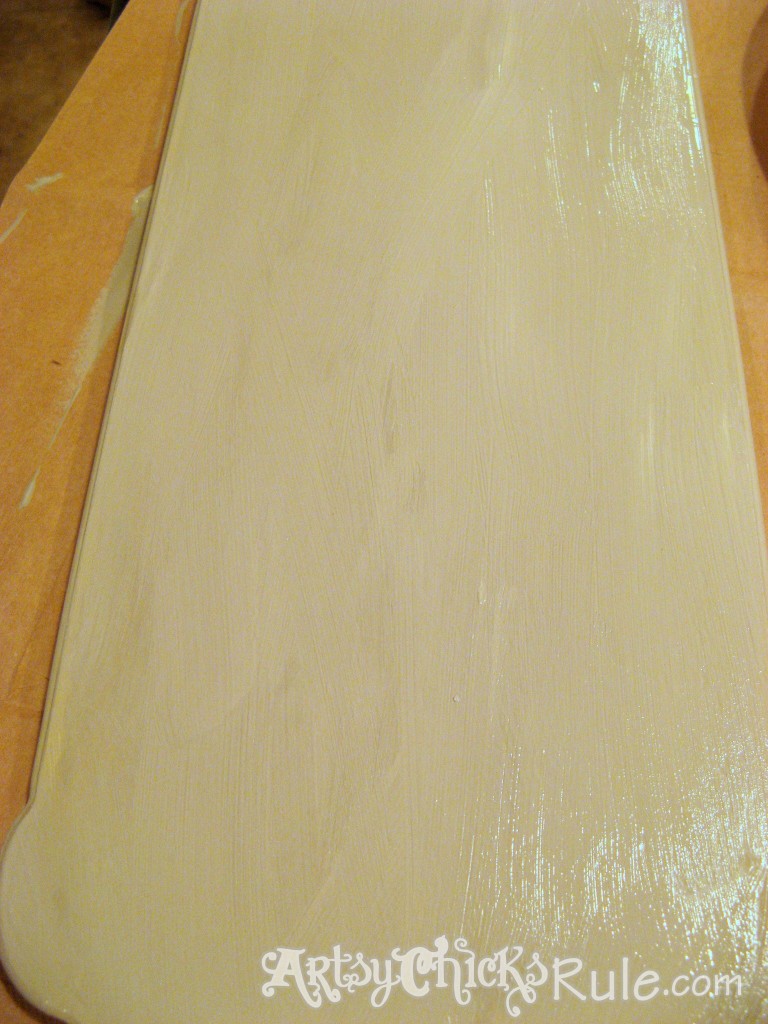
You can tell much better in this photo…
I designed my graphic on my computer and printed them out to the correct size.
I lined them up and taped them to the board.
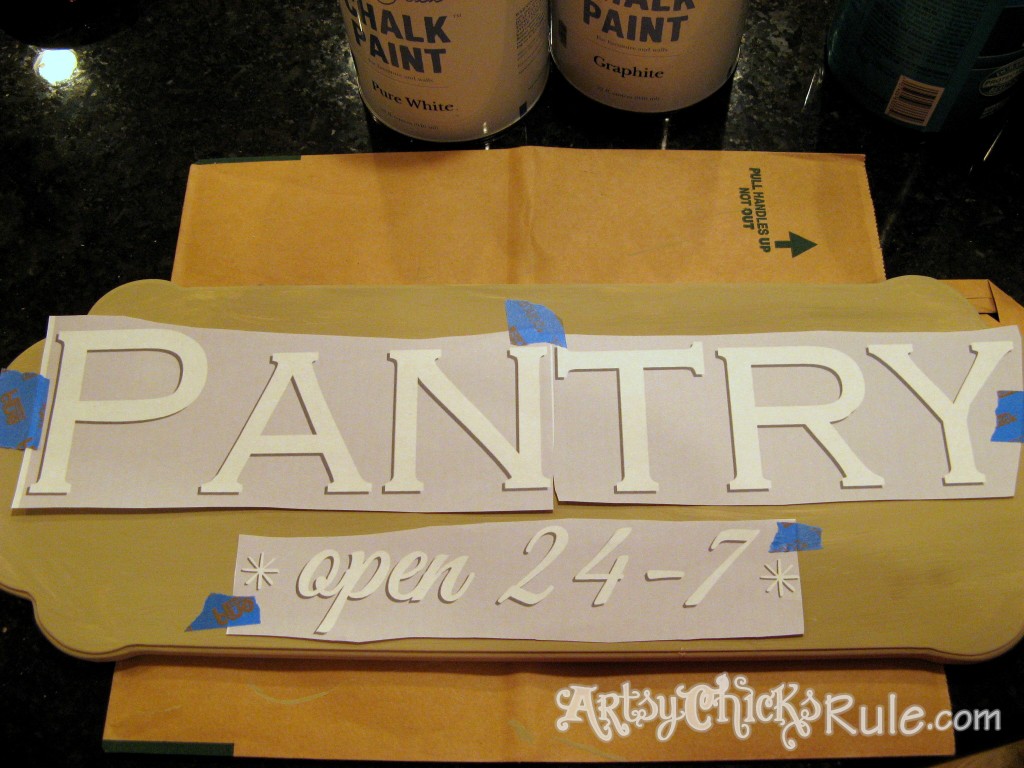
I shaded the back of the paper where the letters are with a pencil. I then traced over each letter from the front.
The pressure transferred the lead from the back onto the board.
Just one of many ways to transfer.
I wrote a post with all my favorite ways to transfer graphics. (yes, there are many more than one!)
Click, here, to read all about them.
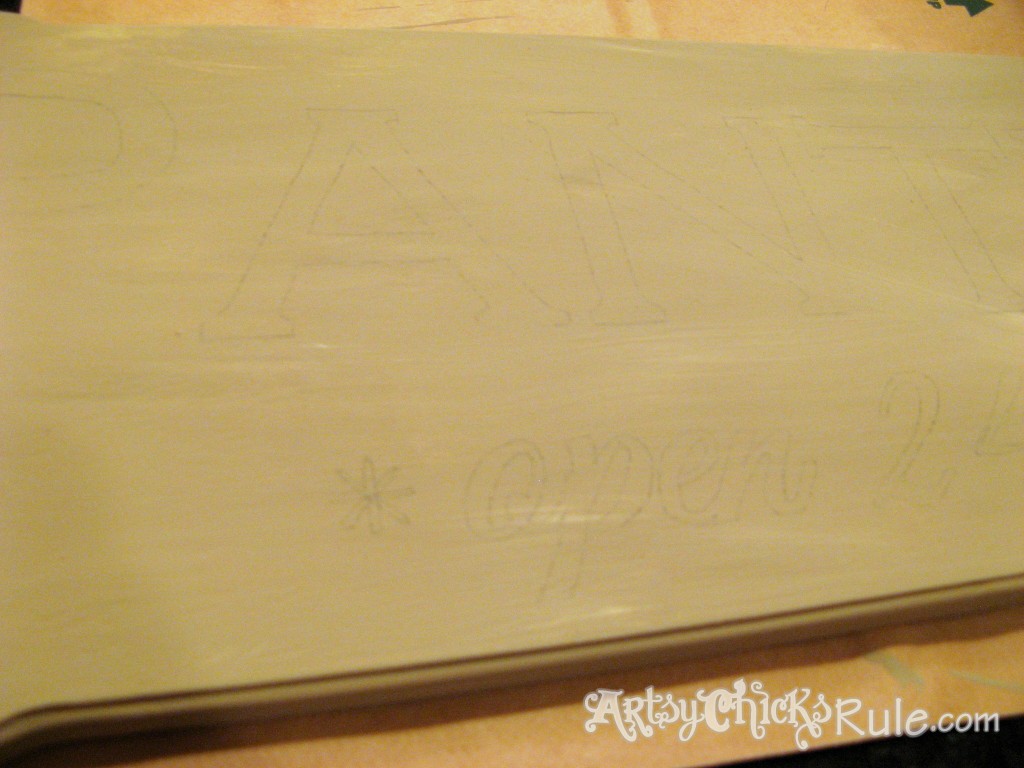
Then just paint in the letters with Pure White Chalk Paint.
You could use any type of paint here and probably even one of those little chalk pens.
I have one and have only used it on the chalkboards I make when I want a “permanent” chalk writing.
BUT, I’d bet they’d work on this too.
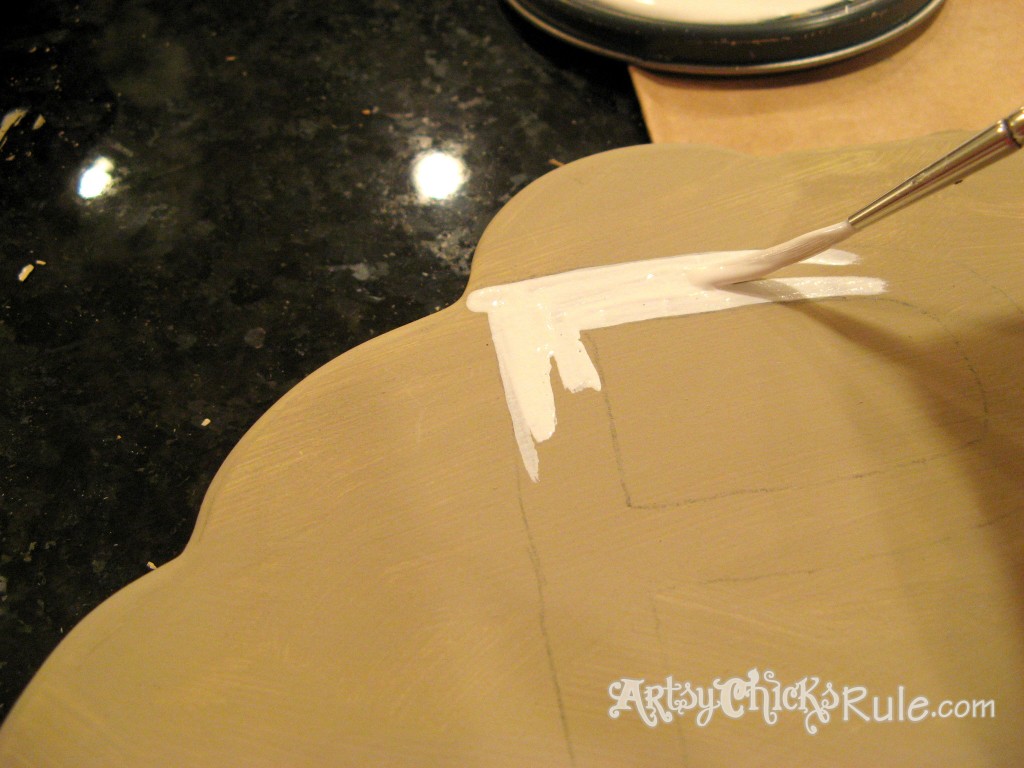
Simple, really.
And here it is after “painting in the lines” :
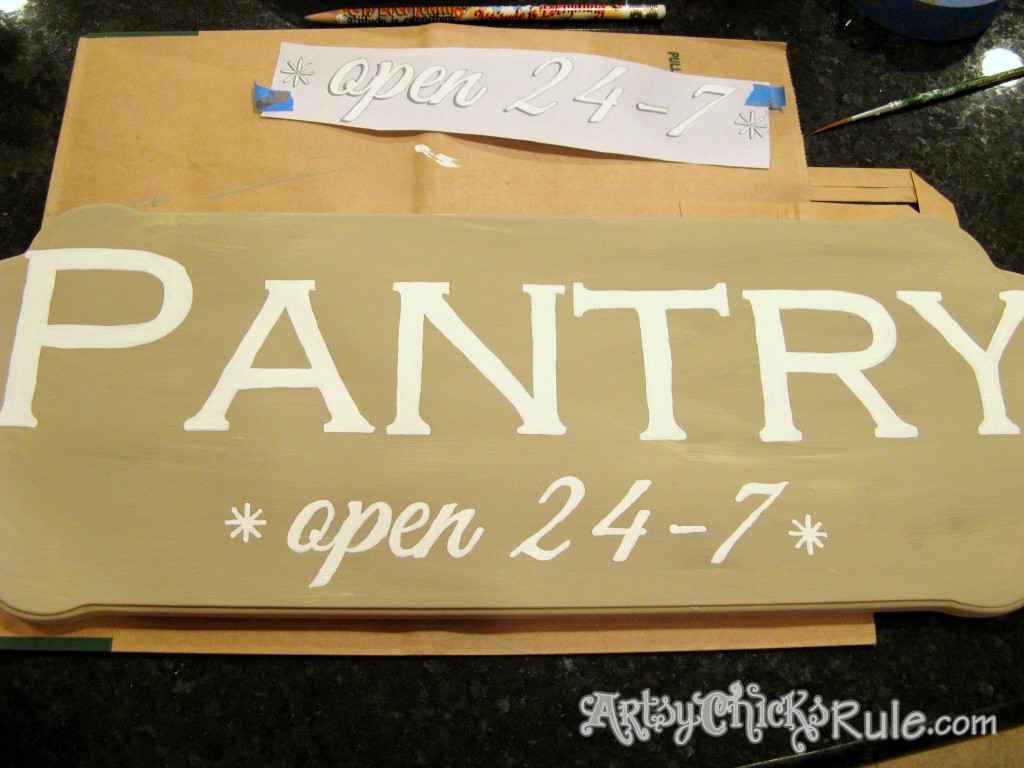
Now to add some shadowing.
I love to add shadowing to my letters because otherwise, they are a bit flat.
Sometimes that look is nice too although I do love the dimension the shadowing gives the letters.
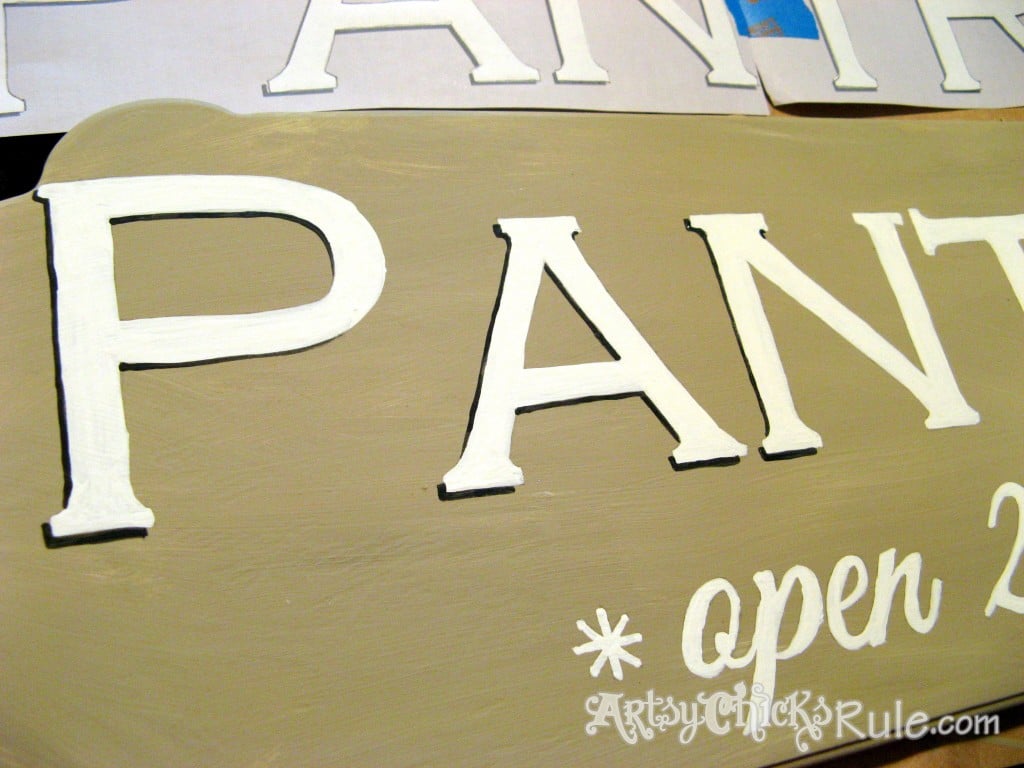
Finished with the shadowing…
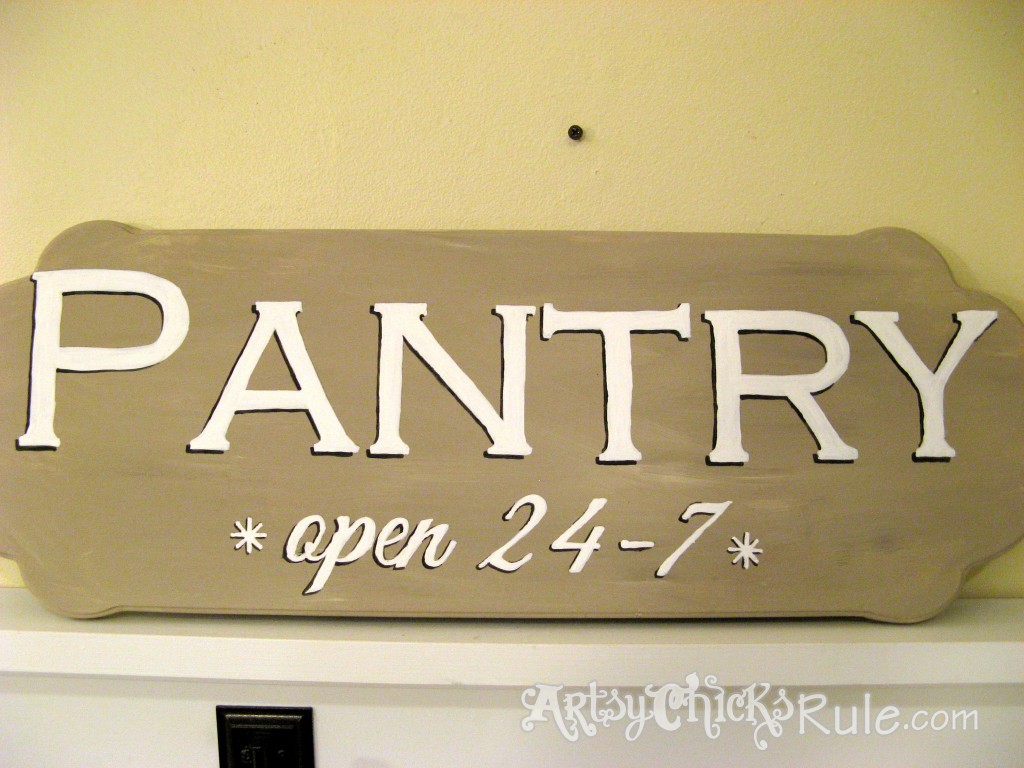
See how those letters pop now? Love that.
And then a little distressing…
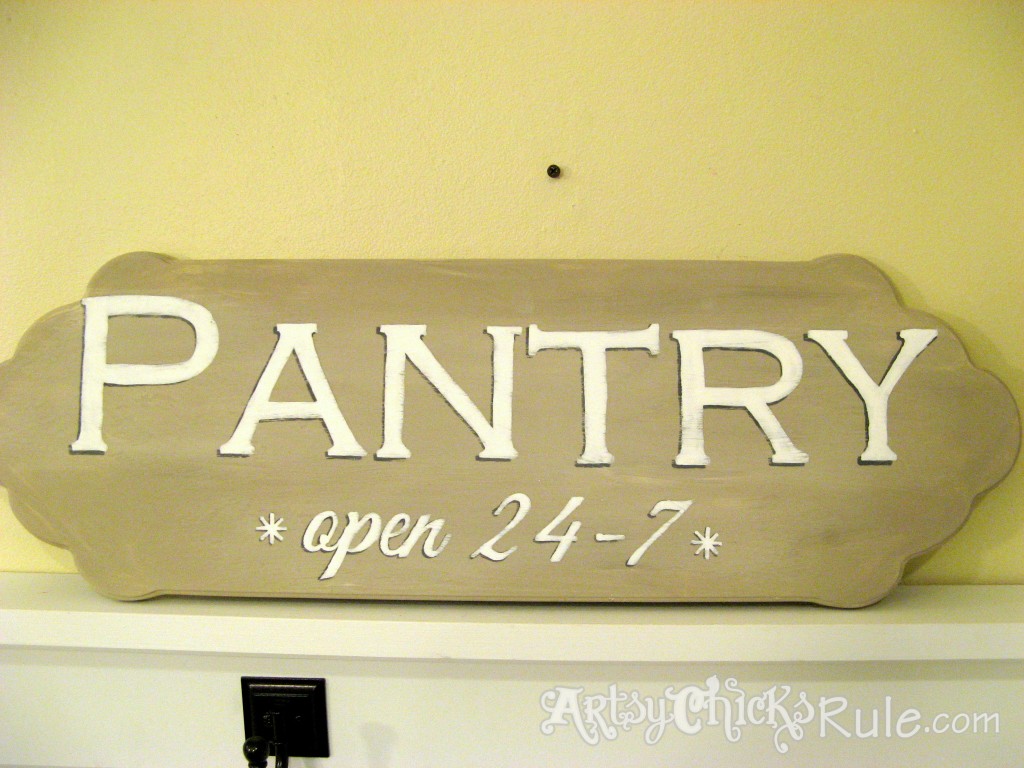
Added a bit of dry brushing around the edges with Pure White Chalk Paint:
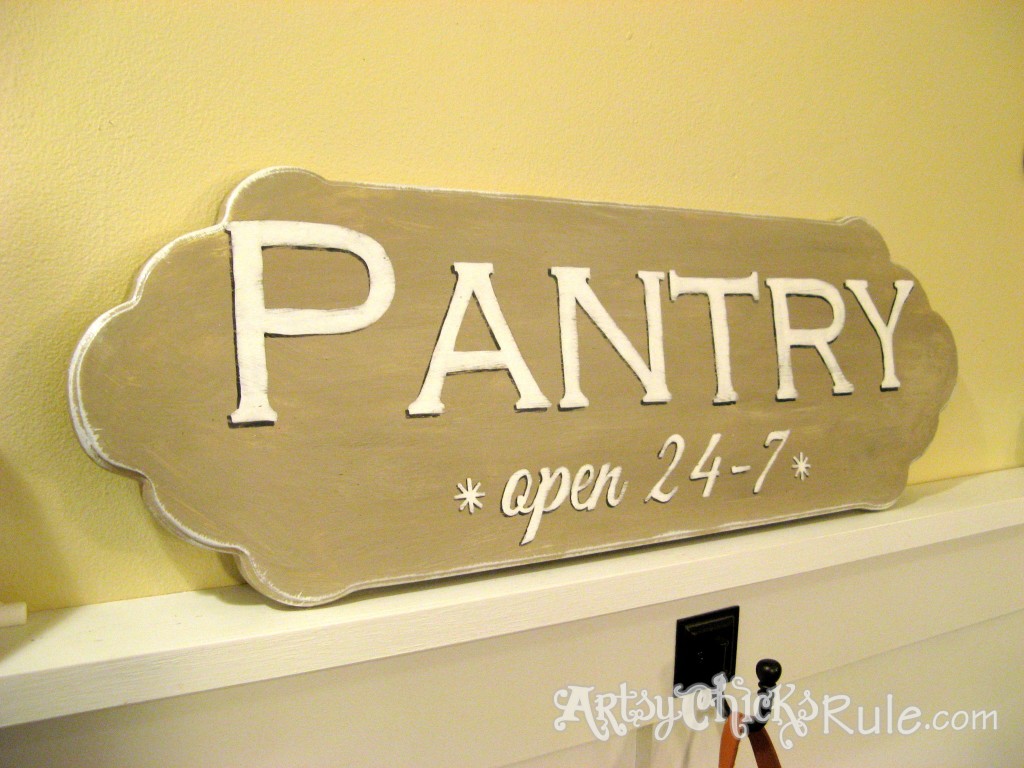
Want to know what I mean by “dry brushing? I created a video showing exactly how to do it, here.
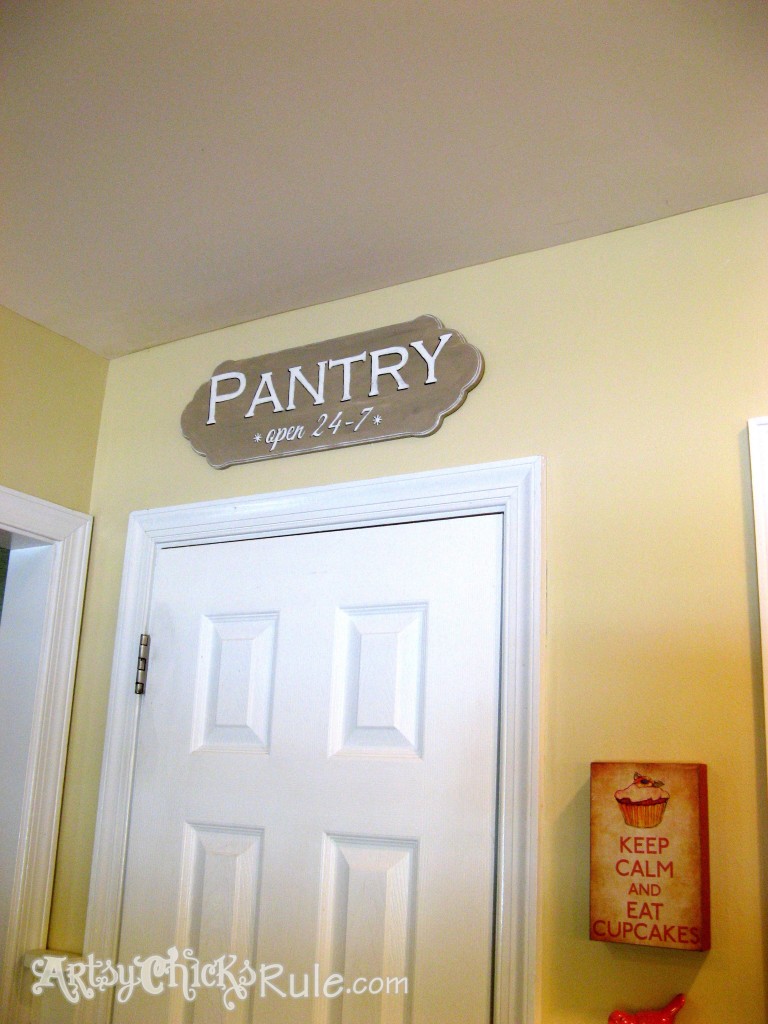
Pantry sign finished and in place…
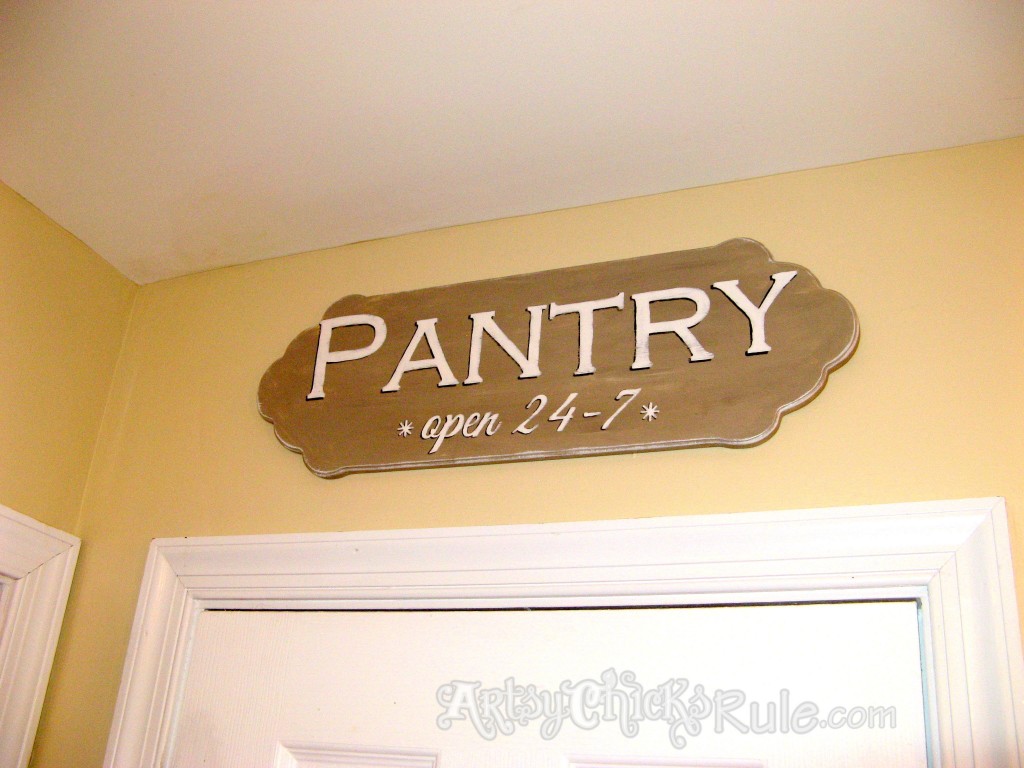
So in case our kids ever get confused about our pantry’s “operating hours” here in this house (trust me, they won’t) there is a sign in place to let them know.
Want to see even more ideas on simple updates with Chalk Paint (that aren’t furniture??)
Check out this post, here!
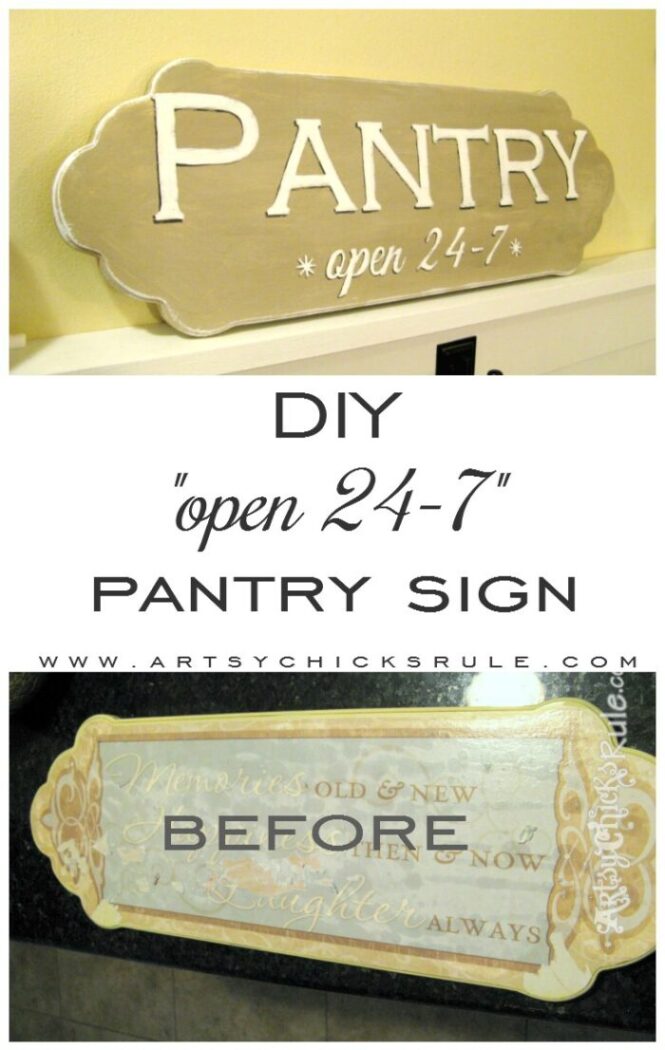
Easy & fun…and cheaply done by repurposing an old thrift store find.
Have you repurposed anything lately? Made something new out of something old?
Want to see even MORE signs? Click here for more.
And be sure to check back when I turn this in a sign…yep!
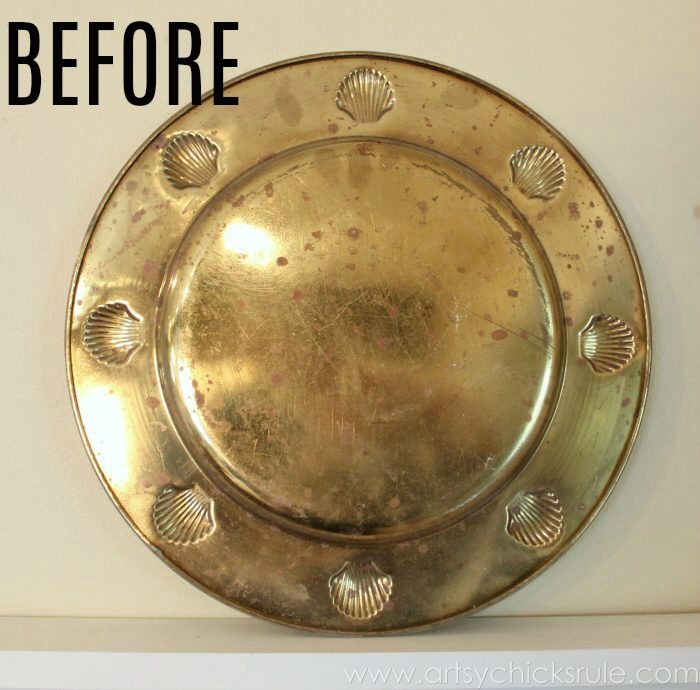
UPDATE!! See it now, here!




I love it Nancy! I haven’t done any shading yet but I like it! XOXO
Love it! With a teenage boy my pantry is also 24-7! I am curious though…do you hear “there’s nothing to eat” as
much as I do? :)
ALL the time!! Every single day. ;)
Absolutely perfect! I have 3 boys and they all eat constantly ~ I think I’ll try my hand at this soon.
hugs,
Mary Beth
Cute! I love it ;) you’re so got at lettering and painting! What computer program do you use to create your font and letters, etc?
Have a great day, Nancy!
xo
Thanks Kaara! I actually use an old program called Microsoft PictureIt for most of these graphics. :)
That looks great Nancy! I love how you add depth to the lettering. You could totally sell these! ;) xoxo, Sharon
Beautiful! I am always so amazed at the details you do when painting by hand! Mine would be a big ol’ mess! Your signs are awesome–I say fill your whole house with them! ;) Have a great weekend, Nancy!
~Abby =)
I like the way you think! ;) I have 5 more in mind! LOL One in my dining, another in my kitchen, one for my Family Room, Laundry room and guest bath. Maybe then I’ll be done (no then I’ll move to the upstairs rooms) ;)
Have a great weekend too!
LOVE it Nancy! So cute… what a fabulous shaped sign you found too. I just made a little sign for the inside of my linen cupboard using stencils… it turned out well but I am glad to learn your tip about shading the back of the paper. I will have to try that on one of the two signs I have partially started (laying on my dining room table right now…). Thanks for the tip about shading too!
Krista
Oh I love this! Especially the 24/7 : ) Super cute! Pinning this!
Your tutorial is great. Love how you shadowed your letters and added dry brushing on the side. It looks so pretty:)
Super cute, Nancy! I would have snatched that sign up too! I have two boys, my times coming!
Hi Nancy! This is so cool and clever, especially with the 24/7! And a great tutorial on that lettering, too, you make it look so easy:)
I love this!!! What a fun idea, and your sign looks beautiful! Love it!
This is great! I have got to break down and make one! Love your transfer method!
HA! Nancy! That sign is so awesome! 24-7 is sooo right! I love all of your sign projects! This one is outstanding!! You are one talented chick!!! I hope that you have an outstanding week and I hope I can jump back in to your link party soon when everything calms down here! Take care! Nicole xoxo
Thanks so much Nicole!! No worries, you take care of yourself and your family over there! Thinking about ya!! :) xo
Nancy
So true Nancy, our pantry is always open too. I love your sign!
So cute and clever. Great tutorial too. I would love for you to link up to my Inspire Me party that is ongoing.
http://www.astrollthrulife.net/2013/04/162nd-inspire-me-tuesday.html
Hugs, Marty
Thanks Marty!! And I came by and linked up!
so cool! i need to quit being lazy and make some of these! i’ve got some great one liners to put up. :) glad i stopped in via wow us wed.
Love this sign! Super cute! Thanks for linking up last week on Made in a Day!
Kim
I really do love this sign, the color is wonderful and so perfect above your door. Thanks so much for joining Inspire Me. Hugs, Marty
love the sign! visiting via tuesday’streasures and hope you’ll visit my post here at
http://hellolovelyinc.blogspot.com/2013/05/uncommon-lovely-kate-lewis.html.
happy wednesday!
michele
hellolovely
Great tutorial on a sign! I love how you shadowed the letters too. I am sharing on my FB page today. Thanks so much for sharing at Redoux!
Hey thanks Karen! :) And thanks so much for the share on FB!! :)
This is so cute! Now that I’m addicted to making signs I’ll have to try out this technique :)
Thank you Katie :) I am also completely addicted to anything involving graphics! lol My husband said… “I don’t think we need any more signs in the house….or words on furniture”. ;) Silly man. hah
Lol, I am pretty sure my fiance will be saying the same thing about my rope projects pretty soon.
I love it, Nancy! I needed that sign when my son was home. Actually it just needed to say, “KITCHEN OPEN 24/7”. He was always in there eating…LOL
Thanks Denyse :) LOL Actually, that would be more accurate here ;)
Hi Nancy – I’m so happy I found your blog this morning over at The Happy Housie (she made mention of you in a post). After a bit of exploring I am your newest follower on BlogLovin’! You do beautiful work and I look forward to future posts. Blessings to you, Patti@OldThingsNew
Hi Patti! So glad to have you here. :) Thanks so much for the sweet words and taking the time to comment!
Nancy
Wow I had to scroll down for quite a ways. Great for you and your blog.
That sign is awesome, I’d better keep an eye out for pieces like yours. I usually make my signs from pallet wood, not so heavy to hang up even when they’re put together. The colors you used are perfect for that sign. I love letter shadowing, really does make the letters pop. Have a couple cupboard doors but they are so heavy. Like shapes of doors I have. Will have to work on having hubs cut out some soft shapes in other wood we have.
I love your signs. I have no idea how to do things like that in my computer or how to use fonts, any of that. I’m quite digitally challenged. Maybe I should spend some time on a program playing instead of reading and commenting on blogs, lol. Not enuf time in the days to do all this. But I’m held back so much because I don’t know how to do any of what you described. Wish I could take a class to teach me. I’m one of those people that needs somebody telling me how to do things, step by intricate step. Any suggestions for programs I could try? I’d really like to learn how to do more that will help my signs look better. Happy days Had to pin this post.
So cute! I want to try this.
Thanks Becky!! It really is easy to do, you should! :)
Nancy
Oh my word I just love milk can, Great job! I too am a lil bit crafty. I lost my job last year and found myself looking to fill my time with something rewarding. Wood Working and Crafts are my favorite. I have built quite a few pieces. I love rustic country cottage type pieces and came across an old Metal milk can. Do you use regular computer paper for tracing and transferring?
Hi Melody,
Thank you.
Yep, just regular computer paper does the trick! :)
Nancy