Simple Tin Can Crafts (perfect for gift giving!)
Mother’s Day is in 12 days.
Time for some handmade gift giving.
Do you love tin can crafts?
So much you can do with something that typically gets thrown out.
And I have a super simple & fun handmade Mother’s Day craft I’m going to share with you
today using them.
With a few simple items you can make a really cute “vase/vessel” for flowers for your Mom.
After the flowers are gone she can use it for pens/pencils or anything else really!
So what is it?
It’s a tin can. Simple, right?
I happened to use Progresso tin cans with the pull top lid.
Or you could use any cans….just be sure to use a can opener that is made to leave a
clean, un-sharp edge.
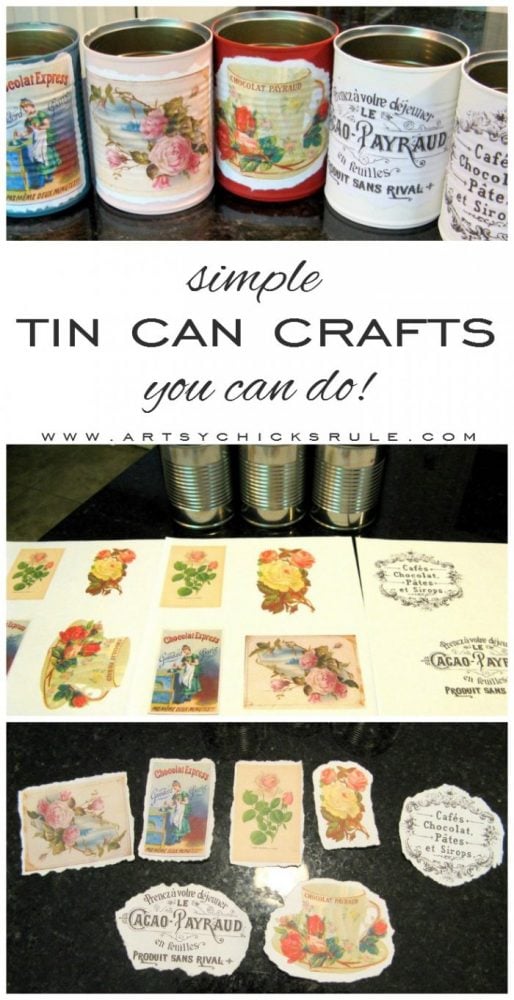
And then you can make these pretty little things….
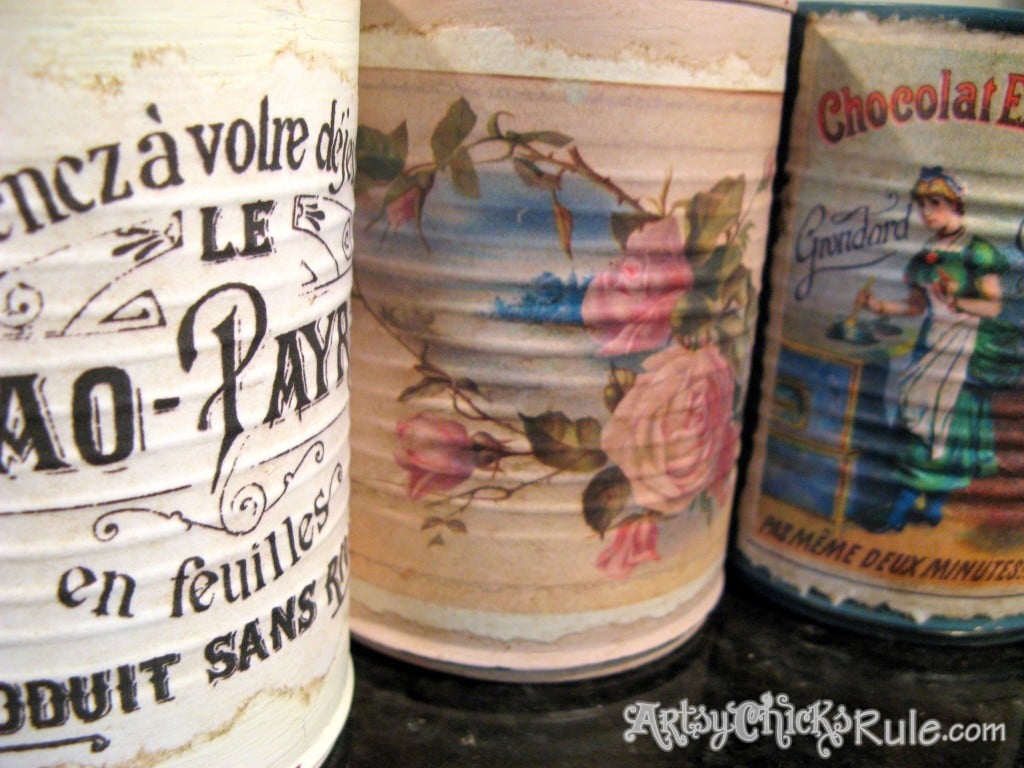
Can’t get much easier!
BUT….I will tell you, I made these, all 6 of them, with special”moms” in
mind…but I want to keep them ALL. ;) I won’t, of course.
But I had no idea I would love them like I do!
I’ll be making some for me…pronto. ;)
And they were so easy I most certainly will.
I love the vintage look they have.
What better way to display those gorgeous flowers you’ll
be giving your Mom on her special day? Because surely you’ll be giving her flowers, right? ;)
I love fresh flowers in the house!
Once upon a time I used to tell my husband…please DO NOT
waste money on flowers that are just gonna die! Silly me. What was I thinking?
Well no more of that silliness, I LOVE fresh flowers around the house. I have clued
my husband in on that as well. No excuses now Mr. ;)
Ok, so onto the super simple tin can crafts tutorial…..
Wash out your cans really well. Let them dry.
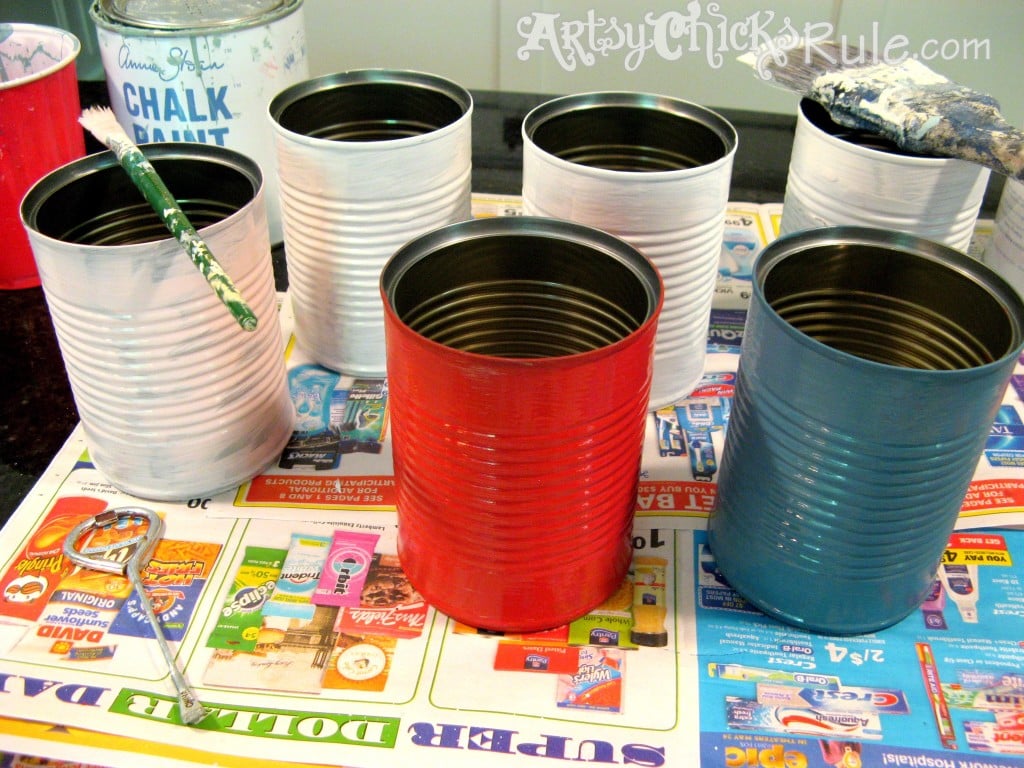
I used Annie Sloan Chalk Paint because I have a bunch of it.
And because I love it. And because it sticks to metal so well.
BUT you can use acrylic craft paint found at any craft store if you like.
OR you can even spray paint them. SUPER easy!
If I’d had pink or red spray paint laying around I’d probably have gone that route.
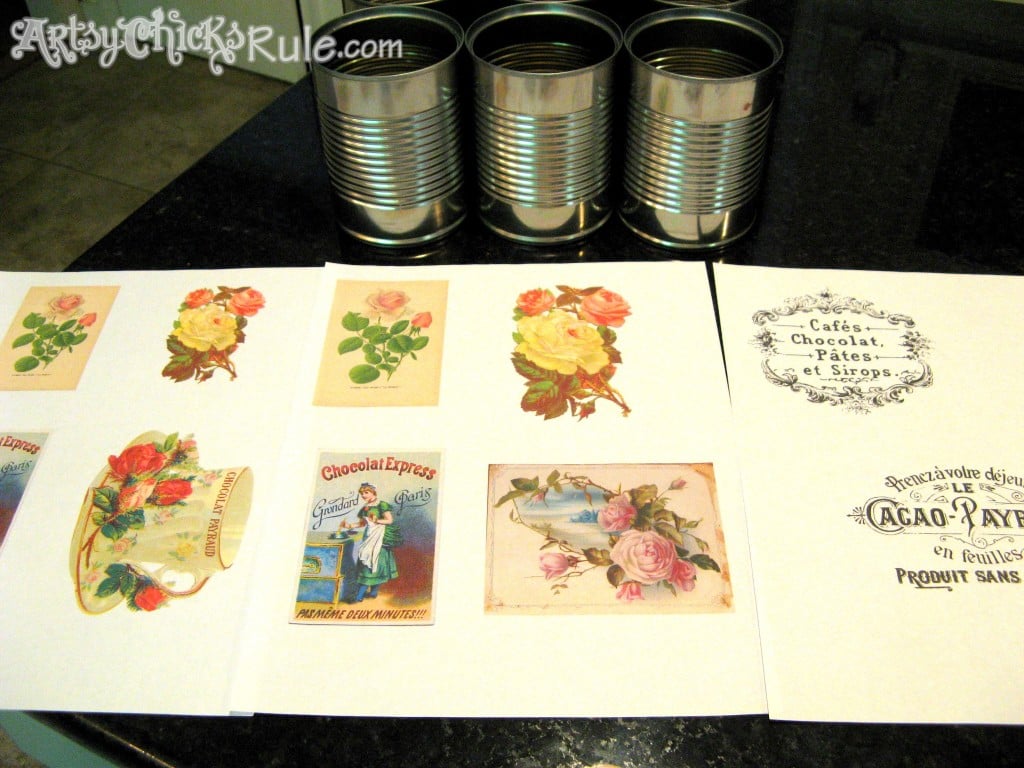
Then I went to The Graphic’s Fairy site and found a bunch of gorgeous graphics for the
fronts of the cans. I printed them out on regular ole printer paper.
Here are the printables I used:
Pink & White Roses
Pink Cabbage Roses
Teacup with Roses
Chocolat Lady
Tea Rose
Chocolate
Cafe
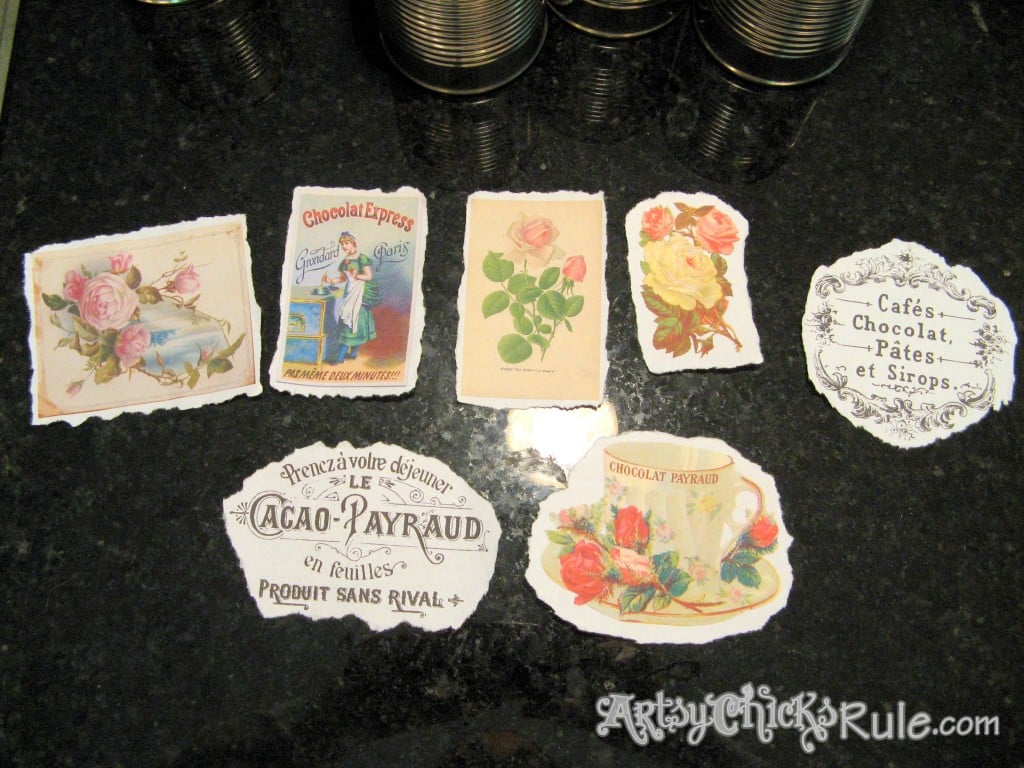
Then I ripped them.
Literally.
I wanted the edges old and torn looking…vintage.
I used 2 coats of paint (again, you can use whatever kind you like here).
I made a mix of Elmer’s Glue All with just a little water….
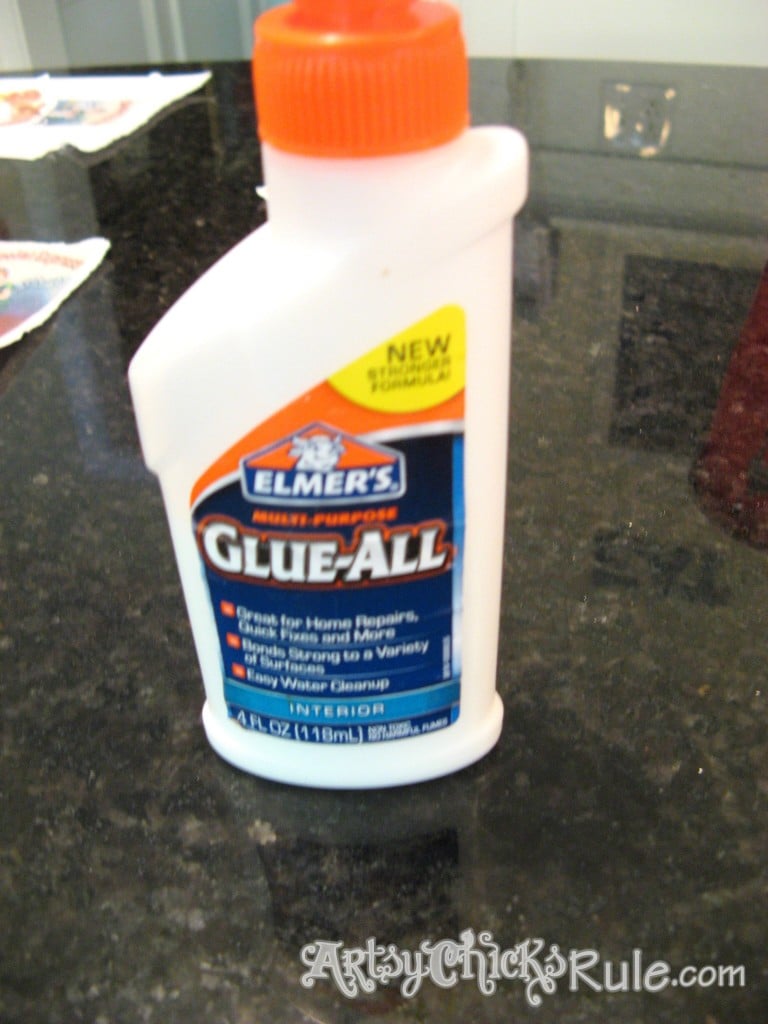
Then spread that onto the back of my “ripped” paper with the graphic.
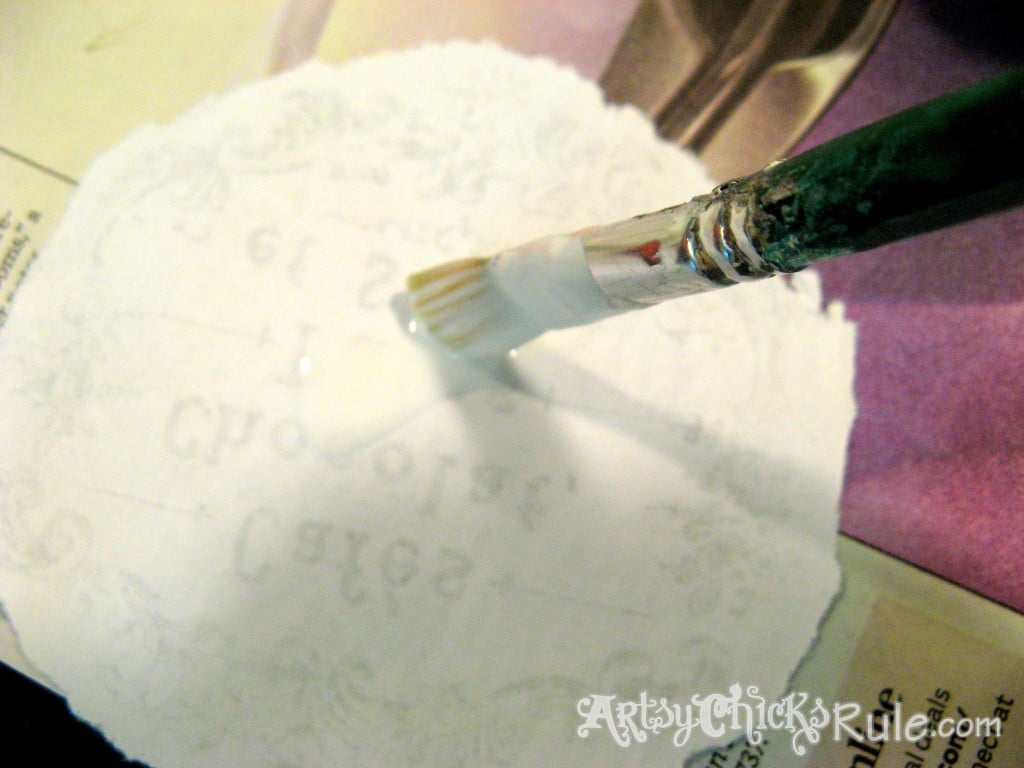
I carefully lined it up how I wanted it on the can.
Picture below is before I “aged” them, you can leave them just like this (un-aged) if you like.
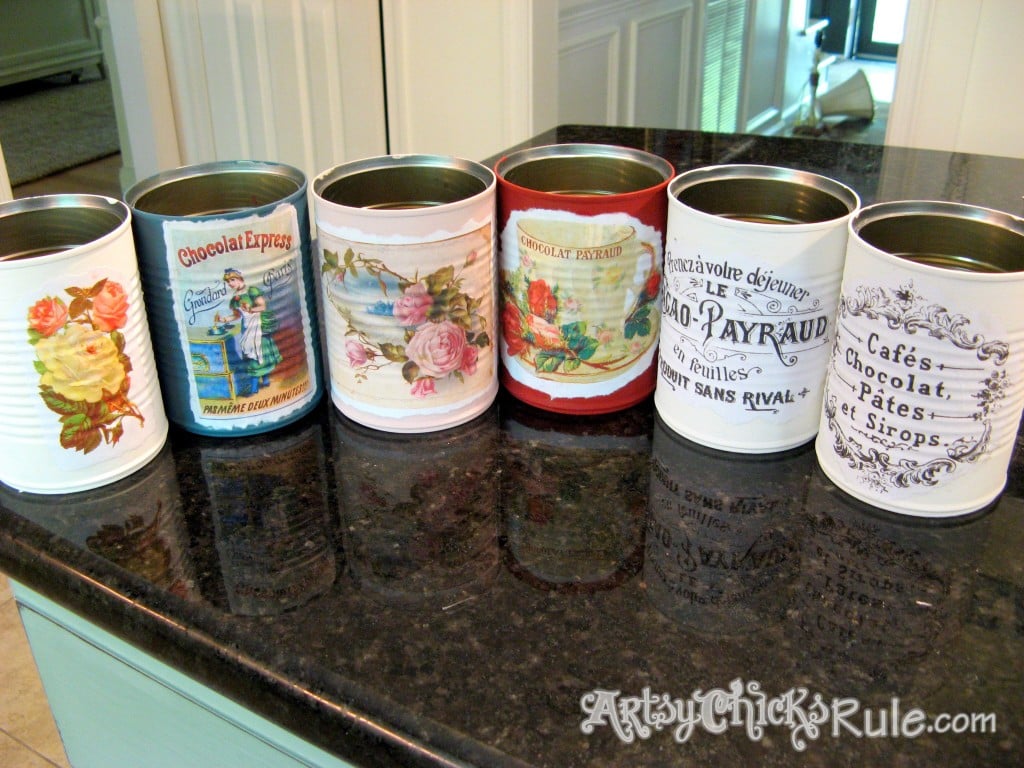
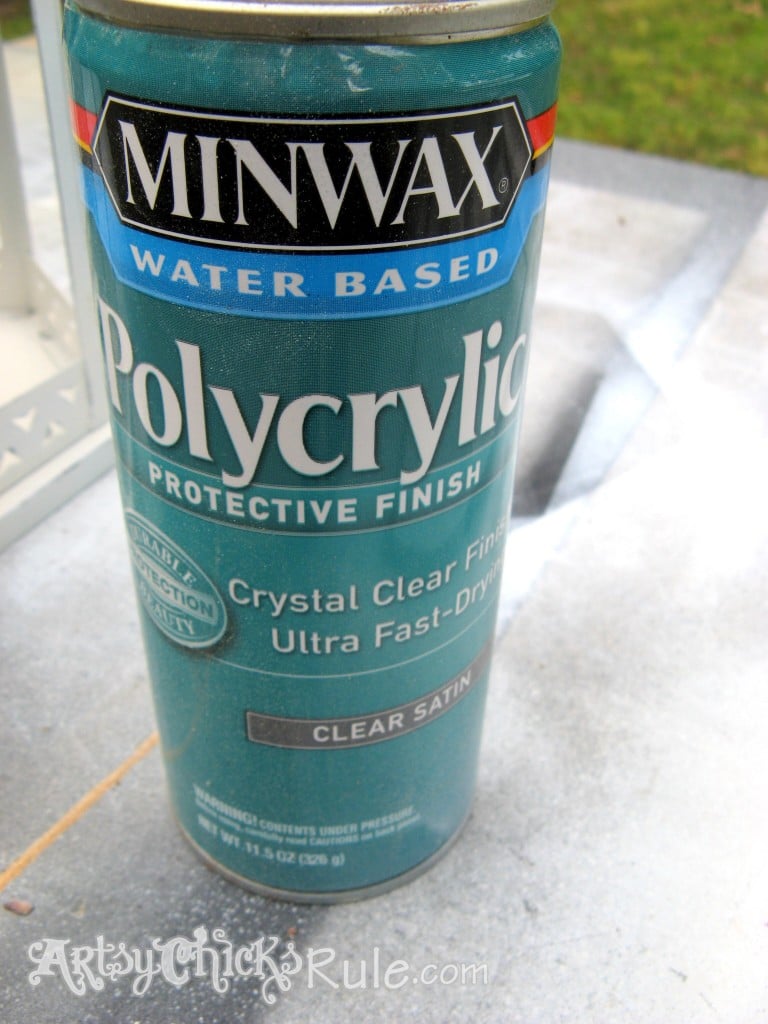
Once that was dry I sprayed the entire can (label and paint) with MinWax Polycrylic.
I did two coats, letting it dry between each coat.
Next up, a little Annie Sloan Dark Wax to “age” them. Or you can leave them as is if you like.
I wanted them to look “vintage” so I aged them. You could also use Brown Acrylic craft paint
for this step if you want. Just mix it with a little water and rub it on…and wipe it off.
(doesn’t take a lot…of either one)
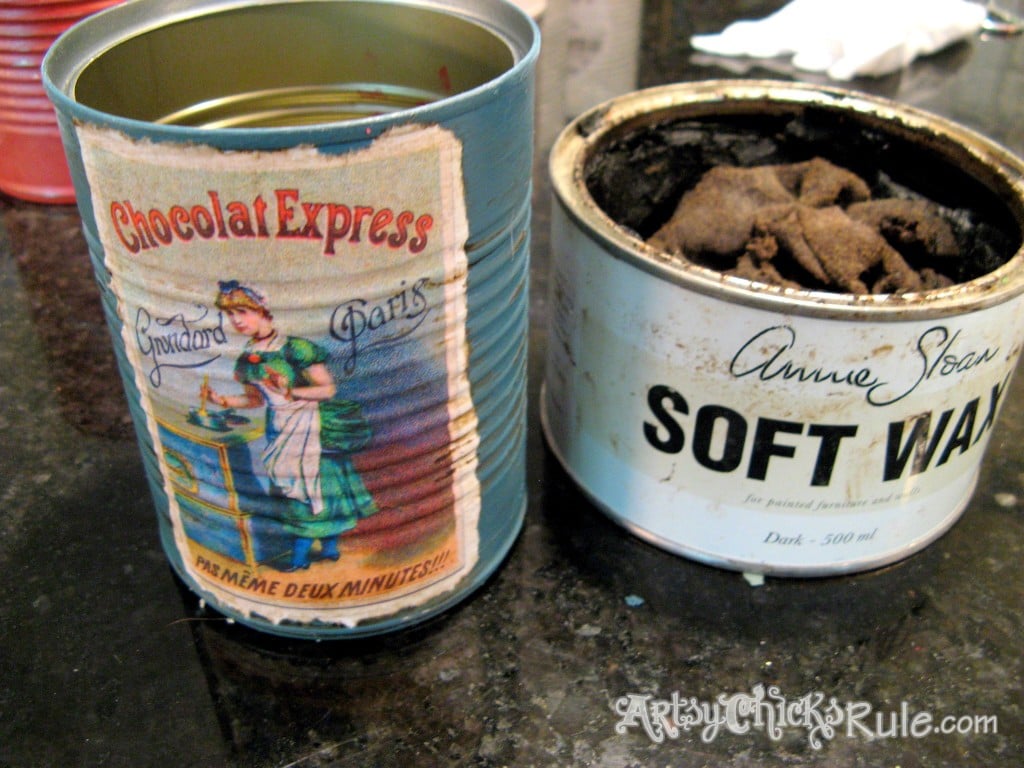
Isn’t that “aged” ripped edge just great? I love how they turned out.

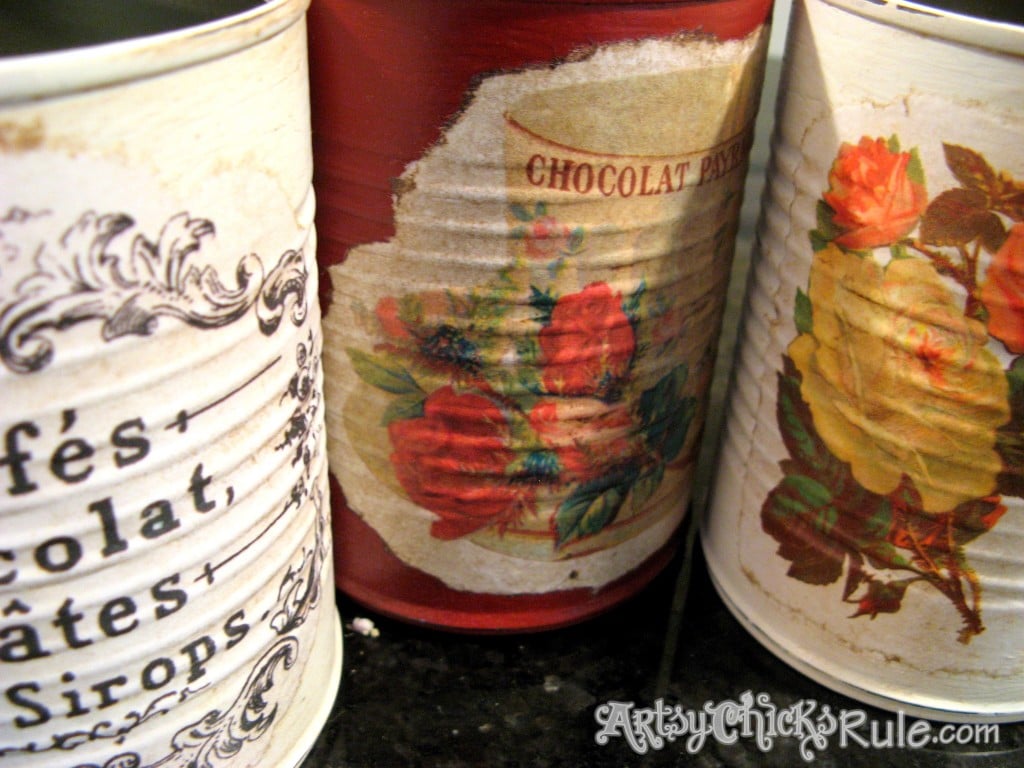
A little French, ohh la la & white……
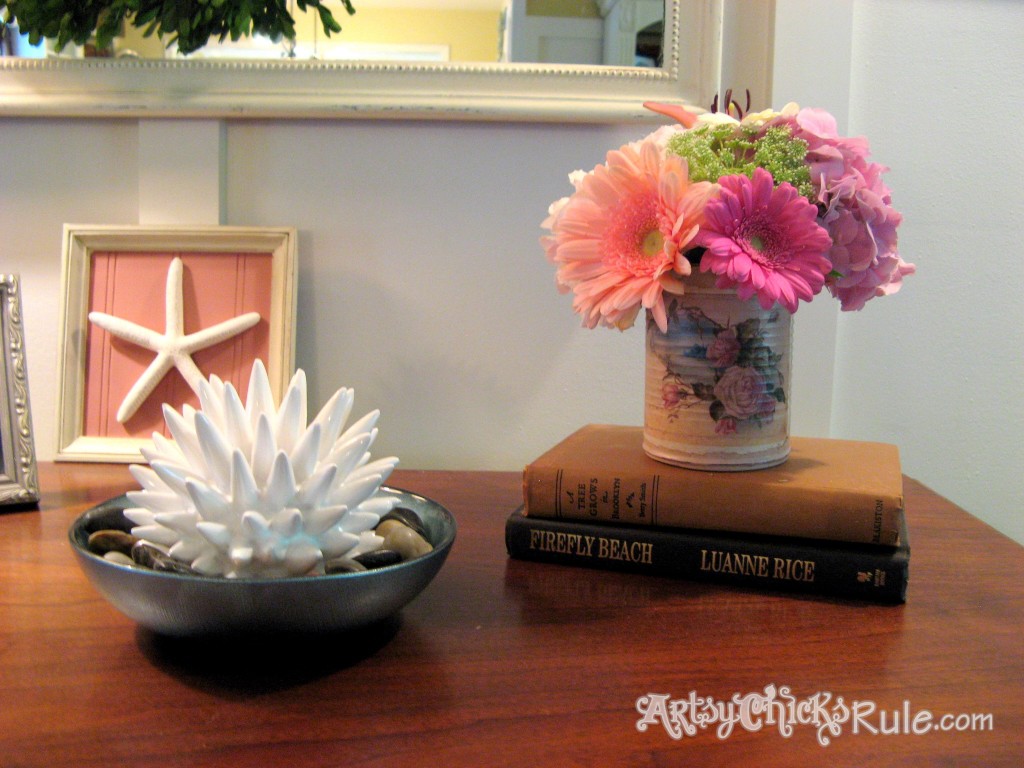
Or maybe floral & pink? Which do you prefer?
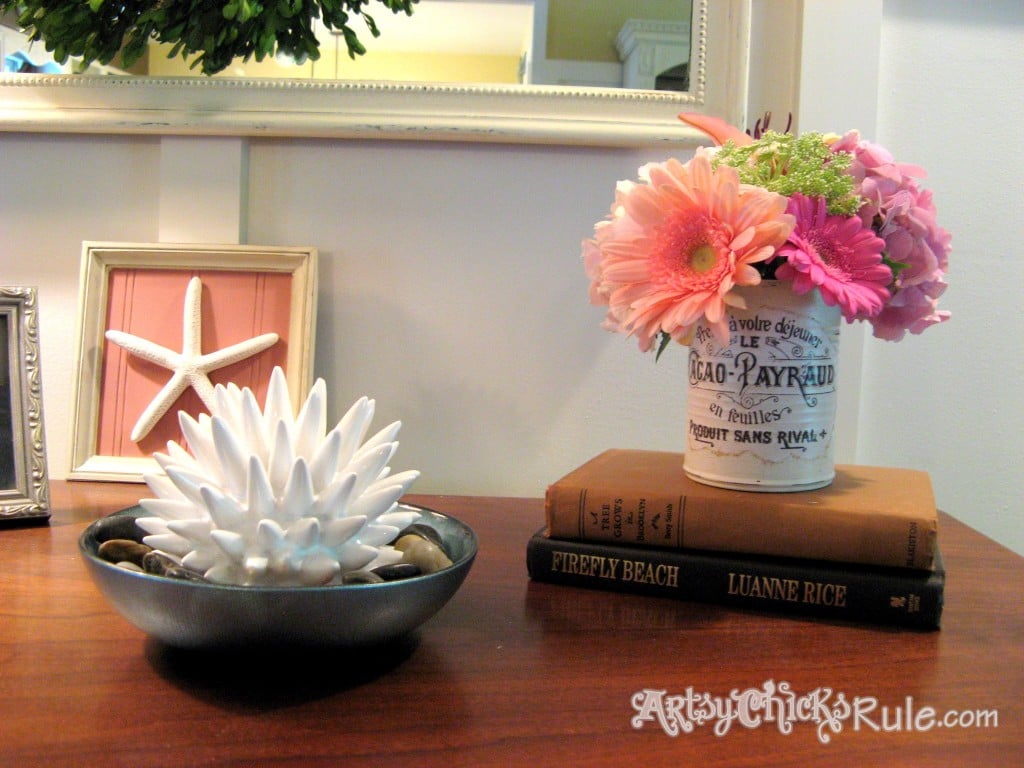
And did I happen to mention I made these in about an hour’s time total?
These tin can crafts are a super simple & easy, really pretty handmade gift for your Mom on Mother’s Day.
Those are the best kind….handmade.
I know, because I’m a Mother. :)
I treasure and appreciate every gift my children have
ever given me but the handmade gifts have a special place in my heart.
I hope you will give these a try!
For Mother’s Day or for any gift giving occasion.
They would even make great centerpieces for any special event.
Want to see even more ideas on simple updates with Chalk Paint (that aren’t furniture??)
Check out this post, here!
Which one is your favorite?




I want to come craft with you…You have the best ideas! Can we work that out? :)
I love this Nancy! ~Sonya
Haha Yes! Make a road trip up this way Sonya! I’m not too, too far…would be great fun :)
So pretty! How nice would that be to receive that for a gift? I can’t believe its already mother’s day in a couple weekends!
Yes, coming up quick! Now if the weather would just cooperate a little better around here. ;)
This is such a great idea! This would be a great teacher’s gift too. Hmmm…the wheels are turning. Thanks for sharing the tutorial!
You’re right Tricia…they sure would! :)
Love this idea! And thanks for the reminder that Mother’s Day is in TWELVE DAYS! Holy Cow!! May just totally snuck up on me this year. I better get moving…
I LOVE this idea!!! My daughter would love to make these. She is always wanting a craft project!!!!! Pinning :)
Thanks for pinning Christy! These would be a totally fun project for your daughter…I had fun making them! ;)
These are SOOOO gorgeous! I can’t believe they used to be soup cans! You are amazing!
~Abby =)
Aww thanks Abby :) Hope you are having a great week! xo
What a great craft to do with the kids! Much better than the macaroni can I got years ago!
These are adorable!!!! You could definitely get kids involved in this craft and you’re right, the handmade gifts are truly the best for Mother’s Day or any occasion! Happy Mother’s Day, Nancy! (I want a few for myself, too!)
So pretty – thanks for sharing at Monday Funday!
I absolutely luv these. Im new to chalk paint but i would luv these in my home. Thanks for the post.
Hello! Found this post via C.R.A.F.T. I am in LOVE with these cans. You did an amazing job and I am definitely saving tin cans from now on.
Hi Jen,
Thanks so much! It was a fun little craft to do with so many possibilities for design and use! Thanks so much for stopping by :) Nancy
This is awesome! It’s my first visit to your blog – and I love it!
Hi Tammy,
Thanks so much! :)
Nancy
Hello, I love this hand made craft, Im from latin america, I would like to know if you can give me some other option for the elmers glue, cause that brand is not known on my country, or maybe how is the composition or the consistency to look for some replacement, thank you very much ¡¡
Hi Carol,
Sure, it’s just a regular “school” type of glue. Basic white glue.
You could try Mod Podge if you have that available to you.
Hope that helps!
Nancy
Your cans are so so pretty, thank you for sharing!
Hi Sandra!
Thanks so much!! :)
Nancy
I’m surprised the dark wax adhered to the paper edges after they were sealed. Did you only put the was on that part of the design? Or on the entire can and then rubbed most of it off? I have not worked with chalk paint or was before.
Thanks. So cute!
Hi Karen,
Yep, it adhered just fine! I wiped it all over and then rubbed most of it off. I just wanted a touch of “age” to them. :)
Thanks!!
Nancy
This takes me back to the 70’s when we ran a youth club.
The church frequently had meat and potato pie suppers and the peas came in a very large tin.
We asked the members to save us the tins which we then got the children to make a bin for their bedrooms using pictures from magazines ,comics or pop star magazines.
I’m 63 now so it shows that what goes around , comes around.
No Graphics Fairy in those days though!
OH that’s so neat Shirley! I remember the 70’s was big on recycling so that makes sense! I am sure I probably made something similar as a kid back then (although I can’t remember back that far much anymore! ;) )
Hope you have a great weekend!
Nancy
Lovely :)
Thanks so much Anette! :)
Nancy
Hi there!
What type of printer did you use? A normal inkjet one or a laser printer? I LOVE this idea!!
Hi!
I just used a regular ink jet printer. Nothing fancy!:) Thanks, it’s a super simple (and fun) little project.
Nancy
Did you resize the graphics? If so, how did you do it? Thanks
Hi Laura,
I just saved the graphics to my computer and then printed them out in the size I needed. Most programs will let you change the size of the photo. (usually you just click on it and size it right there in the window before printing, or sometimes it will have pre determined sizes to change them to depending on the program you are using)
Hope that helps!
Nancy
What a really great idea, Nancy! Again, something I’m sure I would never have thought of!
I’m especially fond of the French graphics! xo
These are so fun and easy to do! :)
Nancy
I want something more to protect the wax color/finish. Can I apply another layer of poly over the wax? Water based?
Hi Lisa,
You can apply poly *instead* of wax. But you can’t apply poly over wax because it won’t adhere. If you want more protection, you can try several coats of wax (drying about 3-4 days in between) -OR- several coats of poly instead. Either/Or.
Hope that helps!
Nancy
Thanks so much for the reply!
Ty so much for such an awesome post, I’ve read many, and very few with such good, detailed, clear instructions 👌!!
I’m so happy it was helpful to you! xo
Well…I’m running a little behind on finding you, but be still my heart…Wow! Do you pour out the Elmer’s glue for just one label at a time? Hint on how much water you add or what consistency the glue should be when you’re ready to apply with a paint brush or sponge? Once you start to the can with your label…how do you smooth it on so that it stays straight…follows the grooves of the can…no wrinkles? Does the moisture of the glue/water seep through to the front? If so, do you pat it with a soft cloth or paper towel to absorb some of the moisture? Sorry to ask so many questions at once. Looking forward to getting started on this new adventure. Hugs! bp
Hi Billie! No, I made the mix for all at the same time. I’d say you want it to not be runny but runny enough to spread easily. (unlike it in its regular state) I used a brush.
I carefully followed the grove of the cans so that it would be smooth and evenly attached. (smooth in the grooves, not otherwise) It depends on the paper you use and how much of the glue mix you use whether it will seep to the front. It can.
I wouldn’t pat with a towel because you may mess up the print, just use your brush to lightly brush and even it if it comes through. Very carefully as the paper can tear, etc! :) Good luck and have fun!! xoxo
How do you remove the glue from the cans (after the original label (ie – Progressive) has been removed) before you even start your project?
Hmm, I didn’t run into that but if all else fails, you can try sanding to remove it. Or to just smooth it enough to paint, etc.