DIY Coastal Wall Art (Trash to Treasure Archives)
Hey guys!
My friends and I are back today for our “Best of the Archives” series.

Today (on my 29th birthday, that I might have mentioned in my email to y’all this morning ;) ) I’m pulling this old project out for another looksie!
And I’m also pulling y’alls leg too!! 29, lol…there is a “9” in my age this year but no 2 in sight!! :)
Anyway, this was a project that I really loved and I’m super excited to bring a little bit of attention to it.
By the way, you can decorate your entire home with thrift store and/or garage sale finds like this.
Not even kidding one bit.
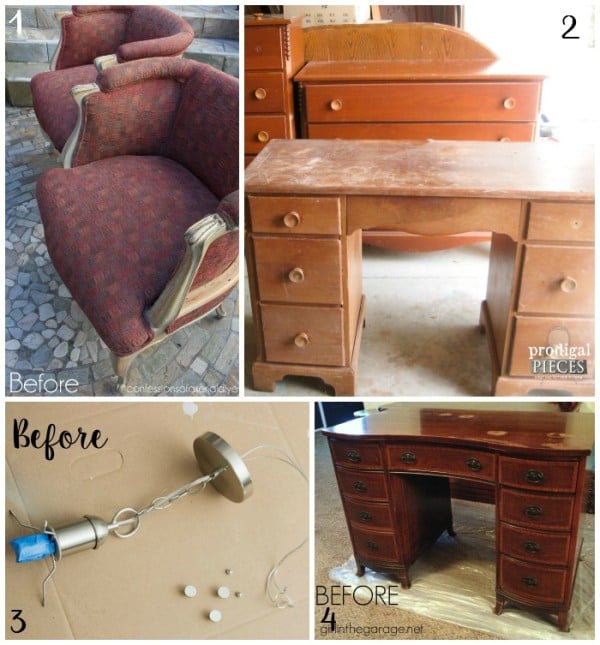
Some of the things you find may need some work, such as these……
….but that’s okay.
Pretty much everything I share on my blog is do-able by all.
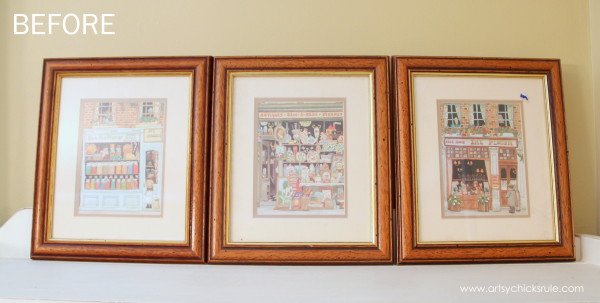
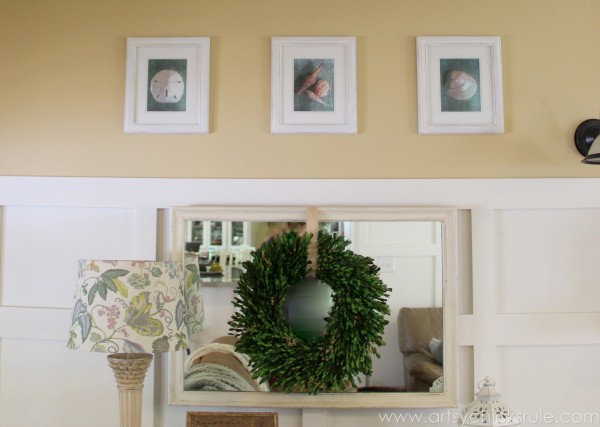
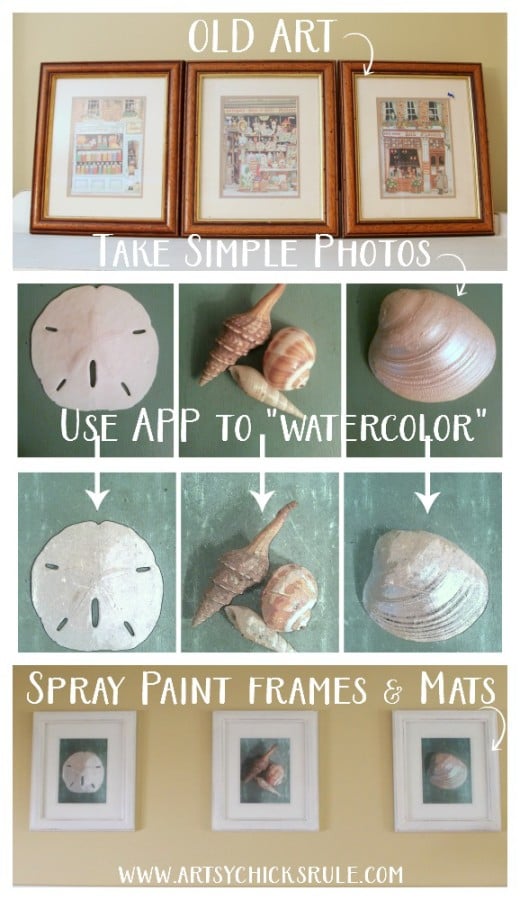
So I found those old, dated prints at the thrift store and decided to create new wall art with them.
My home is filled with coastal decor so I decided to take a few pictures of seashells to put in the frames.
But I didn’t stop there.
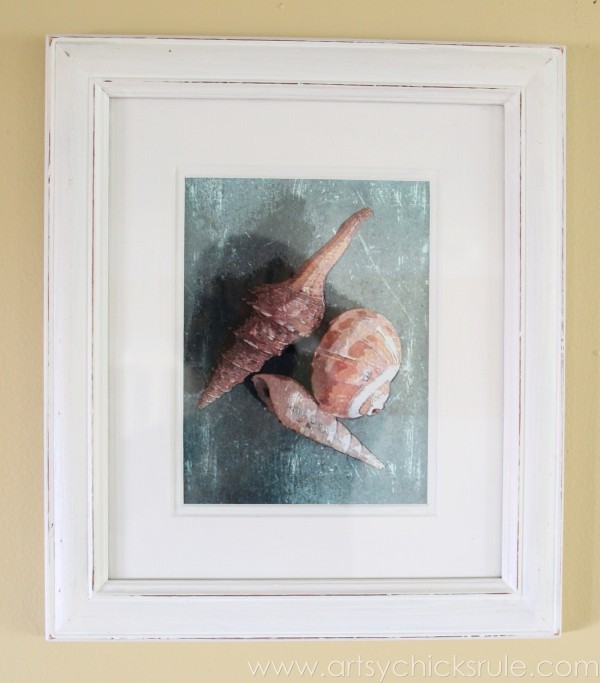
I decided to create the “look” of watercolor instead.
There are so many apps out there nowadays to do all these things more simply, so why not?
First, I took pictures of shells, sand dollars, etc, that I already had.
I placed them on the colored background that I wanted for the prints (which just happened to be the “Coffee Bar” I created). You can read about that –> here.
It was the perfect shade and I’m so happy with how the background looks in the photos.
Seriously, y’all, can it get any more simple than that?
I had a Samsung Note 2 at the time and the app I used came on the phone.
It was called “Paper Artist“.
The selection I chose once in there was “Noir Note“.
I know there are similar watercolor apps on iPhone too.
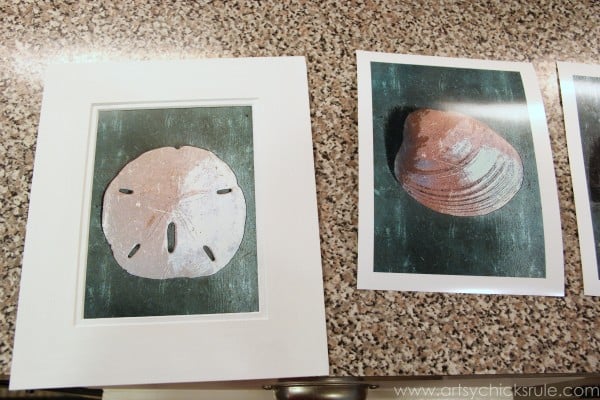
You can see below how they looked before I used the app to change them into the “watercolor” effect below….
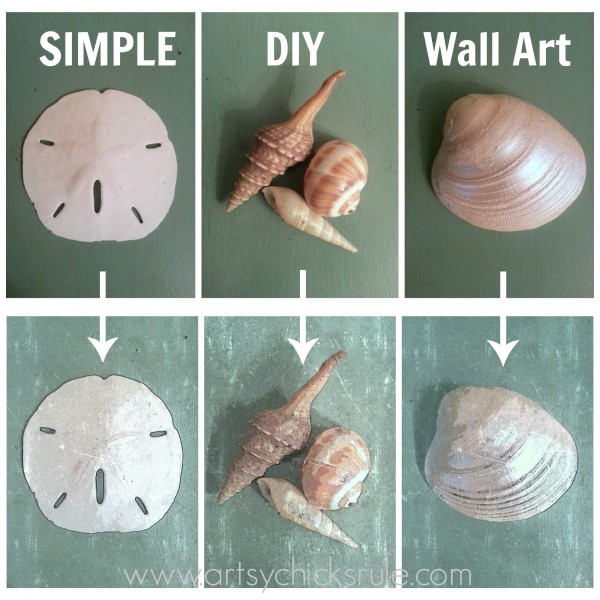
Crazy cool, right? I LOVE how it changed them.
So, to recap, I took the photos with my phone, changed them to “watercolor” in the app and sent them to myself through email.
I saved them to a thumb drive and printed the “photos” out at Target.
E A S Y
Next, I removed the mats from the frames….
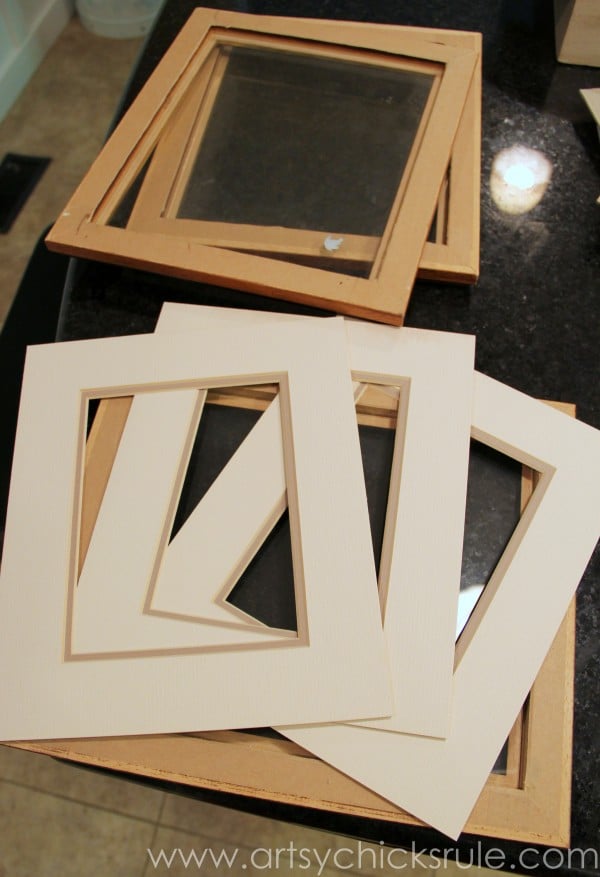
Then painted them with Pure White Chalk Paint®.
I didn’t seal the mats because I wanted them to have a “matte” look and also because they would be protected by the glass anyway.
I painted the frames with Pure White also and sealed them with a quick spray of Minwax Polycrylic.
The mattes were beige with a tan trim border and the frames were wood and gold trimmed.
Dated, right?
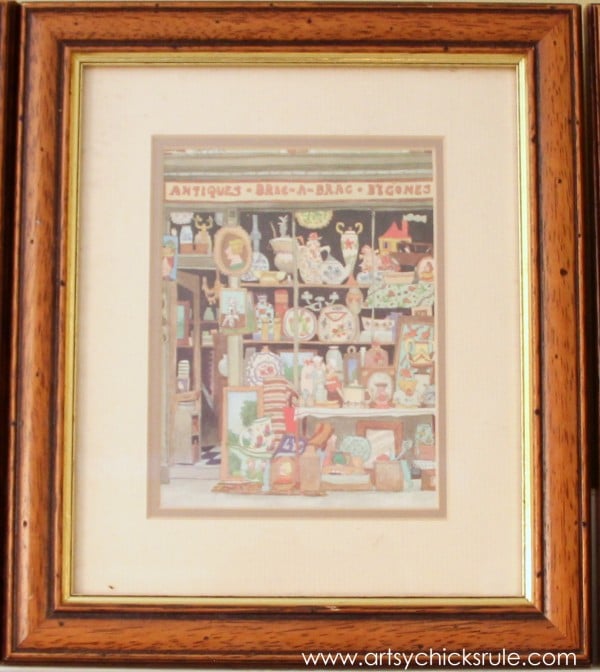
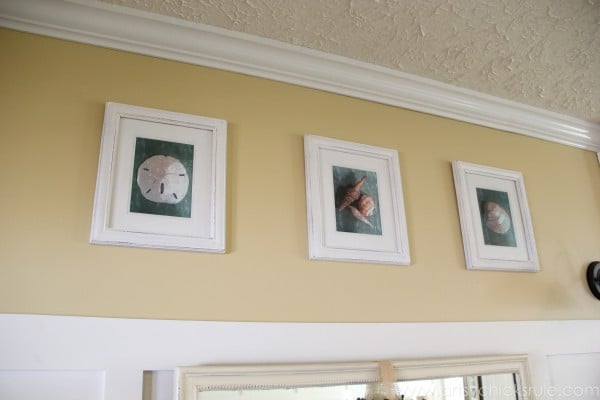
And like brand new with a little paint….
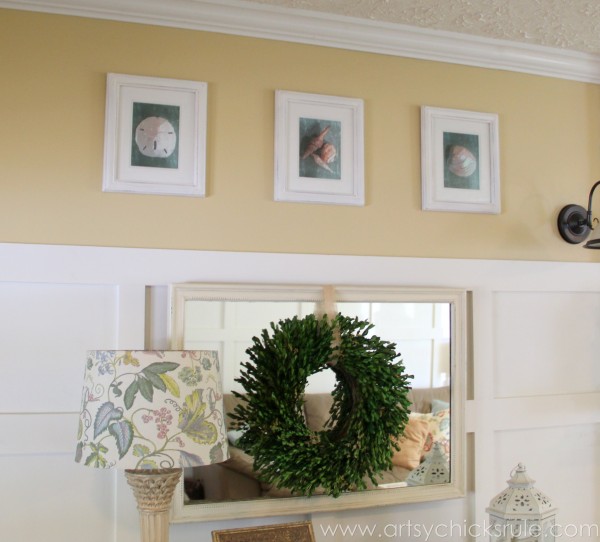
I put them back into the painted frames….
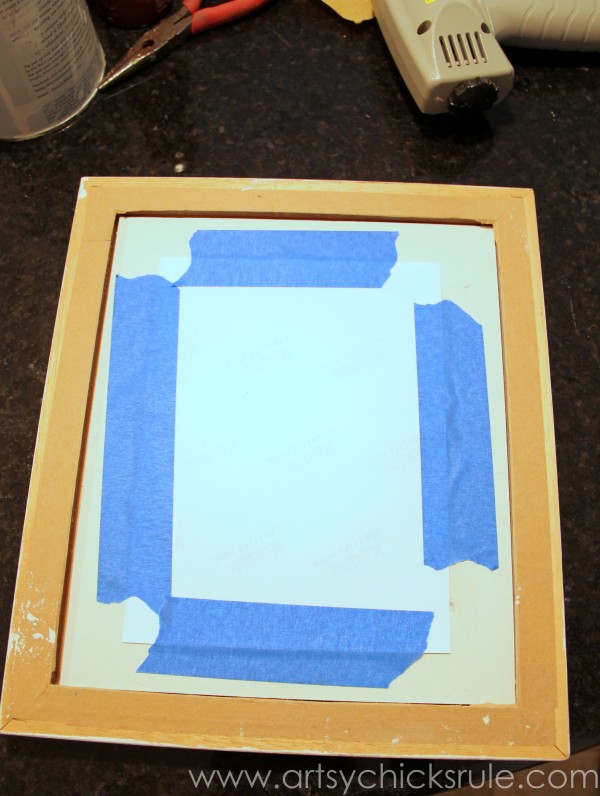
..and stapled the cardboard backing over that. (cardboard backing that was originally there, not shown)
Such an easy and inexpensive way to get really pretty and unique wall art.
You could even create floral prints, if that’s more your thing.
So many possibilities!
A few close-up “beauty shots”….
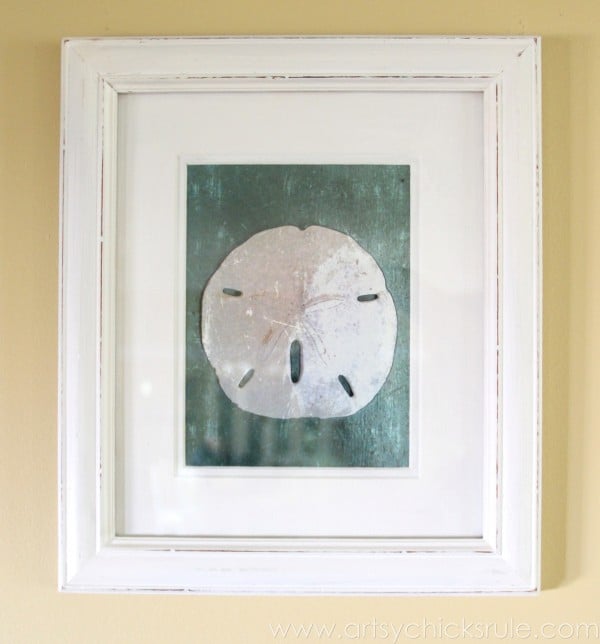
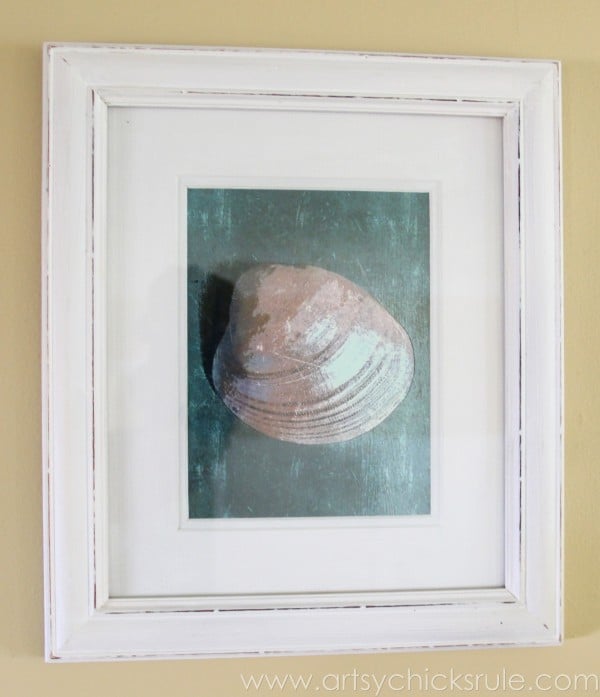
Would you ever guess what they looked like before??
Very budget friendly decor.
Think you might give it a try? I hope so!
I’m so happy I was able to share these again!
They are one of my very favorite projects on the blog!

Now it’s time to see what my friends decided to pull outta the archives this week……
We are also have a GIVEAWAY!
Let’s see your garage sale, thrift store or Craigslist find! Share it with me and my friends over on Instagram with the tag #TrashToTreasureTransformation! The winner will be featured on all 5 Instagram accounts AND wins a prize pack from Fusion Mineral Paint!
Yay! Good luck!!
Follow along! –> Instagram ~ Facebook ~ Pinterest ~ Bloglovin
")

")


")


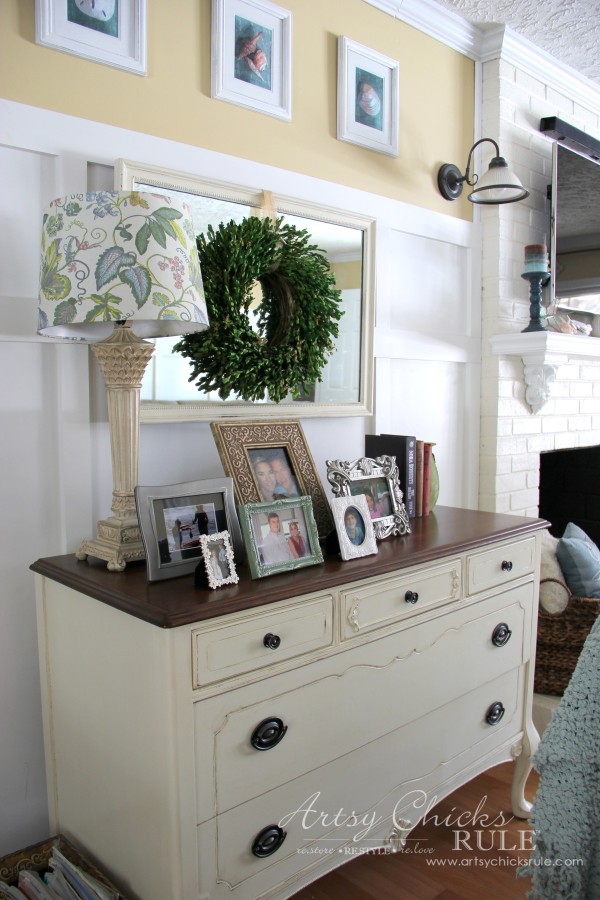
Happy Birthday Nancy! Wishing you a special day full of fun to celebrate the beautiful creative person you are! You’ve become a friend through your sharing! I love how you transformed these thrifty frames and added your own personal watercolor shell photos! I would love to try this! They’re perfect accents on your wall and complement the painted piece below it too! Thanks again for all the inspiring ideas you share!
❤️ Lynn
Thank you so much Lynn! :)
Your words are so kind and mean so very much. And yes, I feel the same! It’s so nice to have connected here with you! :)
And oh yes, do try these! You can use any type of photo you like. So many possibilities really!
xo
Nancy
hey girl this is so cool!
Thank you Shawnna!!
Absolutely amaaazing!! I love the simplicity and impact this project has, Nancy. Pinning!
Thanks Larissa!! Yes, very simple too! :)
Nancy
I love this! It’s probably one of THE BEST little makeovers I’ve seen with frames. Who doesn’t have a stash of these leftover?
We’ve just returned from a cruise and I always take pictures of shells, sand, driftwood, tide pools and small boats tied up….
I knew I wanted to use my own photos and your “watercolor” feature is just the inspiration I needed.
Thanks bunches!
Aw thank you Zanetta!Oh your photos would be perfect! How fun! :)
Nancy
I still love this makeover! I remembering pinning it then to try myself and never did it. I need to give it a try! XO
Thank you Christy! :) This is one of my all time faves. Yes, you need to try this! :)
xo
Nancy
Happy Birthday to you, Nancy! These are prints are amazing and I never would’ve guessed that they started out as cell phone photos!
Thank you Jen :)
xo
Nancy
Happy Birthday Nancy!
Thanks for sharing and I would love to try this – so tell us – will you bring your table to us or do we go to your house (joke).
Beautiful job – Enjoy your day!!!
Thank you Mickey!
Would love to see if you do try this. :) (I think you can use any color background ;) )
Hope you have a wonderful day!
Nancy
Loved the “watercolor” app you used for your shell pictures, Is there a way this can be accessed online? I don’t have a phone that can get apps. I do original watercolors and this app certainly gives a very real WC look, your pictures are beautiful and look like something from a very high-end store. I see that you used the Mixwax Polycrylic spray on the chalk paint on the frames, have you ever used this finish (spray or in the can) on chalk painted furniture? I plan on chalk painting two older pine pieces (using the home made chalk paint with the calcium carbonate) and would prefer to use the polycrylic instead of the wax if possible in case I ever wanted to repaint the pieces and getting the wax off before repainting sounds like quite a job.
Hi Jill,
I wish there was. I’ve looked myself. I actually updated my phone not too longer after that (and several times since ;) ) and I’ve never had that kind of app included on my phone since. (same phone, all Samsungs)
As far as the spray polycrylic, I would spray anything with that other than small crafts or maybe a spindle type chair. (for ease) Regular furniture pieces are best done with a brush or sprayer (as in paint sprayer). It’s just hard to get a nice, even finish with poly out of a spray can for bigger pieces. BUT you absolutely don’t have to use wax. I don’t use it much anymore as a finish. Mostly when I am creating a decorative finish or just every once in awhile. My favorite finish is General Finishes High Performance Top Coat. I’m planning on writing a post on some of my favorite finishes for Chalk Paint or chalk style paint, soon. Stay tuned! :)