DIY Coordinates Sign
This DIY coordinates sign is perfect as a gift or even for your own home!
Hello sweet Friends!! :)
Today I thought I’d share a brand new sign with you. Yes, I know, I must really love signs!
And if you’ve been around any length of time, you know the answer to that! ;)
YES.
Today’s sign is kind of fun and was inspired by one I saw in Charleston, SC a few years ago.
I’ve wanted to make one ever since….a DIY Coordinates Sign.
I also have an announcement.
I’m joining up with some other very lovely ladies to bring you a themed project each month!
I’ll be sharing my own themed project along with them AND sharing a link party so you guys can join in too.
OR if you are a reader, you can visit the party and see fun new projects gathered for you all in one place.
How great is that???
The party is called “Get Your DIY On“.
You may already be familiar with it.
Anyway, I’m pretty excited about it. :)
DIY Coordinates Sign
So here is my new sign…… (theme is “lettered/numbered” projects)
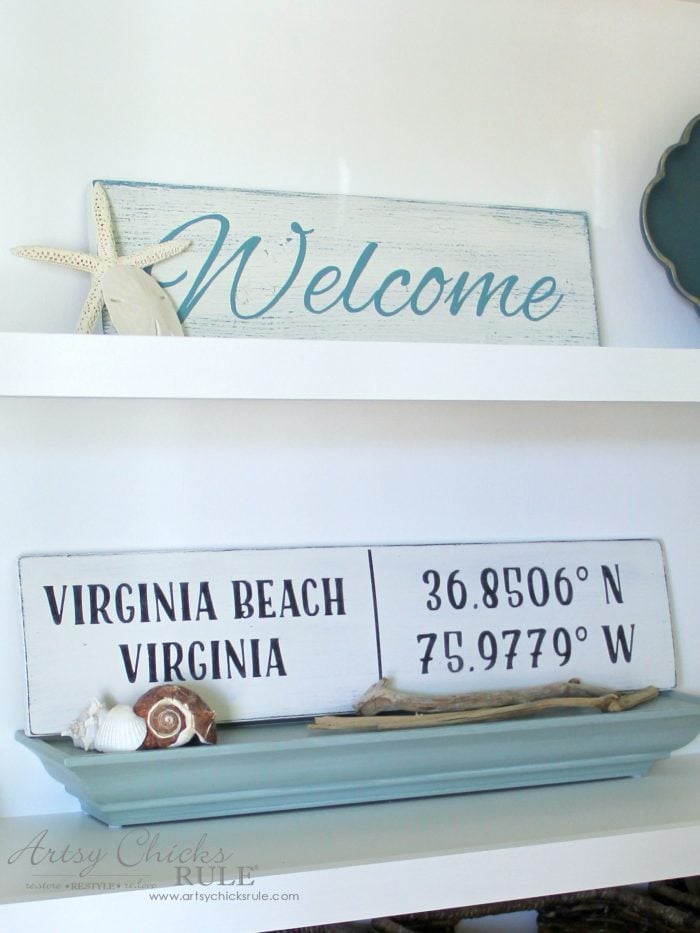
This was such a simple project, y’all.
Not even kidding.
I did it using my Silhouette Cameo. I haven’t really used it often but I think that has all changed now!
Ever since I realized I can move my own creations over into the program…well, it’s a game-changer.
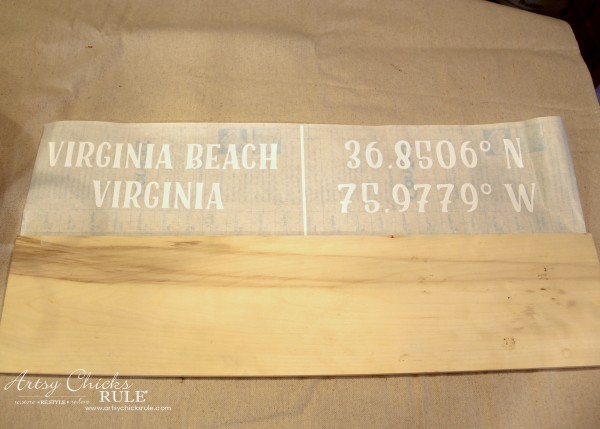
I found this old board in the garage that would be perfect for the sign.

As you can see, I’ve already cut out my graphic.
I created it on my computer and transferred it over to my Silhouette to cut.
Want to see how easy it is to use your own designs inside of Silhouette? Click here >>> How To Import Your Own Designs Into Silhouette Cameo.
Or you can also use any of these transfer methods to do it if you don’t have a Silhouette machine.
M A T E R I A L S L I S T:
Black Paint (any kind will do)
White Paint (any kind will do)
Small Paint Brush (these little brushes are awesome…and comfy in the hand)
Silhouette Cameo (nice bundle)
Vinyl for lettering
Transfer Paper
General Finishes’ High Performance Top Coat (Love this stuff! I use it for furniture and everything in between)
Sandpaper to distress
…………………………………………………….
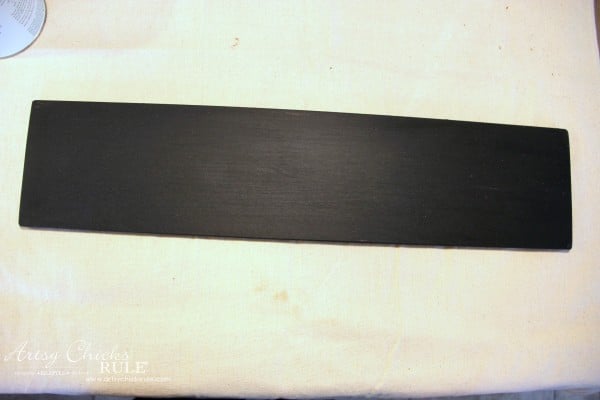
First, start by painting the board black. You can even use spray paint for this step.
I used General Finishes Lamp Black.
Next attach the vinyl lettering after you’ve cut it out and applied the transfer paper.
Be sure to align it correctly.
I always measure top and bottom of each side … plus side to side.
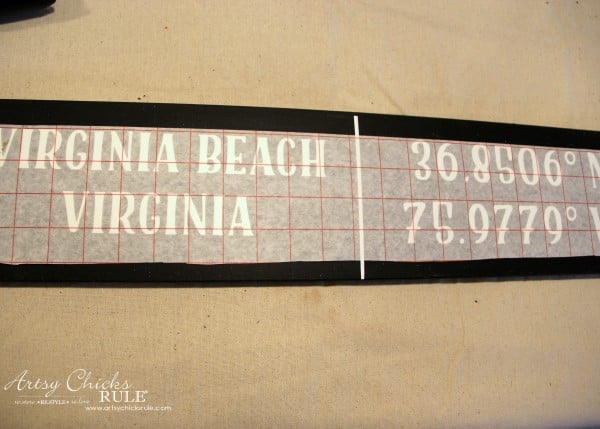
Rub it well to adhere the letters to the board and remove the transfer paper.
This is what you are left with.
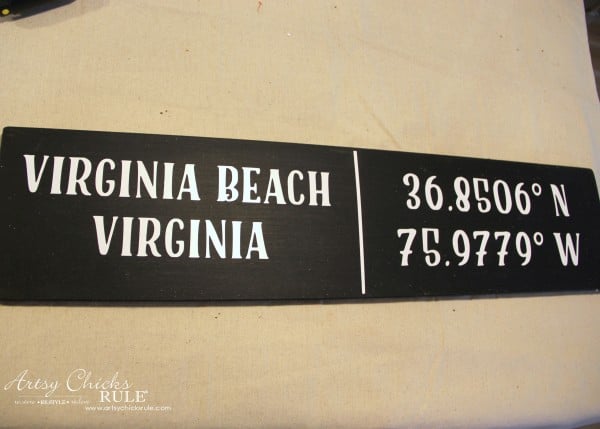
Not bad and you could stop there.
OR you could paint the board white and do the lettering in black vinyl and be done.
BUT I wanted it painted with a worn look.
Next, apply white paint right over top of the vinyl lettering.
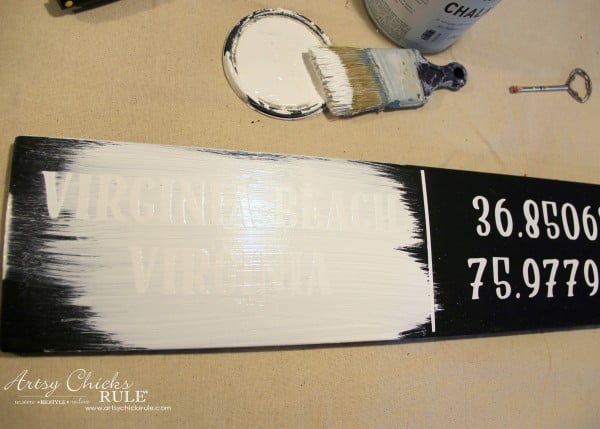
I used Chalk Paint in Pure White. Any paint will do.
Then before the paint fully dries, carefully remove the vinyl letters.
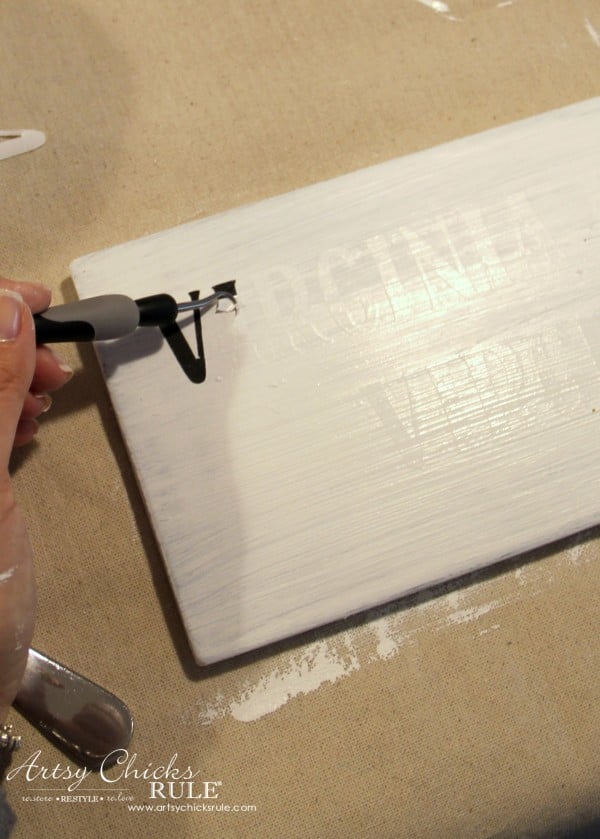
Silhouette has this nifty little tool for this.
I do believe it’s included in the bundle I linked above.
By the way, I only used one coat of white because I wanted the black to show through a bit.
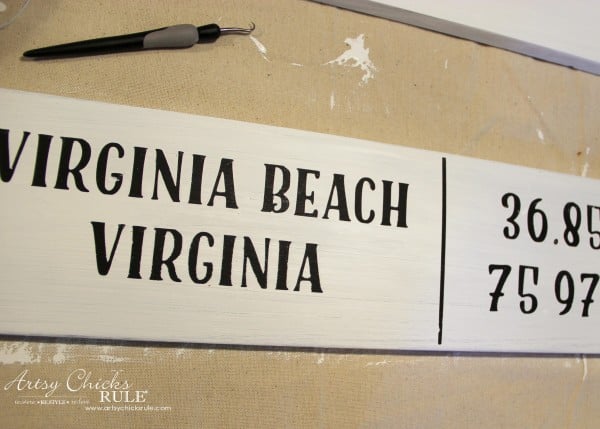
Above photo is before I sanded and distressed.
I used a fine grit sandpaper and went over the entire thing.
Basically the idea is to soften the edges of the lettering and bring some of the black through for a worn, aged look.
Want even more ways to transfer?? Check out my “How To Transfer Graphics” post! (sharing all the techniques I use)
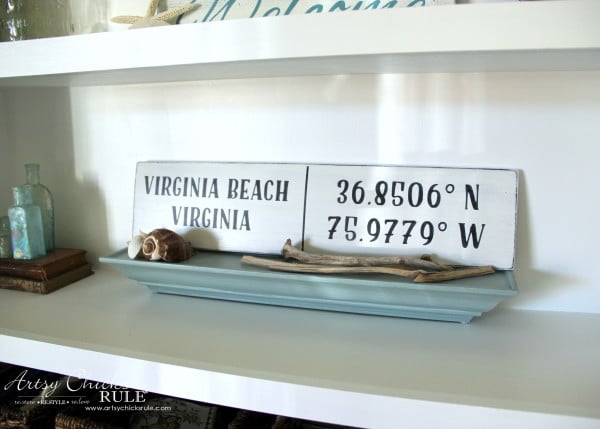
After sanding, I applied the High Performance top coat I linked above.
Be sure to wipe away all of the sanding residue before you apply the finish coat.
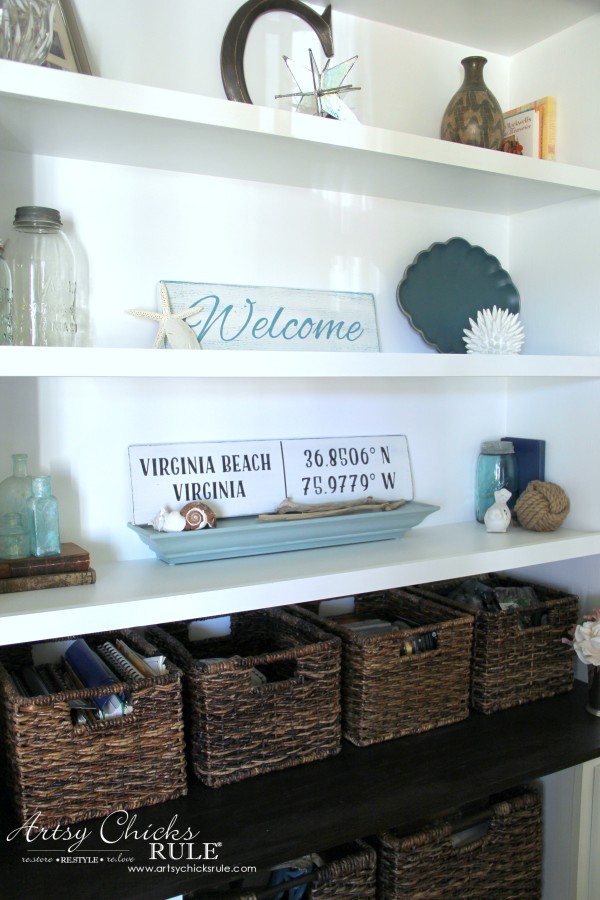
Clearly I love and use those baskets! ;)
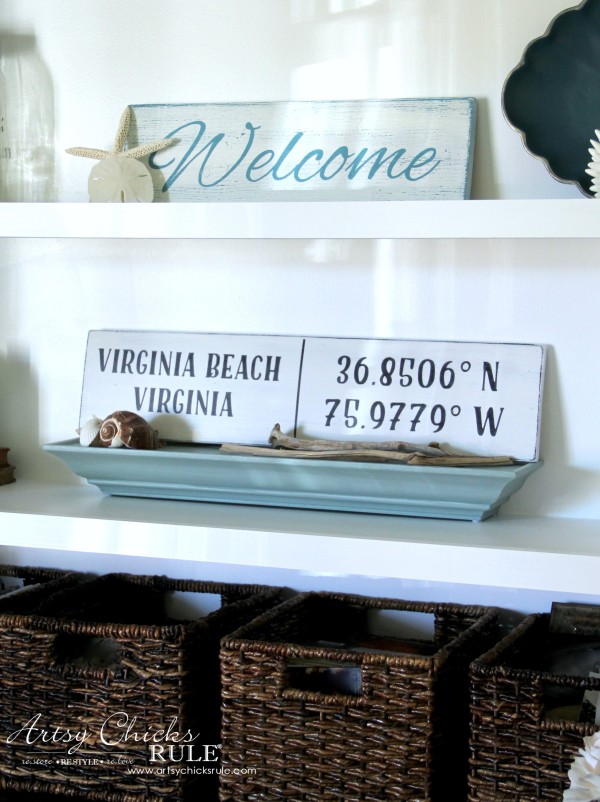
This was a really simple sign.
Perfect to make for a unique gift for someone, maybe housewarming, new to the area, etc?
Or even for your own home!
PIN to save this for later! :)
Now it’s time to see what my Get Your DIY On co-hosts came up with for this “lettered/numbered” theme:
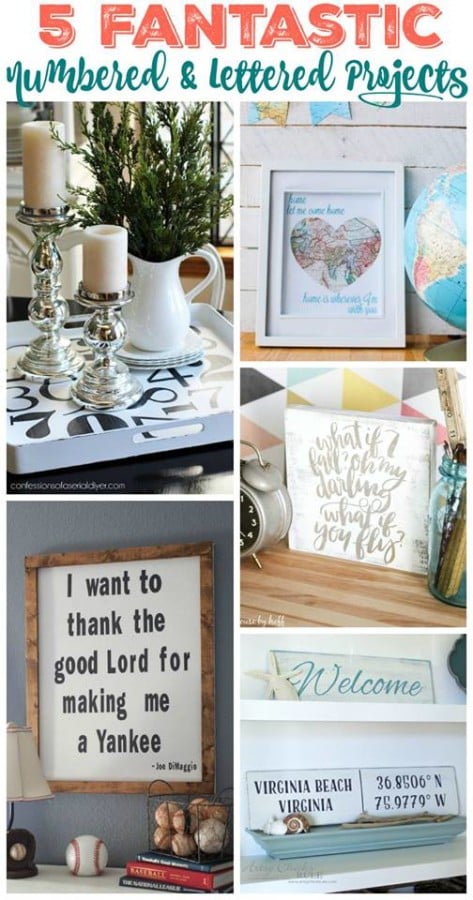
Artsy Chicks Rule – “DIY Coordinate Sign” (my project)
Confessions of a Serial DIYer – “DIY Numbered Tray”
The Happy Housie “Home is Wherever I’m With You Free Printable Art”
The Hankful House – “Wood Baseball Sign”
House of Hoff – “How to Make a Rustic Sign”
I’ll be back later on this week sharing what I did with this! (it got a brand new look..and use!)
UPDATE!! See it now, here!
xo





I LOVE this! I want one for me, and I don’t even have to look up the coordinates…I’ll just use yours. Welcome to the party!! :)
Haha!!! Yep, you sure can!! :) Thanks!!
Nancy
Okay, this is adorable!! I have to get onto using my Silhouette – you made it look so easy! So thrilled that you are joining us Nancy!!
Thanks Krista! :) Yes, I’ve had mine for a couple years now and for the most part, it sat unused. No more! :)
xo
Nancy
This is great, Nancy!! And you can import your creation from Pickmonkey?! Who knew? So glad to have you on board!!
Thank you April! :)
Nancy, HOW COOL IS THIS?!?!?!!! Everything you do always has that creatve “edge” that sets it apart from other similar projects. This is a winner!
Hi Judy!
Thank you so much!! :) Really means a lot!!
xo
Nancy
Looks so good Nancy I just came across something at Michael’s yesterday and bought its by Hazel&Ruby, it’s a stencil mask, I just used it last night on a D I Y table for granddaughter. I was watching some utube videos on different things you can do with it, have you heard of them hazel&ruby? Great diy Nancy!!
Thank you Sandra!
No, I have not heard of that at all. Will have to go check it out! :)
xo
Nancy
I love this whole sign thing you have going! I have always loved signs but never attempted one, until I fell in love with your blog. Now I need a Silhouette! BTW, that blue plate on the shelf, I have one just like it and also painted it blue! Was it a pewter tray?
Aw thank you Carol! :)
Yes, the Silhouette makes it SO easy! And no, it was actually a pottery piece, believe it or not. Someone made it and never finished it. I found it at the thrift store (it was white and unpainted)
I really love the shape of it!
xo
Nancy
I love the latitude stuff on the sign. That gives it cool edge..
Thanks so much!
I am having such a difficult time with PicMonkey. I’ve spent days on it and just cannot figure out the pixels, etc. Very frustrating. Love your Coordinates sign!!
Aw I’m so sorry! I don’t really mess too much with those particulars when creating signs, etc. Just try going for the shape you want and go from there.
Nancy
Hi Nancy, I’ve tried many times to open a couple of your posts on Pinterest but they won’t open. They are:
1) The words Beautiful and Blessed and a third word that I can’t see because of popups that cover it. These are in cursive.
2) Your post/board: ” Creative Ideas — Decorating with Stencils.”
I realize you posted these last year but is there any way you can retrieve them and email them to me as attachments or, if not, a link that definitely will open them up?
I really like these and hope you can help me out.
Many thanks,
Becky Bond
Oh no, I’m so sorry Becky! I can’t imagine why? I don’t have any pop ups so there shouldn’t be any. :( What do the pop ups look like? Do you mind telling me what they say?
Here is the first post I think you are referring to :
https://www.artsychicksrule.com/2015/11/grateful-thankful-blessed-diy-weathered-sign.html
I think the other one is a pin that isn’t from my site, on my board Creative Ideas. I’m sorry, I don’t know which one that is. I don’t have a post titled “Decorating with Stencils”.
Nancy
Love this sign!!! Was trying to find something to make mother-in-law and this is great!!! What font did you use?
Thanks Christina! I just searched through my fonts but couldn’t figure out which one I used. I have added so many fonts since then so it’s tough to find! Sorry! BUT I did come across this one that I thought it was because it’s so similar. Search it on google and see what you think. Caferus Basic.
Thanks!!!! I found some other “beach” font and can’t decide what to use now.
Love the blog can’t wait to read more.
Oh, haha, that is always the dilemma! So many beautiful fonts out there! And thank you!! :)
Hi Nancy. Love this. Did you use permanent vinyl or temporary vinyl?
April
Thanks, April! Well, for this one it doesn’t really matter since it will be removed. (I don’t remember, sorry!) Temporary would be ideal for this type of project though.