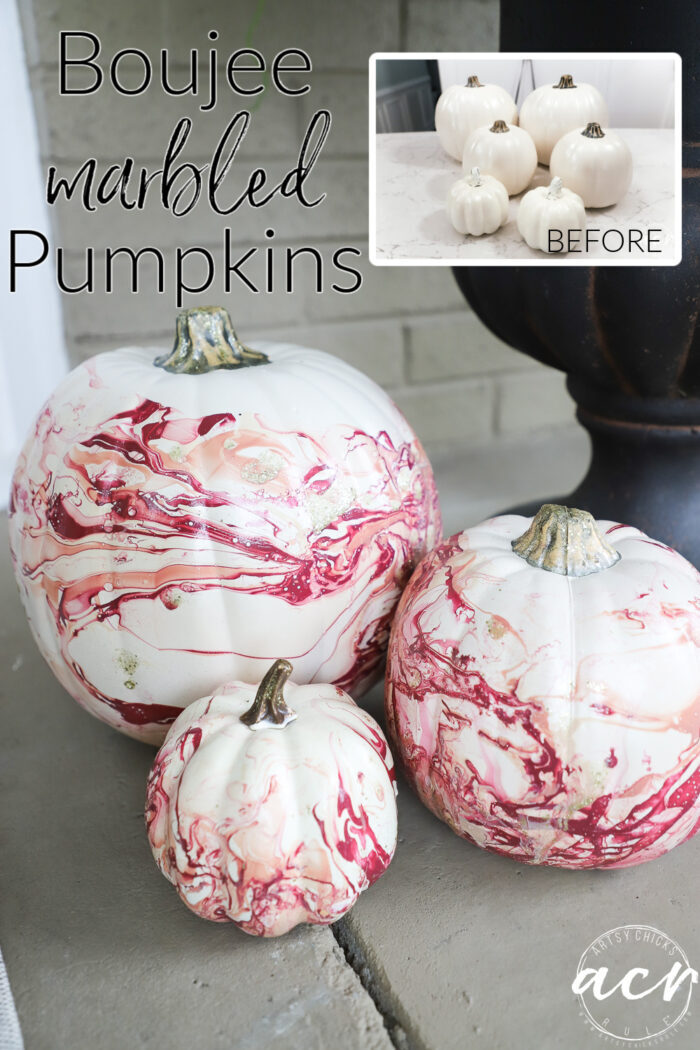
Boujee Marbled Pumpkins
Make these boujee marbled pumpkins, so easy with nail polish!!
Hello and happy Friday wonderful friends! I hope you are having a great week. Fall is such a beautiful time of year. So many fun festivals and such. We have had varying weather here on the coast of Virginia. Some are cooler temps and some are still quite warm. I don’t mind! ;)
Today I’m sharing “Boujee Marbled Pumpkins”. I didn’t do a lot on my porch this year and I just felt like I needed a little something more.
I really had fun making my marbled coasters and thought, hmm, I bet I can do that on pumpkins too.
Did you miss the coasters?? You can see that fun project, right here.
I thought maybe I’d use regular paint then thought it might not work as well. And hey, who am I to mess with what works, right?
Nail polish (like I used on the marbled coasters) worked really well.
So I hopped on over to my local Dollar Store (cheap!) to see if they had the colors I needed. And I can not believe it but they had 3 colors that couldn’t have matched better. (and they didn’t have many so, just wow!)
Let me show you how I did it.
Boujee Marbled Pumpkins
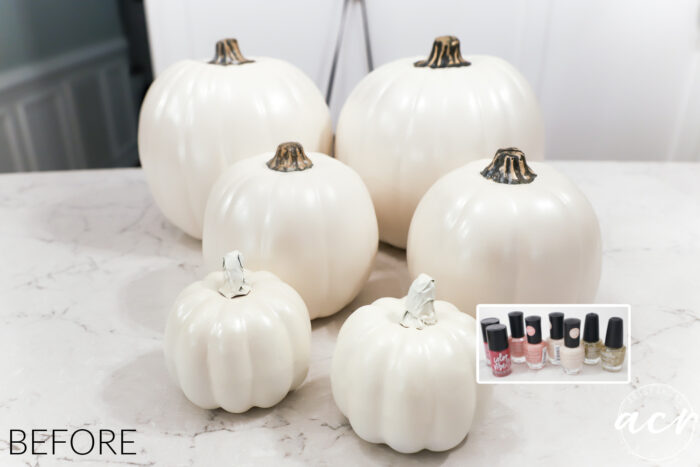
I went to Michael’s and bought the 4 larger pumpkins at 50% off. Then stopped by the Dollar Store for the nail polish and found 2 smaller pumpkins. Win!
Except the two smaller ones were orange. So I spray-painted them to match. (I forgot to take a photo of them orange)
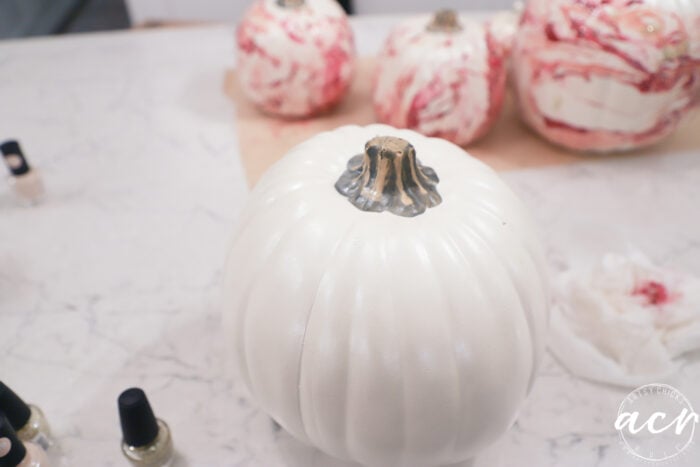
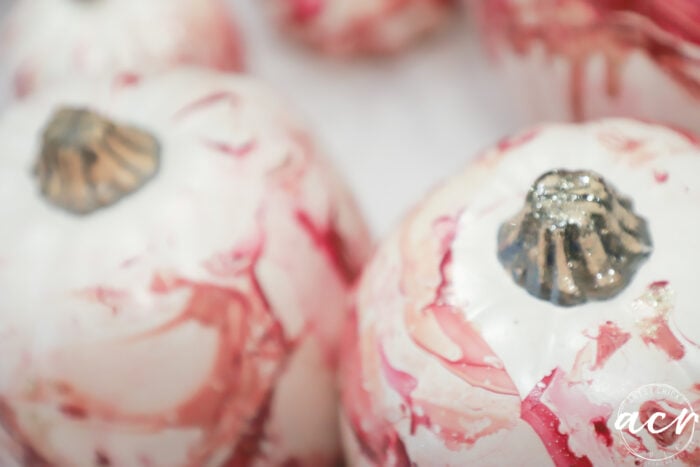
If you notice that shimmer on the pumpkins that’s because these are “boujee” pumpkins so I sprayed them with a “shimmer” ivory spray paint to give them a little zing before I did the marbling.
This is the paint I used to shimmer them up.
This is a SUPER EASY project. I hope you give it a try! You can do it on pretty much anything so if you don’t want to do pumpkins, do something else.
Here are the paints I picked up…
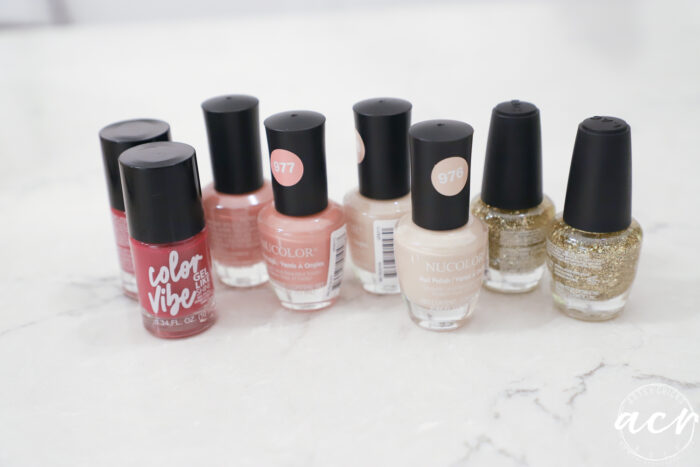
I had two bottles left with polish. It took the rest of these to cover them all. ($1.25 each)
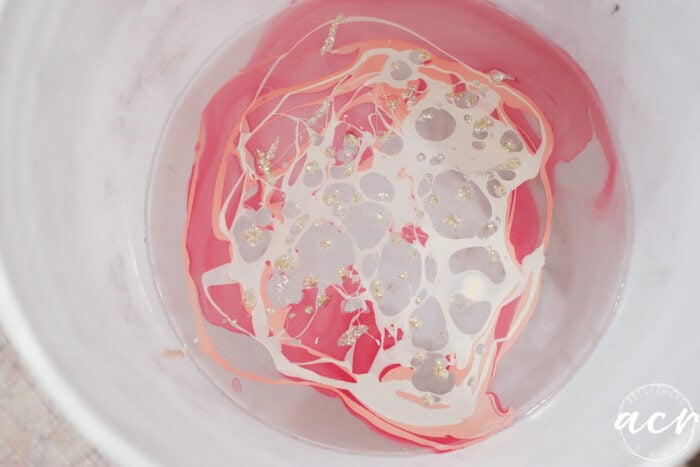
I grabbed an old bucket out of the garage and filled it halfway with water. Then I drizzled each paint color around in circles onto the paint…gently.
Then took a pencil and swirled the paints (also gently as to not mix them up…just gently swirl them) You need to work kind of quick as the nail polish with dry pretty fast.
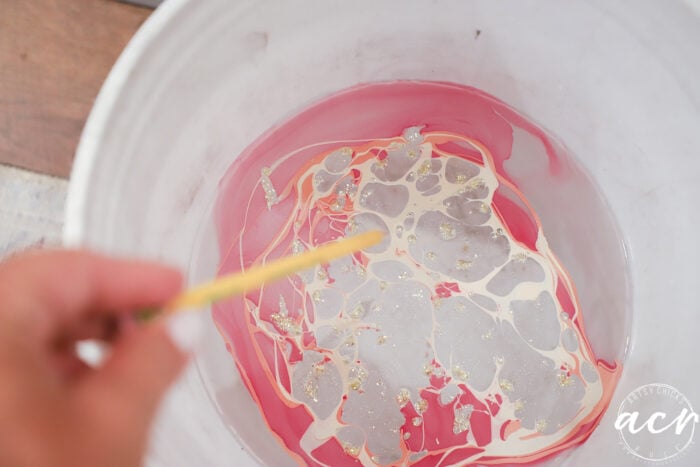
And it is like MAGIC! Dip the pumpkin in and the paint goes right to it.

Wowzer! See the water below?? Paint is all gone…and on the pumpkin instead.
So fun!
TIP #1: Now, let me tell you, the small pumpkins worked perfectly this way. The bigger pumpkins, nope! Too much area to cover so I had to end up turning them sideways and doing basically one side at a time.
TIP #2: And here’s another tip…don’t do them in your house… it’s STINKY!! haha
I had to very quickly move them out as soon as I finished because it was knocking all of us out.
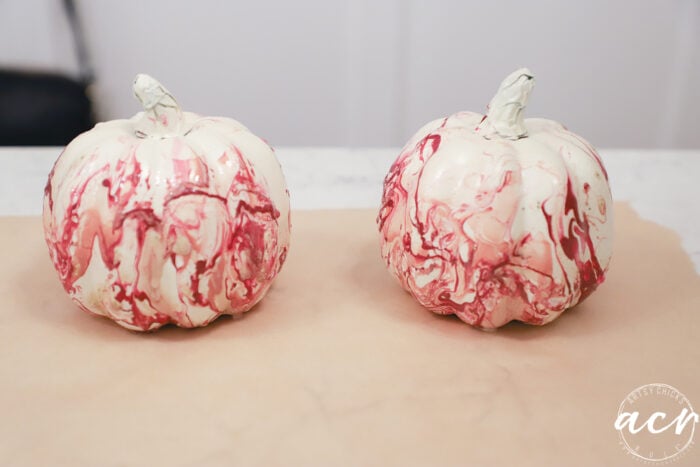
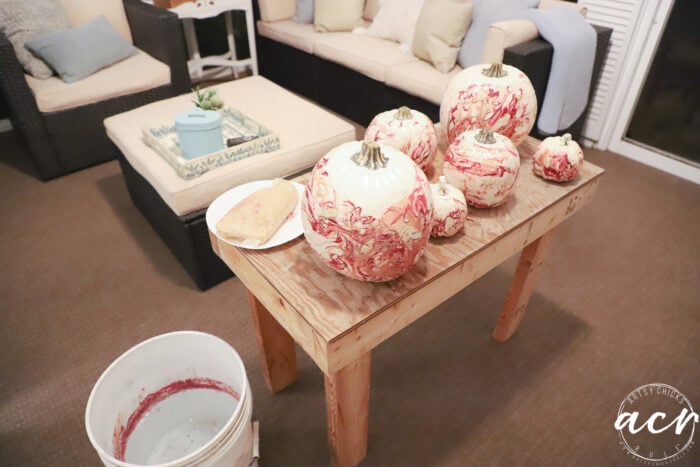
I put them on the porch to dry. (you can see the bucket there with the polish around the edges…the great thing is you can simply take nail polish remover and take that off)
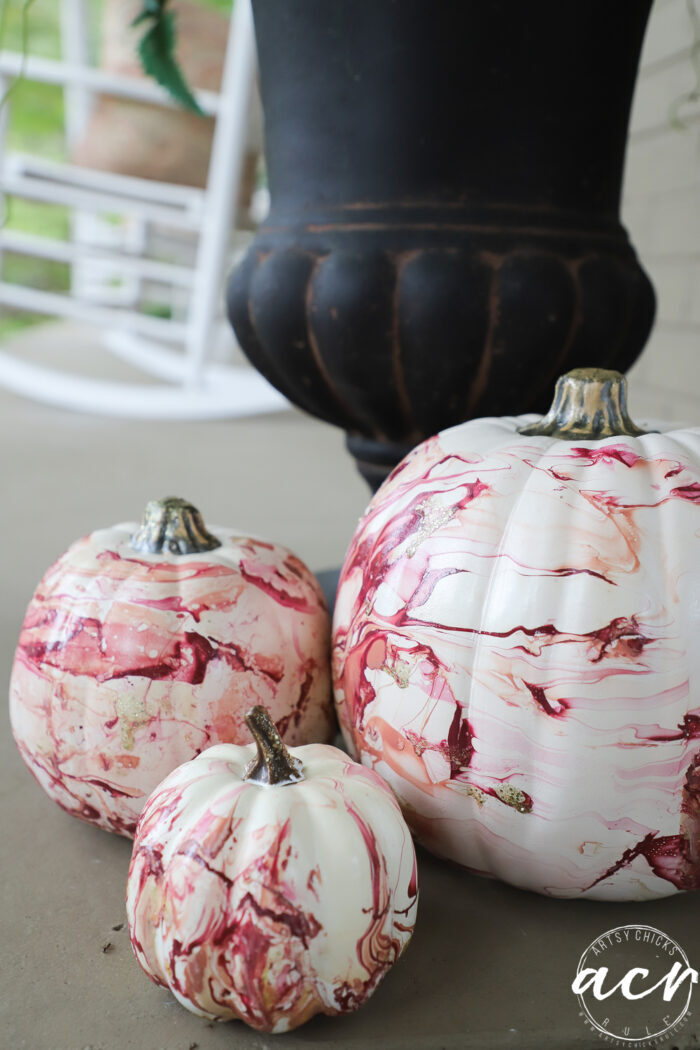
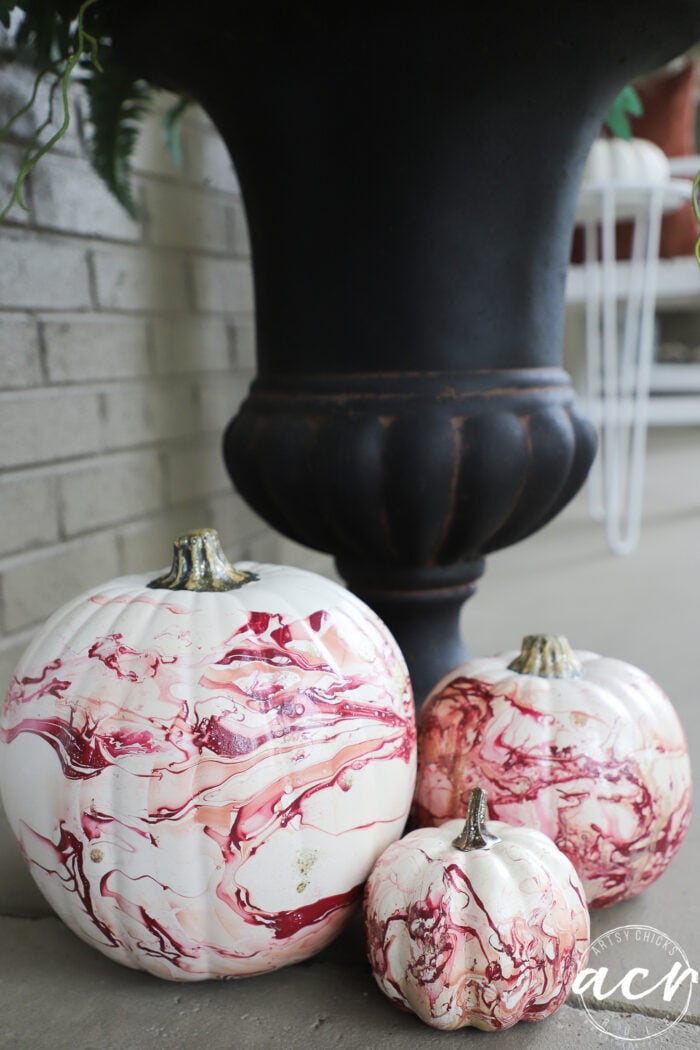
I love that I decided to add gold flake polish (which I also got at the Dollar Store) for a little “extra”.
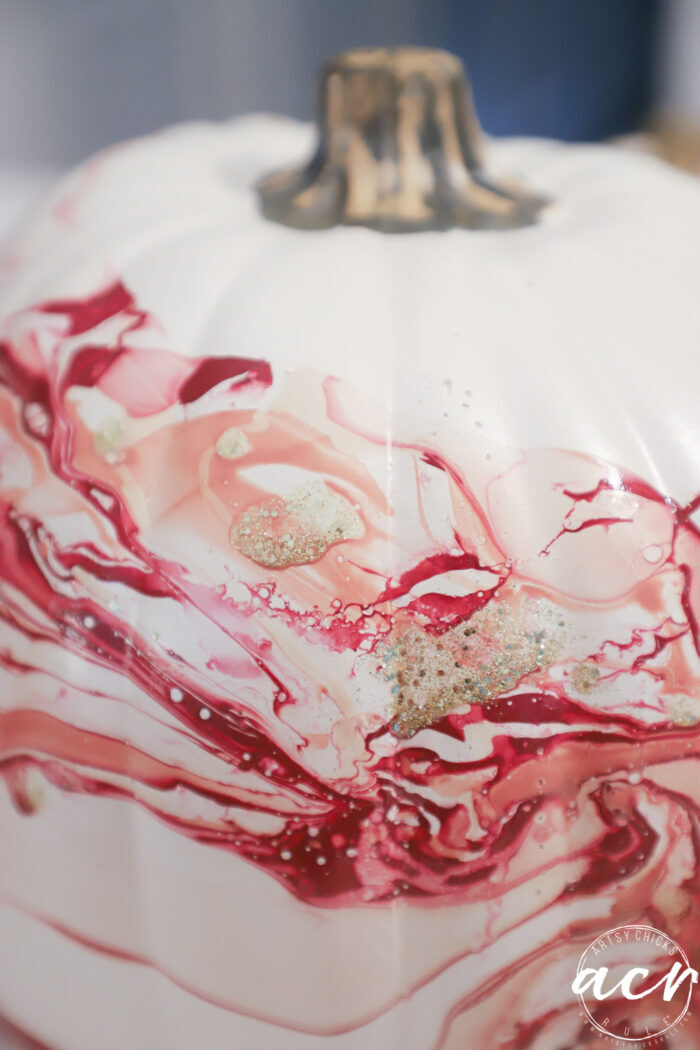
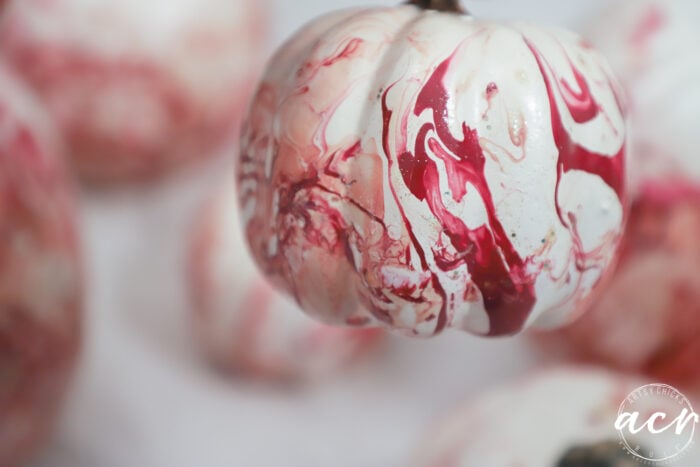
I love how the marbling is just so fluid and beautiful. And it happens so naturally.
Okay, I thought this photo was clear when looking at the screen on my camera. But hopefully, you can see the gold flake polish on the right.
Like my post on Tuesday, it doesn’t show as well as in person.
Granted a few white and/or plum mums around them would look perfect but hey, I didn’t buy mums this year.

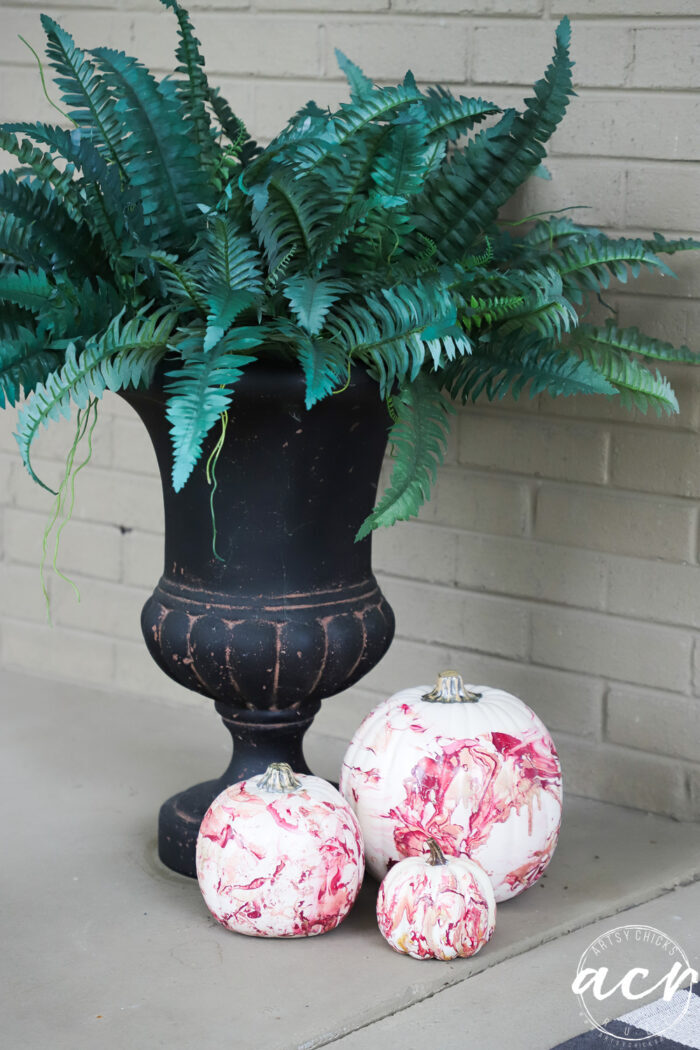
I love how they turned out though!
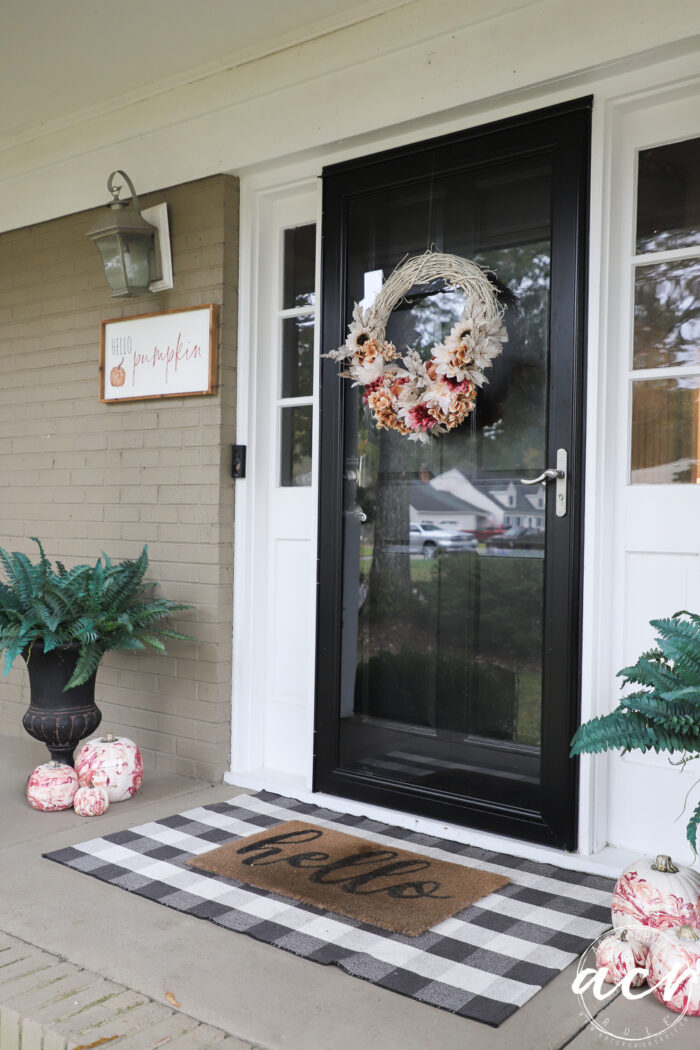
And they add a sweet little pumpkin touch to our porch.
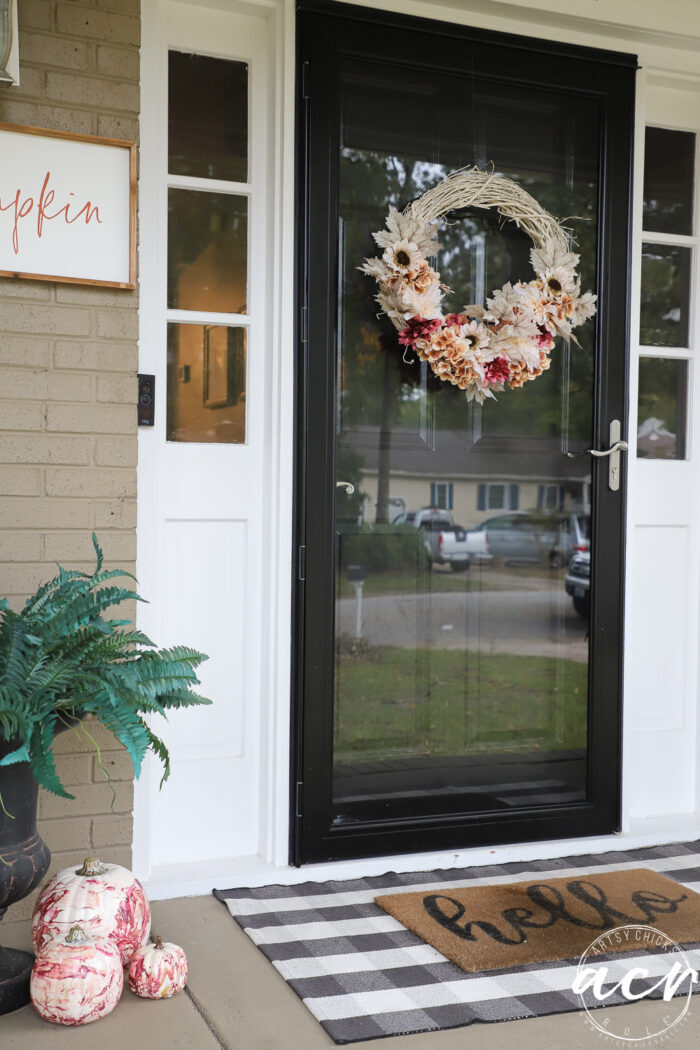
You can find the rug, here. “Welcome” sign tutorial, here. And “Hello, Pumpkin” sign here.
Painted front door tutorial, here.
And look at how I lucked out with a very limited choice of colors at the Dollar Store.
Like what? I couldn’t have picked better. The colors they had were just right.
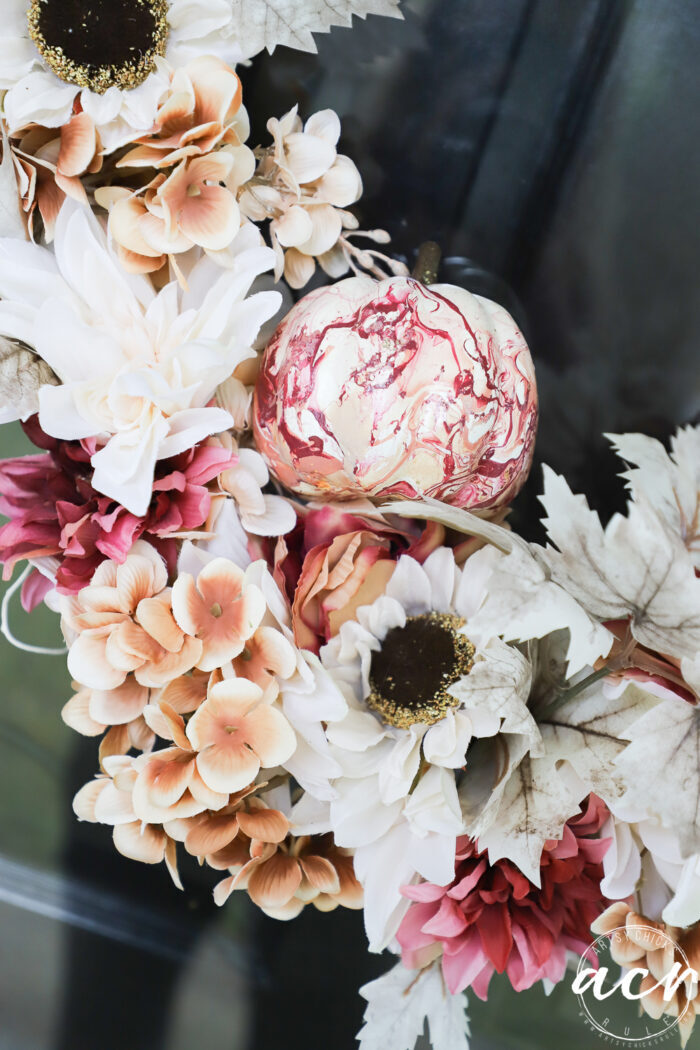
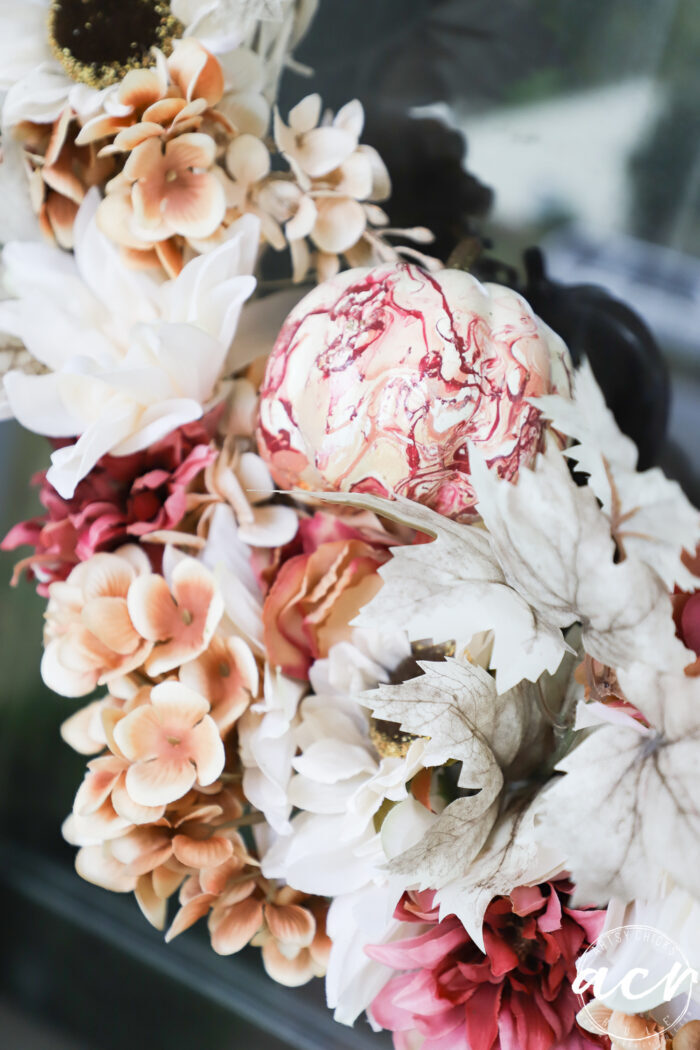
You can find the wreath project, here.
I love how they turned out and am enjoying them on our porch.
Think you’ll give it a try??
PIN it to save it!
Have a beautiful weekend, friends! See you next time with this!
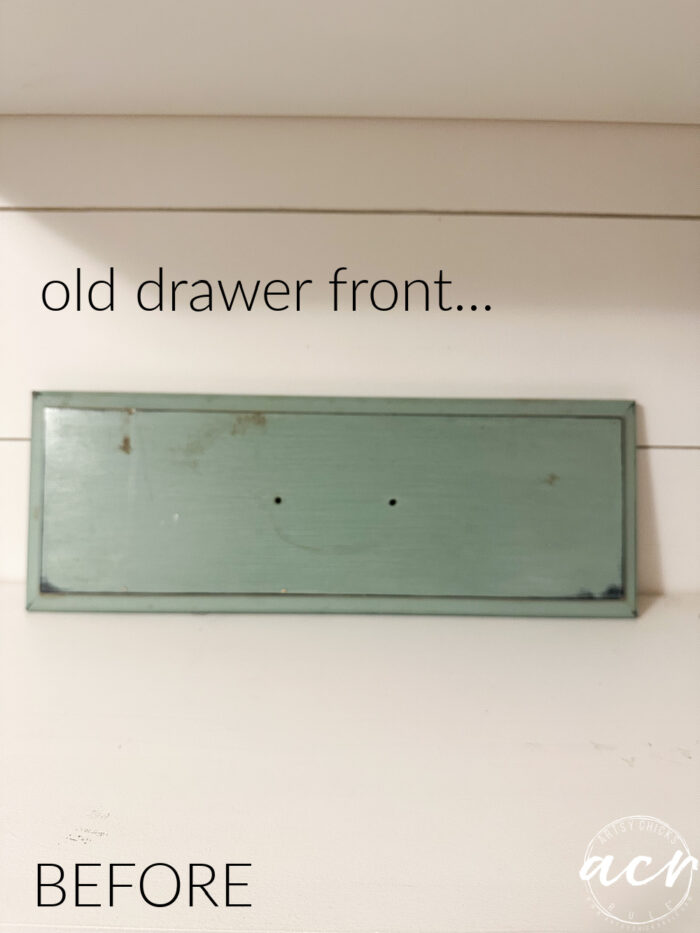
UPDATE!! See what I did with this old drawer front now here!
xoxo

")


")


Those pumpkins are perfect. Best nail polish craft that I’ve seen. Wow :)
Thank you! :) I love nail polish anyway, what a fun way to use it differently! :) xo
You had me at just painting them white. Would that spray paint work on a resin lamp? Thanks!
Oh yes, I don’t see why not?! :)
Does the polish rub off the bottom when you set them down to dry them?
No, it didn’t seem to. I set them onto wax paper to dry so they wouldn’t stick. Worked great! :)
HI….LOVE THE PUMKINS AND I CHECKED OUT THE COASTERS…..SWEET! I WAS WONDERING WHEN YOU SET THEM TO DRY DO THEY STICK TO THE SURFACE YOU PUT THEM ON? THANK YOU FOR ALL YOUR WONDERFUL IDEAS….HAPPY FALL! JULIE
Thanks, Julie! They probably would but I used wax paper to set them on. I forgot to mention that in the post! Will have to update that, oops! :) Happy Fall!! xoxo
I have seen this idea before but you did yours so lovely.. great craft idea and thanks for the handy tips.. Your little pumpkin in the wreath looks so pretty. Hey, when u like certain colours, you gravitate to them❤
Happy Fall..enjoy!!
Thank you, Lorri! And yes, you are so right!! I was just looking through my past fall decor over the years and I use these colors a lot!! haha! I might have to change it up next year! ;) xo
WOW! Those are truly gorgeous! And I have two mums on my front porch that would go perfectly with them. Wish I could just walk over and give them to you. Well done, Nancy!!
Have a fabulous weekend.
Thank you so much, Michele! Oh fun, you are sweet!! I love these color mums, kinda makes me wish I had gotten some! :) xoxo
They are so pretty!! Super bougee now lol! We did this with Easter eggs and it is so fun to see the patterns that emerge! XOXO
Thanks, Christy! Yes they are! haha! Oh fun, I better Easter eggs were super pretty this way. :) xo
Good job, Nancy! Those are some boogee pumpkins. I am going to try that.
Thanks, Marian!! :) Yes, do!! It’s fun! xo
Love this idea! It can be used on so many things! Does the surface have to be dense? I was thinking about styrofoam candy canes.
Thanks, Cecilia! Yes!! It really can be. I love the idea of candy canes this way. I think it would stick okay. Ohhh…you’ve got me thinking about Christmas marbling now!! Imagine…sparkly white paint, green and red. Love it! xoxo
What a cute idea and just right for your porch. The swirling adds such a nice touch.
Thanks, Kathy! They are so much fun to do. The comments here have gotten me thinking Christmas marbling ideas now! :) xo