Welcome Porch Sign (simple to do!)
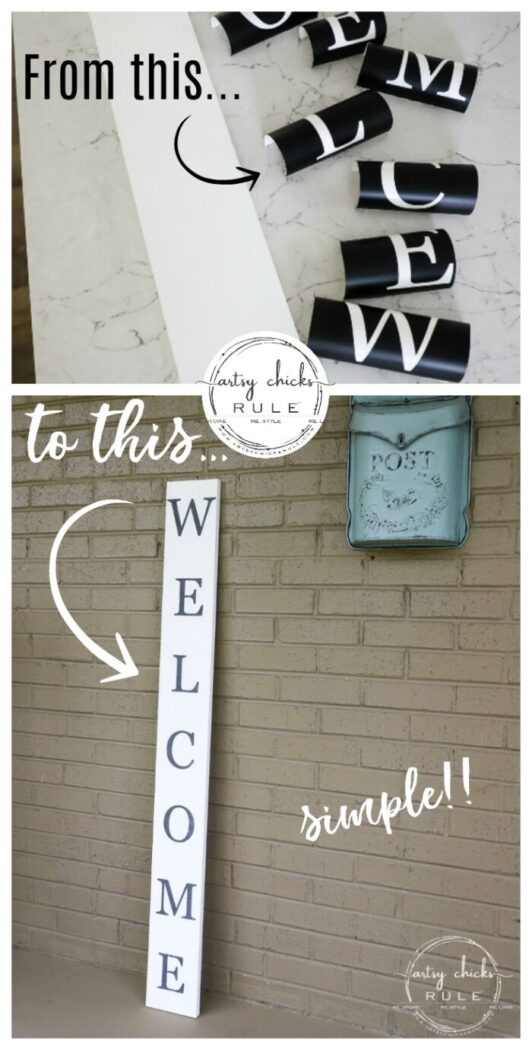
Create this “WELCOME porch sign” to welcome guests to your home. Find an old board, download the letters here and make one for your own home!
Hello friends and happy Trash to Transformation Tuesday!
I’m back today with a brand new project. Something pretty for our front porch. It’s been all inside working lately, now getting to the outside.
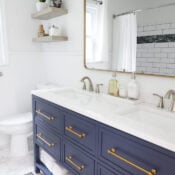
If you missed it last week, I shared our completely gutted and renovated master bath. You can see the whole reveal >>> here.
But today it’s garage stash trash…turned treasure. (and my friends’ projects are at the bottom, so be sure to scroll all the way down)
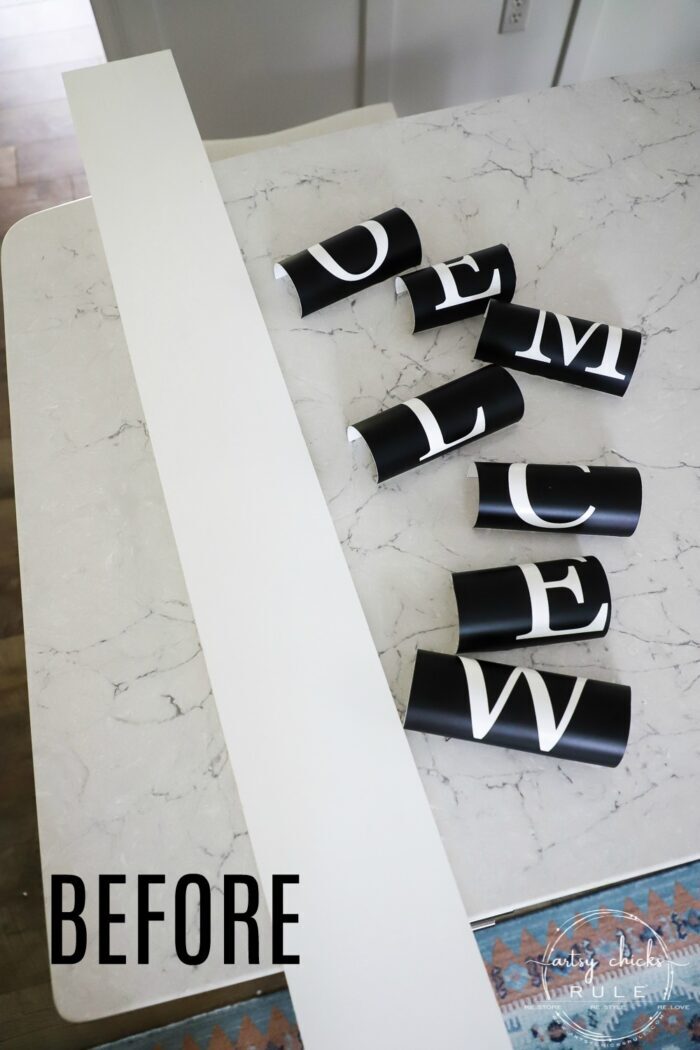
My “trash” this month is this simple board I found in our stash in the garage.
I made a brand new welcome porch sign for our front porch. A BIG ole come on over sign!
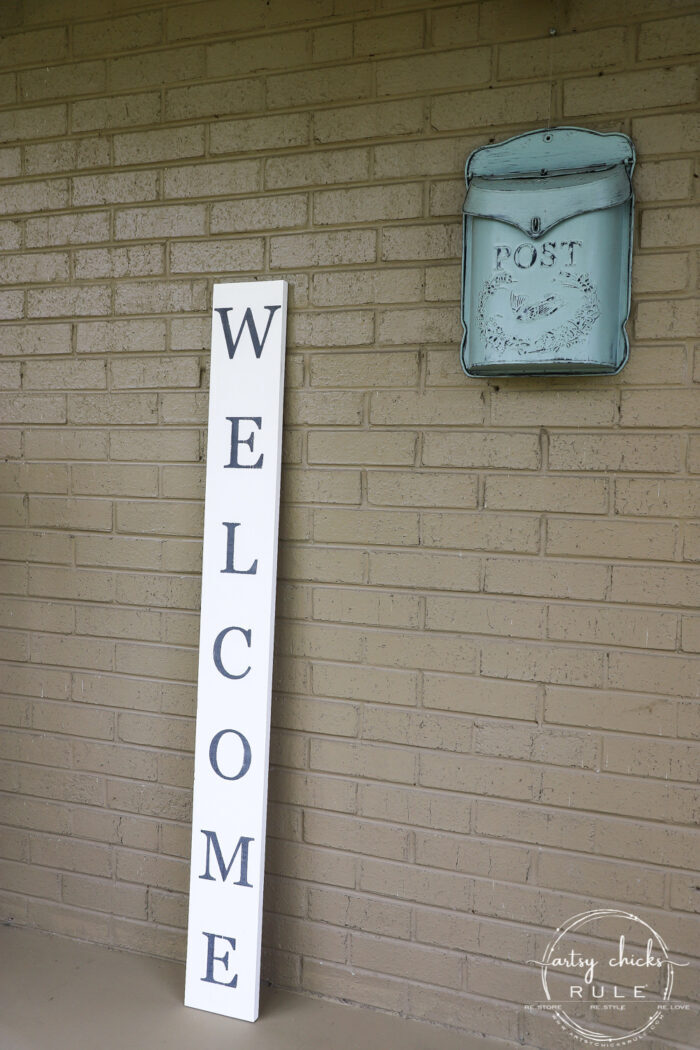
Because I can NOT wait to welcome everyone into our home!
I am so ready for this awful mess to be over with so we can get back to socializing and being with all of our friends and loved ones.
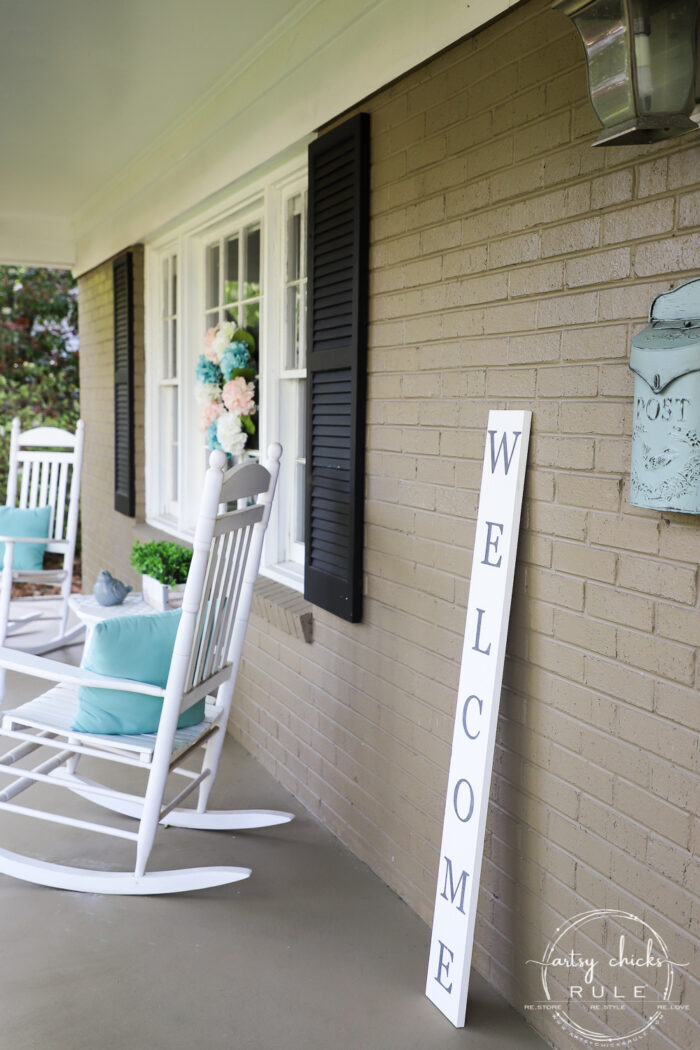
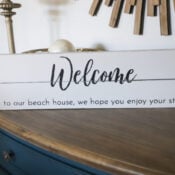
Just like our doormat says, “all are welcome here” (<<< you can find it, here) so will this sign say WELCOME to all.
And soon they will be again.
I’m pretty happy with how this simple project turned out too.
Welcome Porch Sign How-To
So I didn’t do a thing to the board…at all.
It was pre-primed so I didn’t even bother with painting it.
This one was basically simple but it did take a little work. (measuring, etc)
I created lettering on my computer and cut them out in my Silhouette Cameo. Once cut out, I removed the vinyl letters which left behind a “stencil” for me to paint in. I will just need to apply transfer tape, remove the backing and attach to the board.
You can see how I do that in this post here >>> DIY Faith Hope and Love Sign
MATERIALS LIST FOR THIS PROJECT
- Silhouette Cameo
- Vinyl (or regular ole Contact Paper works too)
- Transfer Tape
- Black Paint (<<< I used this one because it was darker black than what I usually use)
- Sandpaper
- Small Foam Roller
Don’t own a Silhouette and want to know how to transfer these another way?? No machine necessary…check out this post where I shared multiple transfer techniques I use. >>> My Favorite Transfer Methods – Anyone Can Do!
I started by measuring the board…which is 52 inches high, (I did have my husband cut it to the height I wanted) and divided it evenly into 7 sections. (a section for each letter of the word, “welcome”)
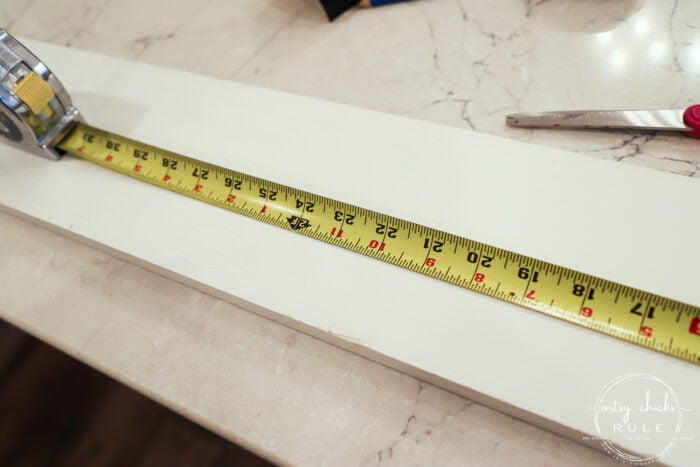
I marked each section with a pencil, then went back and found the center of each section.
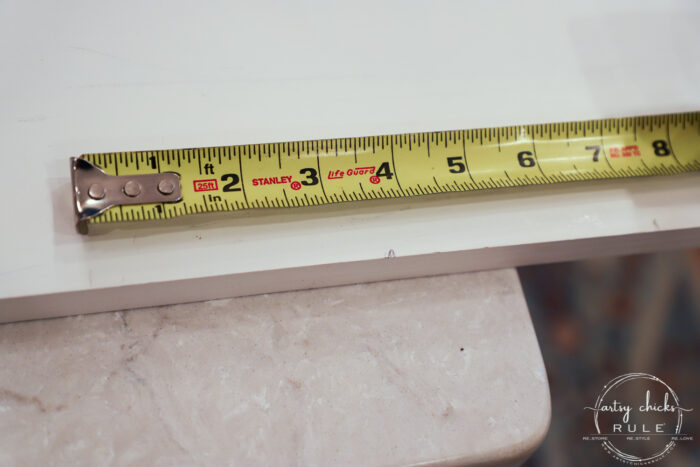
Then I measured and found the center of each letter and marked that.
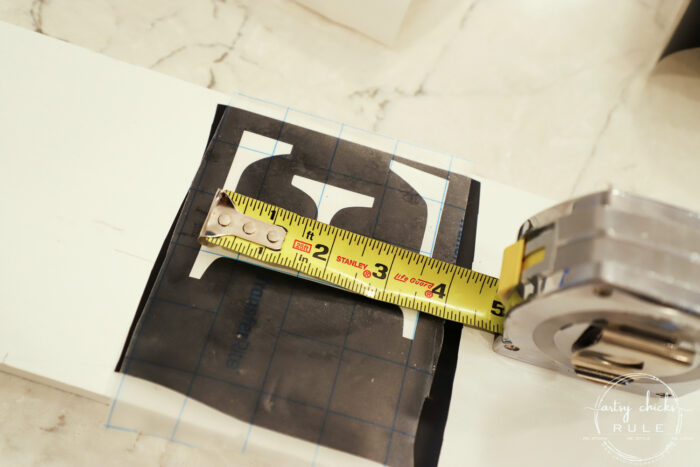
Then I simply lined up the letter on each section having the middle of each line up.
Once that was lined up, I mostly “eyed” centering down the board. But I did measure a couple to make sure they were centered correctly.
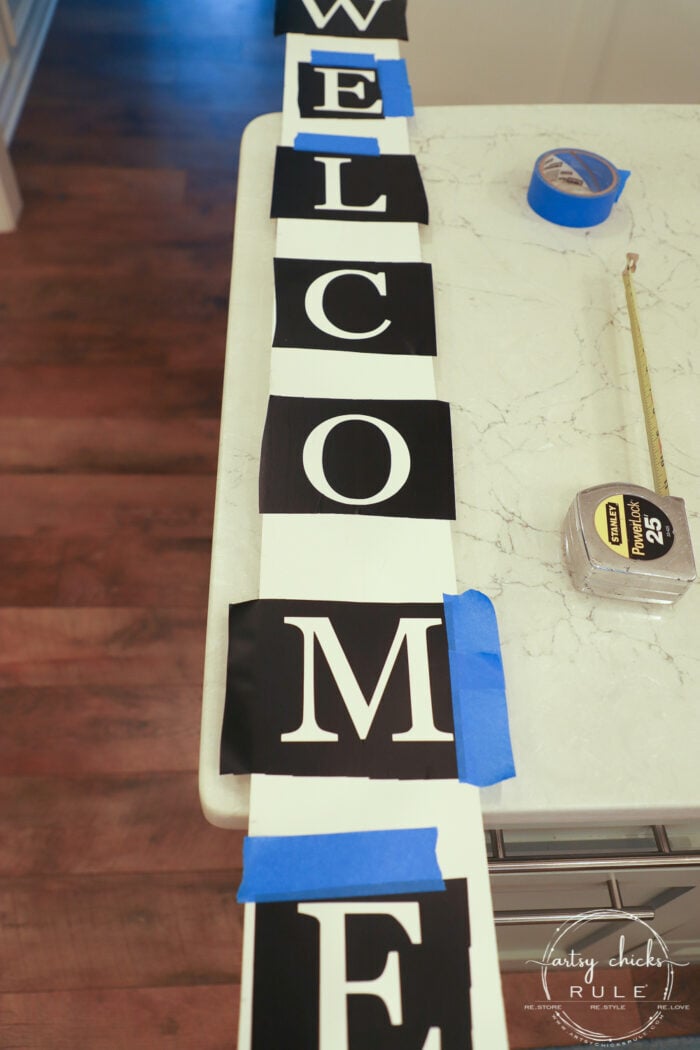
All attached and ready to paint in the letters. (I added blue tape where the edge of the letter was too close to the edge of the cut vinyl…to protect for paint)
Paint it in my favorite way…with a small foam roller. This is so easy and quick plus helps to gives a nice crisp line.
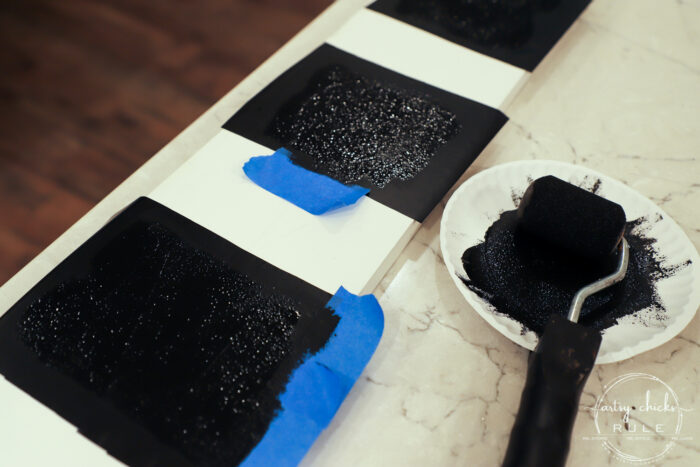
I did two coats using an old hairdryer to slightly dry the first coat. I removed the vinyl before the second coat dried fully.
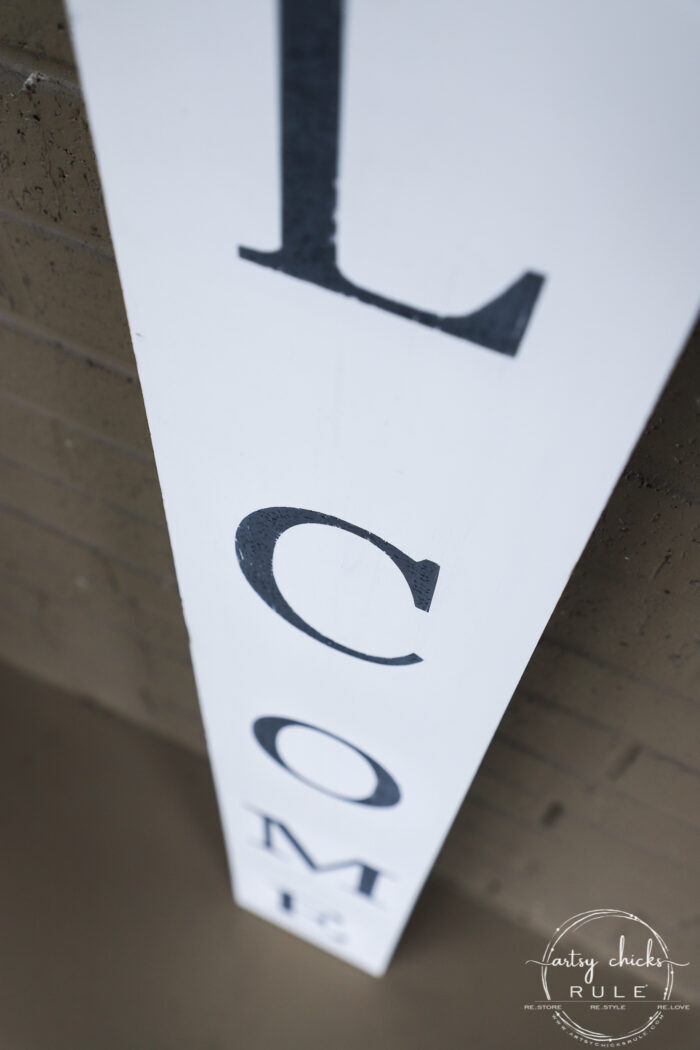
I didn’t love it “crisp” looking so I lightly sanded it to soften up the edges a bit. (the “O” is not sanded, the “M” is)
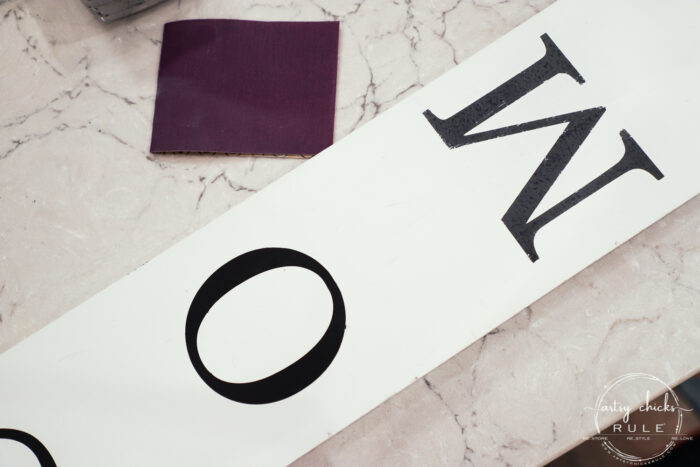
The “L” unsanded, “C” sanded.
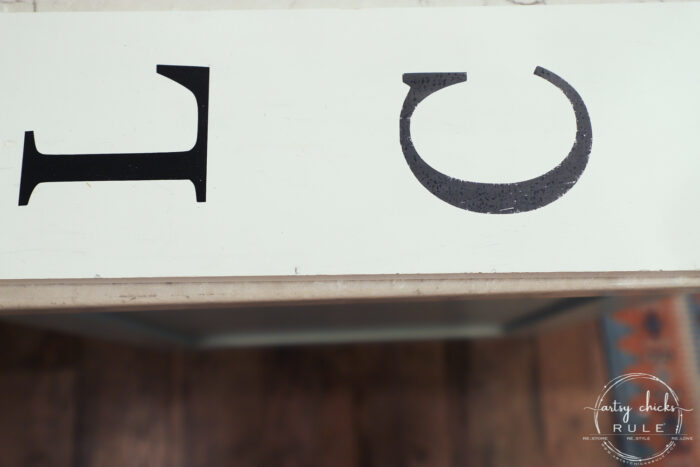
See the difference?
And done! (I didn’t use a top coat since the paint I used doesn’t require it and it won’t really be in the weather, etc)
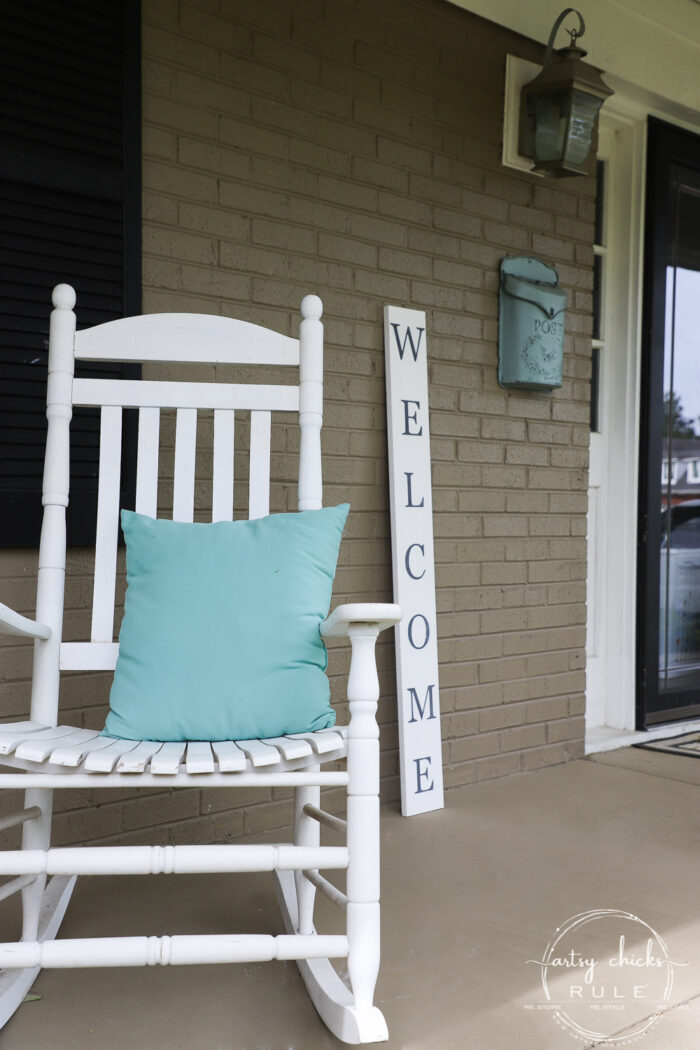
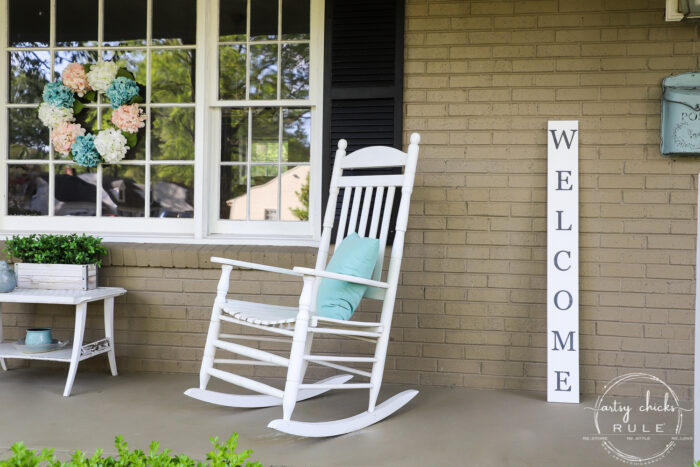
We use these rockers a lot once the weather gets nice. My husband and I sit out here often.
I sure do love a front porch. Can’t wait to get some ferns hung up here.
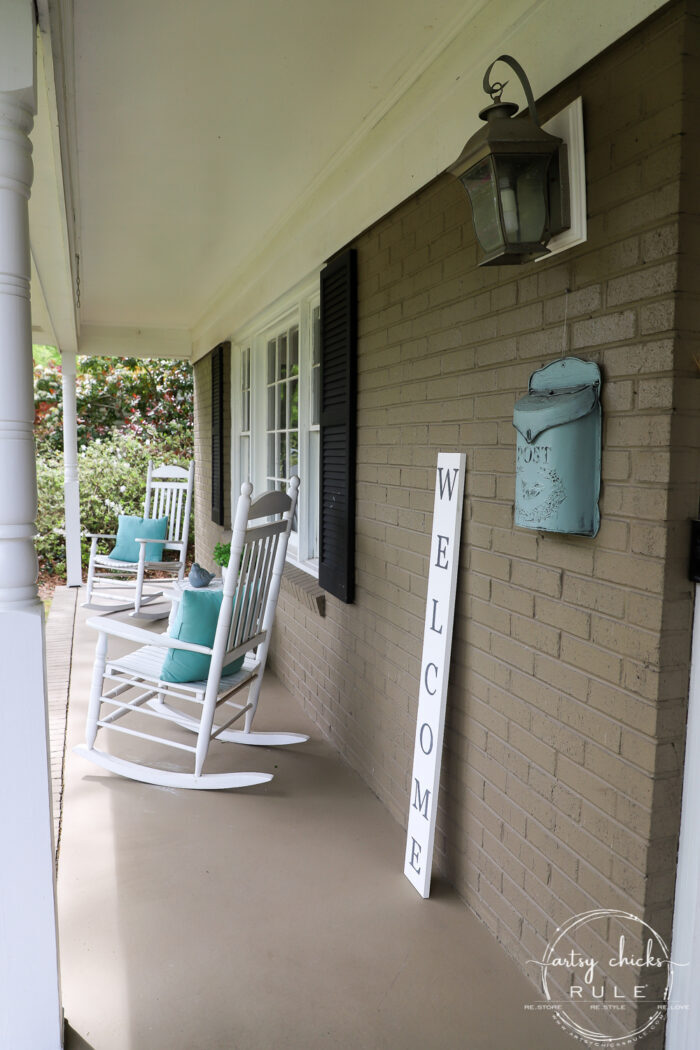
You might remember that aqua “mailbox” I painted a while back.
You can see that project here >>> Antique Mail Box Flower Arrangement
Here it is on the other side of the porch…
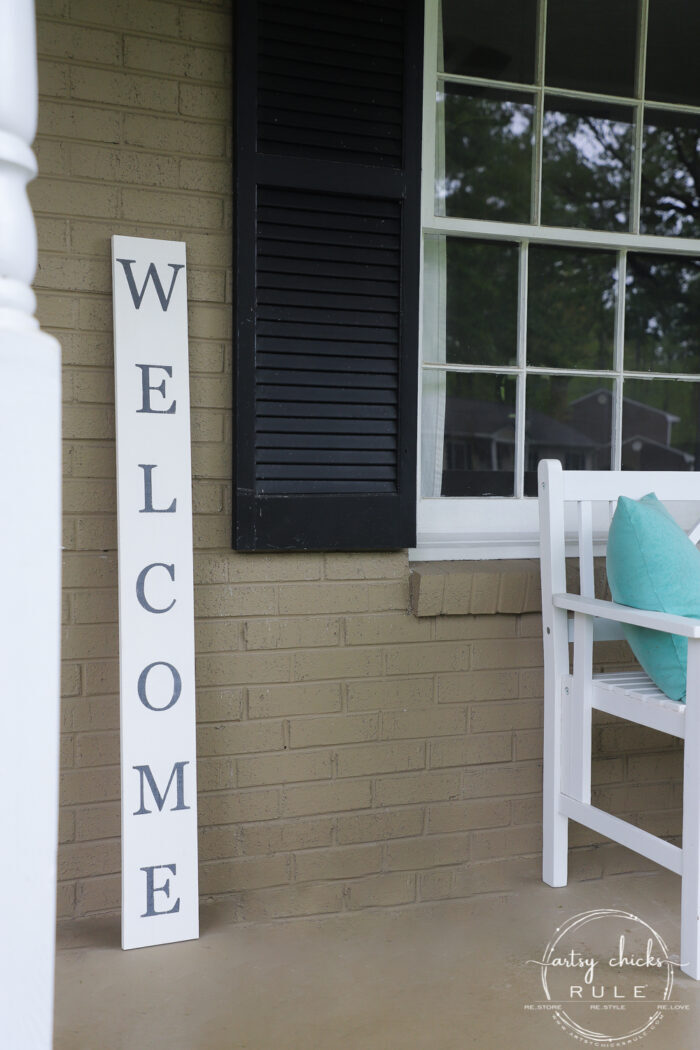
I haven’t decided which side it will stay on yet.
But I’m thinking this side, the side with the rockers. (not on the side with the bench)
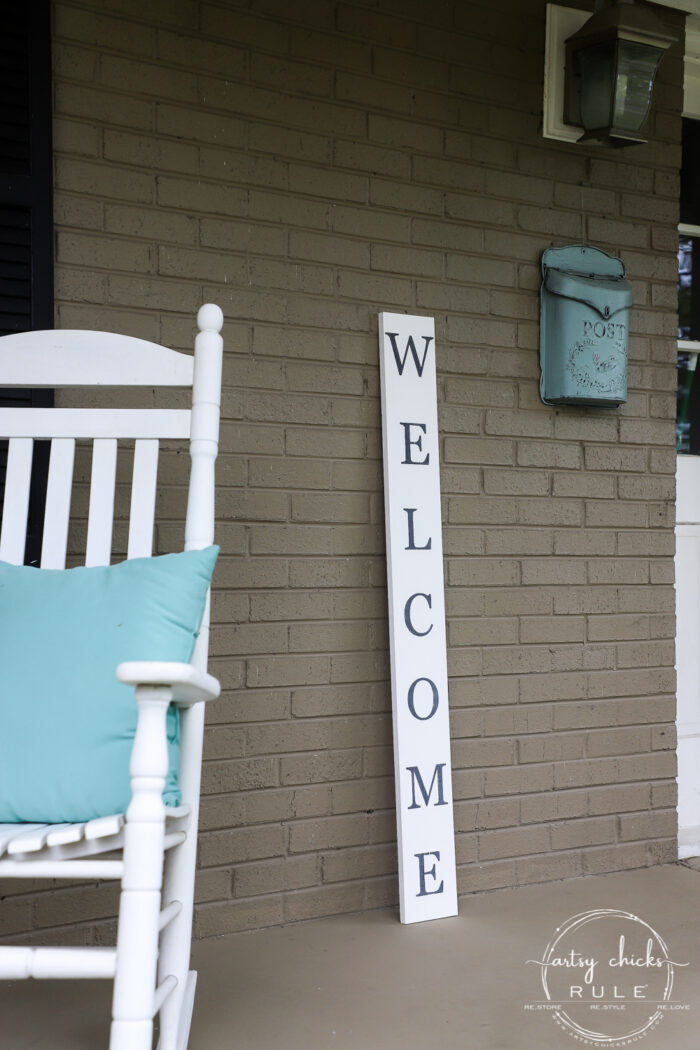
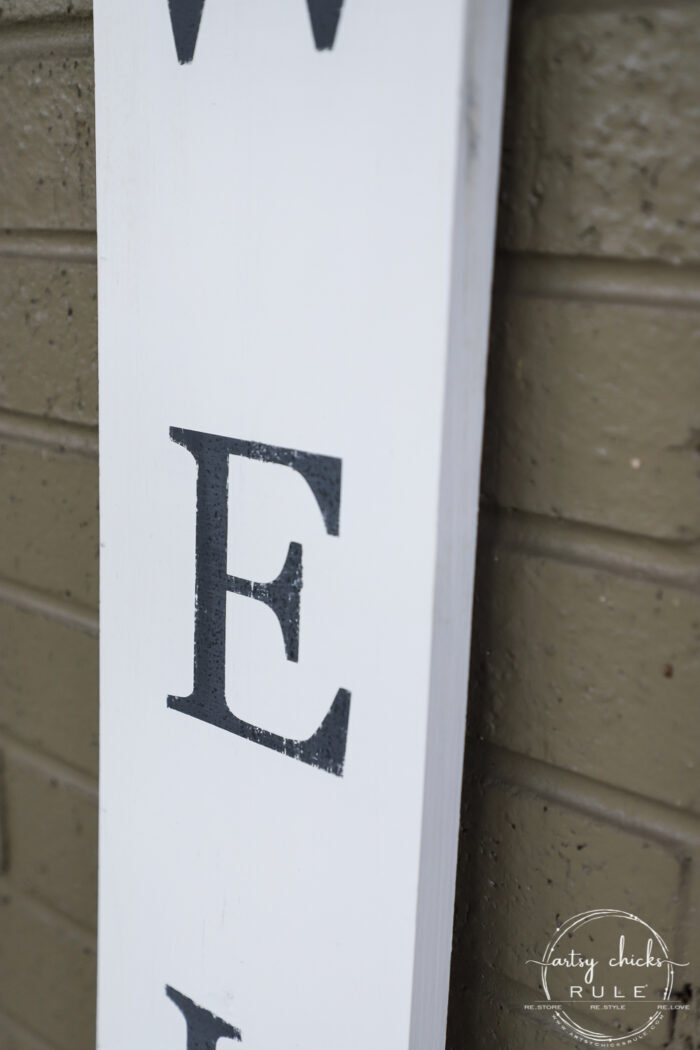
A couple close-ups.
Like the hydrangea wreath?? I made it and it’s one of my favorites. You can make one too!!
It was so simple, check out the tutorial here >>> DIY Hydrangea Wreath
Have you got any old scrap pieces in your stash you can make a welcome porch sign with?
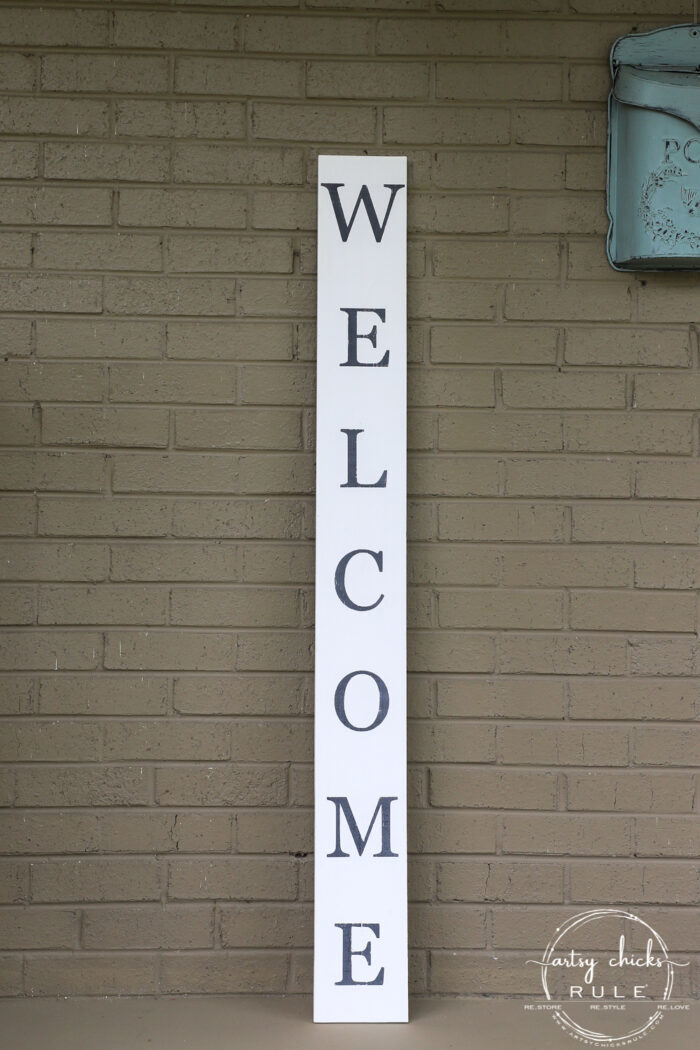
Want the basic letters I made for this project so you can make one too??
If you are already a subscriber, you can click here, enter your password (it can be found near the top of all my emails to you) and download this or any other graphic I’ve created over the years. (over 100!)
If you aren’t yet a subscriber, you can click here or the pink box below to become one to gain access.
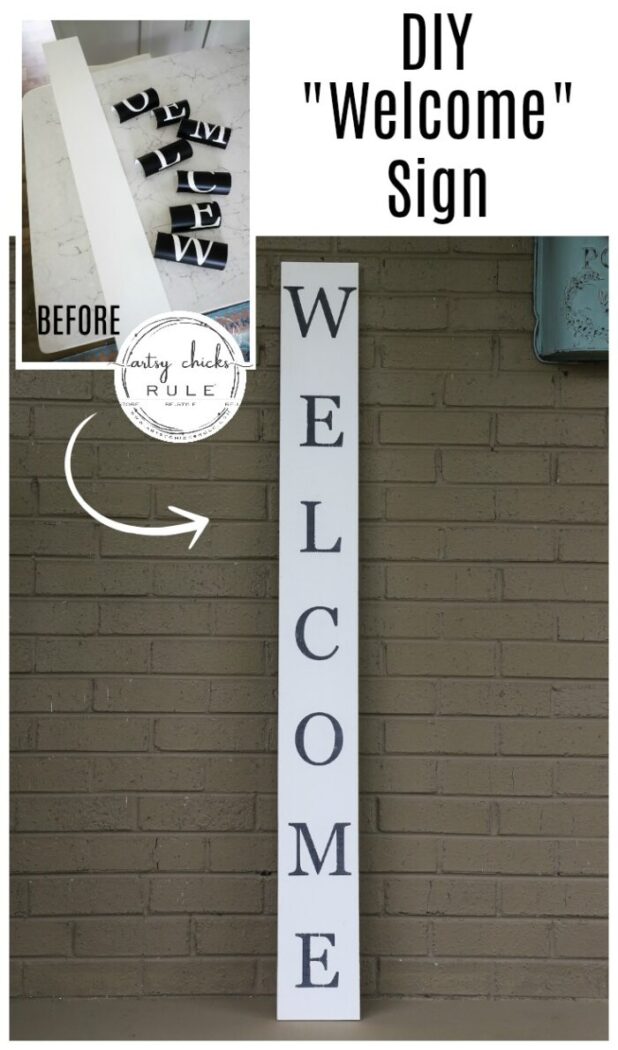
PIN it to save it!
Don’t go yet!
My friends are sharing their fun new makeovers below. Click over to see what they did to their trash this month! (links below)
I hope you enjoyed the makeovers today! Maybe get you going on a project you might be stuck on? Or possibly a brand new one. Either way, stay safe and have fun getting creative. I’ll see you right back here on Thursday! :)
xoxo





I just love the simplicity of this, Nancy. Thanks for the freebies too!
Thanks, Larissa! Simple is nice for a change! ;) xo
This is such a neat sign and looks easy! I know you’re enjoying your new bathroom. The shower is so grand! Stay safe and healthy!
Thanks, Cecilia! Oh my, yes, we are! You too!! xoxo
Great idea Nancy! Love the sign and this too shall pass… may it be soon!!
xo
Thanks, Christina! Yes, it will and I wish so much it will be soon for all of us! xoxo
So nice to have a simple project periodically. And this makes a big impact. Hoping you get to welcome guests soon!
Thanks, Marcie!! I so agree! I hoping we all can invite guests very soon! xoxo
Perfect to welcome all the people in!! I am so ready too! I know it was a pain to measure out all the letters, but it looks perfect! XOXO
Yes, it is! Now if only I could! And yes, that was most definitely the biggest “work” of this project but even that was fairly simple too, thanks!! :) xo
Thanks Nancy, what a great and simple project! I know measuring out the spacing for the letters was probably the most difficult step!
Yes, it was definitely the “most difficult” of the entire project, but simple really too! :) xo
Super inviting makeover Nancy… I want to sit my butt on one of those rockers with a cup of tea!😉
Thanks, Denise! I wish you could! xoxo
I keep waiting to see some of the furniture makeovers of furniture stash you had shown us at beginning of the year and as supposed to be things to do thisYear. What happened?
Oh, Bev!!! You got me!! But the year is not over yet!! ;) We actually did bring a desk and chair over that had been in the storage unit for a couple of years. (I don’t even think that one was pictured in the post I did) I had planned to share it today but it’s going to take a little bit more work than I thought. (we have to make a new top for it) Actually, every single piece of furniture needs work (broken drawers, trim, etc) so that has been a little of my hold up since we have also been doing time-consuming home projects too. So, I may share the desk next week (if we can get the top done with scraps we have here) or may go back over and pick up another piece for me to do. They are definitely getting done though because we need to empty out one of the storage units and just get back down to having only one. (we have 2 currently) Keep an eye out, they are coming! xo
I love your welcome sign. I did this a few years ago, but with paint on an old piece of wood I had.
However, I had planned on making another sign for our back deck, which lot of family and friends visits. Now that this deadly virus is here, I have to put that on hold.
Thanks for sharing. I do plan to use your idea when I do get to visit the stores, and free of this virus. I love your diy.
Stay safe and healthy!
Thank you, Ivory! I can’t wait until we can visit the stores again…no you feel the same! Stay safe too! xoxo
Such a sweet and simple porch sign – I need one like this! Thanks for the tutorial Nancy! xo
Thanks, Jen!! xo