Abstract Beach Art (with hints of gold)
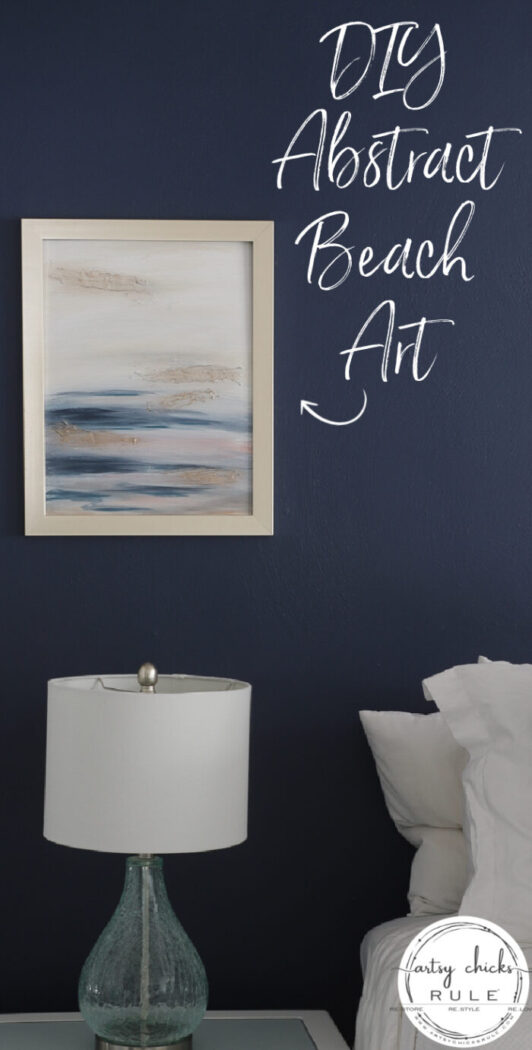
Create your very own abstract beach art with a little touch of gold! Let me show you how…
Hello and happy Tuesday, friends!
Did you catch my sneak peek of this project over on Instagram this past weekend?
I finally found something for our bedroom wall over the lamps. Yippee! And by found, I mean made. ;)
I knew what I wanted in my mind there but couldn’t find it anywhere. So I painted some myself.
Now, I am a crafty, creative girl but I’m no artist. Not this kind of an artist anyway.
But that doesn’t stop me from trying! And it shouldn’t stop you either.
Because you just never know what you can do unless you try, right? Yep!
I did a few other abstract type paintings in the past (you can see them at the links below) so I thought, why not?
I bought this pack of canvases, oh, I don’t know, at least 3 or so years ago. So long ago that I don’t even remember what I was originally going to do with them.
I came across them as I was giving my office a makeover and decided to just make something so I can get this darn bedroom makeover done! lol
Abstract Beach Art (with a hint of gold)
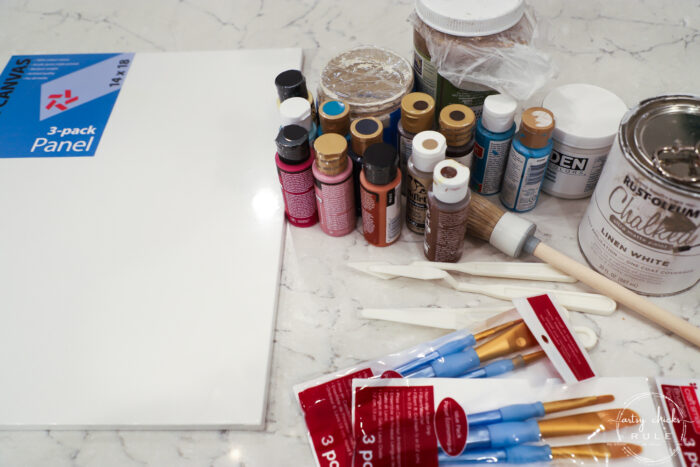
I pulled out some paint colors I thought I’d use and bought a few more from Michael’s.
I wanted to pull colors from our rug.
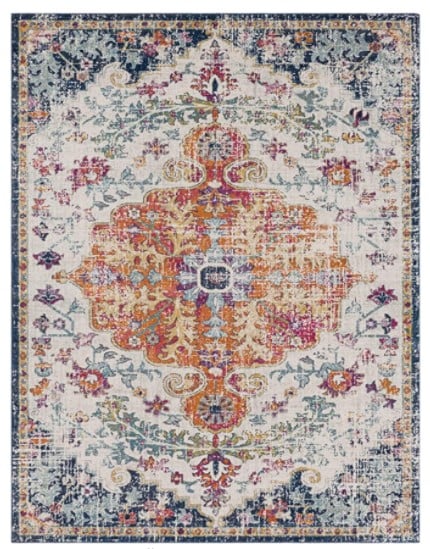
(you can find the rug, here)
Pink, aqua, navy, orange, cream, etc.
I also knew I wanted to add some gold highlights like the painting in our living room.
So I pulled out my molding paste from my previous paintings to create some dimension first to later hit with some gold paint.
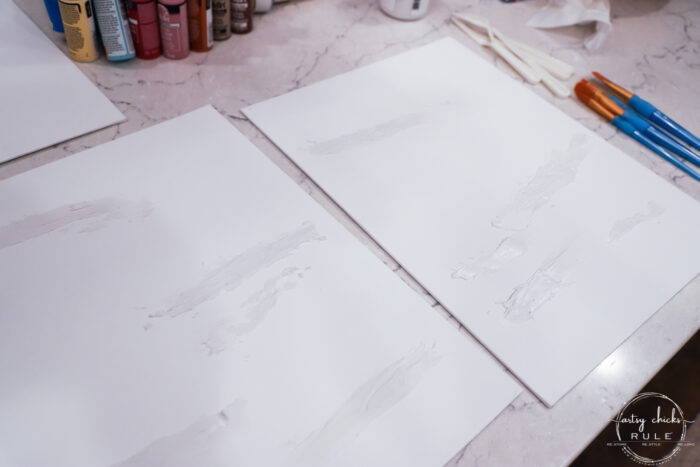
I just kind of randomly swiped some on. (more on the bottom though)
Basically, I just used one of the artist’s knives over there to spread it on, sort of like butter but leaving it rough. (don’t spread smooth)
MATERIALS SOURCE LIST
- Craft Paint of Various Colors
- Artist’s Brushes
- Molding Paste
- Gold Paint
- Artist’s Knives
- Gold Frames
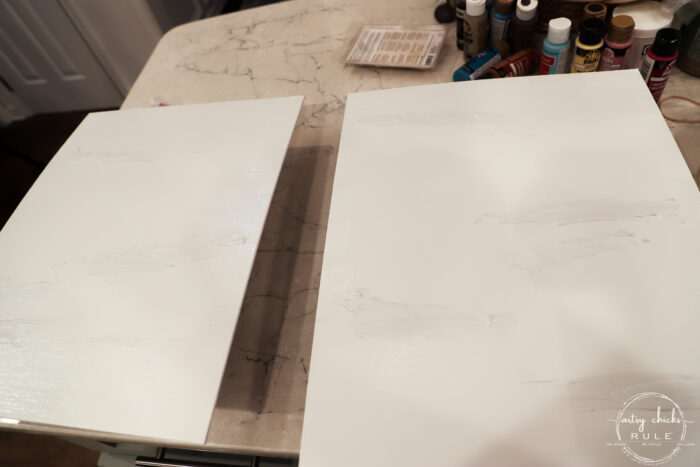
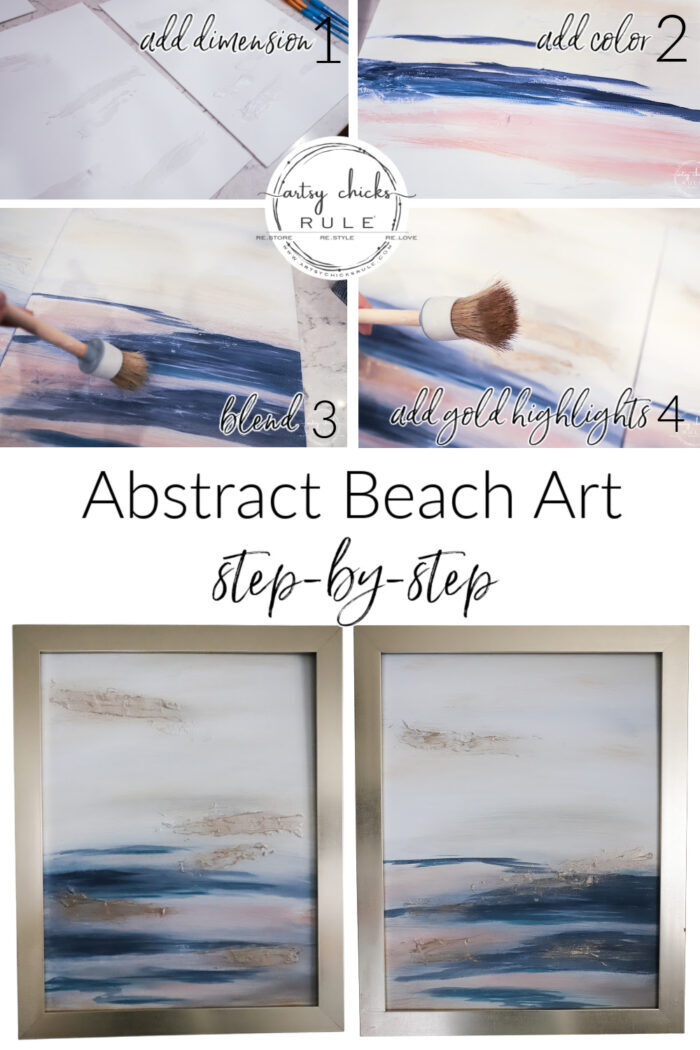
Once that was dry, I began painting. Starting with painting the whole thing white.
Then I went over that on the bottom to create the ocean area. (bottom)
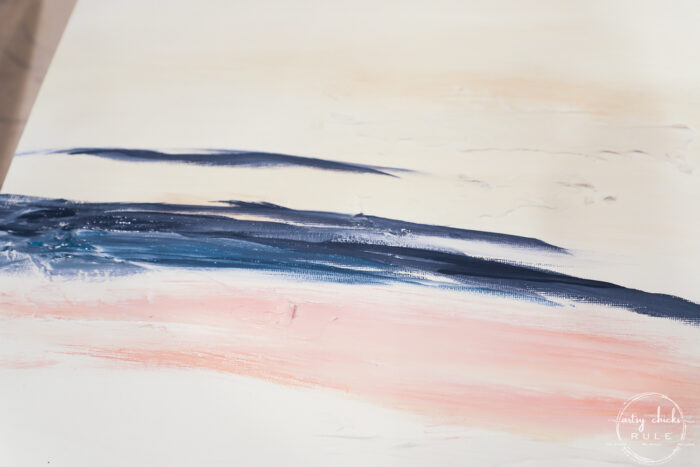
I incorporated some navy, turquoise/aqua, and pink/orange in this area.
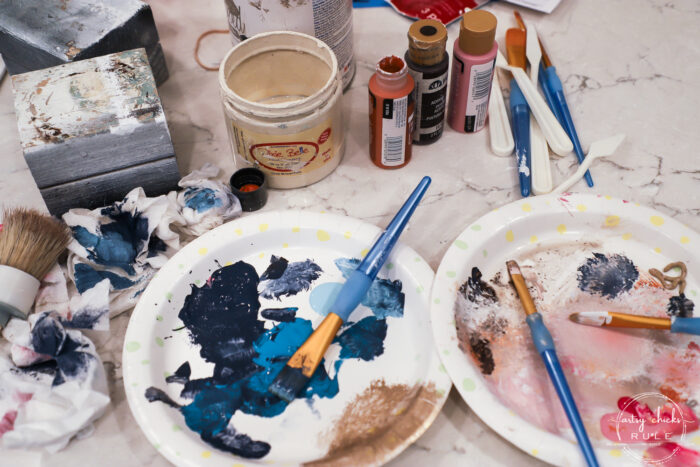
I used a flathead artist’s brush for this part. (below in the blue paint)
My crazy mess, haha… and how I paint.
For the sky area, I used Dixie Belle in the color “Drop Cloth”. Not all over, I wanted to leave some white.
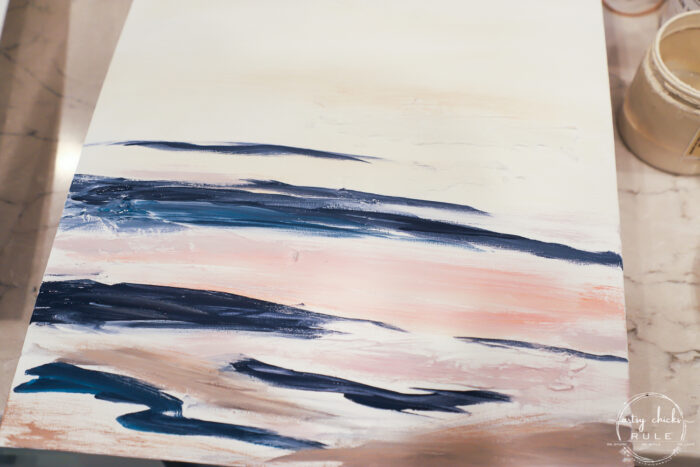
And a little brown on the bottom.
Looks like a Kindergartener painted it right now. (might still! haha)
But just keep going, it will get better.
Then I moved onto the other painting. I wanted them similar but not exact.
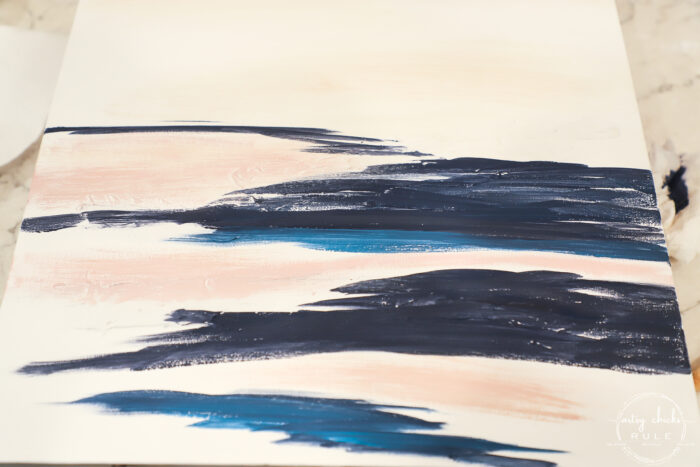
You can see the turquoise blue a little better here and where I put it.
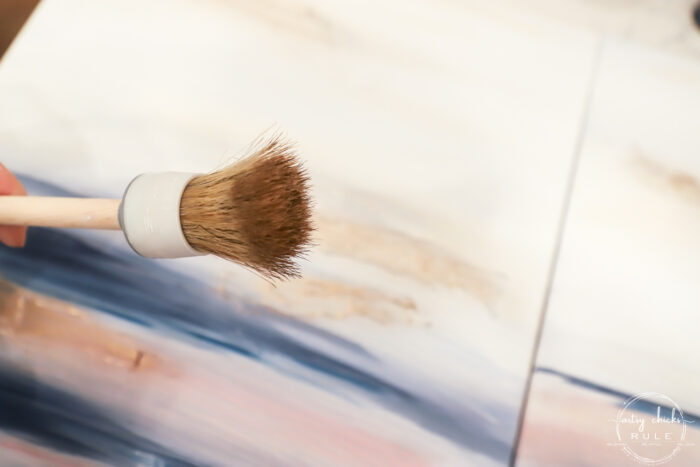
Once this was dry, I went back over with this larger bristle brush.
I wet the brush, dried it so it was damp (but not DRY), and went over all the paint. (side to side)
You don’t want to completely blend the colors, just soften and smooth.
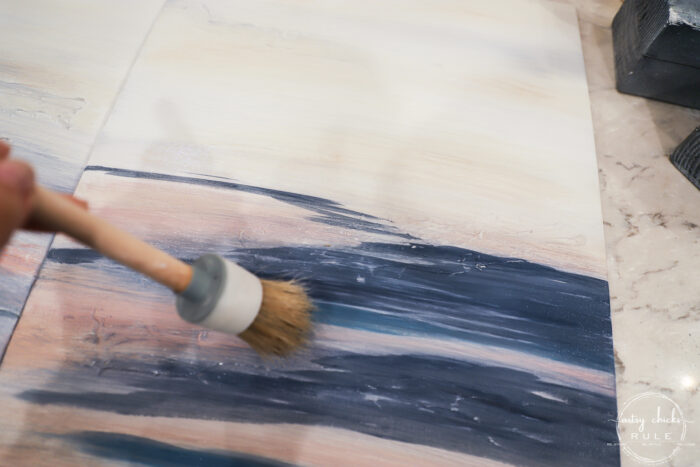
Re-wet the brush several times. (or you could probably also use a spray bottle and lightly mist with water)
Where it may blend too much with the underneath white paint, go back over with more color like below…
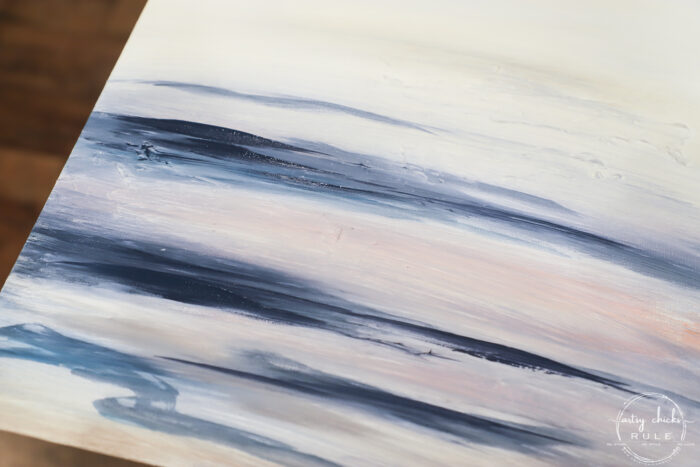
…let it dry a bit and then blend again the same way as before.
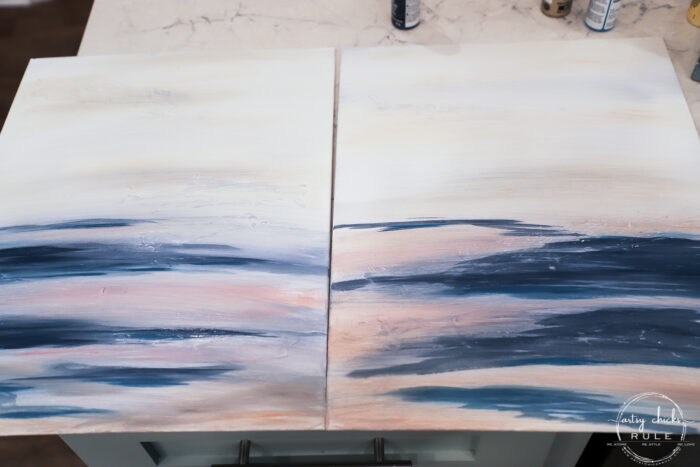
You can go back and add color wherever needed.
I actually did a few swipes in the top area while some of the blue/pink was on the brush. (not a lot!)
That gave it a little more dimension up there and also some reflection from the “water”.
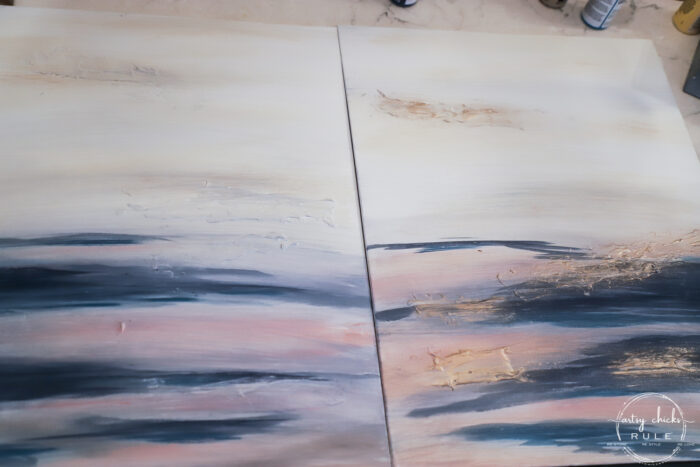
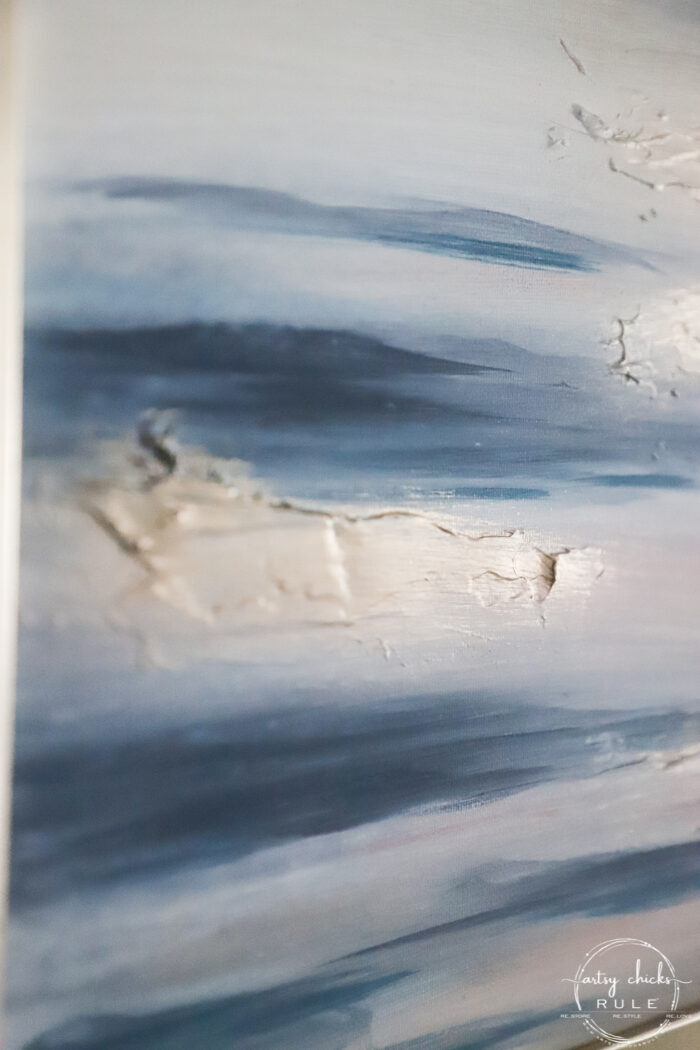
Once that was dry, I grabbed my gold paint and used the same bristle brush to apply gold in a “dry brush” fashion to the raised areas I created earlier.
The right side below has the gold, the left does not.
See how it adds some pizazz? I just love that!
I went to Michael’s and grabbed two gold frames to put them in. (without the glass)
They were buy-one-get-one-free, thankfully! This is the frame I used.
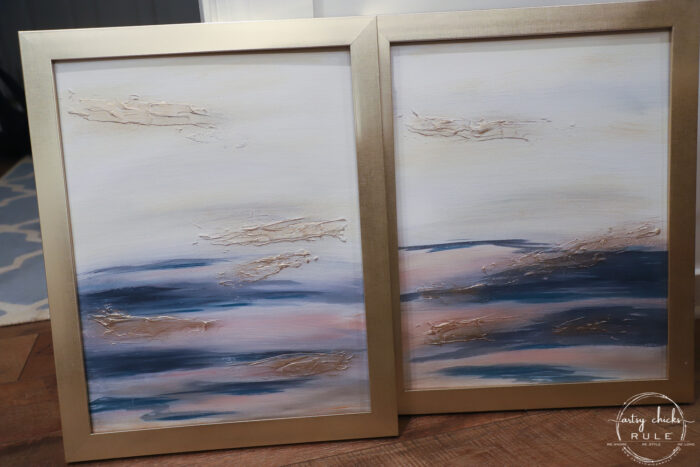
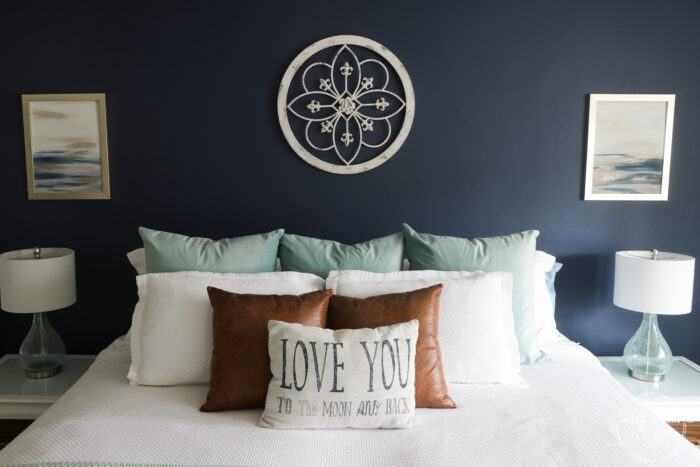
I’m pretty happy with how they turned out. And even more so once I saw them up on the wall.
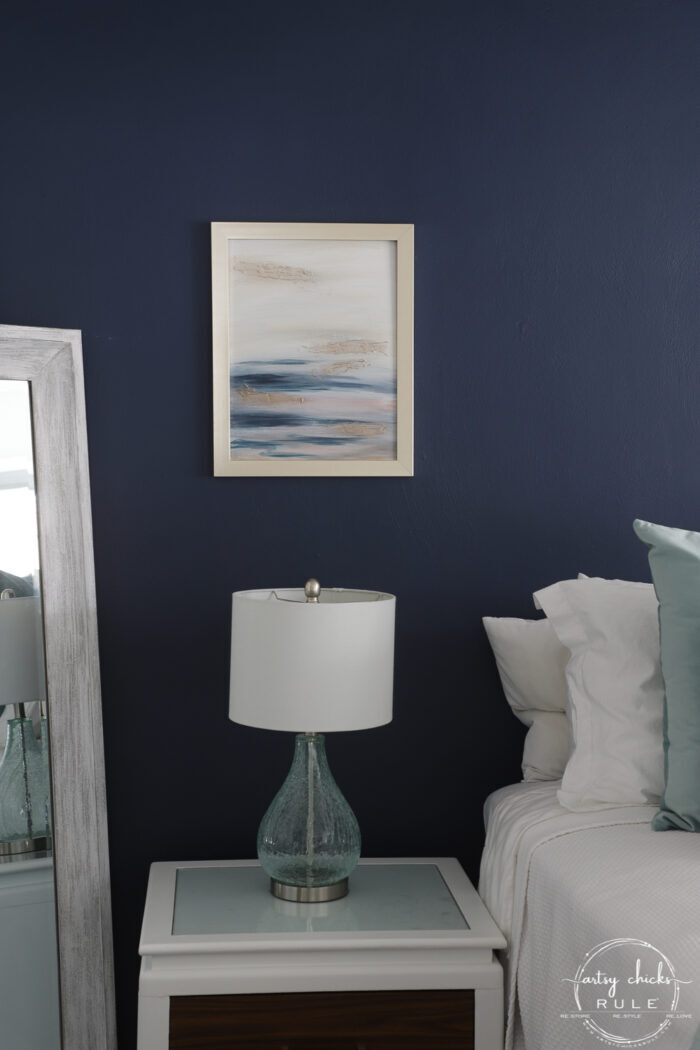
I do think next time I would do the molding paste after I finished with the painting. That way I could apply it more purposefully in the areas I wanted, which might have made more sense. Then go back over it with the corresponding paint and the gold highlight.
Anyway, it’s always a learning experience so next time I’ll give it a shot that way.
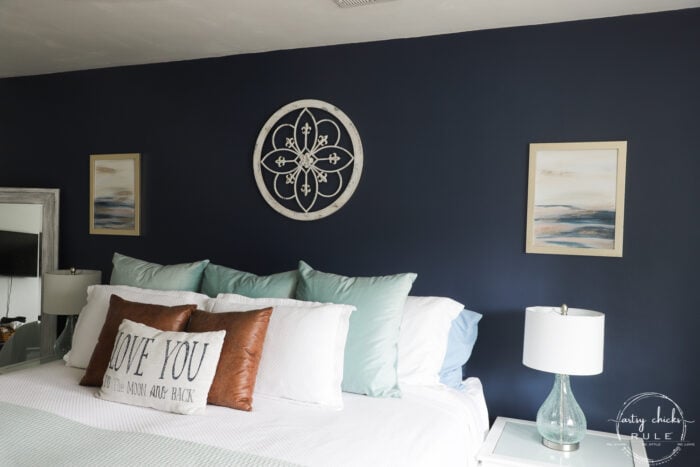
I know these may not be everyone’s cup of tea (the whole abstract art and such) but I love how it tied in the colors of the rug in the room.
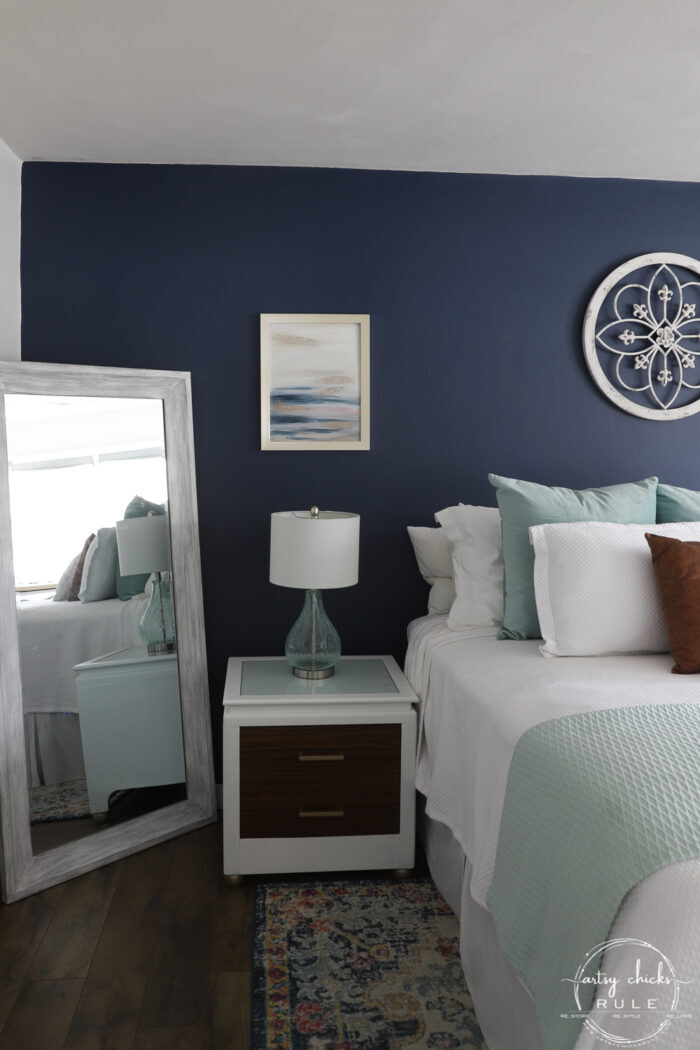
Pinks, golds, navy, and aqua.
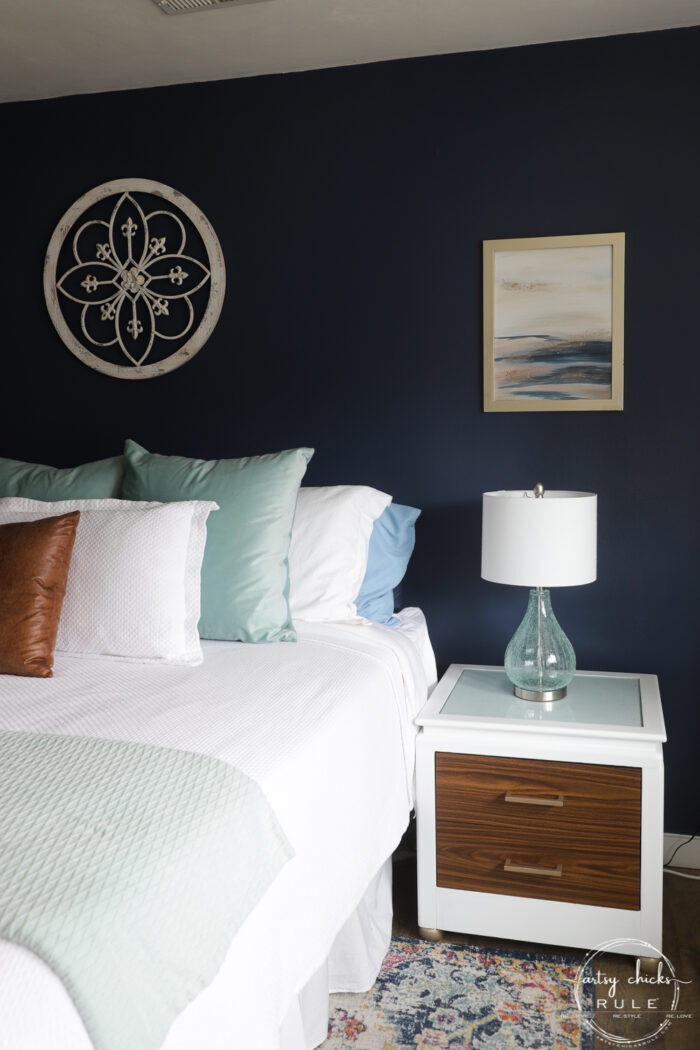
So…similar but not exactly the same.
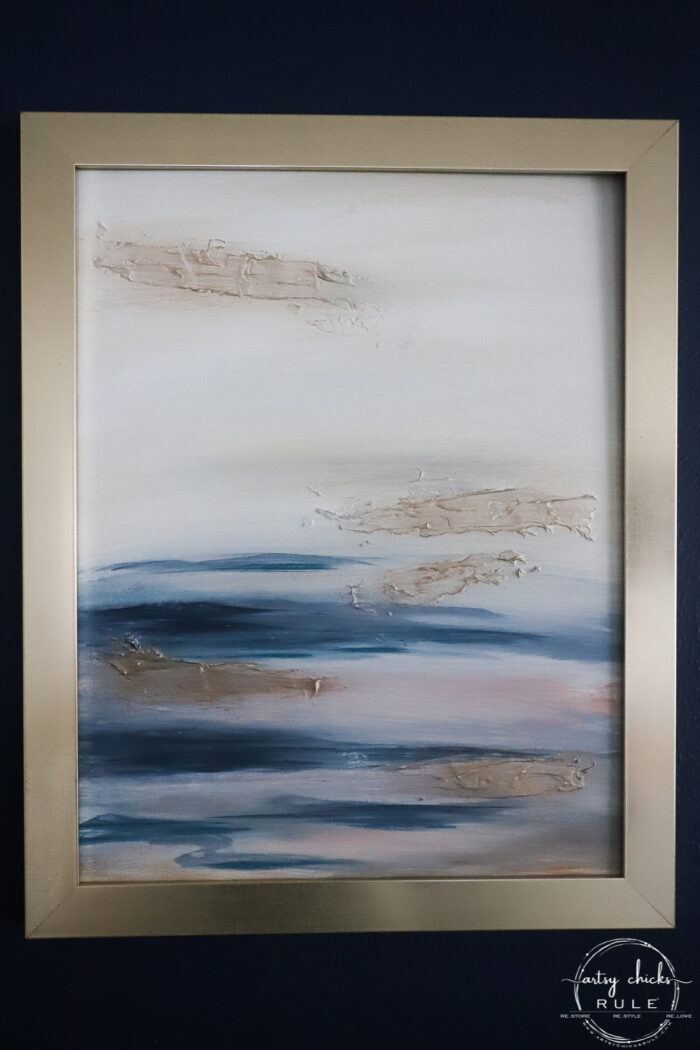
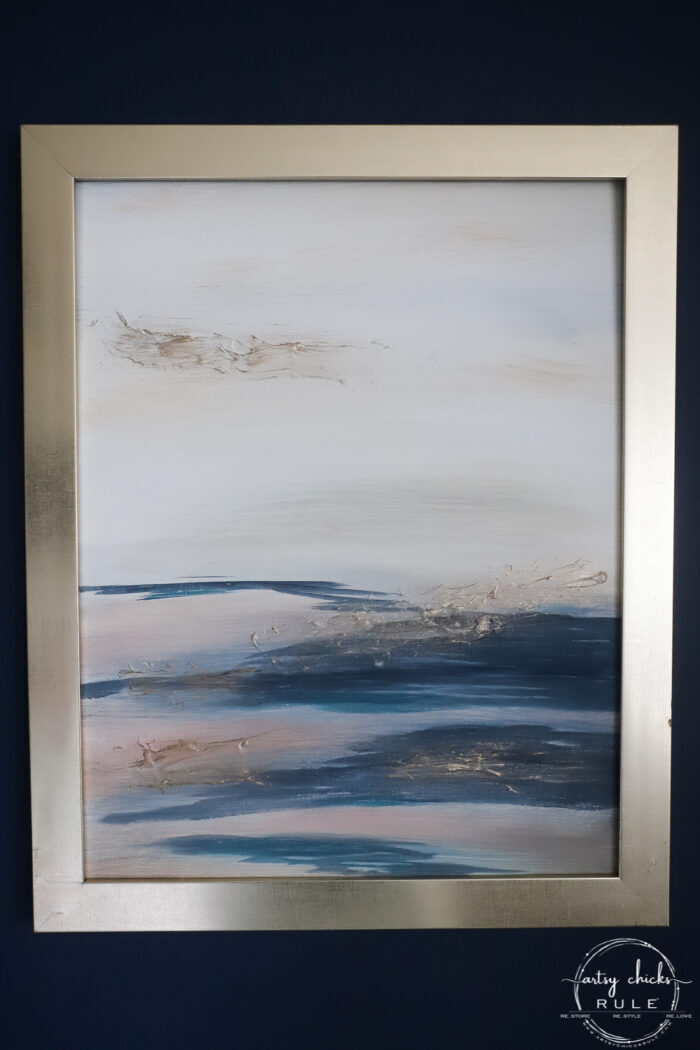
Up close…
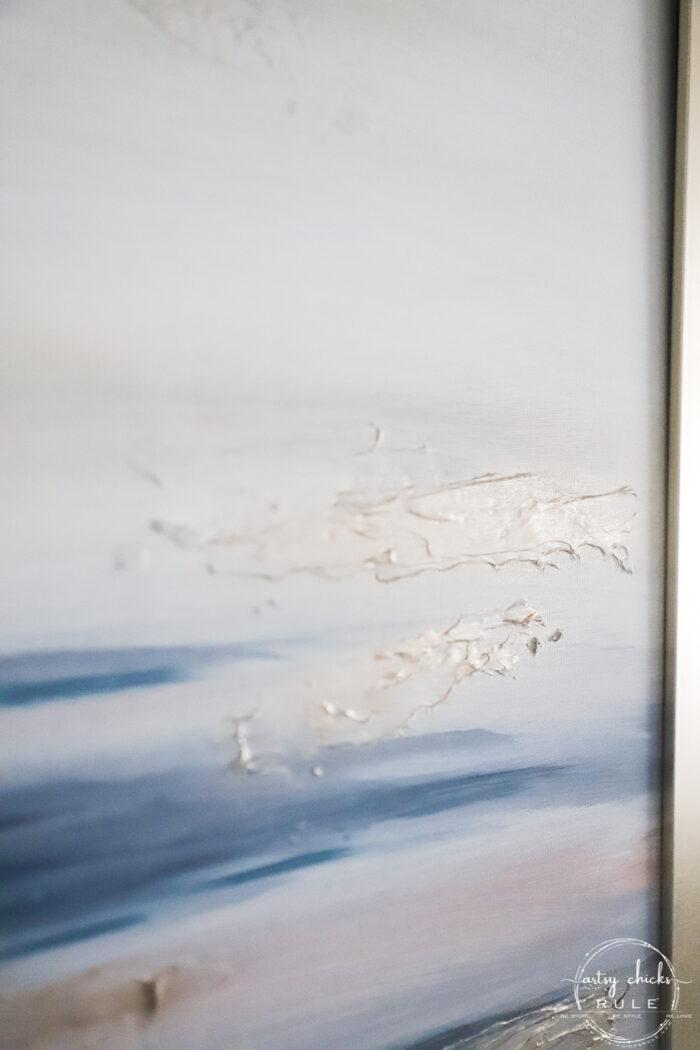
You can better see how I applied the molding paste here…
I’ll be sharing the whole room (and my husband’s IKEA closet build) once I finish up the other side of the room.
Have you ever painted like this? Think you’d try it?
I think you should! It’s fun to pull out the paints and just let it flow.
You never know what you’ll end up with! Maybe your very own masterpiece.
PIN it to save it!
I’ll see you back here on Thursday with a little artsy kind of post!
UPDATE!! See it finished here!!
xoxo





I love these Nancy! Beautifully done and oh so stylish in your bedroom! Did you make the frames as well? I have some molding paste so… something to try this weekend, thank you!!
Stay warm!!
Thanks so much, Christina! No, I didn’t make the frames, I found them at Michael’s. (buy one, get one, yippee!) And yes, do give it a try! Oh my, I am trying…it’s way too cold here in Virginia. Don’t love it. lol xoxo
What a neat idea and such a good job. Look great on your bedroom walls.
Thank you so much, Janice! xo
Absolutely live the art work AND the blue wall!
Thank you, Dawn! I am really enjoying having a dark wall for a change! xo
Nan y you did really good. A true artist.
Aw, thanks so much, Cheryl! xoxo
Girl, you are full of creativity and talent! I love these and I’m sure I have all the supplies….somewhere;) You could sell these so easy because they are originals. Love the bedroom and the little faux wood night stand is perfect with the pleather pillow! Have a good week!
Aw! Thank you, Cecilia! And yes, I bet you have everything you need to make something like this. :) xoxo
Abstract isn’t necessarily my style, but oh how pretty they turned out! And they’re perfect for that area of your wall. Good job, Nancy….really a good job!
Thank you so much, Sharon! :) xoxo
Brilliant and well done!! Do you sell?
Thank you, Bobbie! Oh no, I sure don’t. But thank you for asking! Made my day! :) xoxo
They are so pretty! I’ve been wanting to try some sort of painting for so long but I’m so intimidated lol. These are perfect for your room.
Thank you, Debra! It can totally be intimidating, I know! For me, staring at that white board worrying I’m going to mess it up. But then remembering, you can always cover or fix anything with more paint so just go for it! I think you should give it a try. You might be surprised at what you can do. :) xoxo
Thank you. I do plan to.
So creative! I love both. They are just the right touch against the dark walls in the bedroom. You created wonderful abstract art that can be enjoyed for a long, long time. Actually, I have never been much of a fan of abstract art, but I am loving your work! You go girl and create more art! Thanks for sharing your techniques. Truly amazing. Have a great week.
Aw, thanks Sue! I hope you have a blessed week, my friend! xoxo
Beautiful, adds the finishing touch for your room.
Thanks, Christina!! I am so happy to finally have something up there! :)
I have never been a fan of abstract art but…….these are perfect for your room. Borrowing the colors from your rug was definitely a good idea. I have NO artistic 👩🎨 talent. Nada, none. But I might try this. My youngest daughter loves the beach, like you do, and beach scenes. I think she would love these. Great job, Nancy. ⛱
Thank you, Shirley!! And you might be surprised at what you can do…I say, give it a go! :) xoxo
Love this art work…and you DO have talent! I have seen several canvas pictures like this at Home Goods and other stores. You’ve given me motivation to try some for my home. Just one thought: Are they hung a little high? It is hard to tell in the photos, but (imo) they could come down a little on the wall. Regardless, they are stunning.
Aw, thanks so much, Teri! And yes, good eye! I’m thinking they may be a little high. Taller nightstands will fix that! ;) I am still on the hunt but no luck yet. xo
Great inspiration – I have a large flower print that I have been looking for something to put on either side and I think creating something like this will work great!
Oh yes, that is a great idea! Compliment your pretty print. :) xoxo
Nancy, your new artwork you created works so perfectly in your space. What a fun wall color – and that rug is perfect in there, too.
Can’t wait to see your Ikea closet creation, too. Looking forward to it! : – )
Happy new month – boy time sure flies.
Thank you so much, Michele! I love this rug so much. :) And yes, it sure does fly! xoxo
These are gorgeous! Totally look like something you would see in a nice home decor store! You did a great job😀.
Thank you so much, Vicki! :) xoxo
Just love, love these!! I am going to try one. May even get my daughter over to paint one with me.
Thank you so much for the inspiration.
Yes! I am so happy to hear that! That would be a fun time for you both. :) xoxo
These came out great! So unique and one of a kind!
Thank you, Rose! :) xoxo
Nancy, you are a true artist! Did you go to school for art? Or do you have any background? You’re great at painting furniture and crafting but honestly, painting pictures is your true talent! Love the pics very much!
Awe, thank you, Shirley! No, I have no art training at all. I have always loved to draw but haven’t done it much over the years. This is so kind of you to say! We are always tougher on ourselves I think, and I never felt like I was very good. But you all have encouraged me! :) I really want to dive into it more now! xoxo