Repurposed Jewelry Box Mirror Tray
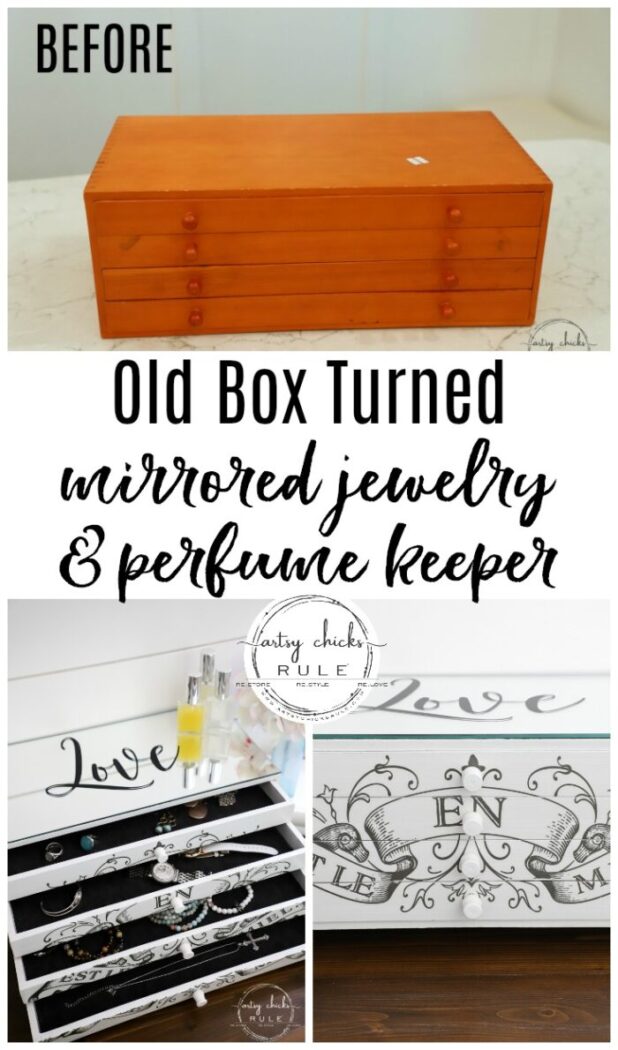
This old, plain, ORANGE drawered box needed a brand new look…and life! I gave it one, a jewelry box mirror top, perfect for holding all your pretties and even perfume bottles up top.
Hey friends!
It’s Trash To Treasure Transformation Tuesday and my friends and I are sharing our brand new treasures.
Be sure to scroll all the way to the bottom to see what they are sharing today!
I’m sharing this…
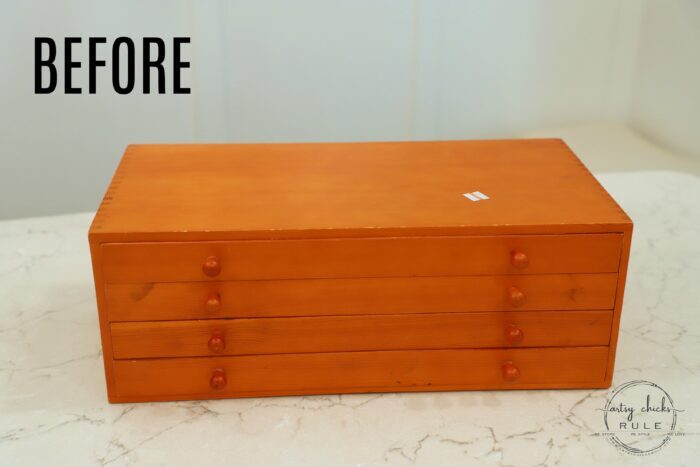
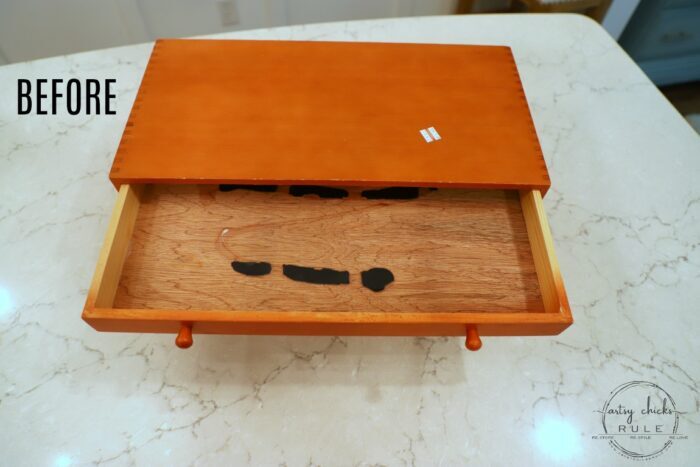
Which looked like this inside…
Here’s the items I used to complete this project:
MATERIALS LIST
- Prima Transfer
- Jersey Knit Material
- Spray Adhesive
- E6000 Glue
- Silhouette Cameo
- Black Vinyl
- Transfer Tape
- White Spray Paint
- Topcoat
I found it at the thrift store a few weeks ago and thought it’d make a great little jewelry box.
I immediately thought to put the mirror on the top somehow.
It sat for a bit while I tried to find a piece of glass that would fit. I couldn’t.
So I ended up just taking it up to a local glass cutter and having one made for about $20.
That’s a lot considering I only paid $2 (half price) for this box. But I really wanted that pretty mirror on top!
I thought they’d cut it and I’d glue it on. And since I wanted to get the ball rolling I went ahead and took it in.
When I got there, they told me they would glue it on for me! Darn, should’ve painted it first but it worked out okay.
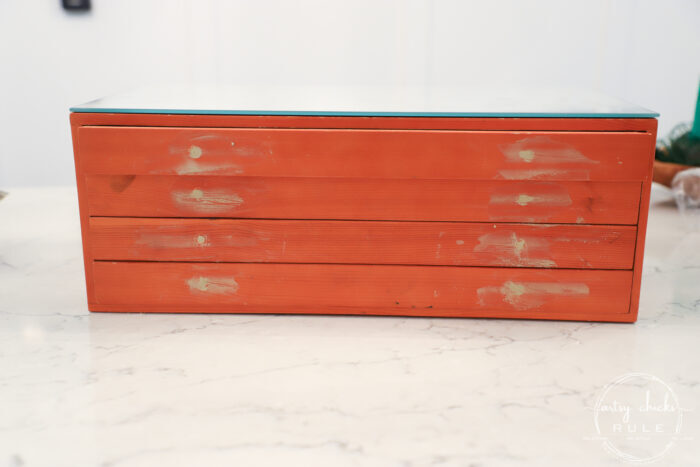
Here you can see where I took the old wood knobs out and added filler. I wanted one knob in the middle instead.
Then I taped up the mirror top and painted the rest with white spray paint. (inside and out, simple enough!)
Next, I went up to Joann’s Fabrics looking for something nice to go inside the drawers.
I wanted something soft since I was planning to make this a jewelry box. And I needed it somewhat thick so as not to show the glue stuck to the bottom of the drawers. (which was near impossible to remove…I tried)
I found this jersey type material…which worked perfectly!
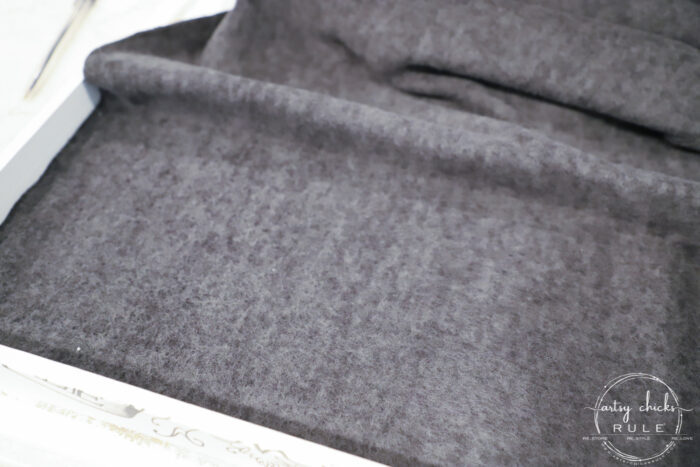
I simply laid it inside the drawer and used a watercolor pencil to line the edges that needed cut.
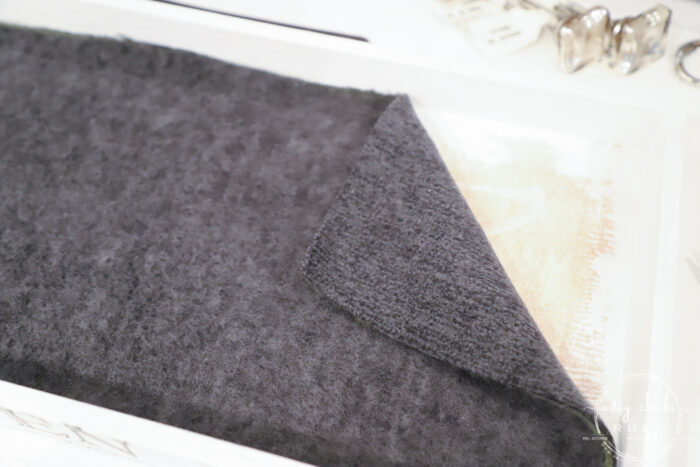
I used the smooth side of the fabric, by the way.
Then I sprayed adhesive on the drawer bottom and attached the material.
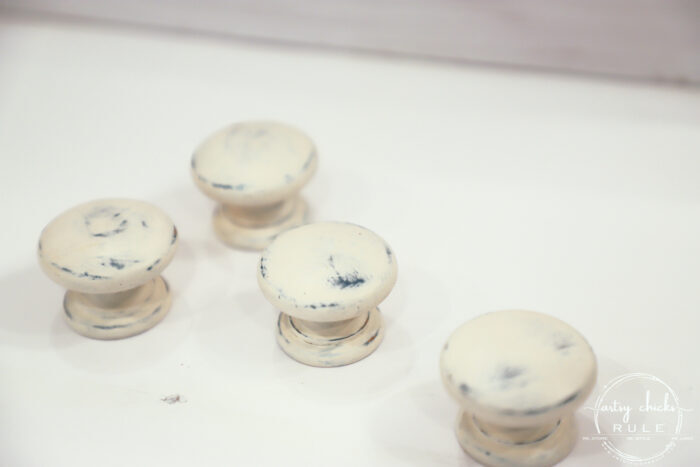
You can see the knobs up there in that photo that I had planned to use.
But they ended up being too big and just would not work. More on that in a bit.
But first, let me tell you about the pretty transfer I used.
It’s this beauty.
And actually comes in 3 parts.
Instead of using them all on one project, I used them on 3!
Remember the French tray project I did last month? This one >>> “French Basket Tray”
Well, I only used part of the graphic on that one.
And remember the little mini treasure chest?? This one >>> “Mini Treasure Chest Makeover”
Well, part of the same transfer was on that too.
Now today I am using the last part of that transfer.
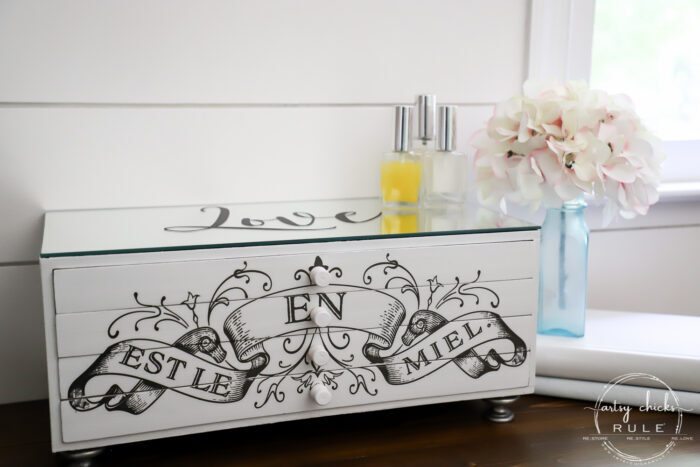
Just for reference, the first part of the transfer that I used on the French basket tray said, “life is the flower, love”.
The entire saying is something along the lines of “Life is the flower, love is the honey”.
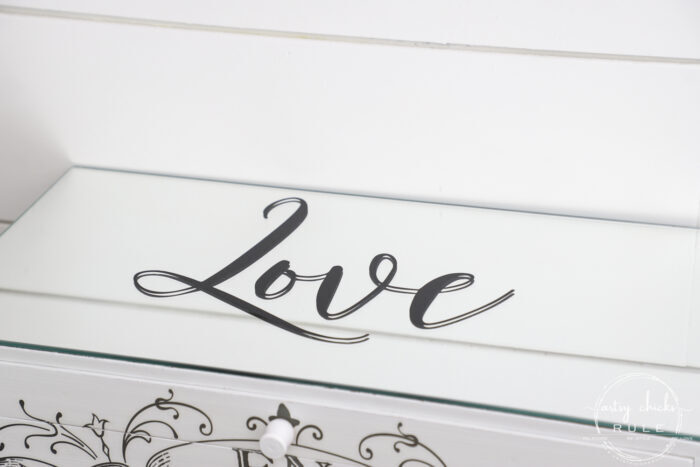
So, since all I had left was “is the honey”, I thought I’d add the “LOVE” up top on the mirror so it at least made some sort of sense! ;)
Once the paint was dry, I attached the Prima transfer.
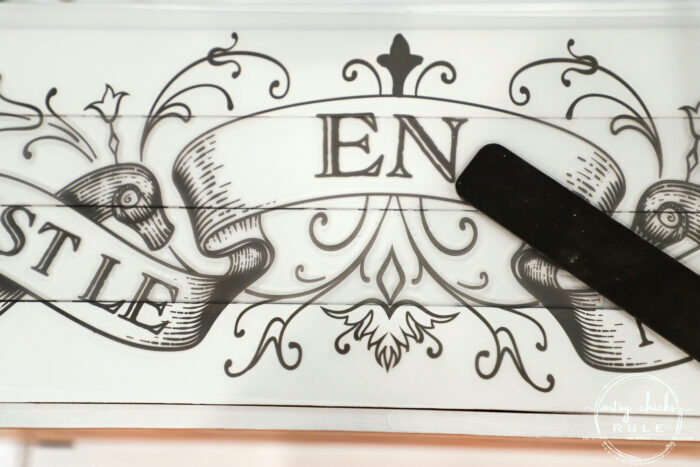
I just closed the drawers and rubbed the transfer with the wooden stick provided.
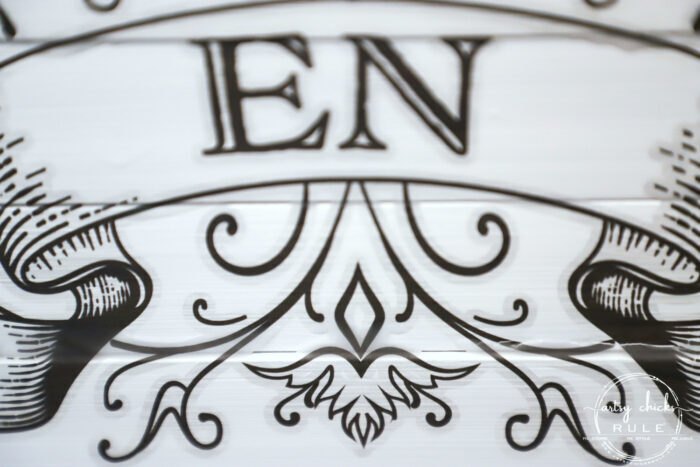
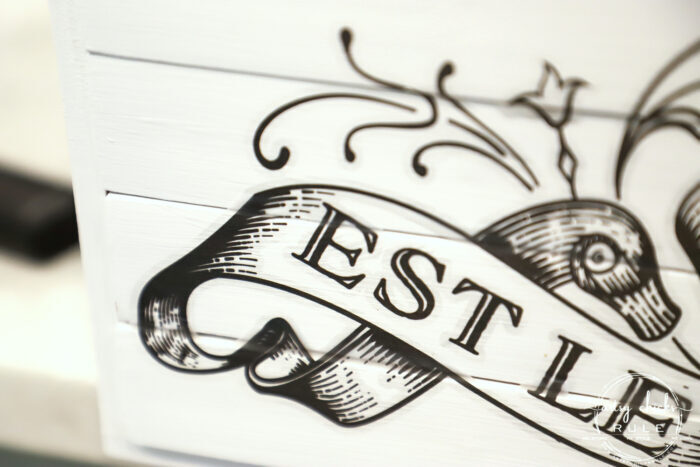
Once it was all transferred, I took a sharp knife and cut where the drawer openings are.
So simple!
Next, I created the “love” wordage on my computer and cut it out on my Silhouette Cameo. (<<< here’s a nice bundle)
I originally planned to spray paint the letters in, in white by using the cutout as a stencil.
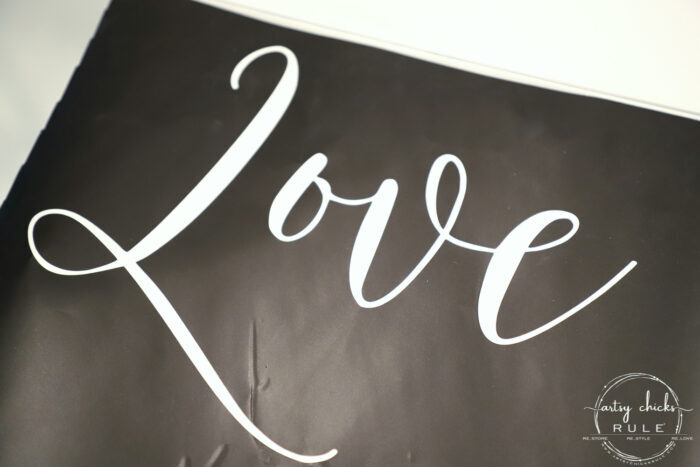
But that didn’t work out well at all.
The paint scraped off too easily. Bummer. (but good too because I just scraped it all off and began again)
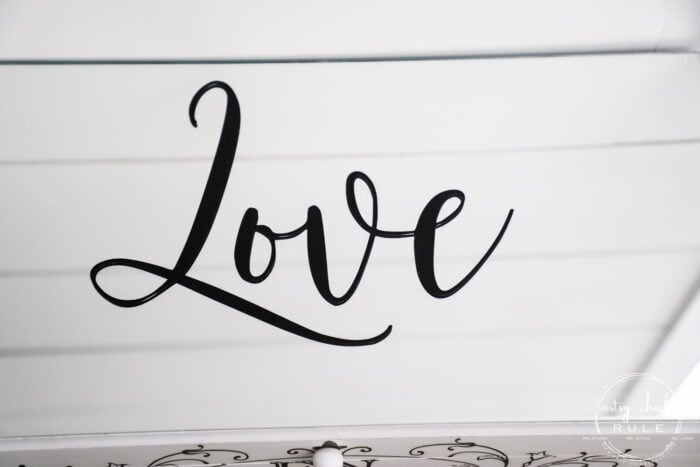
Thankfully I had carefully removed the vinyl “LOVE” lettering and stuck them to a piece of transfer tape.
I don’t always do that because it’s really hard to get them out without ruining them. You pretty much have to use them either/or.
As a stencil or just the lettering.
So, yay!! I used the black vinyl lettering which I ended up loving the look of much better anyway!
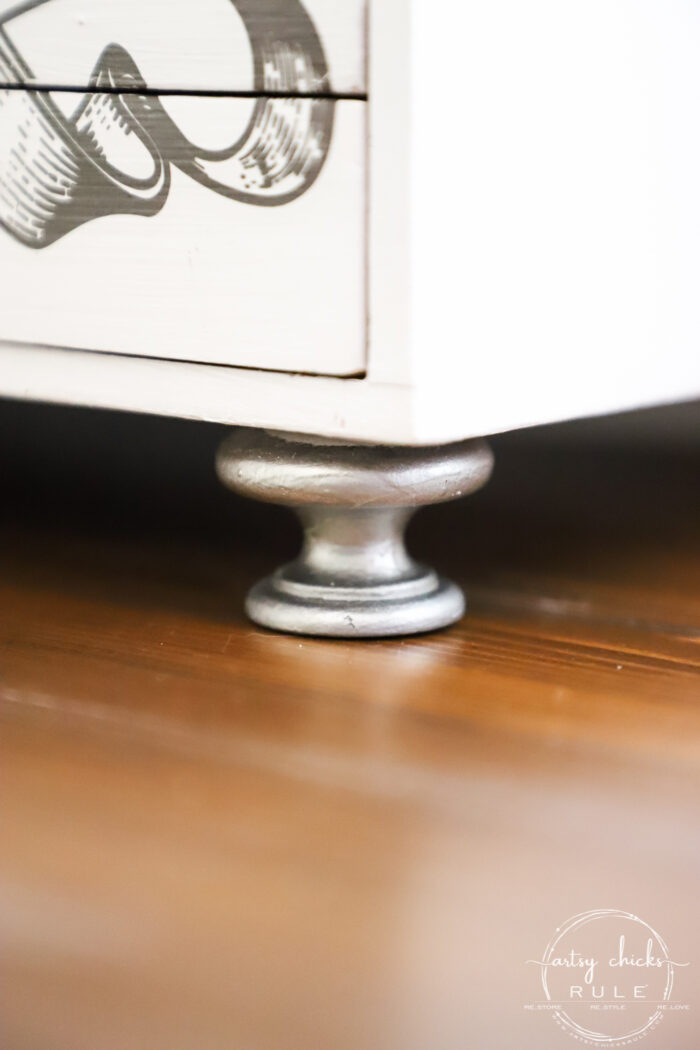
And I always knew I wanted to put some kind of little feet on the jewelry box mirror tray too.
These old knobs off of our previous dining cabinet would work perfectly.
I simply sprayed them silver (well, I sprayed them black and then used a “mirrored” type of spray paint but they just came out looking silver)
By the way, I’ve used that mirror spray multiple times before and have made some cool things. (that really did turn out “mirror-like”)
Actually, this is a faux “antique” mirror that I made with it years ago, see it here >>> “How To Make An Antique Mirror”
Next, I glued them to the bottom with E6000 glue.
For the knobs, I had originally planned to use mirrored looking, square knobs but they covered up too much of the pretty transfer.
I went up to Michael’s and found these pretty curved wood pieces and thought they’d be perfect.
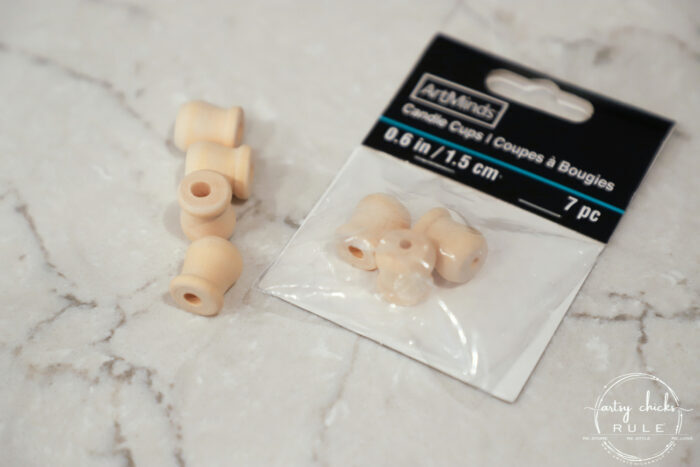
I simply filled the holes and glued them onto the front with E6000 glue.
I wasn’t worried about them not being “real” knobs that screwed in because the drawers and so lightweight.
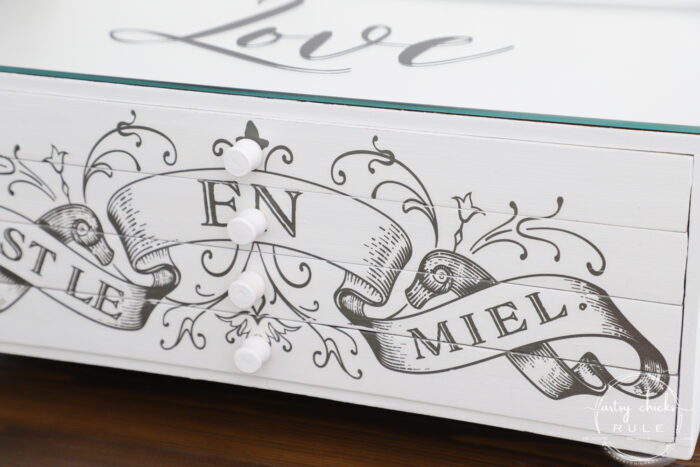
I painted them white because I wanted them the least noticeable as possible.
Pretty good.
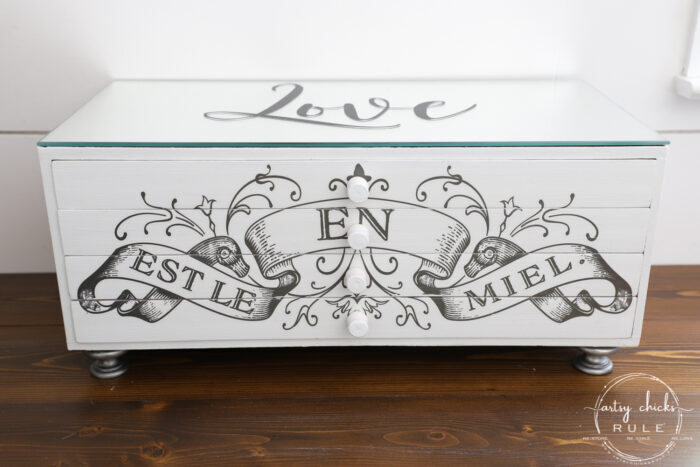
One coat of topcoat sealer and done.
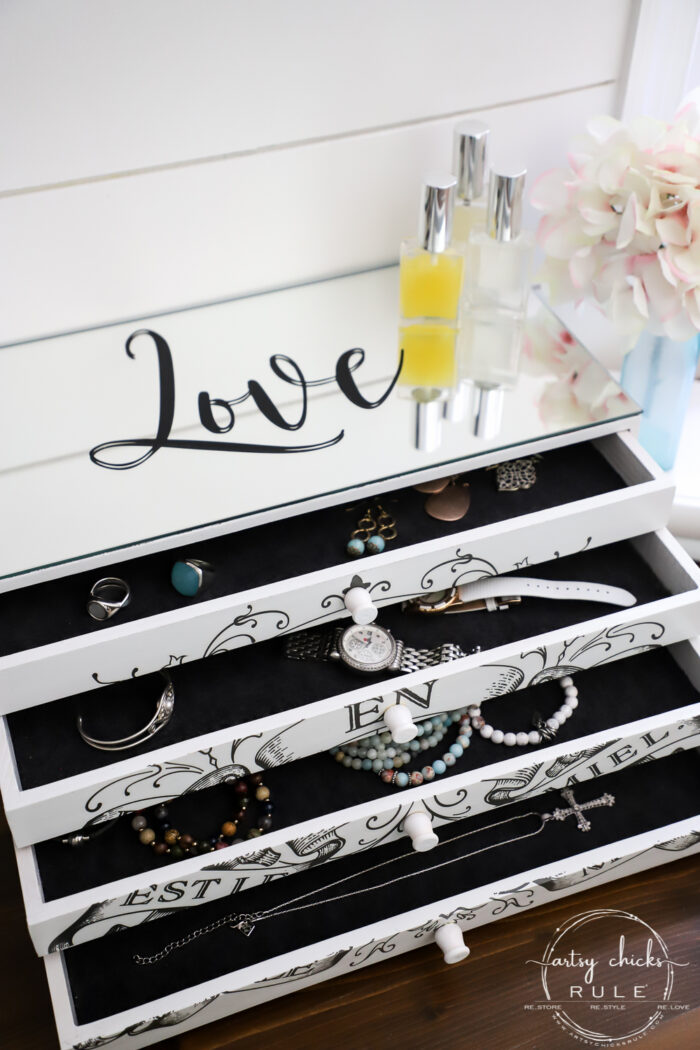
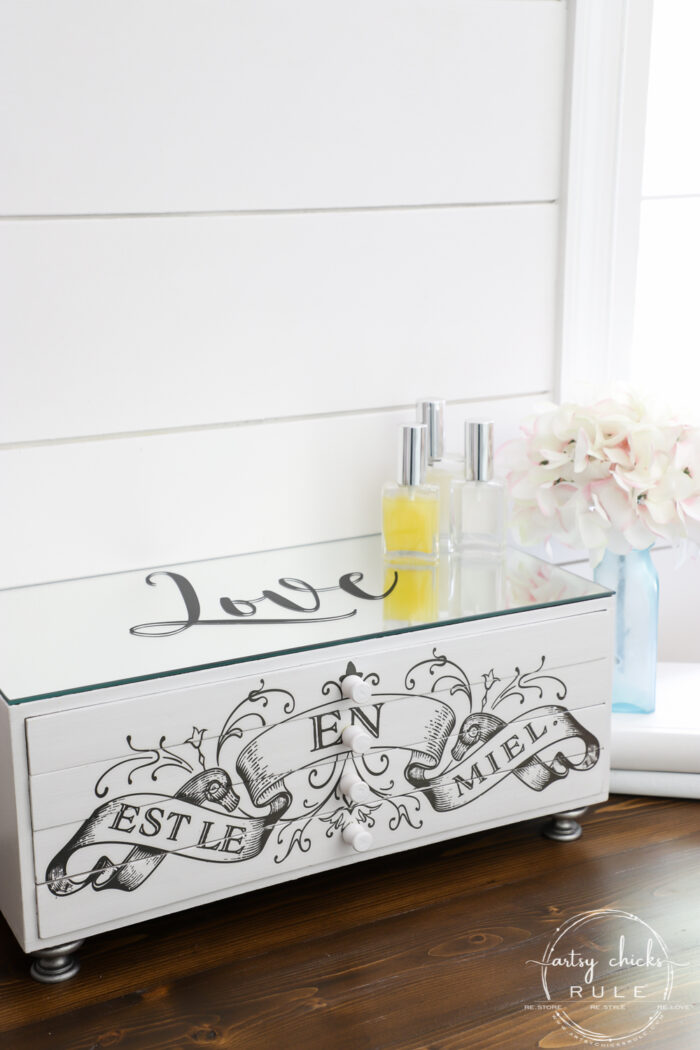
And there she is, all dolled up!
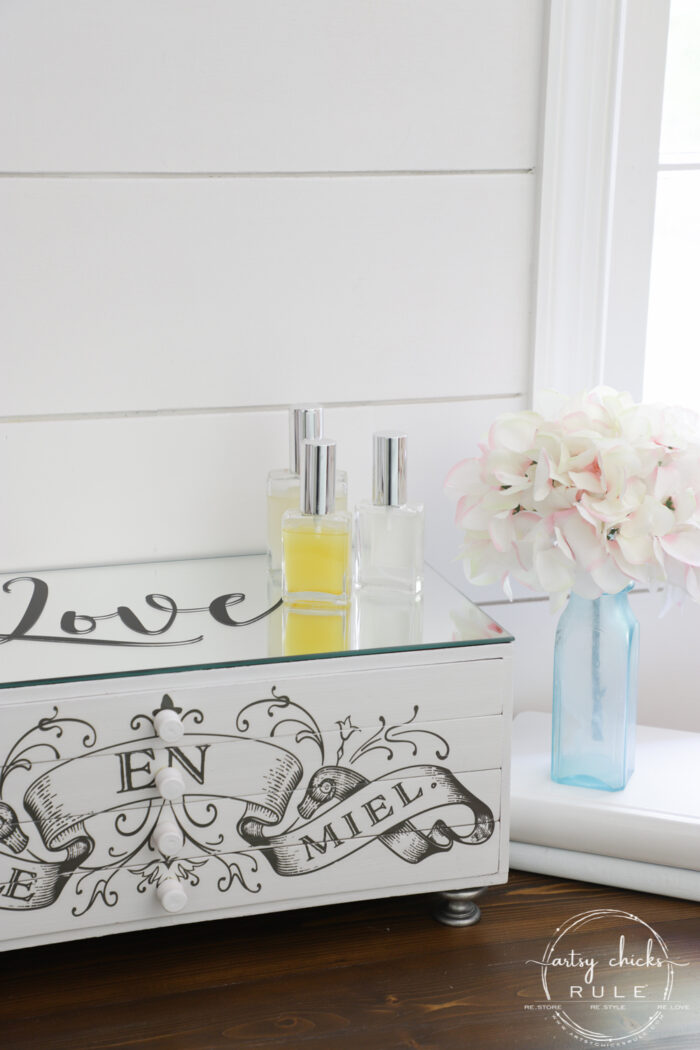
The top is perfect for placing your pretty glass perfume bottles on.
So girly, girly.
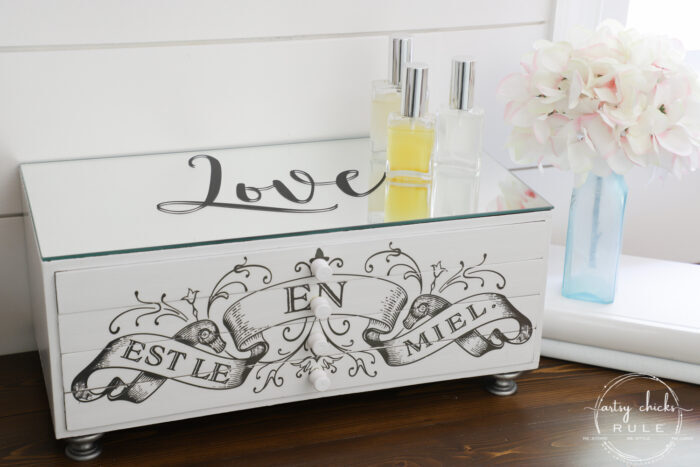
Those are 3 of the all-natural perfumes I’ve made. (I use essential oils and high proof alcohol, nothing artificial and they smell so good!)
Interested in essential oils?? Check out this post, here.
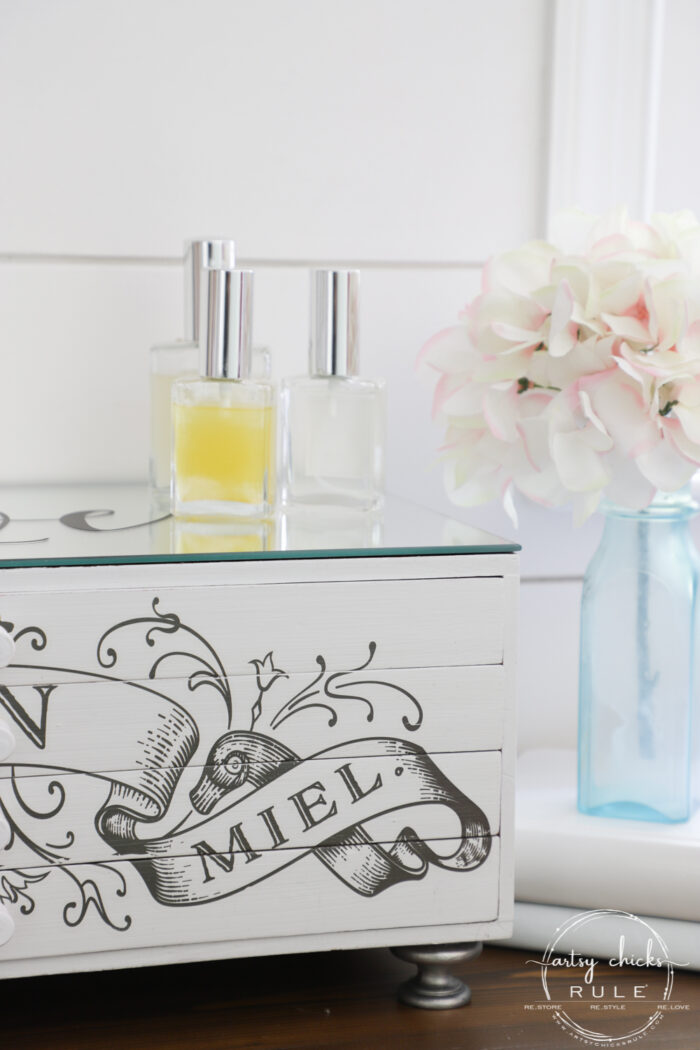
What a transformation that old, orange little box underwent, huh?
Want to take a look inside?
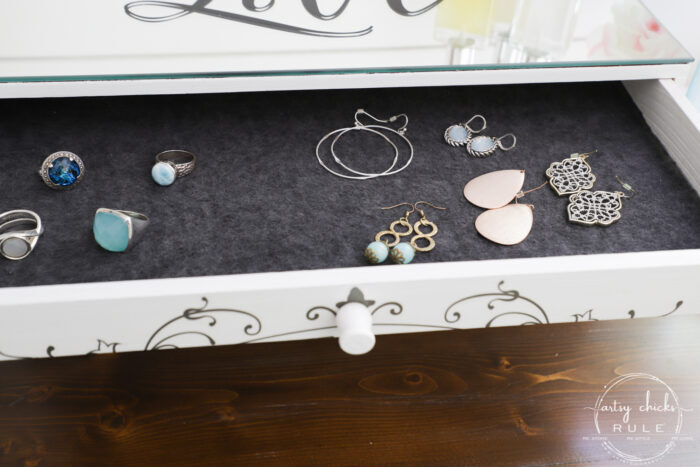
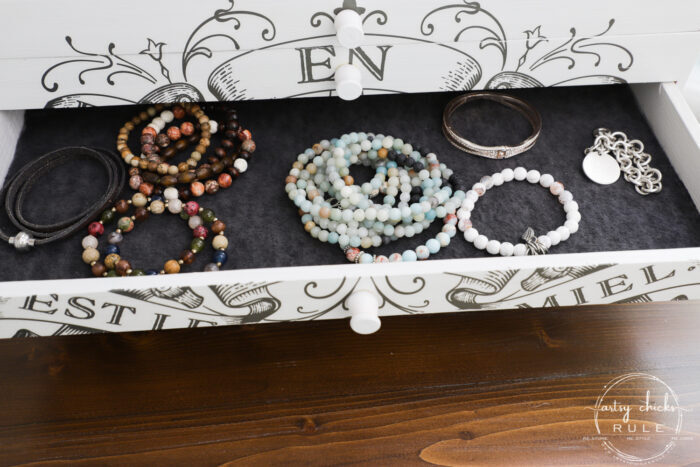
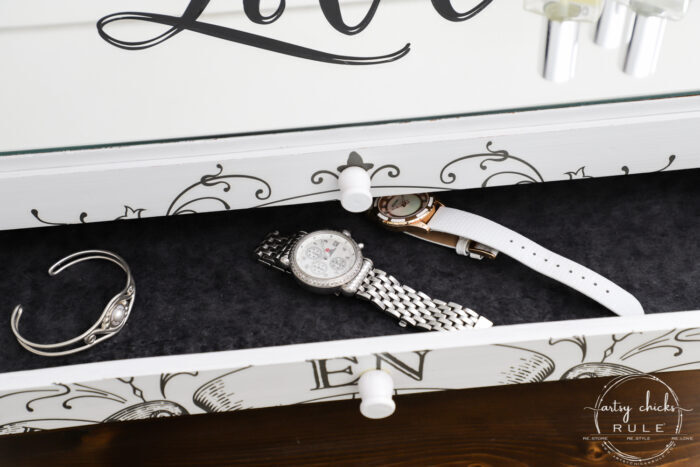
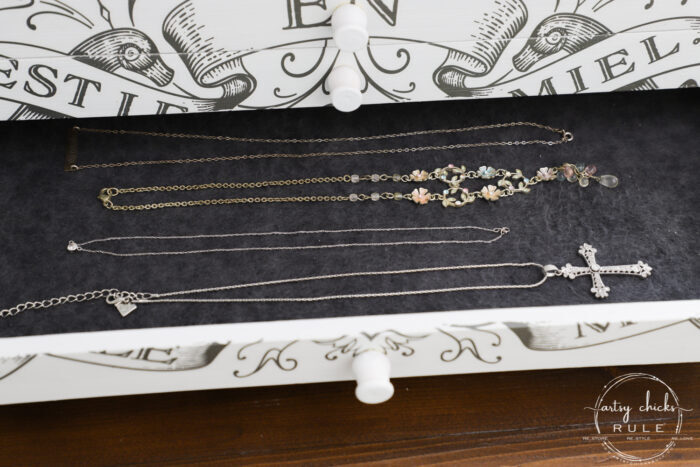
Perfect for all things jewelry. Necklaces, watches, earrings and rings.
Everything fits in here.
Here are the sources for the things I used…
MATERIALS LIST
PIN it to save it!
Don’t go just yet!
Hop on over to visit my friends below to see what they did this month! (links to each are below)
Want to see even more Trash to Treasures? Check out this link here for more >>> Trash To Treasure Archive
Have a wonderful week!
I’ll see you back here on Thursday with this makeover!
UPDATE!! See it now here!
xoxo




What a Wonderful make-over and Inspiration as I have a box exactly like that, that I use in my craft room. Guess it’s finally time to give my box a whole new make-over as well, as I’m tired of looking at that ugly ‘orange’ color.
Thank you, Colleen! And how fun that you have the same box. I wondered what it might’ve been used for originally. Yes, give that thing a brand new look, make it pretty! xoxo
What a sweet find and even sweeter save. So chic! 😍
Thanks so much, Larissa! :) xo
Awesome makeover Nancy ! What a beautiful jewelry box you have now! I love it!
Thank you, Aunt Jo! :) xoxo
Great makeover and the transfer looks perfect here. The mirror was a luxurious addition and with “Love’ on top is perfect. Way to go!!!
Thank you, Christina. :) I’m glad I went ahead and spent the 20 to get that mirror! I really makes it, I think! xoxo
That turned out amazing! What else would you recommend instead of spray adhesive? I cannot use it. Even though I followed all the directions and used it outside, it nearly killed me and my Dr told me to never use it again! Eek! The lengths we go to for crafting! Lol
Thank you Stacie! Oh bummer, yes, that stuff is strong. I have to use it outside myself. I hold my breath when I spray it…and when I spray paint! I’m sure I’m a sight to see for my neighbors, spraying, holding my breath and running inside! Haha For this use, you could also just use regular glue or Mod Podge. That would work too! xo
Ok ladies; when spraying anything, it’s always best to use a Spray Paint Respirator Mask. No different then wearing ear protectors when using a saw or other loud power tools. A respirator mask will keep from breathing in them fumes.
I know, I know! So bad. ;) You are very right.
This turned out SO good!! Transfers are such a game changer and this one is perfection on this piece. Love the addition of the mirror too…well worth the cost! XOXO
Thank you Christy! Yes, they really are. I was so thrilled when I realized this one I had left would fit this little chest perfectly! Yippee! :) xoxo
Super cute!
Thanks, Kimberly! :) xo
Hi Nancy! I’m trying to do as many inside makeovers while the blistering heat is so awful. I would rather spray paint but have to brush on when I’m inside:( Small projects like thios precious mirrored chest is just what I am looking for to copy. I can’t wait to use my Prima stencil! I just hope it is as easy as you say! Take care and will check out the other bloggers’ makeovers. XOXO
I don’t blame you, Cecilia! Spray painting when you can is so much easier but I get it! The Primas are so easy to use. I really love them. You’ll love them too! xoxo
This turned out so gorgeous, Nancy! The mirror really makes it more special. I assume you’re keeping this one? It would be hard to let go! xo
Beautiful!
So you don’t sell any of your makeovers, is that correct? How do you not run out of space??
Thank you, Robyn! I keep some of them, give away some smaller things away and sell the larger pieces. This one is going to my daughter! :) xo
I love, love, love this and have aquired a few of these that I want to redo similar. I checked Prima Designs but they all look extra large. Can you direct me to where I can find similar in that jewelry box design. Thank you in advance.
Thanks, Wendy! Oh yes, I’ve got all the items I used for this project linked in the text of the post (the blue words). Sometimes I put the things I’ve used in a gray box, I didn’t on this one but I am going to edit it and add that to make it easier to find the products. :) And yes, that one is a large transfer that I used. BUT I cut it up and used it on 3 different projects. So really, that one large transfer became 3 small ones for me.