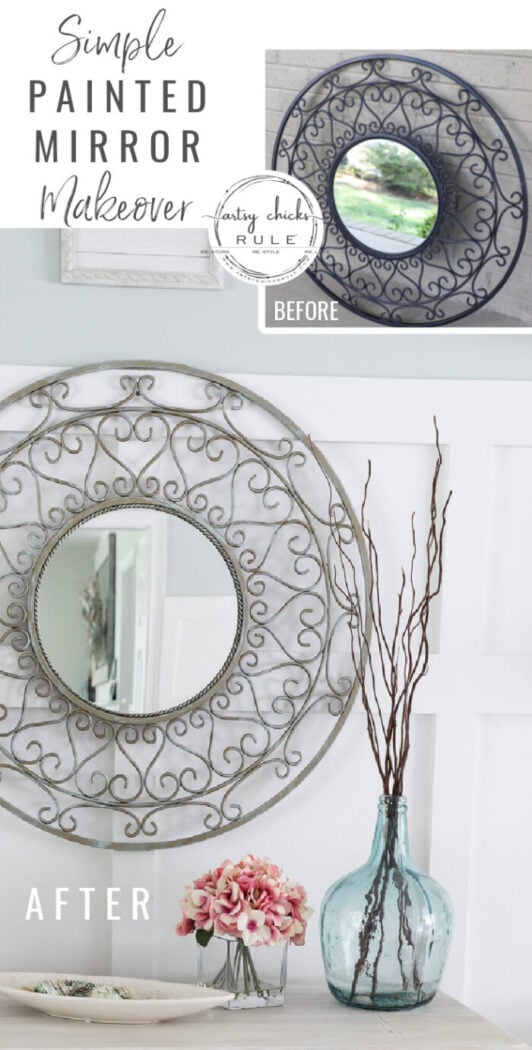
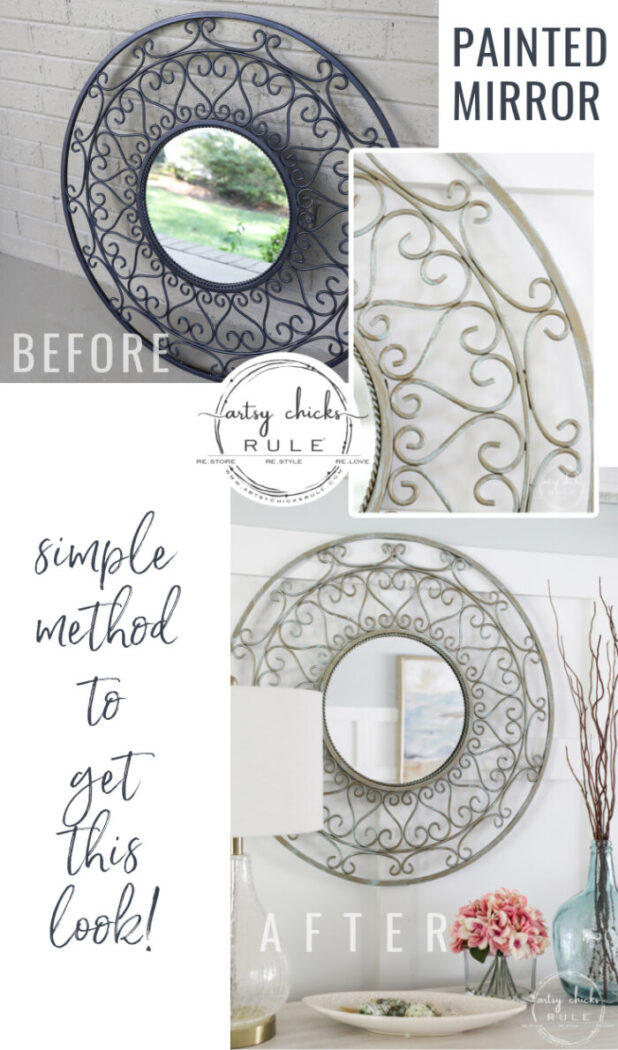
Metal Mirror Makeover (simple method!)
Sometimes all it needs is a little paint for a brand look and life. This simple metal mirror makeover is one anyone can do!
It’s mirror makeover day. Metal mirror makeover and two plastic (metal-look) mirror day, that is.
You might remember this one from my latest haul…
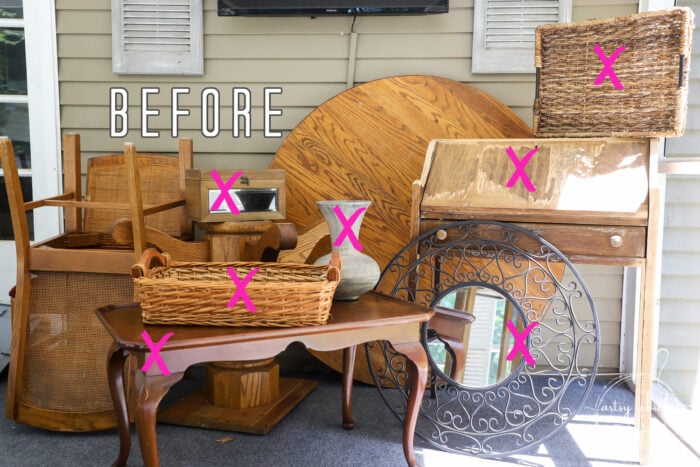
It was my $10 find…
…that I passed up.
BUT I also passed up that table and chairs on my first visit. ACK!! No, I didn’t…yes I did. haha
They were calling me back…so I went back and got them both! lol
Thankfully both were still there.
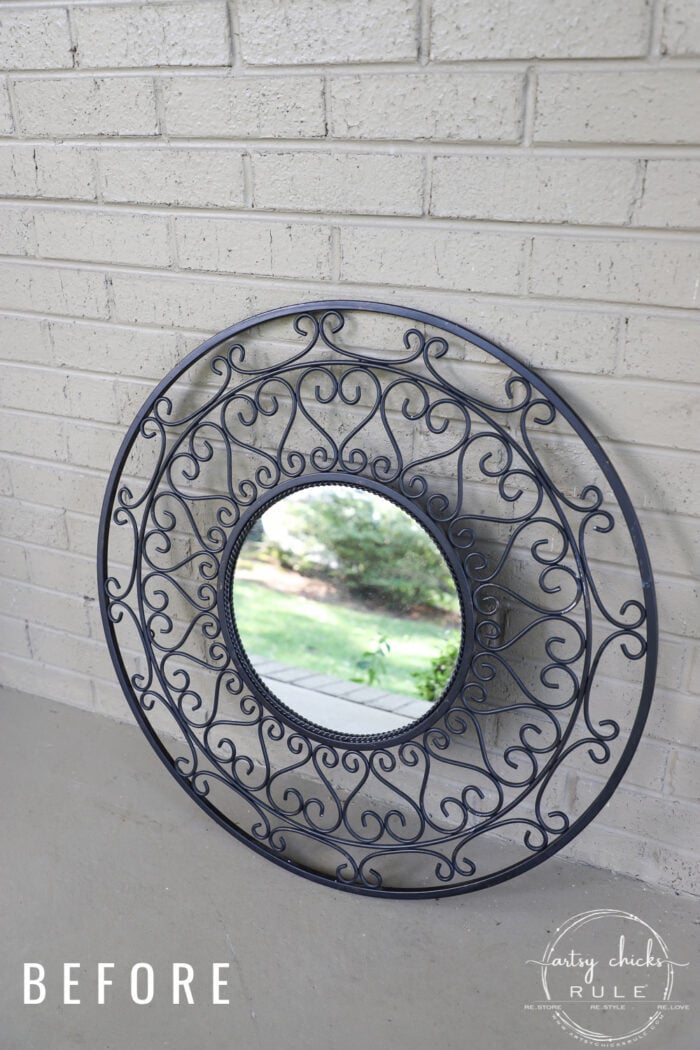
I mean, the mirror just didn’t look like much to me. And I thought well, not much I can do with that.
But that is just not true at all. The truth was, and is, it was SO simplistic that I figured what’s the point?
The point is, this is a perfect example of buying decor for your home on a budget!
Bring it home for $2, $5 or even $10 (still a deal) and give it a simple makeover you will love.
These are the exact things I like to share here.
Either found at the thrift store or even right there in your own home. Something you bought years ago that you just don’t really love anymore. Or maybe never really did. Or maybe it’s just not the style you want anymore.
Sometimes it’s something as simple as changing the color of something to make it fit in with your decor or just to make you relove it all over again.
I do it all the time with my decor. I’m a major home decor recycler around here.
Well, dang, this post is the perfect example of that as the other two mirrors I’m sharing today got a mini tweak…the third look they’ve had.
Remember these mirrors from my master bedroom??
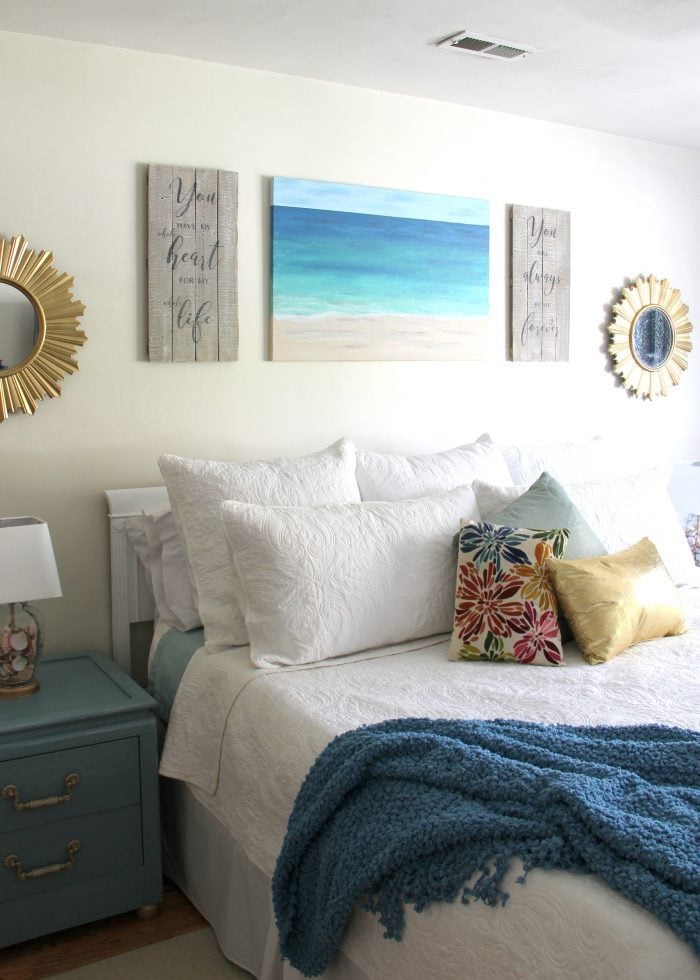
They started out a bronze color, I painted them a super bright gold and used them like that for a few years.
But now that I’m painting that back wall a navy color (I’ve decided which one…you’ll just have to wait and see! ;) ), I thought it might be nice to mute them down a bit. I still wanted them gold, just not that super bright gold.
So I pulled this other gold paint out of my stash and sprayed them. Simple and done!
OH! AND… they are going back up to our master bedroom but I have all kinds of navy paint samples on the wall up there so staged them here so you could see the new look up on the wall.
MATERIALS LIST
- Hammered Gold Spray Paint (metal scroll mirror)
- “Frosted” Look Gold Spray Paint (the two starburst mirrors)
- Chip Brush
- High-Performance Top Coat
- Sea Glass Paint
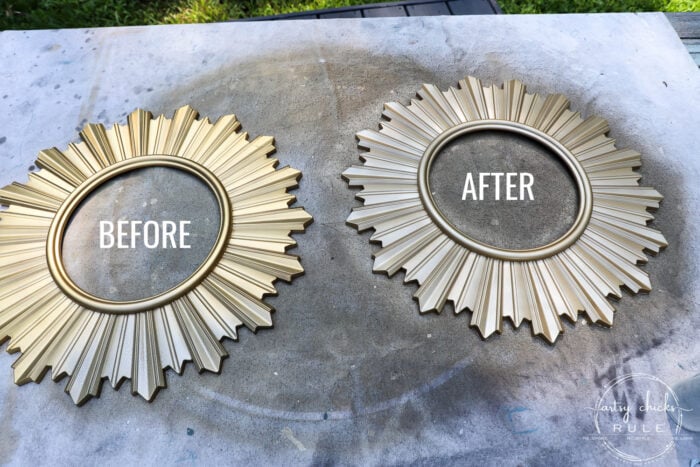
It might be hard to tell in the photos but they are MUCH less bright and shiny.
But I guess the point isn’t really how they look in this photograph, but that I pulled those suckers down and gave them a brand new look instead of buying new. And it might not be their last look…you just never know around here!

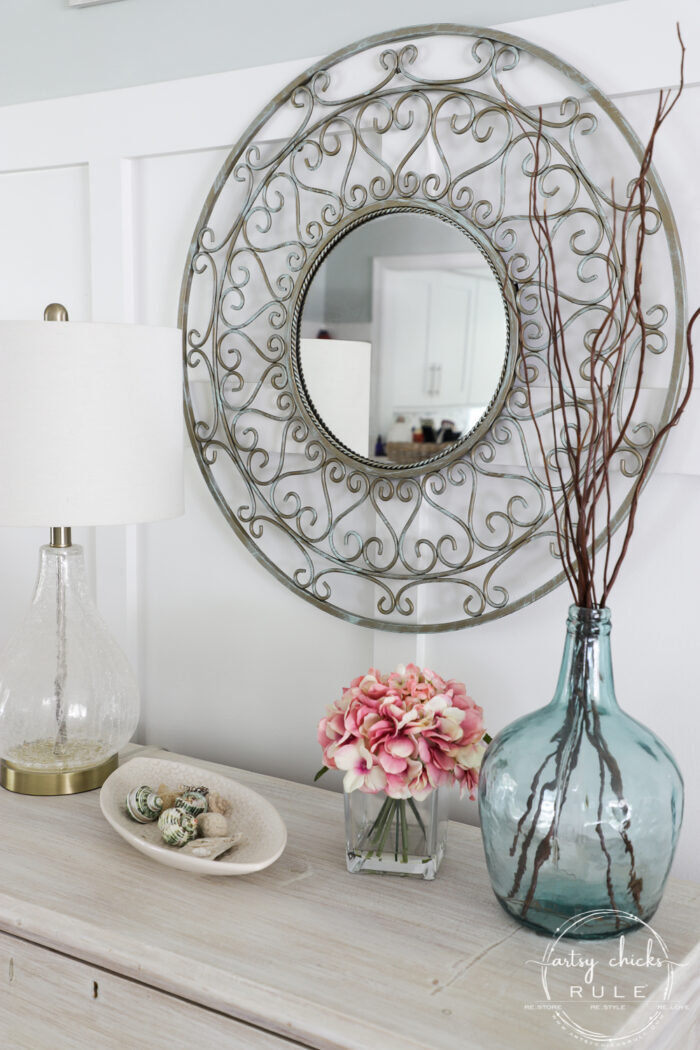
Up close…
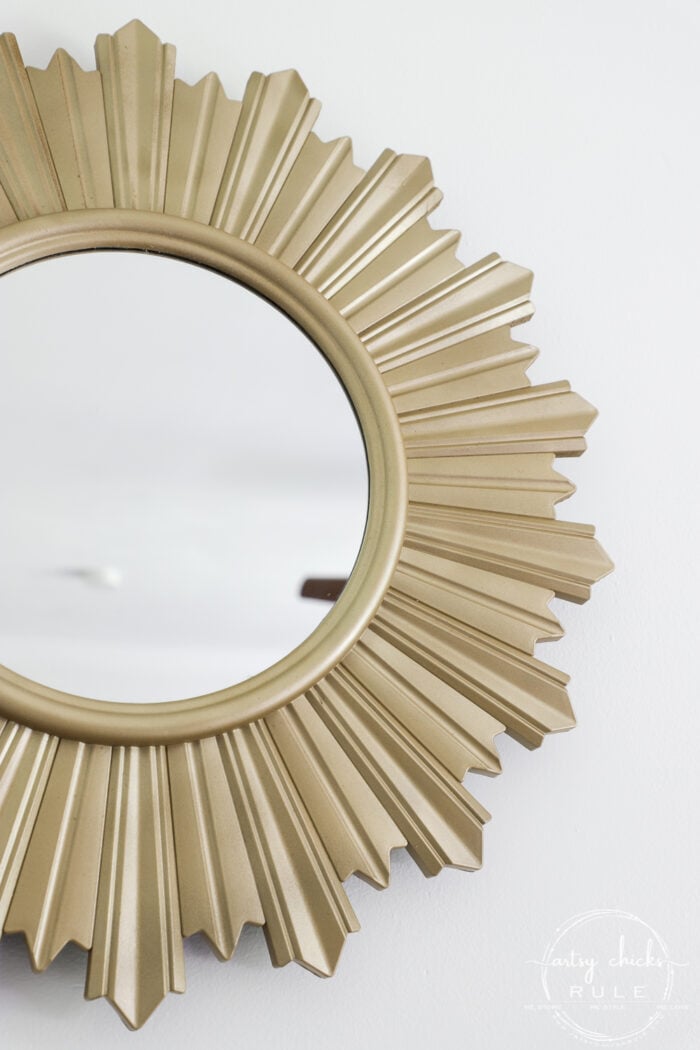
See how it’s a little more of a subdued, frosted gold look?? The other one was more of a tarnished, bright, shiny gold color.
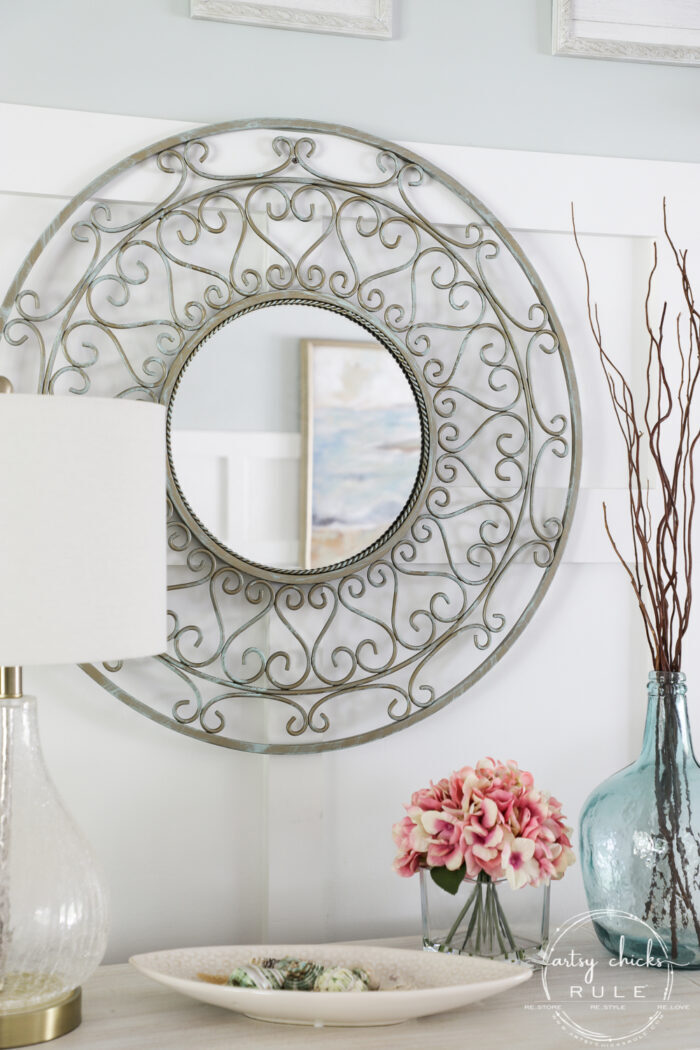
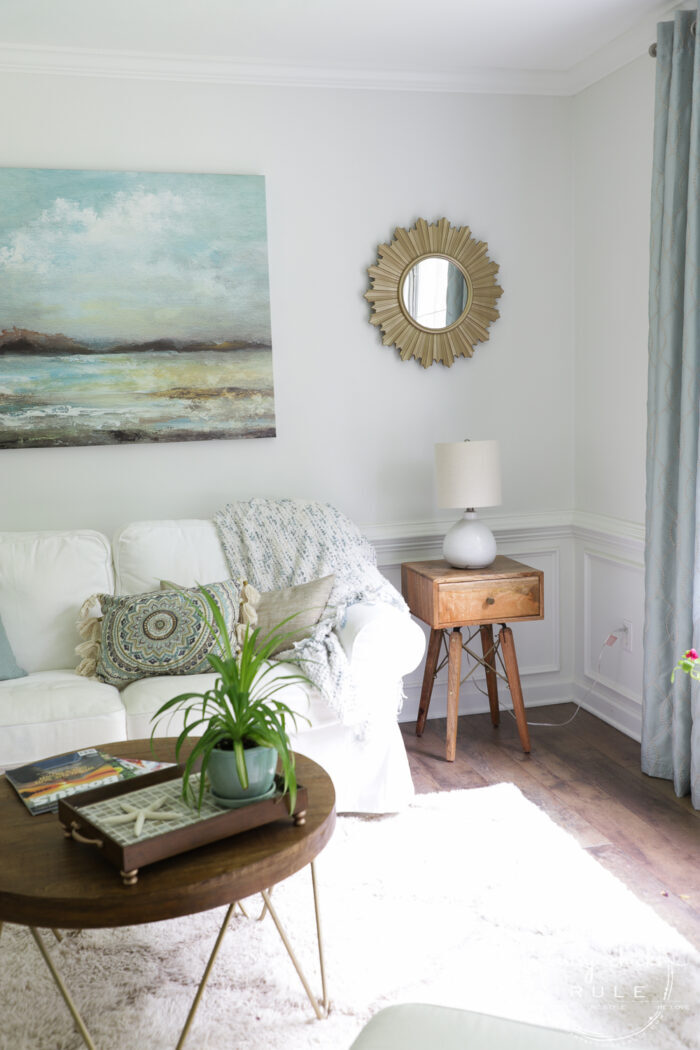
Okay, so let’s talk about the thrifty haul metal mirror makeover…
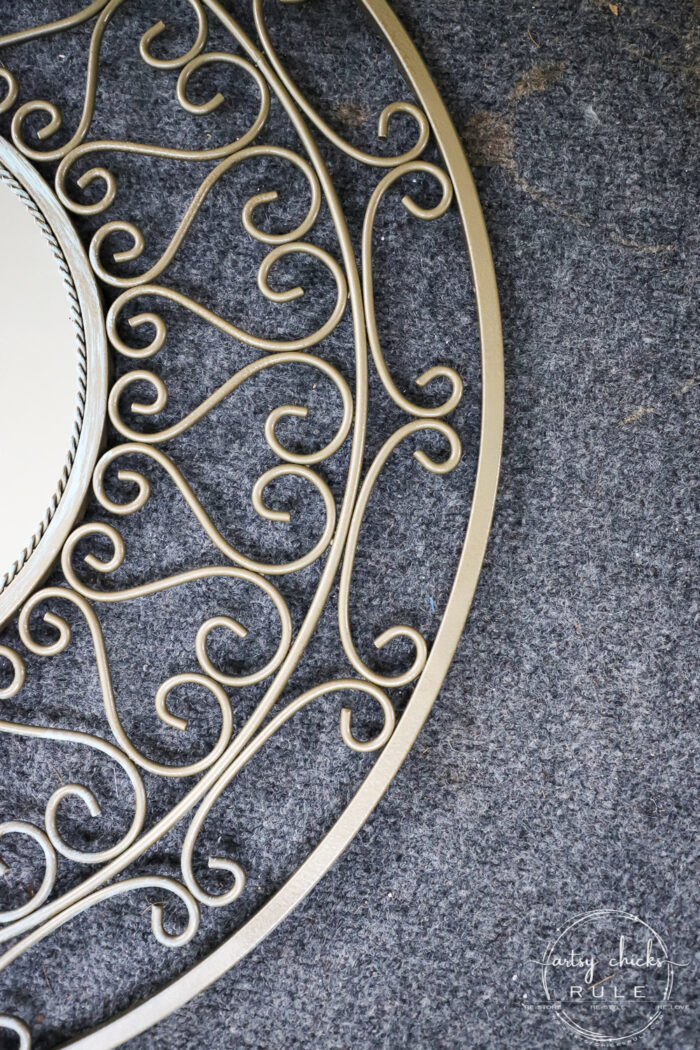
I began by wiping it down and then since it was metal I decided to use a “hammered” type of gold spray paint.
I don’t know if you can tell in the photo but it has a really cool hammered metal look which is just perfect for this piece.
I get carried away when I’m working on several projects at once and forget to take photos.
I forgot to take a photo of it just gold before I did the aqua dry brushing. But this little section is still just gold so hopefully, you get the idea.
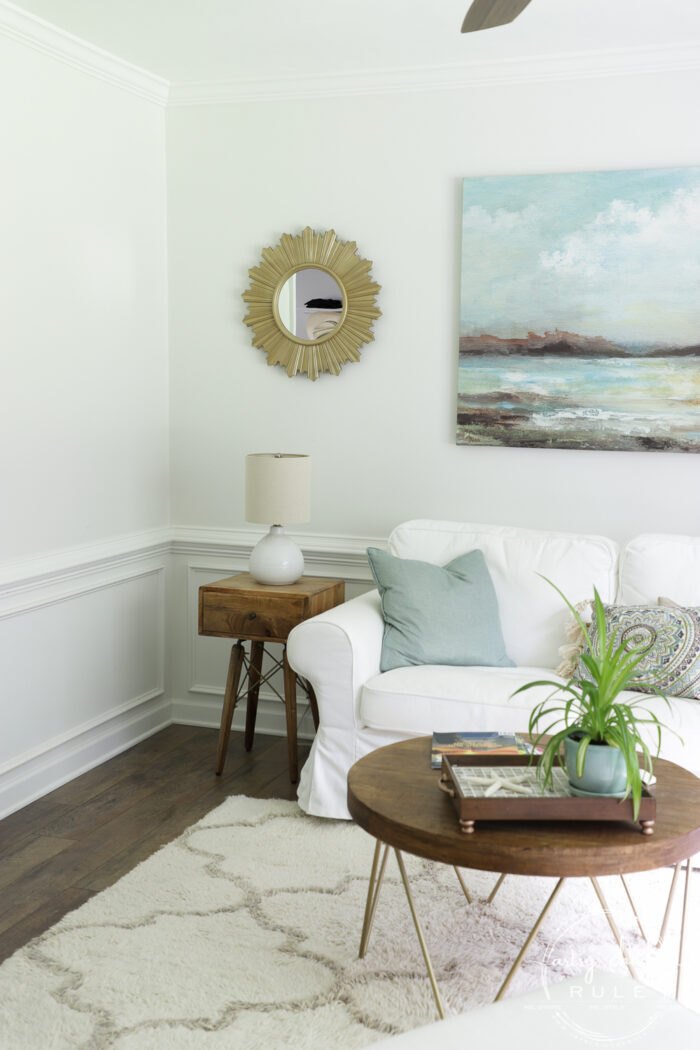
Once that was dry, I pulled out one of my chip brushes and one of my pretty aqua colored paints and did a little dry brushing over it.
Not sure how to “dry brush”? I’ve got you covered, check out this post/video right >>> here.
I didn’t want to cover all the gold so I did it more here and there.
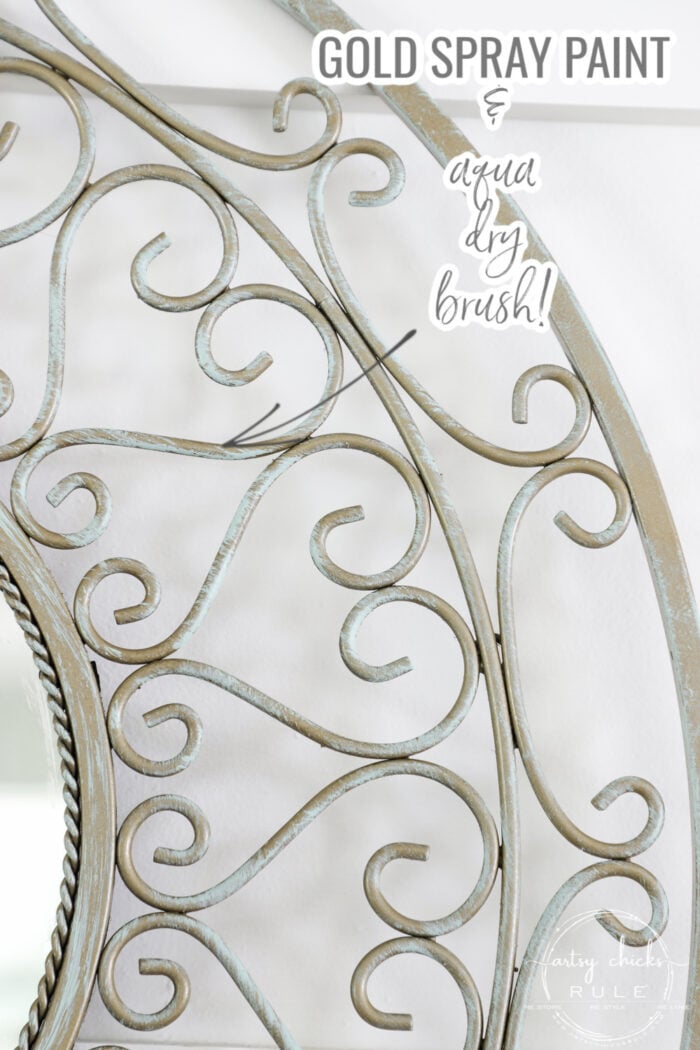
Once the aqua paint was dry, I gave it one light coat of poly. (in Satin)
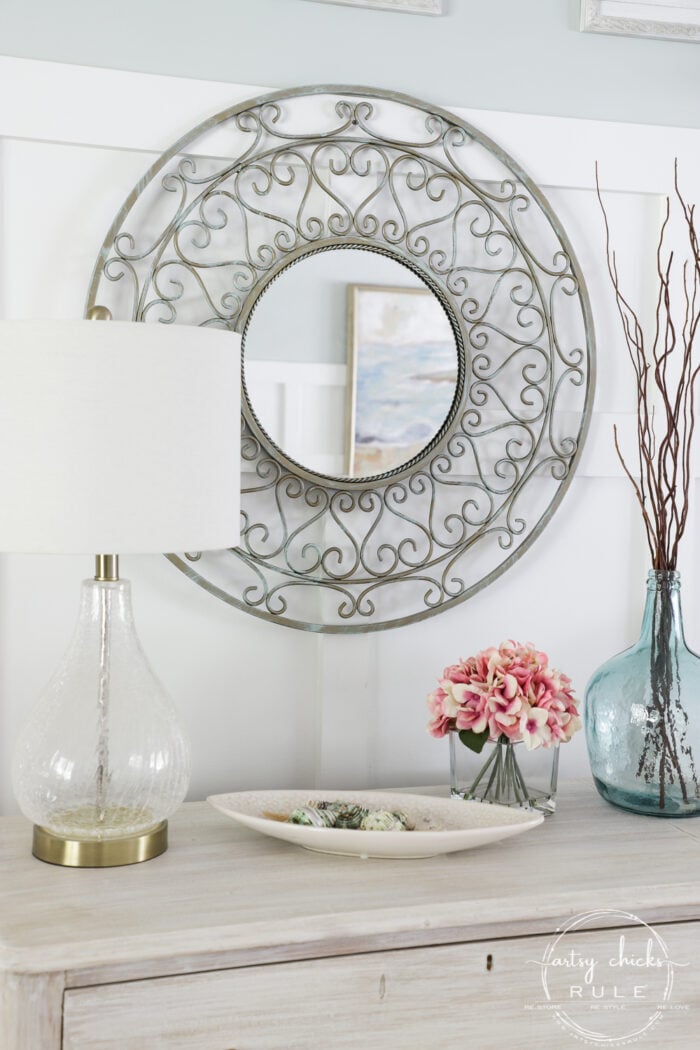
I think it just gives it a more interesting look than just leaving it gold. And maybe even a little more high end.
I think it goes pretty well here but I do love my other mirror (which has been made over multiple times too) so that one will stay.
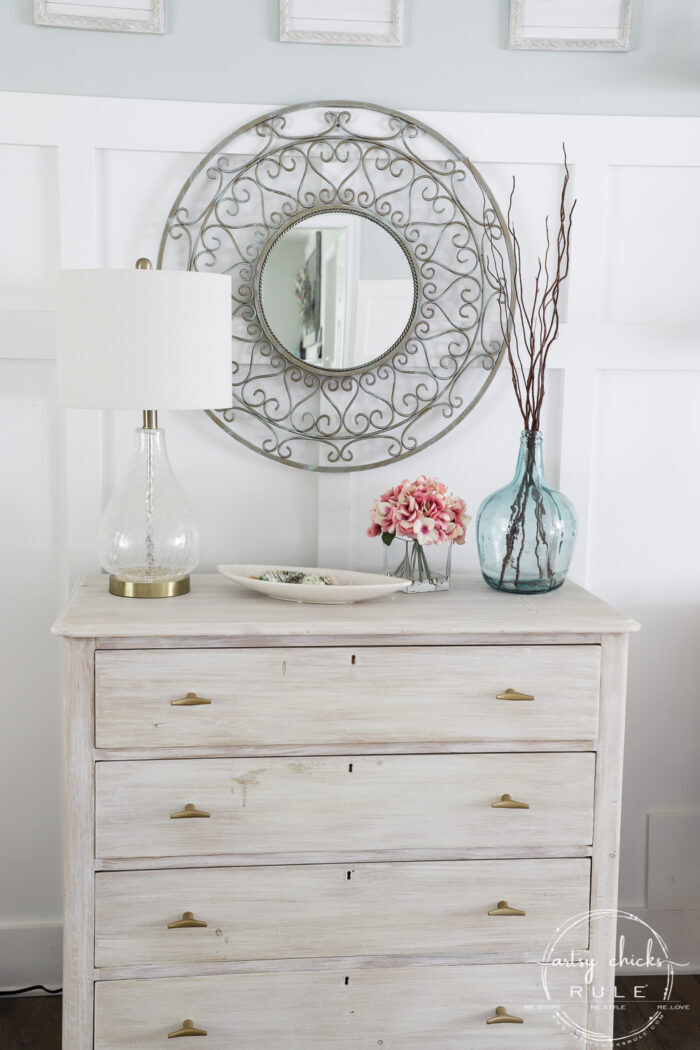
By the way, my dresser is holding up really well so far (it’s been about a year and a half). I wanted to update you on that. I haven’t really noticed much if any, yellowing and the finish has been nice and sturdy. You can read more about it, here.
I hope you enjoyed today’s post.
It was a super easy one but one I hope will get your mind going! Maybe the next time you are in the thrift store or even when looking around your home at things you already own. :)
So happy to have this one done because you know what that means?? It means the only thing left in this latest haul is the table and chairs.
I can not wait to get started on it. Soon!
PIN it to save it!
If you missed any of the thrifty haul #3 makeovers, you can see them here:
- Bleached Wood Desk Makeover
- Painted Ceramic Vase Makeover
- Navy Blue Coffee Table Makeover
- Thrifted Basket Makeover Ideas
- Etched Glass Whitewashed Box
- Metal Mirror Makeover (you are here!)
- Oak Table & Chairs (coming soon!)
I hope you have a wonderful, blessed, and very safe weekend, friends!
xoxo


")
")
")

")


Your mirrors look great.
Like I tell my husband; nothing what a can of spray paint can’t do to change the look of something so simple.
Enjoy your day & have a great weekend.
Thanks so much, Colleen! You are so, so right about that! Hope your weekend is great so far!:) xo
Nancy, the scrolly mirror almost has a driftwood look at first glance. I love what you did with it, so much more character!! Beautiful job!!
xo
OH, you are right, I hadn’t even noticed that but yes! Thank you, Christina! :) xoxo
Wonderful redo of mirror!
Thank you, Linda! xo
Oh yes, the mirror now looks like something I would have on my walls. From drab to fab.
Yay, thank you, Cheryl! :) xoxo
I love both mirror makeovers. The dry brush technique really made the difference.
Where did you find the lovely watercolor painting? Did you paint it? I am looking for something like it. Super excited to see the Navy paint you pick. I am in the process of doing something similar.
Thank you, Delinda! I think so too…the dry brushing is so easy too! Do you mean the painting in the reflection? I found it on clearance at a local Pier One store a couple of years ago. And yes, I am working on the oak table and chairs at the moment but as soon as I get that done, I am getting our bedroom painting and hopefully sharing soon after! xoxo
On the before picture the reflection looked like a painting! I was thinking “oh how I love the scene painted on it! Duh…it was a reflection!
Oh, that is so funny, Rose! I had to go look to see what you were talking about and yes, it absolutely does look like a painted scene in the reflection. It’s actually just our front flower beds and grass, I think! :) xoxo
It’s so hard for me to read all the way through your posts because I have to click on links to see what projects you have done in the past (before I started being a blog follower). But I’m not complaining!! I love looking at everything you have done and how you did it! I have learned quite a bit from you. The metal mirror is lovely! I just love the hammered metal spray paints too!
Oh, haha!! I started reading and thought oh no!!! lol So glad it’s because you are busy clicking on my links and not some other thing going on! ;) I have so many posts here on the blog and I know it’s really hard for everyone to have seen them all so that’s why I like to share some of the older ones sometimes (in emails occasionally and in posts). Especially when they sort of apply to what I am doing currently. Glad you enjoy seeing them, Cecilia! xoxo
Great makeovers, I think you can pretty much never go wrong with mirrors, like picture frames, as long as you like the shape you can always change the color. Question, can you only use water based clear coat over chalk paint as an an alternative to wax, or can you use oil based (like spray poly)? I have some black chalk paint I want to try on an orangey oak wall mounted jewelry cabinet with a mirror on front, and would rather use poly than wax. Basically, I already have several cans of oil based poly I want to use up, lol! Thanks!
Thank you, Vicki! I so agree with you on that! And no, I have used both water and oil-based over chalk paint. (liquid and spray type oil-based, both) Yes, use them up! :) xo
Good morning! I love all your renovations. You give me great ideas to adapt to my house. Thank you very much for your ingenuity, how clear your explanations are, and your blog, which oozes warmth! My name is Luisa, from Argentina (South America). We are going through difficult times here, with a populist political regime, fraught with thieves and even assassins, and your blog really helps me focus on something constructive. Hope to see much more from you! Best regards.
Hello, Luisa! I am so very happy that you enjoy the blog and the projects I share. Thank you so much for your very kind words, very appreciated! I am so sorry to hear that you are going through difficult times in your country but happy to know that my little blog here is able to bring some light and joy to you. Many blessings and best wishes to you! xoxo