Merry Christmas To All Sign (made out of scrap wood!)
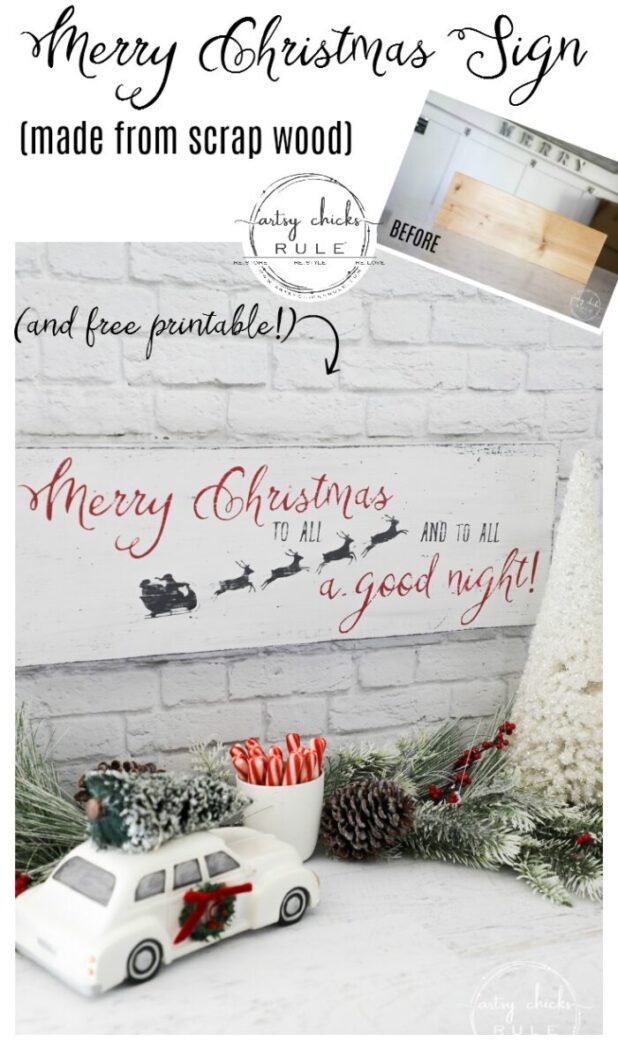
It’s the last Trash To Treasure of the year! I sure do love when these girls and I get together and share our “trash” we have turned into something wonderful!
I hope you enjoy it as much as we do. :) (don’t forget to scroll all the way to the bottom to see their makeovers too)
Today I’m sharing a sign I made out of a graphic I designed a while back. I never made anything with it and since it’s the holiday season, I thought it was high time!
Also, in case you missed it on Sunday, I am GIVING AWAY the old basket I turned French basket last week. You can see that project, here. If you haven’t entered, get on over there and enter right now! ;) Click here to visit the post with the giveaway information and entry. (I’m also including a little gift inside the basket, from me to you.)
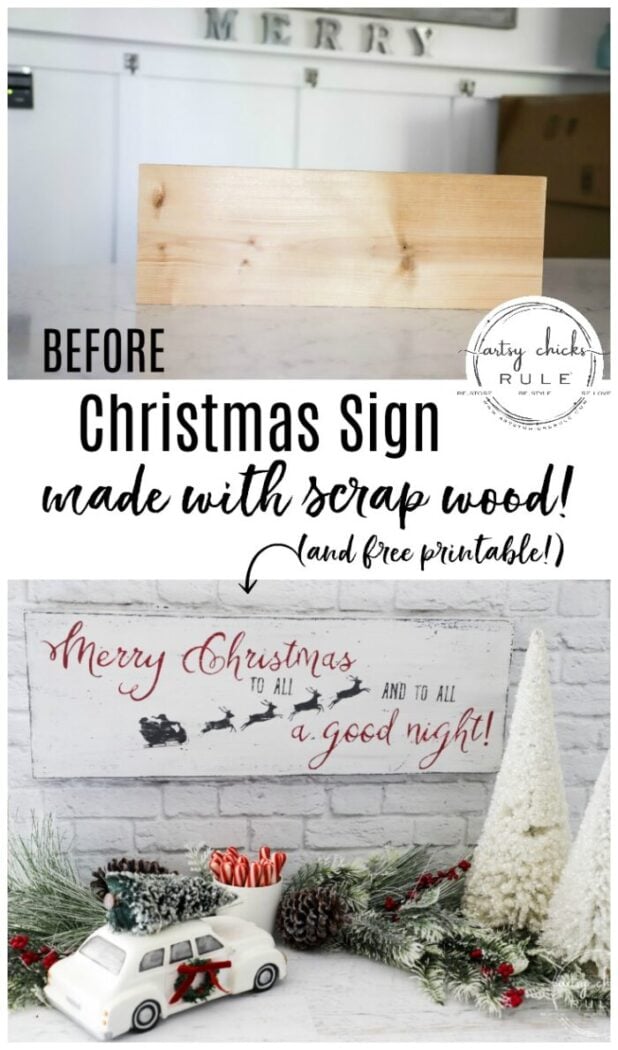
Merry Christmas To All Sign

So since I’m finally getting around to using this graphic, I just needed something to put it on. I went through our old “trash” stash of wood in the garage and found this board.
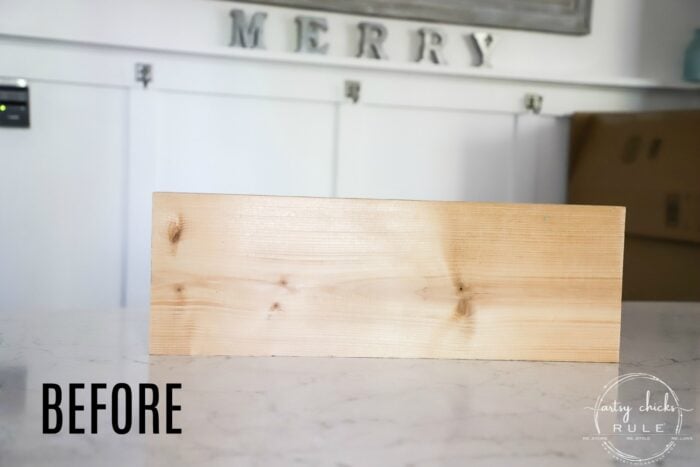
It was just about the right size but a little rough around the edges.
So I sanded it all smooth and added some wood filler on the front where there were some imperfections.
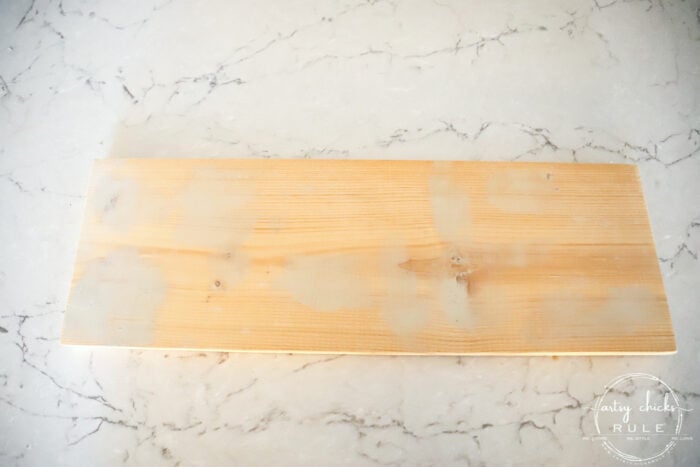
Sanded nice and smooth, I then sprayed it black for the base.
Once that was dry, I used white paint over top.
MATERIALS LIST
- Scrap Wood
- Black Spray Paint
- White Chalk Style Paint
- Red Paint
- Silhouette Cameo
- Black Vinyl
- Transfer Tape
- Small Sponge Roller
- Flat Out Flat Finish
- 3m Strips
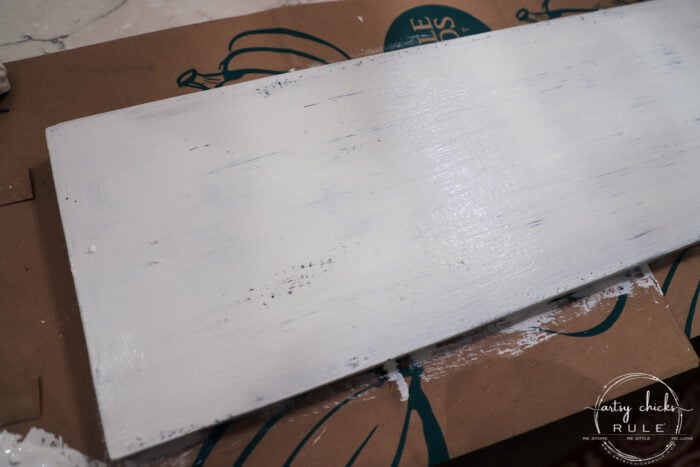
I didn’t cover it fully. I wanted some of the black to show through. Plus I planned to do a little distressing on this one anyway.
I was kind of going for an old Christmas sign look.
I cut out this “Merry Christmas To All” graphic I created on my Silhouette Cameo.
(Don’t own a Silhouette?? You don’t have to, to do this project. Check out all the other ways you can transfer graphics here >>> My Favorite Transfer Methods)

I also created this one in case you wanted it without the Santa sleigh and reindeer.

You can get them both in the printables library.
If you are already a subscriber, you can access the printables here. (Don’t remember your password? Take a look in any of the emails I send you, scroll to the bottom and you will always find it there.)
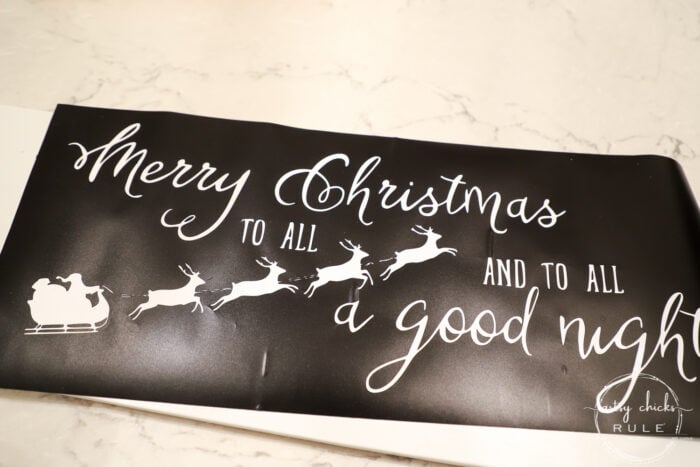
This picture is after I removed the cutout pieces. I didn’t want to use the vinyl letters for this one, instead I am using it as a stencil.
I attached the transfer tape over the top of this.
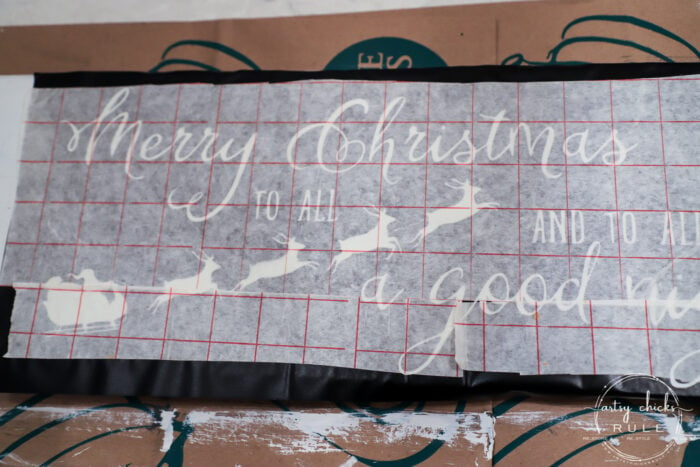
Then I peeled the back of the vinyl off …
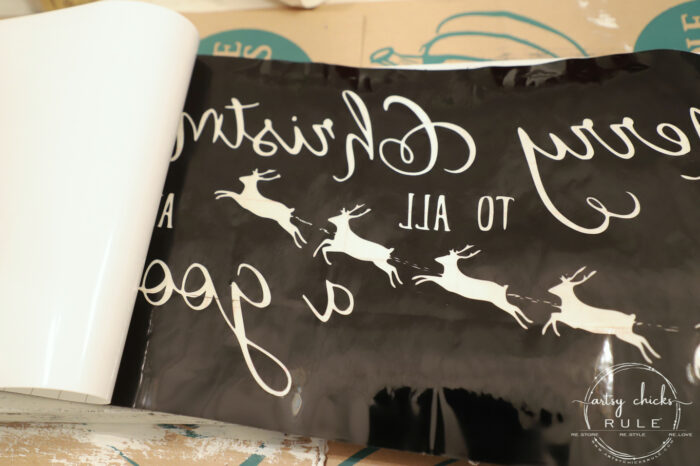
…and attached it to my painted board.
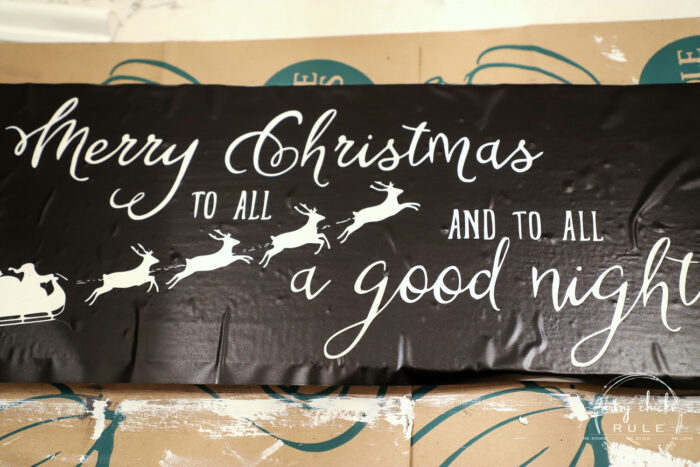
Be sure to smooth out any air bubbles especially around the lettering.
And then I painted it red and black.
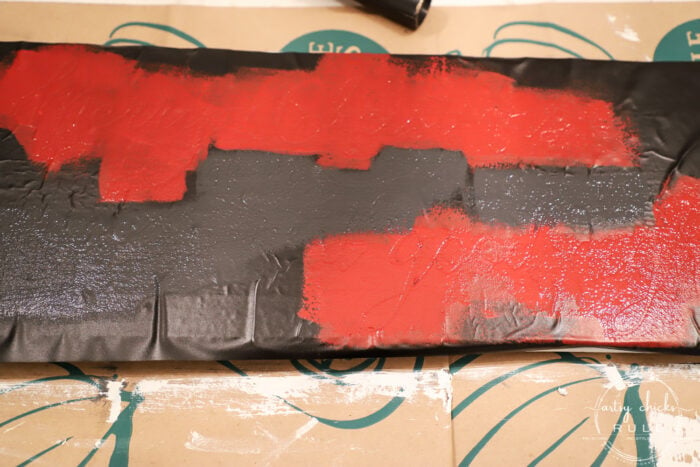
And had a big ole fail!! lol
I have to tell ya’ll because sometimes it doesn’t go so well with my crafting either! ;)
I don’t know what went wonky but the edges were just terrible and the vinyl was messing it up as I tried to remove it. This was an older piece of vinyl I had and it was leftover and the perfect size. I don’t know which kind it was but I don’t like it!! haha So I pulled out my tried and true and cut a new piece. But I did have to sand a bit and repaint all layers (black, then white) to do this project over. Boo!
But hey, this stuff happens sometimes.
Doing it all over again just sucks the fun right out of it. lol BUT you can’t throw the towel in every time that happens because then you miss out on this…

Sweet.
Worked like a charm the second go-round! Thank goodness.
Once it was dry, I sanded it a little to distress it all over.
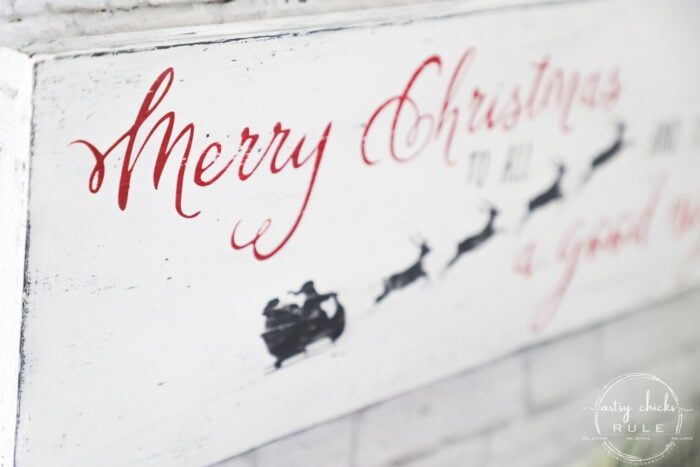
And then sealed it using a flat finish. I wanted it to look a little old so didn’t want any shine.
I love this finish for that. No shine at all.
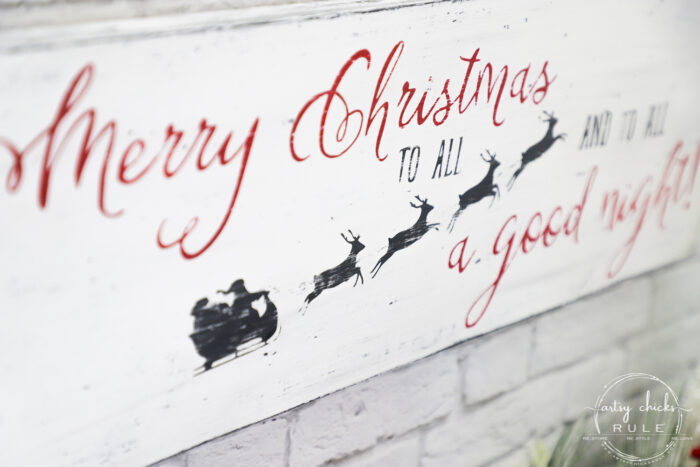
I think the distressing goes perfectly with the old Christmas-y time look I was after.
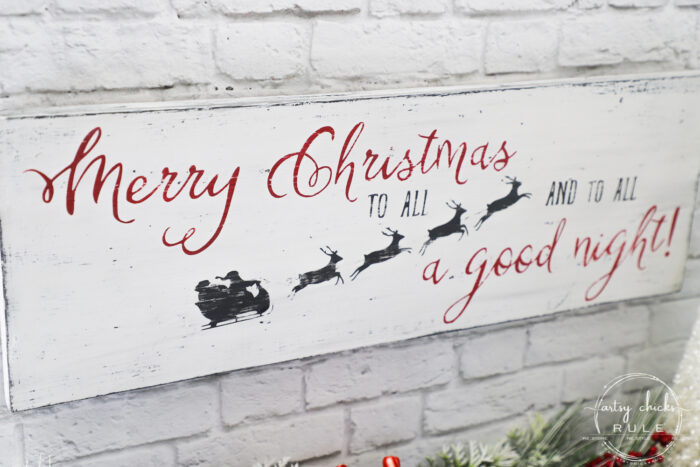
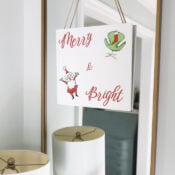
I tried it out in several places in our house…
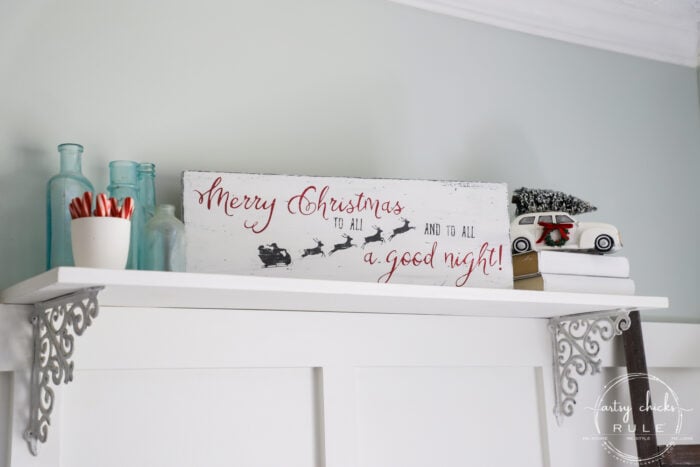
…here on the shelf in the family room.
And also in our kitchen, here…
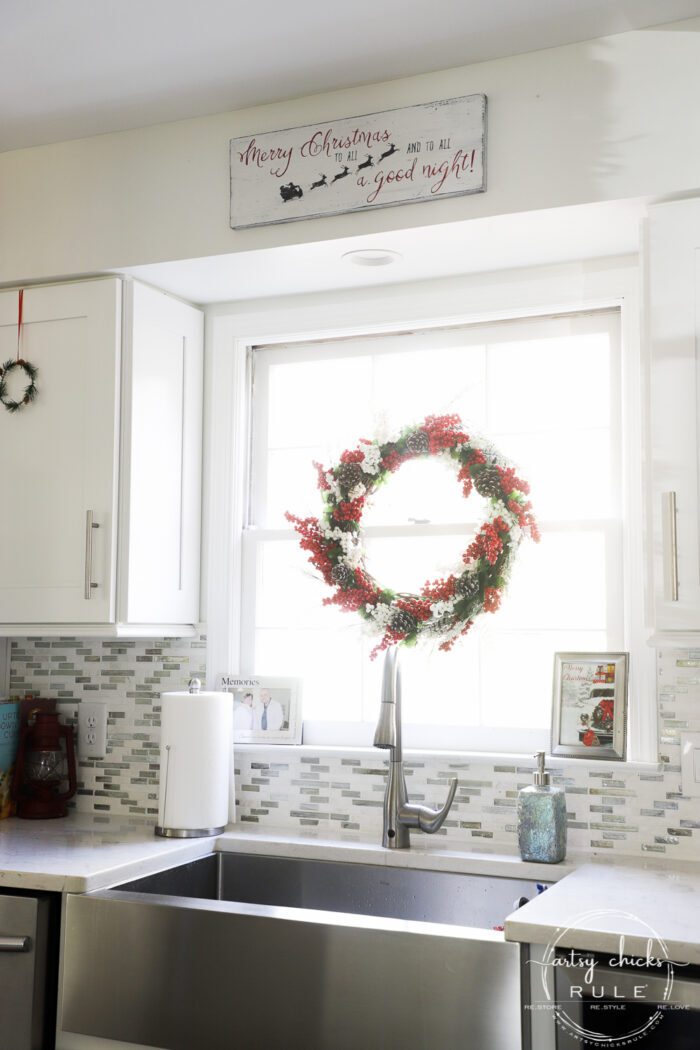
Do you see where my Dollar Store wreath ended up?? Right here on this window.
If you missed that project, you can read all about it, here.
But in the end, I decided to use the new sign in my morning room since I already had other decor in both of those places above. (and the morning room is decorated in red which this sign goes perfectly with)
Who knew an old scrap of wood ready for the trash heap could look so darn cute?!

It just takes a little paint. :)

By the way, I hang these up using 3m strips. They are perfect for these kinds of signs and work really well.
Especially for holiday decor that you will later remove.
This would be so cute used in so many different ways.
On a tea towel, pillow, a sign like this, or just print it out and frame it.
Need more ideas on how I use printables?? I created an entire post of ideas >>> See it here >>> Creative Ways To Use Free Printables
Also, you aren’t limited to the way I’ve designed the graphic. You can print it out, cut it out and move it around.
For example, if your project is more long than it is wide, you can move the “Merry” and the “Christmas” over top of each other, etc.
Lots of flexibility!
PIN it to save it!
Hop on over and check these out!
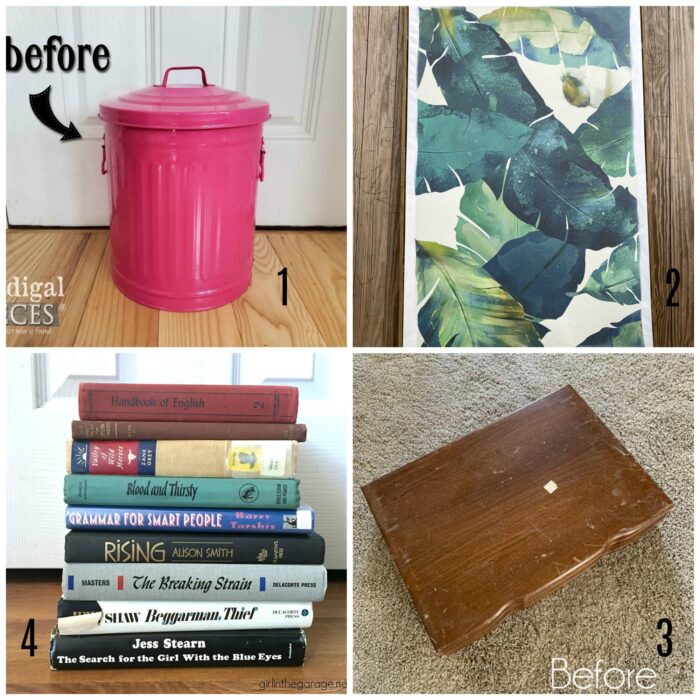
If you want to see even more Trash To Treasure Inspiration, check out this link >>> here.
And don’t forget, hop on over to enter to win the basket I made over last week, right >>> here.
I will see you all later this week with Christmas tour #3, my traditional red, cozy kitchen and morning room.
Have a beautiful week and I’ll see you then!
xoxo








Perfectly fun, Nancy! I love that you created it all at home. 🎄🎁 Merry Christmas!
Thanks, Larissa! :) Merry Christmas, friend!! xoxo
What a cute cute sign Nancy! ! I have just the board for such a project. And this would make such a great gift also! Thank you so much!!
Thank you, Christina! Perfect!! Yes, I think it would too! :) xoxo
Nancy
I’m interested in the brick wall behind a lot of your photos— what can you tell me about it? Did you install it? Is it bricks or brick tiles?
Betty
Hi Betty! It’s neither, actually! It’s a vinyl backdrop I found on Etsy. Small and easy to put up with 3m strips for photo taking. The one the items are sitting on is also a vinyl backdrop to look like wood. :)
Simply beautiful
Thank you, Christina! :) xo
This turned out SO cute! I hate when a project goes awry, but yep…you just gotta roll with it! XOXO
Thank you, Christy! :) Yes!!! No fun, lol, but you gotta keep going! ;) xoxo
I love your little white painted Christmas Car..so cute.
Isn’t it the cutest?? I found it at Lowe’s a couple of years ago, of all places! :)
You are so good!! I am saving this one! Sorry you had to endure the nasty vinyl and start over… that is the joy of crafting… never know what will happen. I admire your patience and it paid off. Happy Holidays!
So cute Nancy! And i love it paired with that wreath in your kitchen window!
Thanks, Denise! :) xoxo
Cute! I used to make signs. Maybe I will do it again!!
Yes, do!!! It’s a great stress reliever and so mind calming, too! :) xoxo
Hi Nancy, What a sweet Christmas sign, it looks perfect in all the places you had it hanging up!
I love it.
Hey Kaycee! Thank you!! It landed in the morning room…I am hoping to get a photo of it for Thursday’s post! ;) xoxo
The sign looks fabulous, Nancy! I love the vintage look you gave it! xo
Thanks so much, Jen!! xo
Love your sign and the finish you gave it. Thanks for sharing your process and the fact that sometimes a project just doesn’t work the first time! I am glad that you continued because it is so cute and can go anywhere in the house. I love the way you staged it in different locations.
Thank you, Sue! And yes, I am glad I didn’t throw in the towel on this one! ;) These things just happen sometimes, just got to keep on going! :) xoxo