It’s Trash To Treasure Tuesday…wow that came up fast! I think February is going to fly by just like January did and I’m okay with that because I am beyond ready for warm weather.
We’ve been busy little bees working on our hall bath remodel. If you follow along on Instagram, you know we hit a snag on the vanity. Boo! But I will make it work.
I can’t wait to share more. Be sure to follow along over on Instagram to keep up with our makeover there, I’m sharing as we go!
The downstairs half bath is done! Yippee! I will be sharing it next week since I have a special post to share on Thursday…my birthday is tomorrow and it’s a biggie (ha!) so I thought I’d do a giveaway for you all to celebrate it. :) Be sure to come on by to enter to win! (Not a follower yet? You can follow me right here so you won’t miss a thing >>> I’m in!)
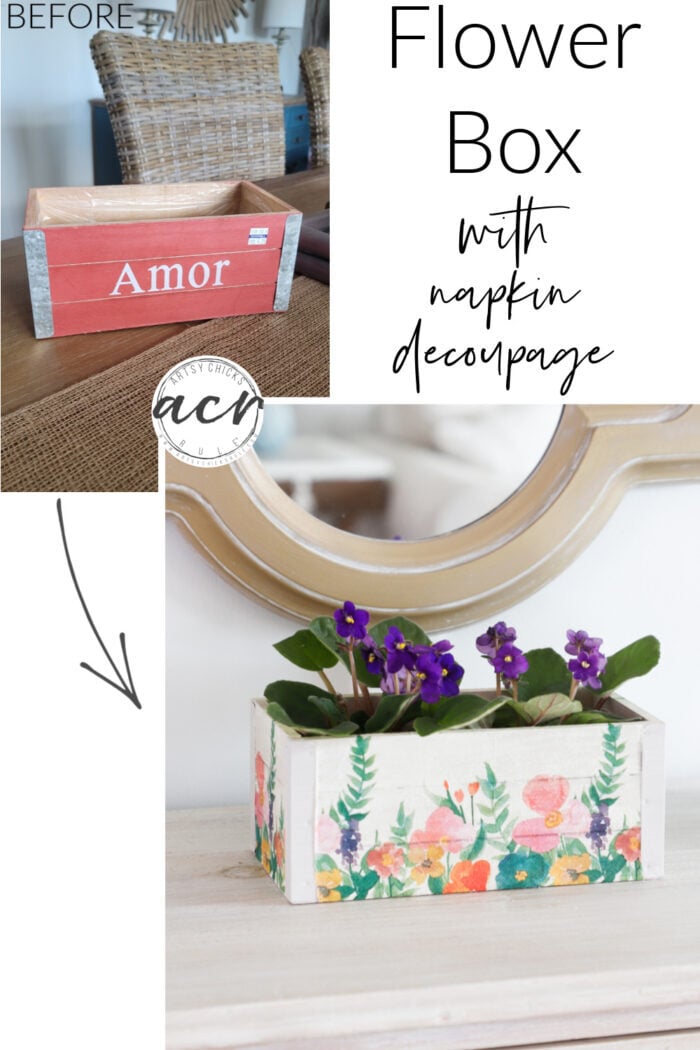
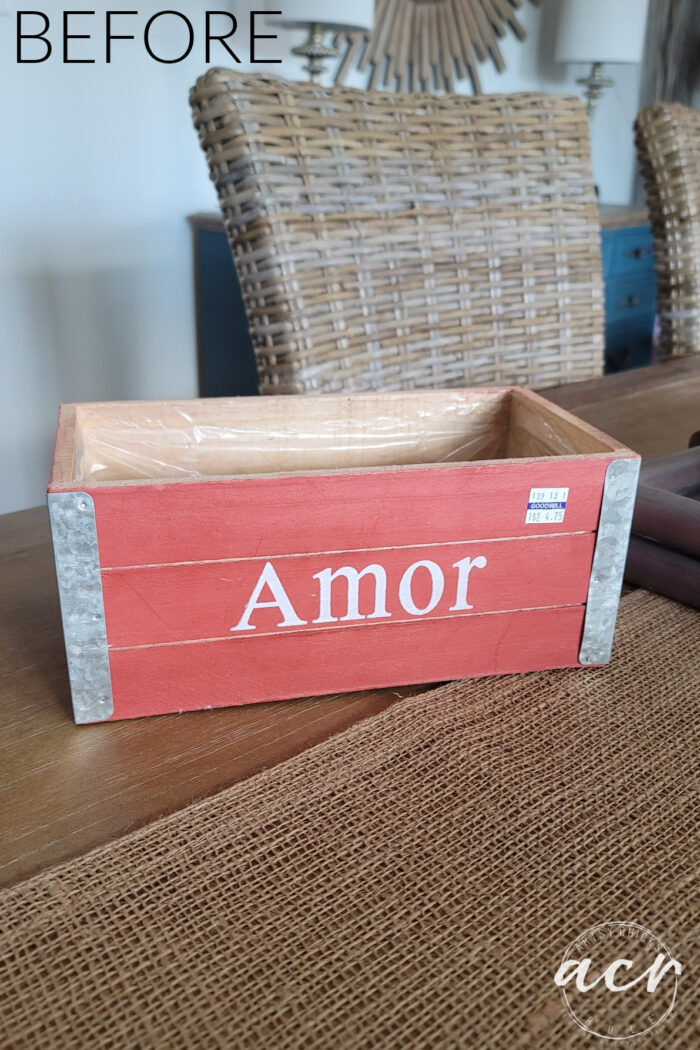
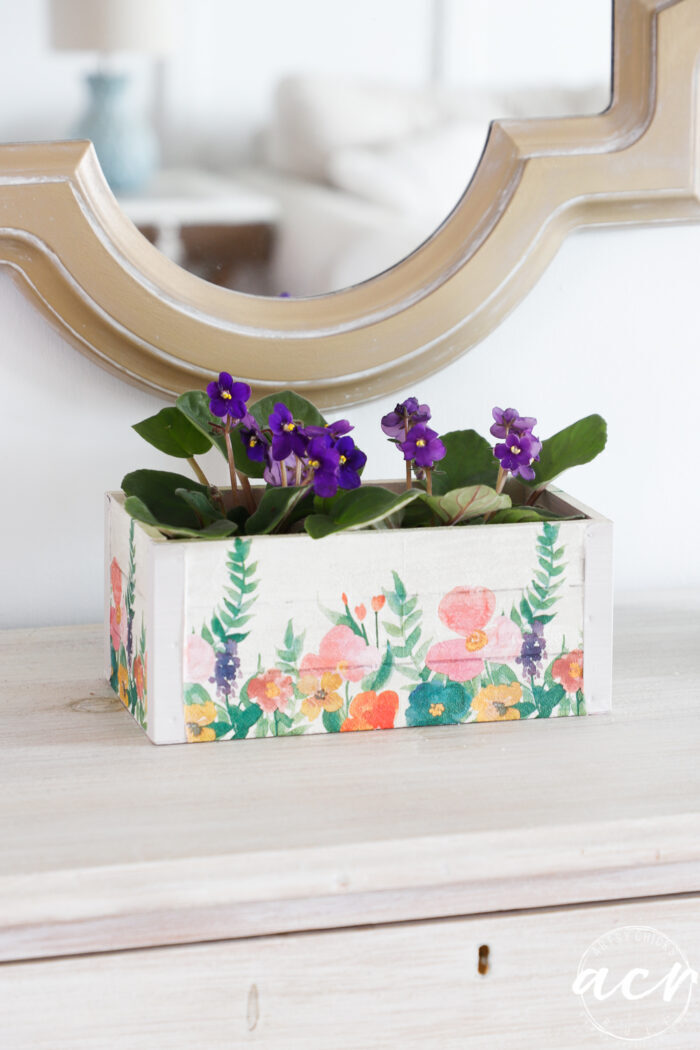
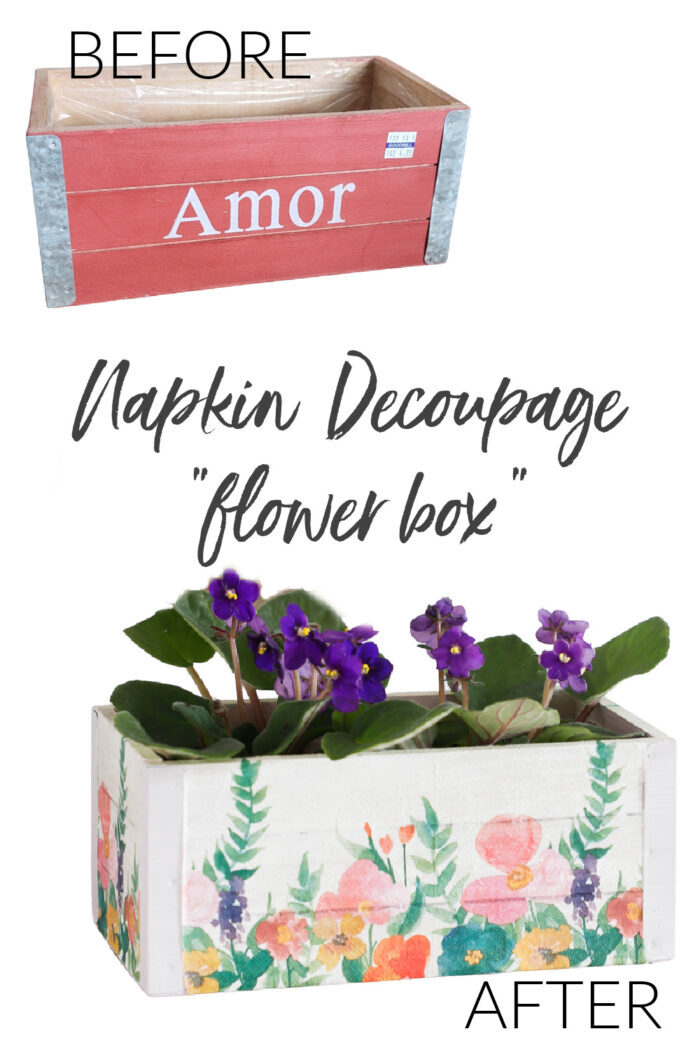
Okay, let’s talk T2T. I’m sharing this fun little find I recently picked up from the thrift store. I’m sure it’s all prepped and ready for a Valentine’s kind of thing with the “amor” but I skipped right on past that to spring, well, because I’m ready! ;)
Cute little box, right?
But I knew exactly what I wanted to do with it when I saw it.
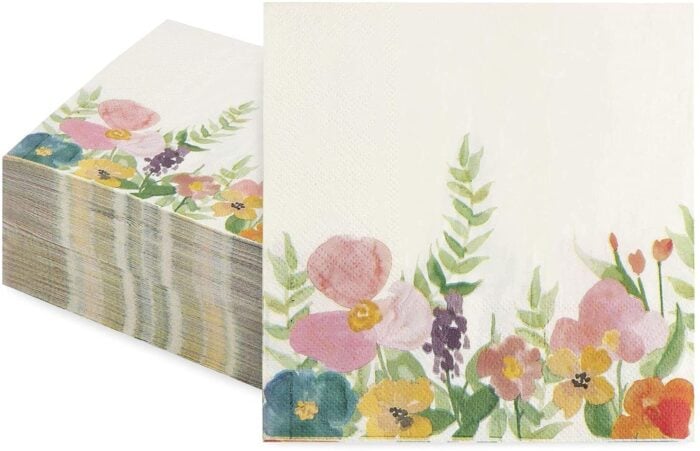
I found these sweet “springy” floral napkins on Amazon and thought they’d be perfect for it.
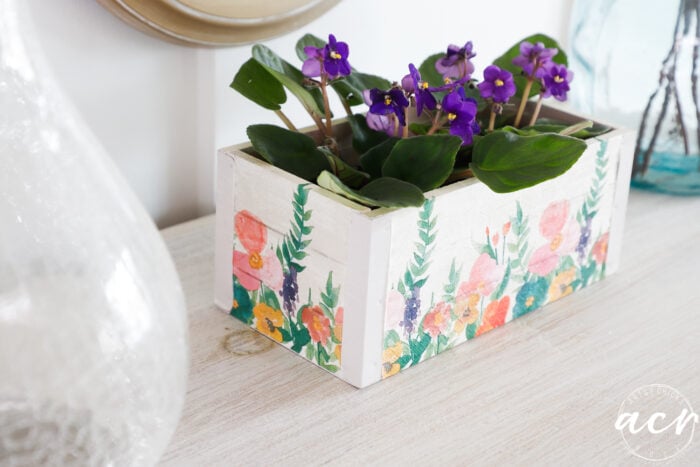
I’d make a little flower box for spring.
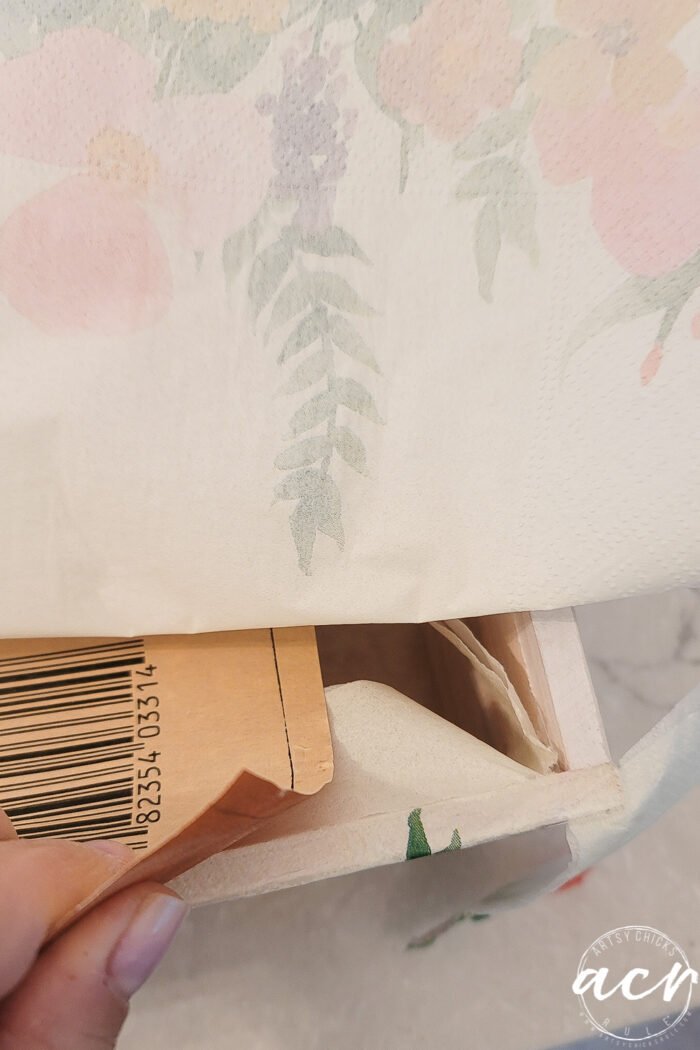
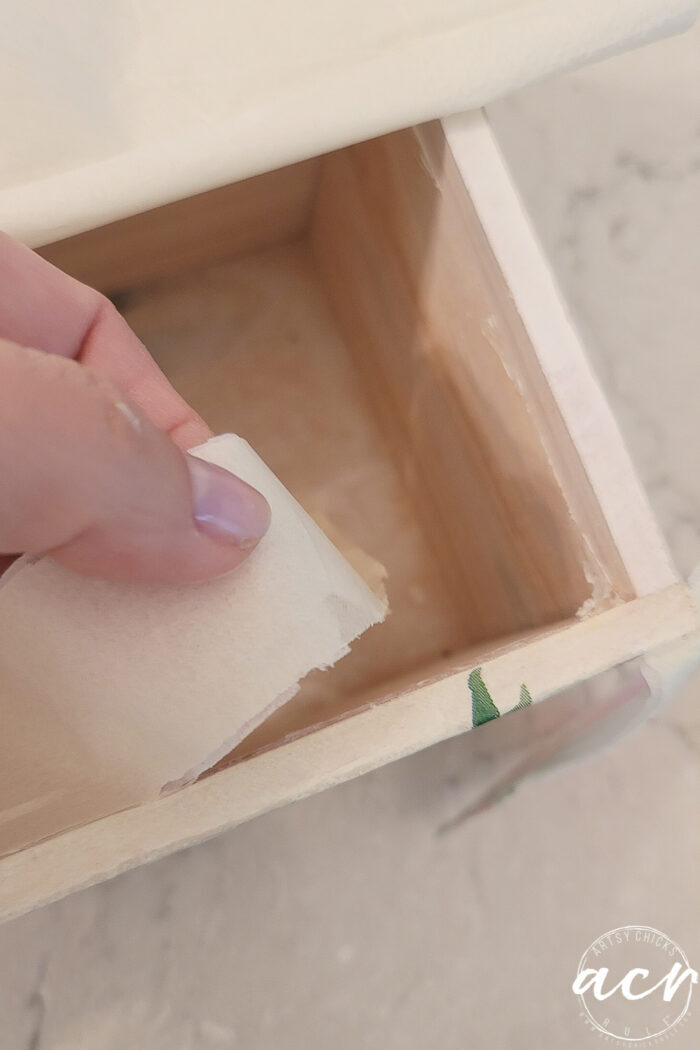
Here’s a little trick… wait until it dries and then use sandpaper to “cut” it where you want to remove.
It makes it so easy!
I usually seal with a top coat but didn’t this time. You can though, I usually use >>> this.
And that’s it! Done!
I hopped on over to The Home Depot to find some “spring” flowers only to find there was almost nothing to be found. Boo!
Too early I guess.
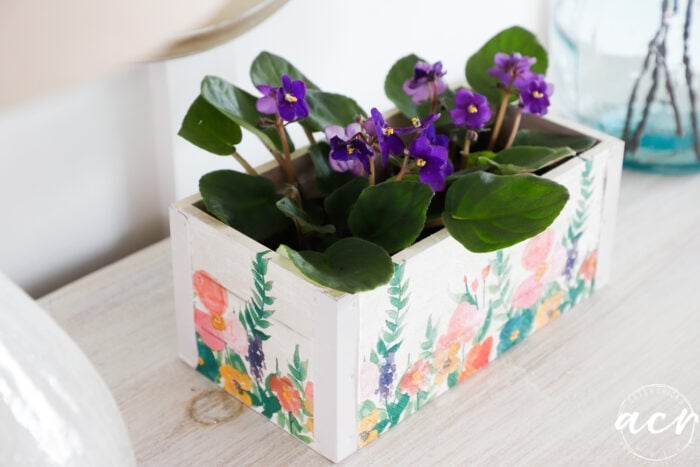
I did find these sweet little African Violets though.
How cute is that?
So spring-ish. I can NOT wait.
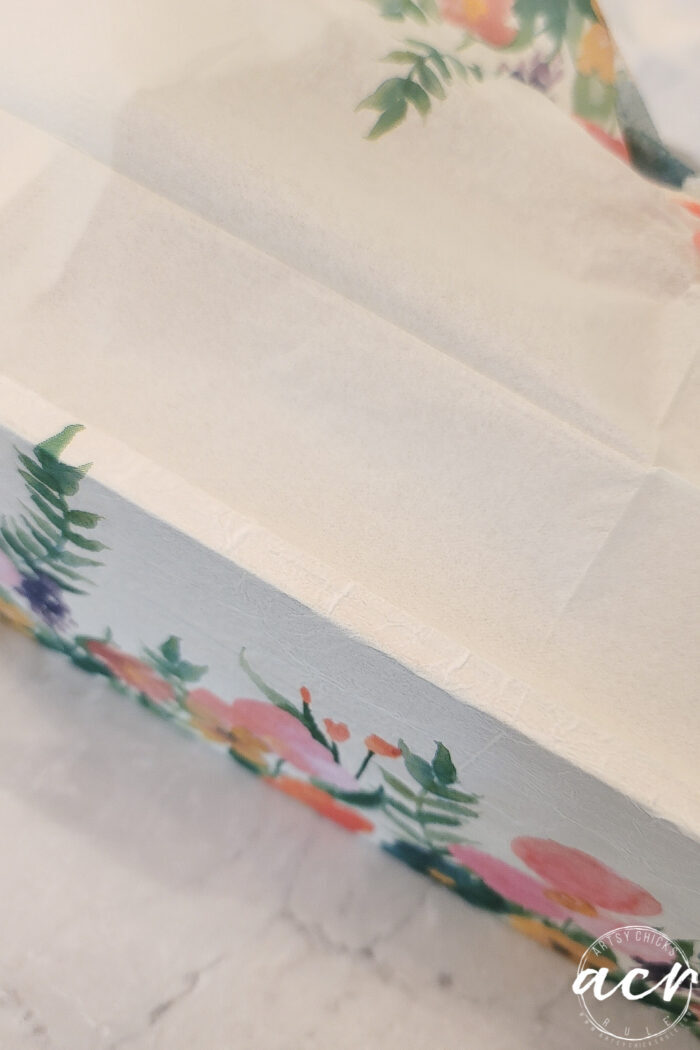
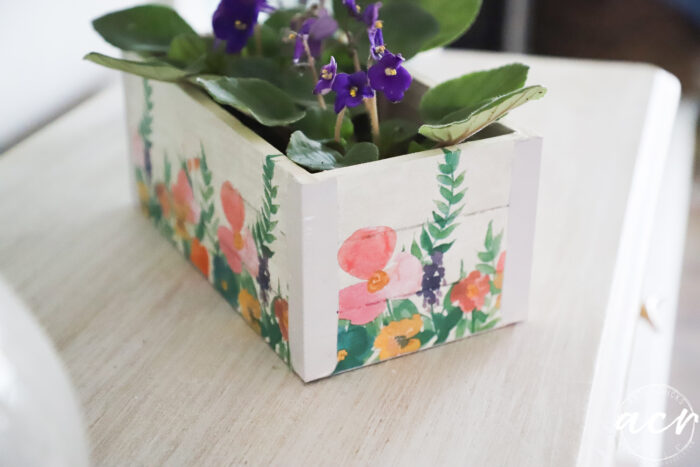
As you can see, I left the metal (but painted with Cobblestone) edges plain. I love how it looks.
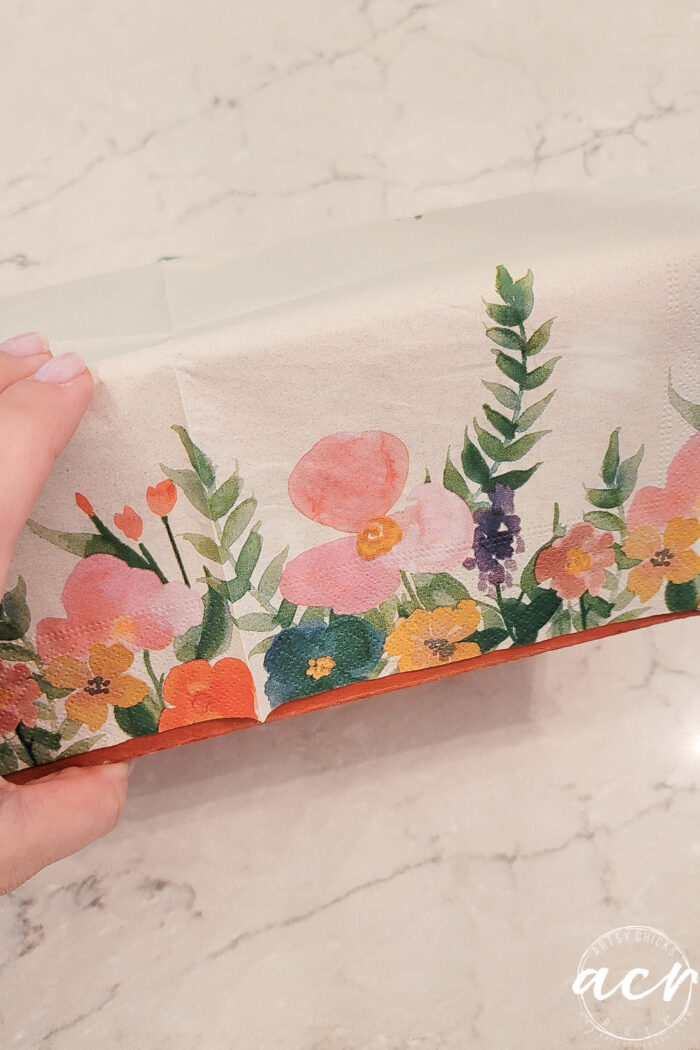
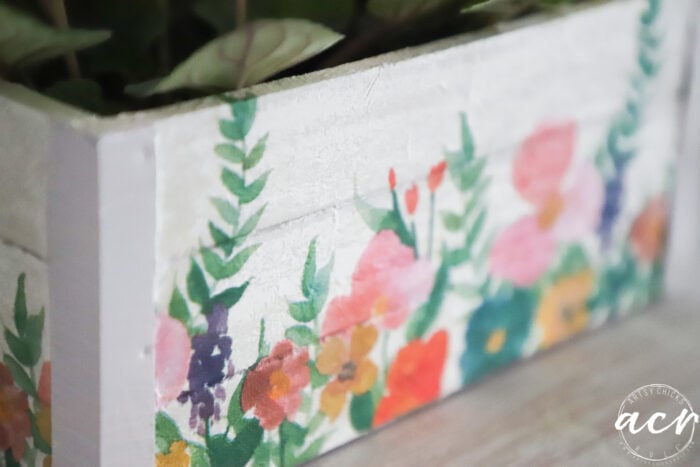
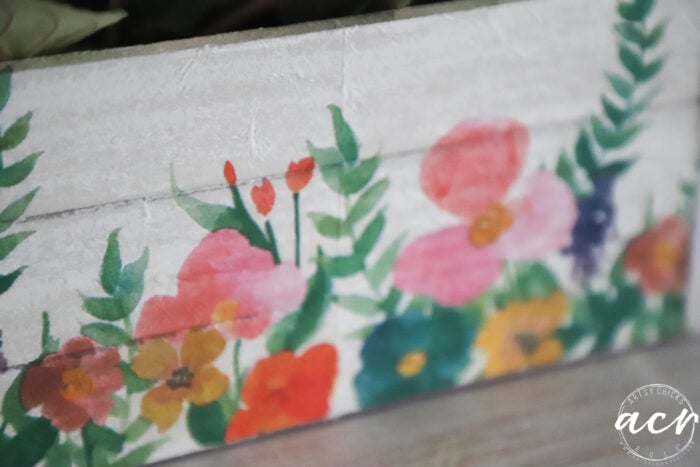
Now a little up close of the napkin decoupage.
If you think you can do it without any wrinkles, think again.
That’s just the nature of it. You will have wrinkles, some more, some less.
But that’s just the beauty of it.
Napkin decoupage is so much fun. The design possibilitles are endless.
I think this napkin was made for this box, don’t you?
As always, your creative work is artistically magical. This is another beautiful transformation. While other people seamlessly absorb processes, I am gifted in the process of getting confused. 🙄. The use of the decoupage transfer paste, seems mysterious. So, is it a process of glueing the floral tissue paper to the box?
Decoupage processes and transfer processes are a matter of adhering the tissue paper directly to the box? As usual, I’m missing something (besides a few marbles). Thank you for your magical work displays.
I know! I guess you paint the box with decoupage medium and then apply the paper because the napkin seems kind of fragile. (After the base coat of actual paint!)
I have Mod Podge, I would apply that to the box, stick on the napkin. After it all dries, I would apply more Mod Podge to seal it. Or maybe not wait till it dries? I have not done this with paper napkins, it’s a guess. I have never done transfers.
I don’t see evidence of sandpapering.
Oh it’s not so hard, promise! :) Yes, paint first, let that dry well, then apply the transfer gel, then the napkin over that. It is very fragile, you won’t want to move it once you lay it down so be sure to lay it exactly where you want it. You sort of get a feel for doing it once you’ve done it a couple of times. I would wait till it dries to apply a top coat.
And the sandpapering is only to “cut” the edge on the edge side of the wood box. It’s a great way to get it perfect! I even did this same technique with fabric on these fabric front drawers in this post here.
Aw, thank you my friend! Oh, it’s easier than it seems. And yes, basically just that, but gently. You just brush on a layer of transfer gel (I like to run the brush under water quickly to get it just a tiny bit wet and then brush over the transfer gel) You don’t want it too wet, however. Then gently lay the tissue paper/napkin over top and press carefully. You sort of get a feel for it once you do it once or twice. You can then let it dry and then apply another coat of transfer gel or poly to seal it. :) xoxo
You always have such lovely vision, and your decoupage skills are remarkable! We’ve had a mild winter down south, so much that the lady bugs are still swarming. Stay warm and see again soon!
That is a FABULOUS transformation. Seriously beautiful – and sooooo spring ready. We’re completely under snow – this sure does remind us that there is a spring around the corner in a few months. I love winter so don’t want it to fly by too quickly, but this is a very well done project.
I have a bit of a napkin obsession – which is ironic because if I ever entertain I use cloth ones – and I have soooooooooooooooooooooooo many of them too. But I get these pretty paper ones and have often wanted to use them for decoupage. I need to get working on that soon. I am such a procrastinator about crafting. Shame on me. You have inspired me, lady! Thanks!!! :-D
Aw, you are so sweet, Michele!! And no to snow!! haha It’s so pretty and I do love A snow but then it’s got to go! If winter were mid up 50’s, I’d be a happy camper! lol
That’s so funny you have so many napkins, get busy with them…I see lots of projects in your future! ;) Hugs! xoxo
Want to be inspired, learn new skills, discover all the tricks to furniture makeovers, creating new out of the old and more? You'll also receive my FREE ebook "Creating Fabulous Finishes" PLUS access to my private Printables Resource Library, too!
Sign up to get the Weekly Newsletter! Our emails include an unsubscribe link and you may opt-out at any time. Your information will *never* be shared or sold to a 3rd party.


")


")


This makes me even more in the mood for spring. Beautiful! 💐
Thanks, Larissa! xo
So cute and pretty. Thank you for sharing.
Thank you, Rebecca! :)
As always, your creative work is artistically magical. This is another beautiful transformation. While other people seamlessly absorb processes, I am gifted in the process of getting confused. 🙄. The use of the decoupage transfer paste, seems mysterious. So, is it a process of glueing the floral tissue paper to the box?
Decoupage processes and transfer processes are a matter of adhering the tissue paper directly to the box? As usual, I’m missing something (besides a few marbles). Thank you for your magical work displays.
I know! I guess you paint the box with decoupage medium and then apply the paper because the napkin seems kind of fragile. (After the base coat of actual paint!)
I have Mod Podge, I would apply that to the box, stick on the napkin. After it all dries, I would apply more Mod Podge to seal it. Or maybe not wait till it dries? I have not done this with paper napkins, it’s a guess. I have never done transfers.
I don’t see evidence of sandpapering.
Hi: xox. Thank you; that is really helpful🤗
Oh it’s not so hard, promise! :) Yes, paint first, let that dry well, then apply the transfer gel, then the napkin over that. It is very fragile, you won’t want to move it once you lay it down so be sure to lay it exactly where you want it. You sort of get a feel for doing it once you’ve done it a couple of times. I would wait till it dries to apply a top coat.
And the sandpapering is only to “cut” the edge on the edge side of the wood box. It’s a great way to get it perfect! I even did this same technique with fabric on these fabric front drawers in this post here.
🤗
Aw, thank you my friend! Oh, it’s easier than it seems. And yes, basically just that, but gently. You just brush on a layer of transfer gel (I like to run the brush under water quickly to get it just a tiny bit wet and then brush over the transfer gel) You don’t want it too wet, however. Then gently lay the tissue paper/napkin over top and press carefully. You sort of get a feel for it once you do it once or twice. You can then let it dry and then apply another coat of transfer gel or poly to seal it. :) xoxo
It’s adorable. I love seeing your creations. Happy Birthday wishes. To you!
Thank Lydia and thank you for the birthday wishes as well! xoxo
You always have such lovely vision, and your decoupage skills are remarkable! We’ve had a mild winter down south, so much that the lady bugs are still swarming. Stay warm and see again soon!
Aw thanks, Cecilia! :) And oh that is so nice for you!! We really have mostly too and getting 60s for the next few days, yay! xoxo
So cute! I love it!
Thanks, Audra! :)
This spring’eee makeover put a smile on my face, super cute Nancy! XOXO
Thank you, Denise! :)
That is a FABULOUS transformation. Seriously beautiful – and sooooo spring ready. We’re completely under snow – this sure does remind us that there is a spring around the corner in a few months. I love winter so don’t want it to fly by too quickly, but this is a very well done project.
I have a bit of a napkin obsession – which is ironic because if I ever entertain I use cloth ones – and I have soooooooooooooooooooooooo many of them too. But I get these pretty paper ones and have often wanted to use them for decoupage. I need to get working on that soon. I am such a procrastinator about crafting. Shame on me. You have inspired me, lady! Thanks!!! :-D
Aw, you are so sweet, Michele!! And no to snow!! haha It’s so pretty and I do love A snow but then it’s got to go! If winter were mid up 50’s, I’d be a happy camper! lol
That’s so funny you have so many napkins, get busy with them…I see lots of projects in your future! ;) Hugs! xoxo
So cute and ready for spring, and SO AM I!! I hope you have an amazing birthday!! XOXO
Thank you, Christy!! We are getting together once it gets and stays warmer out!! ;) lol xoxo
Fabulous, Nancy!
Thanks, Nancy!! Happy weekend to you! xoxo
What a great idea, Nancy! I love how it looks like watercolor, without all the work 😉
Oh, yes, it really does look like watercolor! And yes, without all the work! Thanks, Marcie! xo
So pretty! I love it!
Thanks, Naomi! xo
The box turned out so pretty, Nancy! I guess I was in the mood for spring too with my project, haha! (And Happy Birthday tomorrow!!) xo
Yes, exactly!! Thanks, Jen! xo
It’s so delicate and fresh looking! It just made me happy and peaceful feeling! Yep, you did it again!
Aw, love that!! Thanks, Marietta! xoxo
Hi Nancy!! So cute. I love decopauging with napkins. Well I love decopauging with all the things.
It’s so fun!! :) xo
This came out so pretty. I have two African Violets and now I want a box like that to put them in lol. Thank you for this idea.
Perfect!! :) xoxo