“Pretty in Pink” Parisian Makeover (with Fabric & Chalk Paint)
Creating a fun & unique finish with fabric & Chalk Paint!
Here’s how the “Pretty in Pink” Parisian makeover started….
Hey! It’s time for another “themed furniture makeover” today.
We haven’t done one since November. Are y’all ready to see some really beautiful furniture??
If you haven’t been around and don’t know what the heck I’m talking about I’ll clue you in.
Every month, some of my blogger friends and I get together and make over furniture finds with a theme in mind.
You can see all of the themes and makeovers right here… Themed Furniture Makeovers.
It’s so much fun and really makes you think “outside of the box”.
For example, this month’s theme is “Inspired By”.
I have to be honest….it took me a while to get inspired.
But it finally hit me…..last Friday! Not much time to create but I got it done.
I like working under pressure…apparently.
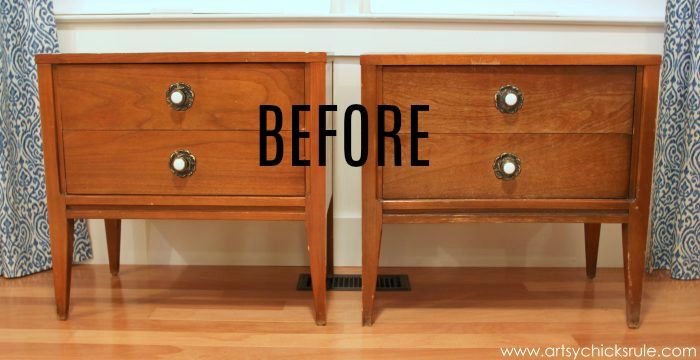
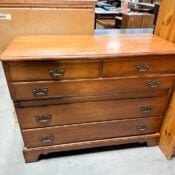
Take a look at that wood. They don’t even match.
Aren’t they supposed to match?
Anyway, I’m going to paint them so it doesn’t matter, it’s just curious to me.
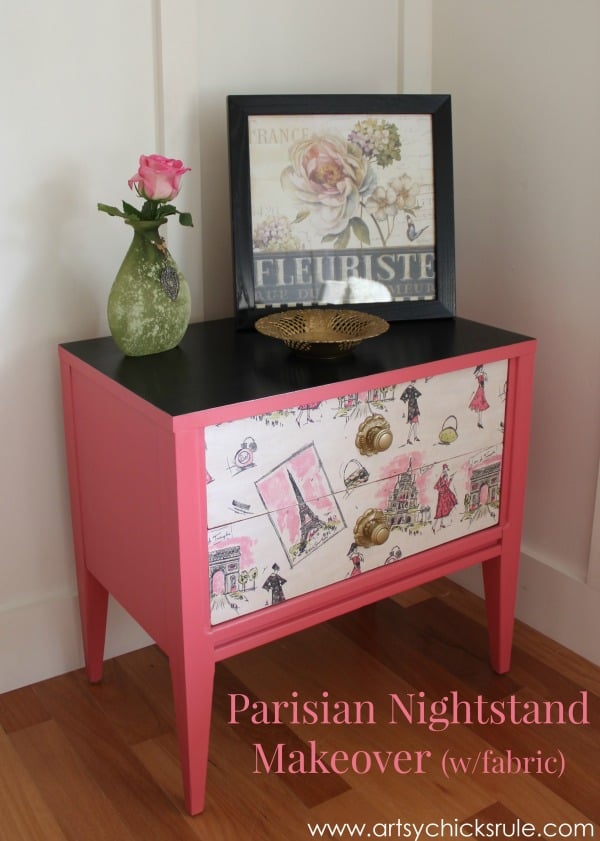
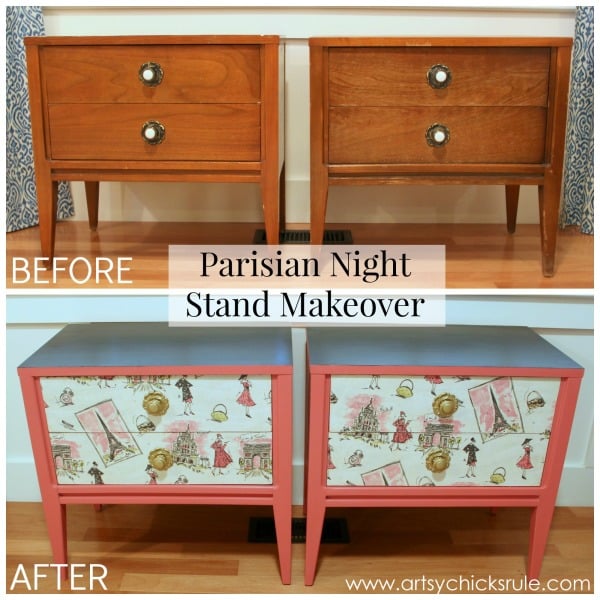
Here’s how they ended up…
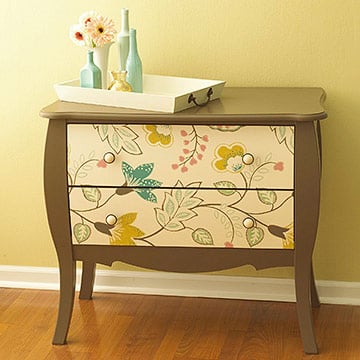
And here was my inspiration…
It’s been pinned to my “Favorite Furniture” board for a very long time. (see it on Pinterest here)
I came across it when I was looking for my “inspiration” and decided that was it.
I had two nightstands in storage that I thought would be perfect for it.
The inspiration piece has wallpaper. I wasn’t so sure I’d find a wallpaper I loved in time but I figured I could find a fabric instead.
My husband and I were out running errands on Saturday and stopped by Hancock Fabrics to take a look in their $5 a yard bin.
I’m a thrifty girl, I always look there first!
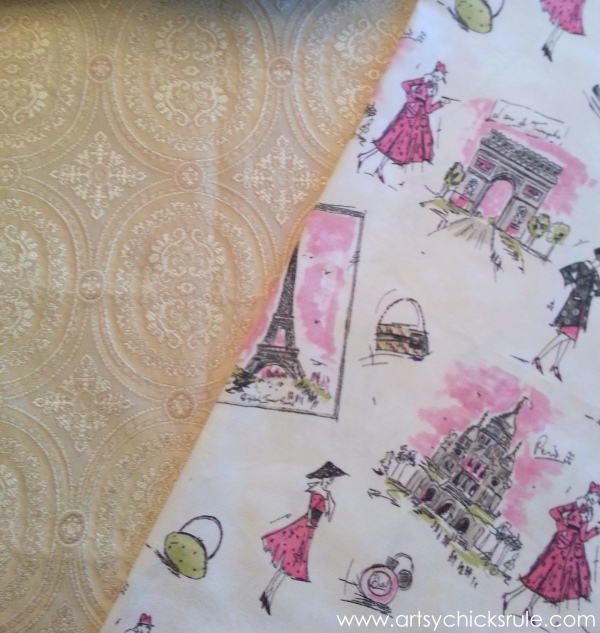
I found a few “maybes” and then my husband said “what about this one?” as he pointed to the large roll behind him. (this Parisian fabric)
I said…”oh YES!! I love it”. He said “I thought you would”.
He’s so smart…..except it’s the pricey stuff.
But lucky us, it was on sale, %50 off. Yay!
I love pink and green…I love pink and black….and I love French-inspired things.
So I was really liking where this project was headed already.
OH! I also found the most beautiful, embroidered-looking fabric for an antique chair seat I’ll be re-doing soon. (in the $5 a yard bin! score!)
That’s it on the left….isn’t it pretty?
Okay, on with the makeover.
I have found some interesting things inside old dressers, nightstands, etc.
But not money yet! ;)
Once the drawers were removed from these nightstands I found all of this inside…..
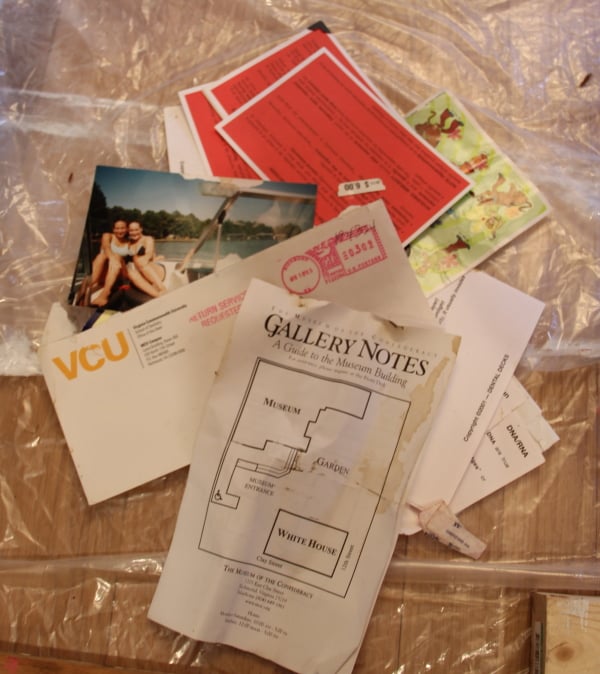
Probably nothing too important but just a reminder folks….pull those drawers out and check to be sure you didn’t leave anything behind before you donate!
The tops were in bad shape…
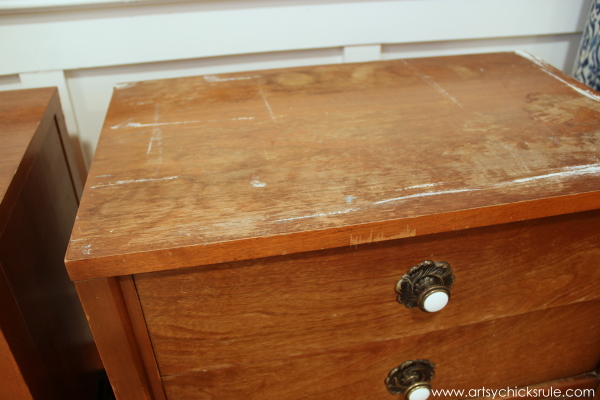
I was in a hurry to get these going and by the time I started, it was Sunday night.
I quickly realized those tops would need some sanding. (and I wasn’t going out in the cold to do it)
So I painted everything BUT the tops…. ( I did have a few minor repairs elsewhere but those were easily fixed and lightly sanded)
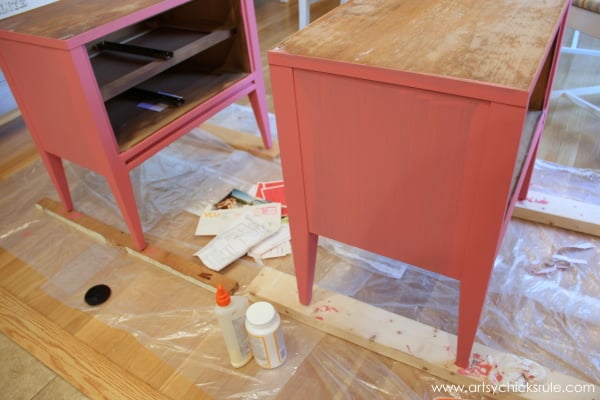
I figured I’d sand with my power sander the next day and then finish painting the tops.
But I kind of liked them like that.
Well, not the yucky stained wood but just different than the rest.
So after I sanded it I decided to paint the tops black.
I used “Lamp Black” Milk Paint by General Finishes.
The “pink” is a blend of Scandinavian Pink by Annie Sloan Chalk Paint. I have no idea what I put in it at this point.
It was just a leftover batch I had and it happened to match my fabric perfectly.
I love when that happens!
I applied 2 coats of both paints.
Then I measured and cut the fabric for the drawer fronts.
Let me just say that I am not an expert on this technique.
AND it’s not my favorite thing to do, I have found. ;) My friend Christy over at Confessions of a Serial Do It Yourselfer has done quite a few though.
Her tutorials might be a better example than mine.
But follow along and I’ll show you how I did this.
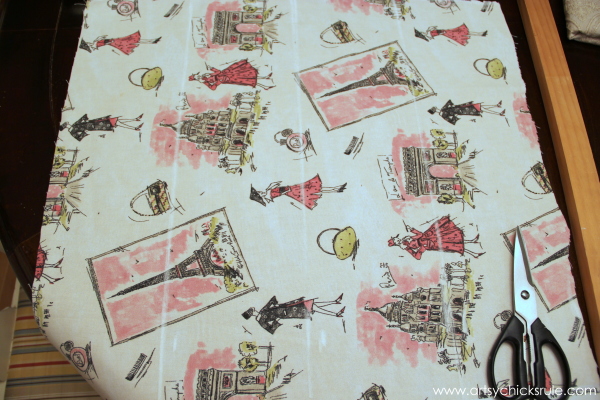
I ended up cutting my sections a tiny bit larger than my drawer fronts.
I had the idea that I would apply poly to them and then sand away the excess.
I did it this way so I’d end up with perfect edges all the way around. I used Mod Podge to attach the fabric.
I also kept the design in mind when I applied the fabric to the drawer fronts. (so the pattern would line up correctly on the drawers)
It actually worked pretty well but it wasn’t fun.
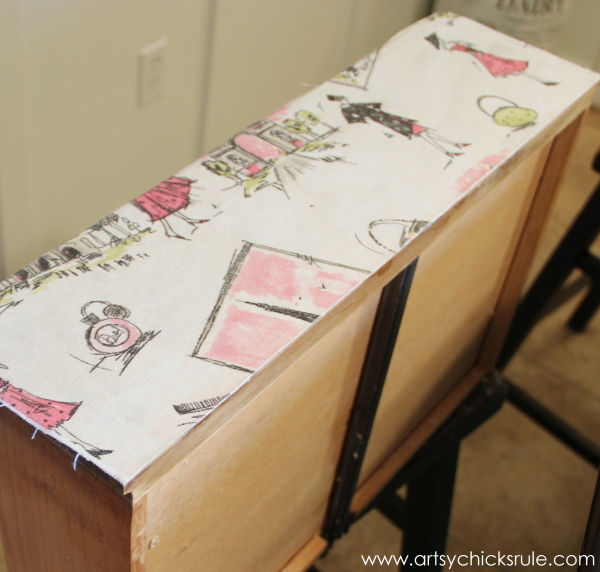
You can see in the above photo how I’ve sanded away the bottom side of the fabric on the drawer.
I applied, and let dry completely, two coats of Varathane Finish before I did this.
Then took rough sandpaper and carefully rubbed the edge until the excess fabric came away.
Any straggles left behind were clipped with scissors.
I applied one last coat of poly for protection.
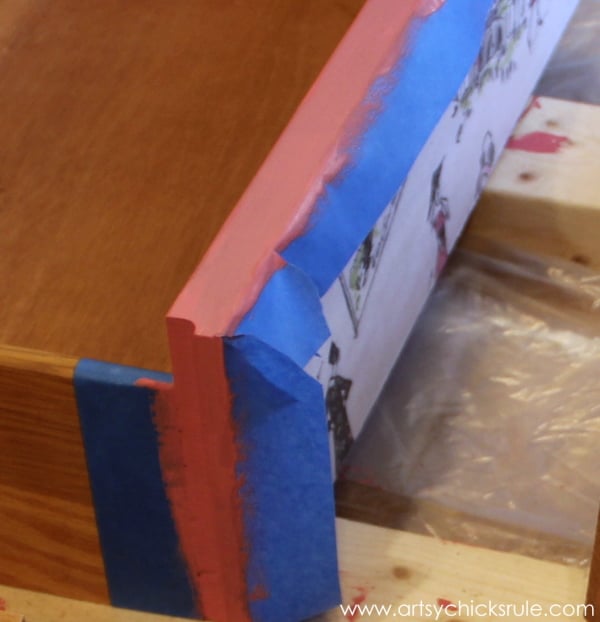
Then I taped it up and painted the drawers.
And I painted the insides green to (sort of) match the green in the material.
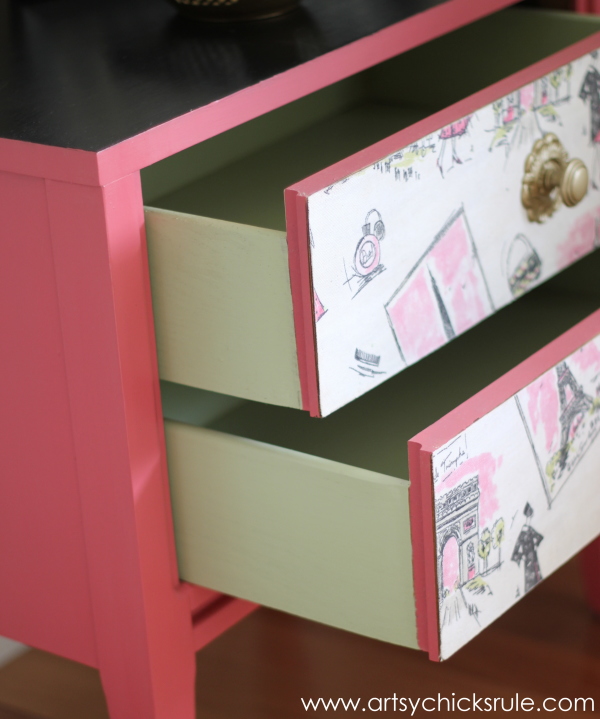
I struggled to match the green in the fabric but it just wasn’t meant to be.
I mixed and mixed and got it as close as I could.
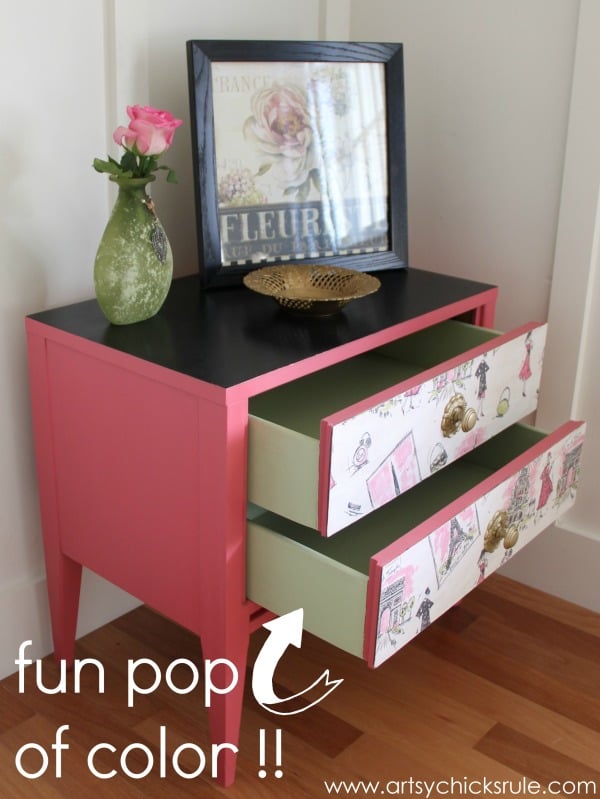
I wanted to tie in that green and get a fun pop of color when the drawers were opened.
I decided to reuse the knobs that came on the stands…
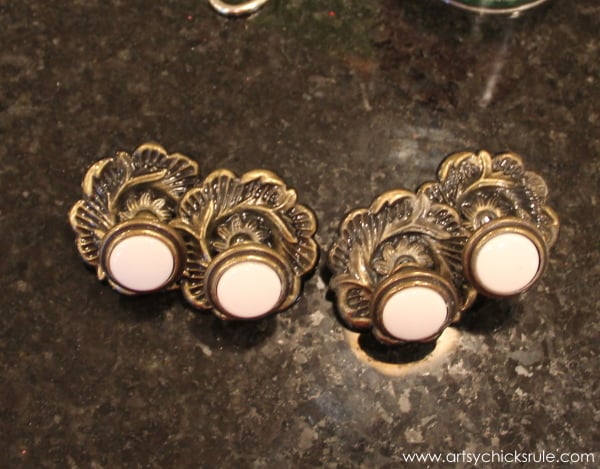
I actually thought the design was perfect, they were just the wrong color.
The fabric is slightly off-white and the knobs were bright white. Plus I didn’t love the metal color.
I scuffed them up, even the ceramic centers, and sprayed them GOLD.
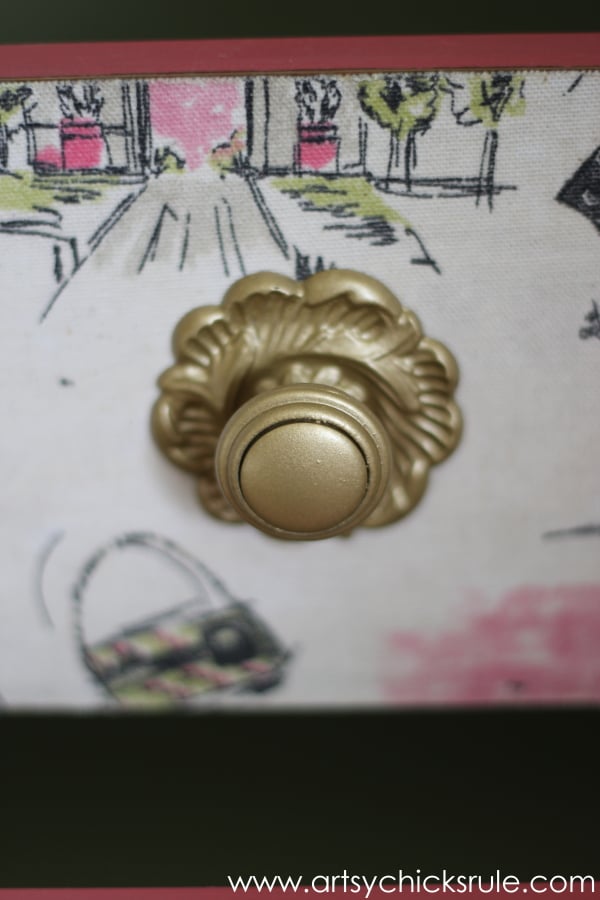
I like the gold. I think it’s the perfect finishing touch.
I sealed all of the paint with Annie Sloan Clear Wax.
This was a pretty labor-intensive makeover but I am very happy with how it turned out.
And thankfully my sweet husband brought me flowers the other day, “just because”, and I used them in the shoot.
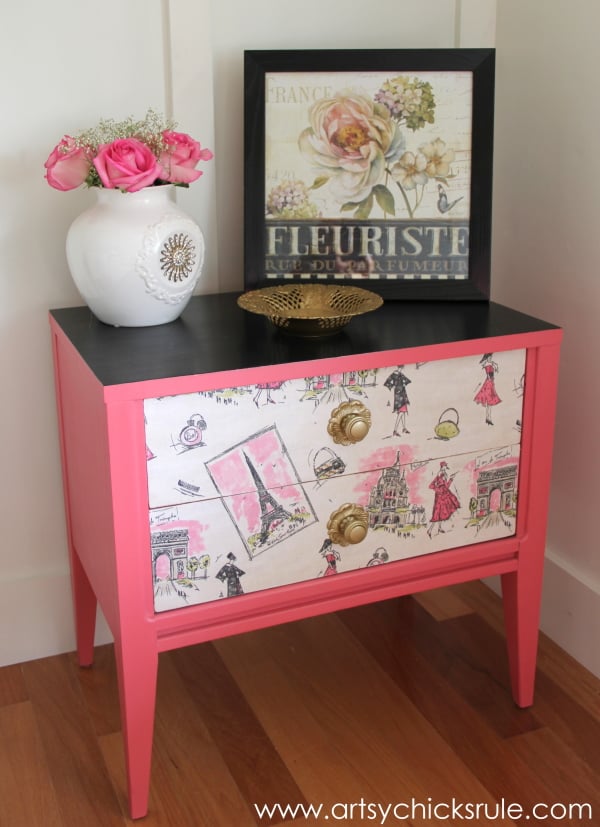
I think they look so pretty in pink nightstands.
Here are some similar products to what I used…
MATERIALS LIST
- Coal Black Paint
- Pink Paint
- Green Paint
- Decoupage Gel
- Clear Wax
PIN this “Pretty in Pink” for later!
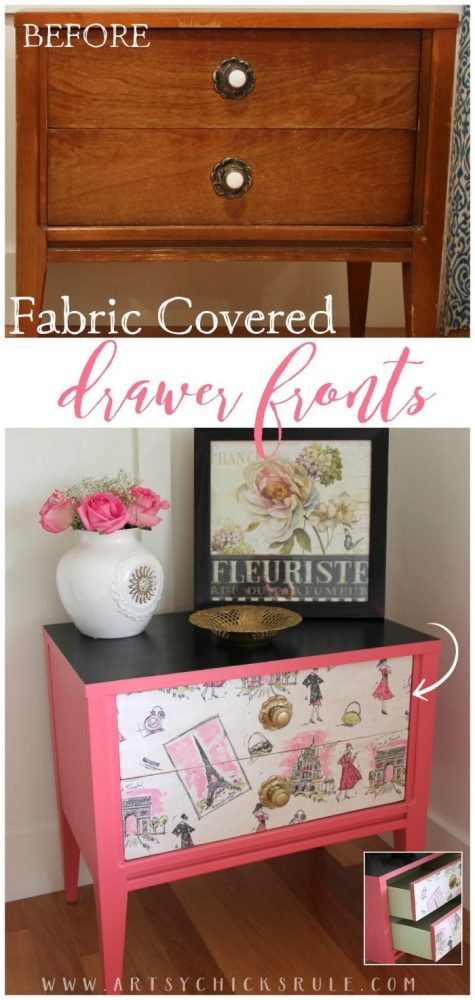
I really love how this “theme” made me think outside of the box.
Otherwise, I would have never created these fun and funky “Pretty in Pink” nightstands.
Be sure to stop back in later this week to see what I did with this thrift store chair…and that ripped seat!
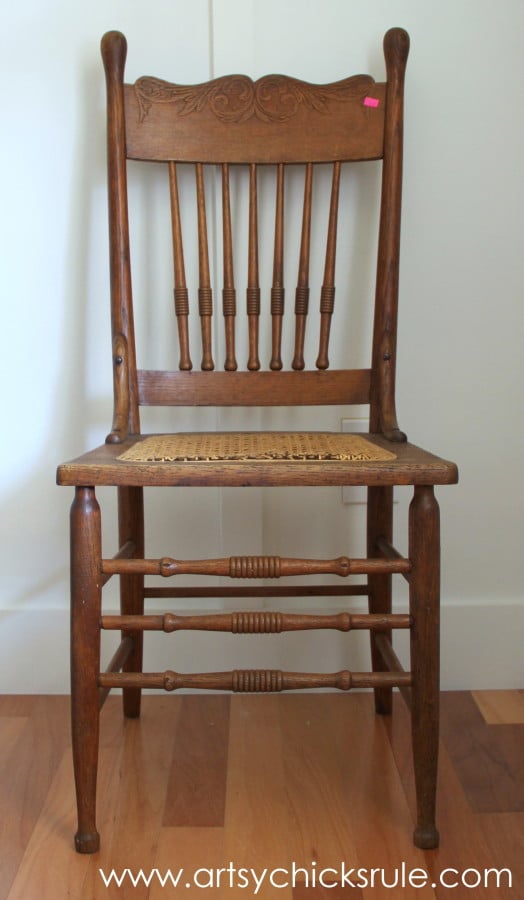
UPDATE!!! See it now, here!!
Don’t forget to take a look at my friends’ amazing makeovers below.
Have a great weekend, friends! See you next week!
xoxo






I love how these turned out. I could so see them in my teen girl’s room! I need to try my hand at fabric on furniture as well as Scandinavian pink! Just lovely!! ~Christy
Thank you Christy!! :)
Nancy
Pretty in pink! They look great, Beautiful!
Debbie
Thanks Debbie!! :)
Nancy
So pretty and I love that you painted the inside of the drawers too. And how perfect are those “just because” flowers?!
Thank you Angie!! They are the best part! ;)
Nancy
Love it! I’ve been debating on trying the fabric fronts and am glad to know some tips. Great job, Nancy!
Thanks Larissa! :)
Nancy
These are adorable! I have loved that fabric since the first time I saw it at the fabric store. Love what you did with it on the drawer fronts. So cute!
Thanks so much Melody!
Nancy
This is really fun Nancy! I haven’t tried putting fabric on furniture yet. Thanks for the inspiration!
:) Beth
Thanks Beth! I may try it again some day!! ;)
Nancy
Very nice! I love the black top and the green drawers as well as the fabric and pink. I think I would like the black in another place too maybe a stripe or two of black on the drawer sides or perhaps black on the knobs? Yours is my favorite of the “Inspired By” projects though I enjoyed looking at all of them.
Thank you Gwen! :) Yes, those are good ideas too!
Nancy
Nancy, you had me at “just started this project on Sunday night”. I’m totally impressed that you pulled this off especially considering all the work that must have gone into this makeover. Love love love the fabric and the pretty pink and black paint combo. You did good girl!!!
Haha!!! Yep, that’s usually how I do it! ;) Not ideal but it does make me get it done.
Thank you Marie! :)
xo
Nancy
These are darling Nancy! I love the fabric that you chose! So fun and girly!
Thanks Shanna! :)
Nancy
These are so GORGEOUS!!! I LOVE them. I can’t wait to see what you use that other beautiful fabric on. Thanks for the shout out too! Adding the fabric is not my favorite part either, but it adds so much! XO
Thank you Christy! You are welcome! I may….mayyyy try this again one day! lol
xoxo
Nancy
These look great! Was it difficult to place the fabric? Does it work better than using paper?
Hi Rose!
Thanks! No, it wasn’t too difficult to place but I would say it’s a bit more difficult to work with overall compared to paper.
But the look is different and nice. :)
Nancy
Hi Nancy I love the way they turned out so cute! I am a designer in Jupiter FL and have recently fell in love with chalk paint. I love the challenge you and the other blogger have with one another. How can I get in on it! Thanks Celia
Hi Celia!
Thanks so much! I can pass on your info to the girl who runs it. :)
Nancy
When I saw this last night I was in love…THE COLOR EVERYTHING just says OH LA LA…
SO Beautiful!
Hugs,
Karin
Thanks Karin!! Oh, la, la…I love that!! ;)
xoxo
Nancy
Nancy, As always you did an amazing job. The fabric!!! It reminded me of vintage Barbie, only in Paris! Love it. Jeanette
Thank you Jeanette! :)
Oh yes, I can see that!
Nancy
I love the nightstand Nancy! You do such beautiful work. :)
Thank you so much Karen! :)
xo
Nancy
This is so fun! Love the retro chic fabric – magnifique!
Hi Christina!
Thanks so much! :)
Nancy
These are so stinkin’ cute!!
Thanks Bre!
Nancy
These are SO cute! I love the colors you used. I’m getting ready to try my hand at painting an old end table and putting fabric on top so this is very helpful. I’ve been researching paints to use and all the examples I’ve found of chalk paint were on pieces that were then distressed. I found something called plaster paint that wasn’t used for distressed pieces and thought I’d need to use that but I see that you’ve used chalk paint and it’s beautiful.
Thank you Mary :)
Oh yes, Chalk Paint is distressed quite often but doesn’t have to be! You can do it however you like.
For this one I knew I didn’t want the “distressed” look so painted and sealed.
Good luck with your piece!
Nancy
I love everything about it Nancy! From your husband honing in on the perfect fabric ;) to the Parisian print, pop of color inside the drawers and the gold hardware. Pretty in Pink, Love!
Thanks Therese!
He’s a smart one I think I’ll keep around for…forever! ;)
Nancy
Nancy, those are SO cute! How clever of you to think of putting that all together!! I’ve said it before… and I’m sure I’ll say it over and over again…. you are so dang creative!!!
Nice job! :) xo
Thanks Karen! Muah!!
xo
Nancy
Nancy, WOW those Parisian night stands turned out so adorable!!! I’ve never used fabric on wood before and it looks great. Thank you so much for linking up today and i’ll feature them this week on my fb page too. have a great week, Lisa
Thanks Lisa!
Nancy
This doesn’t even look like the same piece that is amazing! What a transformation! I haven’t tried fabric on wood yet but this makes me want to try it. Thanks so much for linking up to the Something to Talk About Link Party. I will be sharing for sure!
Thank you! :)
Nancy
Oh my gosh Nancy…these nightstands are magnificent! You are so very talented and creative!I love that you used fabric – such a transformation. And yes, they are Pretty in Pink! Thank you so much for linking up to Something to Talk About Link Party today!
Vicki and Jennifer
2 Bees in a Pod
Thanks so much! :)
Nancy
Love these colors and what you did! Very cute. This is feel good furniture! It just makes me happy seeing it!
Thank you Heather! :) This totally is happy furniture!
xo
Nancy
These came out so cute!! I love adding fabric, and this fabric is perfect for these tables!
Thanks! :) They were so much fun to do!
I love everything you create. I have learned so much from your projects and I am inspired to try it all. Do you have a store where you sell your creations? I continue to follow you and can’t wait to see your next project. Thanks Jeanette
Aw thank you Jeanette! :) I have some of my things in a store in VA. They don’t ship though, are you local?
Oh my goodness it is so cute. As I scrolled and it came up it maade me smile and feel happy! Someone is going to snatch that up and love it forever.
Aw, I am so happy to hear that! :) Thank you, Marietta! xo
Those look fantastic, Nancy!!! Never in a million years would I have thought one could put fabric on the fronts of drawers. WOW. You did a great job with those. They are so perfect for the right room of one lucky gal. I must say I absolutely love that color of green you created, too. ♥
Thank you, Michele! Yes!! I love using fabric like this. It’s time I did it again! :) xo
I love all the choices you made for these. So pretty. Love that pop of green and the black tops with the pink. They came out perfect!
Thanks, Debra! I love all the colors too. Makes me want to paint something else really colorful for summer! xo