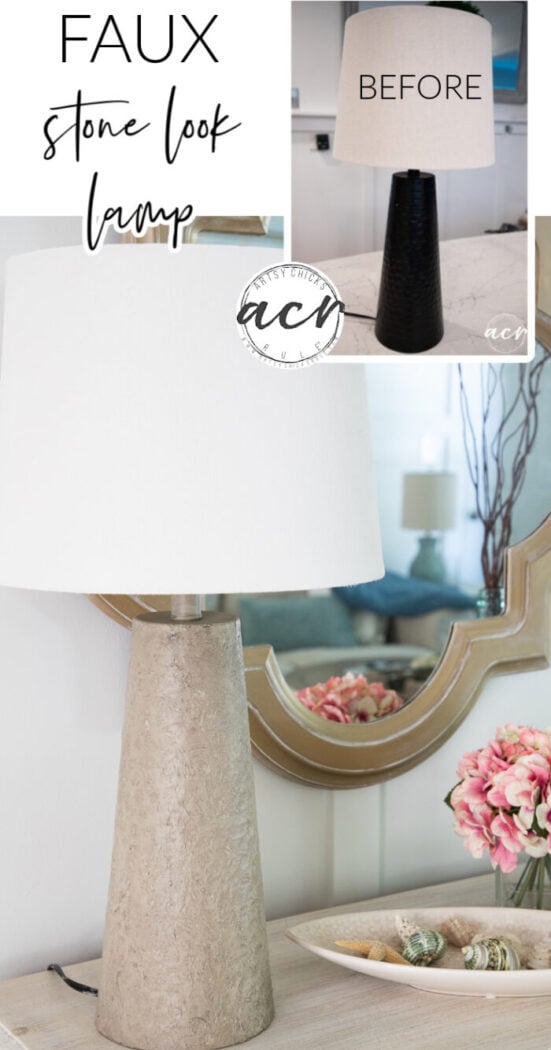
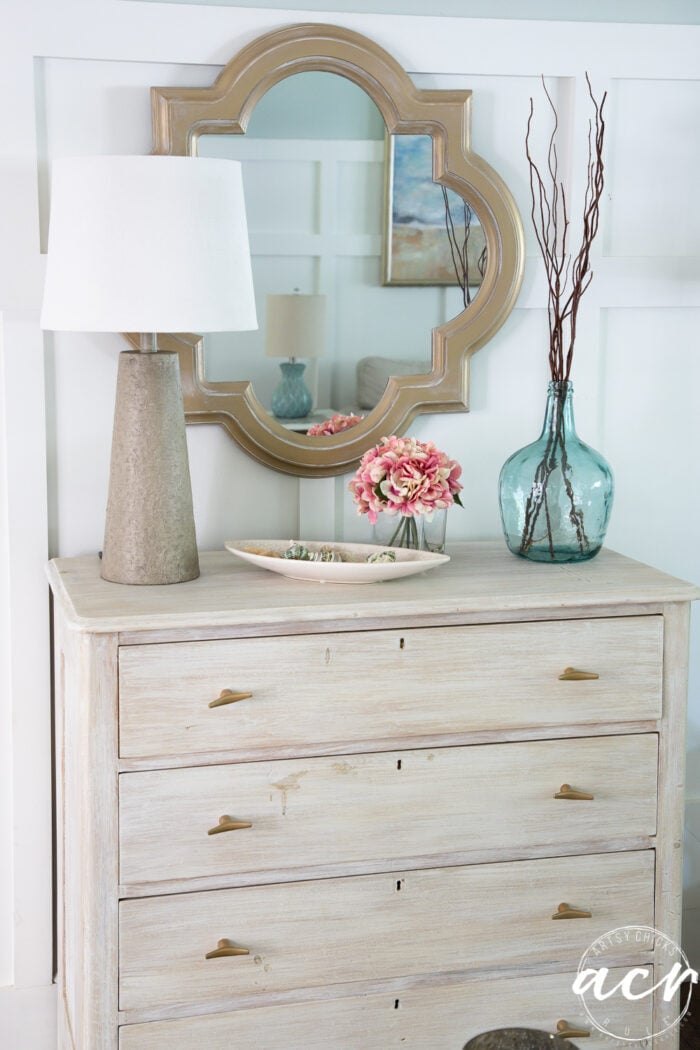
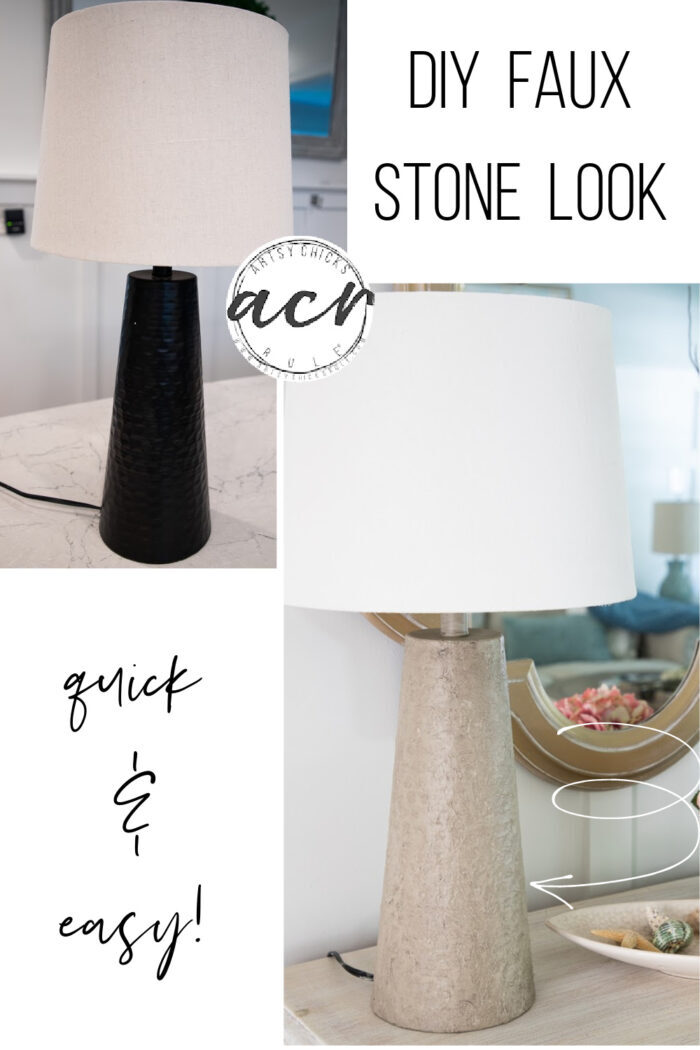
A repurposed product gave this old lamp a fun new faux stone look…simple to do too!
Hello beautiful friends!
I am sharing a fun new technique I tried on this lamp. I gave it a whole new look and a “faux stone look” at that.
I love getting my hands into stuff and being creative. This one definitely fits that bill.
I used several different products on this one but it was actually really easy. (I know, I say that a lot…but that’s because I LOVE easy projects and usually lean towards them)
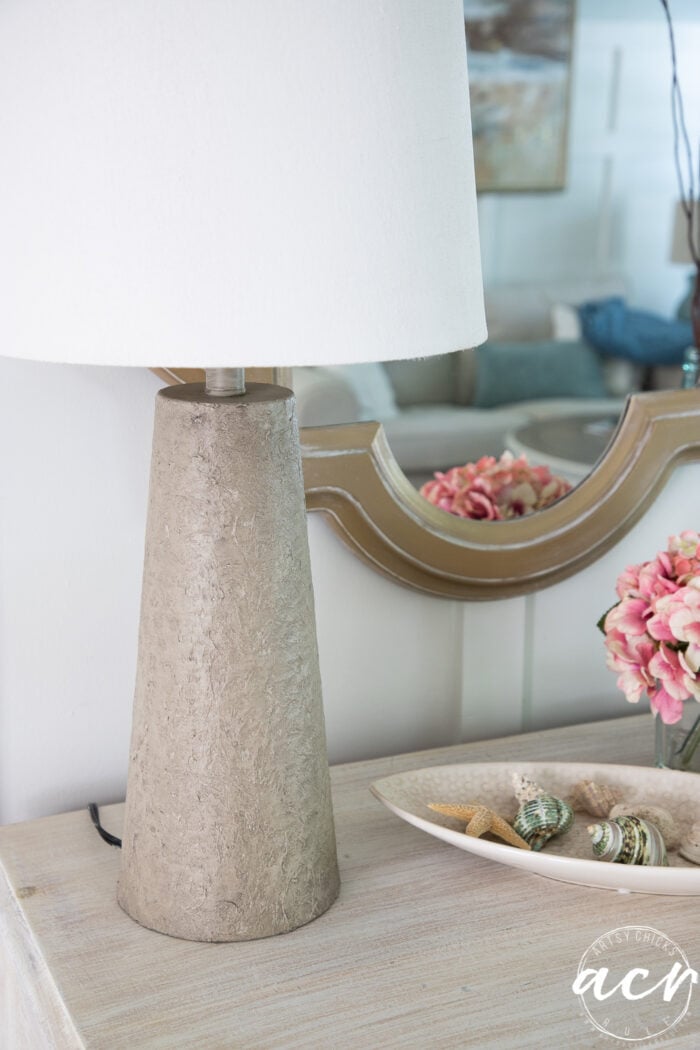
Faux Stone Look Lamp Makeover
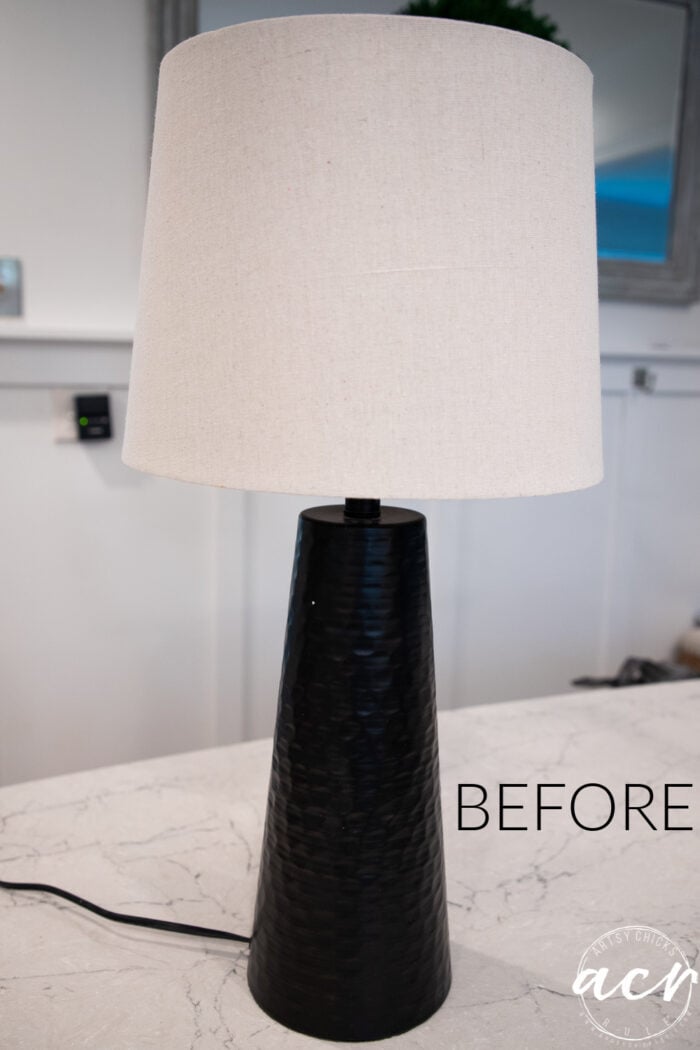
This lamp actually came from our OBX beach home. It doesn’t really go with the style I’ve got going down there so I brought it home to give it a makeover.
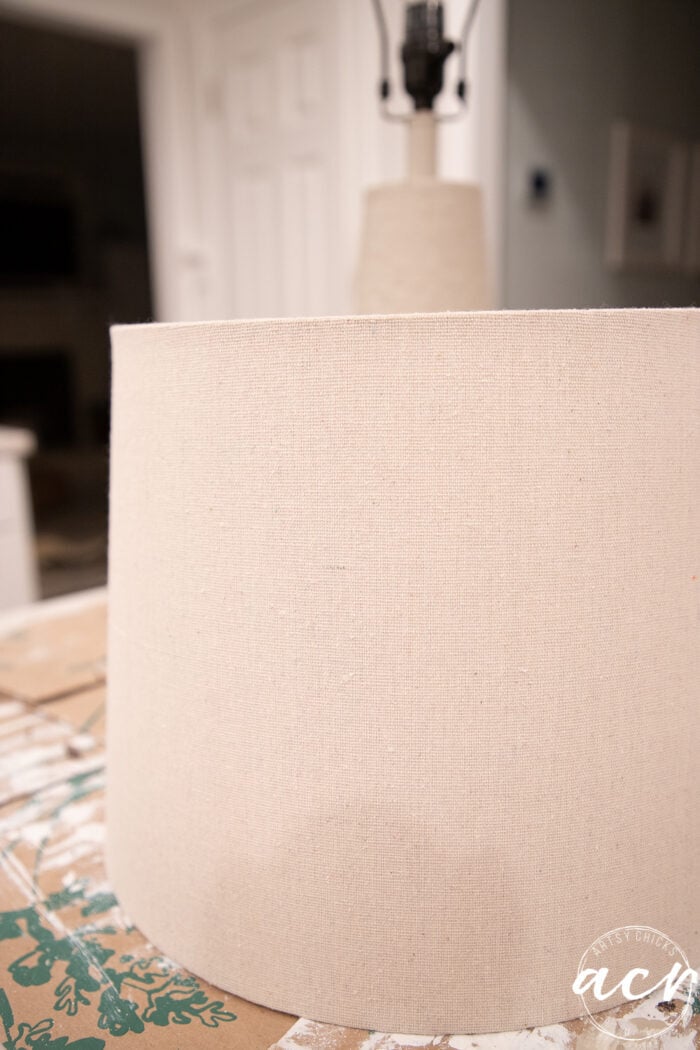
Here it is “before”…
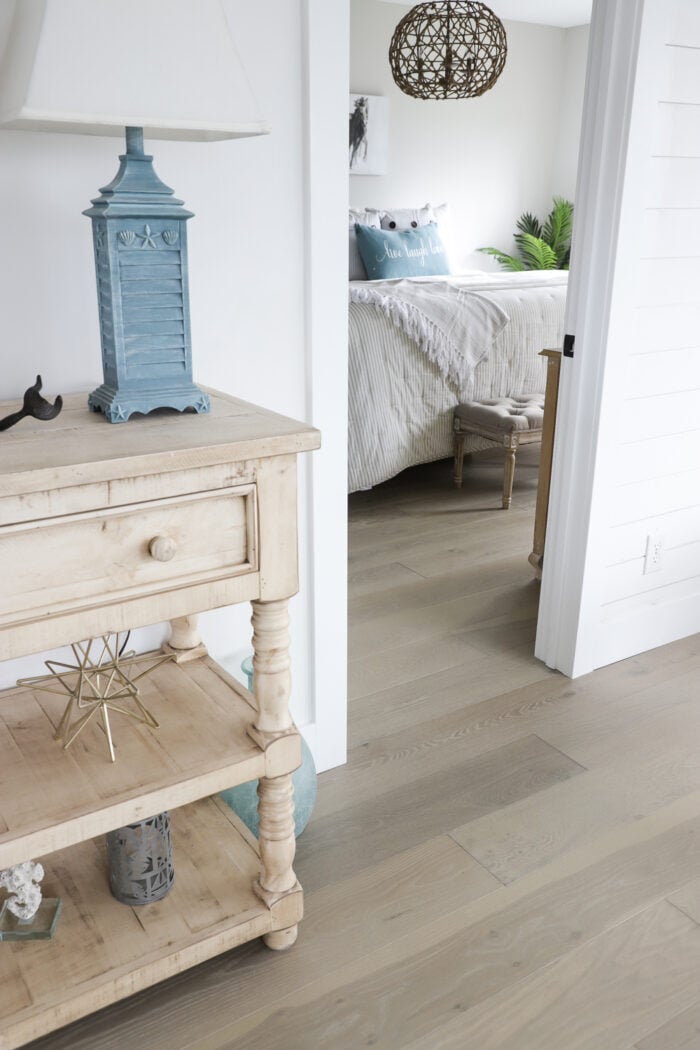
Here it is at the condo when we first bought our place…
Love the new lamp.. and all of your posts!
However this one needs a better explanation for me.. can you detail that process again for the lamp and painted lampshade? If it’s not too much trouble. Thanks!!
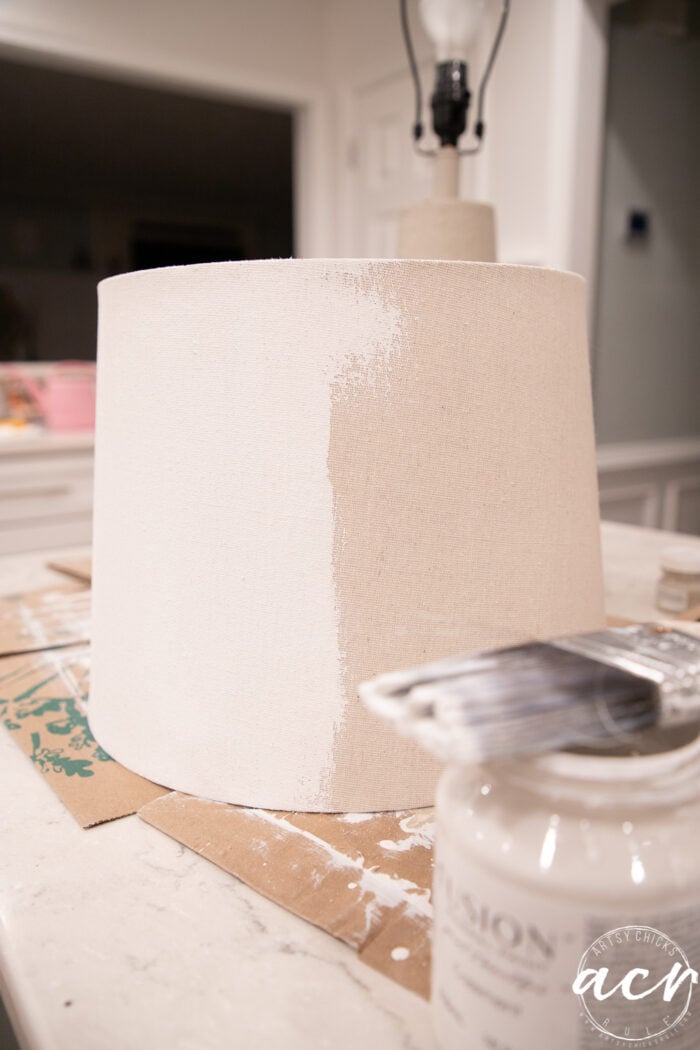
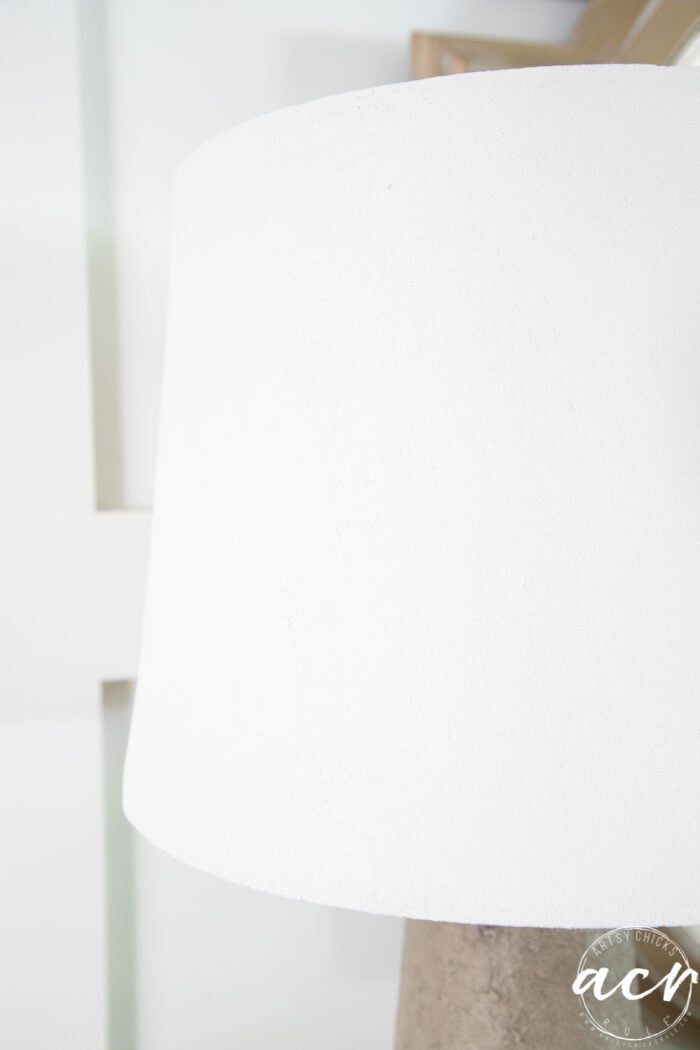
Aw, thanks a bunch, Zonya! Okay, so the painted lampshade is simple, promise. I just used my regular angled paintbrush (that I use for furniture) but you can also just use a cheapy chip brush too. I didn’t water down the paint or anything. I just did brushstrokes from top to bottom all the way around the shade. Nothing special! No sealer as it is self-sealing (Fusion Mineral Paint) so that was a plus.
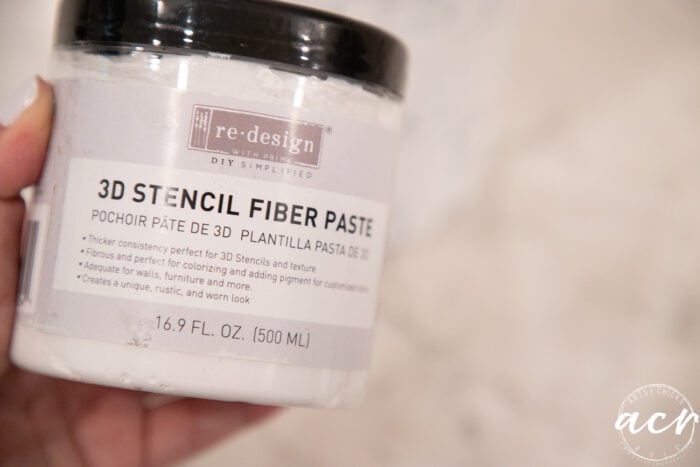
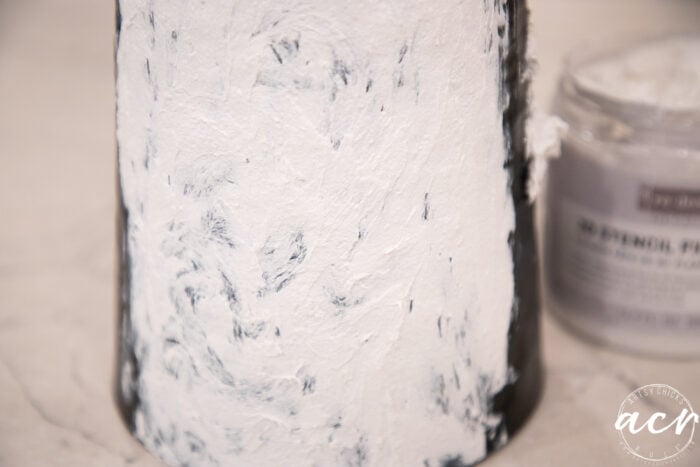
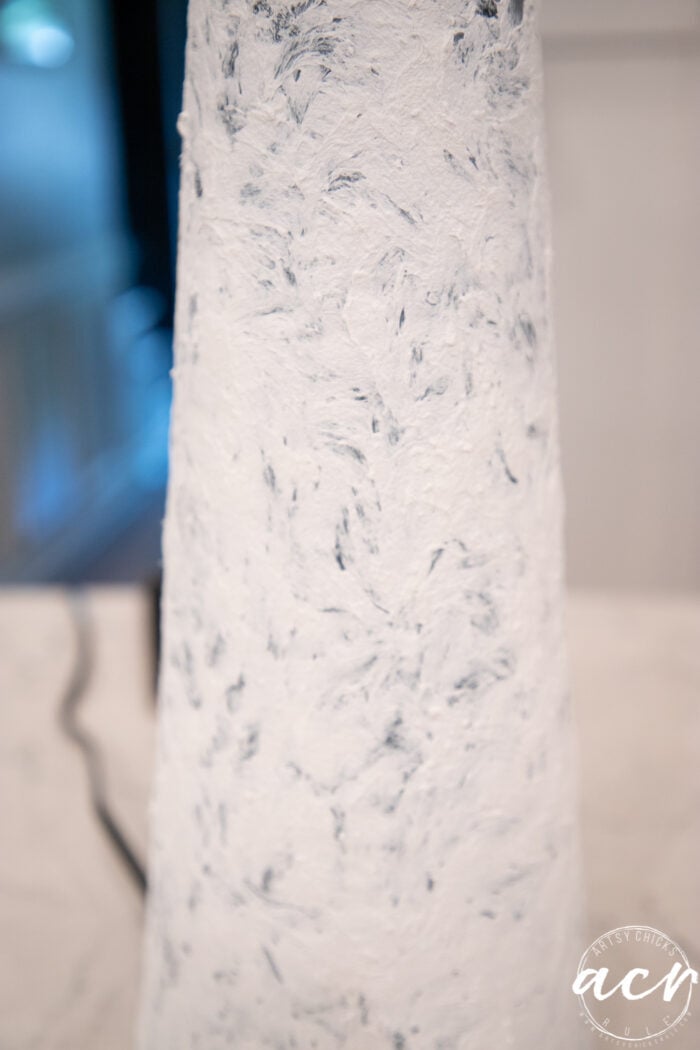
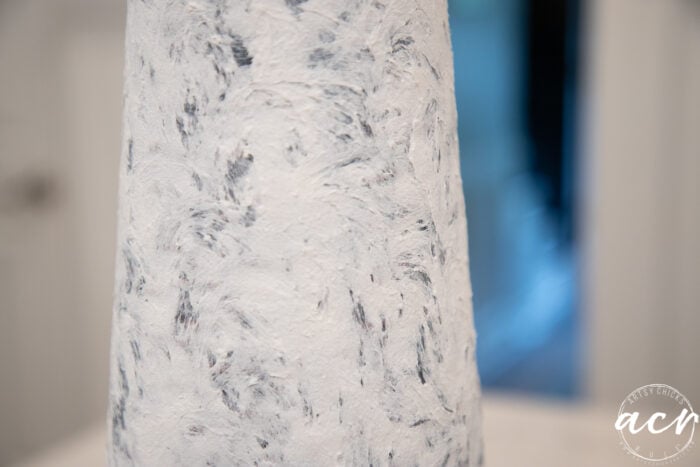
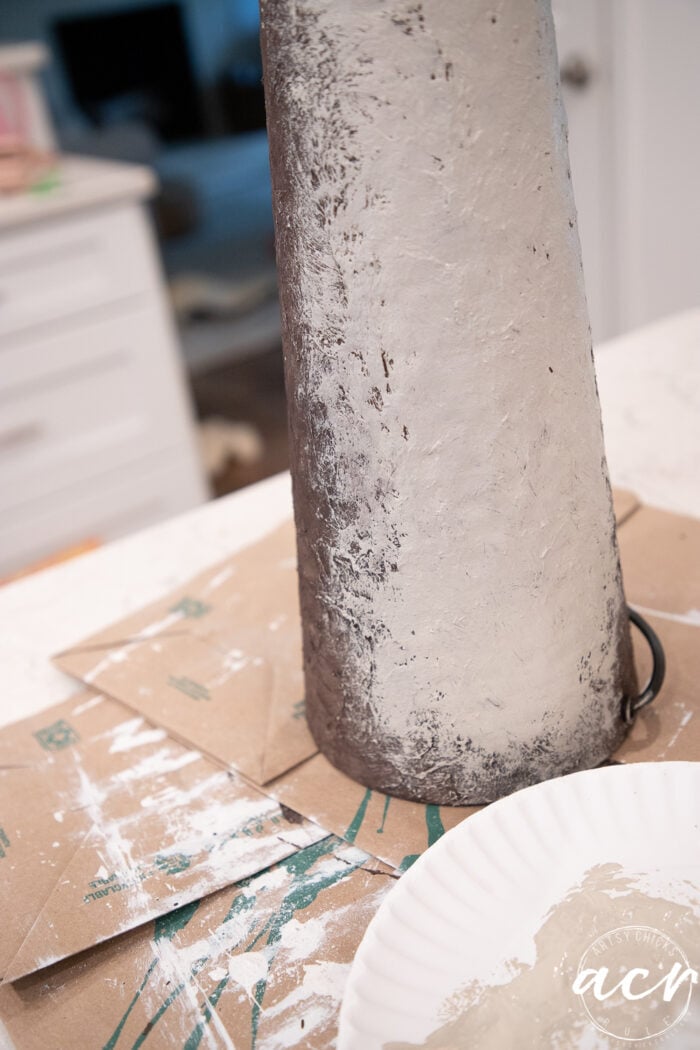
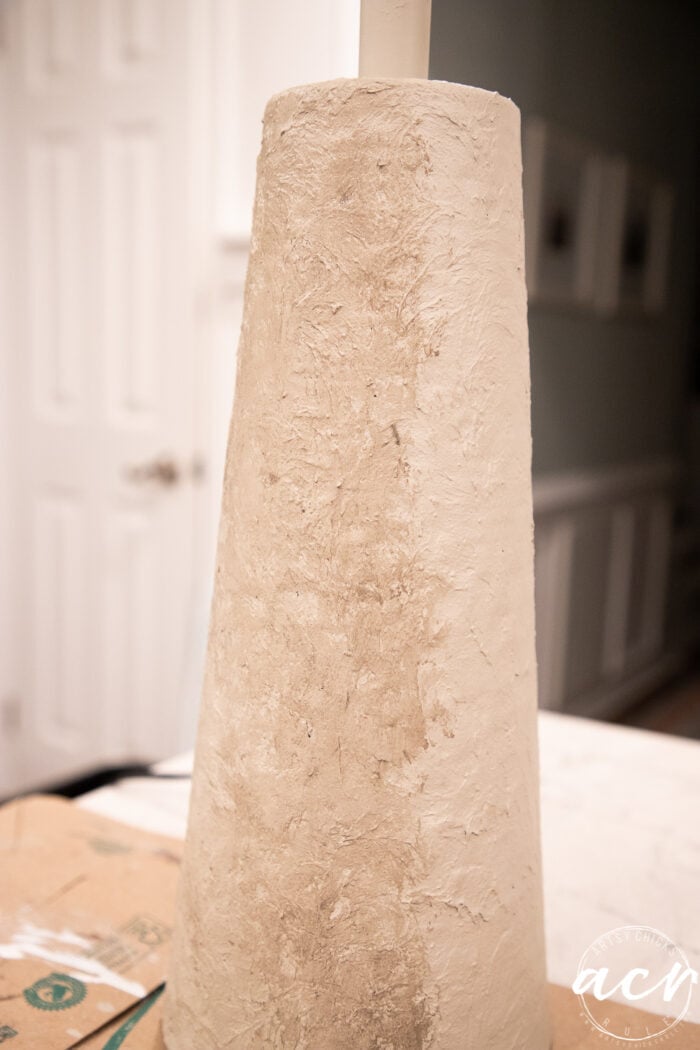
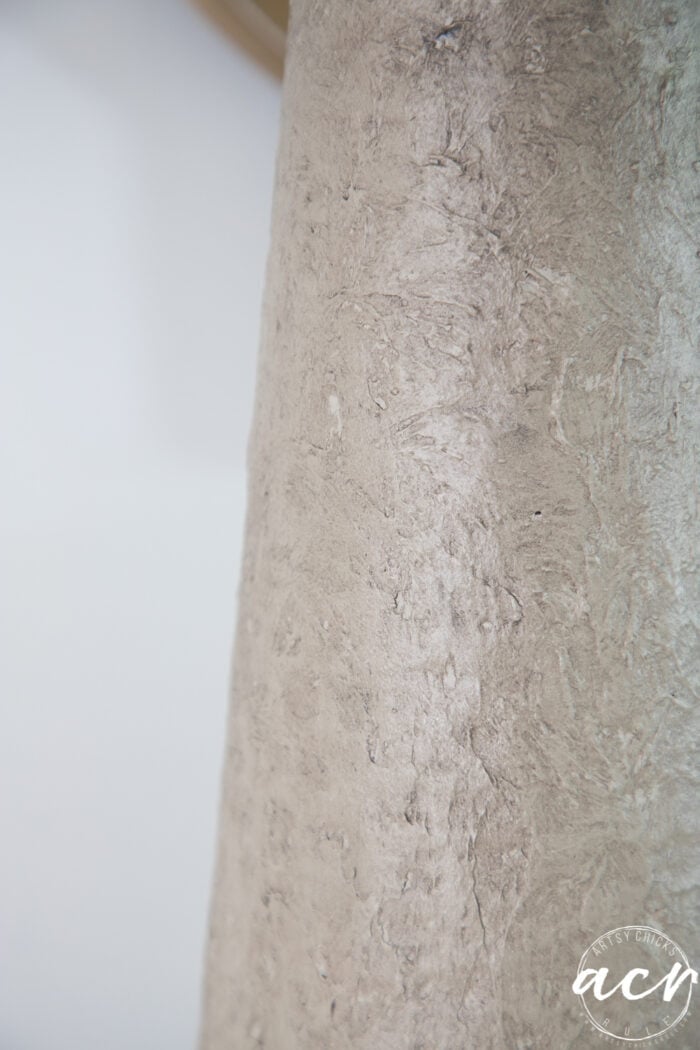
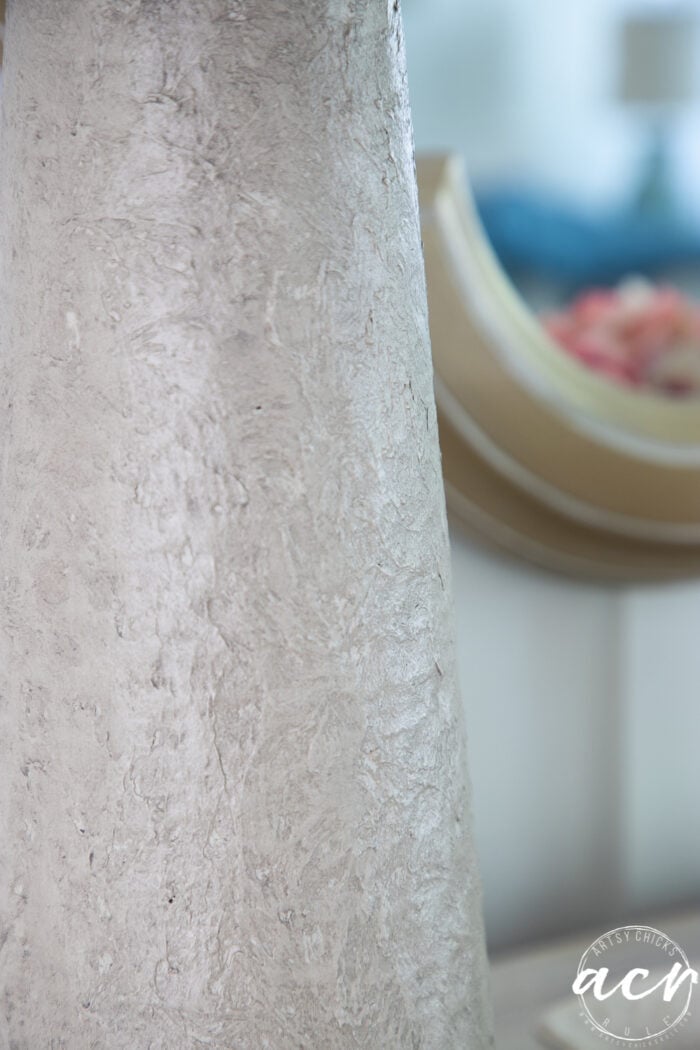
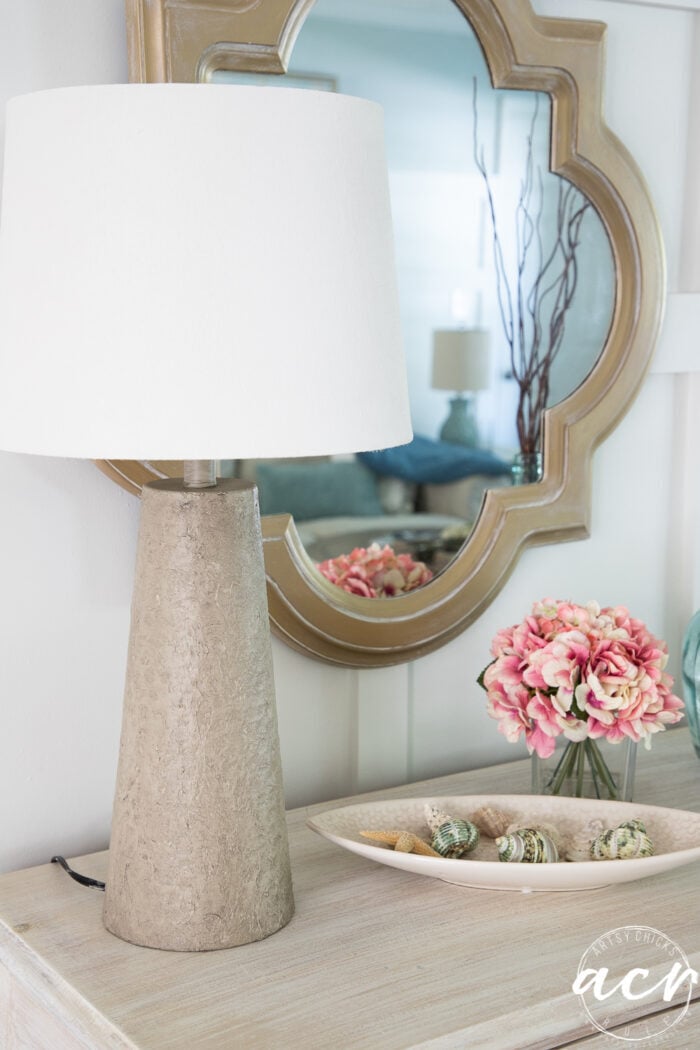
For the base, I literally dug my hands into the Fiber Paste and applied it to the lamp base. No rhyme or reason but just wanting to give it a swirly-ish look. I don’t think you can go wrong however you do that part. What you don’t want are sharp points sticking up, you want it stone-like but smooth-ish. So pat those down if you get any. Then once it is completely dry, paint it all over in that tan color. Let that dry very well and then apply the Driftwood Stain and Finishing Oil over top. I wiped it on and covered all the areas and wiped it back away. It naturally stayed in the depths and crevices giving it that final look. I hope this helps explain it a little better! :) xoxo
Wow, it’s amazing how much “softer” it looks even though it is a stone look! The newly white shade looks perfect. Way to go Nancy! Love that you share your processes also!
Have a great week!
What a change! I like the shade but the lamp is great. I like to play around with techniques like this where everything doesn’t have to be perfect. Looks like a good idea for some metal vases I have. Thanks!
So creative Nancy! I also love the little blue table you did a few days ago. I have the perfect table to recreate that look. I already have the paint, and I’ve been looking for the perfect piece to use it on. I just never thought of doing my table with it until I saw what you did. I’ve had the cute table (it’s a French antique), for at least 12 years now. Thank you as always for the inspiration!
Very convincing, Nancy! I love what happens when the creative process is free to go in any direction. And experimenting with products is always fun, especially when you get a successful result like this.
What kind of paint did you use for the lampshade? I have spray painted some lampshades, but have trouble getting the paint even. I think brushing it on would be easier.
Hi Sherry! I used Fusion Mineral Paint in the color Casement. Yes, I think this will give you a better more even result. I’ve painted many lampshades over the years with various products and this is the best result I’ve had.:)
That is amazing! Love it.
I’m like some of the others and would like to know what you used to paint the lampshade with. I would also like to know what driftwood s&h mean.
Thank you for sharing such great projects.
Thanks, Marsha! Yes, the paint is Fusion Mineral in the color Casement. The Driftwood Stain and Finishing Oil is also Fusion. Great products! (they are linked in the gray box in the post also) :) xo
Want to be inspired, learn new skills, discover all the tricks to furniture makeovers, creating new out of the old and more? You'll also receive my FREE ebook "Creating Fabulous Finishes" PLUS access to my private Printables Resource Library, too!
Sign up to get the Weekly Newsletter! Our emails include an unsubscribe link and you may opt-out at any time. Your information will *never* be shared or sold to a 3rd party.


")

I just love the way you did the lamp Nancy. It looks great!
Aunt Jo
Thank you, Aunt Jo! xoxo
Love the new lamp.. and all of your posts!
However this one needs a better explanation for me.. can you detail that process again for the lamp and painted lampshade? If it’s not too much trouble. Thanks!!
Aw, thanks a bunch, Zonya! Okay, so the painted lampshade is simple, promise. I just used my regular angled paintbrush (that I use for furniture) but you can also just use a cheapy chip brush too. I didn’t water down the paint or anything. I just did brushstrokes from top to bottom all the way around the shade. Nothing special! No sealer as it is self-sealing (Fusion Mineral Paint) so that was a plus.
For the base, I literally dug my hands into the Fiber Paste and applied it to the lamp base. No rhyme or reason but just wanting to give it a swirly-ish look. I don’t think you can go wrong however you do that part. What you don’t want are sharp points sticking up, you want it stone-like but smooth-ish. So pat those down if you get any. Then once it is completely dry, paint it all over in that tan color. Let that dry very well and then apply the Driftwood Stain and Finishing Oil over top. I wiped it on and covered all the areas and wiped it back away. It naturally stayed in the depths and crevices giving it that final look. I hope this helps explain it a little better! :) xoxo
Thank you for the explanation; I will try that. I always look forward to your emails and tips. . and I love your decorating style! Thanks again.
Zonya
Oh, I am so happy to hear that, Zonya! :) xo
Wow, it’s amazing how much “softer” it looks even though it is a stone look! The newly white shade looks perfect. Way to go Nancy! Love that you share your processes also!
Have a great week!
What a change! I like the shade but the lamp is great. I like to play around with techniques like this where everything doesn’t have to be perfect. Looks like a good idea for some metal vases I have. Thanks!
Yes, me too, Cecilia!! It’s nice to take the pressure off and just have fun, isn’t it? And yes, would be perfect for those!! xo
Yes, isn’t that so fun?? I love how it did that! Thank you, Christina! I hope you have a wonderful weekend and 4th! xoxo
What did you paint the lampshade with?
I used Fusion Mineral Paint in the color Casement. :)
Love it! You are so creative!
Aw, thanks so much, Jan! xo
So creative Nancy! I also love the little blue table you did a few days ago. I have the perfect table to recreate that look. I already have the paint, and I’ve been looking for the perfect piece to use it on. I just never thought of doing my table with it until I saw what you did. I’ve had the cute table (it’s a French antique), for at least 12 years now. Thank you as always for the inspiration!
Oh, that’s great, Tracey!! Have fun with yours! :) Have a wonderful weekend! xoxo
Very convincing, Nancy! I love what happens when the creative process is free to go in any direction. And experimenting with products is always fun, especially when you get a successful result like this.
Me too, Marcie!! That’s the most fun when you can let go and just create. Hope you have a wonderful weekend and 4th! xo
What kind of paint did you use for the lampshade? I have spray painted some lampshades, but have trouble getting the paint even. I think brushing it on would be easier.
Hi Sherry! I used Fusion Mineral Paint in the color Casement. Yes, I think this will give you a better more even result. I’ve painted many lampshades over the years with various products and this is the best result I’ve had.:)
You have such cool ideas Nancy!!! Love the way the lamp turned out.😁
Thanks so much, Lorri! xoxo
Remarkable! Results are def. worth it! Plus, I didn’t realize it’s possible to paint a lamp shade!!! NOW it gives me something to try out.
d
Oh yes, I’ve painted multiple lampshades over the years! (I paint it all, haha!) All with varying results. This is by far the best end result. :) xo
Beautiful!! I also would like to know what kind of paint was used on the shade please.
Hi Lisa! Thank you! I used Fusion Mineral Paint in the color Casement, (it’s linked in the post, gray box). :) xoxo
Thank you for sharing this creative idea turned out nice. I have a lamp base that needs a change, going to get creative.
Oh yay, have fun, Christina! xoxo
Love the lamp and it does look like stone! I have a beige lampshade I would love to paint white – time to get to work!
Thanks for inspiration!
Awesome! Have fun with yours, Vicki! And have a wonderful weekend and 4th! xoxo
Great job…..as always!!! Keep it up!!!!
Thanks, friend! :) Have a wonderful weekend and 4th!! xoxo
That is amazing! Love it.
I’m like some of the others and would like to know what you used to paint the lampshade with. I would also like to know what driftwood s&h mean.
Thank you for sharing such great projects.
Thanks, Marsha! Yes, the paint is Fusion Mineral in the color Casement. The Driftwood Stain and Finishing Oil is also Fusion. Great products! (they are linked in the gray box in the post also) :) xo
Another question. After you painted the lampshade, did you seal it with anything?
Thank you, Carol
Hi Carol, nope, not necessary as Fusion is self-sealing. :)