Starfish Wall Decor (thrift store makeover!)
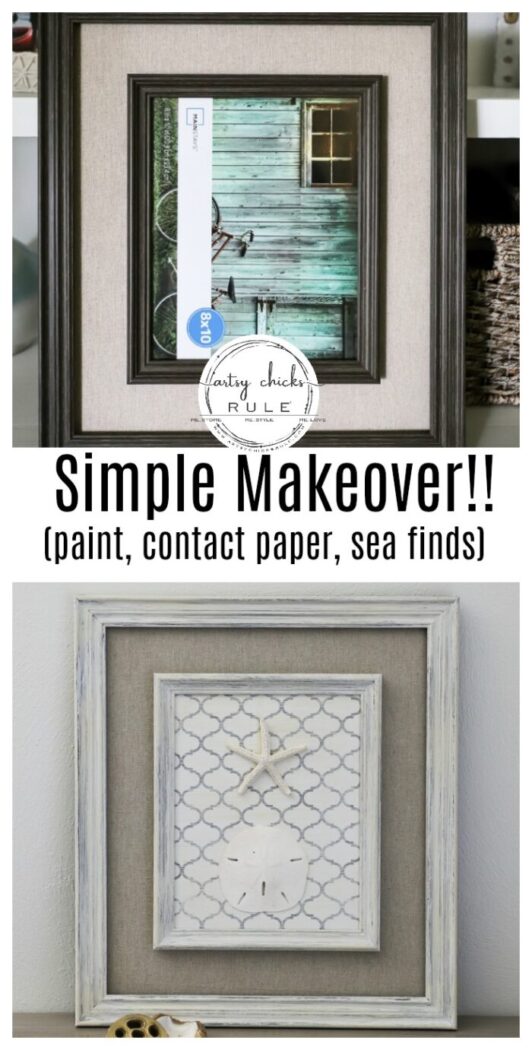
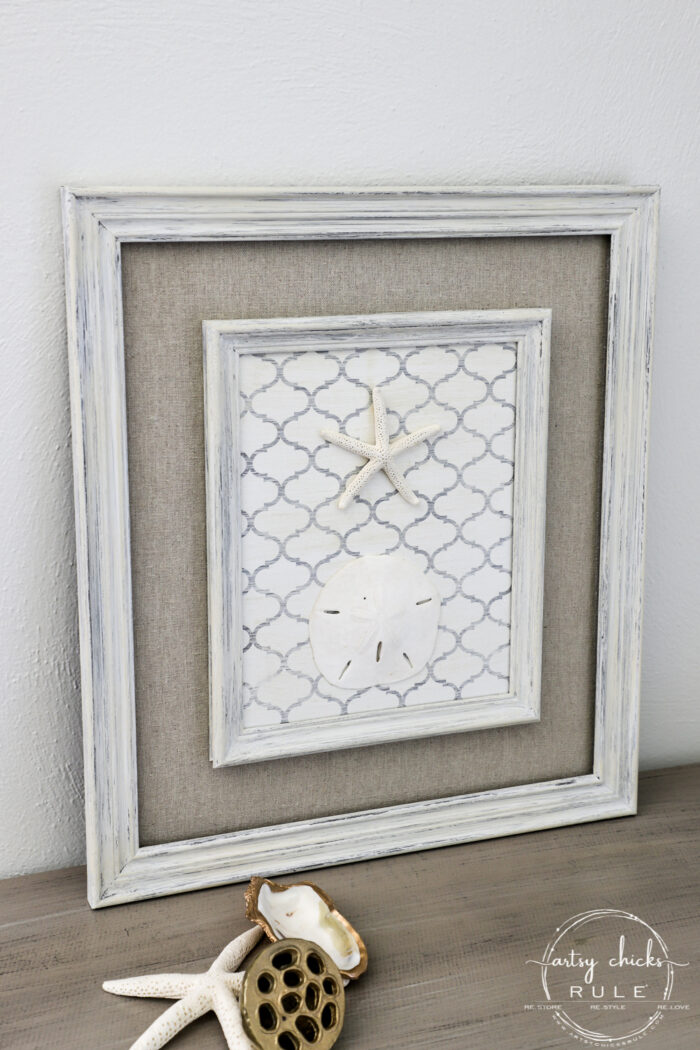
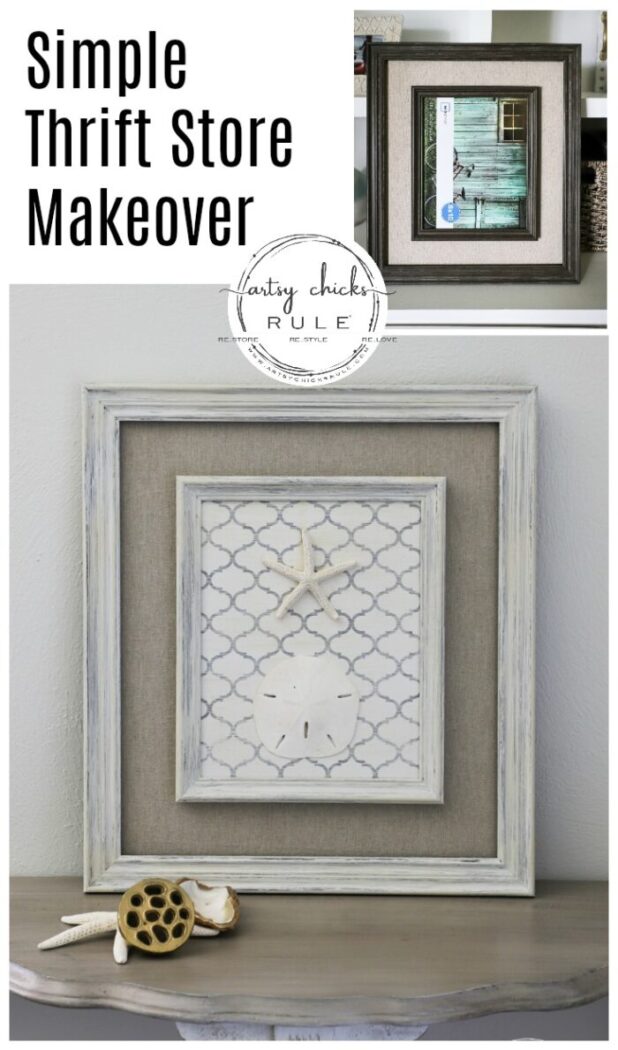
Another super simple thrifty find makeover! This starfish wall decor couldn’t have been any easier. A little paint and shelf liner are all you need. (oh! and the sea finds)
Hey, hey friends!
I’m back today with yet another ridiculously simple makeover for you.
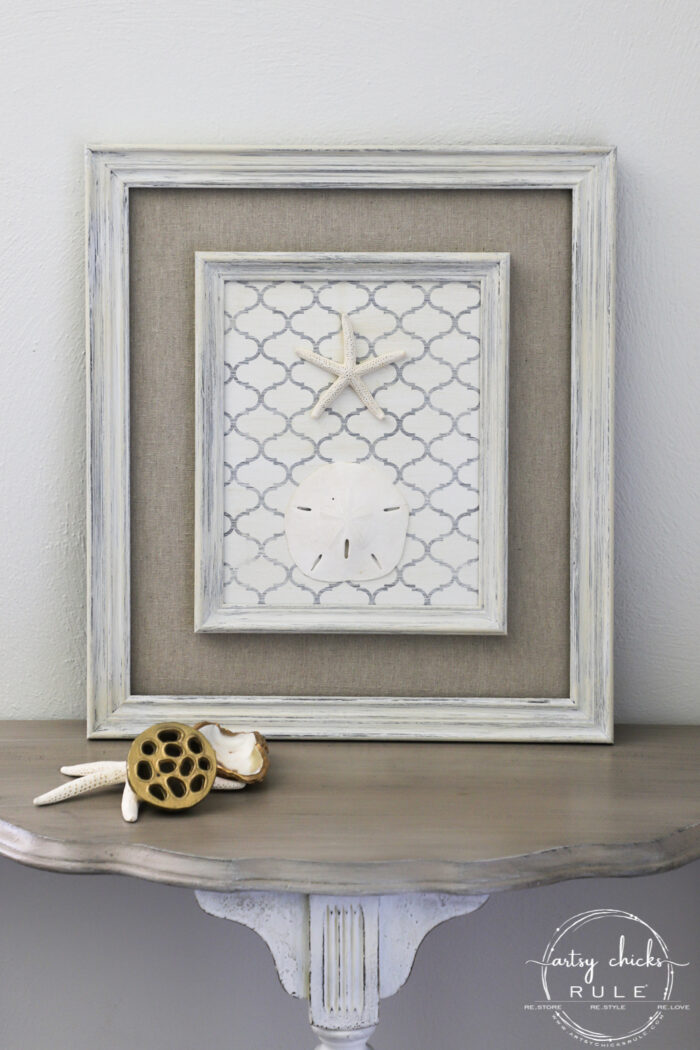
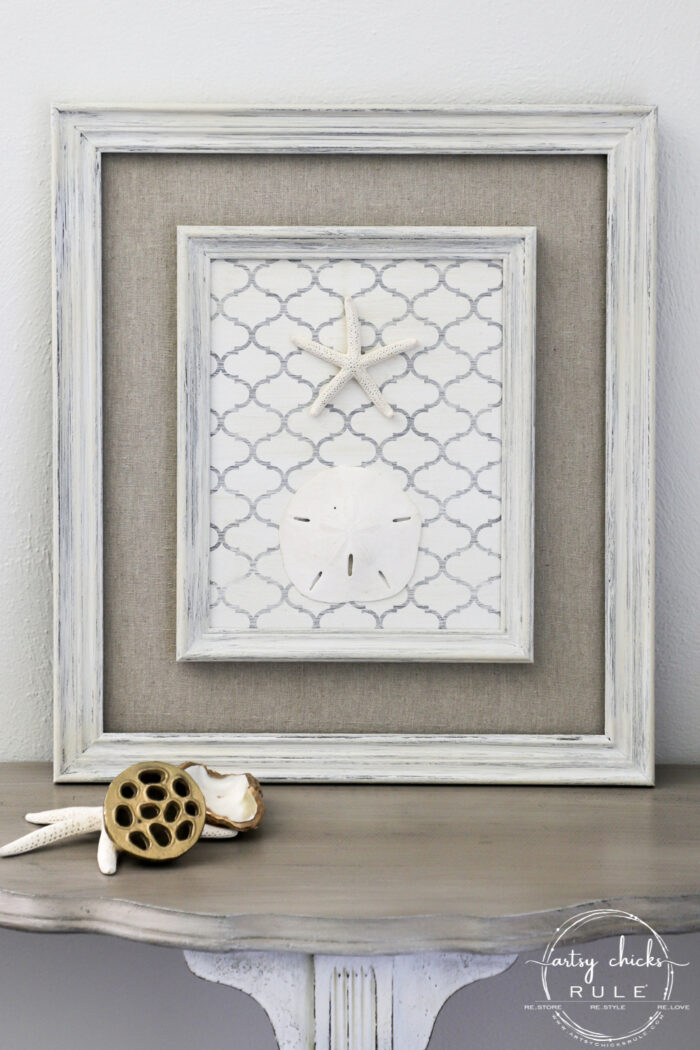
This double framed starfish wall decor.
I went out thrifting the other day and picked up all these goodies…
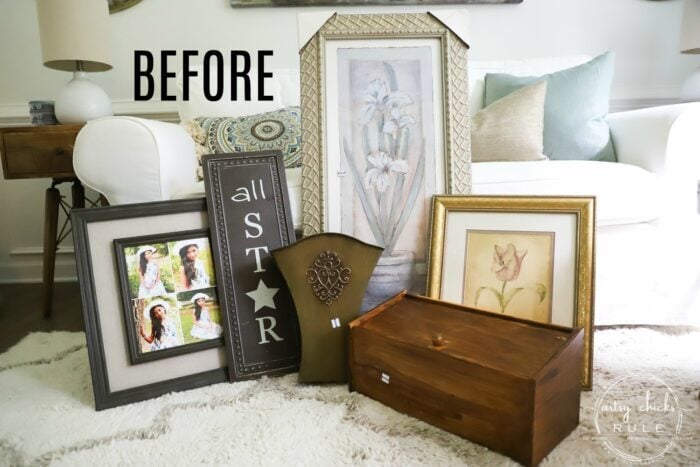
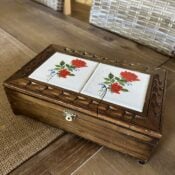
Another matted frame, some kind of wood box (bread box, maybe?), a metal sign, a tall print with a gorgeous frame, the double-framed print I’m making over today and that little hanging vase thingy<<– (Oh my gosh, I am lost for words, they just don’t come to me!! lol What is that thing called?).
I actually have one of these that I painted blue years ago.
You can see it here on my porch from a few years ago…
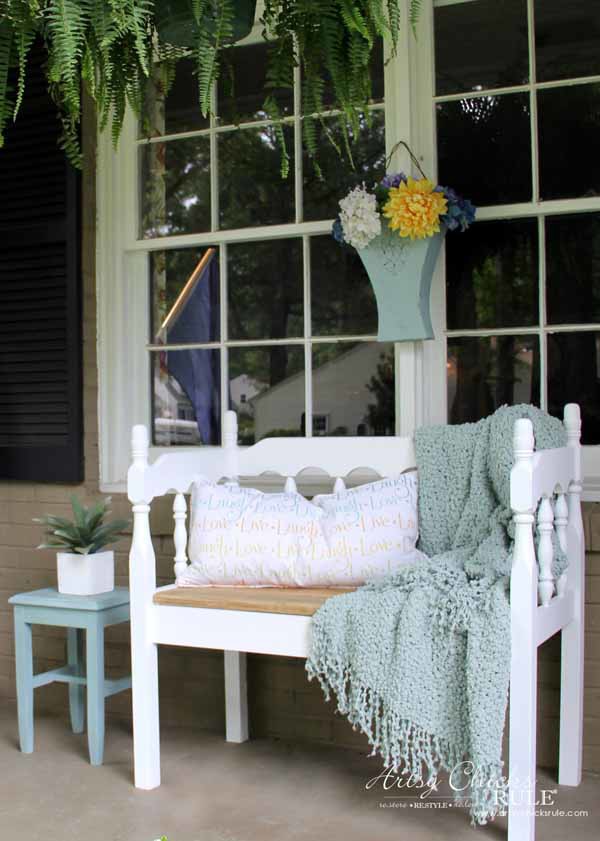
I am thinking I will paint this one a different color and do something fun for fall with it.
Will be a fun change-up from the one I already own.
Anyway, today it’s all about this one.
Starfish Wall Decor
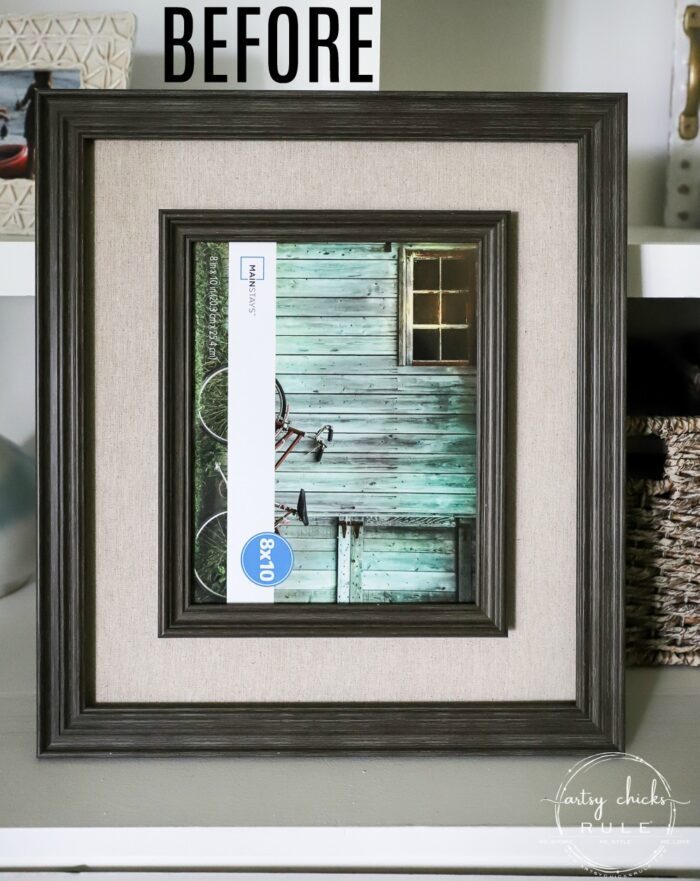
You might’ve noticed that the photo inside this frame is different than the grouping I posted above. (or maybe you didn’t!)
Well, as I was taking the “before” photos for this project, I started thinking the little girl photo did not look like an advertisement.
So I opened it up and sure enough! That was indeed someone’s real photo.
How odd. You never really know what people will take to, and what you will find, at the thrift store.
Needless to say, I didn’t feel comfortable taking up-close pictures of someone’s child so removed it.
Okay, and so I know I say things like “super simple”, “ridiculously easy”, etc, a lot. But I am not kidding.
I will tell you when things are not super simple, count on it. (like the tile I’m doing in my shower right now!! lol)
It’s not hard, but it is hard work, time-consuming, tedious and sometimes frustrating. But it is do-able.
However, I will be MORE than thrilled to be done with it! ;)
If you follow along on Instagram, you may have seen my stories over there on the bathroom progress this past weekend. (shiplap going in, new window and me tiling)
If you don’t follow, be sure to as I share things in my stories as they are happening and they only last 24 hours. It’s more “in the moment” over there.
I think I may start a tab to keep some of the stories for the bathroom over on Instagram though. Keep an eye out for it. (I’ll let you know in my stories if I do)
Okay, back to today’s project… #sidetracked
MATERIALS LIST
- White Paint
- Frog Tape
- Dixie Belle Drop Cloth
- Polyvine Finish
- Chip Brush
- Shelf Liner Contact Paper (this is similar, but I got mine from the Dollar Store)
- Starfish and Sand Dollar
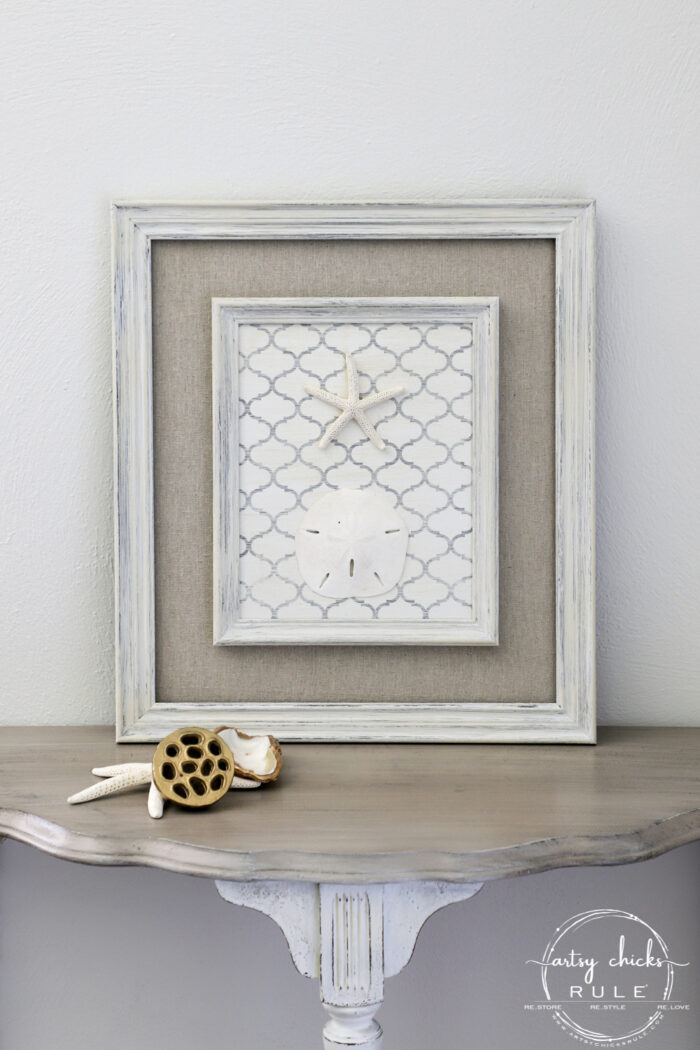
By the way, my pretty new starfish wall decor is sitting atop my coastal table I recently gave a makeover to. See that one, here.
I began by taping it up with my favorite tape. The fabric underneath was perfect for the makeover I was planning so I didn’t have to do a thing with that.
Love that!
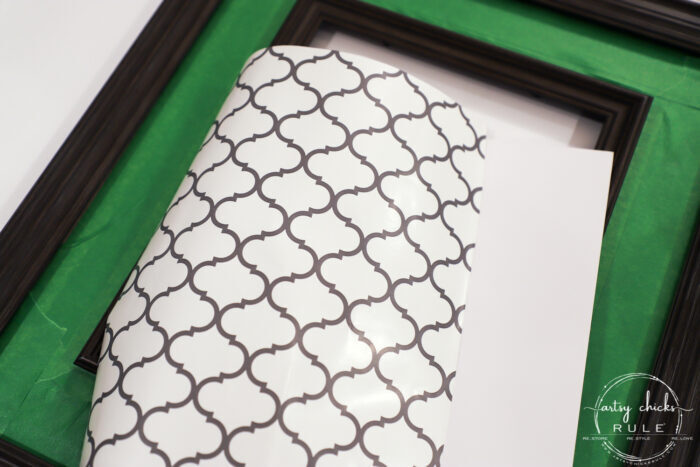
I also decided to use shelf liner paper with a pretty quatrefoil design for the backdrop to the starfish and sand dollar.
I used a piece of firm paper stock to attach the contact paper to.
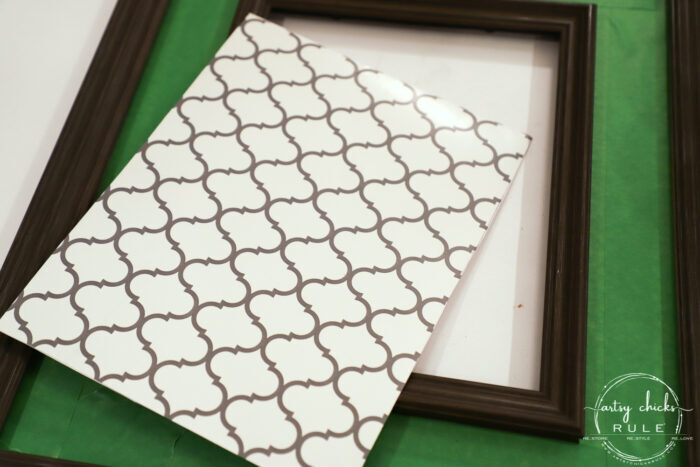
Then I dry brushed the dark frames with white paint using a chip brush.
Don’t know how to dry brush?? I’ve got a post and video sharing how to do it, here.
I also decided to add a bit of dry brush to the shelf liner paper too so I tested out on a scrap piece first to make sure I’d like it.
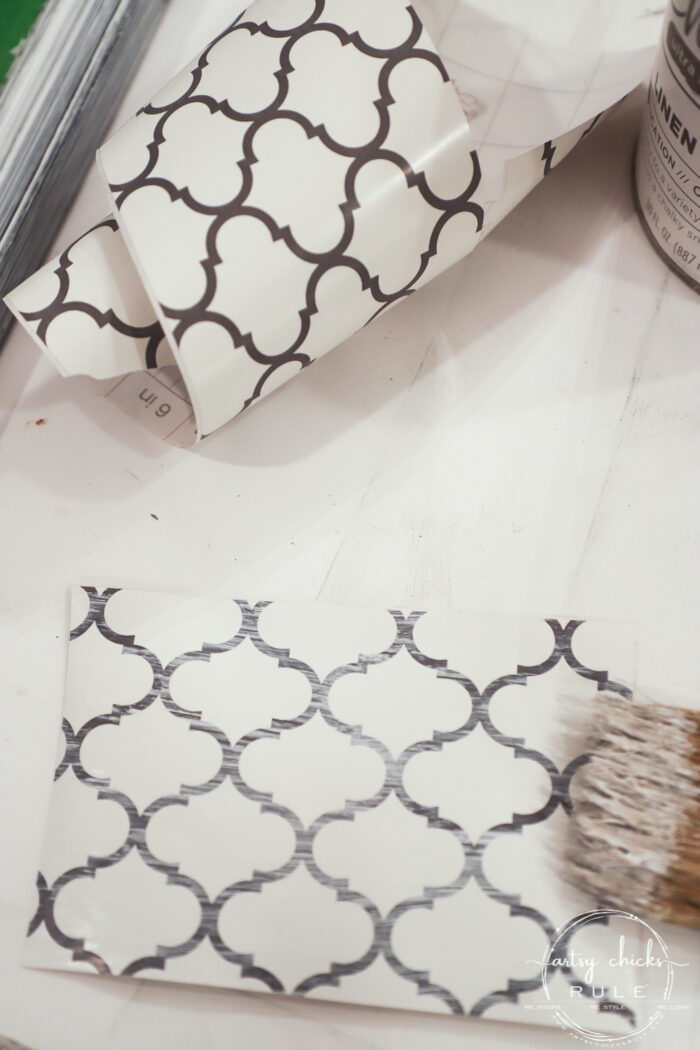
I did.
You can see below how it changed up the look.
Much better.
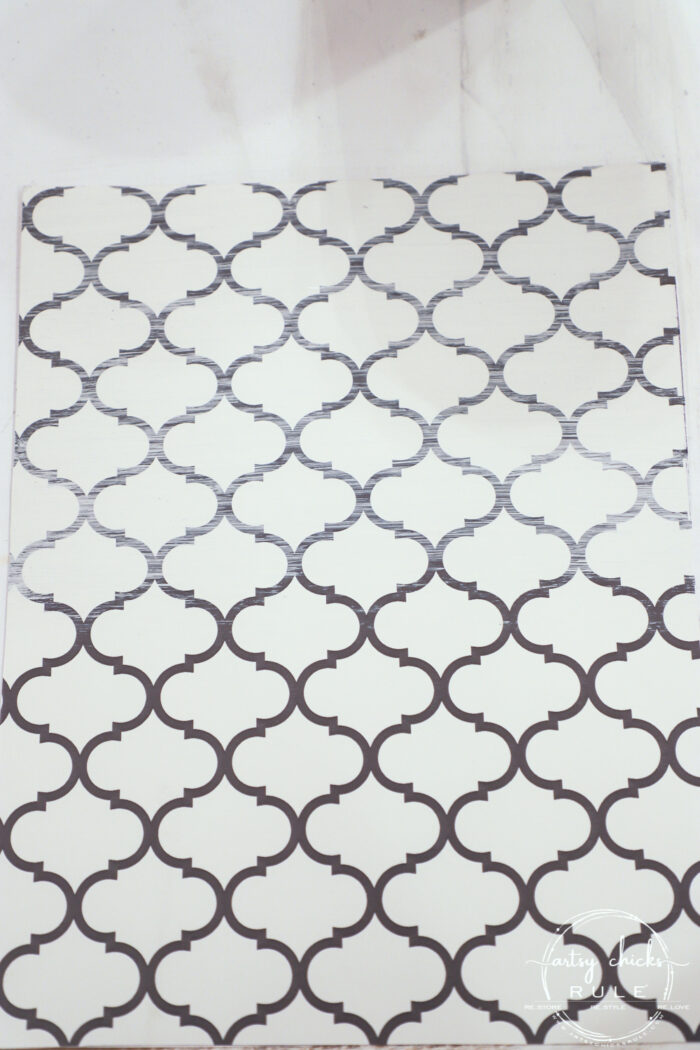
But the bright white was just too white for the starfish and sand dollar.
I didn’t love the look.
So I brought out a little warmer paint color to lightly brush over the white.
You can see the two different colors here…
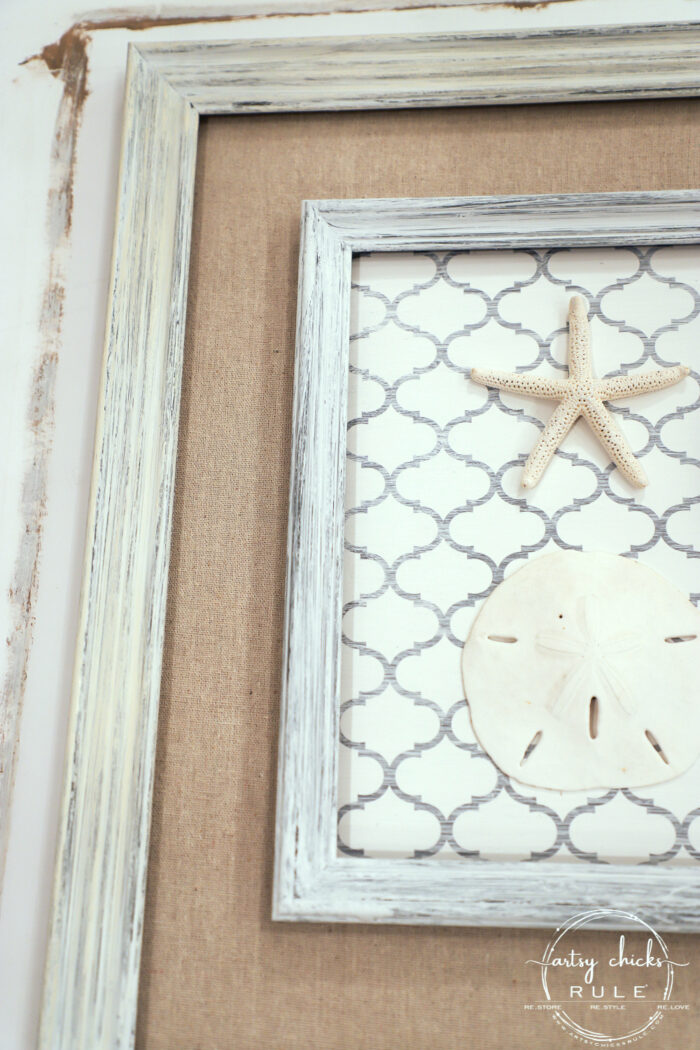
The inside frame is bright white, the outside frame has the warmer color dry brushed over top.
I didn’t cover all of the white, I just wanted to add a little warmth. (I also added some over the white on the contact paper too)
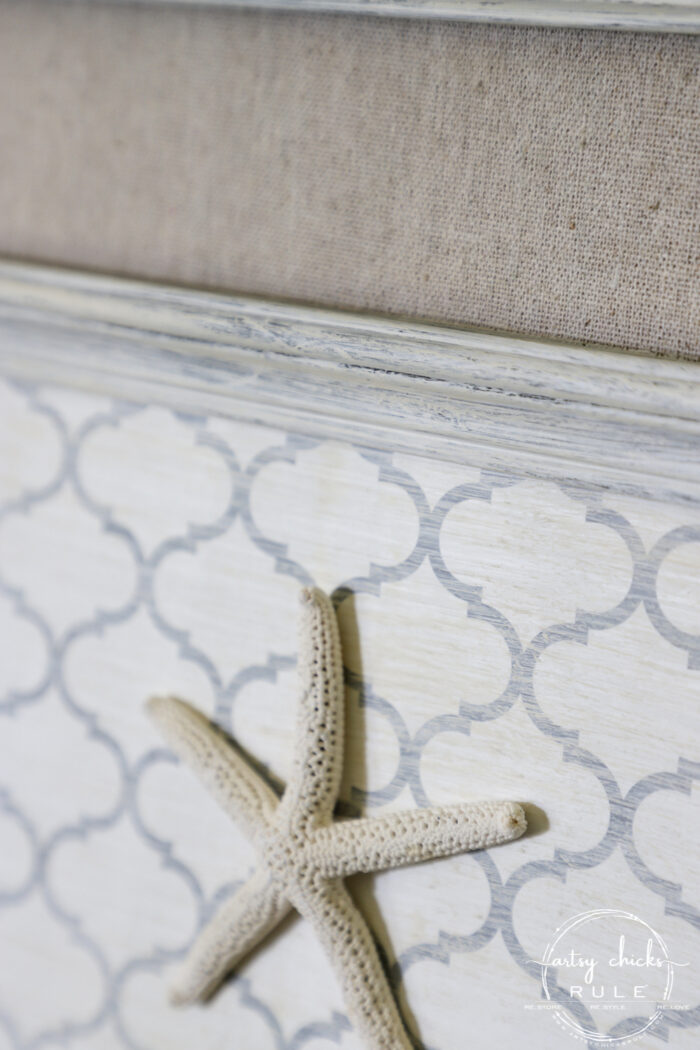
I sealed it all up with a newer sealer to me, Polyvine (in flat finish). I’ve used it a few times on smaller projects but not a large one yet.
I plan to try it on something larger soon.
I sealed the frame and the painted shelf liner paper too.
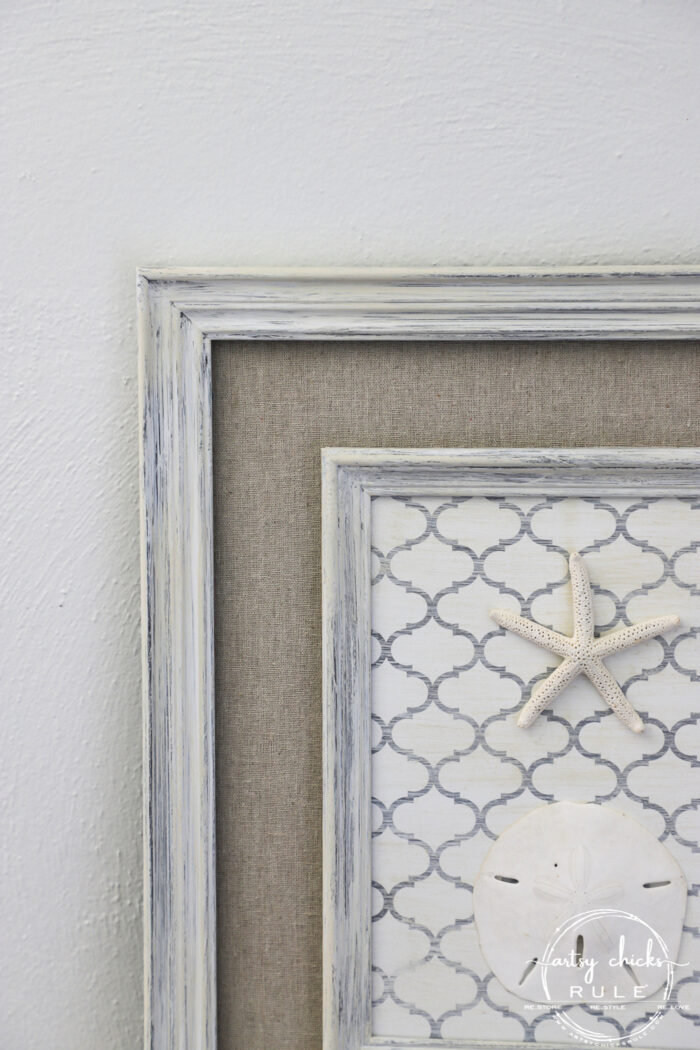
The starfish and sand dollar are glued on with wood glue because I had that on hand.
But if you aren’t into a coastal style or want something different, I thought it might be neat to have big gold (or any color, really) intial.
You could even glue a smaller frame (a different styled decorative one would be fun) inside where the starfish and sand dollar is filled with your favorite photo.
Lots of ideas for this kind of piece.
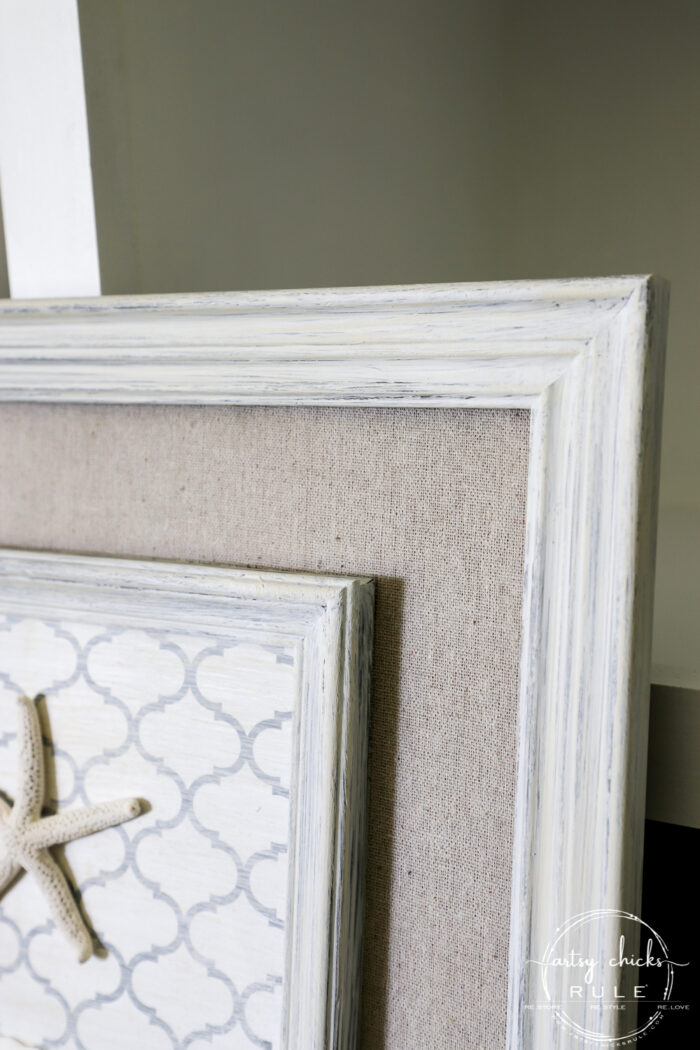
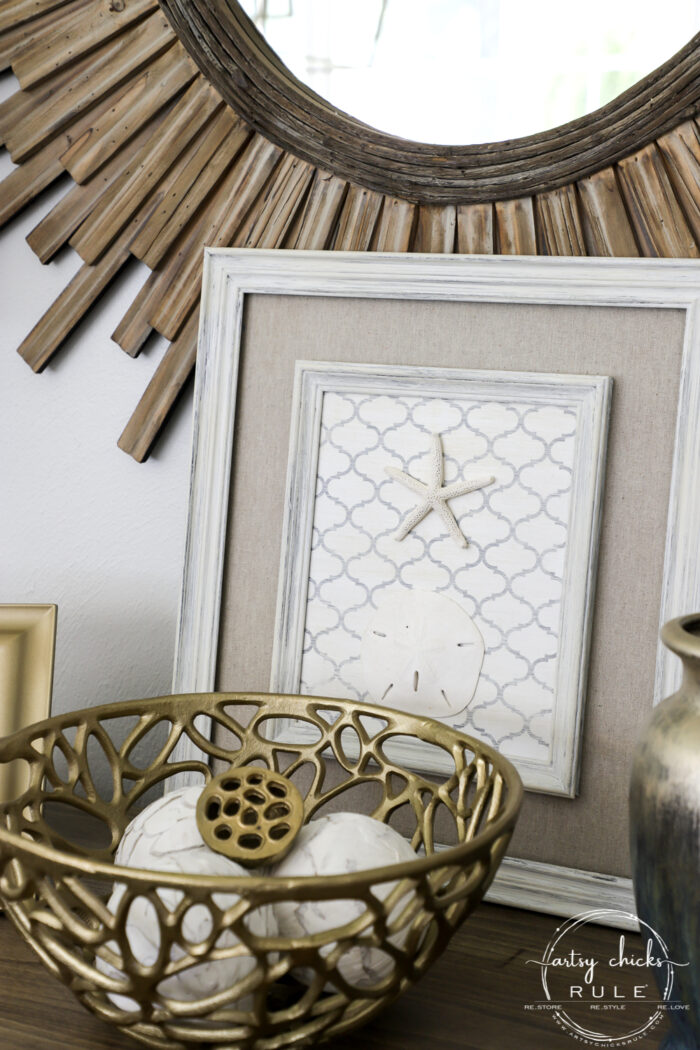
The dark frame was the perfect backdrop for the slightly weathery looking dry brush paint.
The creamier shade of paint gave the white frame a more “aged” appearance which I think goes better with the starfish wall decor and the overall relaxed feel of it.
You can kind of see hints of it on the frame below.
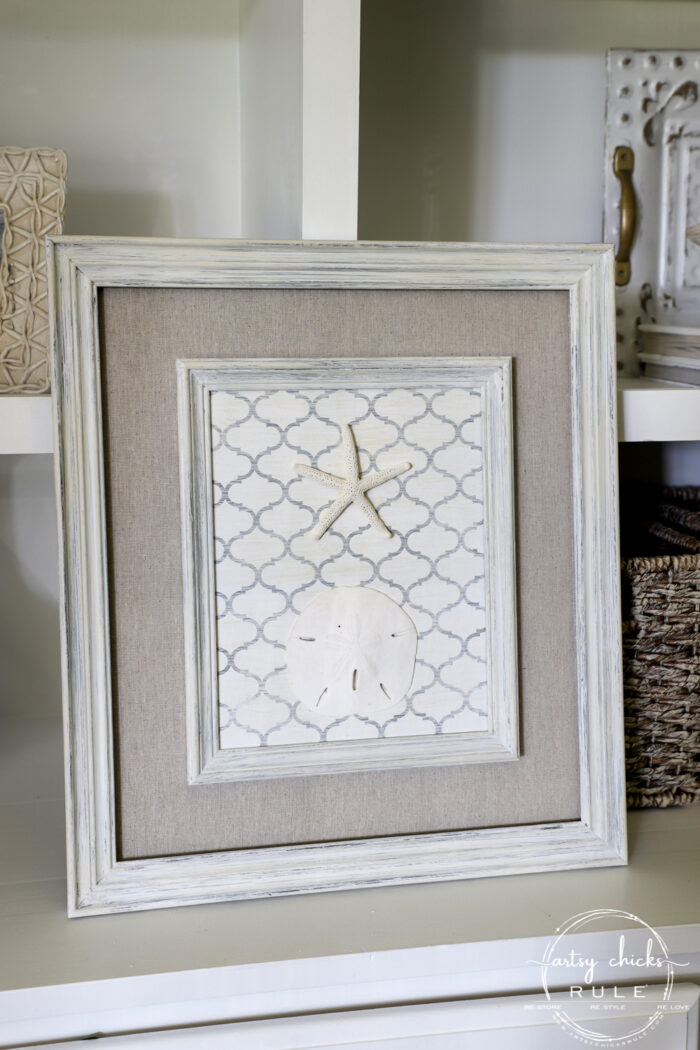
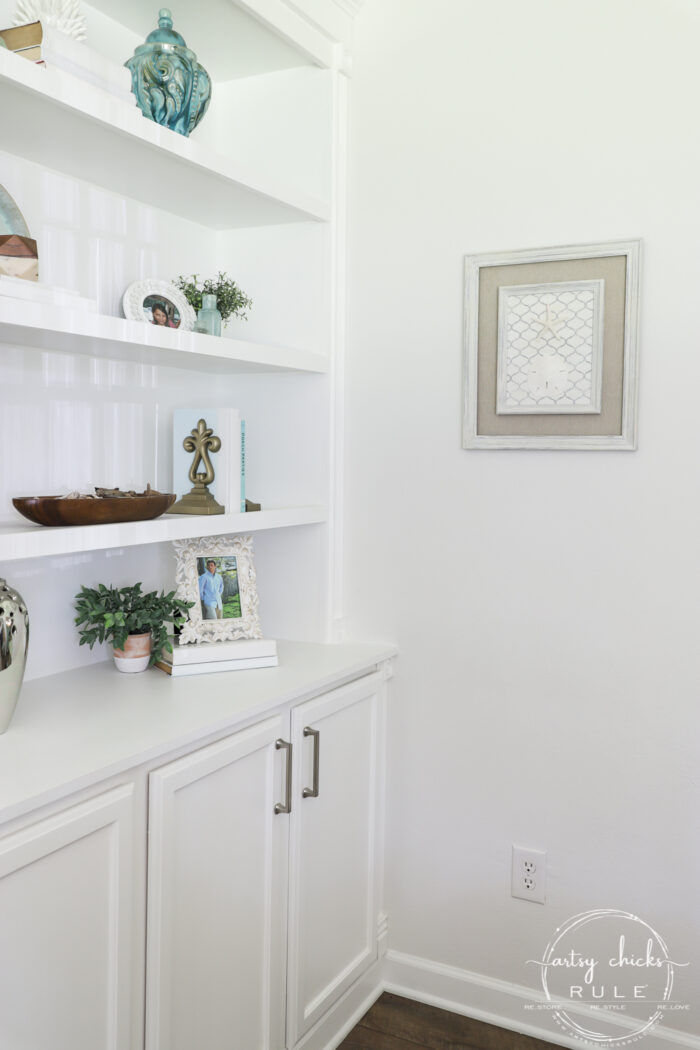
Lots of places it can be used, like on the wall here…
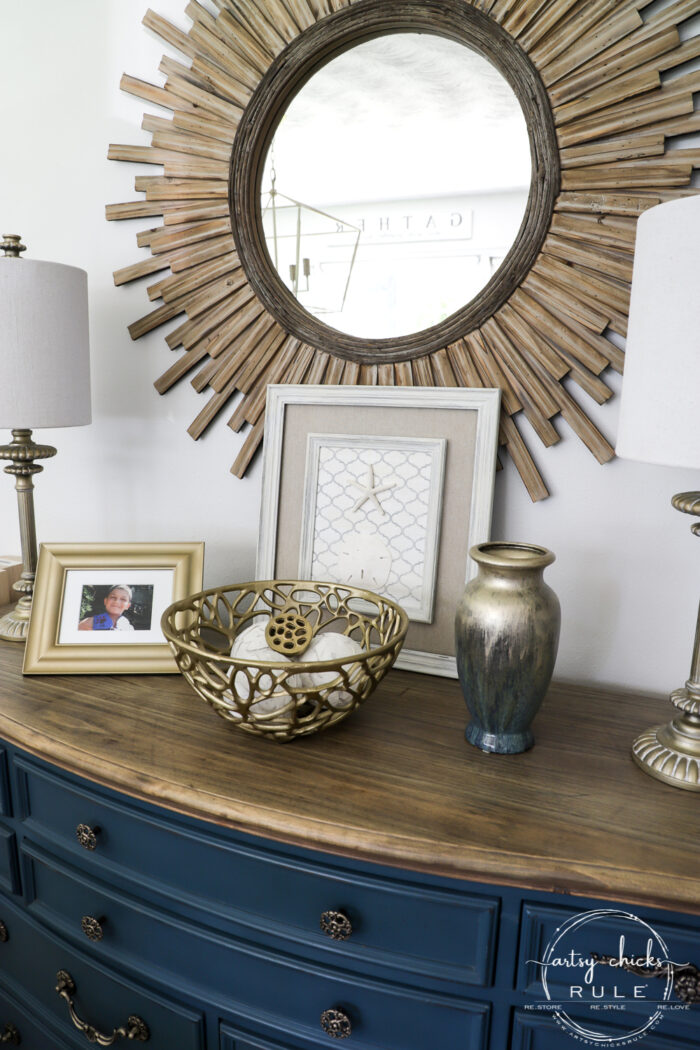
Or over on my pretty blue dresser.
See things you like in my posts??
Check out my “Shop My Home” tab at the top of my blog page. (or click here)
Simple project, right?? Told ya!!
Get busy! Lots of goodies to be found and made over out there. :)
PIN it to save it!!
Here’s what I am sharing next! Be sure to check back to see it!
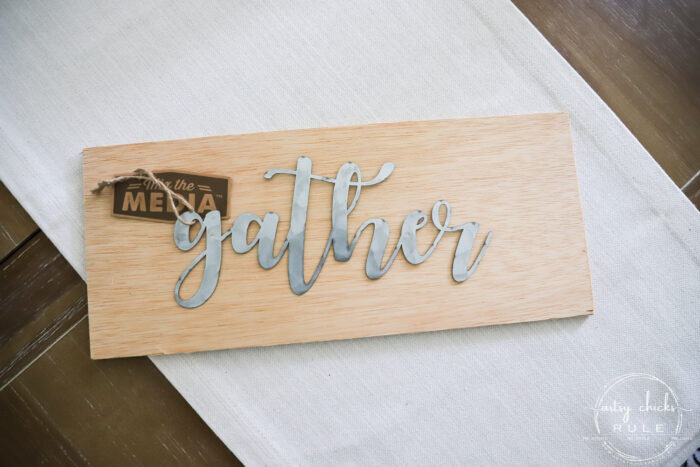
UPDATE!! See it now, here!!
See you back here on Thursday! Have a wonderful week!
xoxo








I need to do something like this as I have several sand dollars!
Yes, you do Rose! :) xo
Love how that turned out! You can find so many pretty and unique frames at thrift stores and garage sales just crying out for an update! I have seen those metal things called wall pockets, wall buckets and even sconces (although I generally think of sconces as being for candles, from my days of selling Home Interiors, which seriously dates me😂). Love your little projects! I have several pieces in my husband’s shop I hope to work on when the weather cools down. Looking forward to seeing your bathroom makeover. Have a great day!
Thanks so much, Vicki! Wall pocket, that’s a great description for it. Same with you, sconces make me think of candles. And oh yes, I remember Home Interiors well! lol Thanks again! xoxo
Hi Nancy, You certainly created a very pretty piece of coastal art! I love it!!
Thank you, Kaycee!! :) xo
Another beauty! You’ve inspired me to run to the thrift store on my day off!
Aw thanks, Carolyn! :) And yay, have fun!! xoxo
Wow! So cute and definitely “simple” enough 🙂 I think you made the right choice in painting that background paper, definitely softens up the look nicely!
Thanks so much, Laura! :) xo
I just brought back a bunch of sand dollars from St. Simons and was wondering why I did that! Now I can start painting the frames I’ve been saving and wait until the sand dollars are ready. Thanks for the idea and inspiration. And your bathroom is looking good, girl!
Oh yes, perfect!!! Thank you, can NOT wait to get it finished! :) xo
Nancy, I love shells and beach-themed art so I really like what you did with that double-framed piece. I was thinking that if I did something similar for my bathroom where I use a shell and ocean theme I would use sand pap as a background instead of the contact paper. What do you think? Wouldn’t that give the piece even more of a “beach-y” look?
I also really love the paint job on the little half-round table you show in the one photo of the double frame re-do. I have a similar one and have been wanting to paint it but haven’t known what look to give it. Was that table a make-over you showed on your blog? Can you tell me where to find it?
Oh, that is such a creative idea, love it Naomi! (glad you found the post you were looking for! :) ) xoxo
Nevermind! I just found the coastal half-moon table make-over! Should have looked before I spoke.