Coastal Style Half Moon Table (faux weathered wood finish)
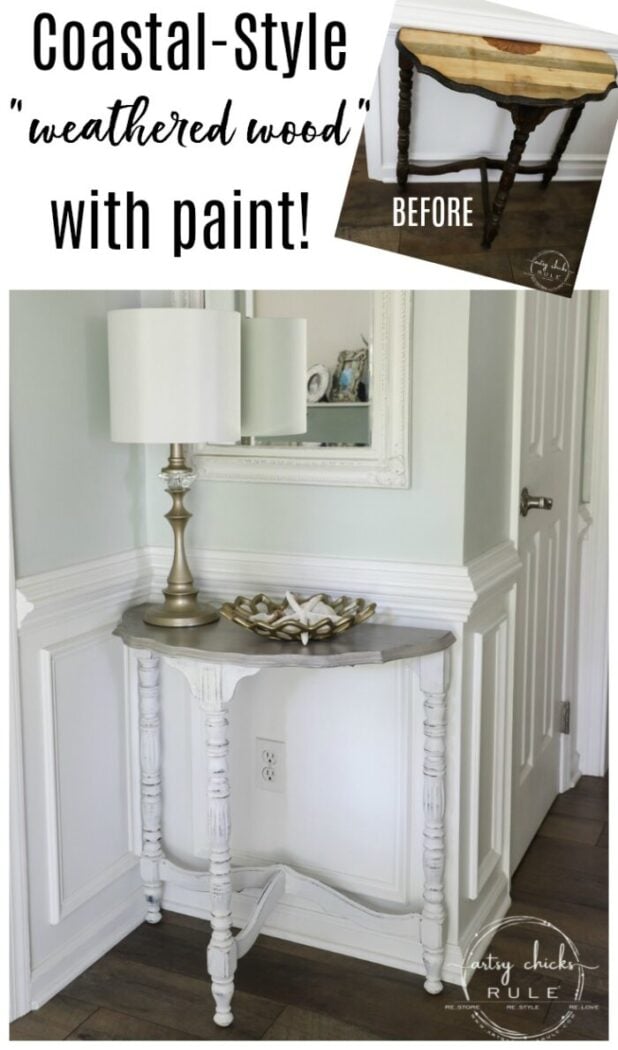
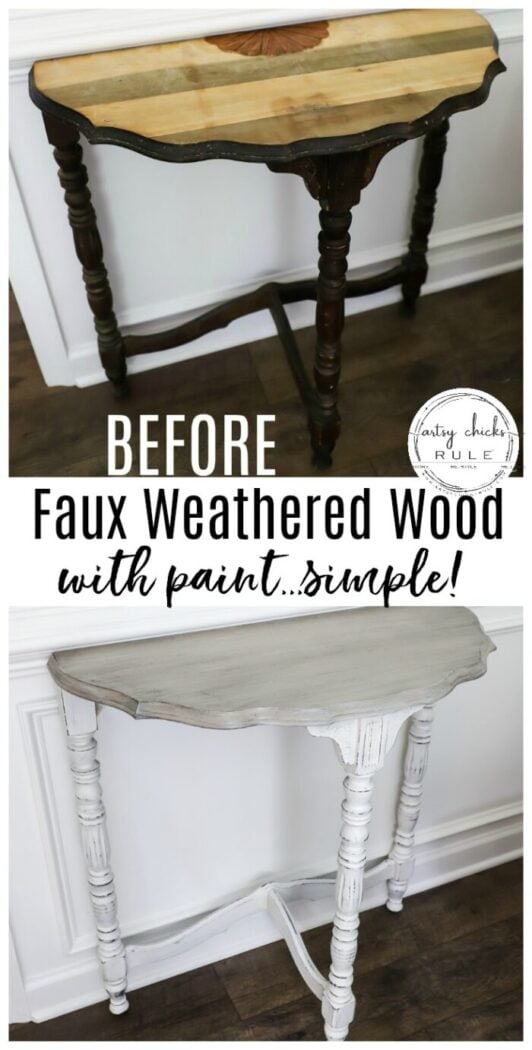
This $15 thrift store find was a true find! A little paint and some love was all this half moon table needed to make it shine again. And the faux weathered finish is the perfect backdrop for my coastal decor style.
Hey friends and happy Trash to Treasure Transformation Tuesday!
If you are new around here, my friends and I share our trash to treasures on the second Tuesday of every month.
So be sure to scroll all the way to the bottom to see what they are sharing this month. So many goodies you don’t want to miss!!
I’m sharing the half moon table you see above.
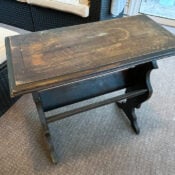
This sad little table was at a local thrift store and I almost didn’t bring it home.
It was quite wonky (wobbly as heck), the finish was badly worn and chipped on the base and someone had chipped all the veneer off the top except for the shell design motif.
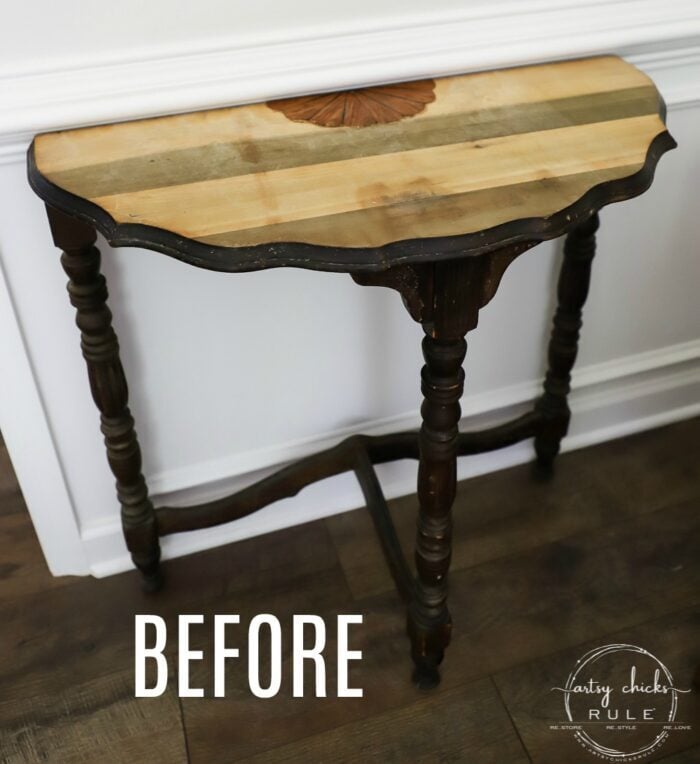
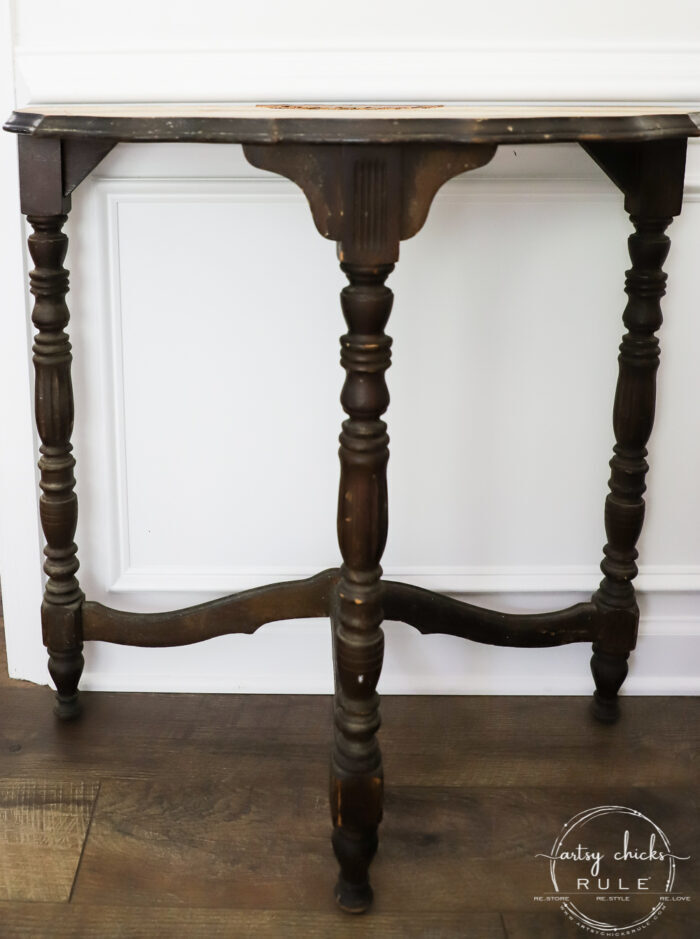
It would need a good bit of work and I’ve got plenty of furniture pieces around here needing work before I can give them makeovers!
But …. I couldn’t resist, so I brought it home anyway. And I’m SO glad I did!
It’s an absolute beauty now and I’m so pleased with it. So much so, that I’ve decided to keep it.
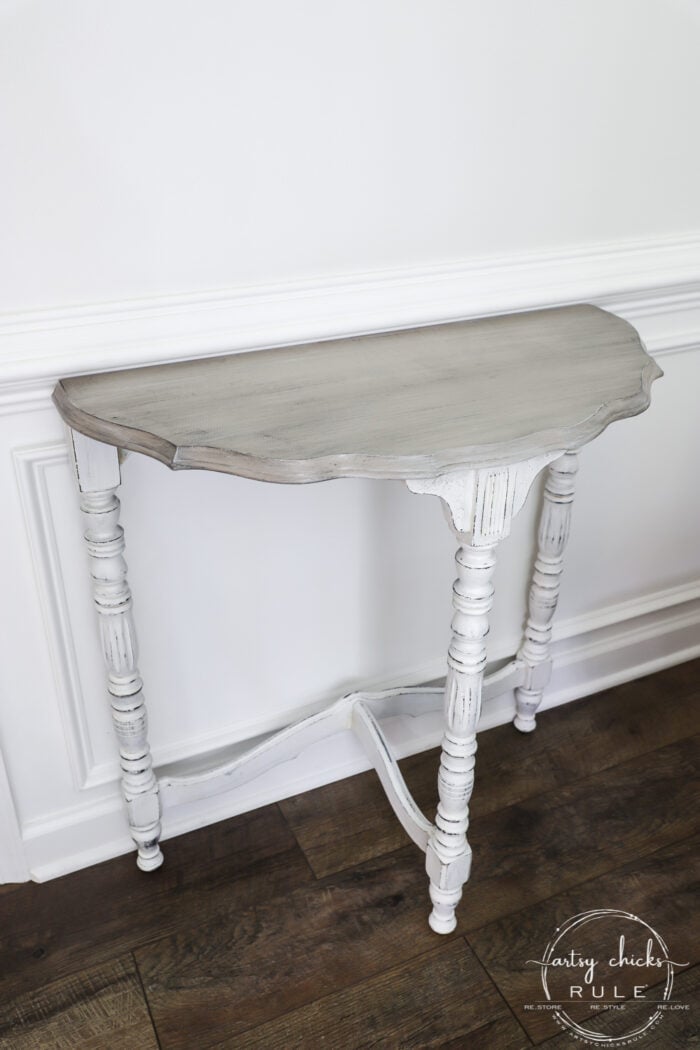
I am saving it for the OBX beach cottage that we will get one of these days. ;)
Along with almost a storage full of other things I’m saving for that purpose.
Coastal Style Half Moon Table
As I mentioned above, this little half moon table was wonky. Really wonky.
No surprise! Look…
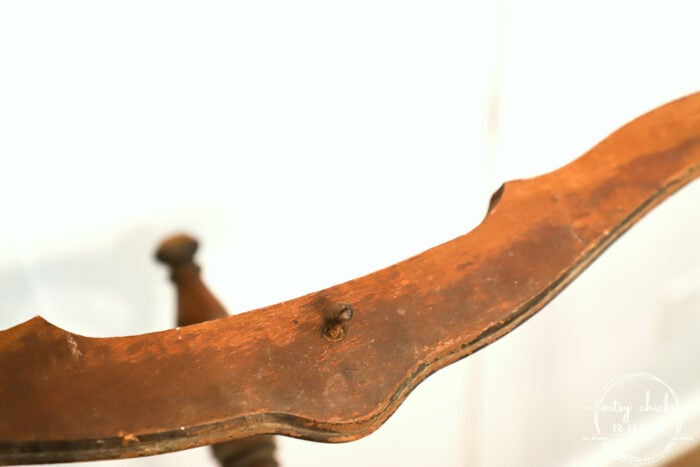
The screw holding the base piece together is almost out.
Not only that…
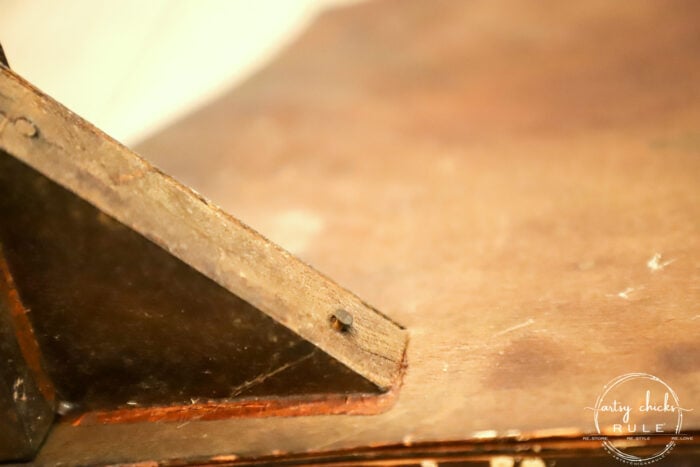
… all the nails were loose.
And you could tell it was glued probably when putting together but the glue had long since broken way.
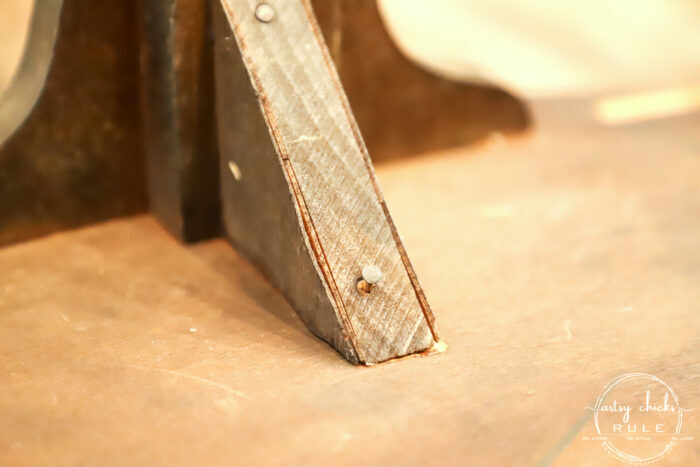
I hammered the nails back in and added a few screws here and there.
Plus, glued all around every single thing underneath, including the bottom that was separating…
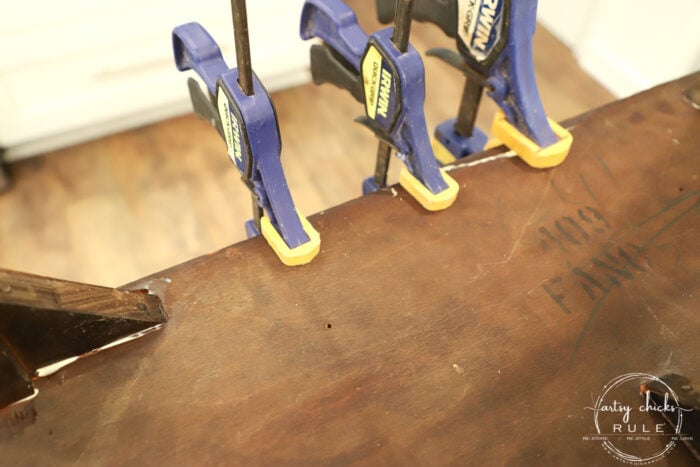
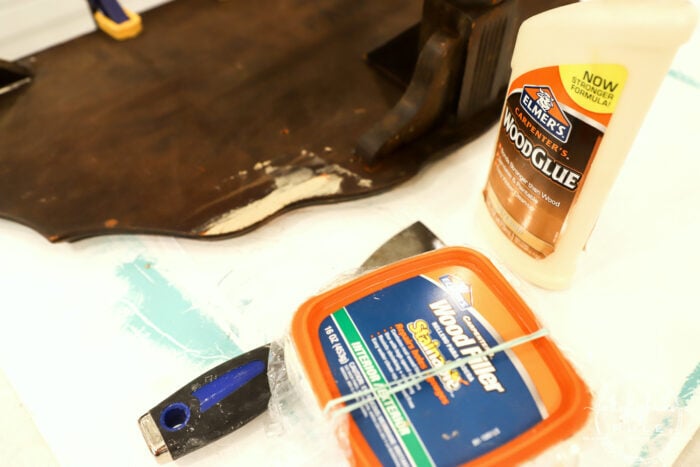
And added some wood filler where it had separated and chipped away on the front side.
I wanted it to look even from the front so filled it in.
If you follow along with me on Instagram, you saw me working on this one over the weekend. (I shared it in my stories over there)
Be sure to follow along as I share the random day to day PLUS projects I’m working on in real-time!
I was sad to see the shell motif go because I really liked it but I didn’t really see a way to make it work…very well, anyway.
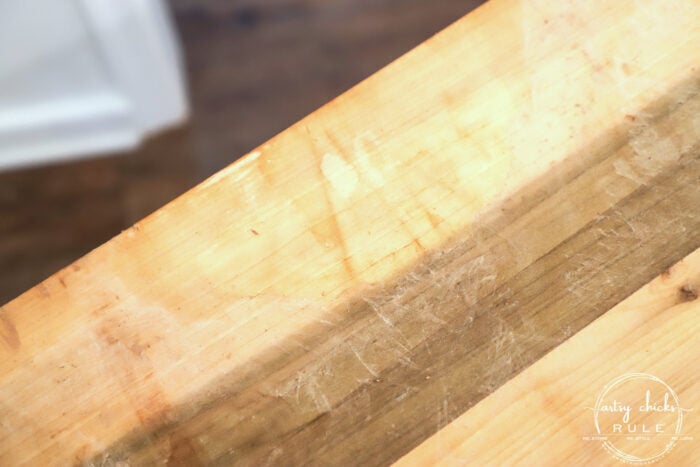
It was bumpy and ragged and wouldn’t blend in nicely. I could tell someone was trying to keep it also the way they chipped around it.
I DID save that piece of veneer though (it lifted right off easily!) so you may see it somewhere on a future project around here.
Never know! lol
Once it was off, I lightly sanded the top to smooth things out.
Then I washed and cleaned the base.
Here are the links to the things I used for this project…
MATERIALS LIST
I knew I wanted to create a coastal feel with this piece and actually thought this rugged base wear and tear would be great for that look.
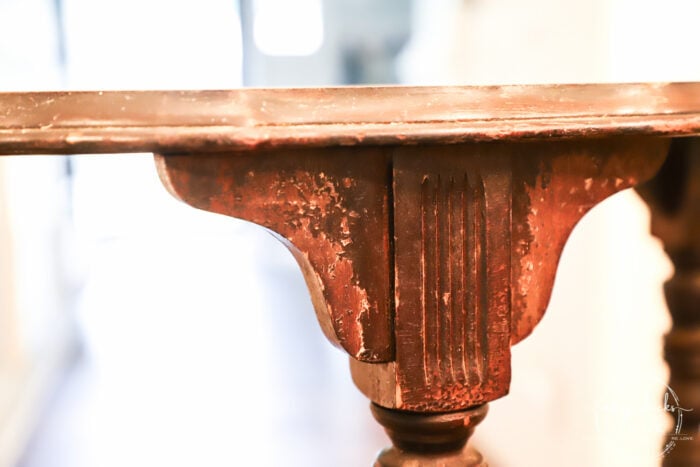
All chippy and worn. Perfect.
The top is going to get a faux weathered finish.
I’ve done similar finishes on many, many projects around here.
Here are a few:
- Coastal Style Chalk Paint End Table Makeover
- Weathered Wood Look Mirrors
- Weathered Whitewash Finish, Old Frames
- Bath Cart Refresh
…and many more than that! Just search “weathered wood or weathered finish” in the search bar.
Are you new to chalk painting?? This post might be helpful to you >>> “How To Chalk Paint Furniture & More (tips & tricks I’ve learned!)“
So next I used spray paint in this color as a base for the top. It’s the perfect color for the weathered finish I wanted to give it.
Sometimes I start with black though. Works well both ways.
I sprayed the leg base with this, one quick coat, to help cover and seal the wood finish that was there. Plus, it really helps to spray paint a lighter color when painting a lighter color onto dark wood, especially spindly legs like these.
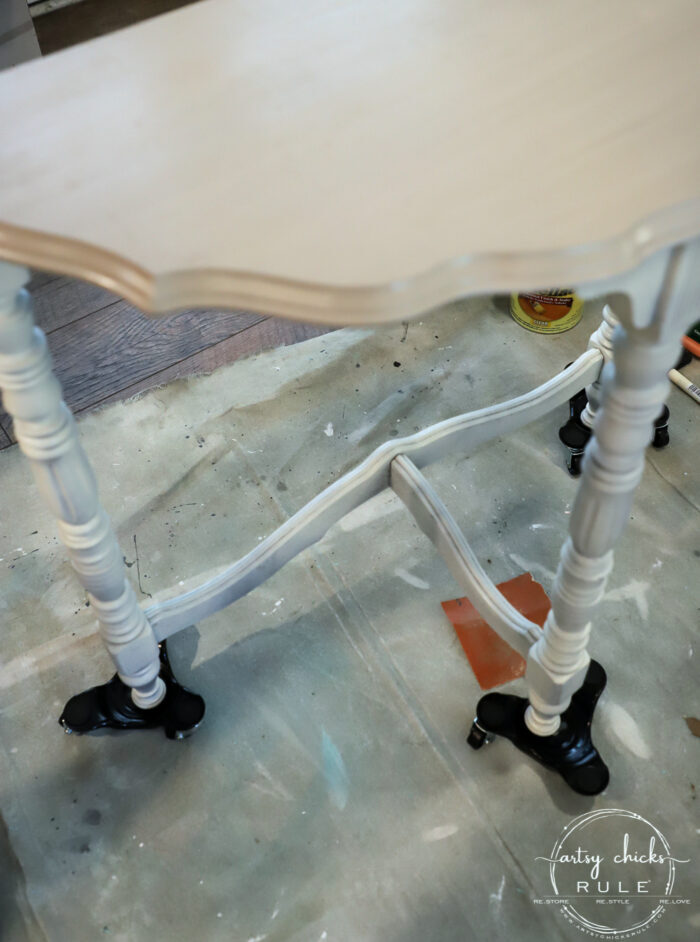
I didn’t want a ton of coverage on the base as I wanted it to look old, weathered, worn with a relaxed feel.
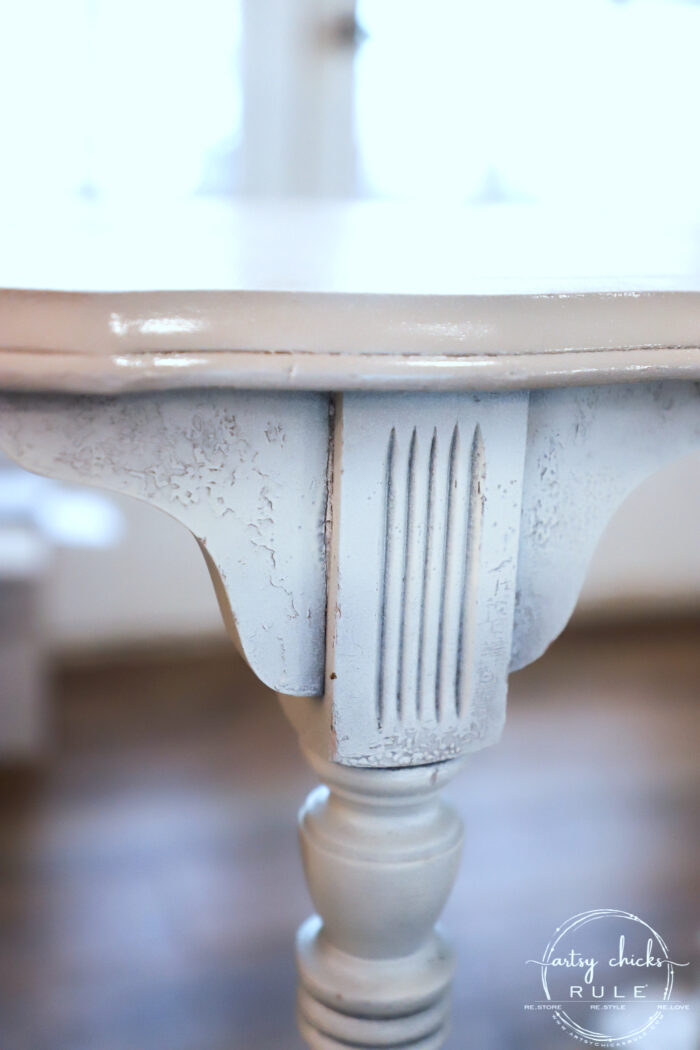
I also didn’t want to get rid of all that chippiness, I wanted to add to it.
I created the “weathered wood” top finish first using these two paints. Dixie Belle “Drop Cloth” and Rustoleum “Charcoal”. My blogging bestie Christy now sells Dixie Belle and you can find it >>> here. I really like their products and use a bunch of them too.
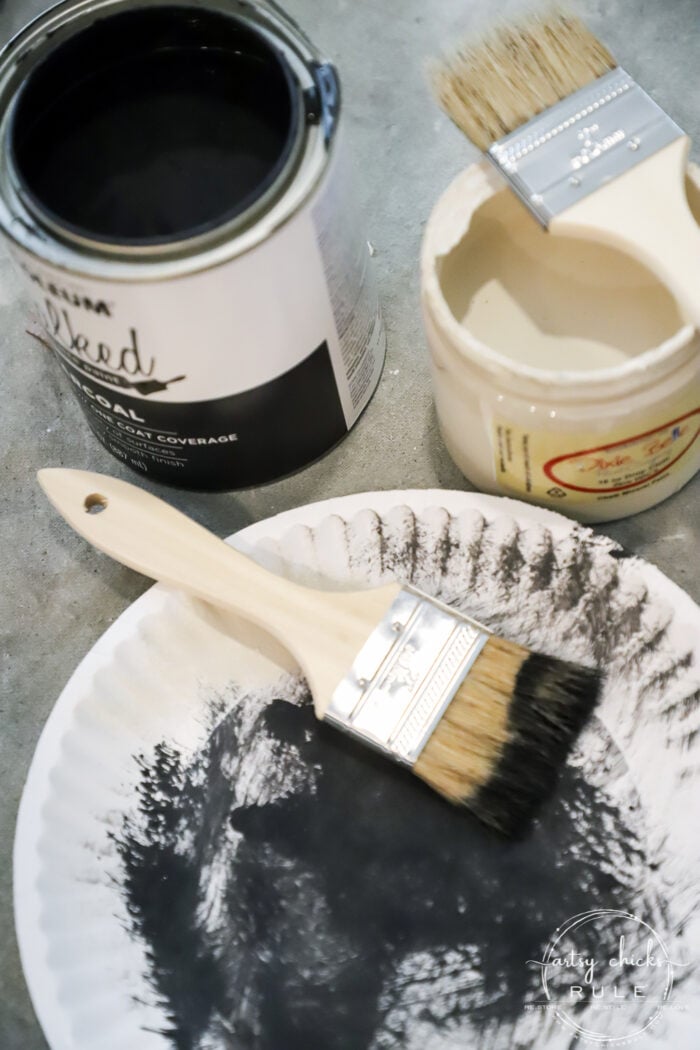
I applied the paint over the previously spray painted top using 2 chip brushes, one for each color in a “dry brush” technique.
You can see the video I made on how to do it, here >>> How To Dry Brush
I started with the Charcoal…
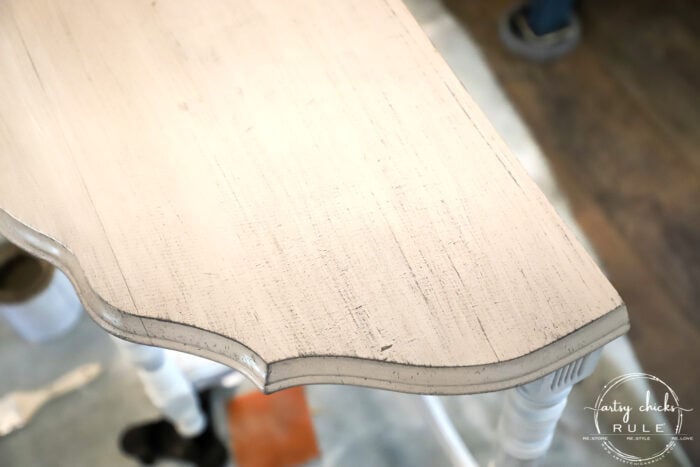
And then added the Drop Cloth.
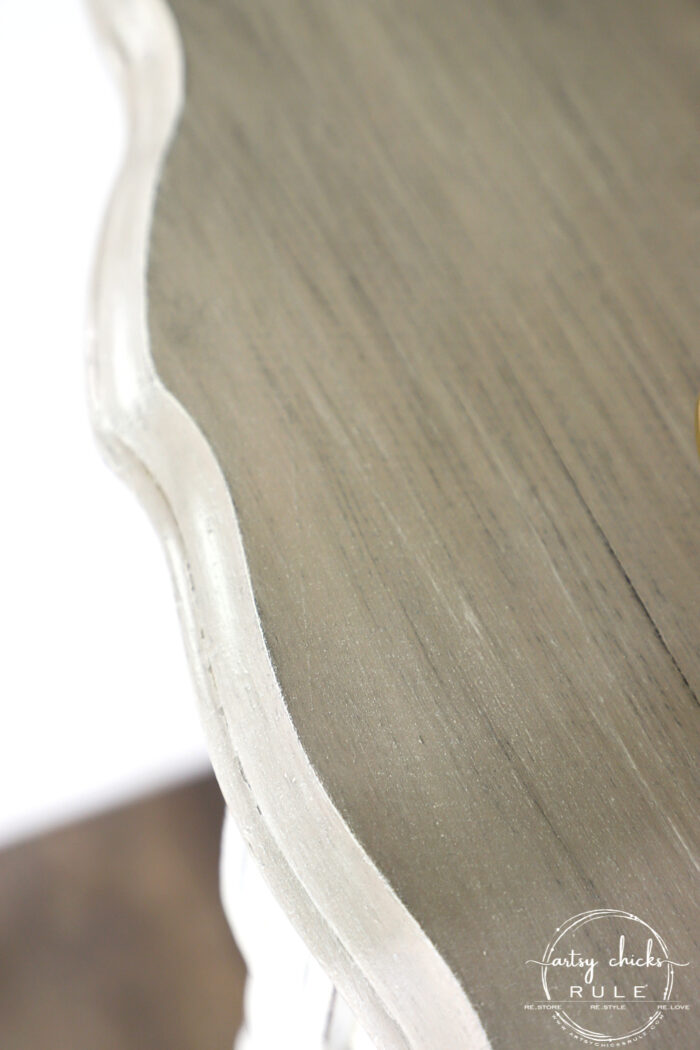
You can see how they subtly mix together above giving it a similar look to old, painted weathered wood.
For the leg base, I used Snow White General Finishes paint (a little watered down), in one light coat.
Like I mentioned above, I wanted that old worn look so I didn’t want to cover up too much. (and why I watered it down somewhat)
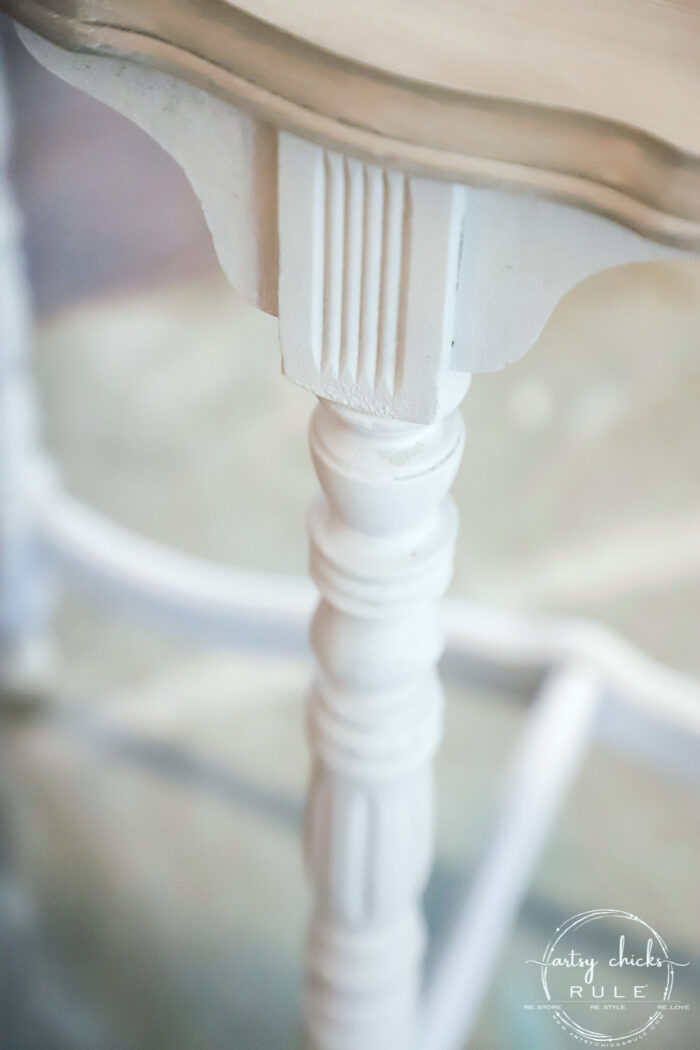
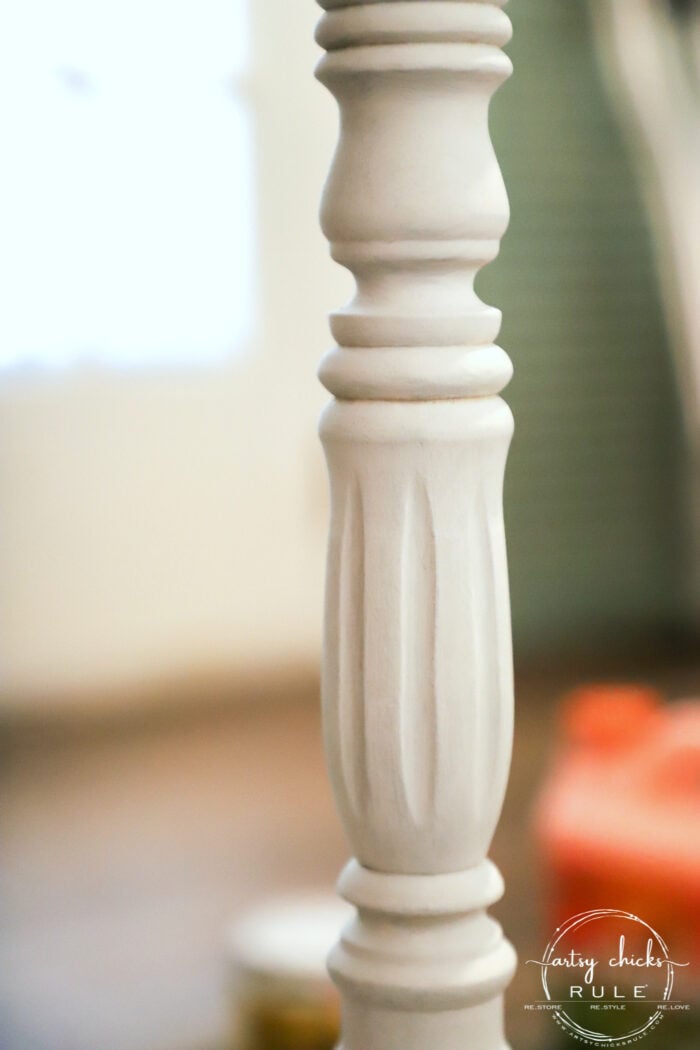
Looks like pretty good coverage in the photos but in real life you could see some of the brown in areas through the paint.
Once it was dry, I lightly sanded the leg base area only to bring all the brown back through.
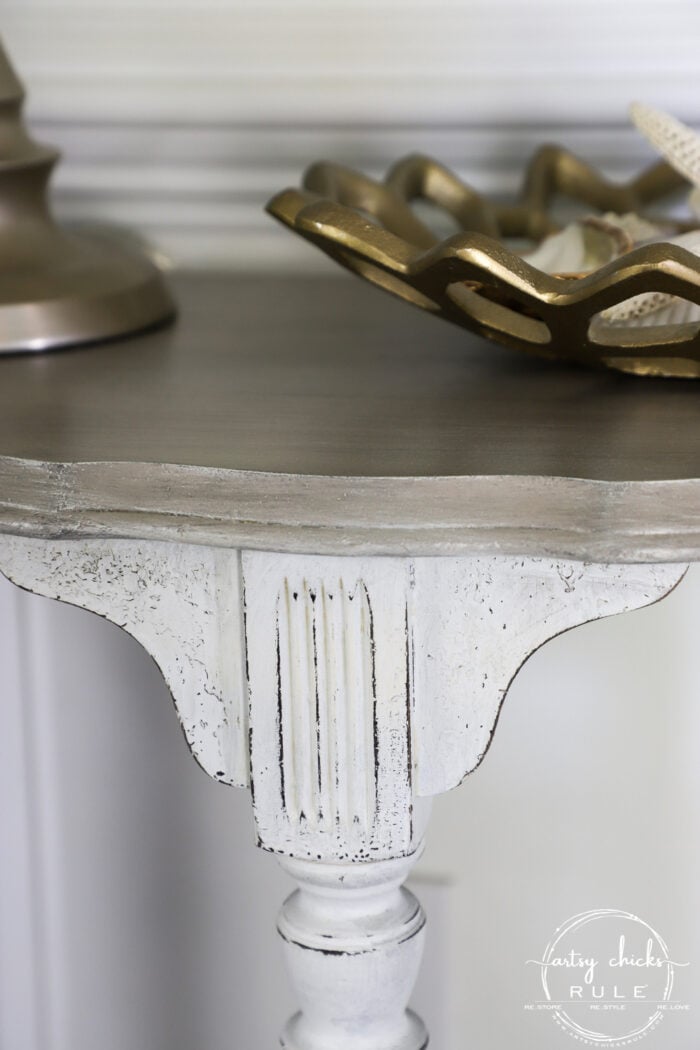
Then I used this sponge to apply my fave sealer (top and bottom). (you can find everything I used is linked in the “Materials List” box above)
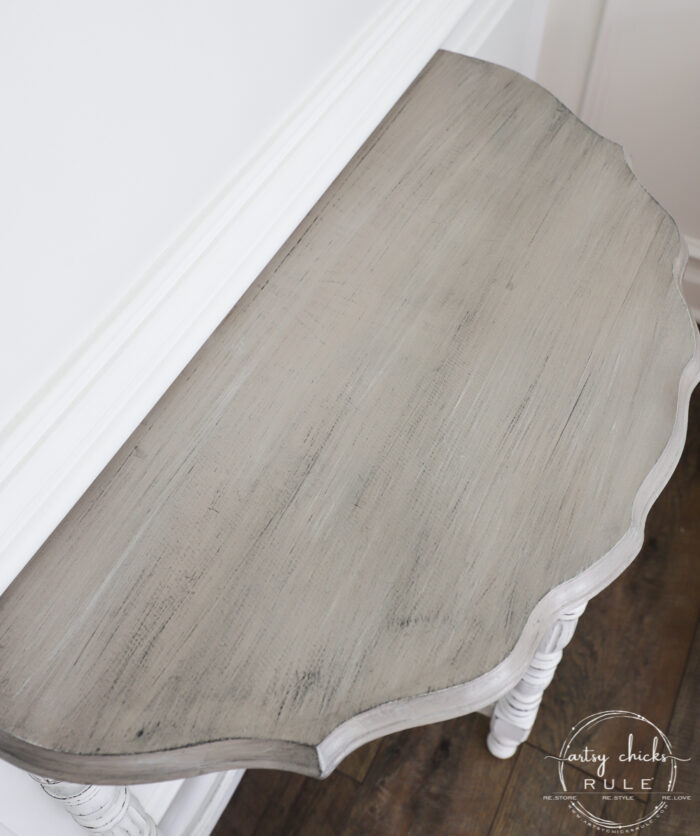
I’m really happy with it!
AND…I’m loving it right here.
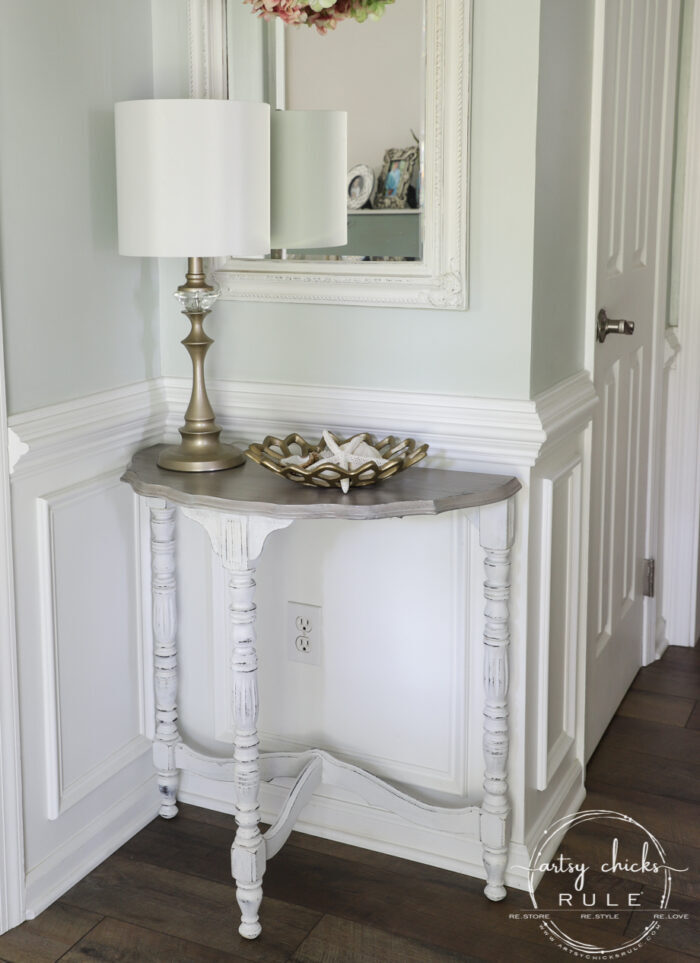
This sweet little half moon table fits perfectly.
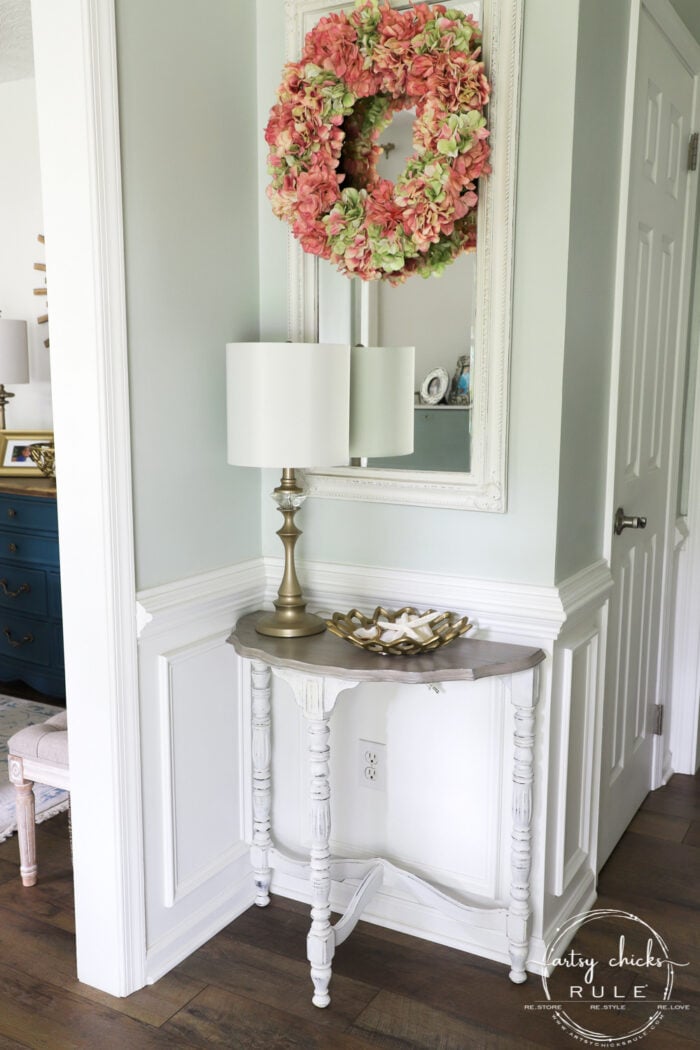
Do y’all remember how long I looked for something that would fit in this space??
A long time! Everything was either way smaller or just a tad too large. (I needed something 28 inches, most everything I found was 30 or above)
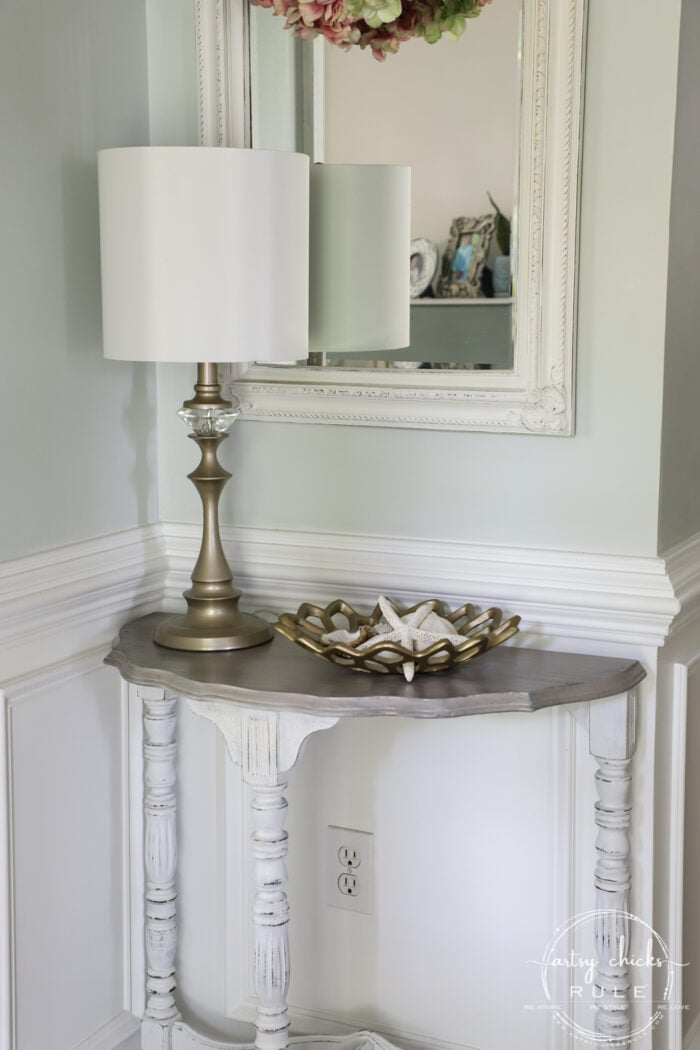
Oh well, I do love the little drawered table I ended up putting here though.
So that one is going to stay put.
Look at that chippy goodness…
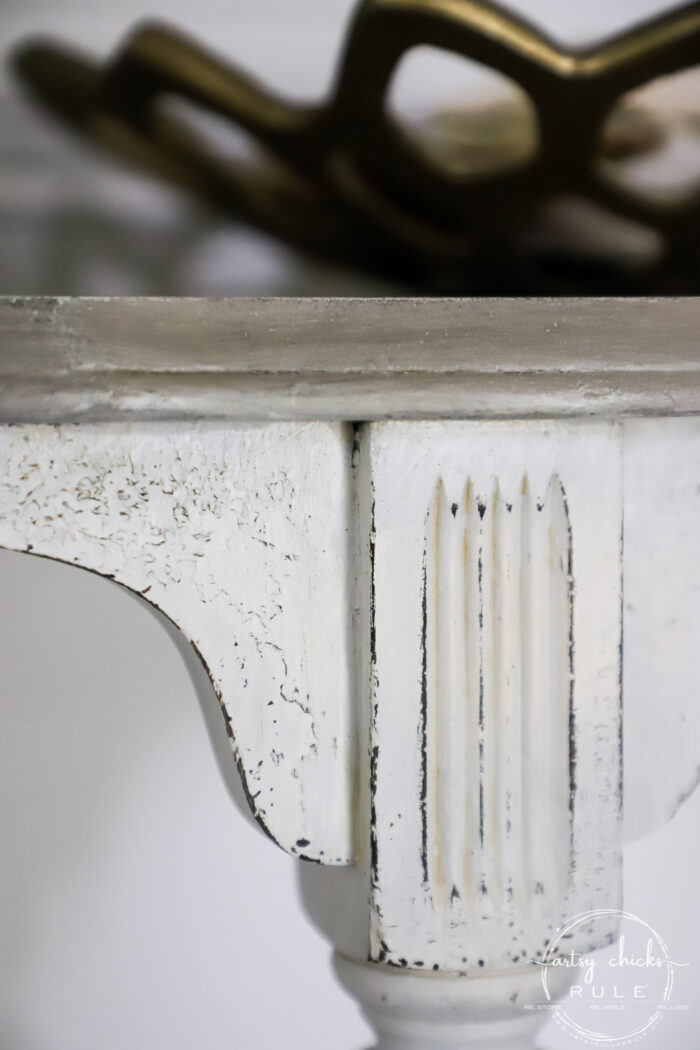
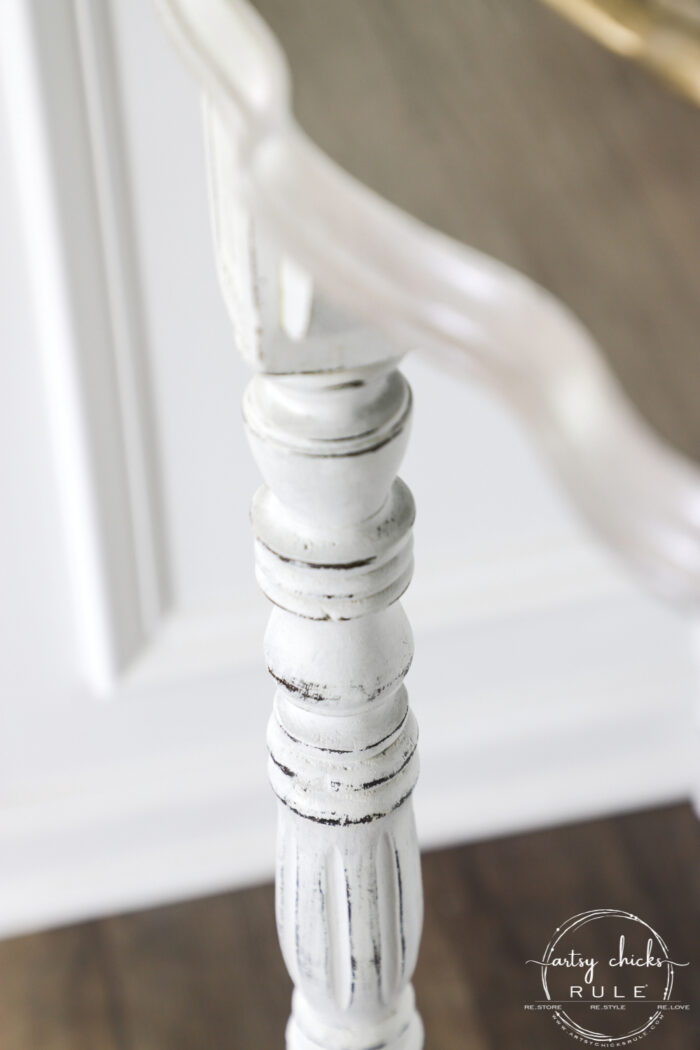
So good.
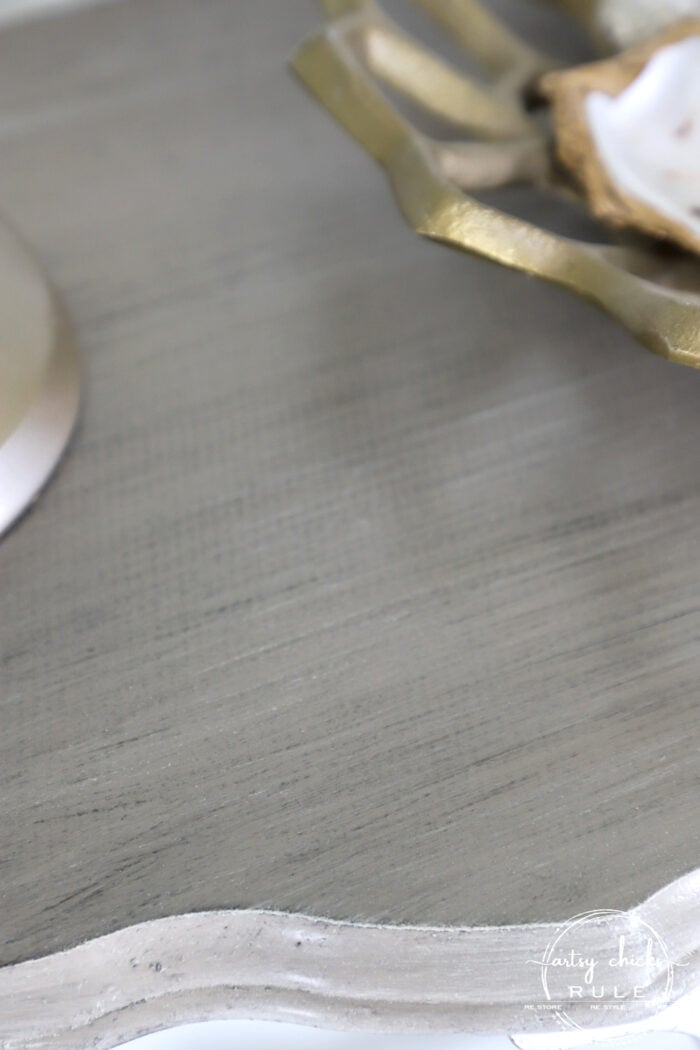
And the finish on top goes perfectly with the relaxed feel of the legs.
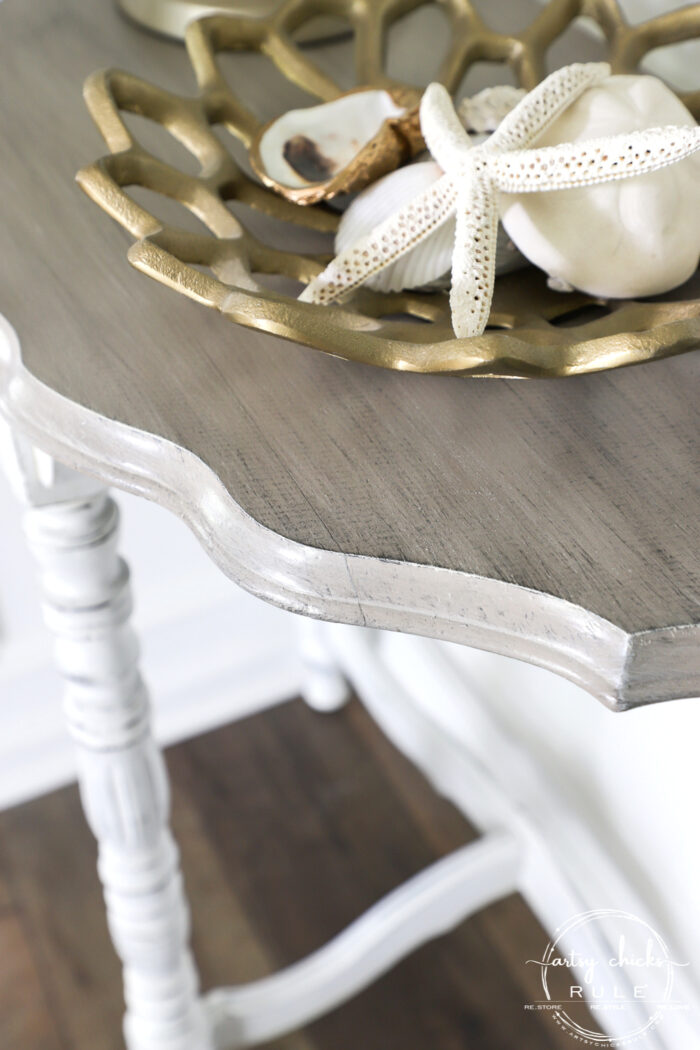

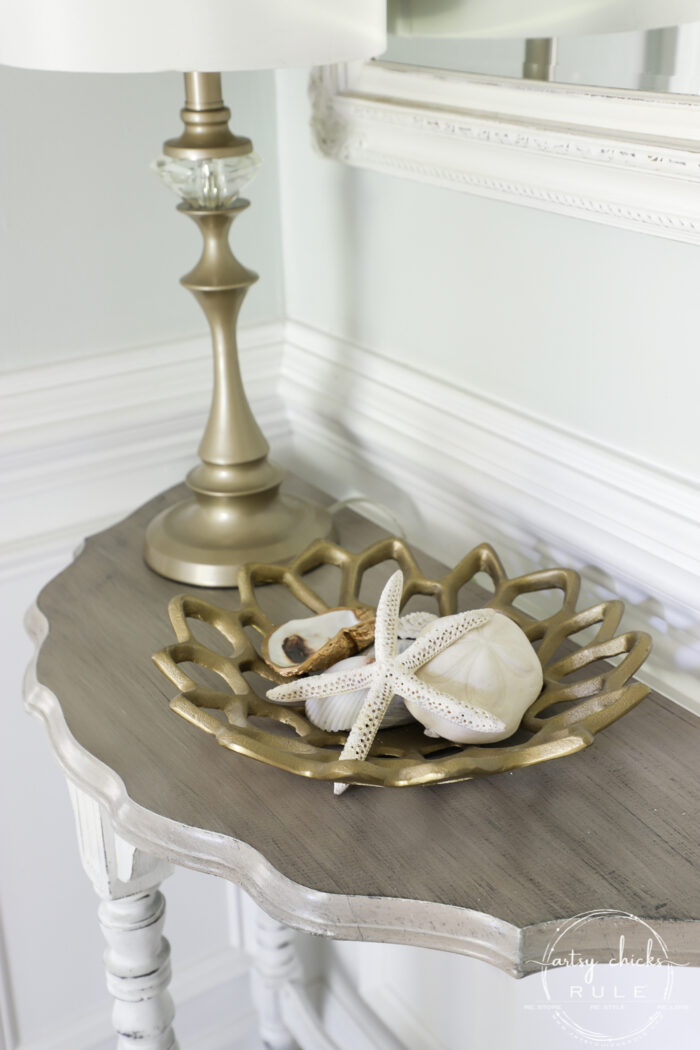
This “brand new” coastal style half moon table is definitely a keeper! :)
PIN it to save it!
BUT don’t go yet! There’s more!
Check out these brand new “trash to treasure” beauties. Click the links below to see them now.
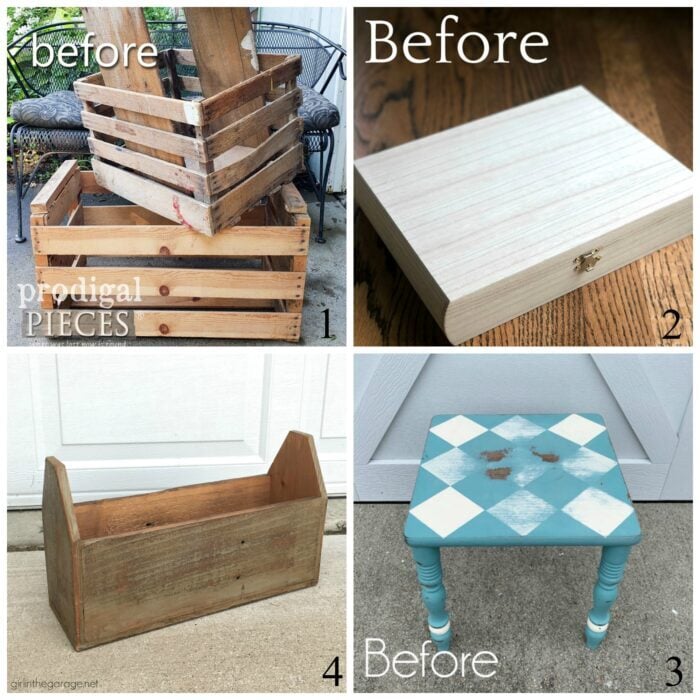
I hope you find some inspiration in these makeovers. So many ideas and so many things you can do with old finds like these.
Create new decor, storage in your home, furniture and more. :)
Want to see more of our past Trash to Treasures?? Click here >>> Trash To Treasure Archive
I’ll see you back here on Thursday with another brand new TILED makeover! Can’t wait to share it (I’ve also been sharing this one on Instagram too)!
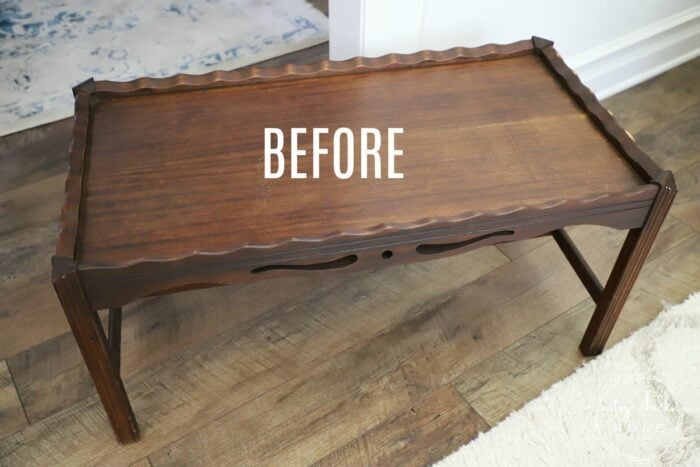
UPDATE!! See it now, here!
xoxo








What a find! Those tables are one of my favorites to redo. You did a fantastic job on this one, Nancy! 😍
Thanks, Larissa! I do love these little half moon tables! xo
Hi Nancy! I have copied how you paint the weathered wood look on other pieces and it’s fun to see how each piece turns out a little differently. I can’t tell in the photos if the top has a sheen or is flat. I think of weathered wood as dry and flat without a shine but not sure how to seal a piece and get that effect. Love the chippy and how this little rescue turned into a winner.
Oh, that is so awesome, Cecilia! I love that. And yes, you are right, they do each come out a little differently. This little table has a slight sheen since I used Satin finish BUT I have also used a flat finish on my “weathered wood” pieces. My favorite flat finish (and it is a TRUE flat finish) is Flat Out Flat by General Finishes. Give that one a go! I think it is the exact finish you are after. :)
Nancy, you saved it! You made this table shine again! Oh my, you did create a wonderful piece. Love the driftwood colored top. Beautiful job!
Thanks, Christina!! It definitely was in sad shape, that’s for sure! I had no idea I was going to love it as much as I did once finished. I fully planned to sell this one…not now! :) xoxo
Nice save, Nancy! I love that weathered look on top with the chippy base. It really does look perfect in that space, too.
Thank you, Marcie! It does!! I have gone back on forth on whether to leave it there…if only for a while. :) xoxo
OMG! I have this exact table!! Love what you did with it!
Oh, how fun, Carolyn!! Thanks so much!! :) xo
Good Morning, Nancy!
I love the look that you achieved on the top of this table. The clean but casual style is what I love about your painted pieces! Thanks for the inspiration, I’m on a painting mission of my own today😊
Mary
Hi Mary!! :) Aw, thank you so very much!! And that’s what I love to hear! Yay, I hope you had some fun painting too!! :) xoxo
You were right, lot of work but it sure looks good now!
Thank you, Mary!! It was a fun one to do! xo
Couldn’t be more perfect for that hallway nook! Love it Nancy! :)
Thank you, Denise! I am loving it in that spot! xo
Adorable Demilune! I couldn`t have resisted buying it, myself! I love your paint color choices, and the results of your work are beautiful!
Thank you so much, Gracie! And yes, it’s hard to pass by these awesome finds. Especially when they are the smaller pieces and easier to handle. No way! :) xo
This looks so good!! I know it’s not staying, but it looks perfect in your entry!! Glad it’s a keeper! XOXO
Thanks, Christy! I might use it there for a bit… just for a change! ;) xoxo
I just love hal_-moon tables! I used to have two but now I just have the one that was my grandparents and I’ve been planning on re-doing it. Now I know what to do with it. I love the way yours turned out. The colors are per_ect and the chippiness, too. The only thing I don’t quite get is why you removed the seashell. I tho’t that was one o_ the unique and cool parts to the table. And it went so well with the coastal look. I guess I didn’t quite understand what you said about wanting to remove it.
In case you’re wondering about all the “gaps” in my words, my keyboard has quit printing the sixth letter in the alphabet! Thus, the dashes. Must replace keyboard ASAP! Thanks _or bearing with.)
Also, thanks _or this tutorial. I am surely going to re_er to it when I start my hal_moon table project.
Oh my!! I did figure out what you were saying and that you most likely had a keyboard issue!! So fun!! ;)
Okay, so the seashell piece of veneer was not the same height as the rest of the wood on the table and it had rough and uneven edges where the rest of the veneer had been chipped away. (there was one solid piece of veneer connected to it to begin with)
I didn’t really see a way that would have really looked nice to keep it. I could have tried to somehow sand around carefully to even out those edges where it met the rest of the table top but that would’ve been a bear. I could’ve even removed it, sanded the edges and reglued it back. But then it still wouldn’t have been the same height as the rest of the top and somewhat odd looking for the finishing of it. You are right though, that part was perfectly coastal! But I did save it. You never know where it might turn up next!! ;) xo
Nancy, you definitely saved this little table and made it fabulous! I love the new finish!
Thanks, Jen! :)
Oh Nancy, you did a fabulous job. That little table is perfect in every way. It will be so happy in its new life.
Thank you, Marian! We decided to take it to the beach and use it there. Goes perfectly! :) xo
Beautiful job with this little table! You saved it from the landfill no doubt!! So glad you kept it!!
Have a great rest of your week !!!
Thank you, Christina! Me too…it welcomes as we enter the condo. The perfect place for it. :) xoxo
So much better, Nancy! No doubt the previous owner was trying to do something with it, but got discouraged by all the work. So glad you kept the little piece of veneer, I know you’ll find a use for it somewhere. In the meantime, this lovely little table is heaving a sigh of relief that it was finally saved from its sad state 😁
Some day!! I hope to use it on something. I haven’t come across a use for it yet though. Yes!! I love this little table…and it greets us at the front door of our condo…perfect! :) xo
It looks great. I love all the little details on the piece.
Thank you, Rose! It was definitely a keeper! xo
Love the finish. Your hard work really paid off! It is lovely and I am sure you will enjoy this little jewel in your beach house. Thanks for sharing again and including all the details and materials! Have a great week.
Thank you, Sue! I just love it at our beach house! It is right at the front door which is the perfect spot for it. :) xoxo
Nancy, please tell me what the little table leg pads with wheels are called? I haven’t seen them and I know this would make painting and detailing 100% easier!!
Thanks and I adore the work you do!
Hi Allie! Oh yes, they are great! I forget I have them sometimes, lol, but they help a bunch. Here’s a link to some. :)