No Sew DIY Christmas Tree Tapestry
Today I’m sharing a “No Sew DIY Christmas Tree Tapestry” that was inspired by Anthropologie.
This post was updated Dec/2020
I can’t believe it’s almost Christmas! Wow, how does the time go so fast these days?
Or is it just me?
I’d bet not. You think so too, don’t you?
This project I’m sharing today is the first of several DIY Christmas decor ideas I’ll be sharing with you this month.
A few of my friends are sharing their “inspired” pieces too in the “Rock Your Knock Off Tour – Holiday Edition”.
Fun, fun, fun!!!
Here are a couple of other “inspired by” projects I’ve done… Pottery Barn’s “DIY “It’s a Wonderful Life” Sign” and my most recent Ballard Design’s “DIY Carved Wood Medallions”.
I just LOVE these kinds of tours….tons of pretty, tons of inspiration, and lots of saved money.
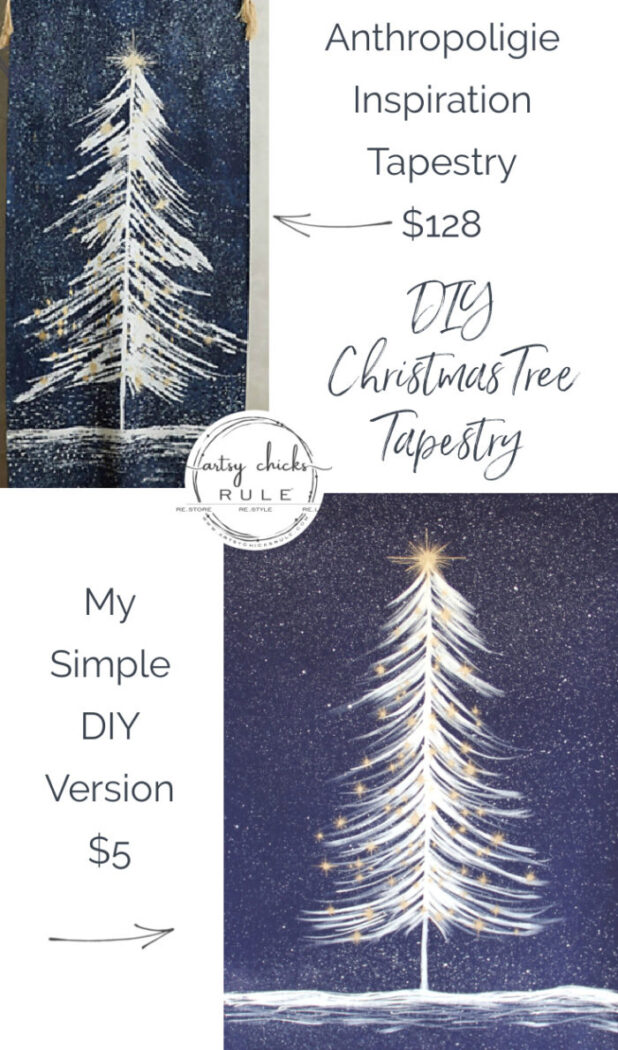
Here’s what inspired me to make this Christmas wall tapestry ….. “Shimmering Spruce Wall Tapestry by Anthropologie” (no longer available)
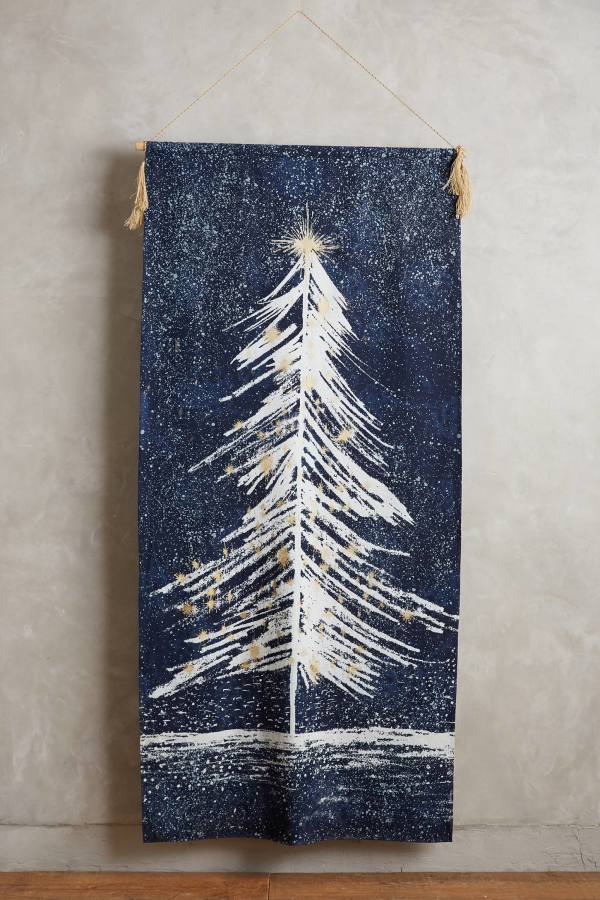
I made mine for less than $5.
Their’s .. $128. Wow.
BUT theirs is also much larger. I didn’t want mine that large.
Even so, I could have made mine the same exact size for probably less than $15.
How To Make a DIY Christmas Tree Tapestry
I bought the fabric on sale from Jo-Ann’s Fabrics for $4.99 a yard.
I only used half a yard. (so $2.50)
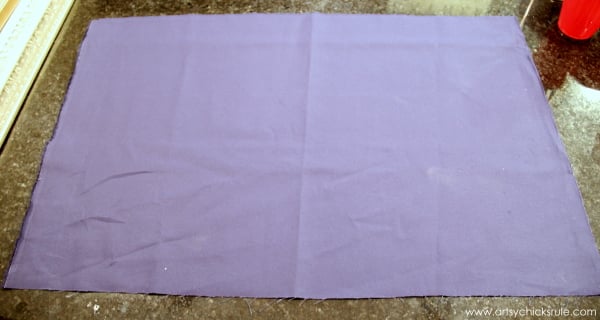
(it’s not quite the blue/purple as the picture shows…I had my camera on the wrong setting)
I didn’t worry about making the back perfect. (who’s going to see it?)
No-sew is the way to go. Unless you know how to sew… then you should sew.
But I don’t sew, so this is the way I go. lol
I ironed the seams first as shown below…
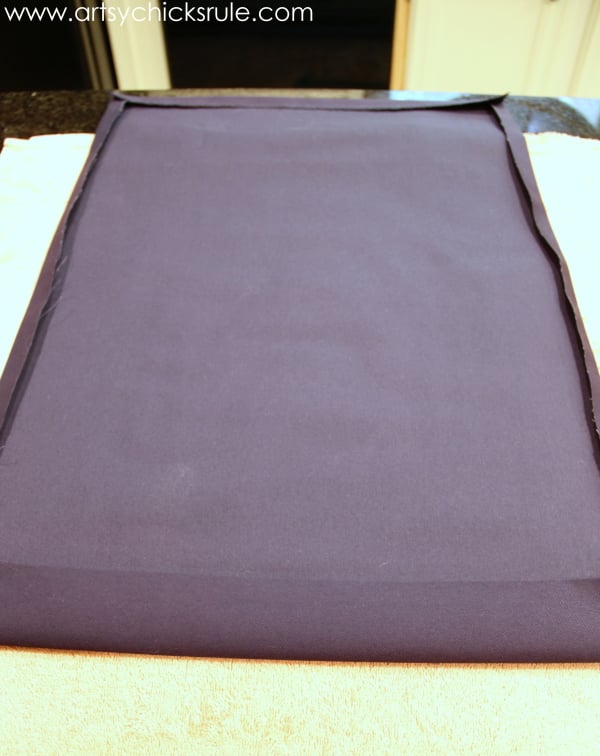
The top had a seam and then I folded over again for the dowel rod to fit through.
After I had my seams, I went back in with Steam-A-Seam 2 to seal the seams.
You can see one of my favorite “no-sew” tutorials here… “Easy, No Sew Curtain Panels”.
Once that was complete…… I started painting.
Ha…no, I didn’t. I practiced first…
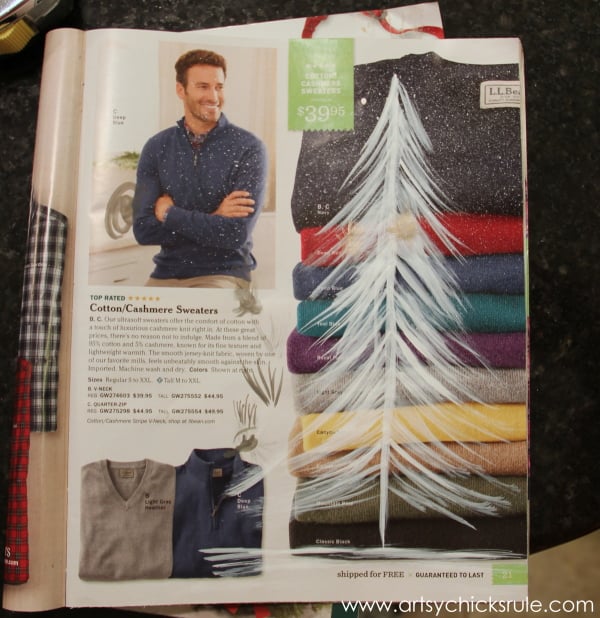
…on whatever I could find laying around. Which just happened to be this magazine I was looking at earlier.
I was a little intimidated by that big, dark, blue piece of fabric to tell the truth.
White paint, blue fabric…no room for error.
I did have the other half of the yard so not too big of a deal but I didn’t want to have to use it. The tree was pretty simplistic and I got right to it once I realized the odds were good I wouldn’t mess it up.
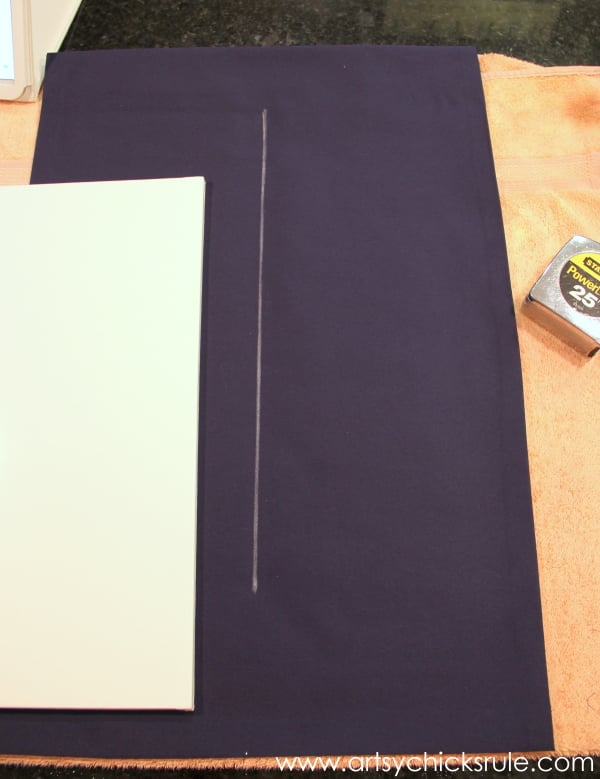
I did use a straight edge to create the first line though….with CHALK.
Measured from side to side and all.
Then I just started painting (Snow White Milk Paint, General Finishes) and adding the limbs/branches…
Note: any gold or white craft paint will work
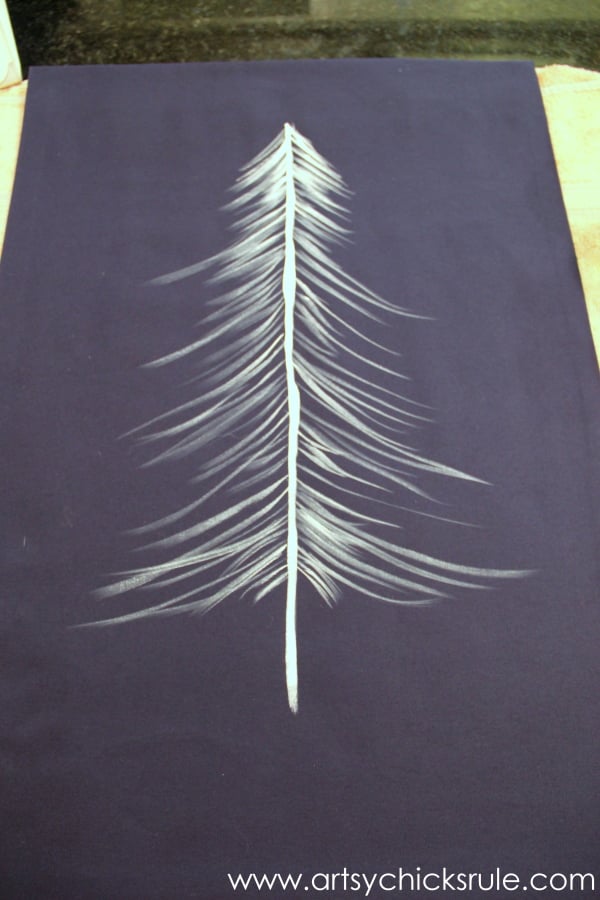
You can see I didn’t paint over the chalk line very well.
My oh so steady, not steady, hand. Oops!
No worries…it will get filled in. Plus, trees are not perfect, right?
I used a small angled artist’s brush for this part. Then went back in and used a liner brush to create some finer lines.
Kind of sparse looking right now though.
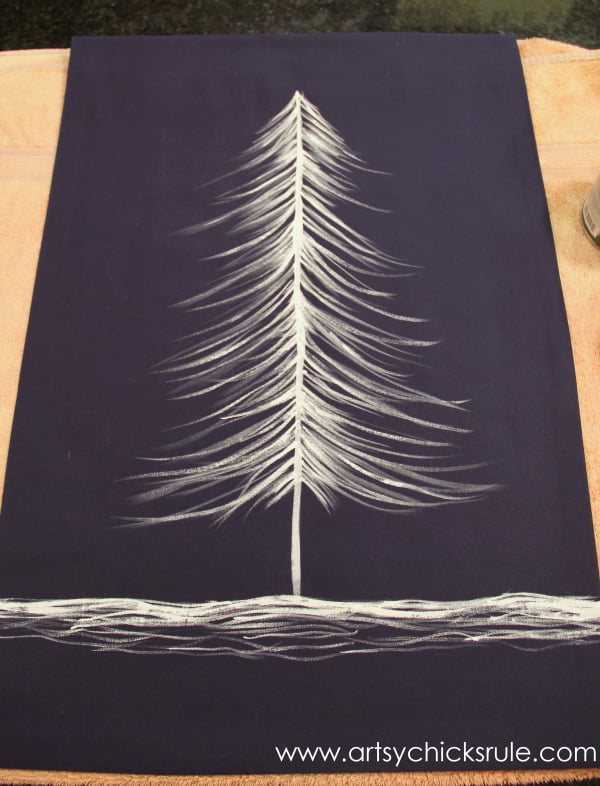
So I went back in with the angled brush until I got it as thick as I desired.
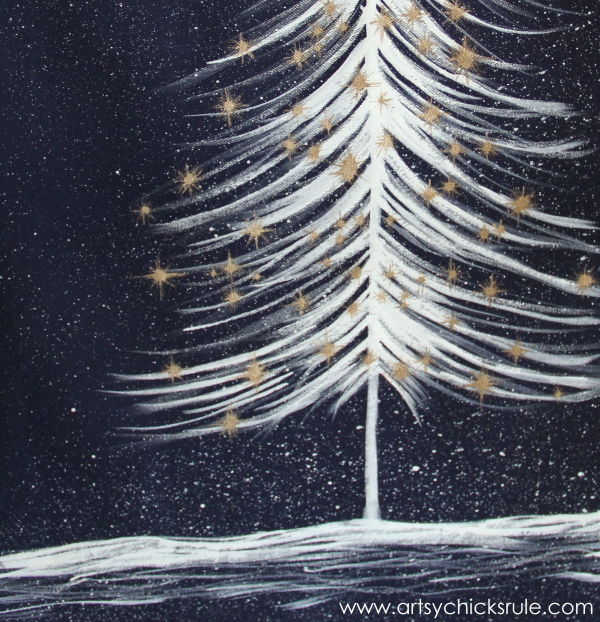
Then added “snow”…and voila!
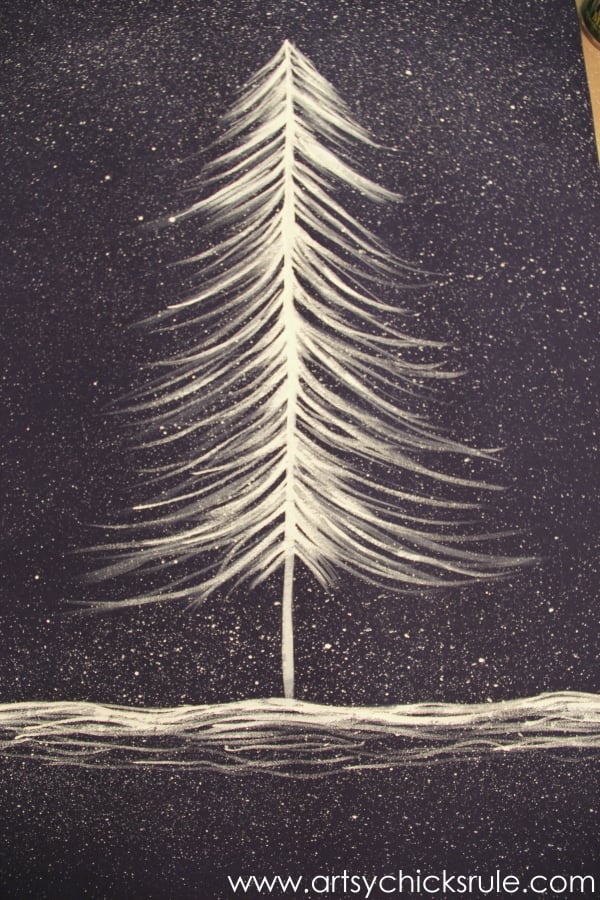
What a difference, right??
That was actually SO MUCH FUN to do!
I watered down the paint a bit to get it a little liquid-y. Then I dipped my brush in and ran my fingernail across the edge while pointed at the fabric.
It sprayed out so perfectly.
Just like snow.
Then came the stars.
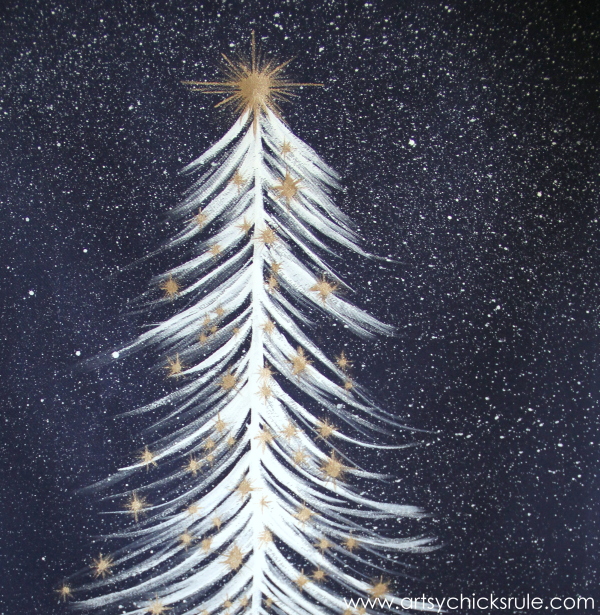
The glorious, beautiful stars that just complete the whole look, in my opinion.
Don’t they just?
Up close shot of the top one…

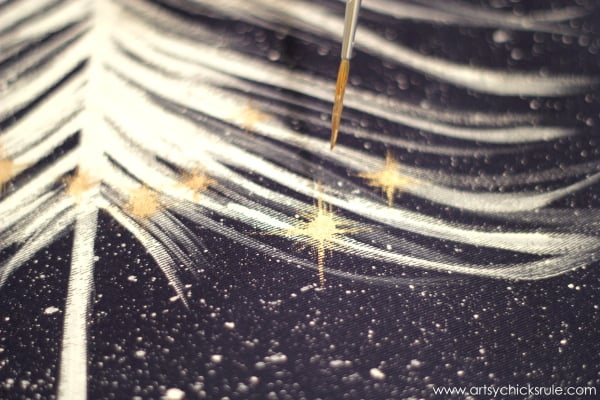
Here’s how I created them.

I plopped down different sized globs of gold paint (Modern Masters Metallic Paint, Warm Silver) –> which is really “gold”.
Then I used this little brush that has flared bristles and “swiped” the gold paint out and away from the center to create a “star-burst” effect.
After that, I went back in with my liner brush to create longer star-bursts out like a star on every.single.one.
That was the longest part of the entire process.
Still, I started and finished this project within an hour or so.
I already had a dowel rod on hand so cut it to fit.
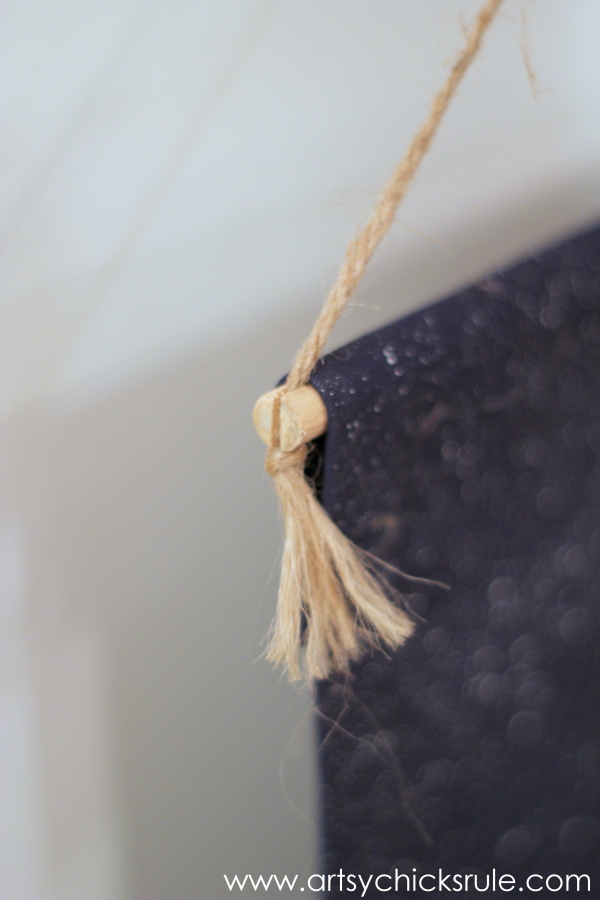
I had my husband cut the notches in so I’d have somewhere to hang the rope.
I just tied a knot and pulled through on each side.
Then I unwound the end pieces to give them a tassle-ish look similar to the inspired piece.
And done!! That’s it!

I really love how my version of the Christmas tree tapestry turned out.
I’m not sure yet where it will end up in the whole Christmas decor…. you’ll just have to check back to see!
But here it is in a couple of different possible places I can use the holiday tapestry.
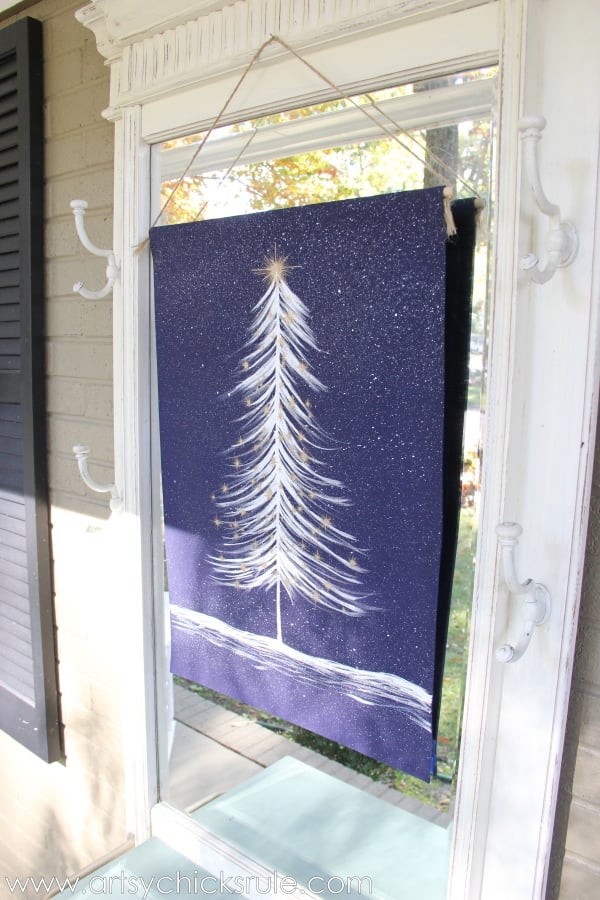
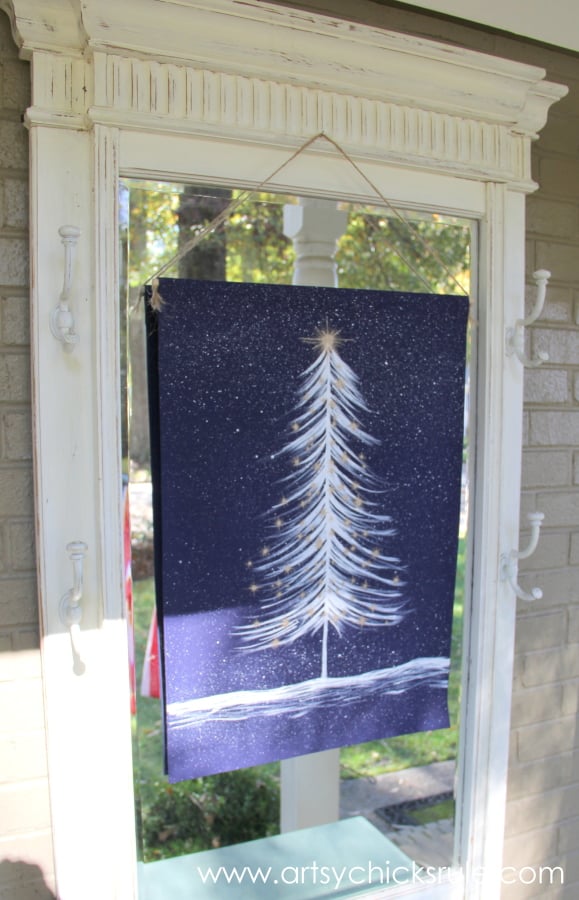
Outside on the front porch, on the hall tree.
On the inside of the front door…
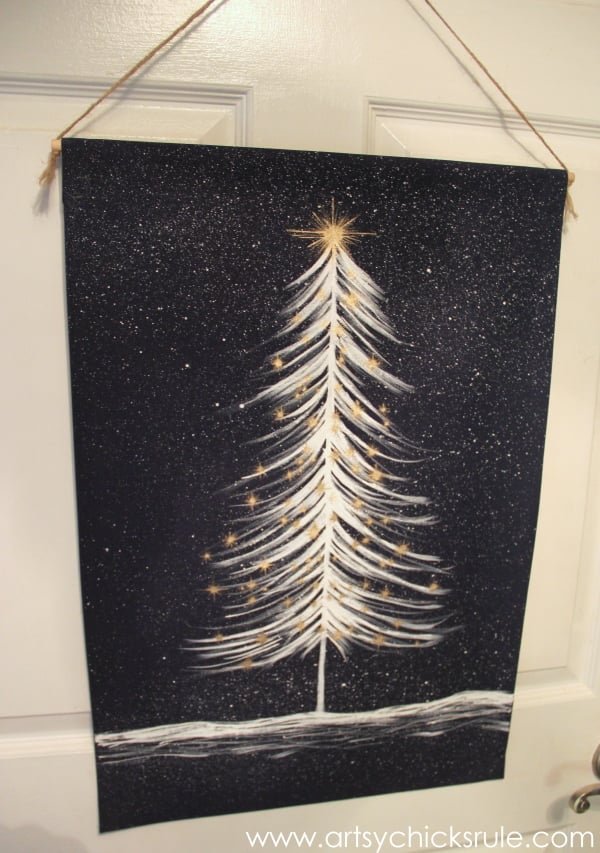
(looks black, it’s not, the hall tree photo shows the correct color)
Pin it to save it!
Would you ever guess it was no-sew?
Or that is cost less than $5 to make??
I wouldn’t think so, or maybe…haha!
Big savings, easy, quick DIY Christmas project for your home.
My kind of project.
And with lots of options….like a red fabric background with silver stars instead, for example.
Hmm, a teal-colored background with silver, or even white, stars would be really pretty too.
Below you will find links to all of my friends “inspired by” projects… ENJOY!!!
xo


")


How absolutely beautiful!! Thanks for inspiring me!
Thank you Bobbie! :)
Nancy
Wow, I love it even more than the original…these would make amazing holiday gifts!
Aw thanks Rachel!! And yes, they sure would! :)
Nancy
I like yours so much better!!!
Thank you Chrisa!! :)
You are so talented! Your version of this project is absolutely perfect and I love it. I am excited to see exactly where you’ll display it when you do your Christmas decorating.
Thank you Paula! :) I’m getting ready to decorate this weekend..all except the tree!
Nancy
Lovely. Very simplistic design-but beautiful!
Thank you Lois :)
Nancy
Absolutely beautiful…I love it! I just subscribed to your newsletter and I’m so glad I did. I plan to get started on this beauty right away & I have the perfect place to hang it when it’s finished.Thank you for sharing your brilliance & creativity.
Aw thanks Cherene!! :) So happy to have you!!!
And yay, so glad you are making one too!
Nancy
GORGEOUS!!!! You are so talented with a paintbrush! I will paint letters all day long, but anything over that, forget it! Your version looks so much better than the original! XO
Aw thanks Christy!! :) And I know you can paint this too silly girl!!
xo
Nancy
Nancy your version is better than theirs! You are a whizz with a paint brush, girl! It will look beautiful wherever it ends up! Thanks for the tutorial! ~ Angie
Thank you Angie! :) Decorating this weekend!!
Nancy
Nancy,
You knock off is perfect. I love how you make it look so easy and I am going to give this a try. Awesome!
Psssssst Nancy, I like yours better!
You certainly did rule this one! I like yours way better than theirs!! Great job!
Thanks Marie! :) It was fun..I think I could make trees all day long!!
Nancy
I love the wispy tree you created! It could be displayed beyond Christmas – right through January to fill that void when we take down all the holiday and the house looks so bare. Definitely etsy worthly!
Thank you, Susan! Yes, you know what, it absolutely could! xoxo
Thanks so much Anne! :)
Nancy
Nancy, you are so SPOT ON with this one. Hard to even tell which is which. Great job! I am loving this tour and it certainly inspires me to try a few more projects!
~Tami
Thanks Tami! :) I am so loving this tour too!! We have a super talented, creative bunch! So happy to be a part of it!!!
Nancy
nancy you always make me think i can do it… your tree looks happy their tree looks sad and droopy xx
That’s because you can…and I know you can Chris! :)
And yes, I noticed that once I finished mine. I didn’t even realize how differently I made the branches until I stood a ways back from it and looked!
Happy is always better than droopy! ;)
xo
Nancy
I am so impressed with your painting skills Nancy! Mine would have turned into a big white blob! Yours is much better than the original!
Thanks Shanna! :) It was easy, promise!!
Nancy
Nancy, It is just gorgeous!!! So artistic! ~Christy
Thanks Christy!! :)
Nancy
Love it Nancy! Great project idea, your looks awesome.
Vicki
Thank you Vicki! :)
Nancy
Stunning! I Love..Love , LOVE this project! Such a great choice and your tutorial is well done so I’ll have the confidence to try to recreate this lovely project! I’m with you too.. no sew is the way to go:)
Aw thanks Wendi! :)
Nancy
Nancy, I love this! You did such a great job on the tutorial I really think I can do it too! Sharing and pinning! Jeanette
Thank you Jeanette! :) Oh yes, it was so easy!!!
Nancy
Nancy, that is just so adorable! You always make things look so easy! I really wish I had the talent you have in just one of your pinkies!!! I’d love to try this… however, I am quite sure my tree AND the stars would nowhere near resemble a tree and stars!! xo
Aw thanks Karen!! But I promise, this really was easy! :)
You can do it!
xo
Nancy
Oh my goodness, I love it!!! You’re good :)
Thank you Debbie! :)
Nancy
This is just dreamy, love it! ♥
Thank you Diana! :)
Nancy
You’re an artsy chick and you don’t sew? I’m so-o-o disappointed!! ;-) But then, I’ve made a living being a graphic artist, and I can’t paint! Well, I’m learning… Your banner looks fantastic, and the silver/gold is perfect! Hey, I wonder how hard it is to paint on velvet… or satin… or fleece??? You might wish to consider mixing paint with “fabric medium” to prevent paint from cracking on a fabric surface (makes paint more flexible).
Haha! I know!! ;) Crazy. I guess it’s not ‘totally’ truthful to say I don’t know how because I actually did learn back in Home Ec in high school and made a couple really nice things! I just hated it so much I let it all slip from my mind! ;) (and that was at least 30+ years ago too) So I have sewn but I don’t remember how and don’t want to. ;)
Could probably paint this it onto a short napped satin/velvet with no trouble. I do have some fabric medium here that I want to mix with paint and paint a chair with to compare to my Chalk Painted chair actually. Haven’t gotten around to that yet. But for this project, the paint was pretty thin. You are right though, for thicker or more detailed paintings that is a great tip! :)
Nancy
Screw the truth, and go with what you know!!! Haha, no, I don’t really believe that, but you know what I mean! I used to really enjoy sewing, but now… too many pins, too many cats, so I stick to sewing curtains (and usually make them out of tablecloths :-D )
Too many pins!!! Yes!! And they hurt…so do the needles. I did some hand sewing today and I am reminded why I don’t want to sew!!!! ;)
Nancy
OK, last word on this from me: could the lowly thimble be the artsy-chick’s accoutrement du jour??? (Don’t ask me to wear one – I can’t even knit while keeping my hands on the needles. It’s slow and gives me neck pain, but I have been known to have success. Really. I taught my husband, and he knits REALLY WELL!)
I don’t think I could!! It would drive me crazy!! ;)
Do you have to buy the “Snow White Milk Paint” ($32.49) or can you just use a white craft paint, acrylic, like Tulip White Slick 3D Fashion Paint ($1.79) at Hobby Lobby?
Hi Linda,
No you sure don’t, it’s just what I had on hand and it worked very well (so I shared it in case anyone wanted to know–it’s also a great furniture paint!!). You could probably use any craft paint you have. :)
Nancy
What a great project! You did a fabulous job…it’s so pretty!
Thanks Leslie!!
Nancy
Holy Christmas Trees! That is absolutely gorgeous!!!!! VERY well done!
-andi
Thank you Andi! :)))
Nancy
I like yours much better than the original!! I am definitely making this!
This is gorgeous! And for five bucks, I am going to add a WOW! :) Yep, I like your much better than the original. Amazing job! :D
Ha!! Thank you Julie! :)
Nancy
OMG Nancy this is gorgeous! I never would have attempted to make this until seeing yours, you did a beautiful job!
Thanks Dria! :)
Nancy
Nancy! Your knock off is absolutely gorgeous and I prefer it to the store bought version. You knocked it out of the park ~ LOVE!
Thank you Mary Beth! :)
xo
Nancy
This is so much better than the Anthropologie version!
Aw thanks so much Janice! :)
Nancy
So pretty! I like yours better than theirs! I’m gonna try this but with red fabric just because I have no blue in my house. Thanks!
Aw thanks Joanie! :) The red will be gorgeous!
Nancy
Ohhhh sooo pretty ! Great job. ;)
Thanks for sharing / inspiring !!!
Thank you! :)
WOW!! You did rock this knock off!! BEAUTIFUL JOB!!! I hope you still display this in your home! You really blew my mind!!
Haha, thank you, Christina! :) xoxo
That was a great idea! Thank you for the tutorial and Merry Christmas 🎄
You are very welcome, Lorrie! Merry Christmas to you too! xoxo
Yours is so pretty and looks much better than the original. Now just something that may help you in the future since you say you don’t sew. When you are turning fabric down say for a hem most people measure as they go which takes time. Get a piece of a folder about 6-8 inches long. Measure and cut the folder the width of your hem. Just turn fabric over to edge of folder and continuing sliding down fabric and turning the hem. Your measuring is already done for you and so much easier. This is a tip from my talented sister that is a super seamstress. Works great when making curtains and saves so much time. Hope I don’t sound like a know-it-all because my talent is nothing compared to yours.
Not Nancy here, but a fellow follower of hers. I just wanted to thank you for sharing the tip your sister gave you about using a folder to accurately turn over a hem!! I will so be using this tip in the future! have a Merry Christmas!!
Thank you so much, Janice! And thank you so much for this awesome tip too! I love this! And no way, I LOVE when my readers share their wisdom with me. It goes both ways, I learn much here too from all of you. :) xoxo
I like yours better, Nancy! Thanks for sharing your technique. Merry Christmas!
Thank you, Marilyn! Merry Christmas! xoxo
So pretty and elegant love it. Thank you for sharing, going to paint one.
OH yay!! I’m so glad to hear that, Christina! Have fun! xoxo
This is so pretty. I’m inspired to make one myself now. Yours is much better than the original, I love your idea and how to do it.
thanks for sharing.
Oh yay!! I am so glad to hear that!! Have fun with yours, Kris! xo
Nancy…..you nailed it !!!! Love it !!!
Aw, thanks so much, Kim! xo
Shockingly easy to get that high-end look, Nancy, and I like yours more.
Yes!!! Exactly, Marcie! It’s a no-brainer. :) And thank you so much! xo
Yours is so much prettier!
Aw, thanks Robyn! xoxo
I have to copy this! If I can make it as quick and easy as you did, then I will give them for gifts. It is so elegant looking on the purple. Have a great weekend!
Yes, do, Cecilia! You can, you can! :) xoxo
OMG! This is so cool, Nancy! GREAT tutorial – and yours is way better!
Love this. I may have to get some artist paint brushes one day – I’d really love to try this!
You could sell those and make a ton!!!
Thanks for the awesome inspiration!!
Aw, thanks a bunch, Michele! And yes, do. It really was fun to make! xoxo
You are a great inspiration ….. I’m going to try and copy your great art and hang it in my apartment here in Australia… thanks a bunch and I wish you and all of your family a great time over the festive season.
Aw, thank you so much, Kathleen. It was really fun to make, have fun with yours! Wishing you the same! xoxo
Honestly, I would much rather have your version. I think yours is a work of art while the Anthropolagie version looks faded and dull. The gold tassels are a nice touch, but I would still pick yours if they were hanging side by side or across the art gallery from each other.
BEAUTIFUL!
Aw, thank you for saying so, Marietta! :) xoxo
I, too, like your version better…it looks like a happy tree with your little sweeping up of the branches!!! Such a great and fairly easy project and who doesn’t like budget friendly!!! thank you so much for sharing this again as I didn’t see it in 2014!! Merry Christmas!!
Aw, thanks, Karolyn! I’m so happy I decided to bring this one back up then! I think a lot of you had missed it then or weren’t here yet. It’s such an easy (and fun) project to do, it’s so worth sharing again! Merry Christmas! xo
Absolutely love this! Your version is much better for sure! You’re a natural!!
Aw you are so sweet to say that! Thank you, Mary! xo