Easy DIY “Dairy Box” – Milk Paint Tool Box
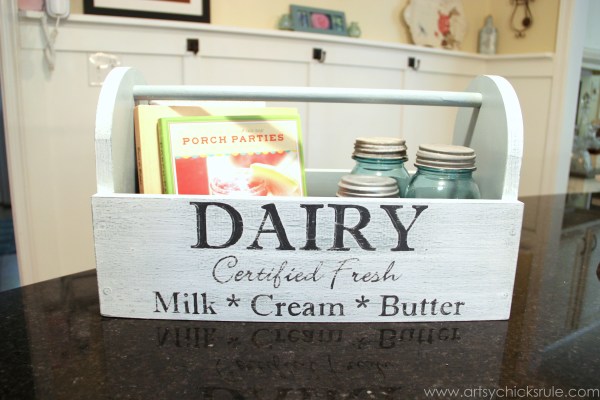
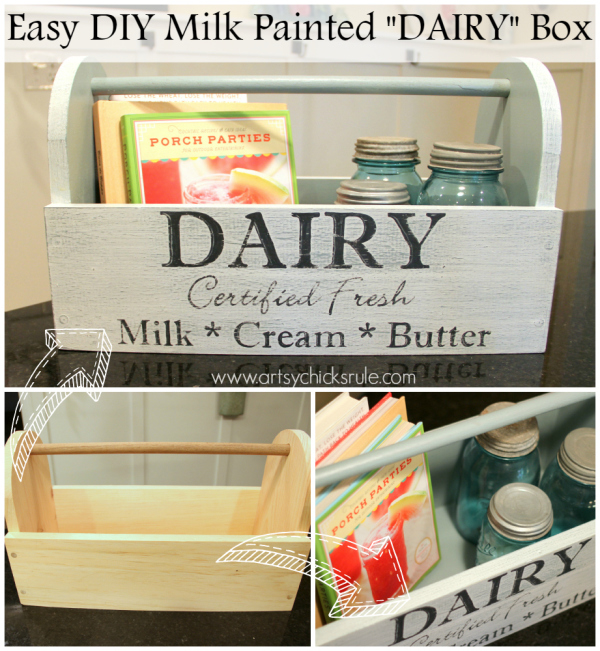
How fun is my new Milk Paint “tool box” aka, Diary Box?
(You might have seen the little snippet sneak peek of this one over on Instagram)
I love little projects like this because they are just that….fun. :)
My inspiration for it came from this old milk can I painted awhile back….. ( you can read about that project and see the tutorial here — “Old Milk Can Makeover“)
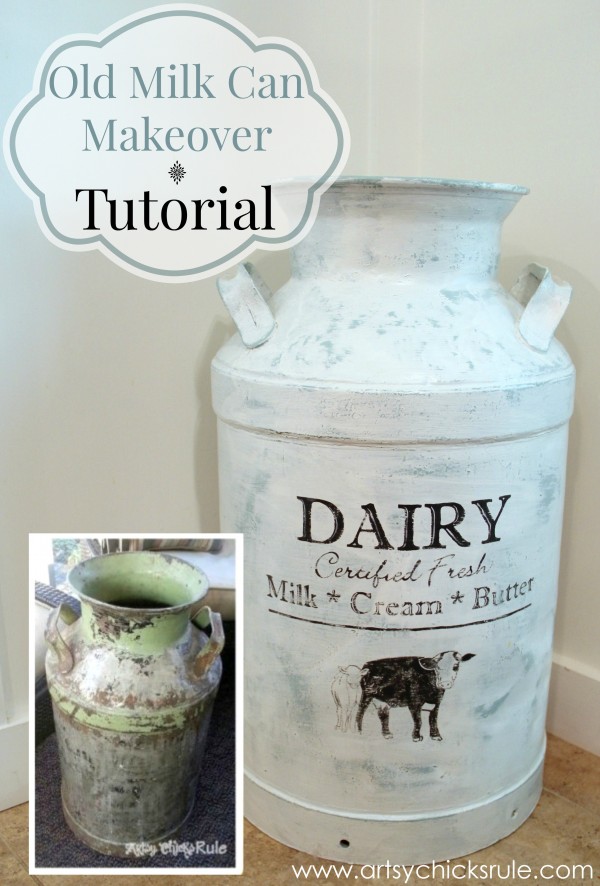
It was a really fun one to “makeover”. I love the theme and have it sitting right there in the corner of my kitchen to this very day.
It’s my cork collector….wine corks. I’ve got a ways to go before it gets full. ;)
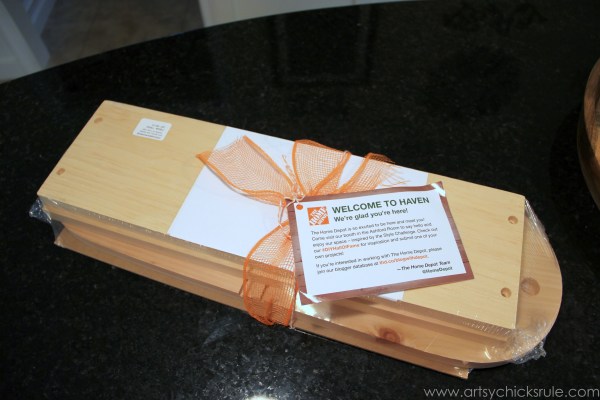
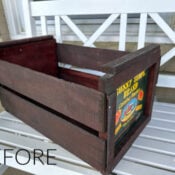
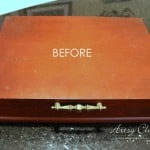
So I knew exactly what I would do with this “tool box” kit I received from Home Depot (and the Haven Blogger’s Conference I attended in July).
….make a matching “dairy box” to go with my milk can.

I assembled it first (so simple!)
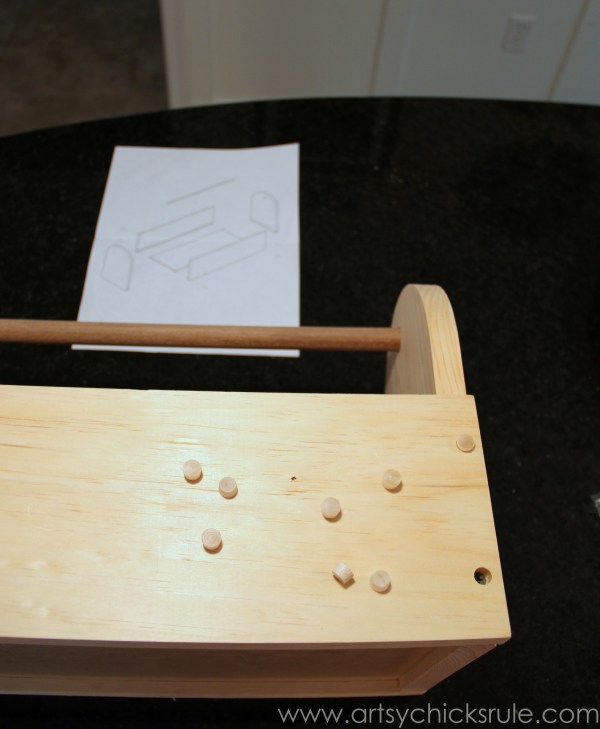
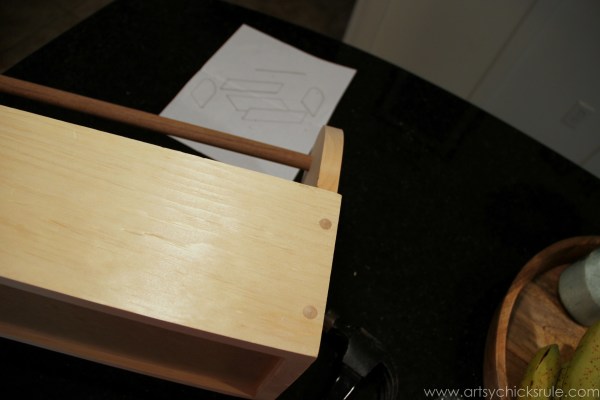
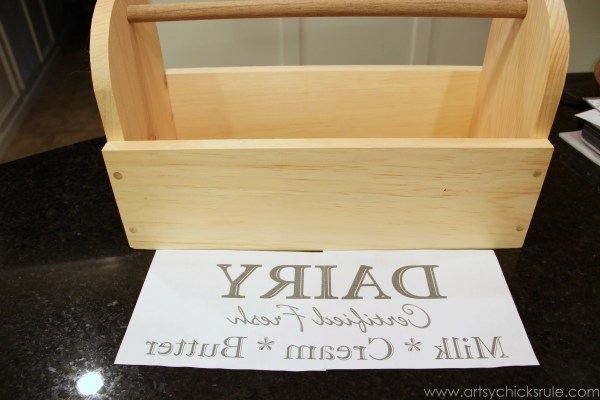
And then printed my graphic out the size needed for the front of the box.
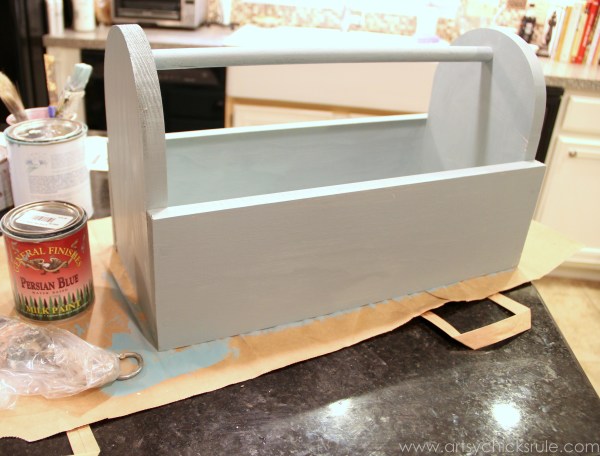
I decided to use *Persian Blue Milk Paint (by General Finishes) for the main color. (2 coats)
Love this color!
After that was dry, I applied one light coat of *Snow White Milk Paint. ( also General Finishes)
I wanted it to look “old” and have the blue color show through.
— I also used this same color combo on this little table here –> “Two Tone Side Table Makeover“.
Once completely dry, I transferred the graphic I created by rubbing over the back with a spoon. (or pencil, anything will work)
(printed in reverse on a regular inkjet printer)
Here are a few tutorials (older posts) on different ways to transfer graphics:
Projector Method : “Estate Sale Sideboard”
Impression/Indent (good for softer woods) : “Ready for Summer Beach Sign”
Shading the back: “DIY Pantry Sign”
With Chalk onto a Darker Surface: “Baby It’s Cold Outside Sign”
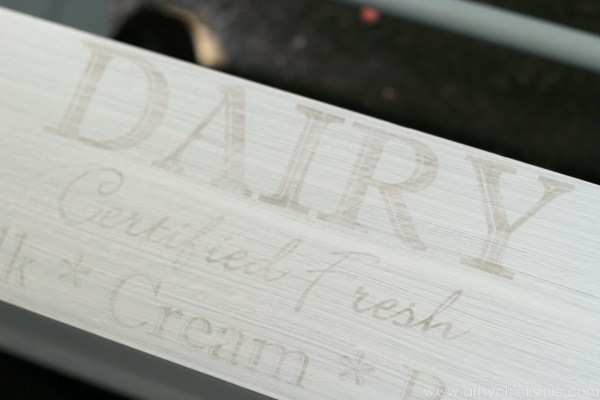
You’ll notice that this font/graphic has white accents inside the top and bottom set of letters.
I don’t try to paint around that to leave the white underneath, I paint right over top of it with the black.
It’d be much too hard (and might make me a little crazy!) to try to do that.
Instead, I go back afterwards and paint in the white accents over top of the black.
So much easier.
All lettering is hand painted in and complete.
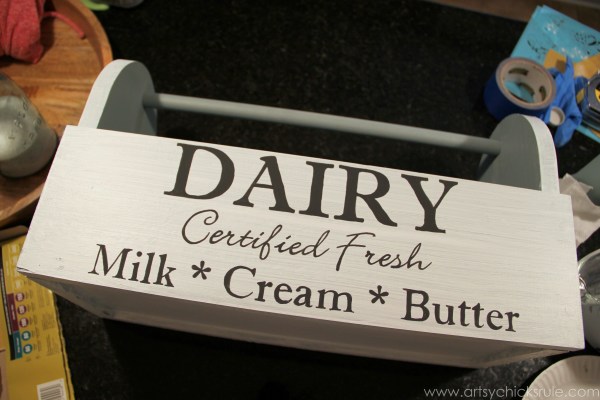
It’s not perfect, as you can see. ;)
I used a different brush this time. I normally use a really thin script liner. (best!)
So I had a bit of trouble controlling this one but it won’t matter because you won’t notice once it’s finished.
You’ll see. That’s the beauty of a distressed, “non-perfect”, finish.
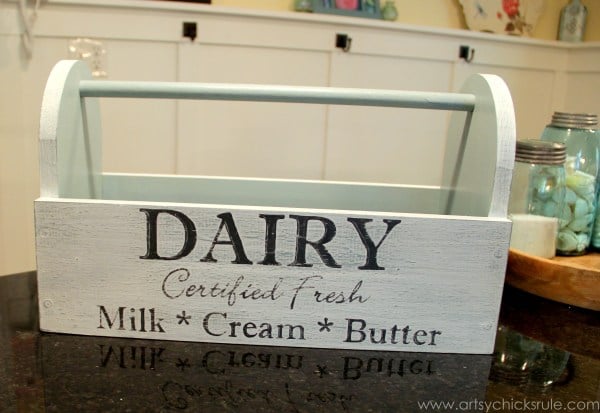
The above photo is shown with the wording, and the Snow White layer of paint, lightly distressed to bring the blue through.
I went back in with the white paint to put in the accenting detail on the letters shown below.
Want the free printable?
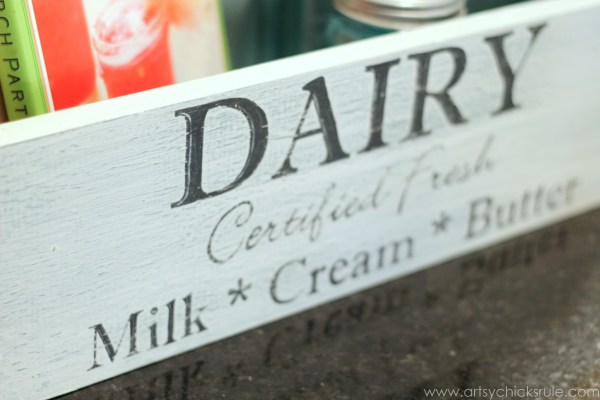
I am loving the solid blue inside and glad I decided to do that.
I had originally thought I’d paint one light coat of white all over.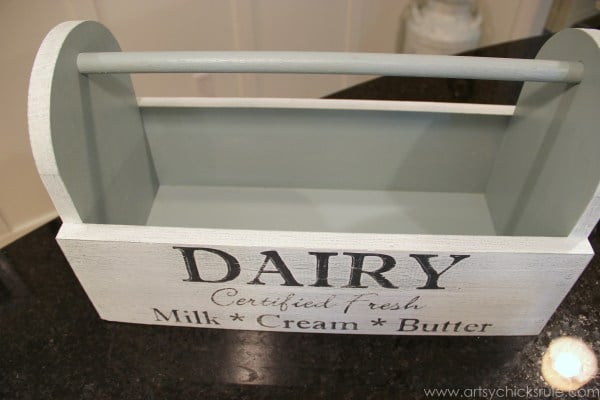
I sealed the entire piece with one coat of *General Finishes Gel Topcoat in Satin.
(soooo easy to apply, I am really loving this stuff)
All finished and filled with some goodies. :)
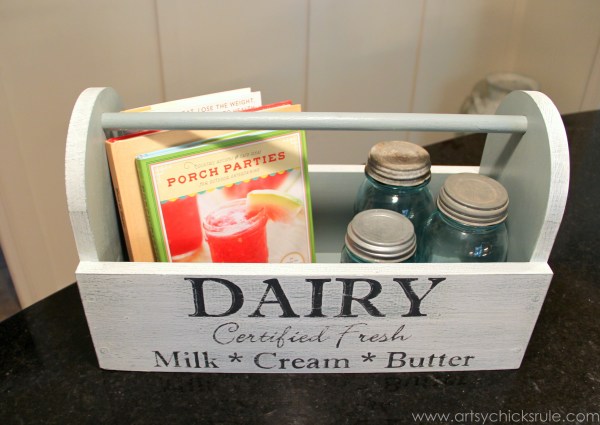
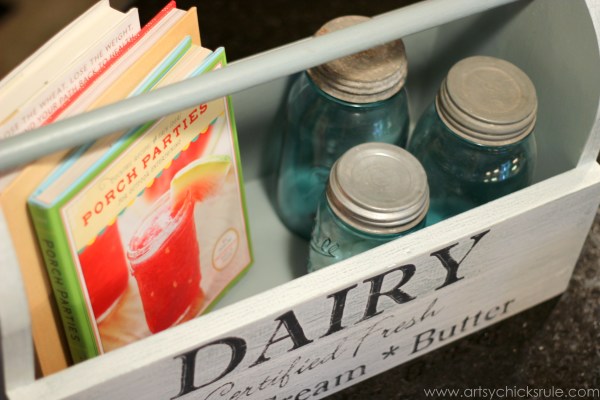
And a couple of shots with my “inspiration” in the background…. (focused on one and then the other)
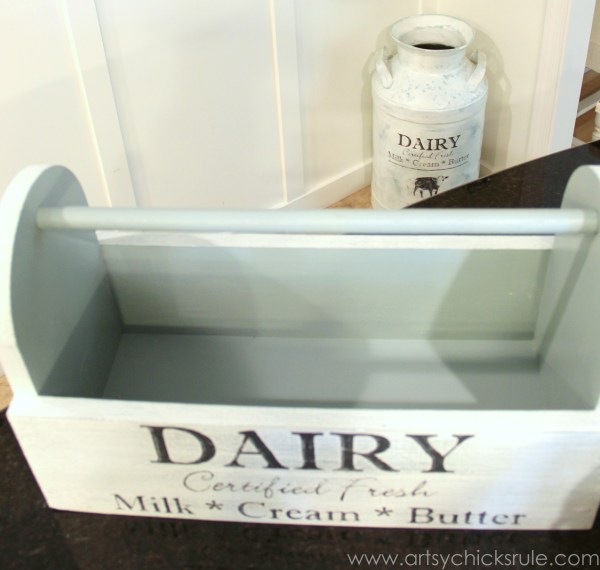
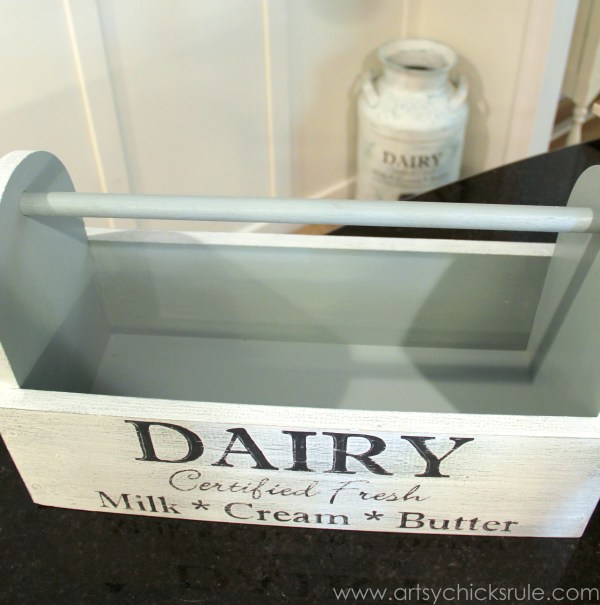
Really easy little project.
You can try paint pens too if you don’t want to attempt a brush.
Those are a bit easier to control and come in all kinds of colors now.
Even a black Sharpie will work…..I’ve used those before.
But it really is easy either way.
I hope you’ll give it a try! :)





Hi Nancy~
Don’t you LOVE General Finishes! They have become my #1 Favorite! Love your dairy box! I sent you an email the other day to say Hi! I hope you got it!
All my best,
Lilli
Hey Lilli!! :)
I DOOO!!! I love it all! :) Really, I can see why they are your #1.
And yep, I got it and I just responded!!! :)
xoxo
Nancy
You injected loads of personality into that wooden tool box Nancy! Love the graphic you used – I don’t remember seeing your milk can. Now all you need is one of those cute cow creamers for your kitchen.
Thanks Marie! :) It was kinda boring before wasn’t it?? A little paint and graphics can do wonders!
I don’t know the cow creamer but it does sound cute!!
xo
Nancy
http://www.pinterest.com/jillspalding/antique-cow-creamers/
Oh those are adorable Marie!! I have never seen them before. :)
I need one!! ;)
Nancy
Nancy you have to be the cleanest painter to be able to do this right on your kitchen counter….lol…I’d have it all over everything! I love this project. I have an old milk can too that I have yet to re-do so tis has given me some inspiration!
Haha….not always Sheila!! ;) It looks like a hurricane has come through the kitchen some days but I do make sure I’m careful with the paint. I just always end up doing the small items, signs, etc, in there because the light is so great. (and the height of the island is perfect and the perfect work space) BUT it comes with a price…the mess in my kitchen which I don’t love. ;)
I’m so glad you have some inspiration for you can! They are fun. :)
Nancy
the little gift box from home depot is cute all by itself then you take it up a few notches so dam cute nancy love it xx
Thanks Chris! :) I try!!! lol This one was easy because I already had the graphic saved on my computer. So print and paint! :)
Hope you have a great weekend!! xo
Nancy
Tell me more about your transfer method, please!!
Hi Lyndsey :)
It’s so simple, you print in reverse and then lay it onto your project, rub the back to “transfer” the ink.
You can also print normally (not reverse) and rub the back with pencil lead (or chalk, depending on what you are applying to) and then attach to your project and draw around the letters.
I will update my post to link a few posts that have full tutorials on those methods. :)
Nancy
Wondering where you purchase General Finishes paint? Love your ideas!
Hi Pam,
It is sold at a few small retailers. If you have a Woodcraft near you, they carry it. Or you can purchase through Amazon and have it delivered to you. I put affiliate links in the post above for those products on Amazon so people would be able to purchase or at least see the actual product. :)
And thank you so much!! :)
Nancy
Nancy, I love, love both your milk can and the tool box! I have one of those milk cans that we bought new and purposely aged back for Katie’s wedding. I never thought about painting and stenciling it…. but what a great idea! And the tool box… can you buy those at HD? I would love to make one of those!
Nice, Nancy! xo K
Thank you Karen! :)
I am not sure if you can get them at HD. They may have them when they do the workshop days but it might have been a special thing for this event.
xo
Nancy
This is so cute!! Love it!!
Thanks Crystal!! It’s fun…and the perfect spot for cookbooks. :)
Nancy
I love what you did with your “tool caddy”! I’ve had mine sitting in the que forever. It keeps getting bumped! This graphic is perfect for this piece and of course I love the colors!
Oh yes, paint it up! ;) Mine sat here for almost forever!
Nancy
What a perfect treatment for your little toolbox! I love it!
-andi
Thank you Andi!!! :)
Nancy