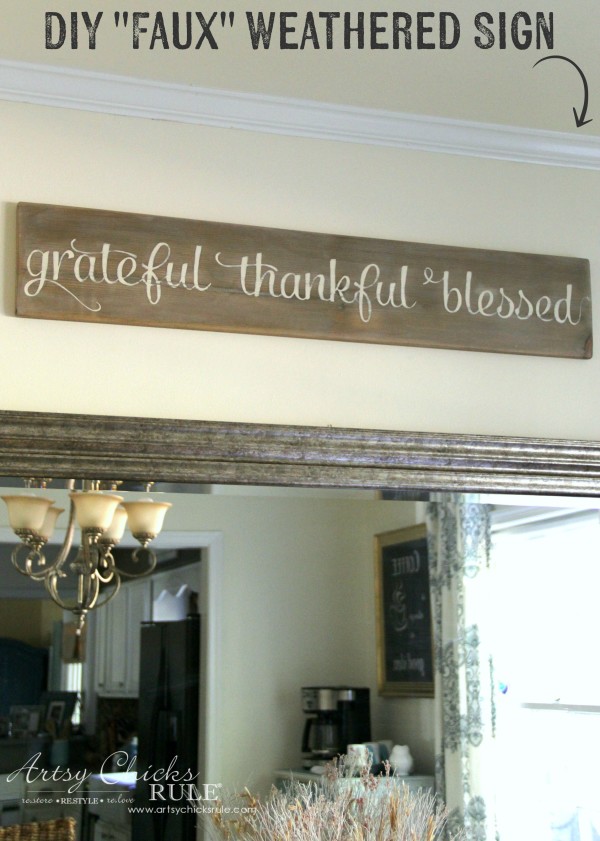
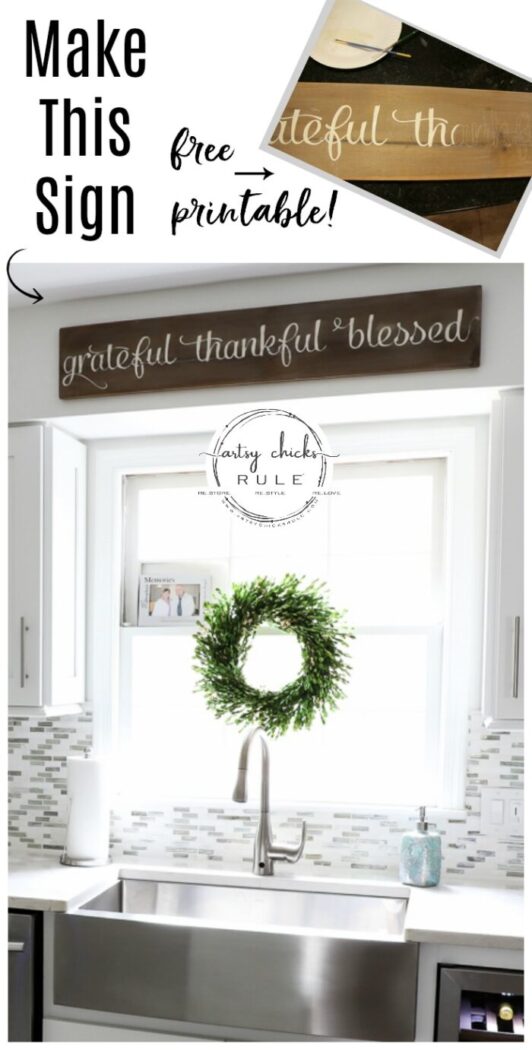
Grateful, Thankful, Blessed (DIY weathered sign-make your own!)
Happy Monday Friends! Do you feel Grateful, Thankful, Blessed?? I do! And I’m sharing it with you.
Updated 9-10-19
I’m loving this brand-new sign I created and am so excited to be a part of a Thanksgiving Home Hop put together by Porch.com today.
The challenge for this Home Hop was to create a Thanksgiving-themed project for under $30.
I can’t wait to see what everyone created!
Well y’all know that is right up my alley.
So much so that I created my project for……$0.
Yep. Technically it did cost something but I had everything on hand already.
I purchased nothing to make this project and what it would have cost is still well below $30.
Here’s the “Grateful, Thankful, Blessed sign I made …

Grateful, Thankful, Blessed.
Because honestly, I couldn’t think of anything better that describes how I feel at Thanksgiving.
OR all year long, for that matter.
So that is why I am guessing this sweet little sign may stay up permanently.
We’ll see!
It’s currently in my dining room above my brand-new mirror.
I’ll be updating you guys with some of the changes in this room soon.
I think it looks just perfect there.

UPDATE, this dining room is now my “Coastal Glam Morning Room”, see it now, here.
AND, 4 years later and I still adore this sign I made.
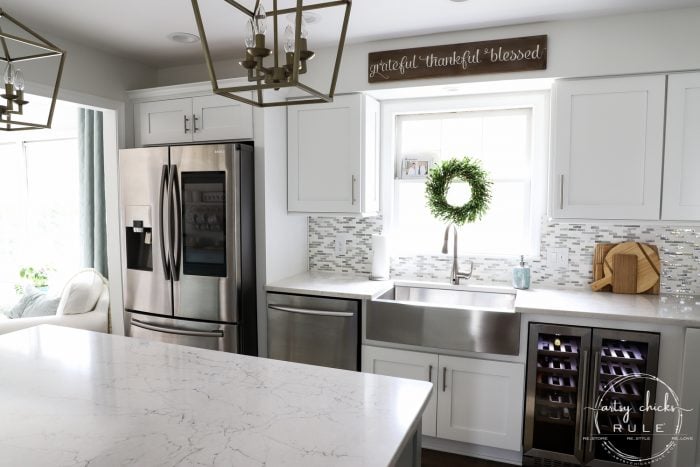
I now have this beautiful sign in our newly renovated kitchen! Yes, all year long.
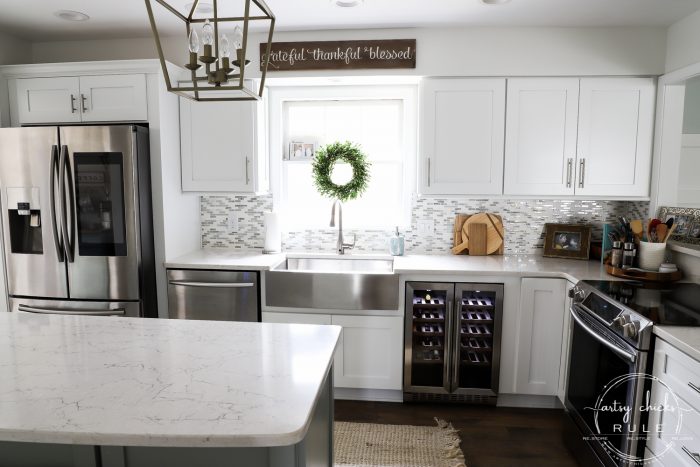
You can read all about our kitchen makeover, here.
…………………………………………………………………………………………………..
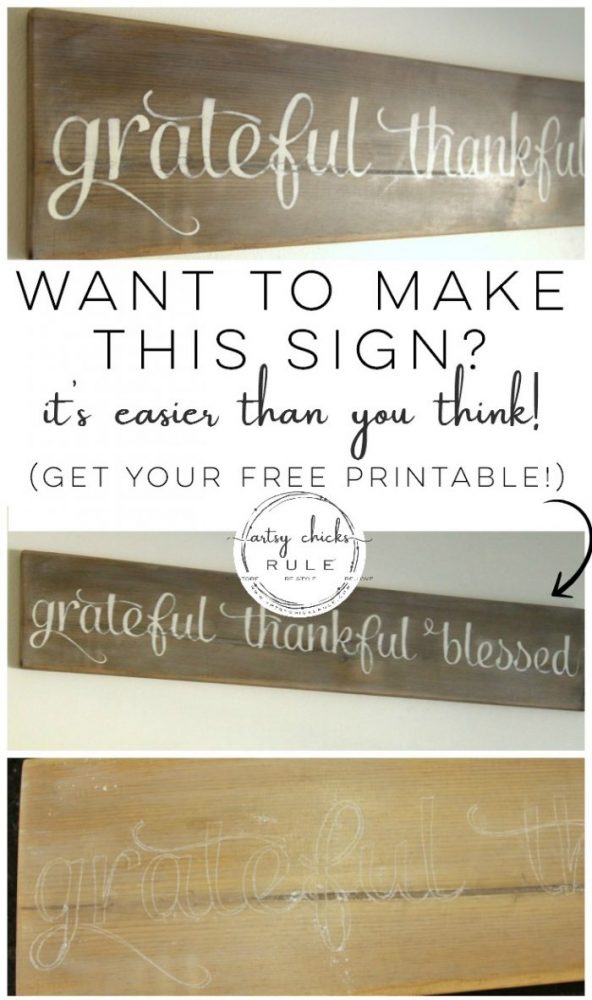
So here’s how I made this sweet Grateful, Thankful, Blessed sign.
(soooo simple–really and truly!)
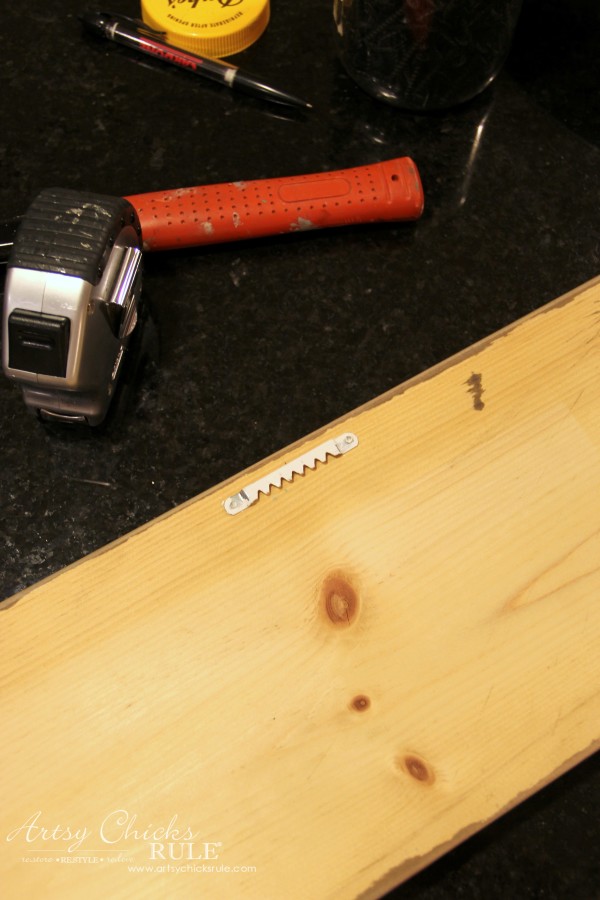
I went down into the hoarder’s paradise…um, my garage and found this.
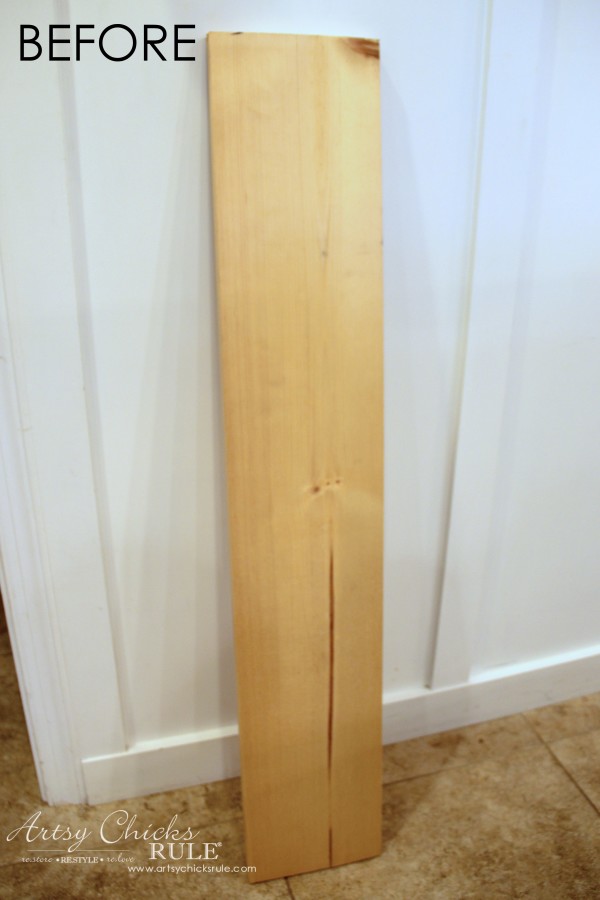
Perfect size and ready to go. Just like I like em! ;)
No really, I LOVE when that happens. I didn’t have to do a thing to this piece of wood.
Well, except lightly sand the edges a bit.
Want to see some of these projects in “live” time? Hop on over and follow along with me on INSTAGRAM. I’m always sharing in my stories as I’m doing projects, finding new furniture, fun finds….just all the day to day behind the scenes.
Then I used this fabulous “weathering” product again. ( Driftwood Weathering Wood Finish)
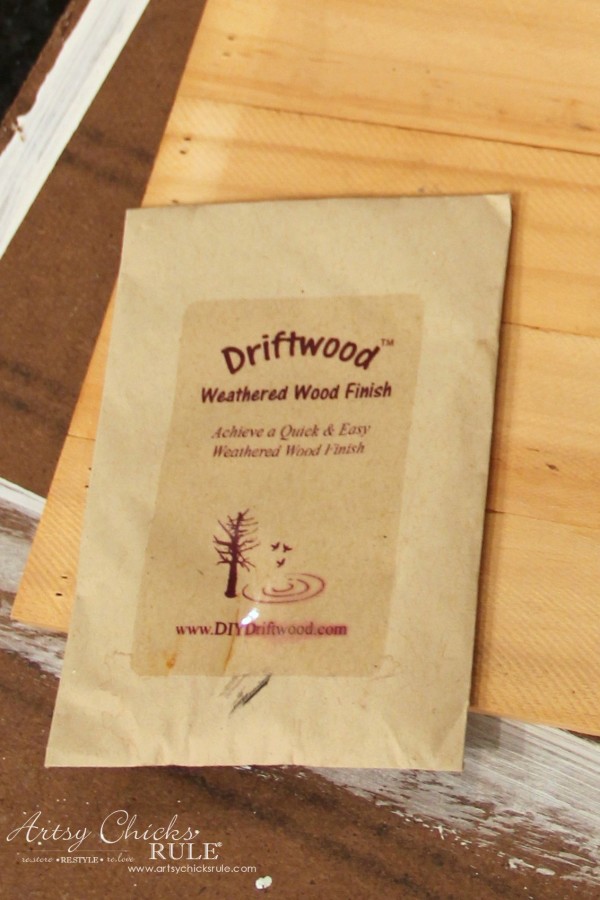
You may remember I used it to make this other –> “Give Thanks” sign recently.
I love, love this stuff.
I applied several coats, drying a bit in between, to get it a bit darker than what you see here.
It’s fun to see how different it looks with each wood variety out there. (because it does, … look different depending on what kind of wood you apply it to)

There really is no special technique to applying this. Just brush it on.
It couldn’t be easier.
Once I had it as dark as I wanted, I did a light wash of white over top.
(I like Annie Sloan Chalk Paint for this, you can use any paint)
Then I created these graphics…..

Isn’t that font lovely? (it’s called Salamander Script)

I printed it out using blockposters . com, shaded the back with chalk and laid it over the board where I wanted it.
(be sure to measure so it’s even on both sides, top and bottom…trust me on this ;) )
Then I traced with a pencil.
Want even more ways to transfer?? Check out my “How To Transfer Graphics” post! (sharing all the techniques I use)
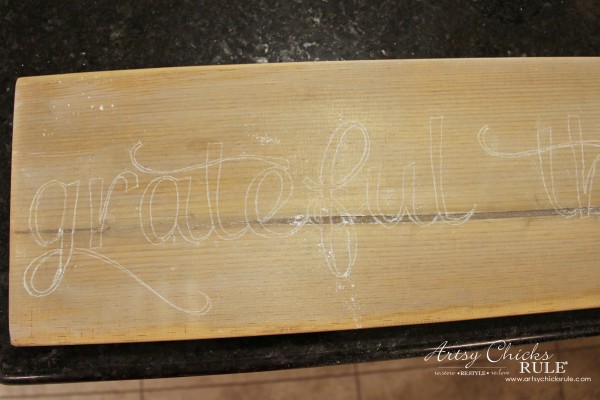
You can see that the chalk transfers really well. (better on porous surfaces than slick though)
Then I started painting those letters in by hand with a few artist’s brushes like these.
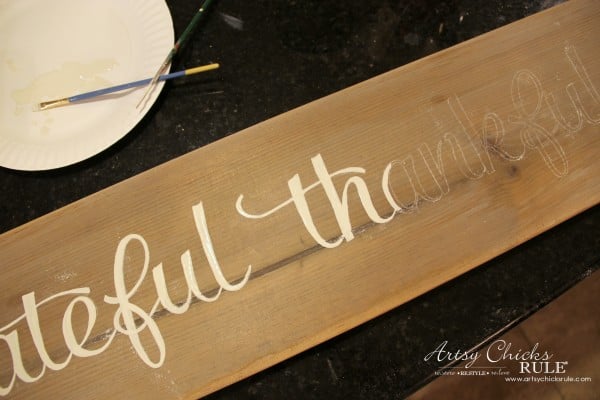
I love doing this actually. It’s so peaceful to me.
My mind therapy….and I needed it when I did this! lol
I had some technical issues on the blog that I had been working on and I needed to step .. away .. from the computer. ;)
It might look a bit time consuming but it only took about 30 minutes to do.
Here it is before I lightly sanded to distress it…and before it got a coat of clear wax to seal it.

I added a small hanger on the back (one I had leftover also).
You can see the natural wood and where the “Driftwood” ran around to the back.
Big difference, huh?!
Distressed, waxed and hung on the wall.

See the little hint of pale whitewash over the front?
That is what I added with the Chalk Paint earlier.
I think it really adds to the weathered look.


This “grateful, thankful, blessed” sign is one of my very favorite projects.
I just love what how it looks and the sweet reminder it provides to all who see it.
Want to make one too?
It’s such an easy and very inexpensive project.
I now have it in my >>> newly renovated kitchen above my sink…..
PIN this to save it for later! :)
You don’t have to make it “weathered”. You could paint the board a color (aqua? :) ) and use white letters.
Or paint it white and use black lettering.
Lots of options. This is just one way.
I’d love to see if you do decide to make one!
Now follow along the Thanksgiving Home Hop so you don’t miss any of this Thanksgiving goodness going on today!
Next stop is with the fabulous KariAnne
over at Thistlewood Farm. (<– click here to visit)
Be sure to check back in and see what I did with this old sign!
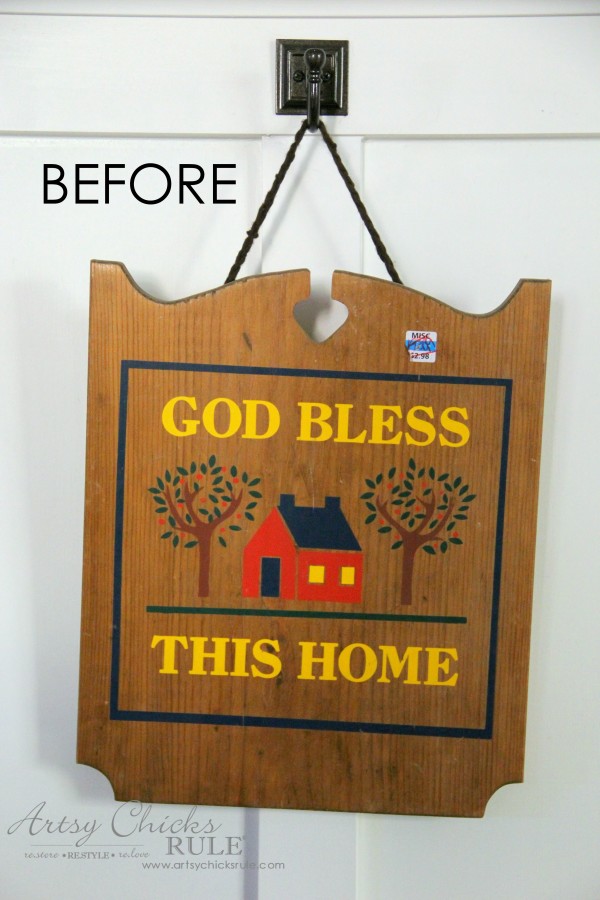
UPDATE!! See it now, here!
xo


")


")


Beautiful Nancy! I have that same stain and haven’t tried it yet – I think I will have to try it now!!
Oh, and of course aqua would always be a great colour option too@
Oh yes, always!! ;)
xo
Nancy
Thank you Krista! Yes, it’s great stuff!! :)
I love it, Nancy!! And the font is perfect!! I adore that weathered look…. and Krista is right…aqua would be gorgeous, too! xo
Hi Karen!! Thank you! That font is so pretty. :) Yes, anything in aqua is okay by me!!
xo
Nancy
I absolutely love this! I think we got a packet of that stuff at Haven one year right? I need to dig it out. Love the font you chose too…going to look for a download now. :)
Thanks Christy!! Yep, we did! It’s great stuff!:)
Nancy
I love it!
Thank you Cindy! :)
Nancy
I love it Nancy! You are the master at signs!
Aw thanks Christy! I do love signs!! :)
Nancy
this is cool! may I suggest using white or black graphite transfer paper? I’ve used it on many yard art pieces (santas, etc). much faster than the chalk, cleaner, and the paper is reusable. craft stores have it, and you can find it on amazon. its a lot like the carbon paper we used to use with type writers lol.
Hi Terri!!
That is so funny you mention that just now because I just came across a roll of Saral graphite transfer paper I bought a few years ago on Amazon. It’s been sitting on my crafting shelf untouched!!
I guess I forgot about it and ever since thought it said Saran (wrap), haha!! I will try it on my next project. (that is how I found it, I tried to use the waterslide paper I had for a transfer and it failed so I was looking for another product that I thought I had)
I’ll let you know how I like it! ;) Posting that project on the 29th of this month.
Nancy
I remember buying ours at Lowes years ago, but I forget what brand it was.. I loved it! they were large sheets at the time, so no having to move it around unless it was a really big project .. and I’m looking forward to seeing what you have up your sleeve, Nancy! =)
Oh, I’ll have to see if I can find at Lowe’s. These I have are small sheets (the size of printer paper). :)
Nancy
I would love for this to be my first project ever but I have questions, Your words look as if they are printed together. Also, how do you determine the size wood you will use? Much of my time is spent searching Pinterest and saving projects I would love to do in the future.
Bonnie
Hi Bonnie,
No, they are separate sheets. I use a website called blockposters.com for the larger items I create. You just download your image there and choose the size you need and print it out. It is a bit of trial and error sometimes. The size can be any you like. So, if you have a 24 inch piece of wood, just make sure your printed image will fit into that. (blockposter will give the dimensions and you can choose)
Hope this helps! :)
Nancy
Thanks so much. I can’t wait to try this.
Love it Nancy, it looks so good over your mirror!
Thanks Marie! :)
Nancy
Hi Nancy, I love your Blessed weathered sign!!! I am going to make one for sure…its looks great…thank you for the inspiration! Will hang it in my kitchen.
Thank you Michele :)
It will look great in your kitchen!
Have fun!
xo
Nancy
Hi Nancy,
I just picked up all my materials to make the sign, just wondering how and when you added the white chalk paint? Any tips would be appreciated! SO excited to make it, thanks!
Joanne
Hi Joanne,
Once the driftwood stain has dried, then add the white Chalk Paint. I mix it very, very thin. Be sure you don’t have too much paint or your board will turn white.
Once you have it the shade you like, light brush over the sign. Let it dry and then proceed with the lettering. :)
(practice on a scrap piece first, then you’ll have the correct amount)
Good luck and have fun! This sign is one of my favorites! :)
Nancy
Thank you, so do I mix the chalk paint into the stain mixture? When you say you mix it very thin do you add anything to it? Thanks, I appreciate it!
Joanne
Hi Joanne,
Oh, no, you don’t mix it. You would stain the wood first with the “driftwood”. Then once it is dry, you would do the “white wash” effect. Mix some water with the white Chalk Paint and then you’ll want to very lightly go over the pre stained (and dried) wood with a brush. You sort of want it here and there but not too “white”. That is why you would want to water it down a bit first. :)
Hope that helps!!
Hi Nancy, please don’t mind the intrusion, as I am most certainly not an artsy chick, but I was trying to get some tips for whitewashing weathered wood on your site when I wound up at this article. I thought it might be of interest to you and your readers to try a DIY weathering mix that can be made for $2 to achieve very similar results. The active ingredient in the weathered wood product appears to be iron acetate, which can be made at home by soaking old nails, steel wool, or anything iron for a few days in some vinegar and straining out the sediment and iron objects once it’s reached the desired strength. I especially like this method because different woods grey faster or slower depending on the amount of tannins in the wood, so you can customize the strength of the mix. If it goes too dark you can dilute with water, or play around with adding vinigar and see what happens. Also, if the wood comes out too “brown” and not grey enough, you can leave your project in the sunlight for a few days and it’ll turn more silvery. I have a mason jar with a thick layer of rusty sediment at the bottom that is just the color I like, and whenever it gets low I just fill it back up with more vinegar and keep using it, it’s my never ending jar of weathering solution.
Love this idea, Josh!! Thanks so much for sharing it with me. Might be fun to give a try! I had heard of soaking steel wool (but not old nails, etc) but never thought or heard of putting it outside to silver it up. I have actually had some turn a little more brown than I wanted in the past. Very good to know! Thanks!! :)
Hi Nancy!
Can you please let me know the size of this sign? Want one similar but want to get an idea of the dimensions.
Thanks so much!
Hi Casey,
It’s a 1×8 and 7.5 inches tall by 40 inches long. Have fun!!! This sign is a favorite of mine! :)
xo
Nancy
Hi Nancy! Is there anyway you could share this font with me? I would like to make this sign using my silhouette cameo! Thanks in advance!!
Bailey :)
Hi Bailey!
Sure, it’s called Salamander Script. :)
Nancy
I love love love this. Although I am not craft so I am trying to find one to buy and I love it with the Mirror. Can you tell me the size of the mirror and the size of the sign?
Hi Krista,
Thank you!
The mirror is 55×31 and the sign is 40×7.5.
Nancy
How exactly did you do the “pale whitewash” over the letters and all without making it too noticeable or over powering the letters and all?
Hi Cassandra,
I didn’t apply the whitewash over the letters. The whitewash was applied to the wood before I painted on the letters. I lightly sanded the lettering and then applied a coat of clear wax to seal.
The whitewash was very thinned down paint so as not to turn the board “white”. You could add the whitewash over the lettering too if you like. It wouldn’t overpower it if it was thinned down enough.
Hope that helps!! :)
Nancy
I love this!! I’m just curious, where did you get this board or where could I find one similar?
Hi Kristen,
It was actually just a piece we had leftover in the garage. You can go by an Lowe’s or Home Depot and have them cut you a 1×6 to the length you need. (or any size really) You can create this sign to fit any sized board. :)
Hope that helps!
Nancy
Hi This is my first time visiting your site. LOVE IT! and LOVE this sign. Not actually sure how to
print in big font size and transfer to wood? can you please explain
Thanks so much I hope I can get this to work
Hi Kim and welcome!! :) Thank you so much for the kind words!!
You can print large items on blockposters. com That’s what I use for anything bigger than a sheet of paper!
Go by and check it out, it’s an awesome way to create these large pieces. :)
Hi Nancy,
My wife and I just redid our kitchen and want to put rustic decor to it. We really like sign you created. Our question is do or will you create these for customers to purchase? I’m pretty handy but too busy to make this, just wondering if you would make one to sell?
Hi Brandon,
I’m sorry, I’m not making these to sell at this time. It’s fairly simple to make! :)
Maybe someone local to you could make something similar?
This sign is exactly what I’m looking for. Does it cost to purchase the lettering on Salamandor script?? Loved your lettering!!
Hmm, I can’t remember but I’m thinking I bought it as part of a font package. Okay, just did a really quick search and it looks like you maybe can download for free. :)
You can download the font for free – I just did it!
Yay! I use it on Picmonkey but that’s great to know!
We just moved into a new home and your sign is perfect! I downloaded it and went to blockposters but they accept .jpg images only not .pdf ?
Please advise!
Thank you
Hi Jodie, do you have Photoshop? You can save it as a jpg there and probably other similar programs, too. Or do a quick search on Google for a pdf converter. There are a lot of free options to do that. Congrats on the new home!! :) xo
Nancy, I know this is going to make me look really stupid, however, it’s a risk I have to take. I have been a follower for a long time. But, I don’t know the password to get the downloads! I have tried to “rejoin” and it won’t let me. What do I do???????
Linda, you are not stupid! I am having the exact same problem. I can’t find a link on how to do a new password. Can’t remember ever putting in an original one. Can someone enlighten me?
Hi Alice,
You didn’t find a link to create a new password because I created it and it’s the same for everyone…and probably why you don’t remember doing it originally. ;) The password for the downloads is in every single email newsletter I send you. (I send them every week, which is usually Tues and Thurs) Pull up one of the emails from me and scroll all the way to the bottom and you will see it there. (it’s in caps and larger font) I keep it there for my subscribers so they will always have access to it.
I will periodically change the password so just remember, it is and will always be in every single email I send you. :) Let me know if you have any more trouble! xo
Hi Linda!
Not at all! :) The password for the downloads is in every single email newsletter I send you. (I send them every week, which is usually Tues and Thurs) Pull up one of the emails from me and scroll all the way to the bottom and you will see it there. (it’s in caps and larger font) I keep it there for my subscribers so they will always have access to it. (everyone has the same password)
I will periodically change the password so just remember, it is and will always be in every single email I send you. :) Hope that helps! Let me know if you have any more trouble. xoxo
Oooo I REALLY like this sign Nancy! Beautiful job and the weathered stain is perfect!
Thank you, Christina! It’s one of my favorites and still hanging in my kitchen. :) xo
Hi, Nancy, Thanks for sharing your blog again about this adorable sign. I appreciate all the details you included – the stain, the wax, how to transfer, etc. Very inspirational – all I need now is the wood, paint, wax, etc.!! I have downloaded the sign. This was a great one to re-post, especially this time of year! Have a great weekend!
I’m so glad you enjoyed seeing it again, Sue! :) xoxo
What an outstanding job. I love this project. I just placed it on my things to do list, and this I have to do soon. I love your DIY’s. Thanks for sharing! You nailed another one.
Aw, thanks so much, Ivory! :) xoxo