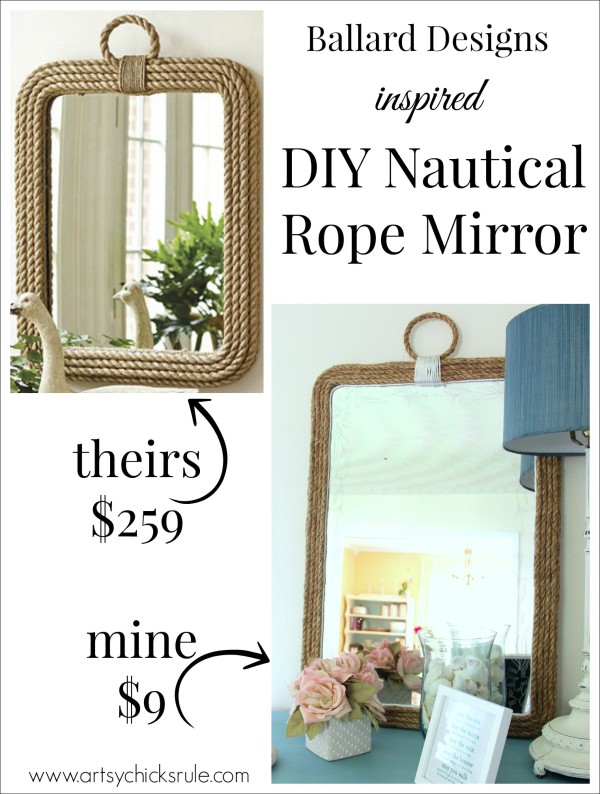
DIY Nautical Rope Mirror
Make your very own rendition of a favorite decor item, like this DIY nautical rope mirror on a budget!
UPDATED: 8/5/2024
I have a really fun and “inspired by” project for you guys today. My friends and I got together and created a few projects for you….and mine is VERY thrifty! Just like I like ’em!!
This mirror project is inspired by Ballard Designs.
DIY Nautical Rope Mirror
I saw this really pretty mirror at Ballard Designs but knew I’d never spend that much!
( because I am a thrifty girl after all)
It looked pretty simple to make ….so I did!
And…as luck would have it (but it doesn’t always!)… I found this mirror on my very first visit out looking for one.
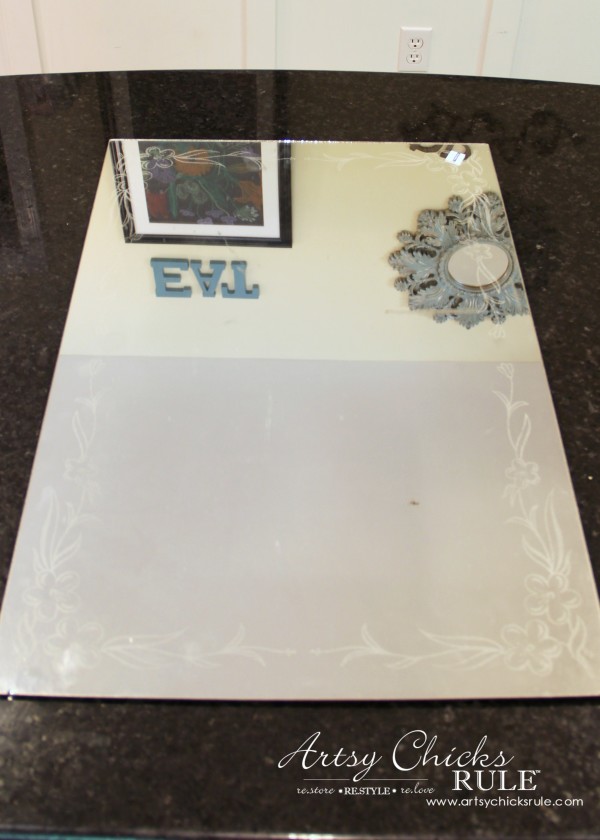
$5.25 for the mirror.
It was pretty much exactly what I was looking for….except for the flowery design along the edges.
I decided to grab it up anyway.
And…the flowers kind of grew on me like I knew they might.
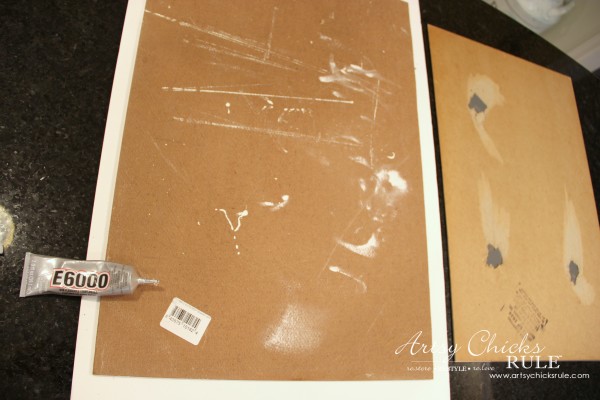
I knew I needed to provide some support to the mirror and create an edge so I could attach the rope.
So I found this old board (it’s a scrap piece of bead board) in the garage and had my husband cut it about an inch larger than the mirror.
Next, I glued the mirror to the wood base with E6000 (I wanted it to be very secure).
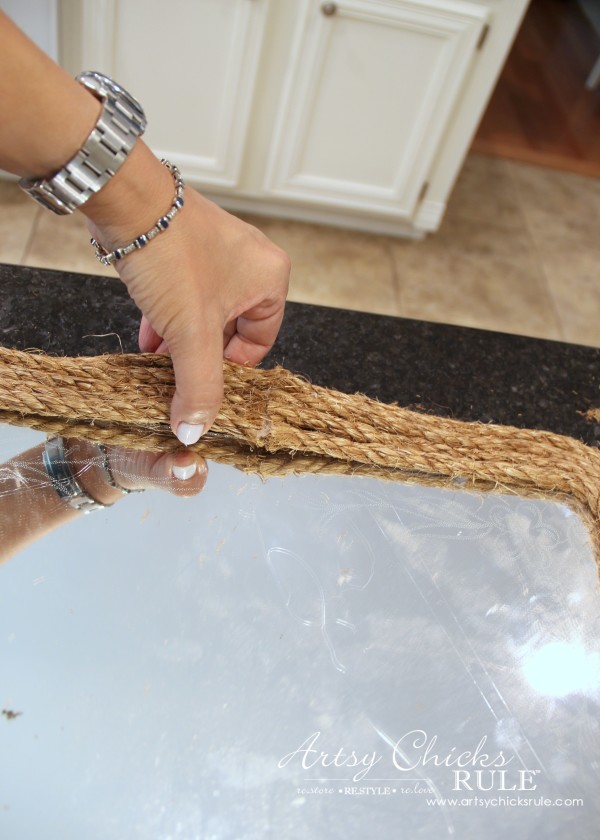
Once that was dry I began hot gluing the rope to the edge of the mirror.
(I already had this rope on hand and ended up using about only 1/3 of the roll)
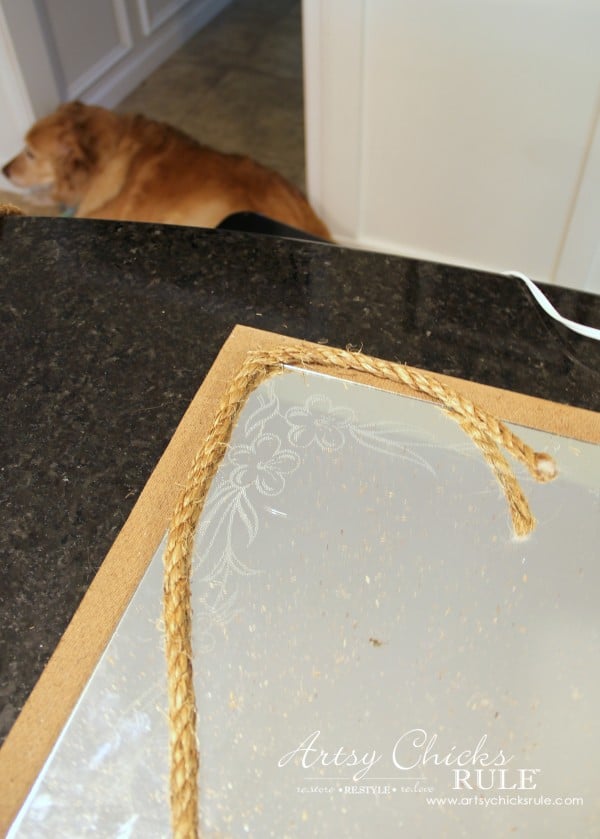
(aw, there’s our sweet Lexi girl, we miss her so!!)
I decided to cut and do sections in the middle top where the loop was going.

You can start a new section of rope to go around the mirror each time as shown above and below.
As you can see below, I decided to round the edges of the corners so they would not show.
A sander is all I needed to do that.
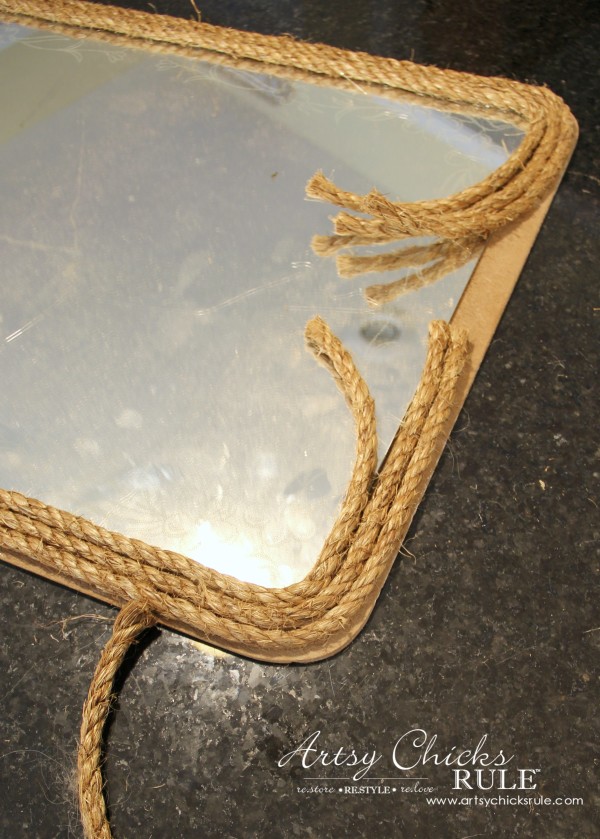
Leaving it “loose” in the center makes it easier to wrap the small twine there at the end. I did this 5 times. (5 layers of rope)
For the fifth and final layer of rope (the edge piece), I glued from the backside.

It was mainly going along that wood edge so I could see it better from this side.
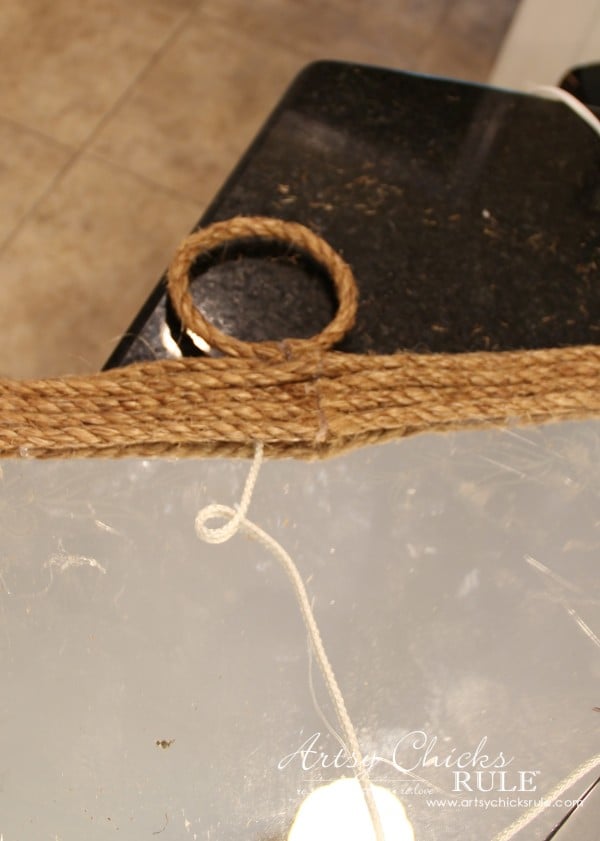
Then I hot-glued the edges together and attached a loop at the top.
Notice the rope is not attached to the base in that spot.
I will be looping through with this white rope …
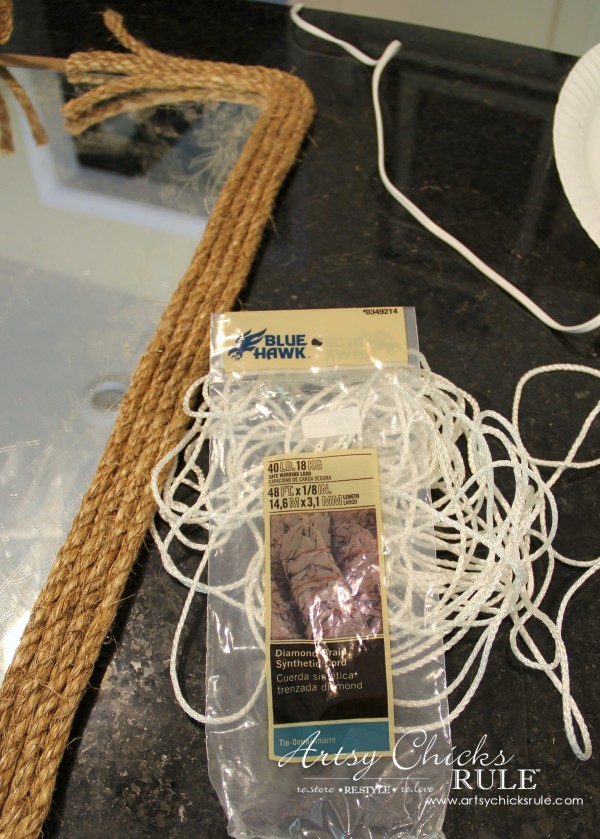
I couldn’t find a smaller twine/rope like Ballard Design had on theirs (that was the same color as my larger rope) and decided to do the white instead.
The contrast is kind of fun so it actually worked out very well!
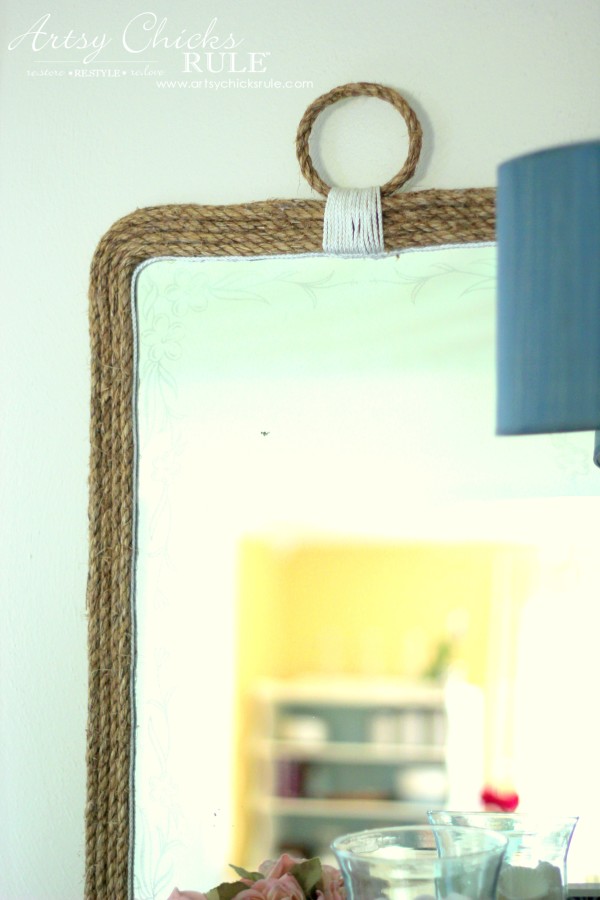
I just wrapped it around a few times and then finished gluing everything down into place.
Then I glued one strand of the white all the way around the inside.
That’s it!

I’m glad I had to go with white for that final roping! I love the look!
All done. I didn’t attach a hook for the back since I decided to just set it on the chest.
But you can add screws with wire along the back to hang.
I would suggest that style of hanger since it did end up being pretty heavy.
I just love how this turned out…
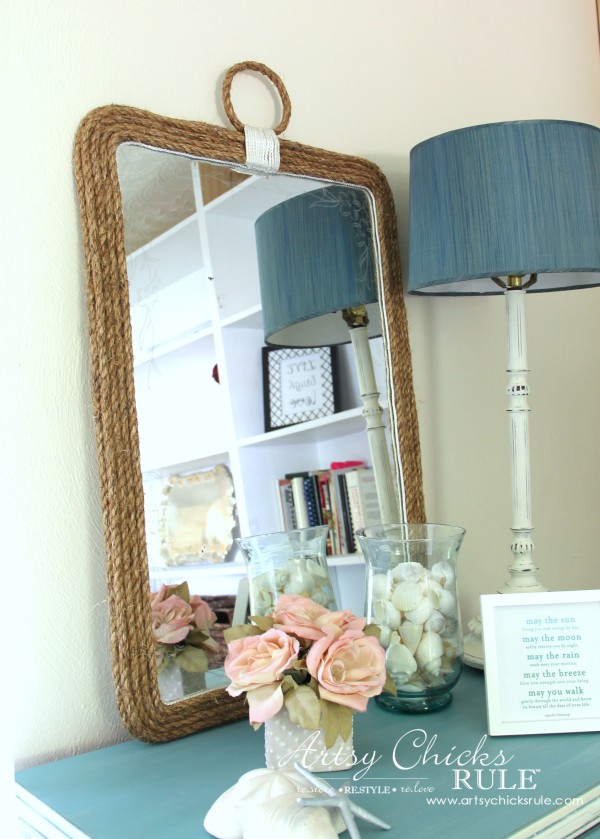
And it was so easy too!
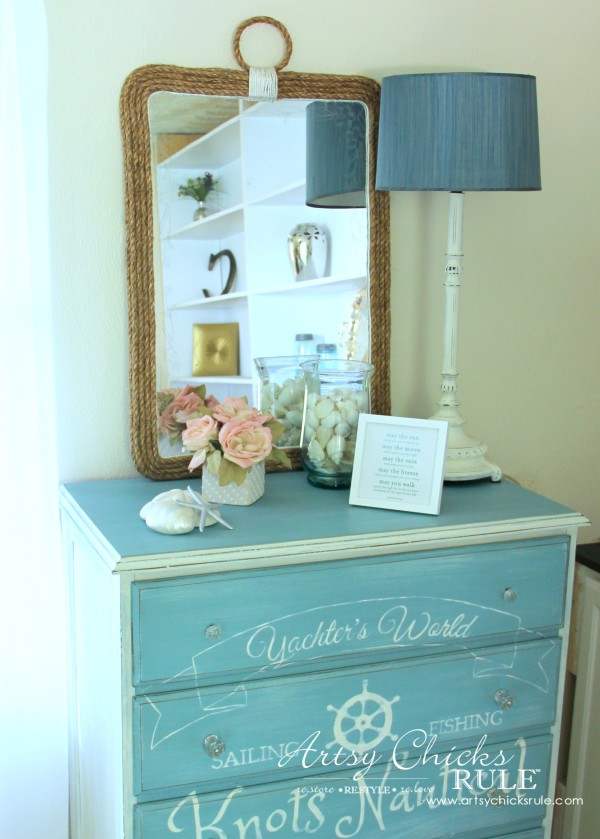
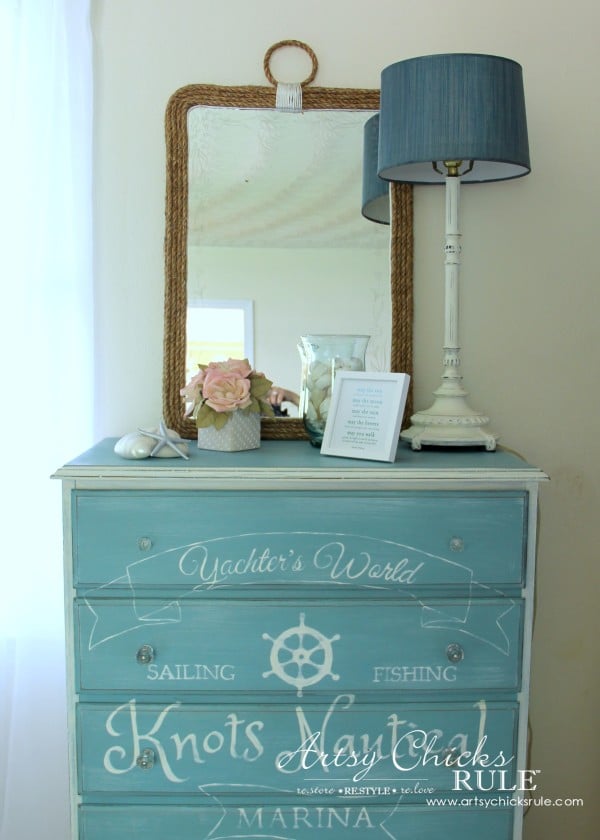
I’m loving it over top of my “Knots Nautical” chest.
You can read all about that makeover here (and see how I created that graphic) …. —> Coastal Themed Chest
So, for the cost, I estimated the price of each rope and the amount I used.
It is somewhere in the ballpark of $9, including the thrift store mirror. Wow!
Not bad at all! And SO much cheaper than the inspiration piece!
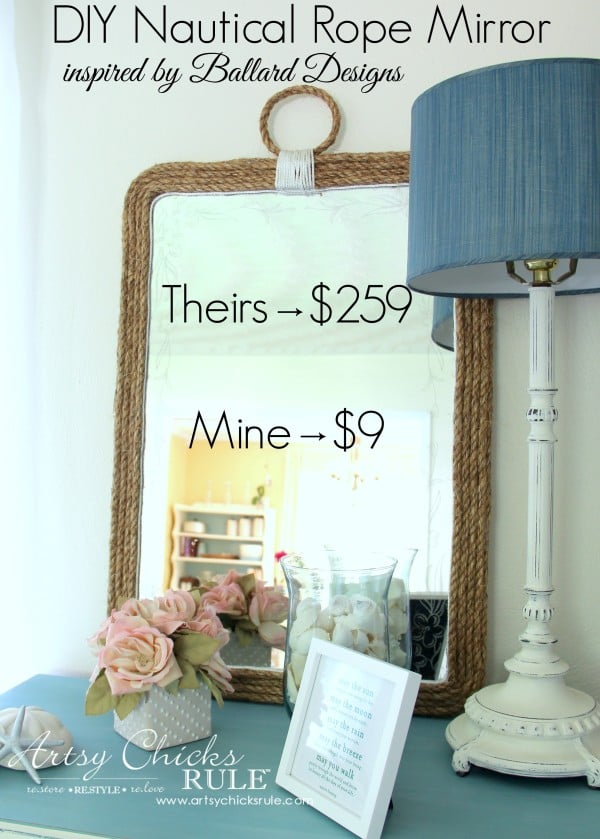
A savings of $250.
That’s my kind of thrifty. How about you?!
PIN it to save it!
Be sure to see what has inspired my friends below!
(and check back in tomorrow for —>> some seashell crafts!)


")


Gorgeous! I’d love to do one on a smaller scale for above my fireplace! It would fit right in with my décor…as most of your décor would lol! And do I spy finished built ins?? XOXO
Thanks Christy! And yep, most of our things are interchangeable!!!
And HAHA…um, not quite and why I didn’t mention them yet again! lol But very, very close! ;)
(I did put some things up on the shelves for Mother’s Day dinner though!)
xo
Nancy
Love it Nancy! So perfect above your nautical dresser. Nice to see this series back again too!
Thank you Marie! :) Me too, this is a fun one!!!
xo
Nancy
I love this! You really used your creativity and it looks so perfect above your nautical dresser!
Thank you Shanna! :)
Nancy
Thanks for sharing this Nancy! I have been wanting to make one for a long time, and you have encouraged me to do so. You did an amazing job. Pinned :)
Thanks Meegan!! :) It was pretty easy to make too!
Nancy
Your knock-off looks amazing, Nancy! And, I love it that it only cost $9! Awesome!! Pinning!
Thank you Julie! That is the absolute best part…$9! ;)
Nancy
pretty darn cute nancy xx
Thank you Chris!! :)
xo
Nancy
Your mirror looks amazing, Nancy! It makes me wish I lived near the beach so I could decorate with things like that. And hooray for saving so much money by making it yourself. You’re so clever!
Thanks Angie! I know…I love saving money like that! :)
Nancy
Nancy, looks just as great as Ballards! And waaay cheaper! It looks so wonderful above your chest! Awesome job! xo
Thanks Karen! I know, crazy right? $9!
xo
Nancy
This is absolutely gorgeous Nancy! I LOVE it! So want one for my house :) You did a fantastic job!
Thanks Dria! It was a really easy one! :)
Nancy
Nancy,
Your mirror is perfect. I love how easy you made it look and love how cheap it was. : ) Great knock Off.
Thanks Vanessa!
It was easy…and fun to make! :)
Nancy
Gorgeous! I’m gonna be featuring you next week. Love it!
What a gorgeous mirror! It looks so high end. Amazing that it only cost you $9. Definately a budget friendly DIY.
Thank you, Dawn! Love a good budget friendly makeover! :)
I love rope and this looks really good! Great job!
Thank you, Cyndi!! xo
Hi Nancy! Your mirror turned out amazing!
Thank you, Cheryl!! xo
Now that is one sweet project, Nancy. I absolutely love it and it looks great in your world.
My sis is completely gutting and renovating her big lake house. When it comes time for the final and 7th layer of design I may have to make one of those for her. I really like it.
Thank you, Michele!! Yes, you should!! Would be perfect for a lake house! xo