Industrial Style DIY Paper Towel Holder (Power Drill Challenge)
Create your very own, industrial style, DIY paper towel holder with these simple instructions.
Hi Friends!
I have a really fun project for y’all today.
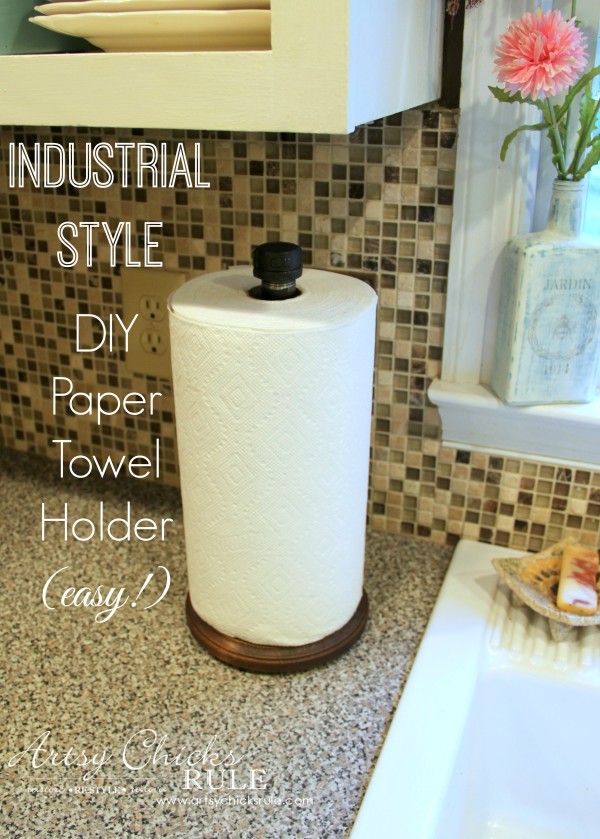
An Industrial Style DIY Paper Towel Holder.
And it’s sooo easy too!
Even better, right? I know I love easy.
My friend Wendi, over at H20 Bungalow, put together a challenge with 13 bloggers (including me).
The challenge is …. use ONE power tool to make something.
The power tool we are using is a DRILL.
And with that drill I made this…..
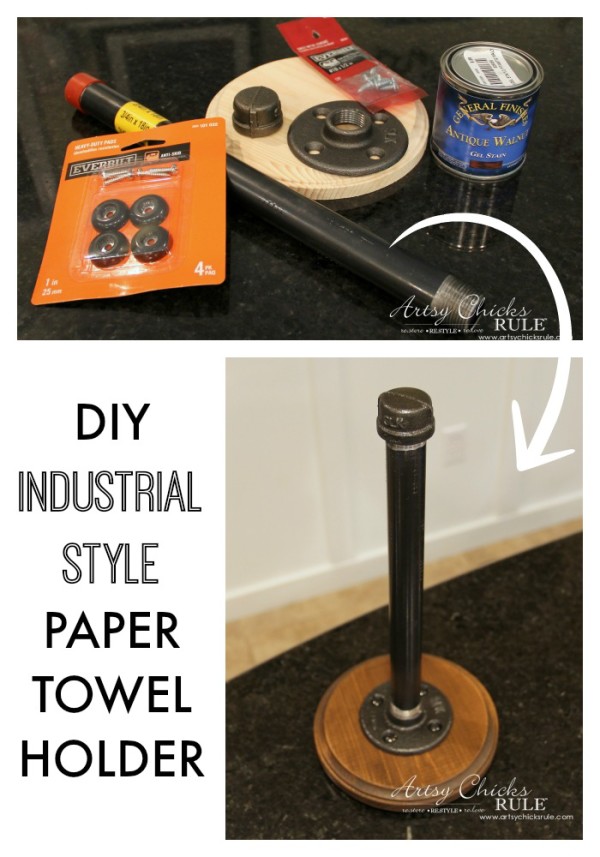
I decided to use industrial plumbing pipe for this project because I thought it’d be perfect for the “drill” part of the challenge.
Plus I’ve been wanting to add a bit of industrial “flair” to my home.
We are also planning wood with piping shelves in the laundry room but this is a fun & quick little project in the meantime.
I got my inspiration for this project…well, from all over the web.
Quite a few have done them…but the first one I saw was from Taryn at Design, Dining and Diapers.
Her’s is a little different than mine so be sure to pop over and see how she created hers. :)
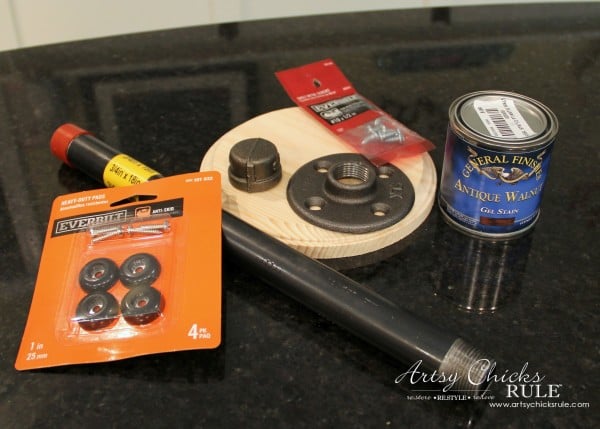
Okay, so here’s what I started with….

E A S Y.
I found the round base at Michael’s and the rest came from The Home Depot.
(except the stain and poly I used, which is from General Finishes)
Here is the supplies list:
(I’ve included affiliate links for these items at the bottom of the page for your convenience. See full disclosure here.)
1 – 3/4″ pipe (it came in 18 ” but I had them cut it down (and re-threaded) to 12) – Pipe Black Tbe 3/4″x18″
1 – 3/4 ” flange – Floor Flange, Black, 3/4-Inch
1 – 3/4″ cap – Cap, Black, 3/4-Inch
1 – package gripper pads – 1-Inch Surface Grip Screw On Non Slip Furniture Pads, 4-Pack
#6 – 3/8″ screws – Hard-to-Find Fastener 014973474010 Phillips Flat Wood Screws, 6 x 3/8-Inch
#10 – 5/8″ screws – Phillips Flat Wood Screws, 10 x 5/8-Inch
1 – round wood plaque – Darice 9179-65 Wooden Round Plaque, 7-Inch
Stain, color of your choice (I used General Finishes AH Gel Stain, 1/2 pint – Antique Walnut)
Poly (I used General Finishes High Performance Water Based Topcoat, 1 quart, Satin)
.…and the drill of course!
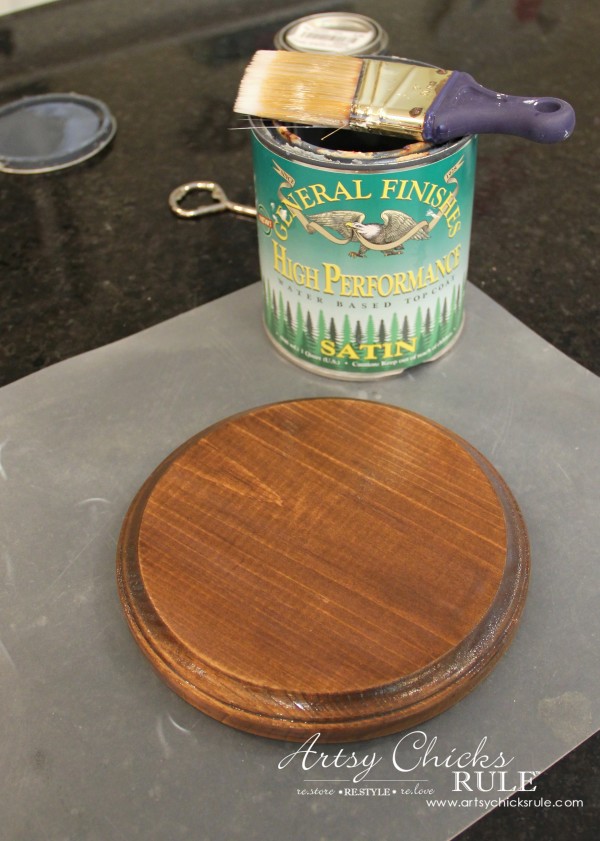
Start by staining your wood…. (I gave it a light sand beforehand also)
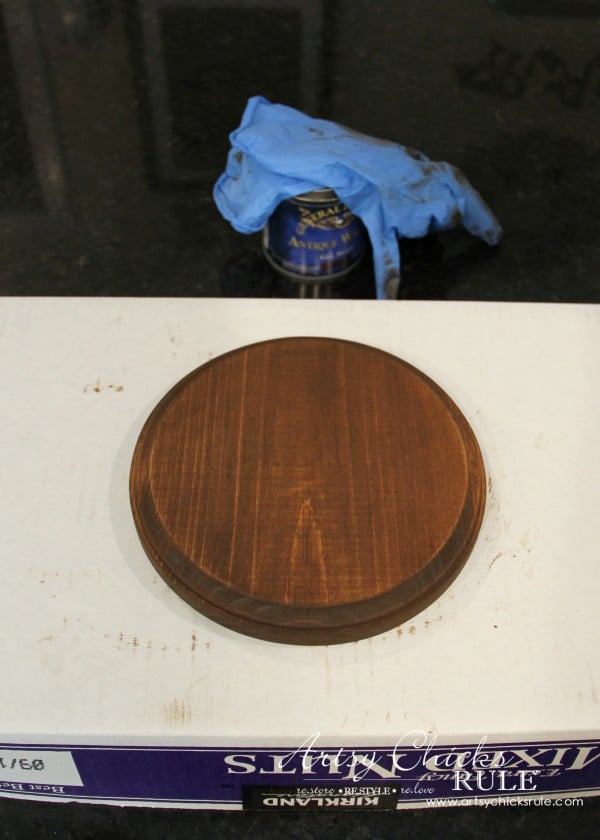
I could have done another coat but decided this was the perfect shade I was after.
Once that was dry, I applied 2 coats of High Performance Top Coat (drying well in between)
While that was drying I took my metal items outside to spray …. (taping off the threaded areas)
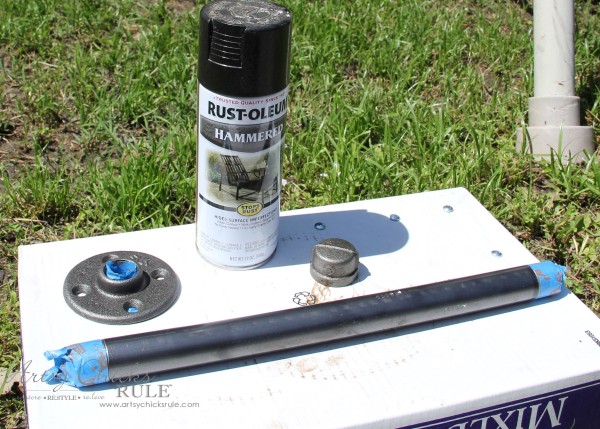
I wanted them to be a darker color. (and the same color, they weren’t)
I used Rustoleum in “Hammered Black”.
LOVE it!
It was the perfect shade for this project.
If you look closely (top right corner) in the photo you can see how I pushed the screws down into the cardboard to spray.
Makes it so easy and that way they are the same color as the rest of the metal.
After all that had dried I attached the flange. (see my spray painted screws there?)
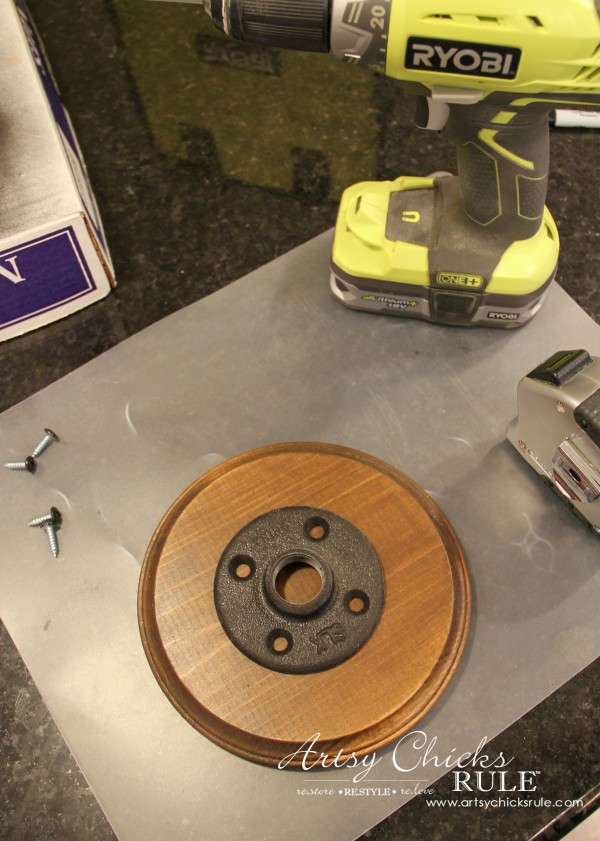
I measured for center and then measured all the way around to make sure it was …centered. :)
Then marked that and drilled pilot holes….
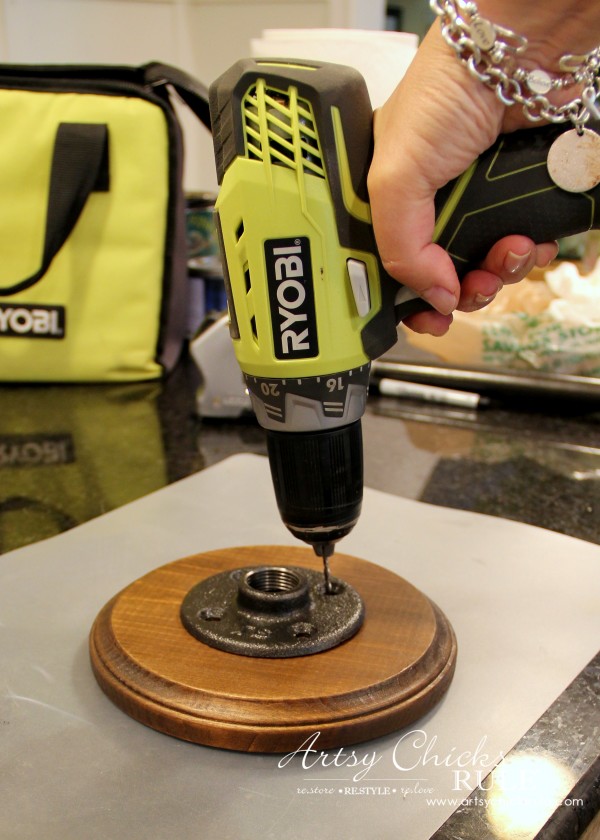
It’s hard to take a picture of yourself drilling. ;)
Thank goodness my daughter walked in from work halfway through!
So, just to be clear, I was not drilling crooked as you see…I was leaning to take the photo. (one hand has the drill, one hand has the camera! ;) )
You will want to make sure you drill straight down into the wood.
After you’ve drilled your pilot holes all you have to do is add the screws.
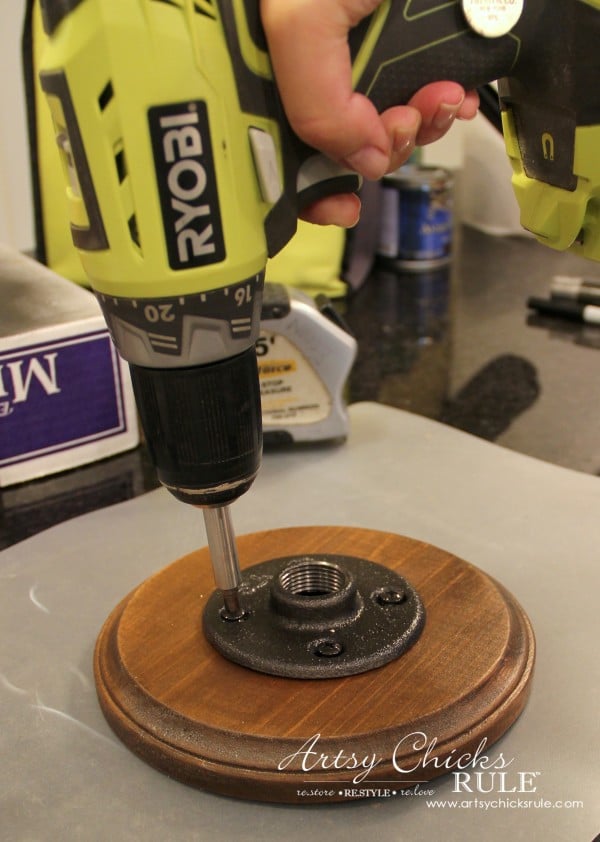
All tight and good to go.
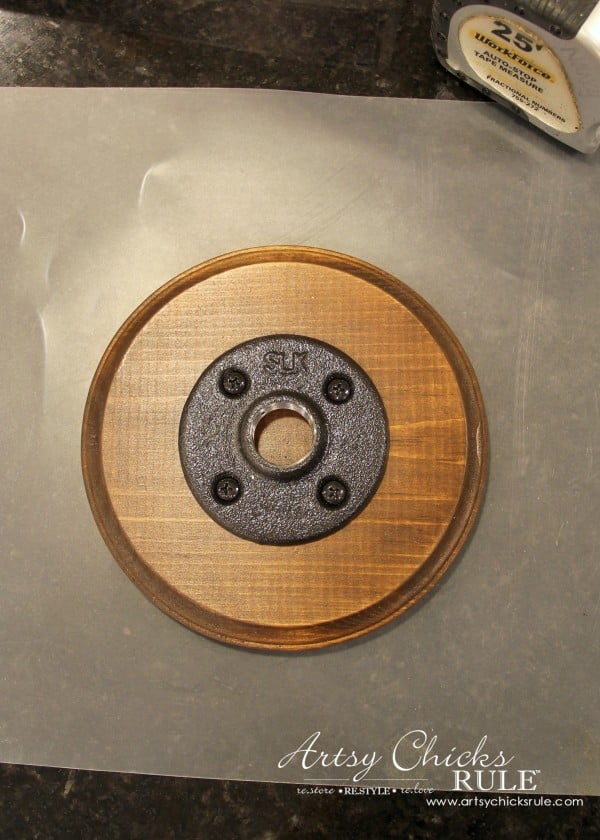
Next, since it sits right by the sink, I decided to add “feet” to the bottom side of the base.
I didn’t want water and such getting up under the wood.
Plus, I like the look of it raised a bit.
(and yes, I do write my name on my tools around here, lol, my husband has his…and I have mine ;) — the tape measure)
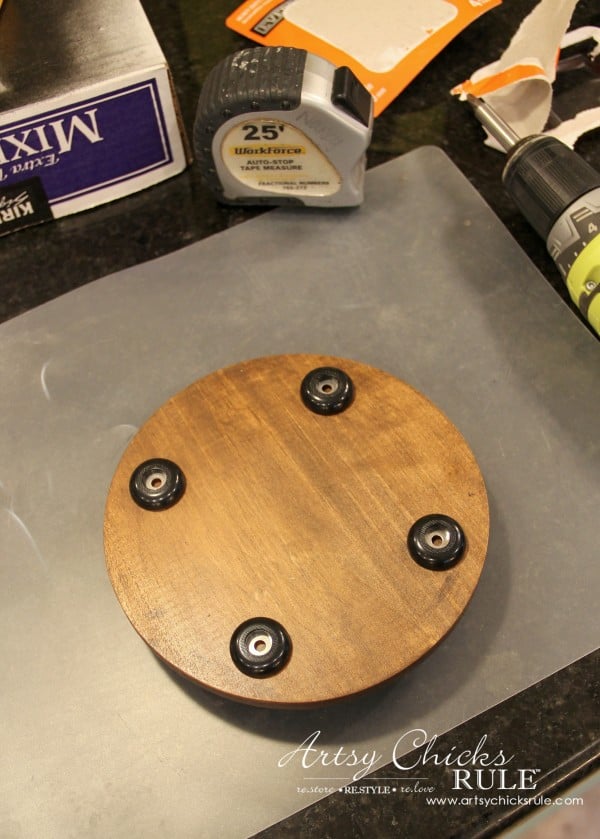
I found these at The Home Depot for around $2.50.
They are perfect…and kind of grippy.
I also marked, measured and then drilled a pilot hole for them….. (two hands, yay! ;) )
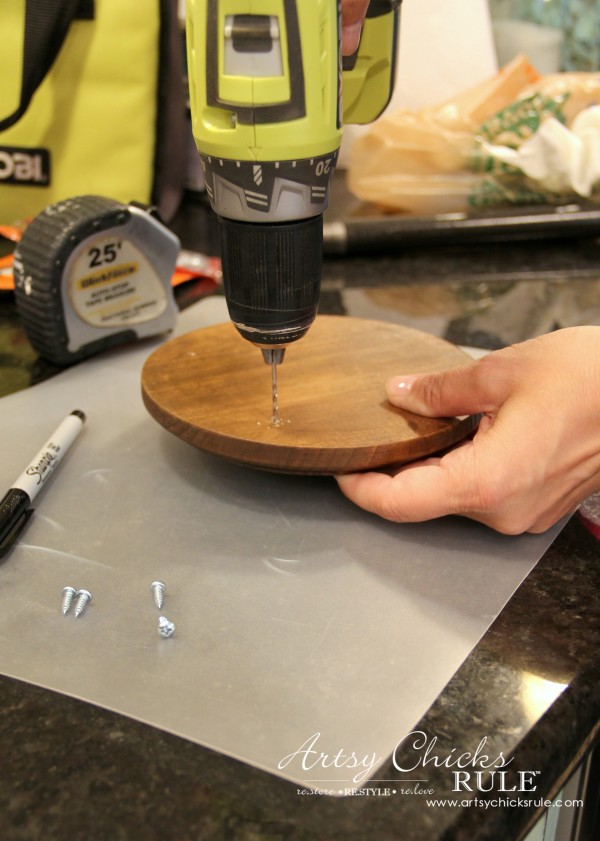
Pilot holes are really not necessary for this small project but it does makes the job a bit easier.
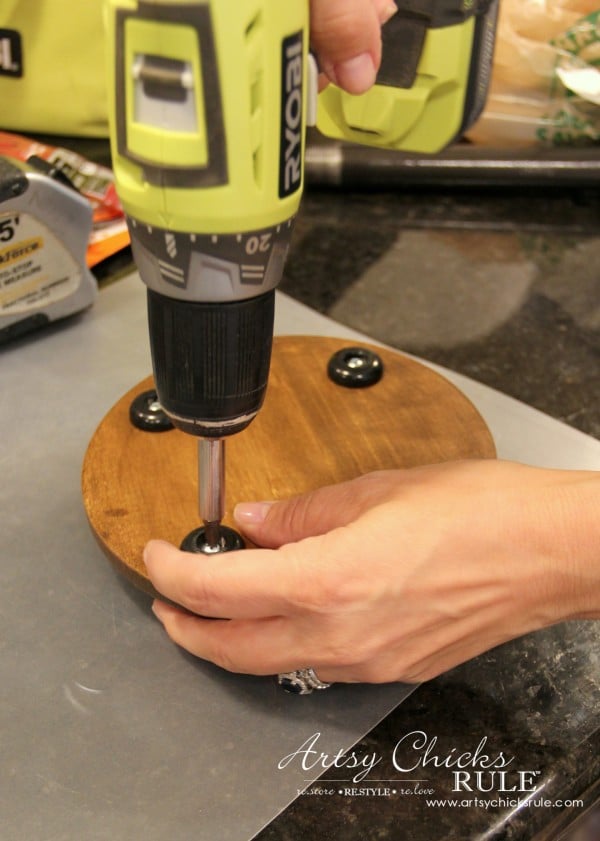
Finish tightening up all of the screws so it is secure.
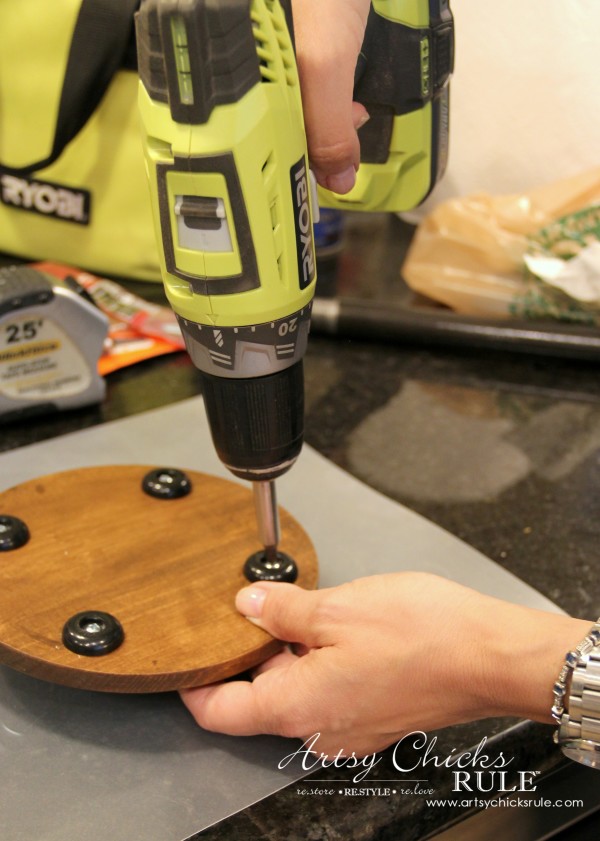
Now it has grippy feet for the bottom!
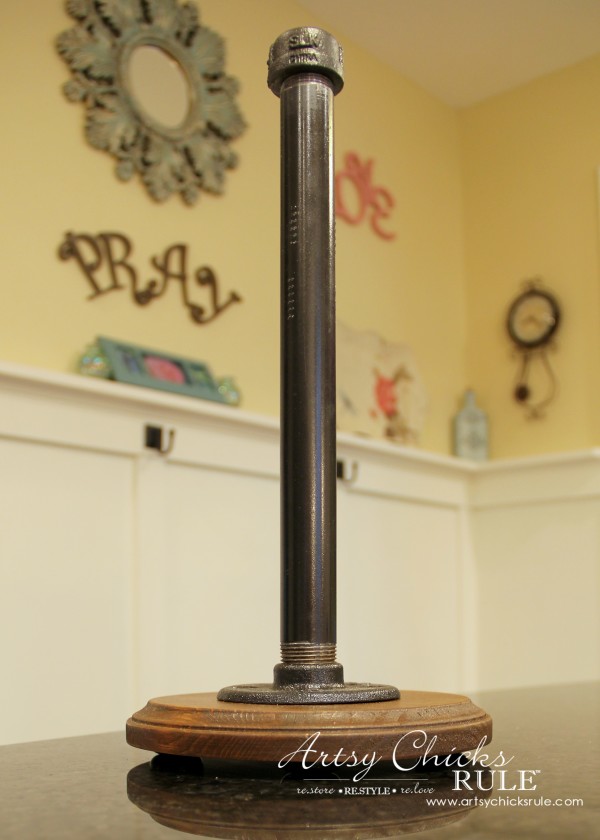
No water getting funky under there. ;)
I love it…. and I sort of feel like I’m channeling a bit of Joanna Gaines in this project. ;)
Love her! …and her style.
Anyway….you are done!
That is it.
Voila! Industrial Style DIY Paper Towel Holder
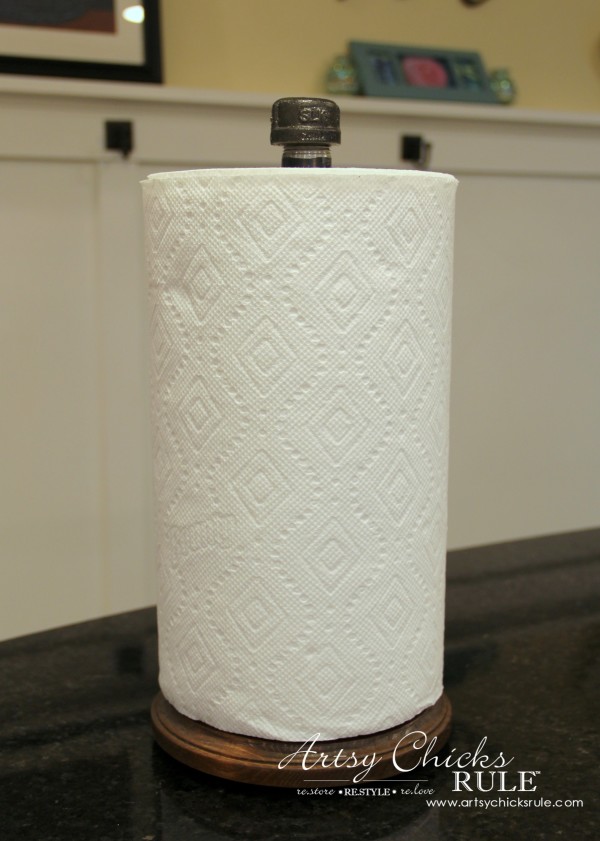
…and had to show you what it also looks like with less than a full roll…..
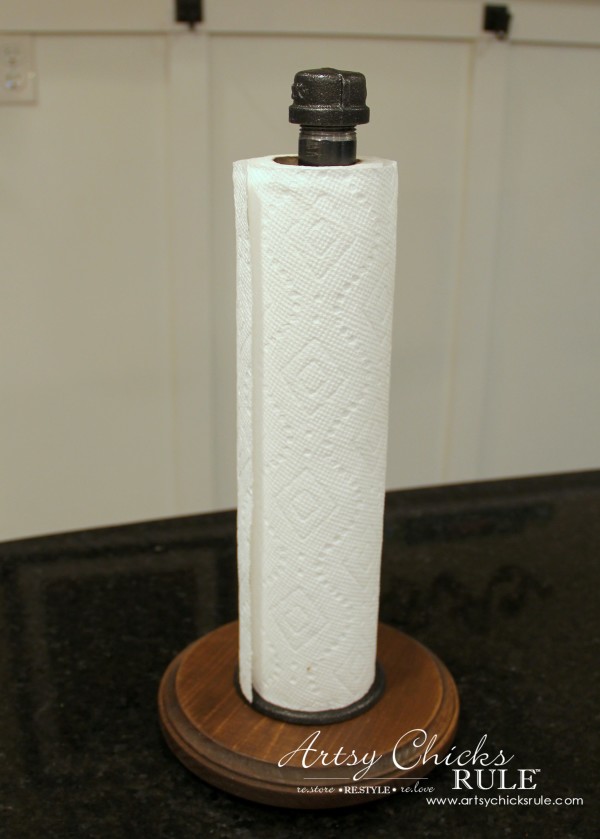
I LOVE a full roll of paper towels on the holder at all times in the kitchen…but I have to say, I’m loving it less than full so I can see all the pretty. ;)
It’s hard to get photos with my fluorescent under cabinet lighting….on…
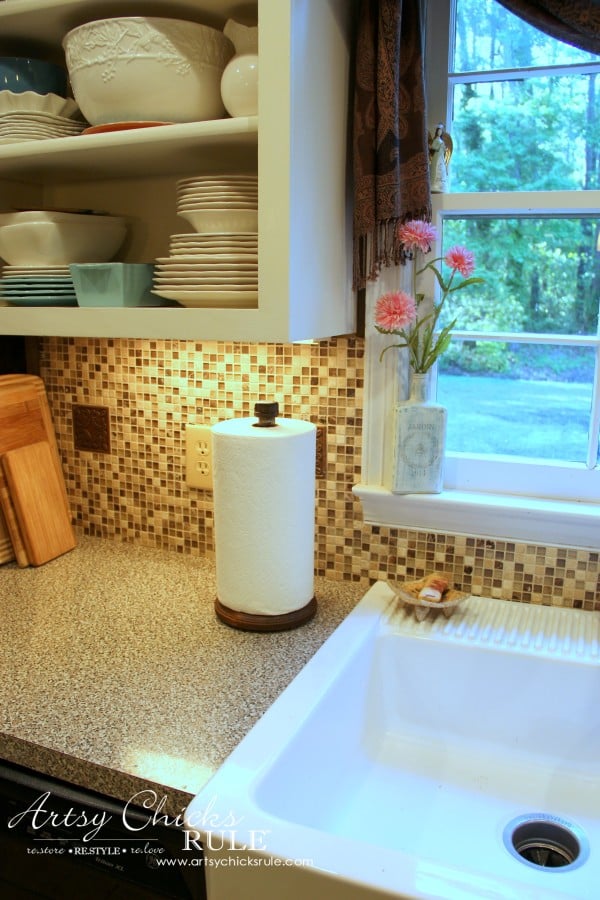
…and off…..
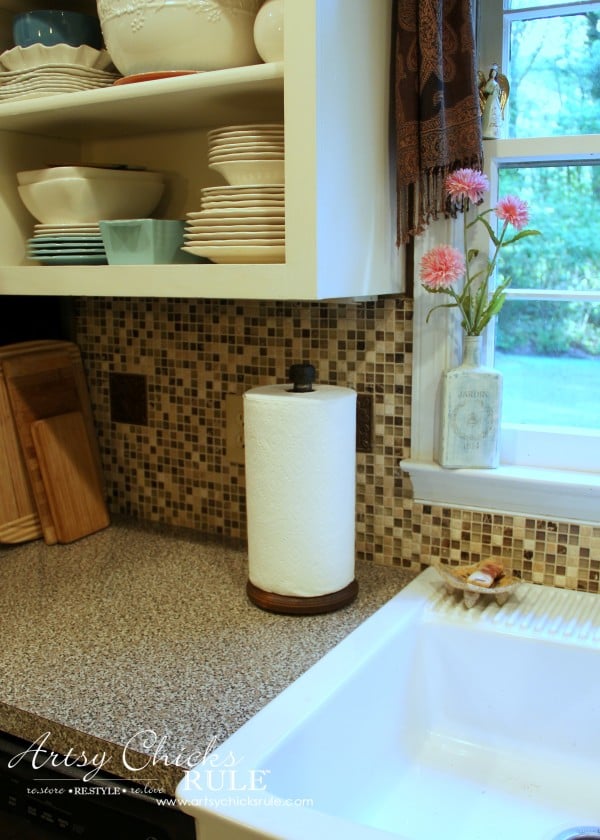
…and on….
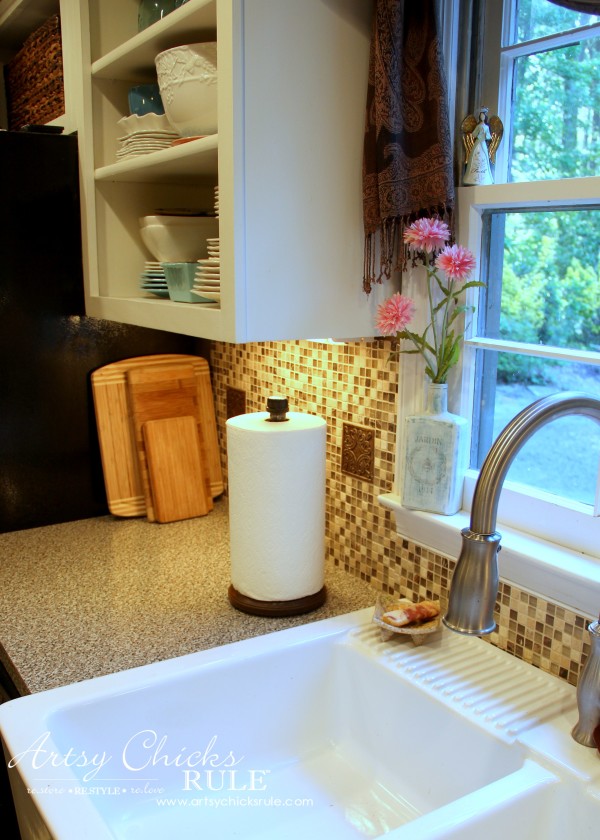
You get the idea anyway. :)
Do you feel inspired to make something too?
I hope so!
That was the idea behind this project and this fun drill challenge.
Be sure to visit the 12 other bloggers and see what they made with their drills below!
Have a great weekend!
xo

Follow along here! –> Instagram ~ Facebook ~ Pinterest




Love this holder! I never thought to use black pipe and I especially love the feet on the bottom!
Thanks Cher! :)
Nancy
Nancy,
I have some of these pipes to use for a table or shelf. If I have any left over, I know what I’ll do with it.
Great one tool project and tutorial.
pinned!
gail
Thanks Gail! :)
They are fun to work with!
Nancy
Love it Nancy! I would have never thought to use those thingys on the bottom but they add so much to the look. Great tutorial too BTW. It’s been fun doing this challenge with you!
Thank you Marie!! :)
Yes, I love the look they give and the added functionality too!
Nancy
Love it! Nothing like having a full roll of paper towels or TP lol! The little feet thingys were a smart addition. :)
Haha!!! That’s right! Especially the TP!! ;)
Nancy
What a great (and clever) idea! I actually need a new paper towel holder in our camper, so maybe I will just make one instead of buying one.
Thanks for the idea… and nice job! xo
Thanks Karen! :) Oh yes, make one! It really, truly was a simple project!
xo
Nancy
awesome project Nancy!! the pipes have such a cool look and i love your detailed tutorial as well!
Thank you! :)
Nancy
Such a fabulous drill project Nancy! I love the industrial rustic vibe!!
Thank you Krista!! It is fun to add a bit of industrial into my decor! ;)
Nancy
Love, love, love it! So simple and functional too. Great job, Nancy! :)
Thanks Larissa! :)
Nancy