DIY Funny Kitchen Sign (& free printable!)
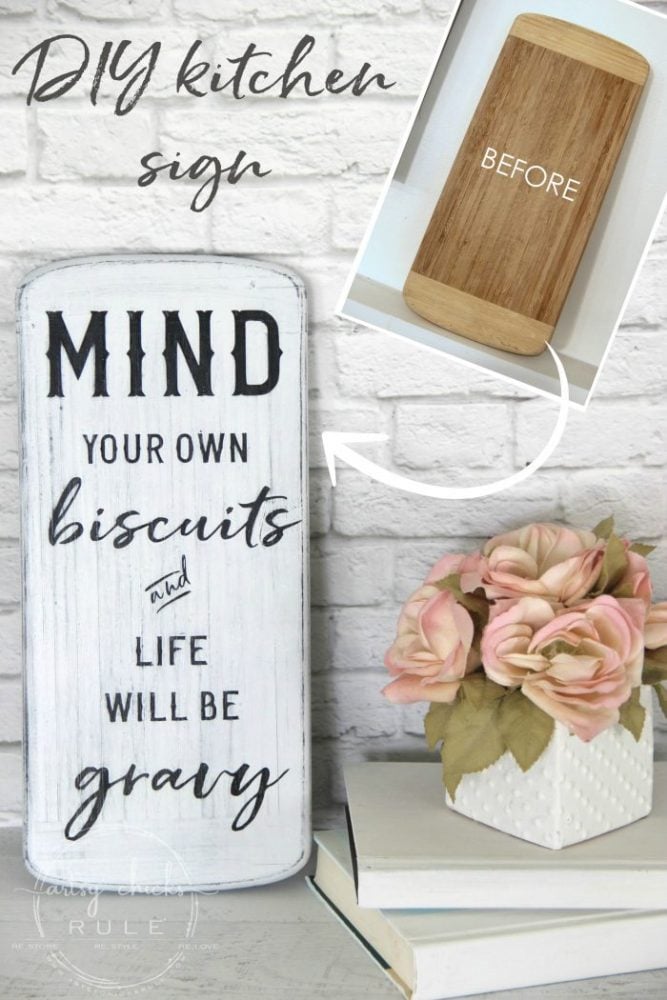
I love some of those old, silly (and quirky) sayings! Like this DIY funny kitchen sign I’m sharing today.
There are some funny sayings out there! You’ve got to wonder where they all came from, you know?
Like who was the first person to say, “well butter my butt and call me a biscuit!” Haha
Or, “he’s only got one oar in the water”. lol
And how about….. “it’s so dry the trees are bribing the dogs”
So darn funny.
Have you ever heard any of these before?
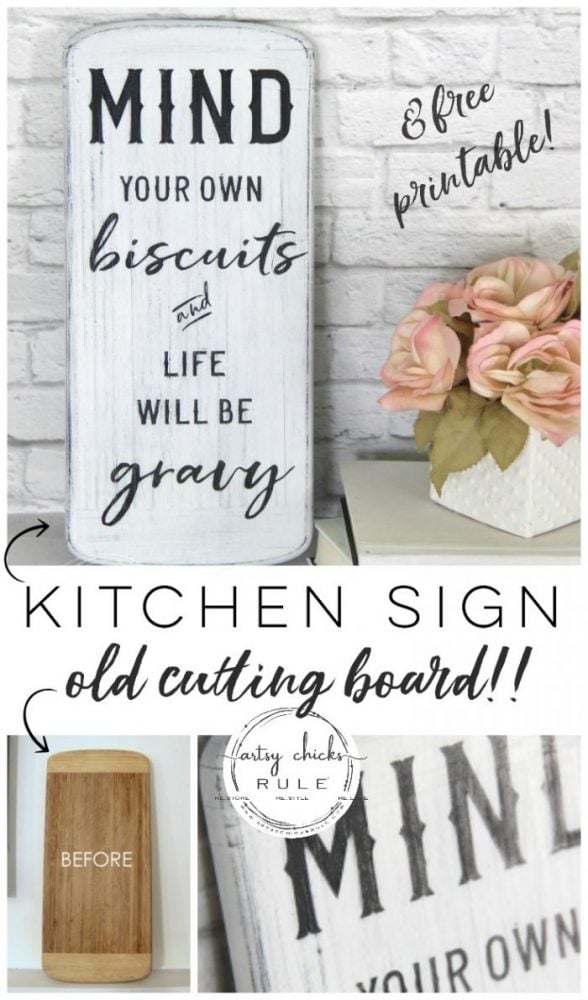
How about… mind your own biscuits and life will be gravy? ;)
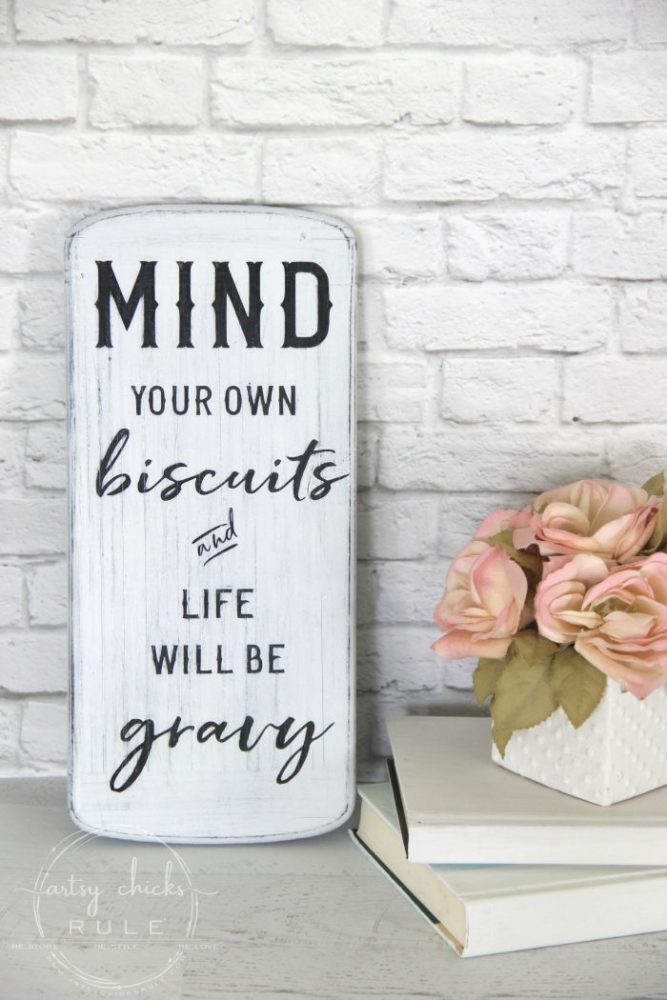
I saw that and thought it would make a cute and funny kitchen sign, so I made one!
I love to use my Silhouette Cameo (<– awesome bundle here) to make signs these days. It’s just SO much easier and quicker!
There’s 3 ways that I do it:
- use the vinyl letters that are cut out on the project
- use the vinyl cutout — minus the letters — as a stencil
- use the vinyl letters for color revealing
For this project, I used the color revealing.
That basically means I spray painted a base color (black) onto my board….
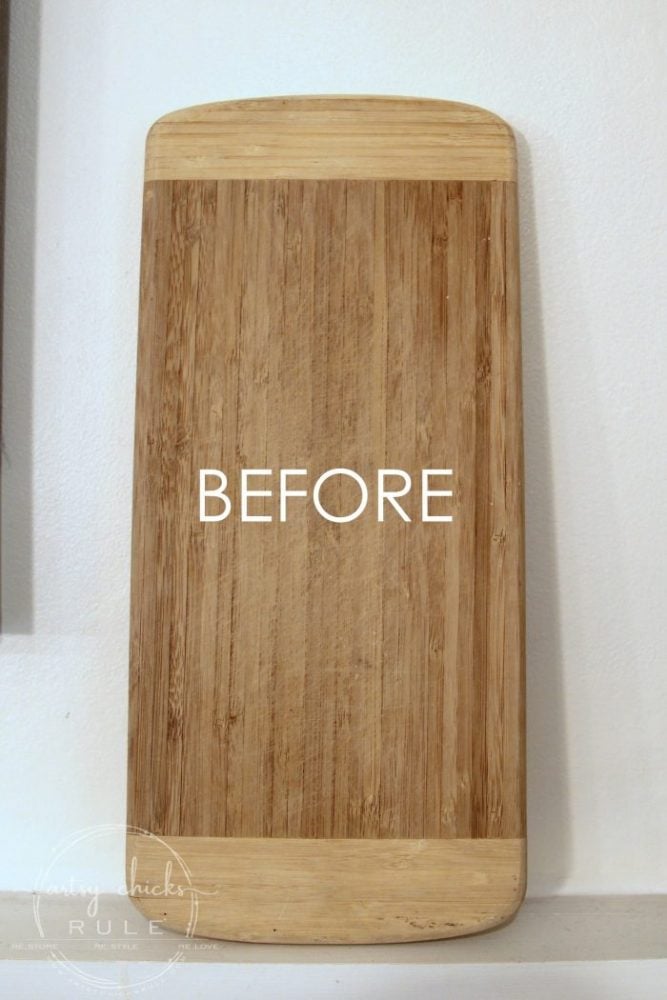
…which happens to be a thrift store cutting board.
The color I paint for the base is the color my letters will end up being. (black)
Then I use my Silhouette to cut out the graphic I created below.
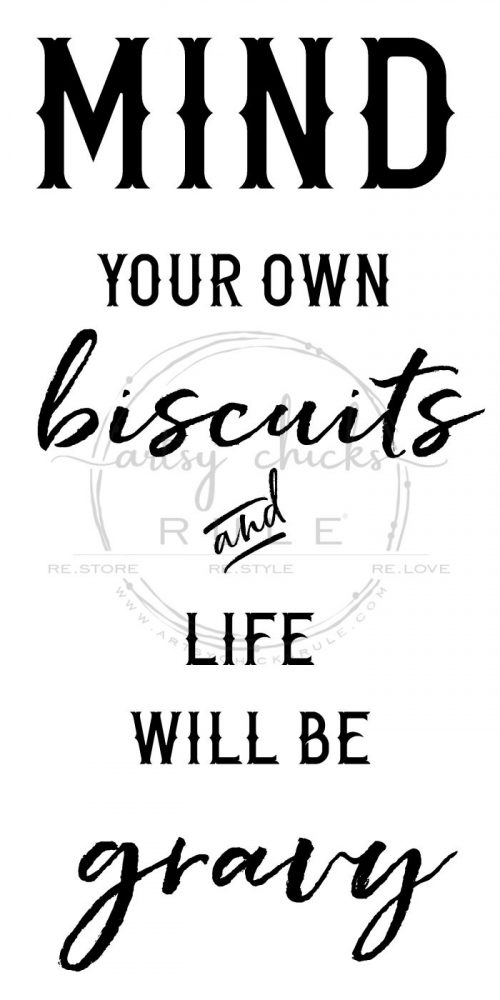
I shared a tutorial on how I use my own graphics in the Silhouette program, here.
So, just as if I were going to use the vinyl letters on a project, I pull the large piece of vinyl off leaving the letters behind.
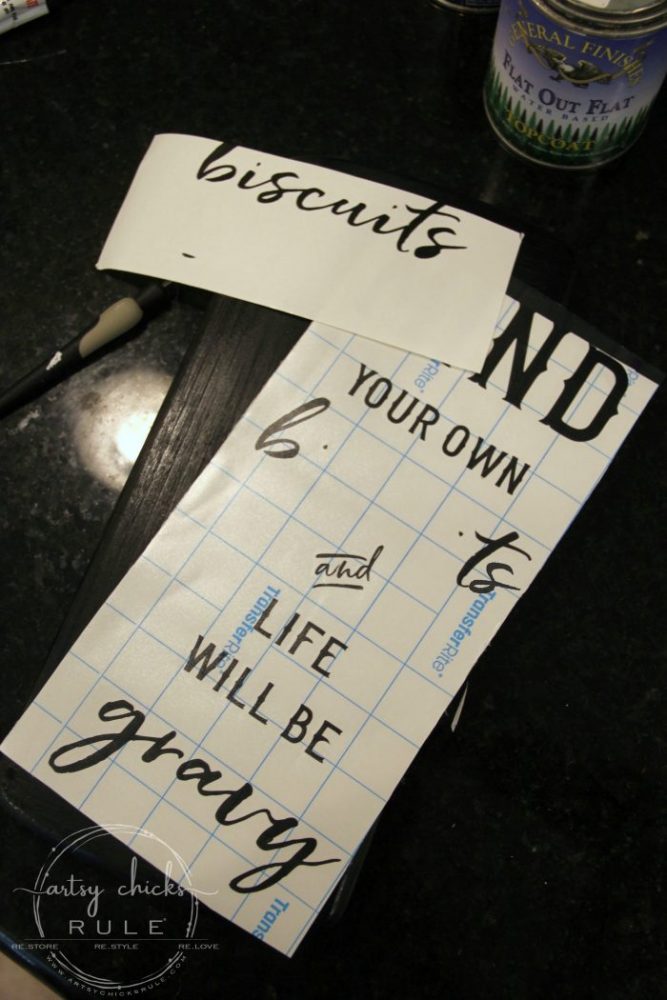
(don’t mind my “biscuits” there…I accidentally got them stuck to the vinyl and messed them up so had to recut that section)
Next, you will apply the transfer paper over the letters and transfer them to the board.
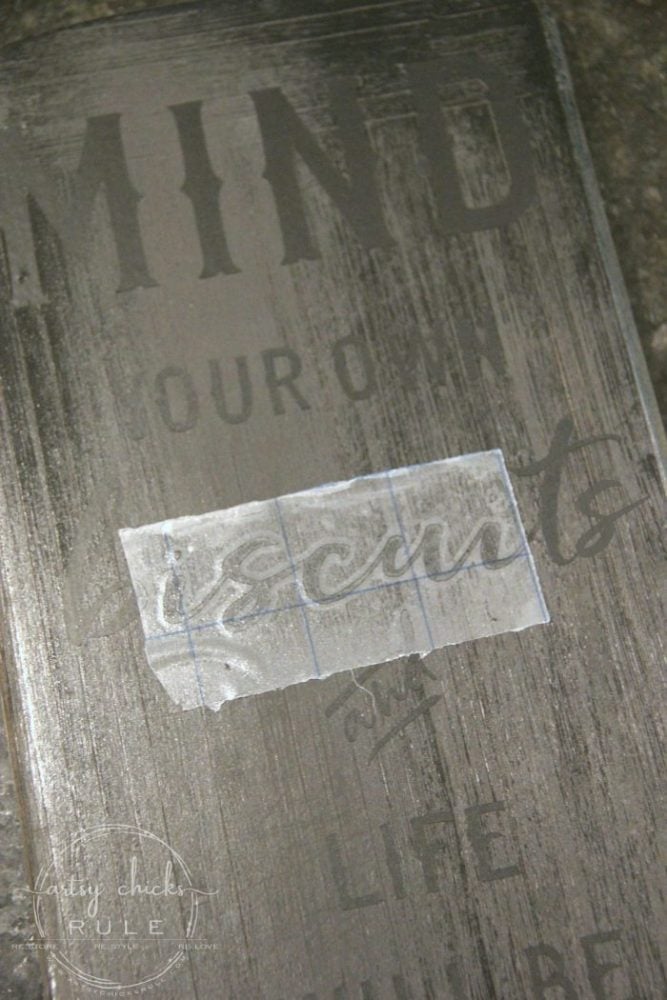
Now, one more coat of spray paint….white…letters and all.
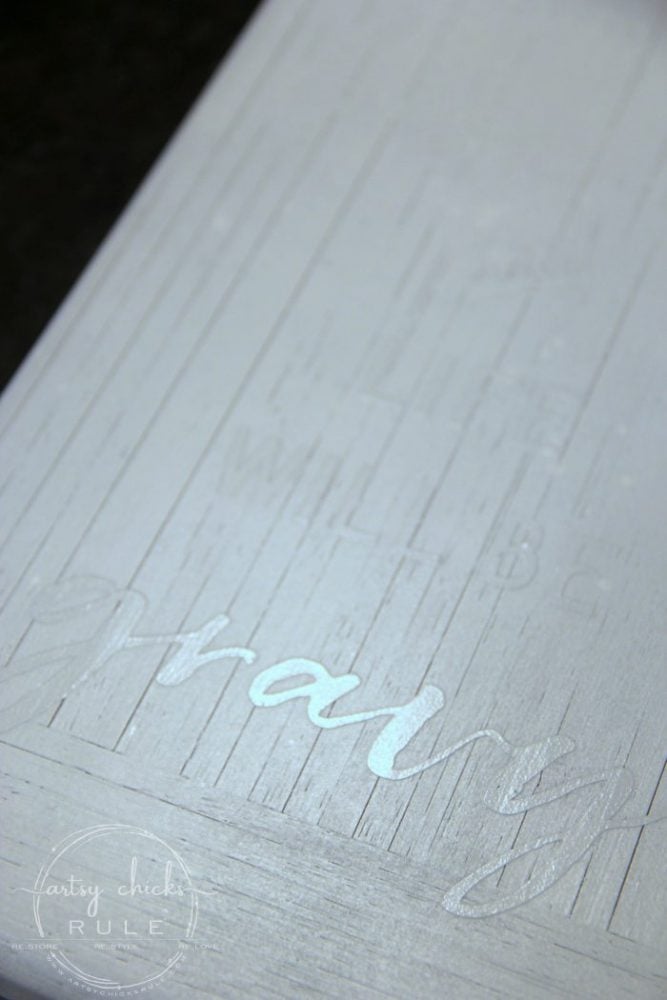
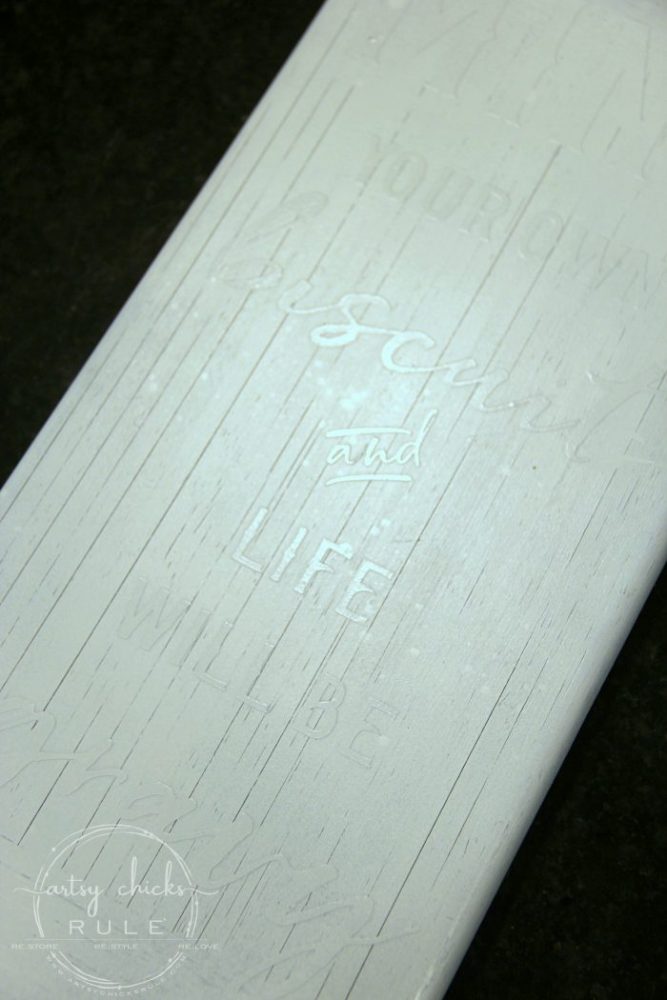
Next, remove the vinyl letters to reveal the black underneath!
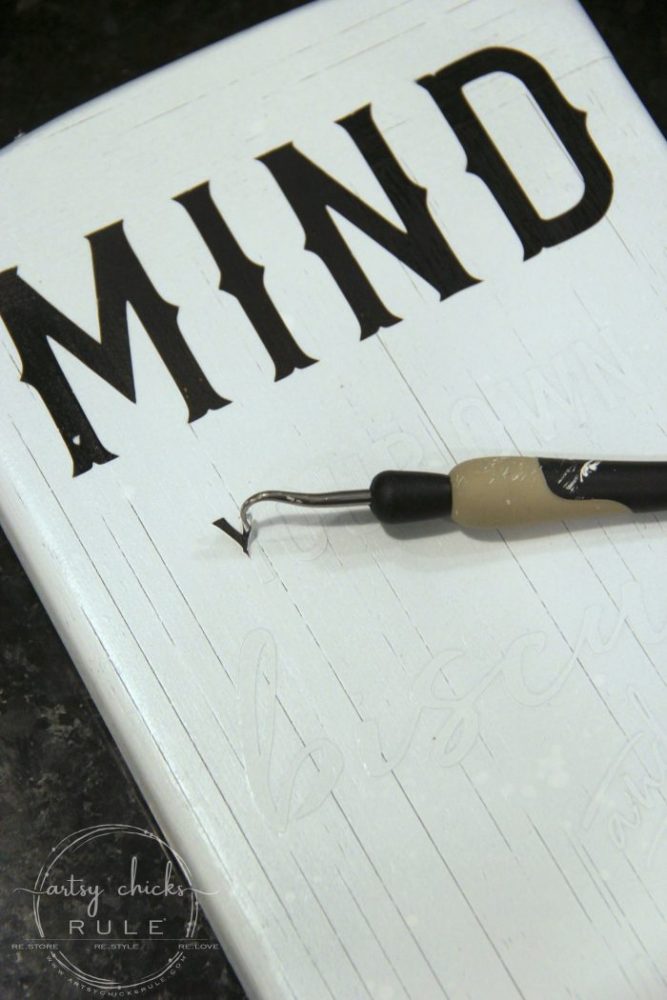
Isn’t that cool?
This works great for those times that you want a fully “painted” look. (instead of just having vinyl letters stuck on)
I think it also gives a more defined edge than you’d get with the “stencil” technique.
But this is SO much easier than hand painting each letter, right?
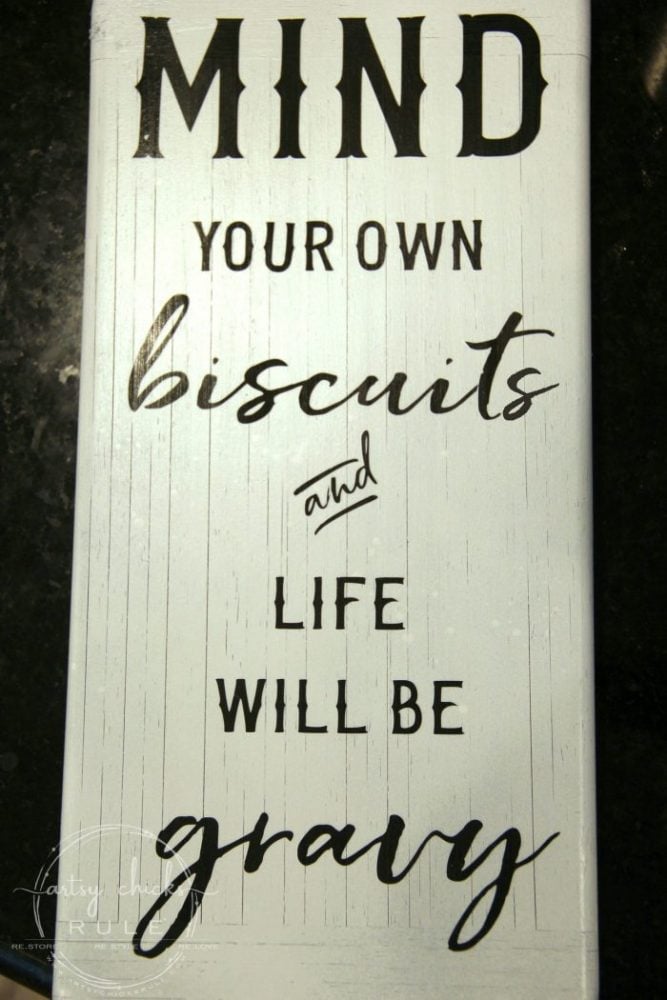
I gave it a light sanding with very fine sandpaper to distress it a bit..and done!
Quick and easy, funny kitchen sign.
And here it is actually hanging in my kitchen.
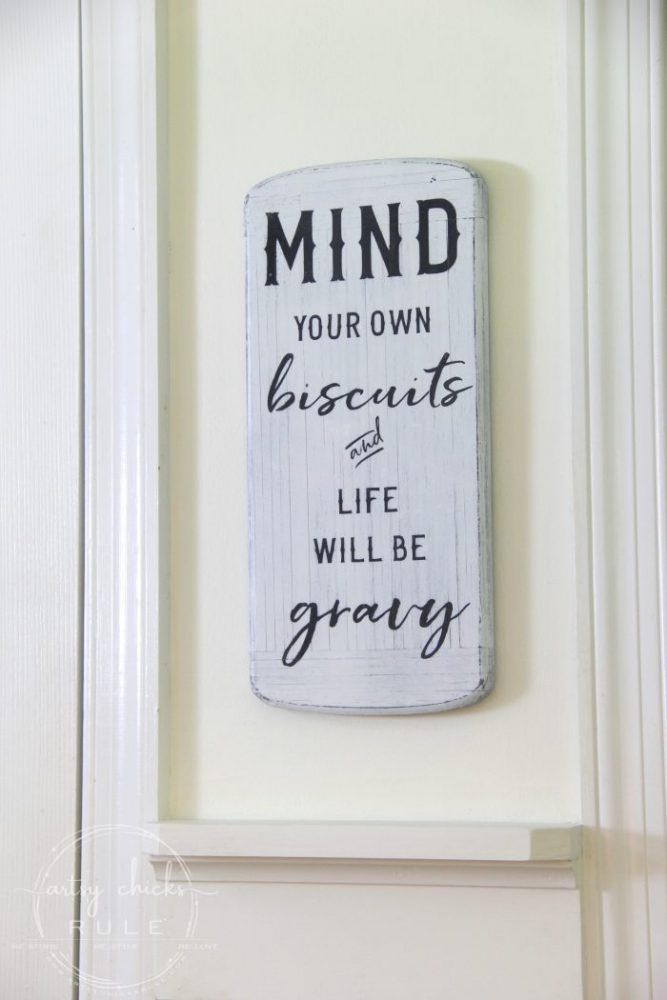
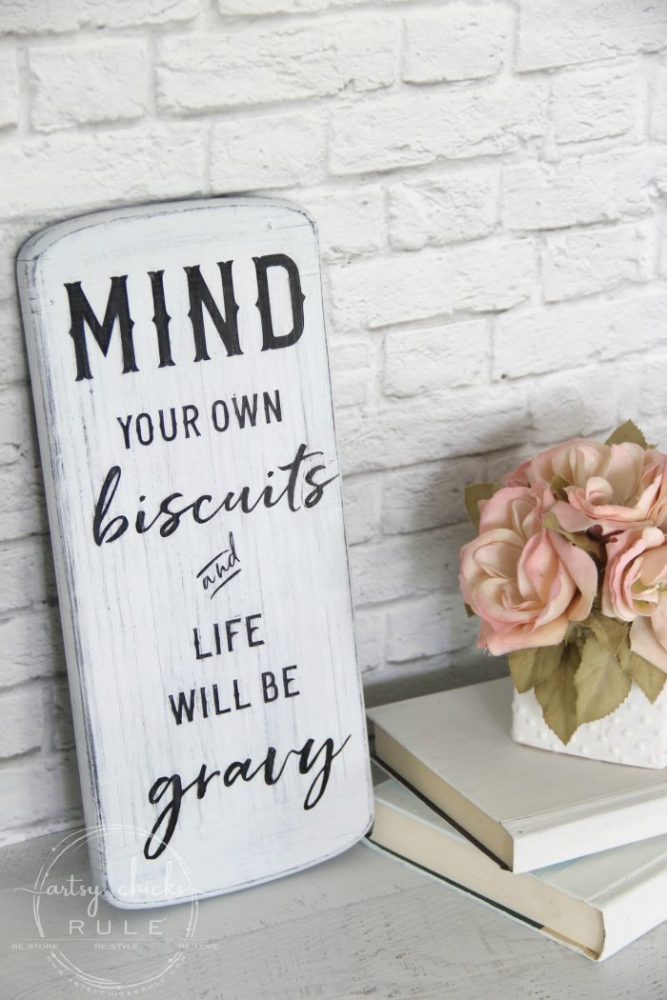
Who would ever think that this funny kitchen sign was actually a well used cutting board at one time???
No one, I am sure of it! ;)
Here are a few similar projects using the various ways I mentioned above:
PIN this to save it so you can make a funny kitchen sign too!
Be sure to check back next week when I share this makeover with my “trash to treasure” girls!
UPDATE!! See it now, here!!
Have a wonderful weekend, friends!
xoxo







Sweet sign and painting tips!! Love the sayings also. One more: If you’re going to get in the saddle, be prepared for the ride. ;)
Thanks Christina!! These sayings are so much fun…and yep, that is a good one too!! lol :)
LOVE! Looks perfect… love the fonts you are using these days! Wonderful, Nancy!
Thanks Julie! :) I love playing with all the pretty fonts! xoxo
Love it, I have sayings all over my house. Great instructions and ideas also. One more for the road. Well shuck my corn. Have a great weekend!
Thanks Bonnie! :) Haha, love it!! Have a great weekend as well! xoxo
Nancy,
This is exactly what I look for on bloggers’ websites – things I can pick up inexpensively at a thrift store or something I may have on hand! Your sign turned out beautifully and you have upcycled an item and brought it a new life. Way to go! I love this!
Aw thank you, Barbara! I’m so glad you like the project. :) I sometimes get away from doing the smaller things but those are some of my very favorites for exactly the reasons you mentioned! I’m off to do some thrifting today! Can’t wait to see what I find. Have a wonderful weekend Barbara! xoxo
I really need to learn how to use my silhouette. I love this project ❤️
Thanks, Jen! Yes, it can be a bit of a learning curve but once you get it down you can do all kinds of things! :)