Dated Decor Turned Weathered Finish Tray
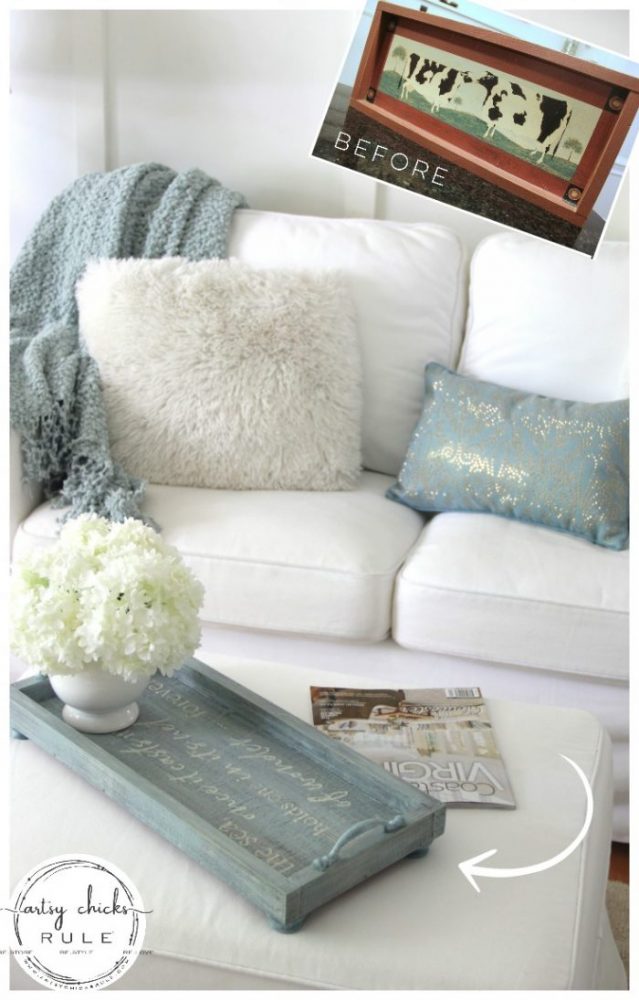
Snatch up that dated, thrift store find and bring it home with you next time you are out shopping! You can repurpose almost anything into something new and useful, like this dated decor turned weathered finish tray.
Hello friends!
Today is Trash to Treasure Transformation Tuesday and my friends and I are sharing our lovely newly made over treasures.
If you are new around here, my friends and I get together on the second Tuesday of every month and share our thrift store finds made over.
But first….let me say a big THANK YOU to all of you who responded in the comments or by email to give me your thoughts on our new flooring options. (see this post to see the options I posted)
My husband and I both carefully considered all of the pros and cons of each and I can tell you that your feedback really helped with that.
It was very thought-provoking and I’m just so glad I asked. We have made a decision, stay tuned!!
………………………………………………………………………………..
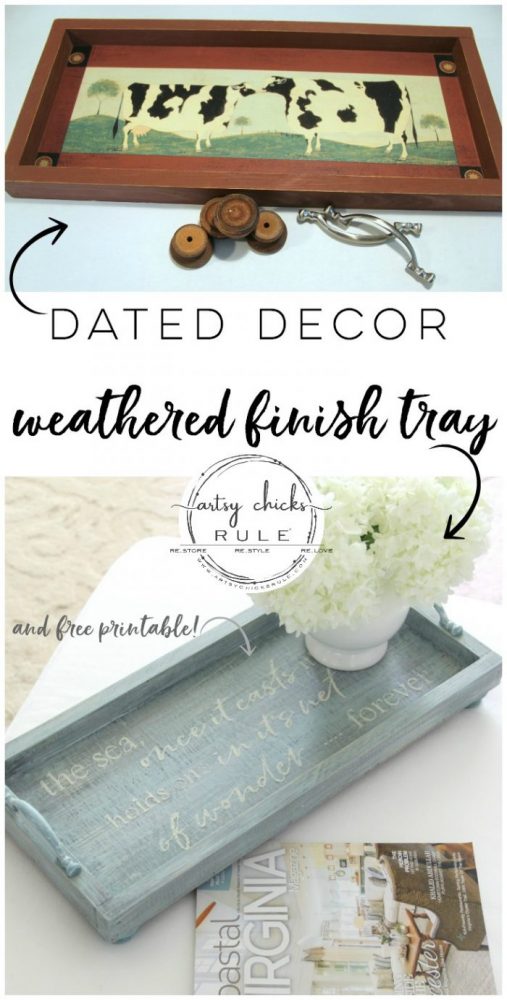
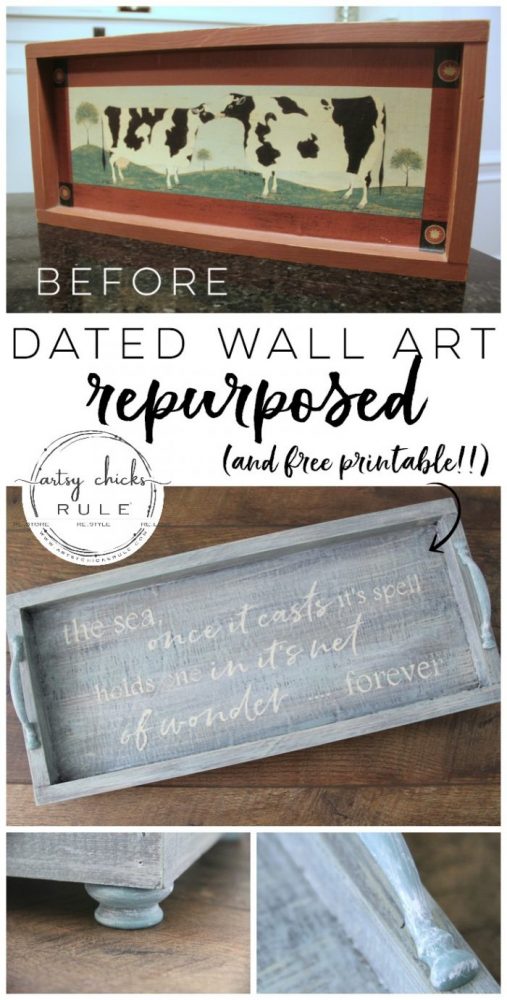
Today I’m sharing this old, dated decor turned weathered finish tray.
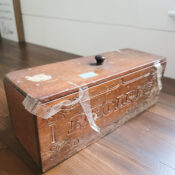
It started out looking like this…
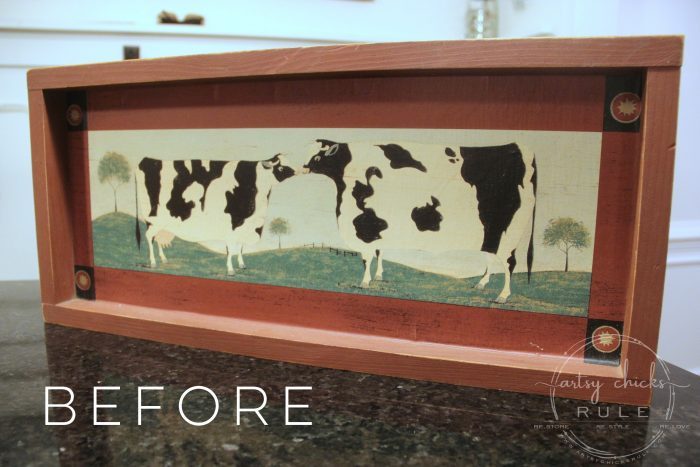
I like some cow decor but, well, this one is not really my style or in the style of my home.
But for $3, I decided to bring it home because I did think a nice, weathered finish tray might be.
By the way, this had hooks on the back so it was made for hanging on a wall.
To me, I saw a TRAY.
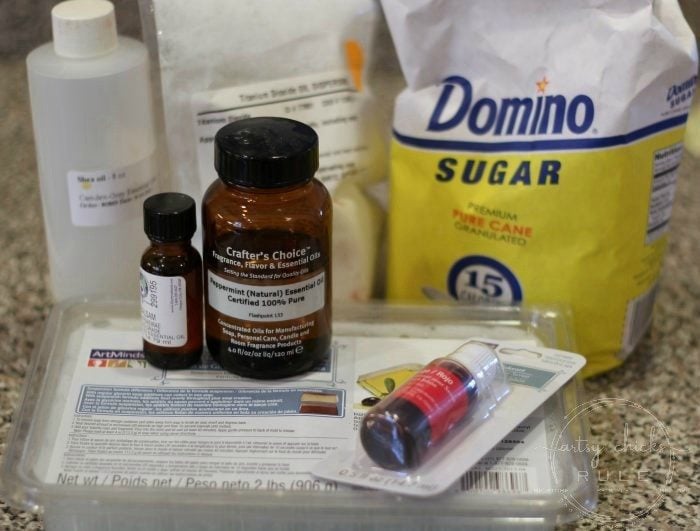
Here’s what I pulled together from my stash to make it…
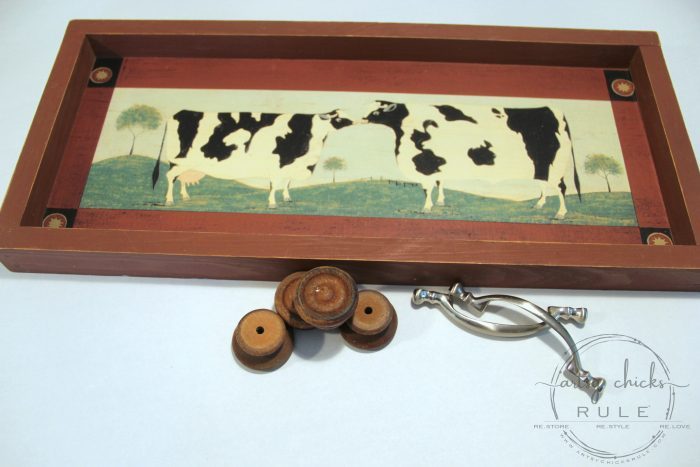
Those knobs came off of this old dresser I gave a makeover to and the pulls were from our kitchen previously.
I started out by painting it with black chalk paint.
Want to know more about all of the chalk-style paints out there? Check out this post here >>> “26 Types of Chalk Style Paint“
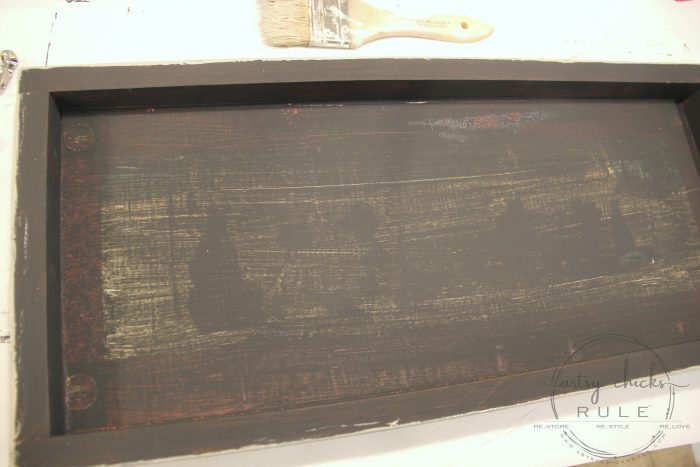
I applied one thin coat, not really worrying if I was giving it full coverage or not.
I wanted it to be splotchy looking since this is a weathered style finish.
Once it was dry, I followed up with a coat of beige paint over top.
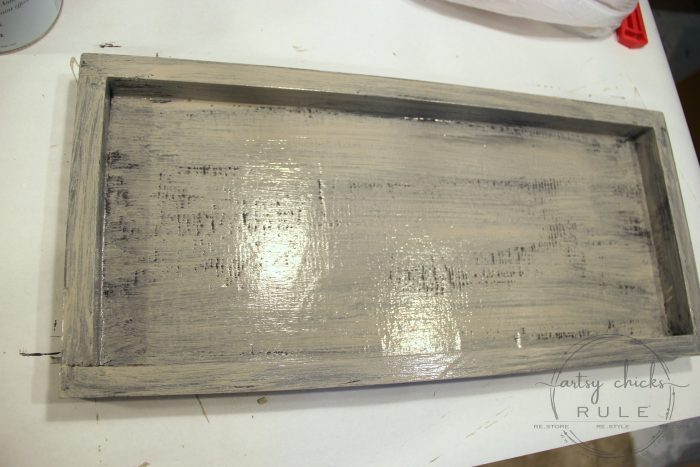
It looks a little yellow in the photo but it’s actually a nice “greige” color.
I usually use Coco for most of my weathered finishes but I wanted to try something completely different this time.
I should note that I added black first for two reasons.
One – to cover up the red color and cows.
Two – to create a dark “wood” base.
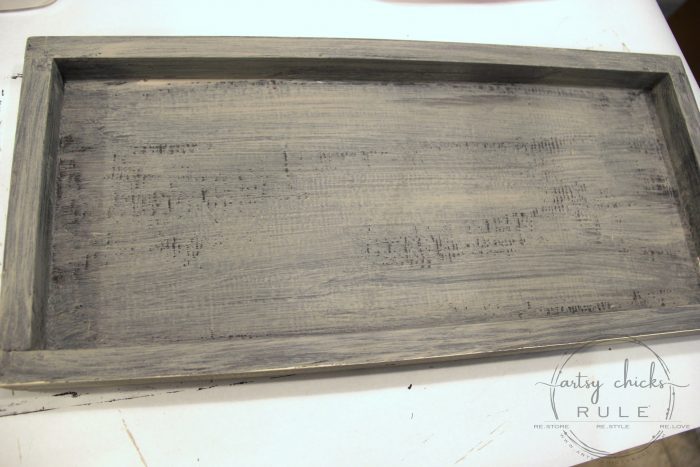
I purposefully left some of the black to show through.
Then I added a lighter color.
This poor paint is so old (years!). It is a bit warmer than I like so don’t use it often.
A good stir and it was good to go.
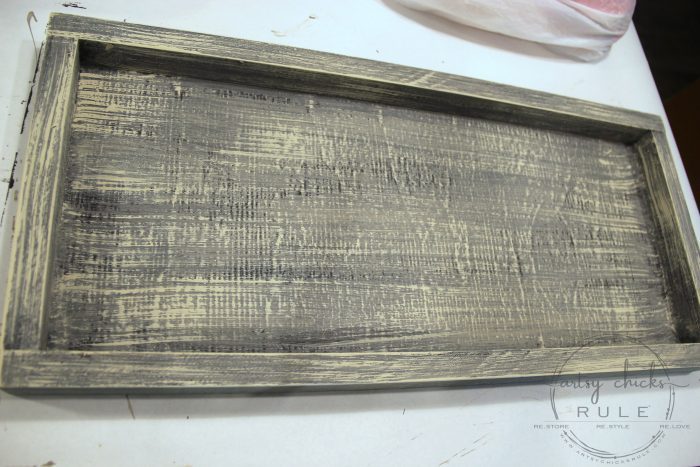
It’s not really yellow like it appears in the photo but did turn out to be even warmer than I planned.
Oh well, no looking back now!
Next up….can you guess?????
BLUE.
Well, because, I love blue.
And I love the look of a bit of blue with “weathered boards”.
And… I really felt like my weathered finish tray just needed it.
See??
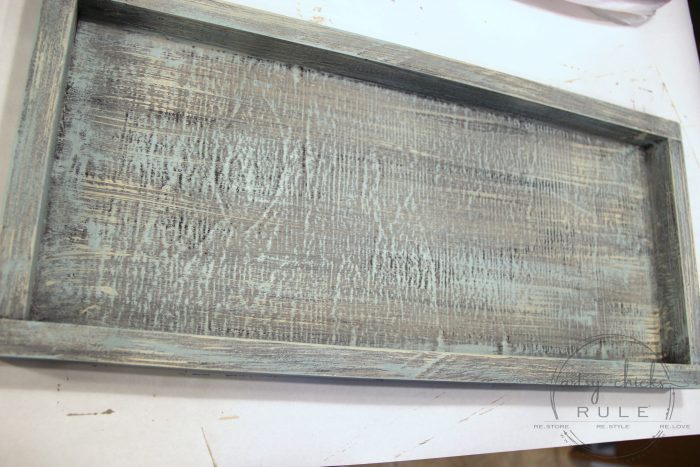
Isn’t that so much better?
Yes, it is.
And can you guess the color? Duck Egg Blue.
Again, I purposefully left those other colors underneath visible.
Then I finished it up with White Wax.
The white wax gave it a hint of white which added to the weathered look and blended the colors a bit.
And I thought I was finished.
But I can never leave well enough alone! haha
I decided to add some words. Surprise, right?
I found this quote…..

…and created the free graphic/printable above.
Click below to get the printable!
And then I hopped onto my Silhouette and cut it out in vinyl to use as a stencil.
Here’s a nice Silhouette bundle if you don’t have one already.
Want to see how easy it is to use your own designs inside of Silhouette? Click here >>> How To Import Your Own Designs Into Silhouette Cameo.
Or you can also use any of these transfer methods to do it if you don’t have a Silhouette machine.
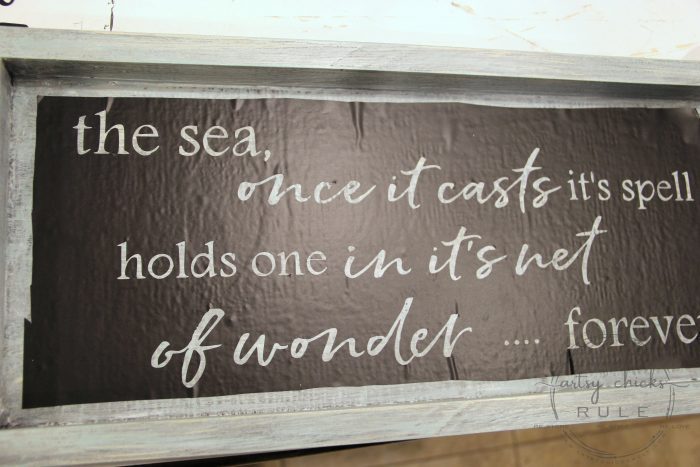
So fun!
I had planned to use white paint for the lettering …simple!
BUT…then I decided to try something I’ve had hanging around for forever and a day.
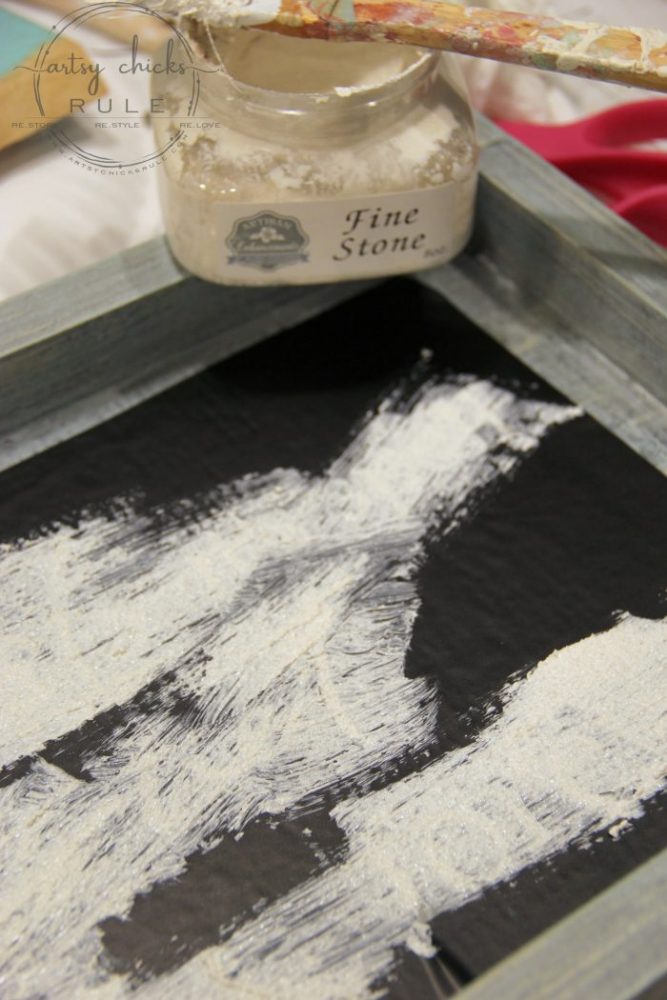
It creates a cool raised effect. (this product is similar)
I envision using it on something like drawer fronts in a really pretty stencil design.
I think I will give that a go soon.
For the application, I just sort of wiped it over the lettering trying not to “thin” it too much.
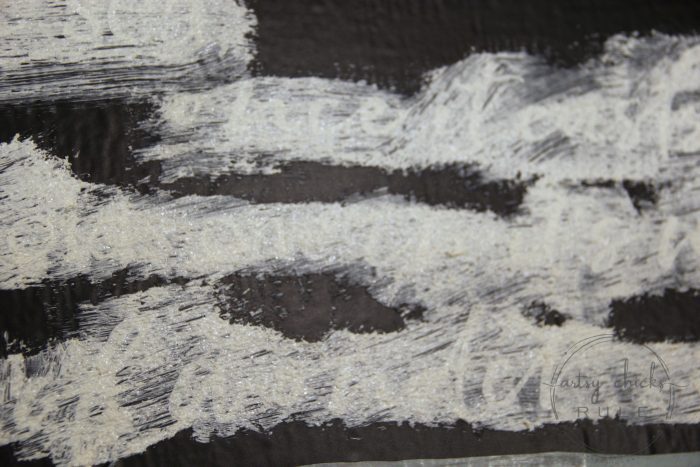
Then pulled off the vinyl stencil I made and voila!
I had these slightly raised, really cool, “sandy” looking letters. Fun, fun.
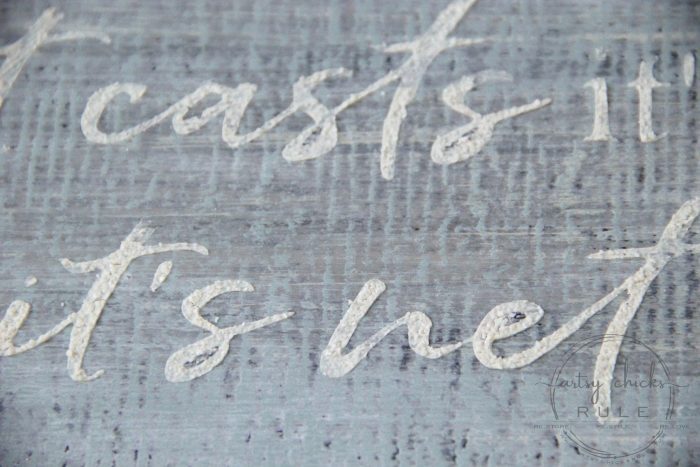
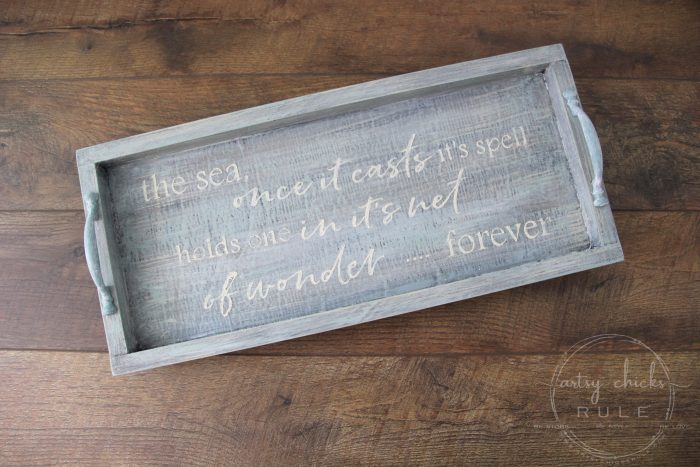
(I have a grammatical error on the tray but if you download the printable, it is correct)
I have a box full of handles from our previous kitchen makeover so grabbed two of those and gave them a spray with Valspar Secluded Garden.
And a little white wash with some white paint.
I glued both on with E6000 glue.
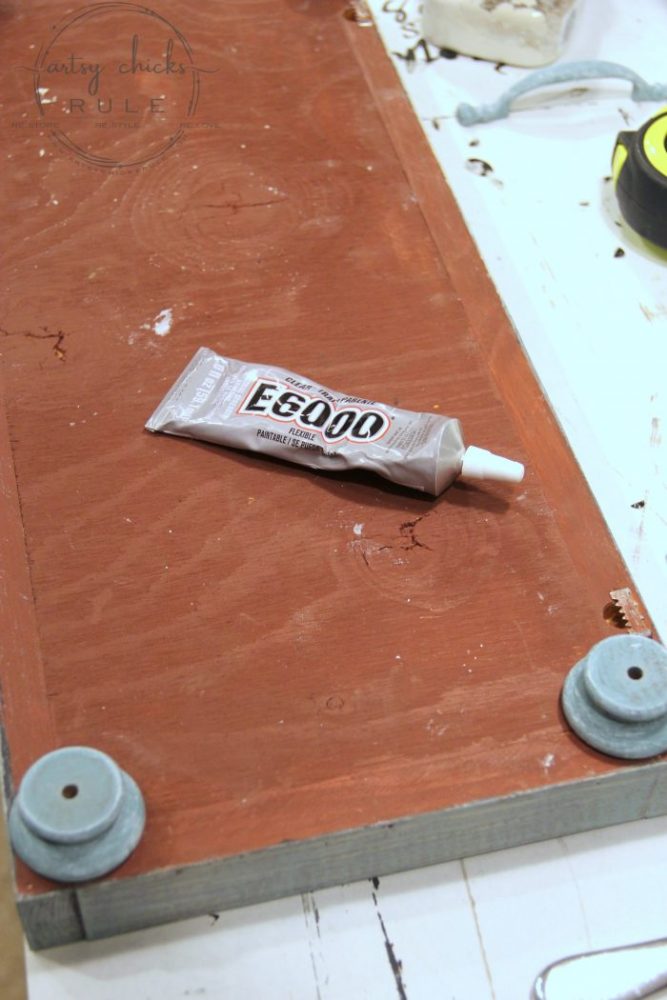
If you want something to stay, glue it with E6000.
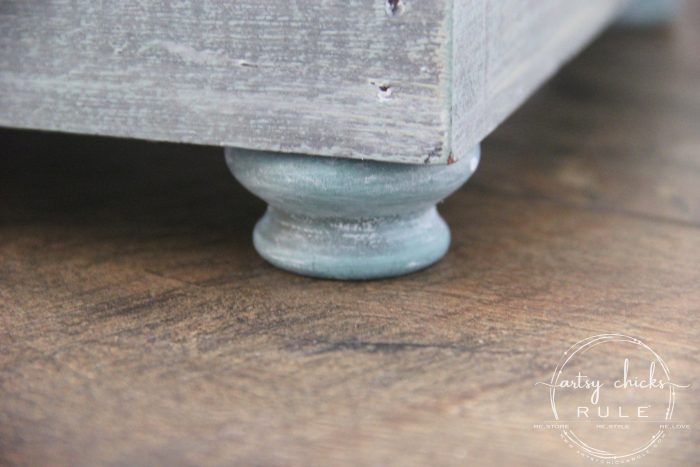
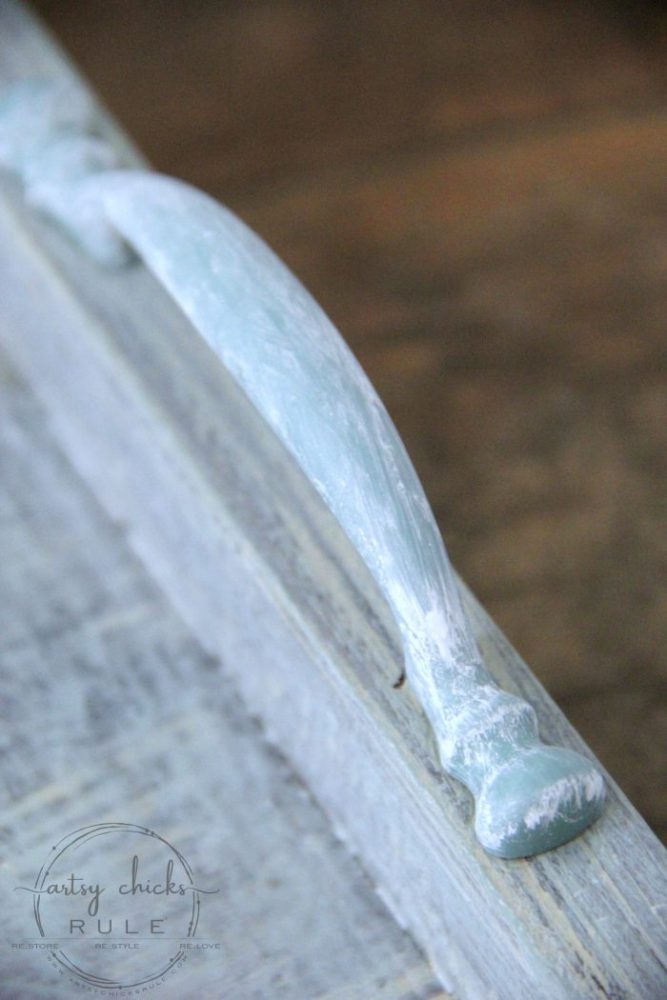
Here’s a closeup of the colors…
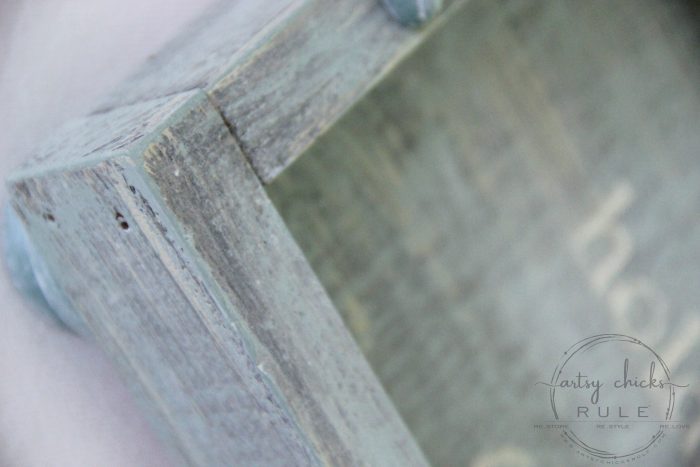
See how the black creates a nice backdrop?
And how all the other colors create nice depth?
Here it is styled in my family room…
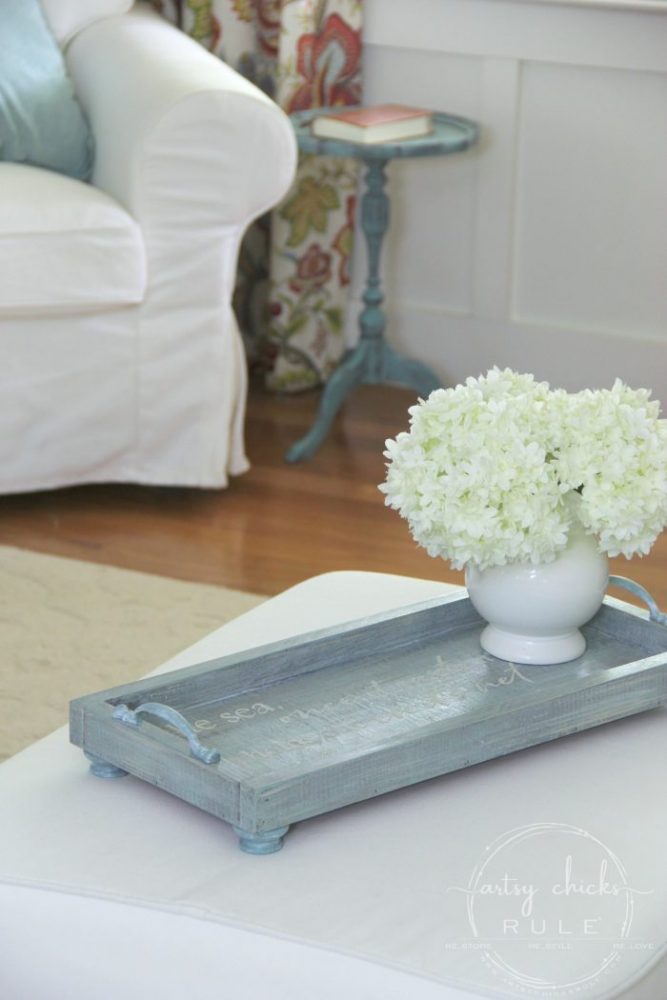
What a difference, right?
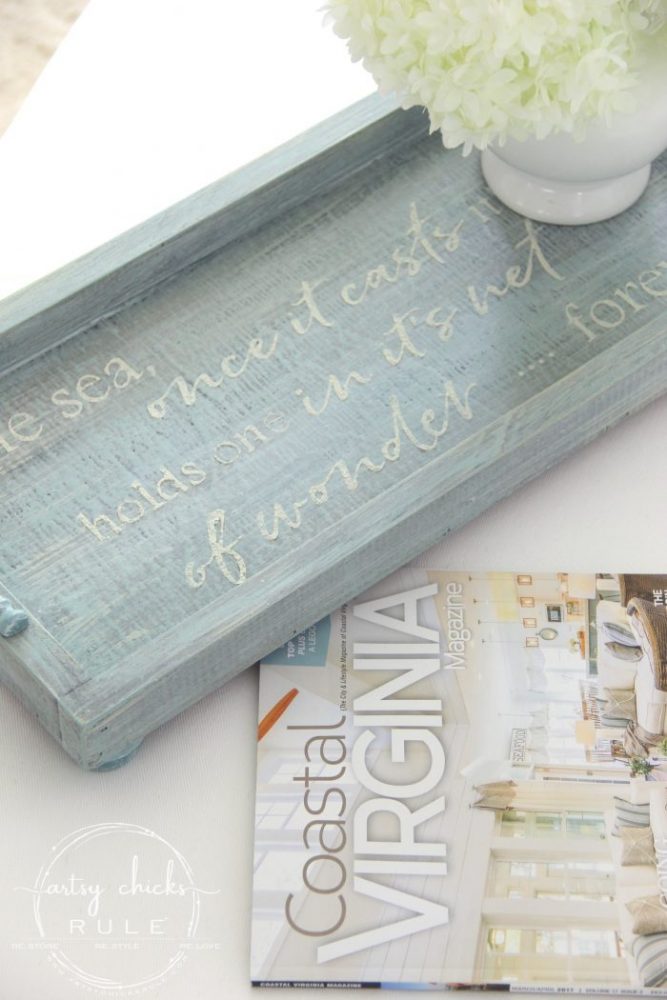
It’s so much fun to find these sorts of things in the thrift store.
I don’t always know immediately what I will do with things I find but I think I’ve been doing it so long that I know what to bring home, and what not to bring home!
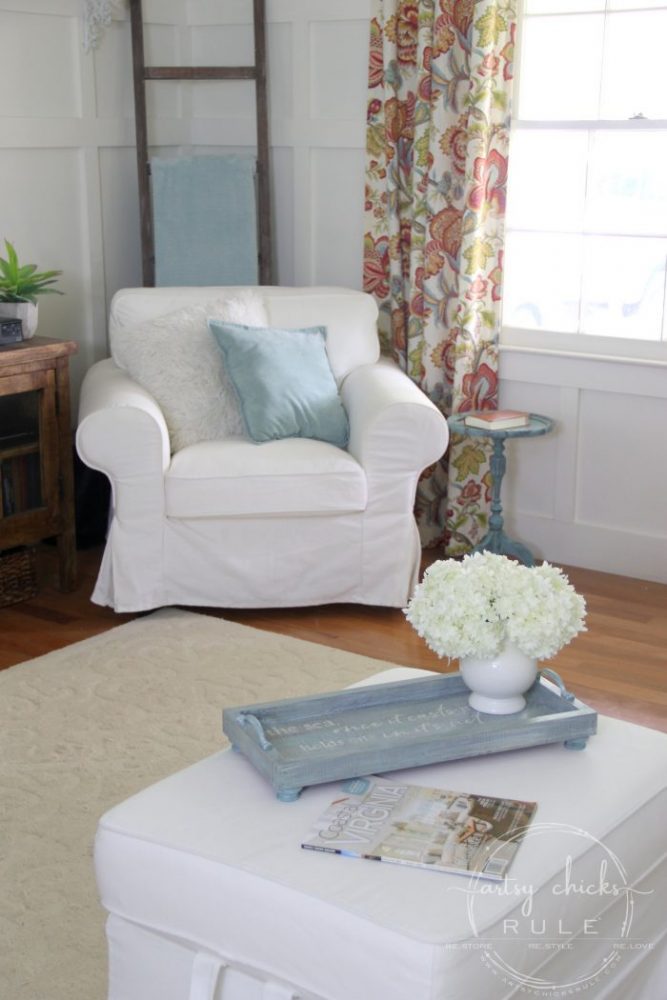
I love my sweet little weathered finish tray.
Who would ever guess there are cows under there?
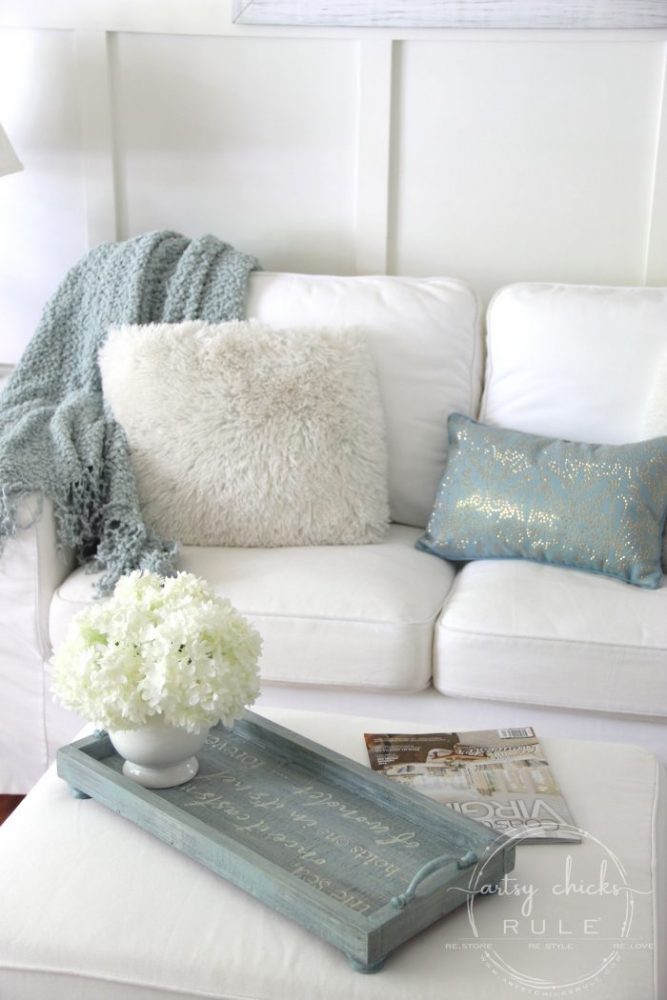
You can use it anywhere like on a kitchen island or dining table.
I like it here on the ottoman for now.
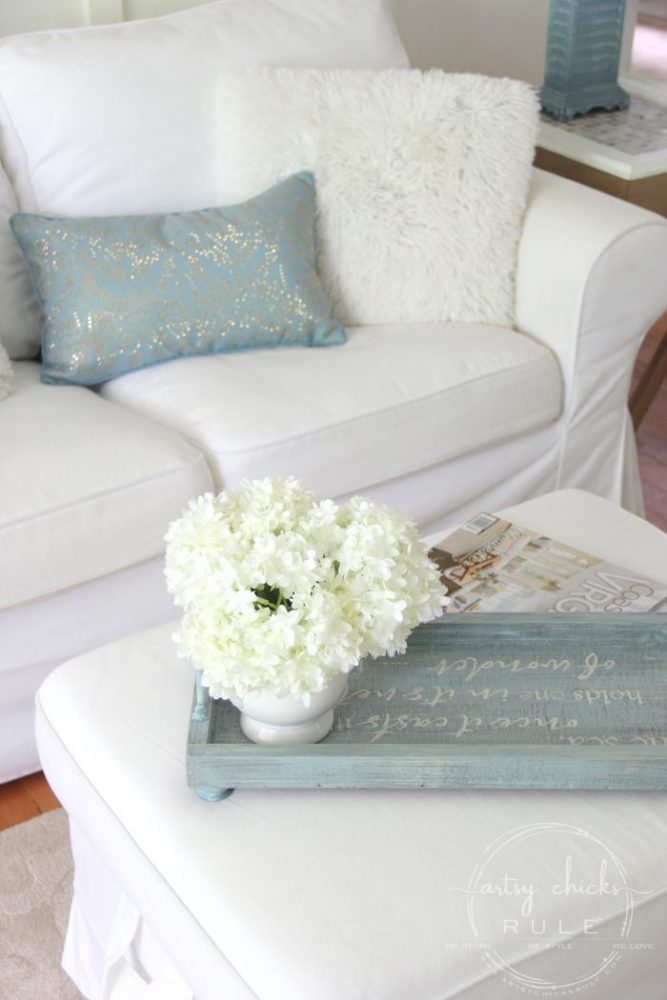
I hope you liked today’s thrifty makeover and my “brand-new” treasure.
It was so easy to create this do-over. All you need is a little paint!
(and a few old knobs and handles…but you could omit those, too)
Don’t forget to go see what my friends did with their “trash” this month below.
But first PIN this to save it for later!
Check out these fun new makeovers! (the links and corresponding photos are below)
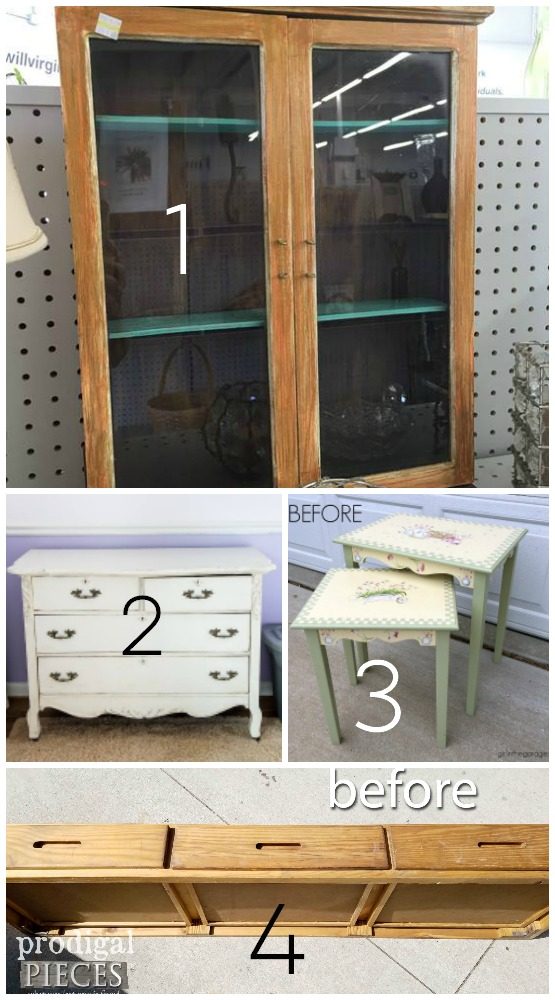
………………………………………………………………………………..
I hope you enjoyed all of the makeovers. To see even more “Trash To Treasure”, click here.
I’ll see you back here on Thursday with a brand new goodie!
UPDATE: You can see this project now >>> here!!
xoxo




Nancy, I just love the cows gone buh-bye and the coastal charm your tray now has. Such fun to layer and create. Pinning!
Thanks Larissa!! :)
Great makeover! It’s now perfect for your coastal home.
Thanks Paula! Yes, it fits right in! ;) xo
Great makeover as usual. However, I tried to click the printable forever and it will not link up.
Thanks Linda! And oh, oops!! I put the link in the wrong place (in the code). It was late last night and I don’t think I was running on all cylinders by the time I was finishing up! ;) It’s fixed now. :) (here is the link to the printables page where it’s at) :) xo
Hi Nancy, I love what you did with this tray. Adorable!
Love the blue!
Thanks so much Elizabeth! :) xoxo
Talk about a complete transformation! I love the layers of paint and the sentiment. Pinned :)
Thanks so much Marie!! Thanks for the pin too!
I absolutely love it. Great transformation!
Thanks Lizzy! The “sand/stone” was interesting. Will have to play with that again soon! xo
Now I see a good reason to keep those wood knobs I asked about before.
Yes! I have so much “junk” I keep around here! But so glad I do when the times comes up that I need any of it. Which it almost always does! :) xo
So much better without the cows! Love the “sandy” letters, Nancy.
Thanks Marcie! :) That sandy letters were fun and now I’m itching to use it again! ;) xo
This turned out SOOOO good!! Good bye forever cows lol! XO
Thanks Christy! Yesss!!! lol xo
LOVE this!!! Love the color, the technique and the lettering technique! Y’all rock this makeover day!
Thanks Julie! :) This is my favorite day of the month! xo
Soooo cute, Nancy! I love the weathered finish and that you used old knobs for feet!
Thanks Jen! :)
que linda te quedo la bandeja.
una pregunta, puedo hacer lo mismo sobre una bandeja con resina?
Hello!
Thank you! And yes, you should be able to paint it no problem! :)
la voy a pintar y te mandare fotos, gracias
Sounds great! :)
I like the make-over but I liked the cows, too! I liked learning the process and the different paints that you used to get the final finish on the tray. Those apostrophes would drive me crazy, though! Couldn’t you take some of the paint you used and just paint them out? I know you could do it without it looking blotchy! Or maybe it’s fun just remembering the faux pas, right?
Anyway it looks good with its makeover and is a cute little size to use in lots of places. So, good job!
Oh, haha, yes, it will live on forever here because although I did fix it, I didn’t take new pictures of it to post here. So the pictures still reflect the first version. I did fix the printable/graphic for those that want to upload it! :) And, thank you!!