Coastal Look Decor Makeover
Create your own coastal look decor with thrift store finds…easy and cheap!!

Hello, my wonderful friends!
Can you believe it’s April?! And April Fools Day…haha. Do you get in on the April Foolery?? We all need a little lightheartedness these days so it might be fun to do this year! ;) Let’s create some laughter and smiles. (all in good fun, of course!)
These little thrift store makeovers are some of the most fun to do. They are quick, easy and you can really play around with your creativity with them without too much worry of messing up.
I always say, if you want to try out a new technique, go grab a little cheapie from the thrift store to practice on.
Plus, not only that, it’s a great way to decorate your home on the cheap. Which is one of my favorite things to do!
Coastal Look Decor Makeover
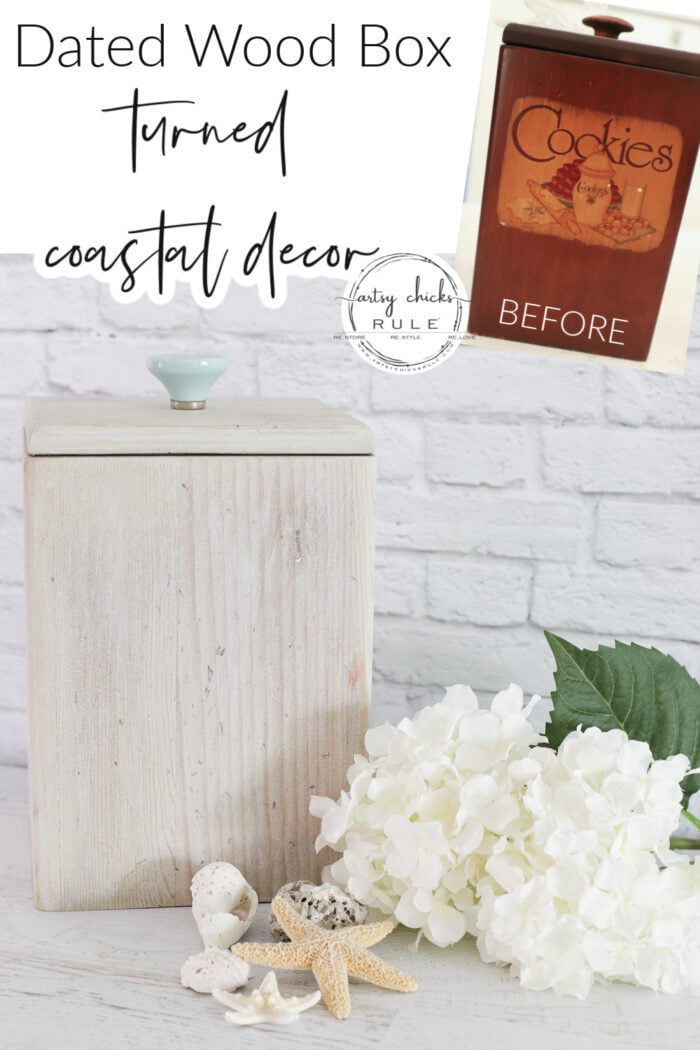
I mean just look at this very dated box I found at the thrift store recently.

Hello, 1970s! Maybe early 80’s but you get the idea.
Dated and not something that would fit my decor.
But so?
I can change it up to make it fit. And have fun while I’m at it. Win-win!
I began by scraping off that cookie label.
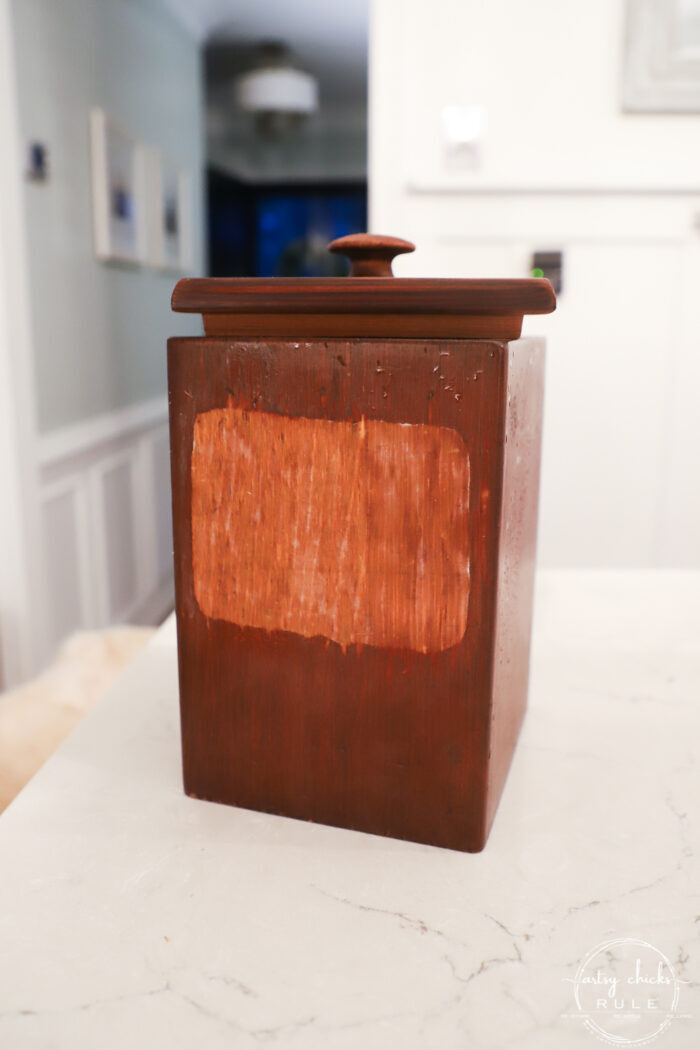
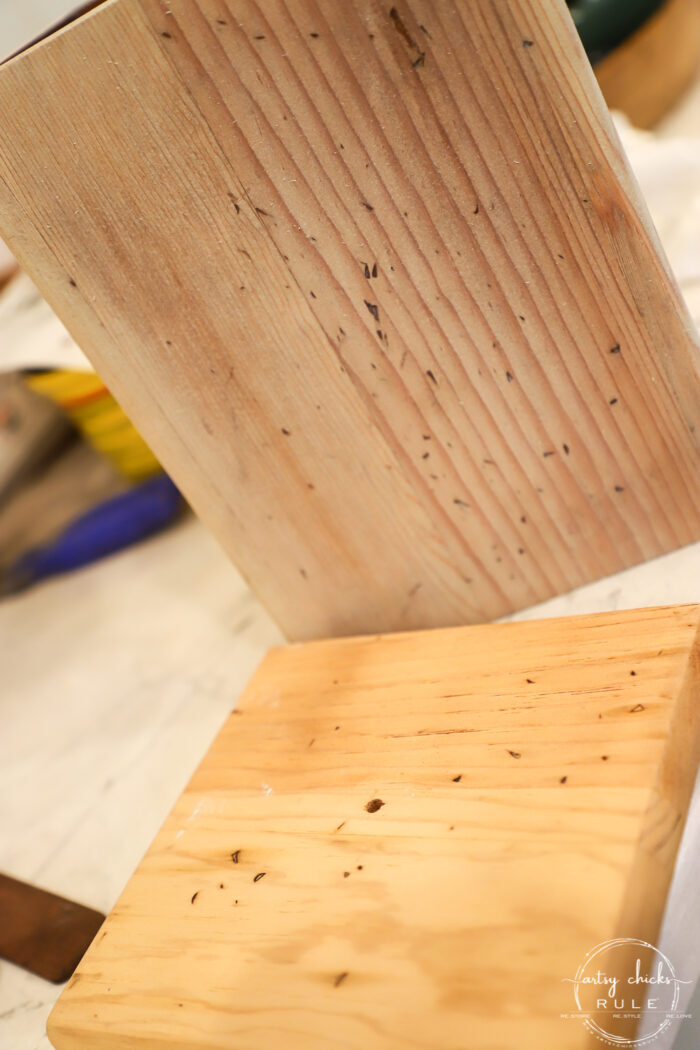
Then I decided to just sand it down to the bare wood. (I was going to paint it)
It was orangey, as expected. (see the lid?)
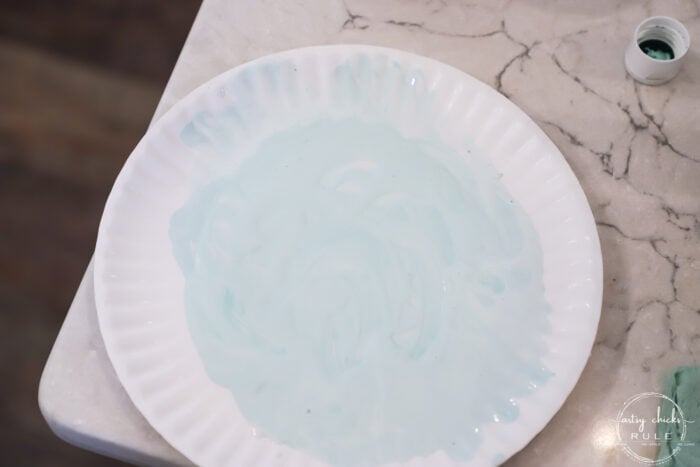
So I mixed up some paint to whitewash it with. See the box? It’s got a coat of that and the lid is still natural.
Do you see how it toned that yellow/orange down?
The paint I mixed was white (chalk style) paint and some green craft paint.
The green counteracts the yellow/gold color and neutralizes it.
I did the same thing with this table and end table: (except I used a green-hued water-based stain instead)
Isn’t that cool?
After that dried, I decided I wanted it a bit whiter now. So I pulled out my white wax to seal the paint and give it a bit more hint of white.
MATERIALS LIST
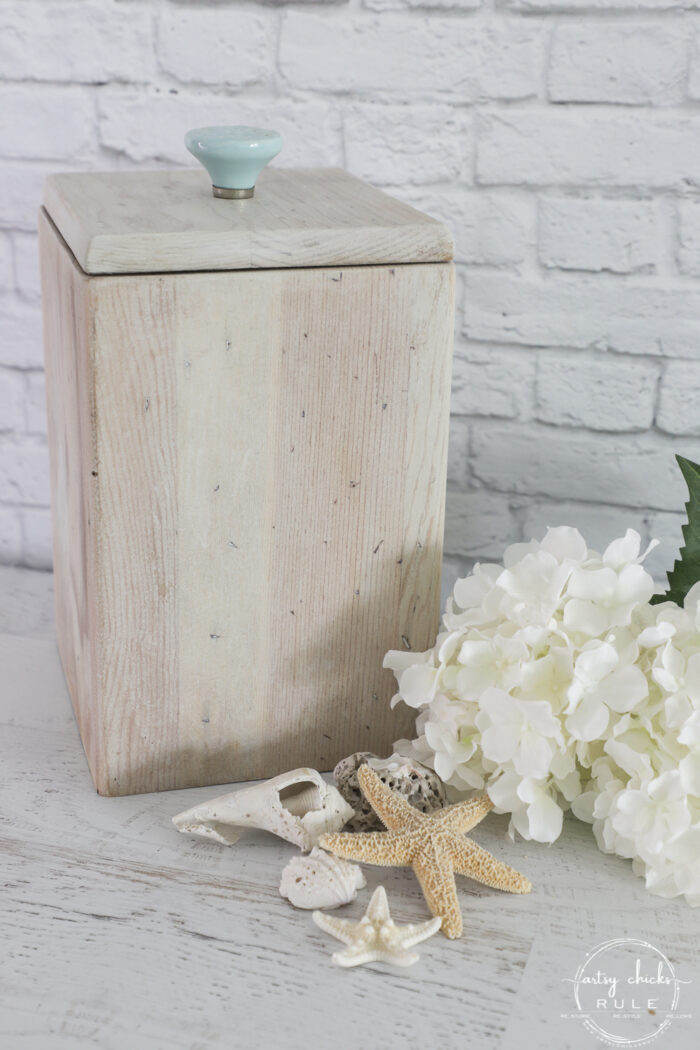
And done!
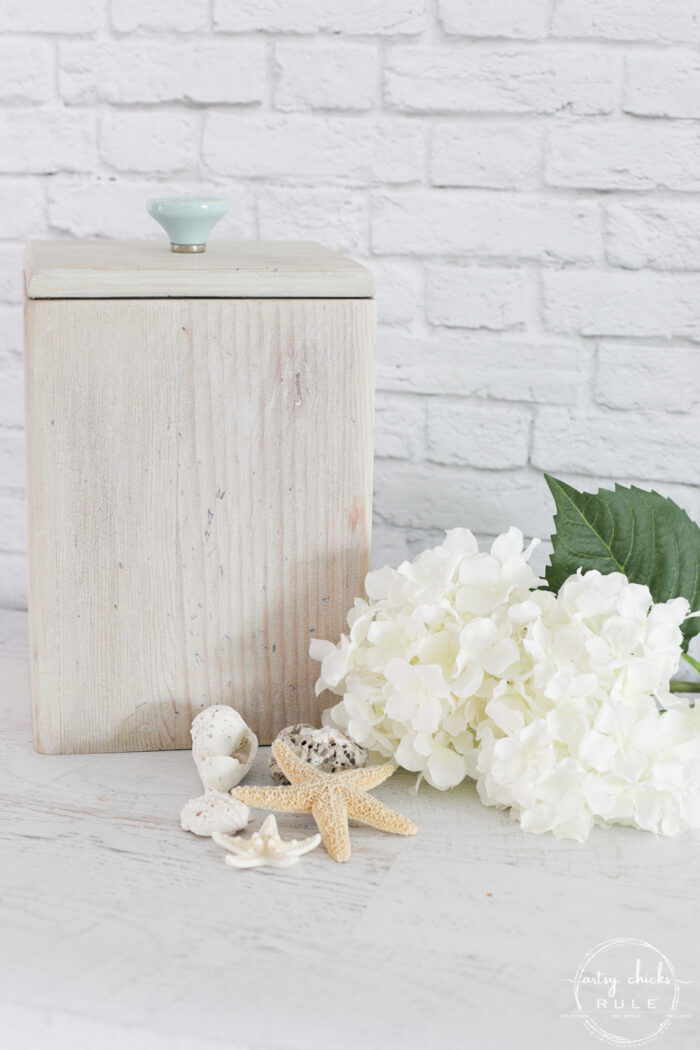
I removed the wood knob and added this pretty aqua one instead.
Isn’t the color of the wood perfectly coastal now?
Here’s another side…
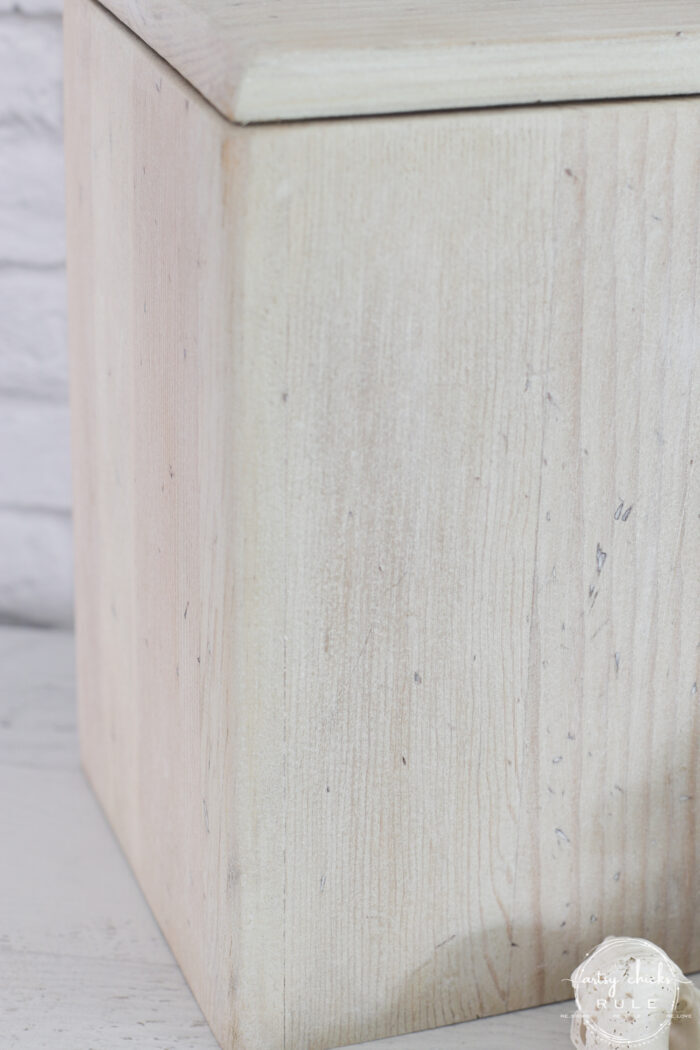
Close up…
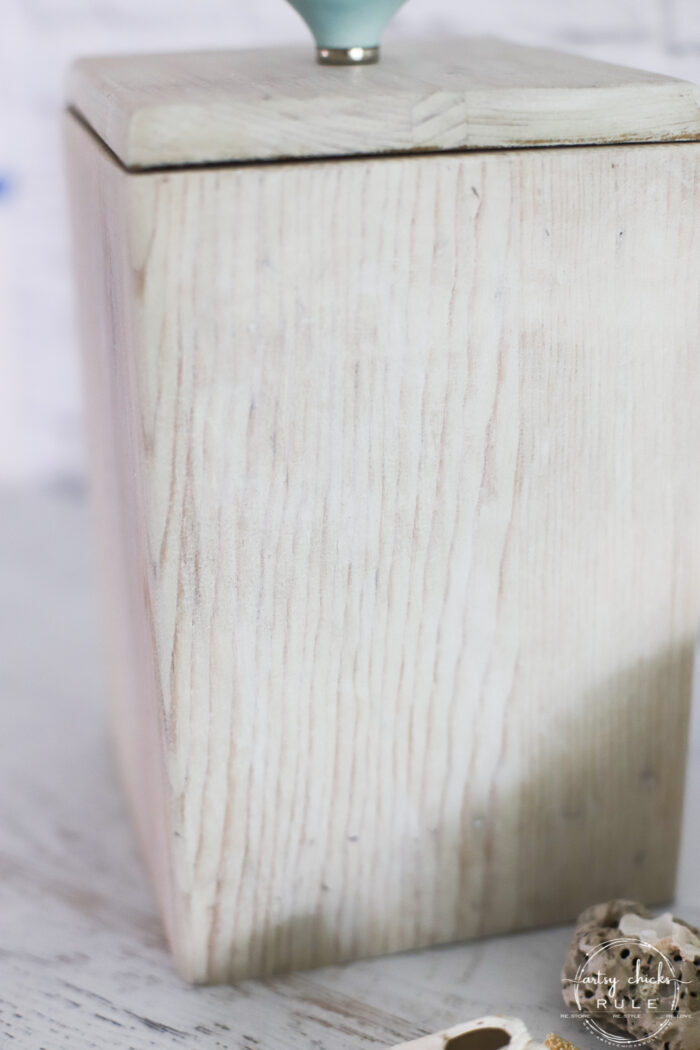
I love this bleached wood look.
Quite the difference from how it began.
It’s old but it’s not funky inside! haha
There is a brown rubber insert that I washed and it’s like new.


Perfect for whatever you want to store in here.
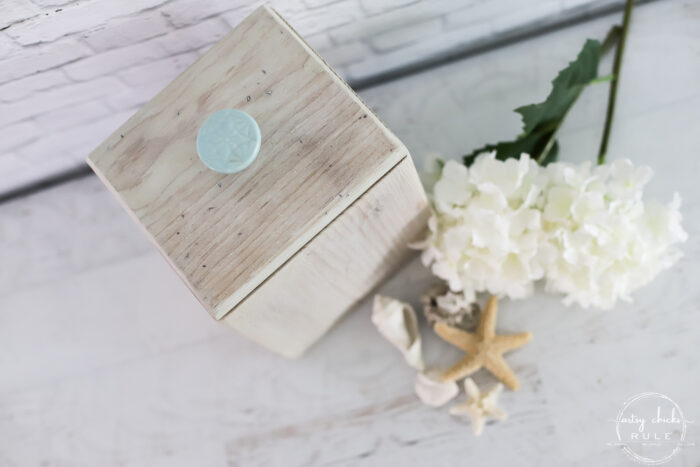
As you saw, there is not a starfish on my finished box but there was one in the first picture of this post.
That’s because I thought it might be a fun touch and wanted to show you how it would look.
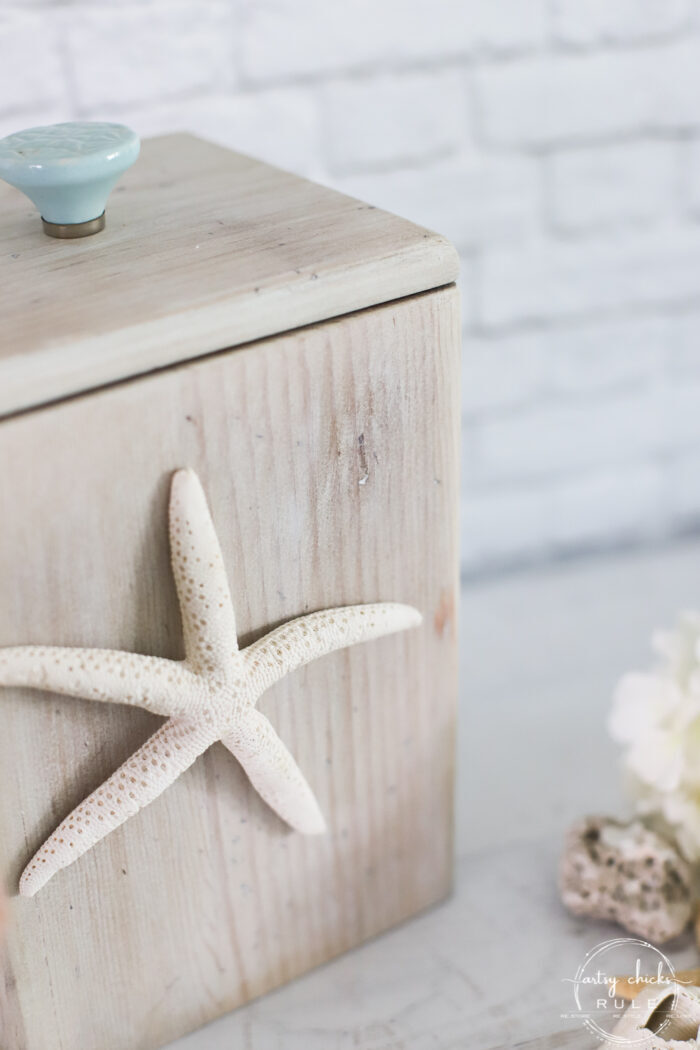
I’m holding it with my finger while taking the photo with my other hand so you could see what it looks like with a starfish on it. (without having to actually attach it)
Anyway, just another thought.
Or just could do some pretty lettering, quote, etc. Or just leave it as I did.
PIN it to save it!
So… save money and have fun while creating decor for your home! Or maybe even something to gift someone. Absolutely!
Check back next week to see how this one turned out! (hint…it’s a beauty!)

UPDATE!! See it now here!
I hope you all have a beautiful and blessed Easter weekend!
xoxo


")


")

Cute idea. Colors are cool!
Thanks, Rose! xo
Nancy, I love this. I thought you really bleached it. I have to remember the green tip. Thank you!! The starfish actually looks really pretty. A place to put your beach finds.
Yes, it would be great for that!! Thanks so much, Cheryl! xo
I love it! So simple, yet so effective.
Thanks, Leanne! xo
Oooo I like this so much Nancy!! Very driftwood looking. Great job! Whatcha gonna put in it? Is it going to the beach place?
Have fun and stay safe!!
Thanks, Christina!! I have no idea yet!! haha I think it would be perfect for the beach place! xoxo
Ooh, that turned out so very nice! I love it, and I’m NOT a coastal-beachy-kinda girl! Lol, but I enjoy looking at the pieces, especially the transformed pieces. Good job, and thanks for showing what being creative means. 😉
Thank you, Sharon! I totally get that…I love seeing transformations too! So fun!! xoxo
So simple yet so cute. I can just see this sitting on the counter at the condo. If it goes to the “Banks” add the star if not, keep it just as is. Happy weekend. Hope the weather is just right. Now pull an April fools joke on someone.😉
Yes! Will be perfect there. Going to have to figure out what I’ll use it for. :) And yes, the starfish is perfect for down there. Have a wonderful week, Kathy! (by they way, my daughter got me good for April fool’s!! haha) xoxo
Another one I would have walked right past. You saw what it could be, that’s why you’re the artsy chick, Nancy! I’ll have to rethink those old wood canisters the next time I see them at the thrift shop.
Yes!! Haha…it’s easy to walk past these. Aw…thanks, Marcie. :) Have a great week! xo
I vote that you add the starfish. I think it gives the perfect coastal look. The knob on top is adorable!
Going to the beach house…so probably a yes on the starfish! :) Thanks, Kimberly! xo
So cute and definitely coastal! The Aqua knob adds a touch color. I really like the simplicity of the box! Really nice job. Thanks for sharing! Have a fun week!
Thanks, Sue!! Have a great week!! Warmer weather forecasted so I’m happy! xo
Super cute! I love the bleached wood technique, sounds so easy! The starfish is a nice touch!
Thanks, Vicki!xo
Oh wow- that looks AWESOME!!!!!
I cannot even believe it is the same box. Absolutely gorgeous – and VERY perfect for your lake place now!!
Aw, thanks, friend! xoxo
The color change is amazing and I am pinning so I can remember the “green” tip. Cute little makeover. Have a wonderful Easter! 🐰
Yes!! Cancel that orange! :) Thanks, Cecilia! Hope you had a beautiful Easter! xo