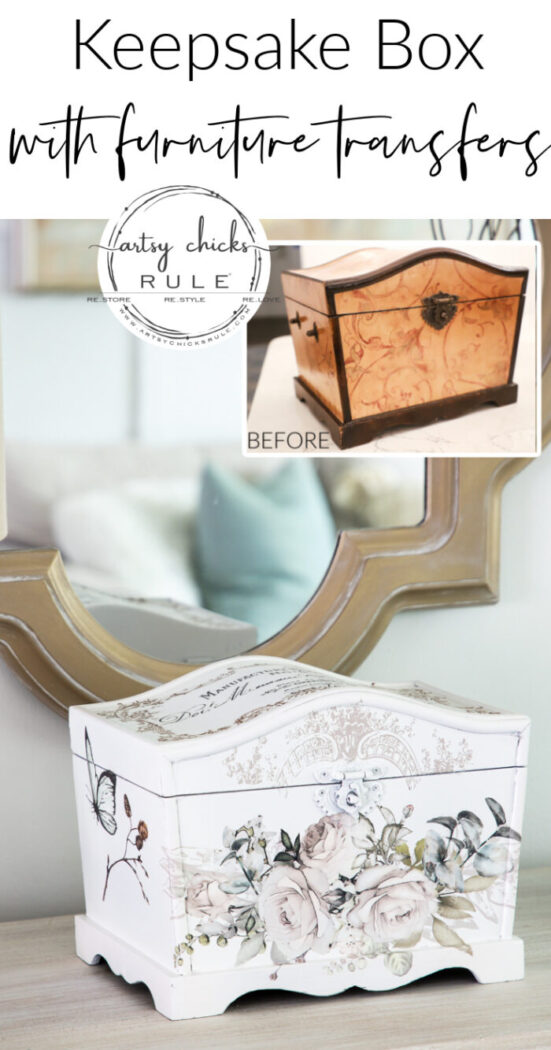
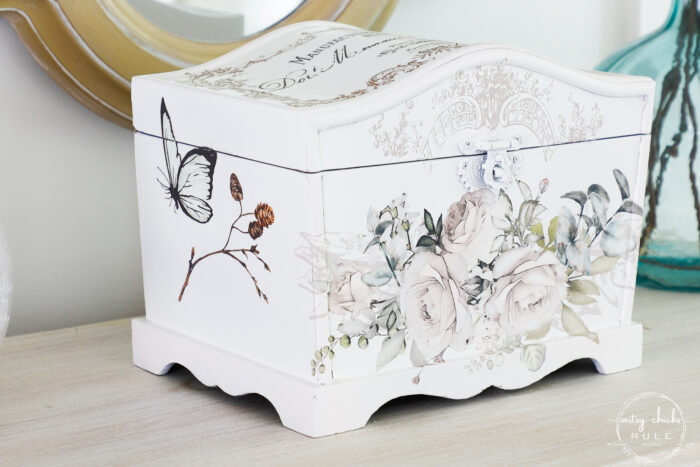
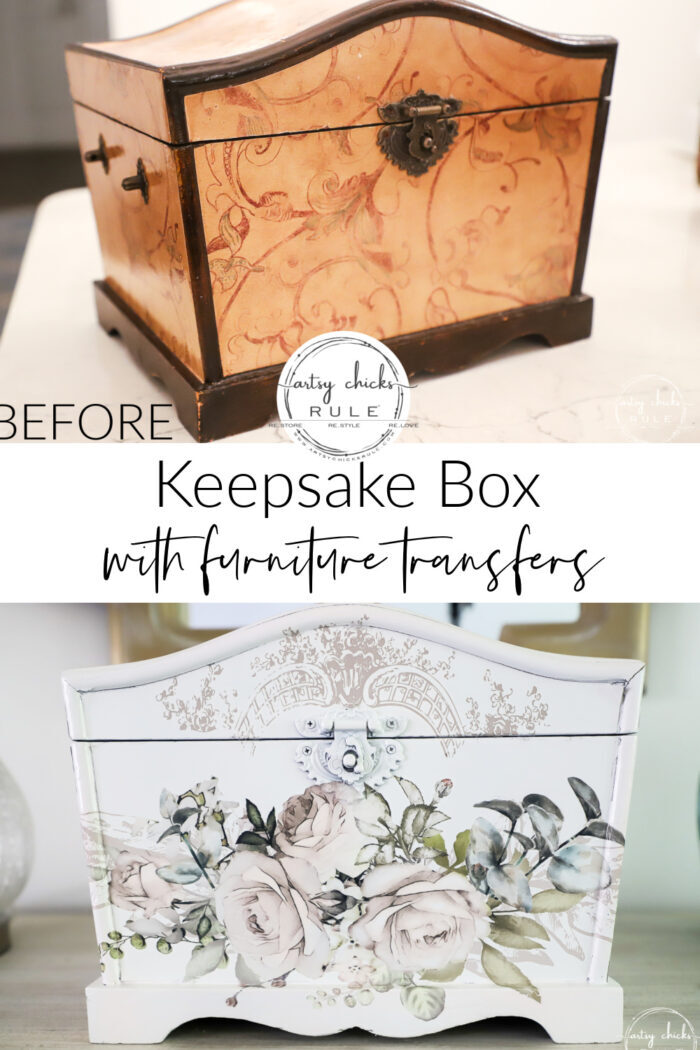
Treasures Box (with transfers)
This sweet treasures box is made even sweeter with pretty furniture transfers. So simple to add such beauty!
Hello friends! I have a super fun project to share today. It’s definitely one of those “transformation” projects. Which is just perfect for Trash to Treasure Transformation Tuesday, right?!
Be sure to scroll all the way down to check out my friends’ makeovers today too. Lots of transforming goodness to share.
But…before we get going too far, have you hopped over and entered my latest giveaway?? If you said no…then you need to get on over and do it right now!
Click here for the giveaway post.
Treasures Box (with furniture transfers)

Here is how this one began…

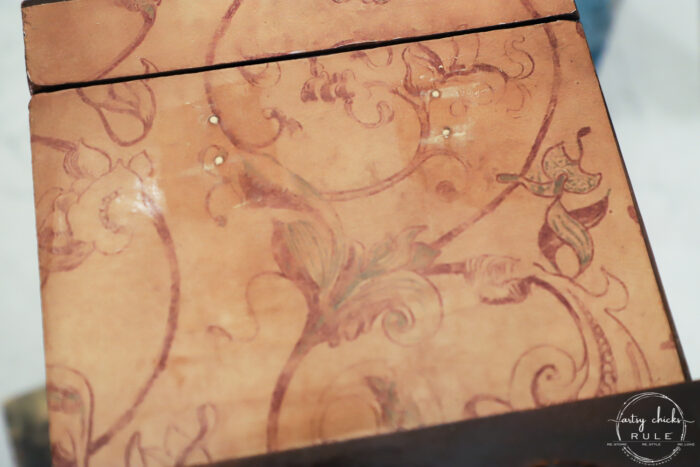
I tend to find lots of old trays and these boxes that have that darker Tuscan-ish style finish.
I like to take them and brighten them up and make them happy.
I think I made this one very happy.
Yes, yes, it’s definitely a happy box now.
Don’t you think so?
I got my crafty craft on with this one and it was so enjoyable. I had a lot of fun transforming this one and playing with these furniture transfers.
I just LOVE transfers. They really add so much beauty to everything you put them on.
But let’s begin with the paint.
I used this paint…
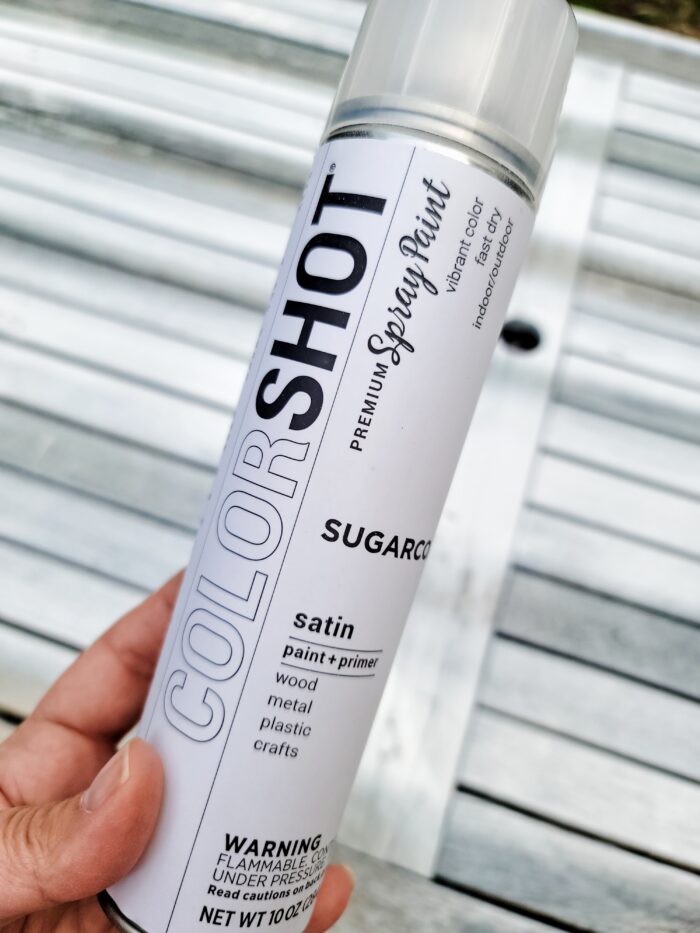
They sent me some paint a while back and I finally gave it a try. I really liked it!
You can find it at The Home Depot.
So that was the base for this project.
Once that was dry I started applying all of my furniture transfers.
I pieced them together from multiple transfer sets. And even used some small leftover pieces from other projects.
I’ll link everything below…
MATERIALS LIST
Edited…I forgot to add this photo…
…to show what I did with the side broken handles. (both sides were missing) I simply removed them and filled the holes with wood filler.
It’s like they were never there! And they didn’t really need to be.
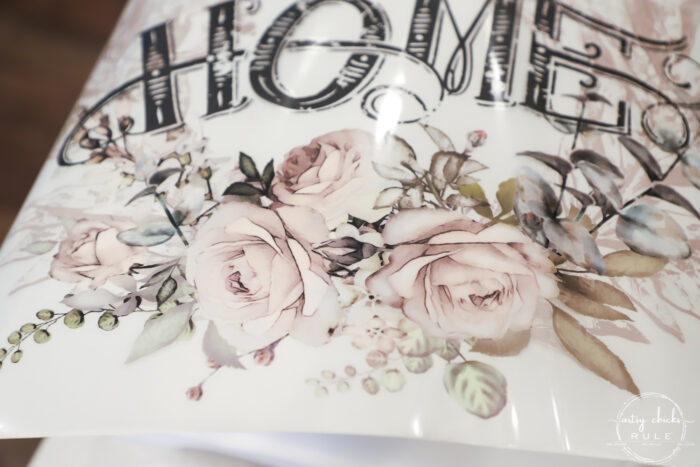
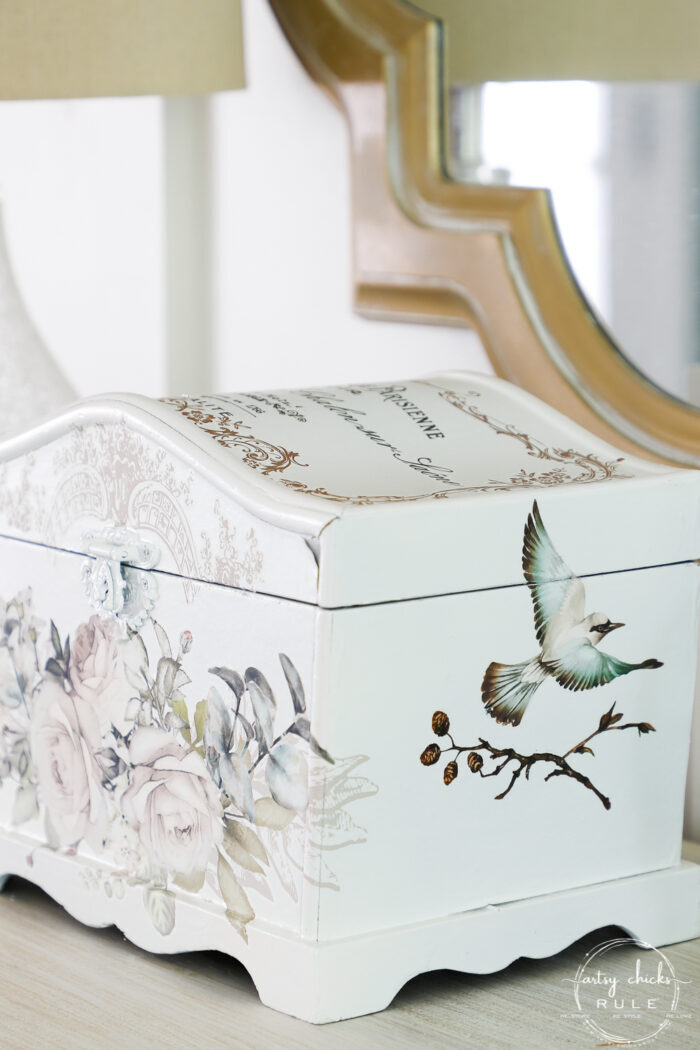
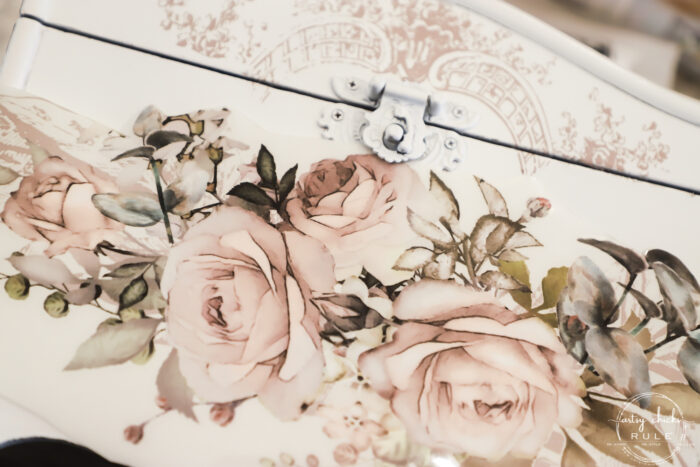
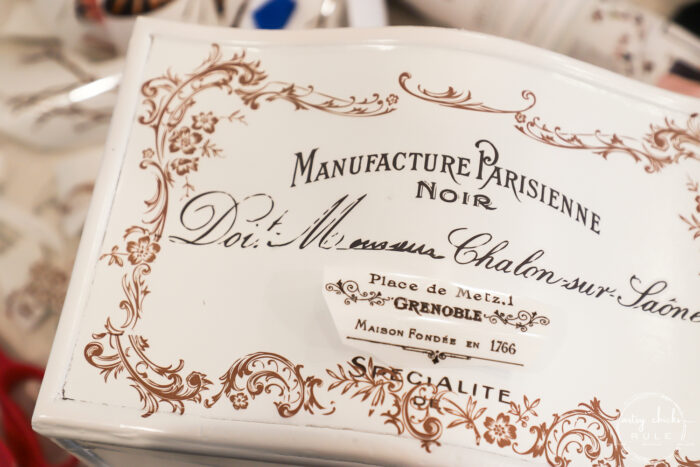
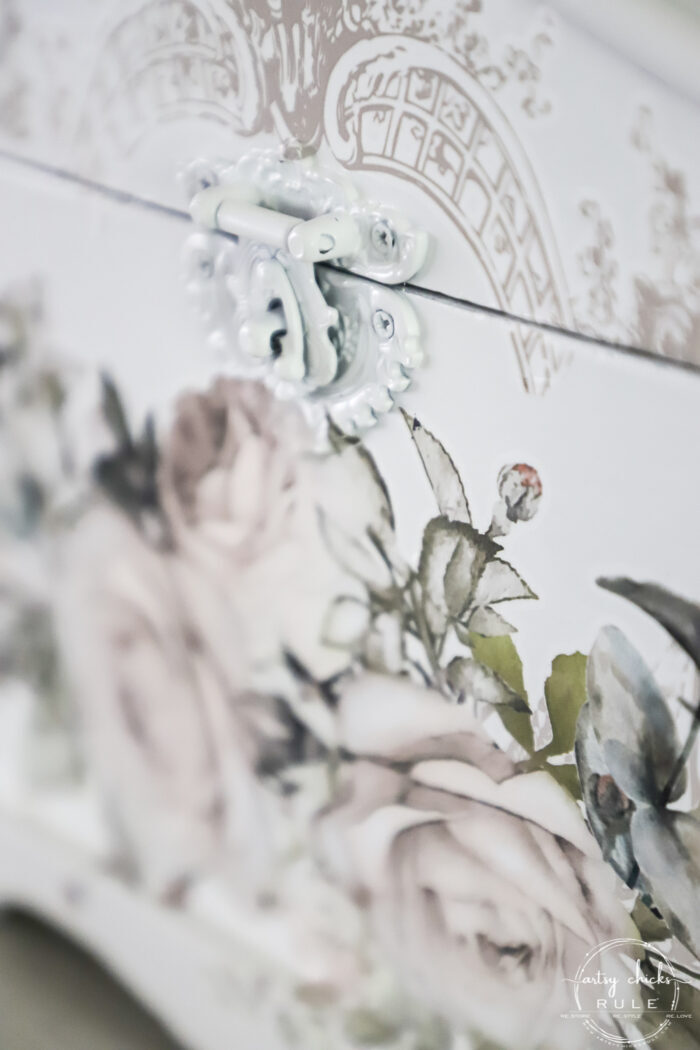
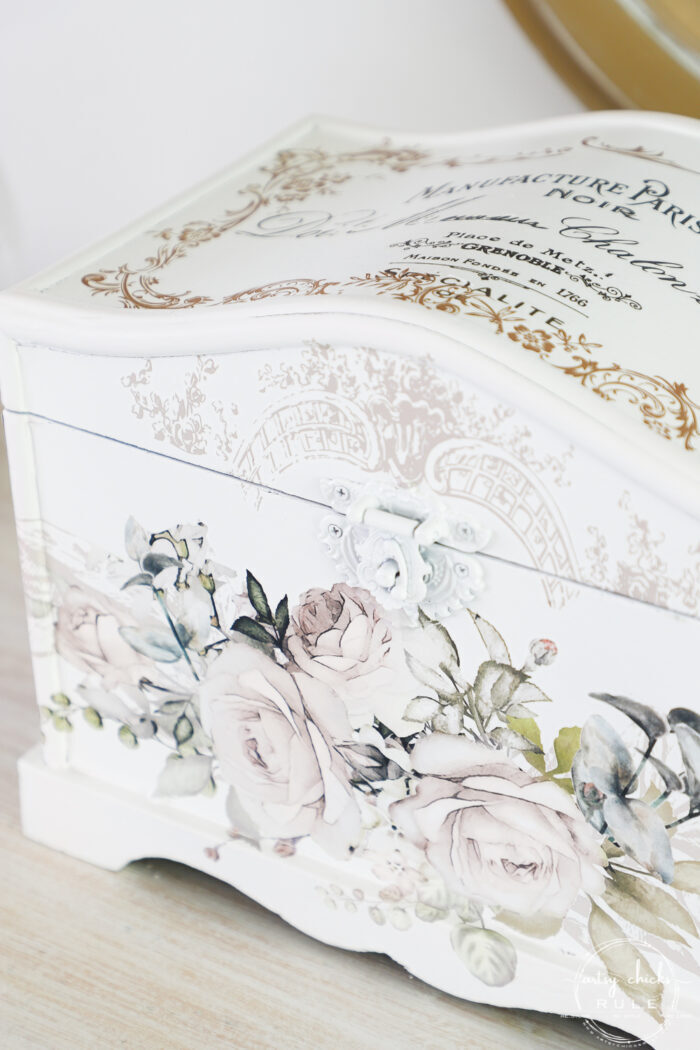
I cut out and used the pink rose area from this transfer for the front of the box…
I gently bent the plastic with the transfer attached to transfer around the corners, etc. (as seen above at the bottom)
You can see below that I even applied the transfer over the metal hardware as it would naturally lay also.
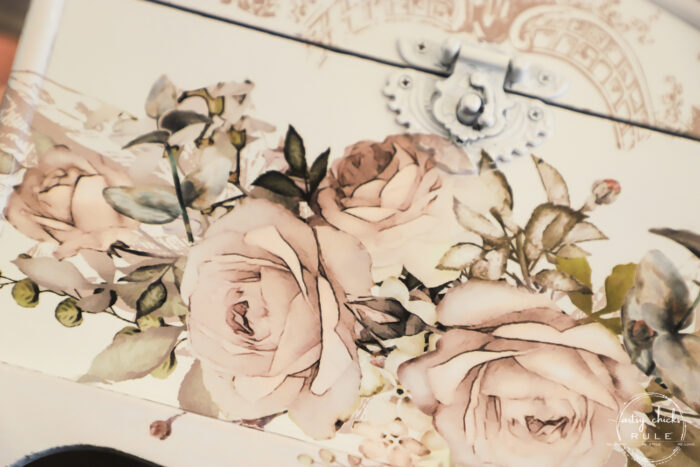
These transfers are so very thin they work perfectly like this.
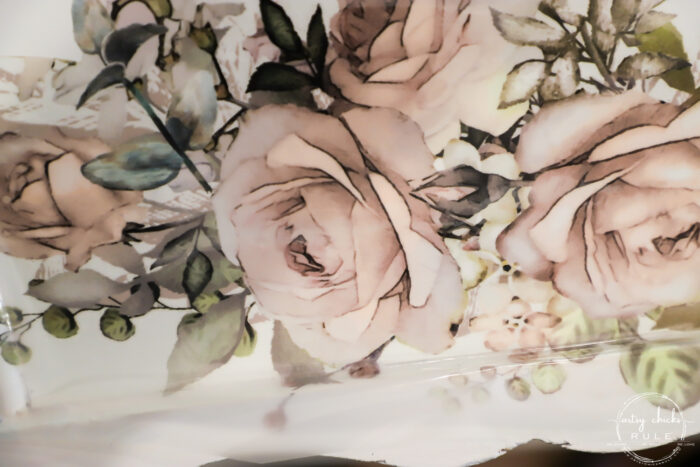
Then I used this small section from the same transfer.
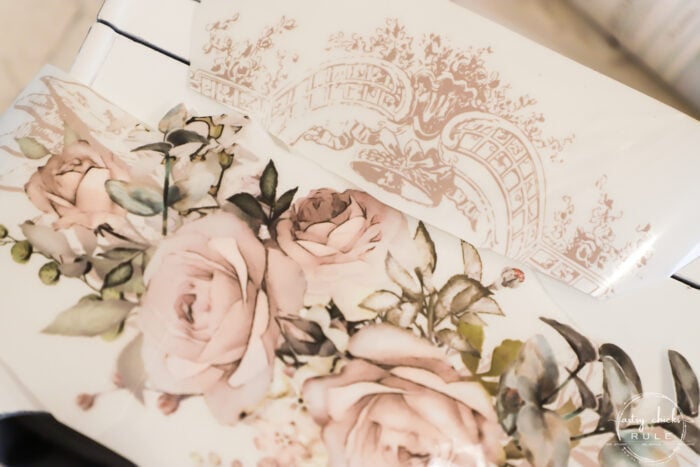
I cut some of it out to fit.
SO easy but wow, what an effect.
And how fun to bunch these all up on one project?
But wait, there’s more! ;)
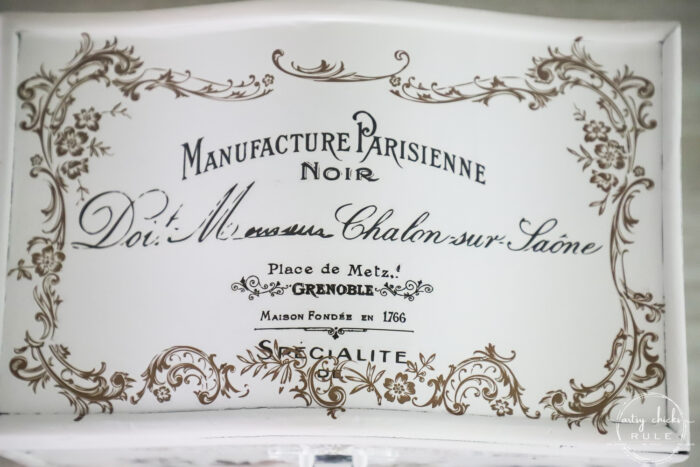
Remember the rose tray (<< see it here) I did recently?

Well, this scrolly “frame” and wording above were a part of it.
I saved it well, l because I save all the things. haha
And so glad too because it’s perfect for this treasures box.
But this was all I had. (Plus a few small pieces of the frame section)
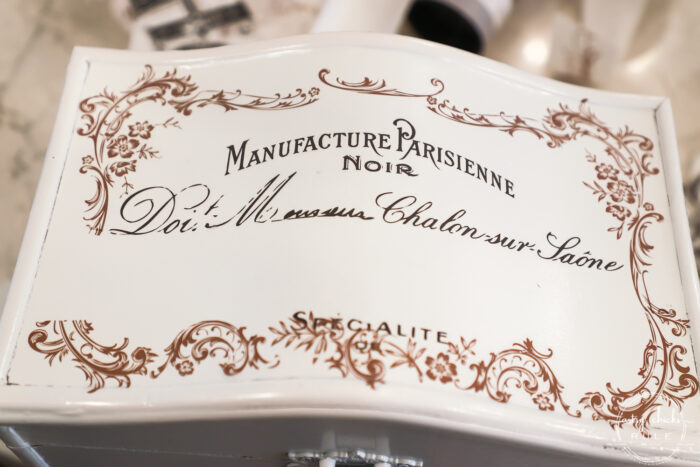
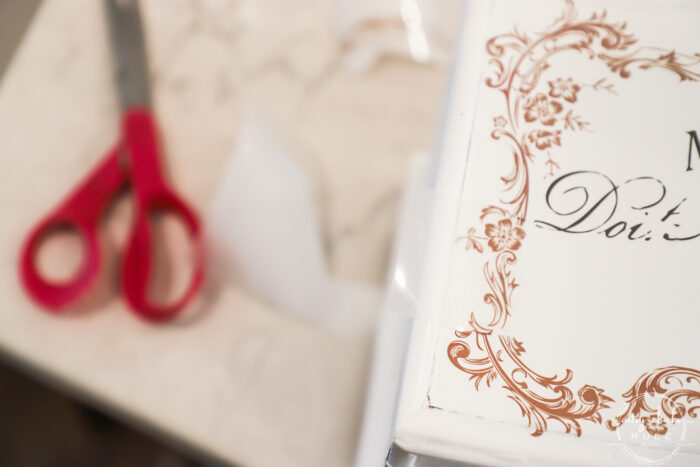
So I fudged it and placed a small piece of frame transfer to fill in that gap on the left.
It’s not a perfect fit/match but hey, it works just fine for me!
Then I had that big white gap without any lettering to deal with. Boo.
If I had thought that out a little better, I’d have cut and separated the lines of text and spread them out.
But I didn’t.
So, I pulled out pieces from another transfer set. (they are all linked above in the “materials box”)
And I used this part for the big white blank area.
So much better!
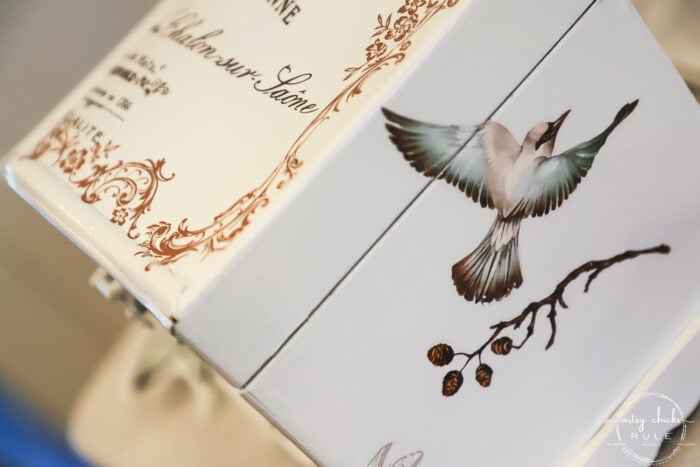
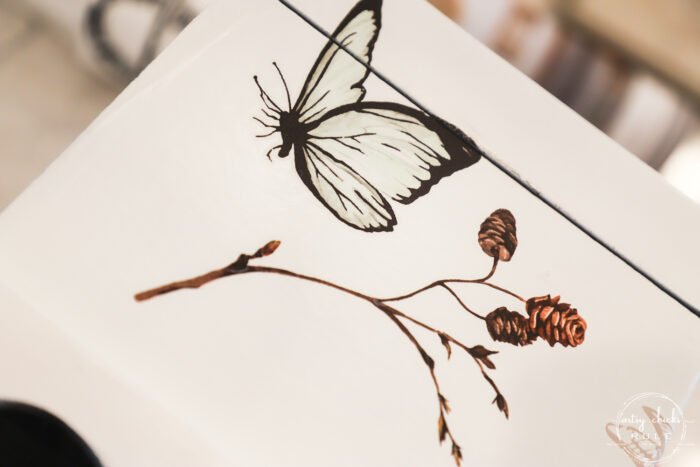
Then I was on a roll and decided to add some bling to the sides too.
These are from the same set number #2.
And…
That is all. I decided that was enough and I was very happy with it.
I sealed it up with a quick coat of matte poly and done!
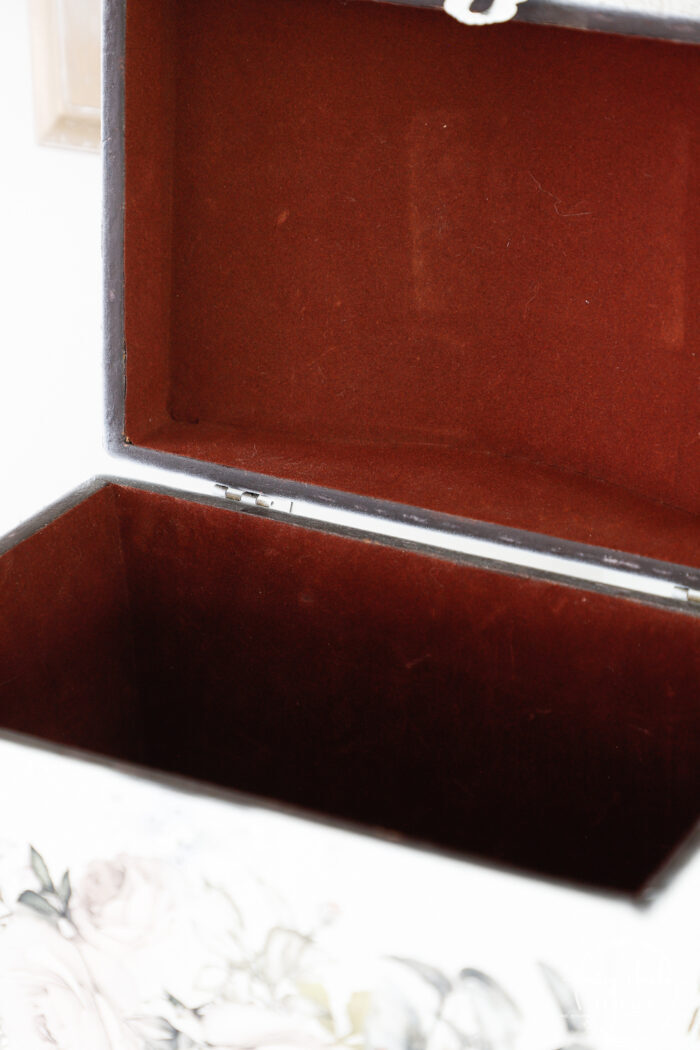
Oh, not done. I forgot about the inside.
It was in great shape just dust and stuff inside. I pulled out a lint roller, ripped off a few sheets, and got it all out.
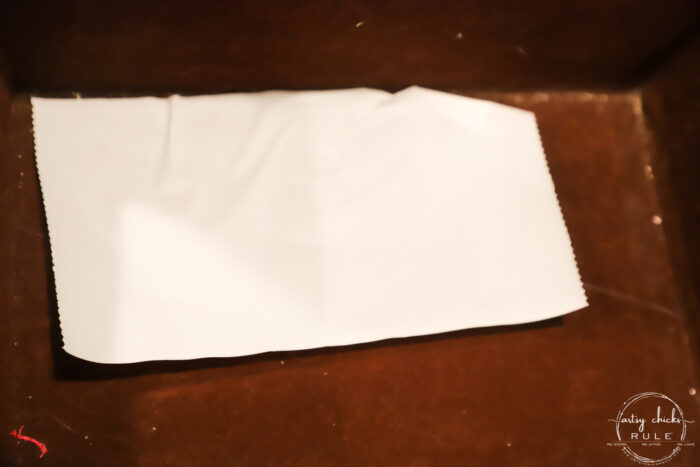
These are so great for this.
I really like the spray paint and look forward to trying it on something else soon.
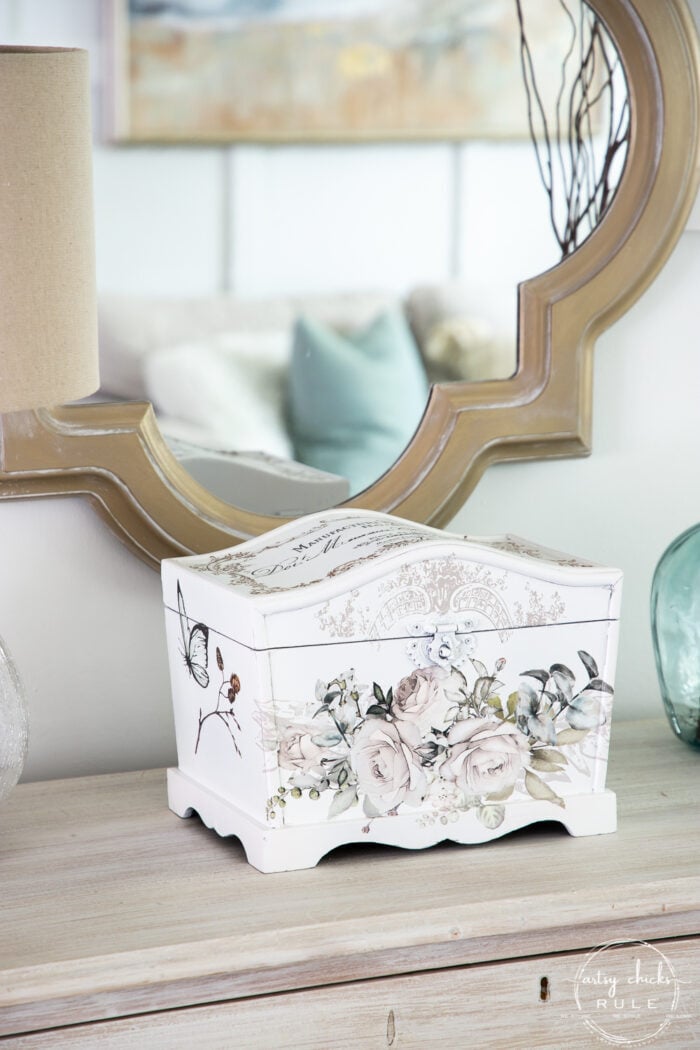
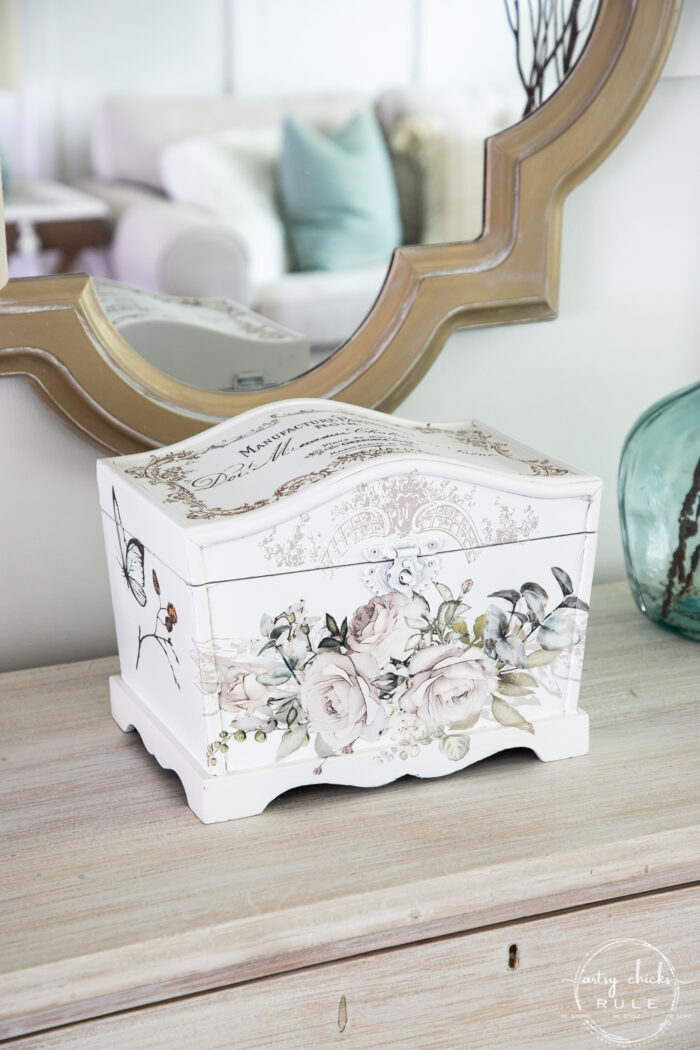
I just love how this one turned out.
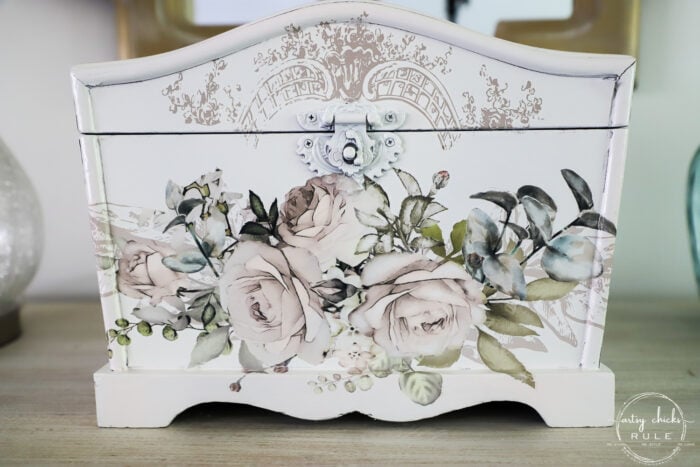
Oh and for the transfers that are wide like this rose one, I just simply wrapped that transfer right around the sides.
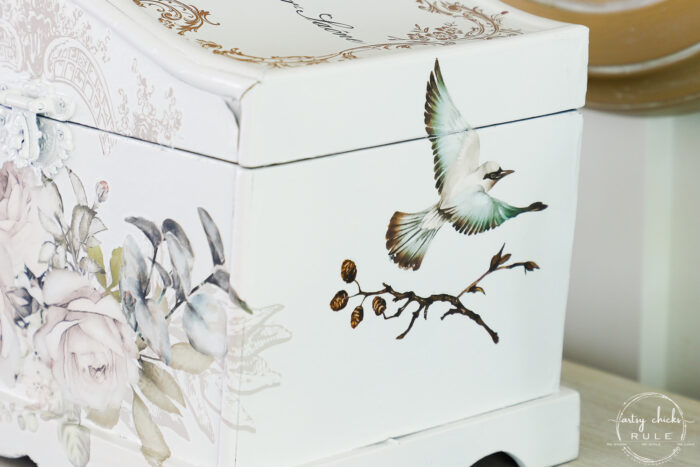
There’s a little surprise everywhere you look.
Whatcha think? Do you love these furniture transfers too?
Have you tried any of them yet?
PIN it to save it!
Don’t go just yet!
Hop on over and visit my friends. You’ll want to see their new treasures too!
Want to see our past Trash To Treasure Transformations?? Click here.
………………………………………………………………………………………..
Are you ready to get busy with some pretty furniture transfers??
I love them!
I’ll see you all back here on Thursday with a makeover I did for the beach condo. See you then!
UPDATE!! See it now here!


")


Super happy and GORGEOUS box Nancy! You pieced together those transfers seamlessly… so beautiful! XOXO
Thanks so much, Denise! xo
Awesome.
Thanks, Denise! :)
Wow. So beautiful!🥰
Thank you!:)
This is one of the PRETTIEST projects you’ve shown, in my opinion! LOVE it!
Aw, really?? Thank you, Sheila! xo
From blucky to beautiful! 🌸
Ha, right?! Thanks, Larissa! xo
Nancy this is so pretty!!. A great makeover.
Thank you, Cheryl! xo
This is beautiful!! Can’t wait to try transfers. Im a neebie to this.
Yes!! So much fun!! Thank you, Jane. :) xo
Nancy this is a joyful little box!!! Beautiful job!! How did you get those “nubbies” off the side? Love how you placed all the transfer pieces! Again, beautiful transformation!!
Have a great week!
Thanks, Christina!! And oops!! I forgot that photo. I have edited. I took them off and filled the holes with wood filler. Like they were never there! :) xo
That transformed box is absolutely stunning. Wow. I think it is one of the prettiest I have ever seen, Nancy. It gorgeous! And it will hold so much, too.
Very well done. I cannot believe it is the same box!
Thanks so much, Michele!! It was a really fun one to play with. :) xo
So pretty! I need two of those please!! (one for each granddaughter :) ) Well, maybe three…so I can keep one too…
Haha!! Aww, wish I had 3 for you, Ann! :) xoxo
Very elegant! Is that paint glossy? It looks like the latch has a shine but the box does not. Love the look:) How did you fill the holes where the things were on the sides? I can’t even tell anything was there! I love that transfer and have used it on several pieces too; thanks for the tips for piecing the transfers.
Thanks! Well, it has a bit of shine but I wouldn’t say very. And yes, I forgot that photo (I’ve edited the post to include it), I removed them and filled the holes with wood filler. Yep, like they were never there! :) xoxo
this is so beautiful Nancy! it certainly pays to save leftovers!
Yes, it sure does, thank you, Gwen! xo
This turned out so pretty! Love it!
Thank you, Lynda! xo
I ADORE THIS. Perfect for me!!! Wish you had a shop here and lived in Oregon!!!
Aww, thank you, Rose! xoxo
Ohmygosh, Nancy, this is the happiest, prettiest box ever! And the way you pieced those transfers together is just perfect. I’ve never used transfers before but I’m certainly planning to. I bought one a year or so ago to use on my mailbox but it turned out to be huge … I think I’m going to have to find a house to refinish in order to use it! Meanwhile, I have a couple of ideas … ;)
Nancy, Love it! I just bought some transfers to try. Your makeover is amazing! The transfers look fun to do, I can’t wait to use mine!😊
Wow. Just simply, wow. That box could live happily ever after in my house!
Thank you, Sharon!! It was really fun to work on! :) xo
That old box is definitely HAPPY now! I love how it’s covered in transfers and just has so much personality now. Gorgeous work, Nancy! xo
Thanks, Jen! xoxo
This turned out absolutely stunning!! I love that you can cut the transfers to create what you want…gorgoeus!! XOXO
Thank you, Christy! I just love playing with transfers! xoxo
Beautiful treasure box transformation!
Thank you, Renee! xo
Beautiful job on the box, Nancy! It would make a great gift.
Thank you, Dalila!! xo