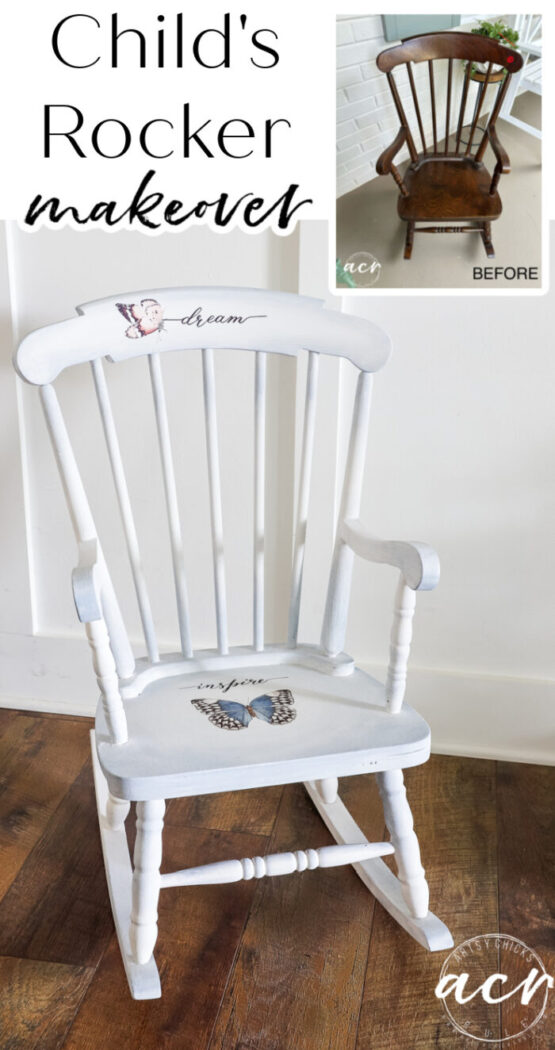
Child’s Rocker Makeover
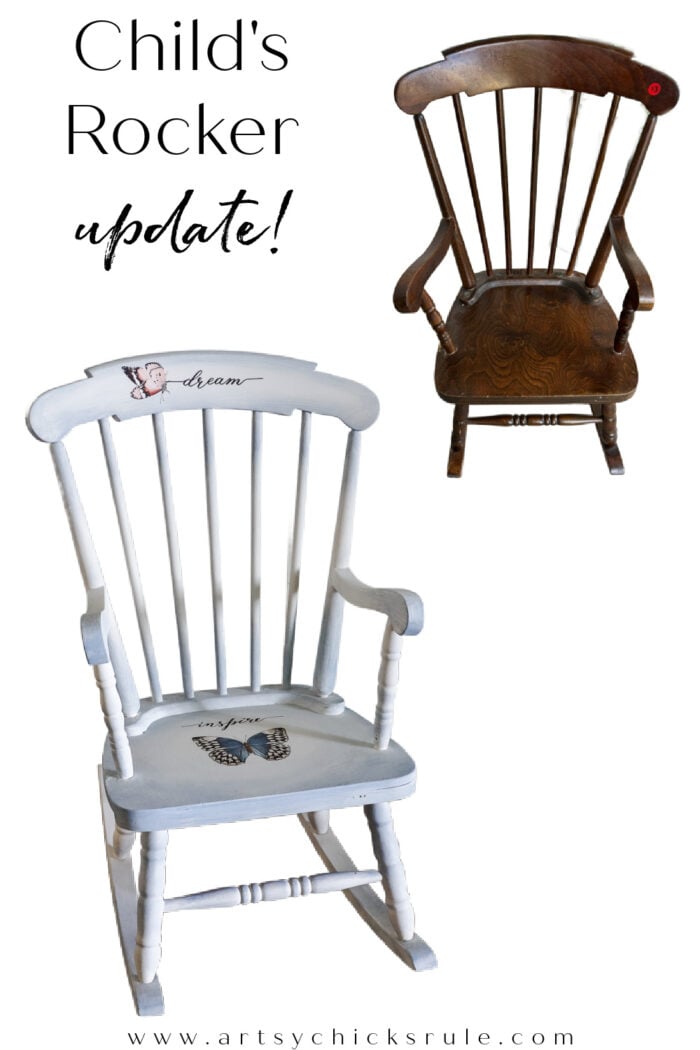
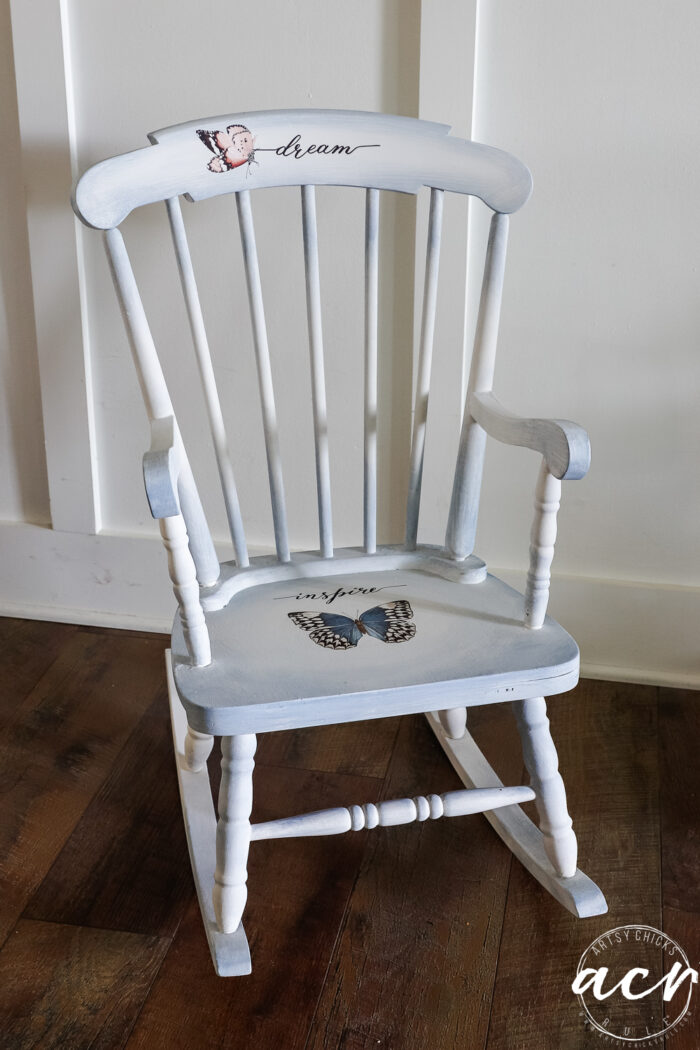
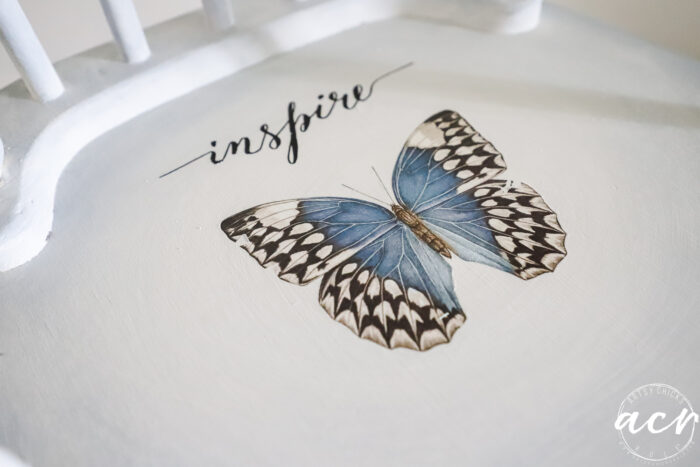
This child’s rocker makeover is made even sweeter with the Papillon transfers. The color blending adds a dimension and interest, too!
Hello, beautiful friends! Happy Trashy Treasure Tuesday!

In case you are new around here, my friends and I get together the second Tuesday of every month with our latest “trashy treasure.
I went garage saleing 2 weekends ago…and it was a bust! It was a large community sale, but gosh, they were selling small stuff. I didn’t see much in the way of furniture or anything I’d really like to make over.
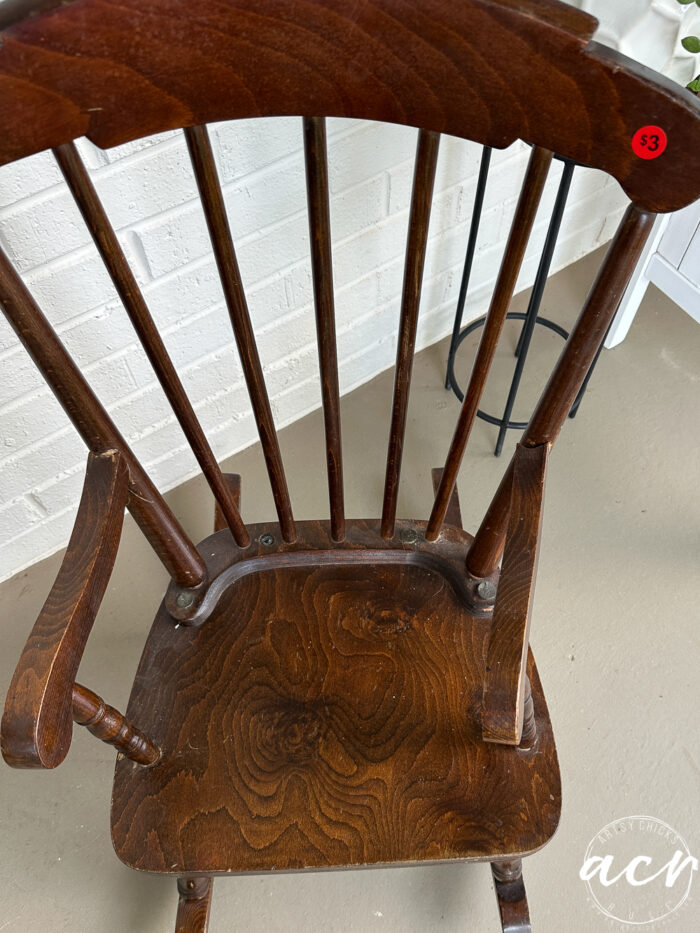
However, I did find a very sad little child’s rocker for $3. And home with me it came!
Child’s Rocker Makeover
Three dollars is cheap! Right?!
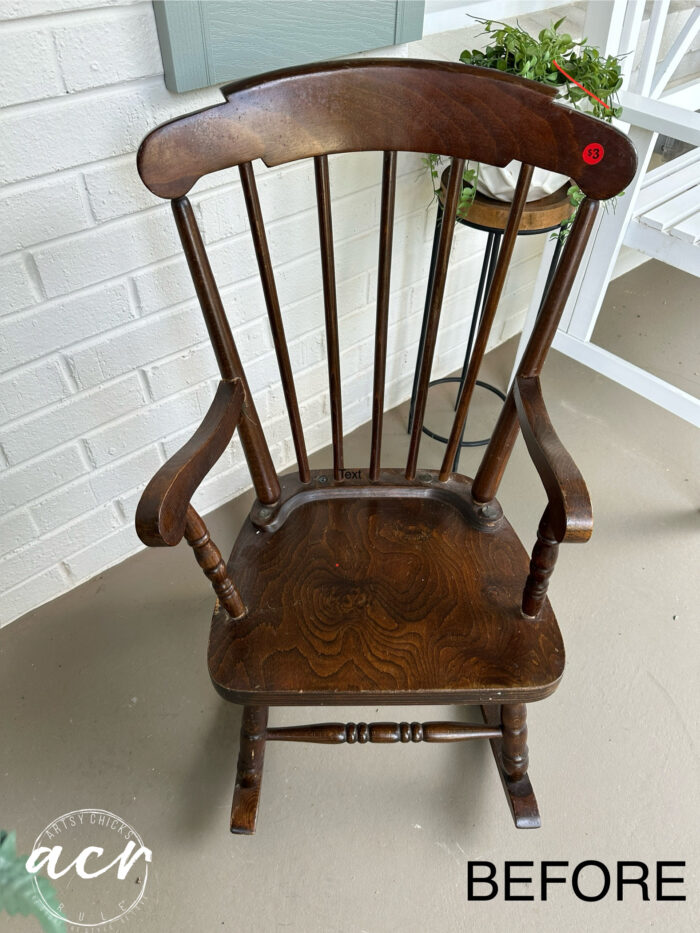
However, I didn’t realize just how wonky and sad this little chair was until I picked it up.
It was loose everywhere.
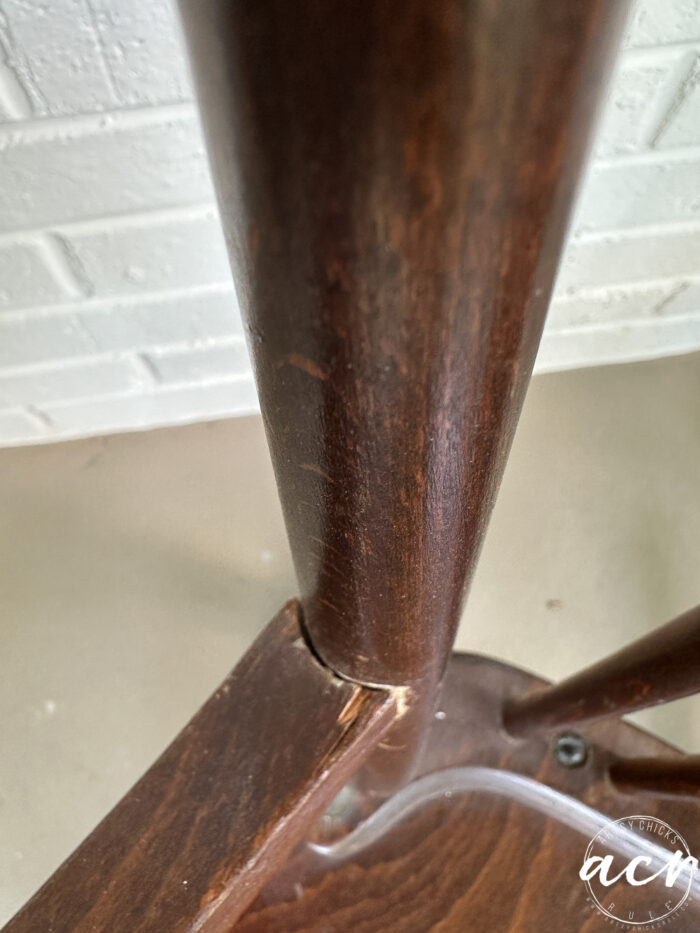
Wonky. Both arms moved like that.
But I fixed it up! Glue and screws, y’all.
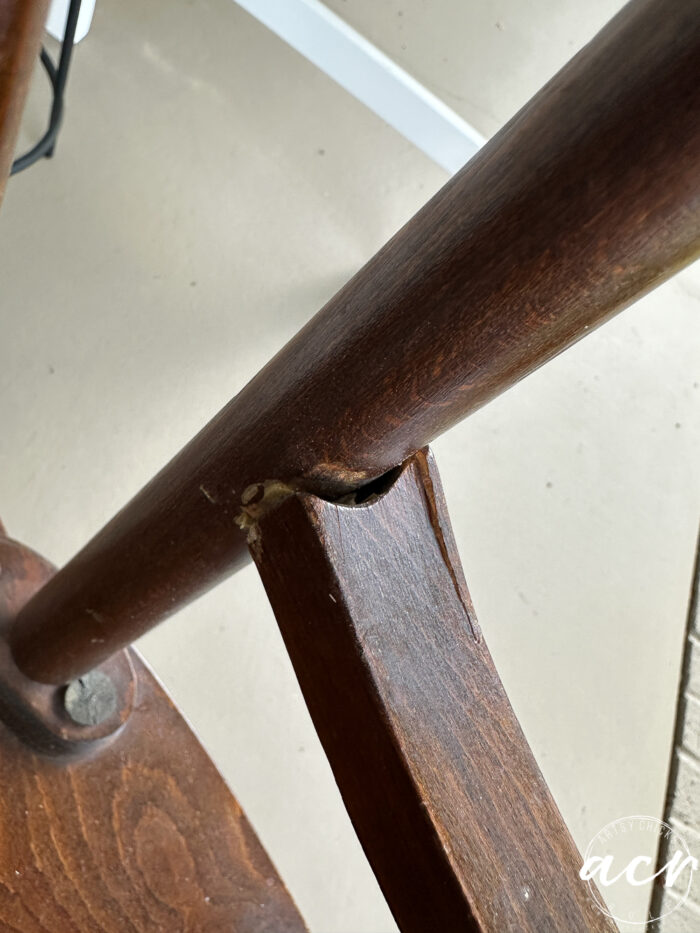
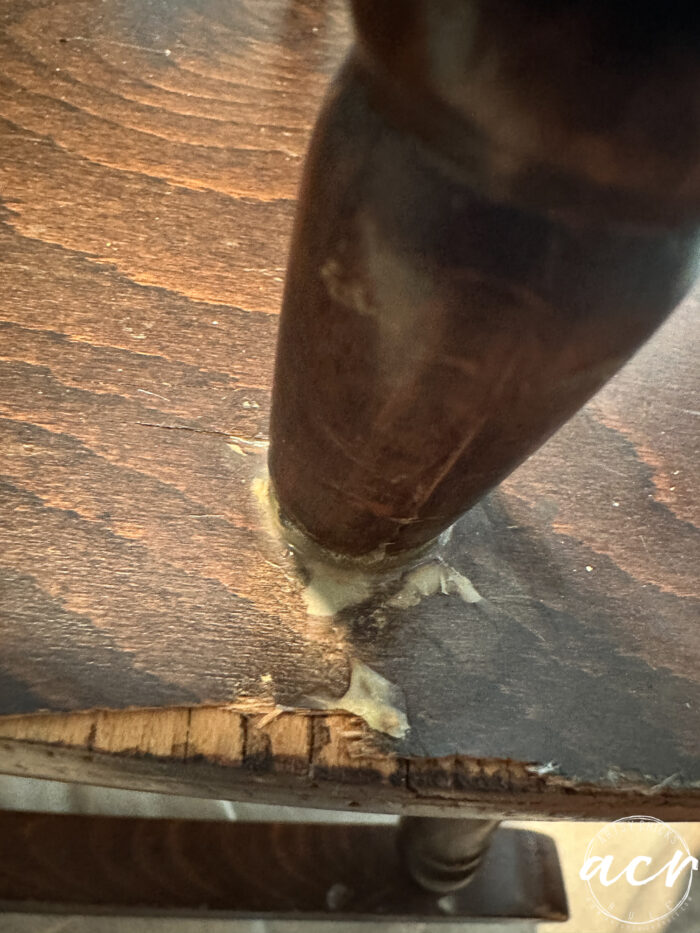
These little covers…some missing, some not. They had to go.
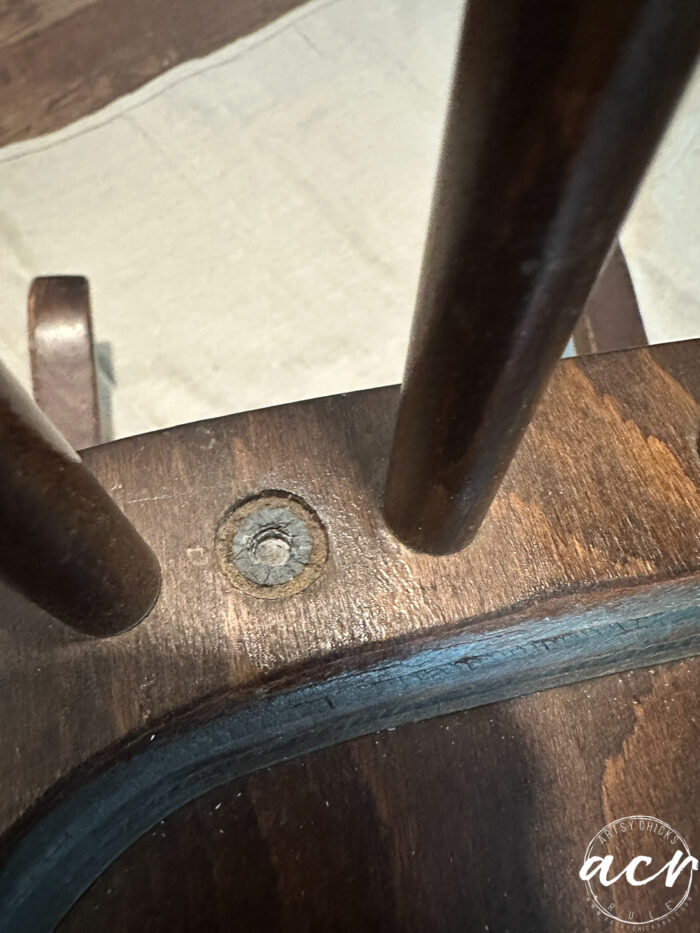
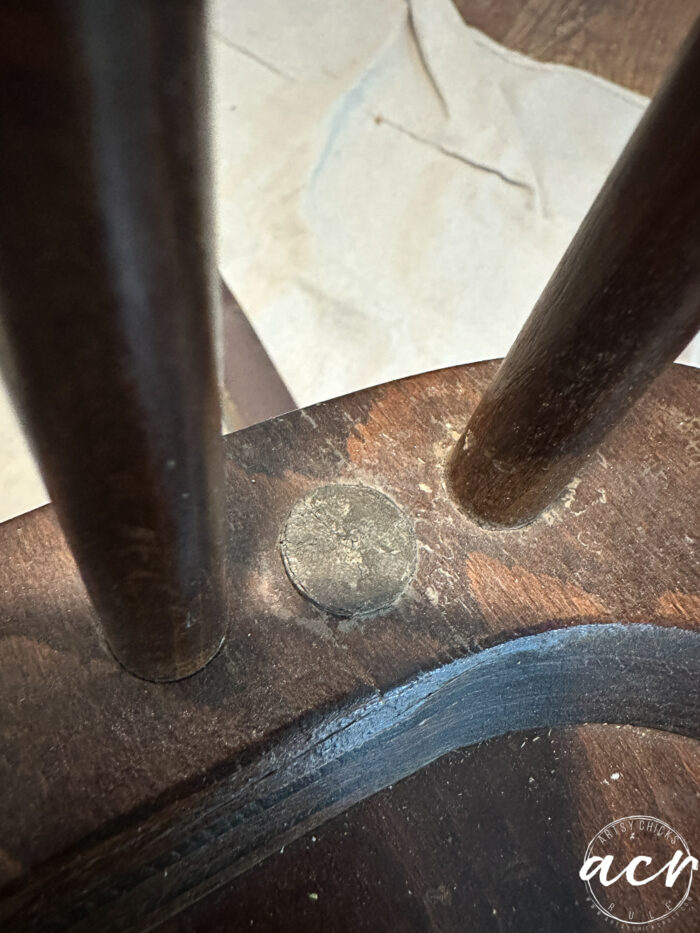
They were sort of dry rotted.
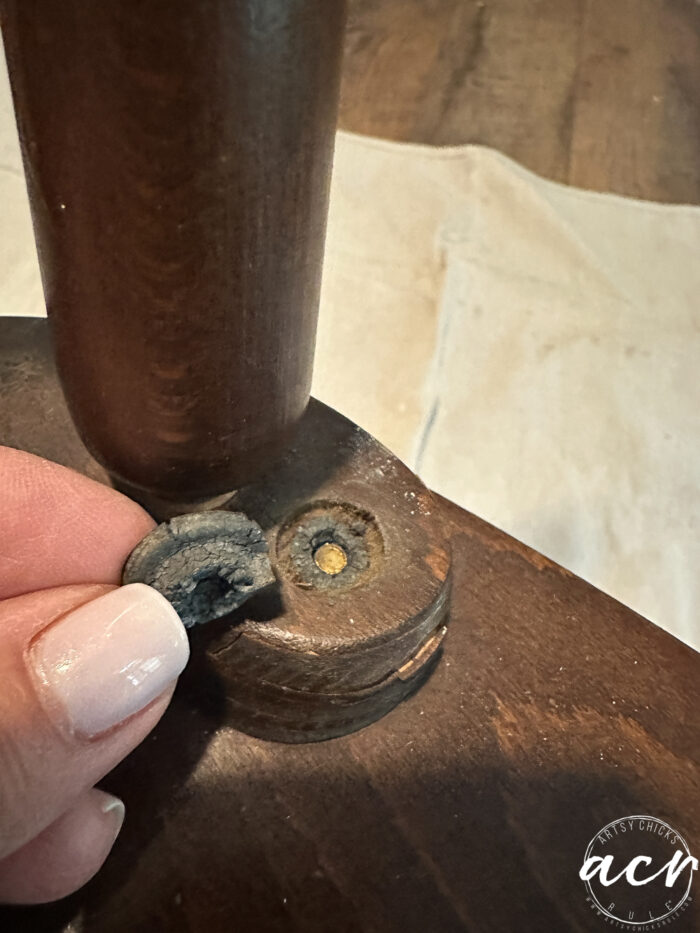
I filled them in with wood filler.
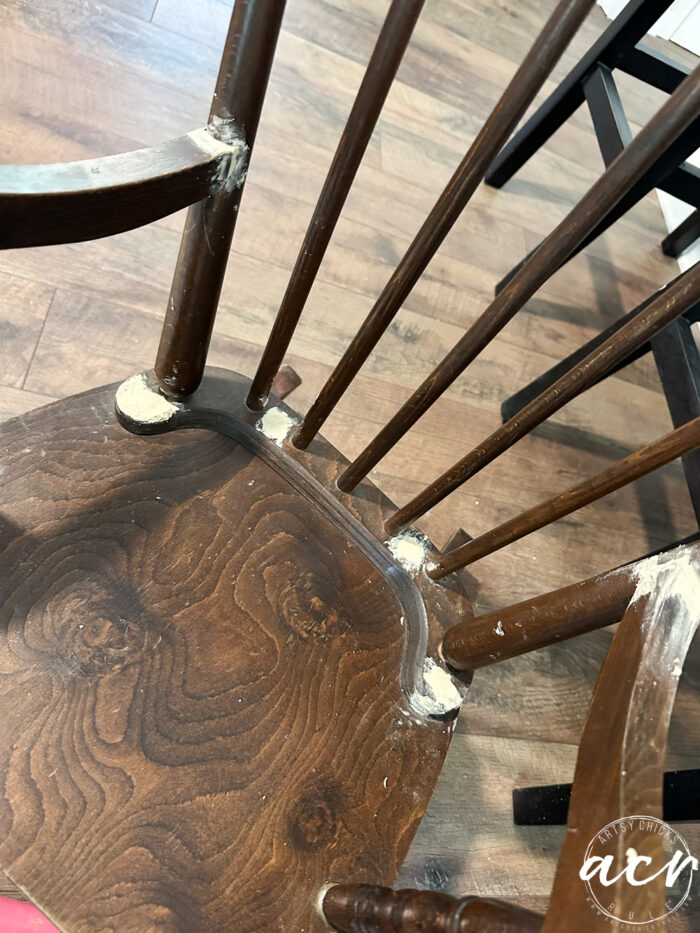
And tightened and glued the arms.
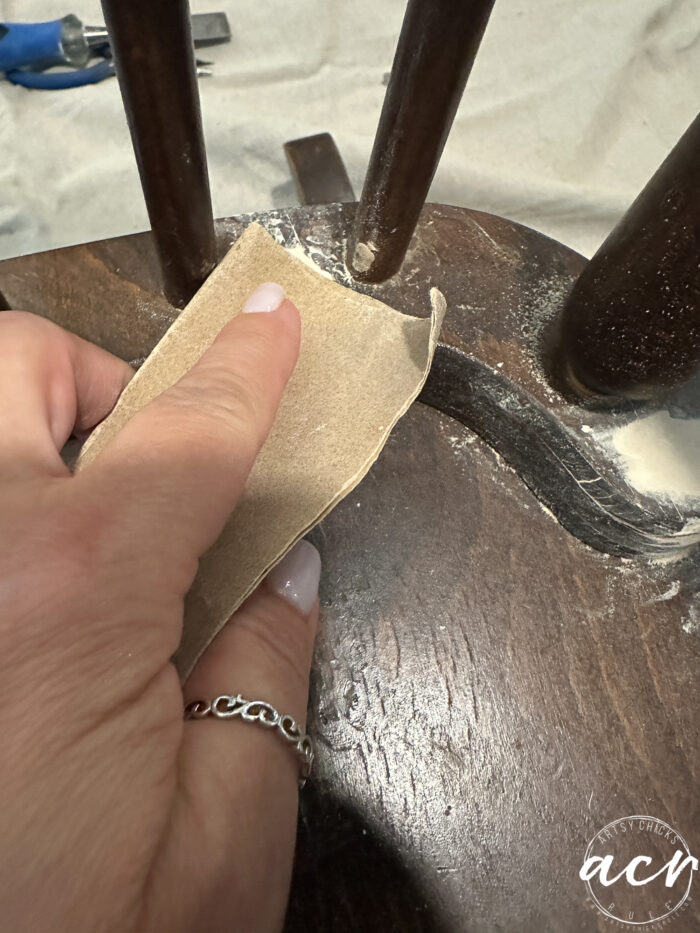
Once dry, I sanded the wood filler smooth.
Materials Source List
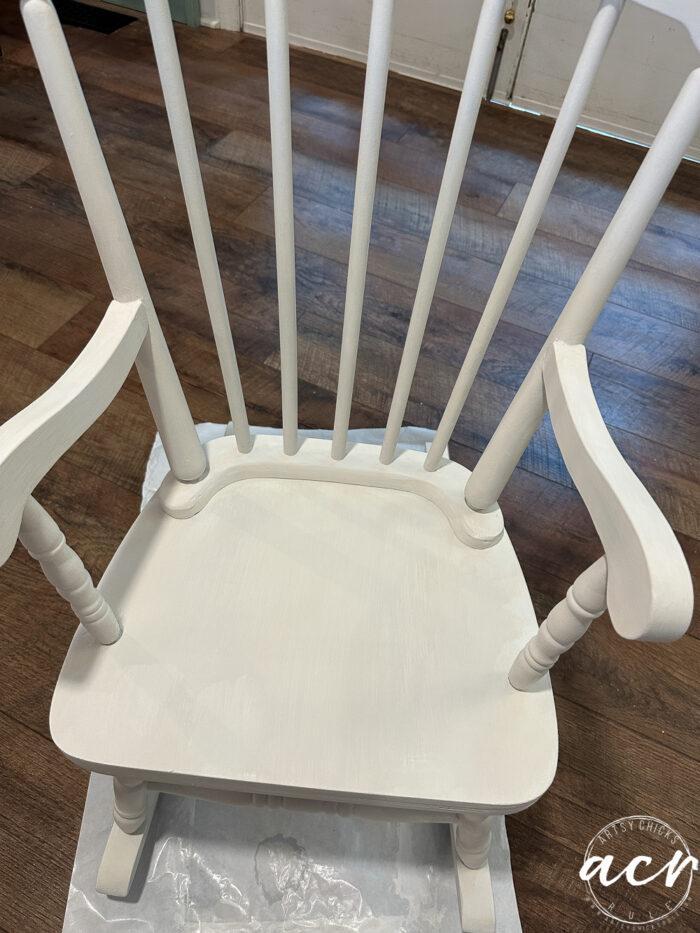
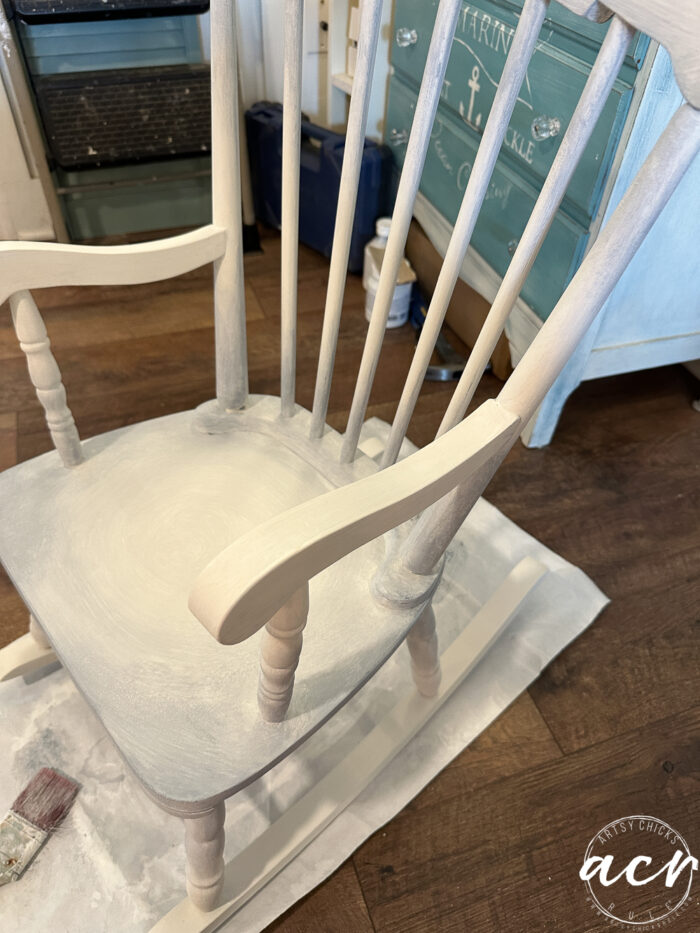
I also lightly sanded the rest of the chair and cleaned it up with our TSP Alternative.
Then gave it 2 coats of Birch Alchemy Limestone & Chalk paint. (it’s part of our new line!)
This is my plan…
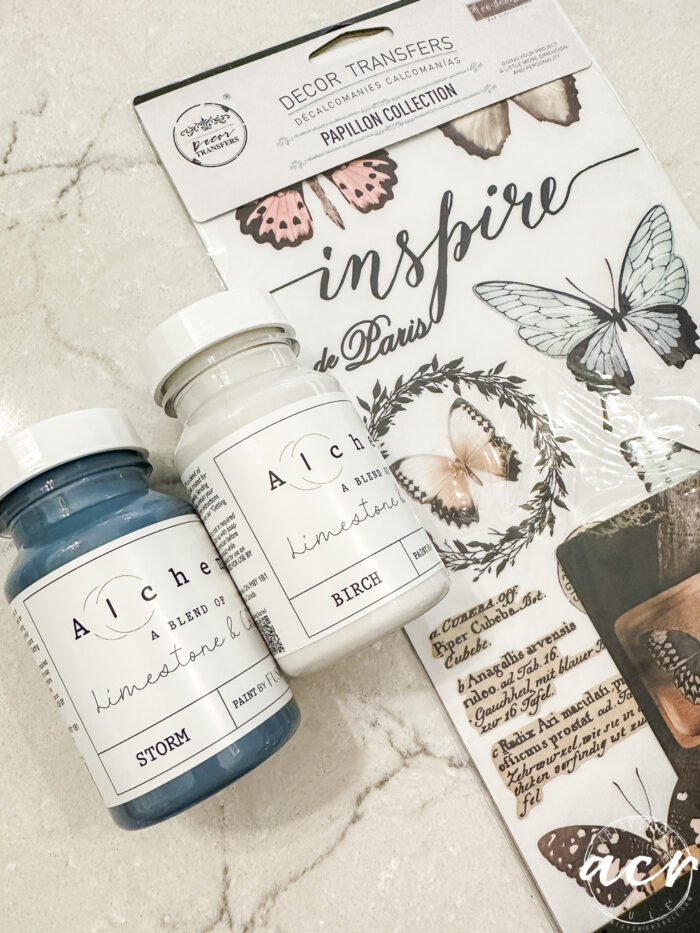
The great thing about this paint is that it is very blendable. So I planned to do a little of that with these two colors.
Want to know more about this new paint line?? Check it out right here.
This transfer is one of my absolute favorites. Here’s another project I did with it!
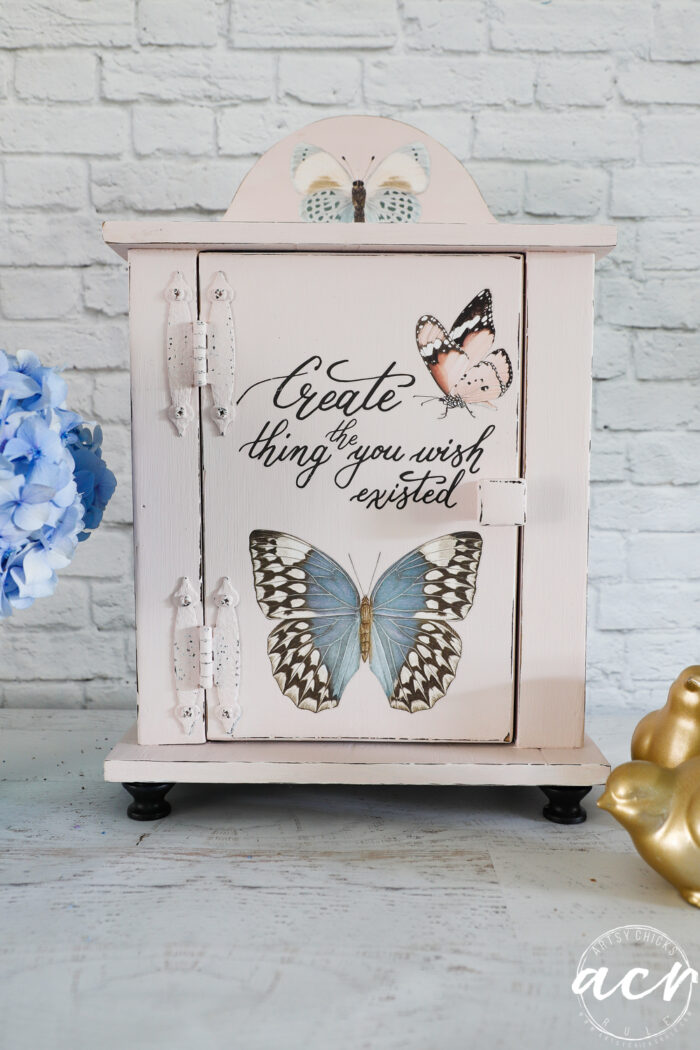
Go and see what I did to the inside here. It’s adorable!
To begin this part, I poured some of each paint onto a paper plate.
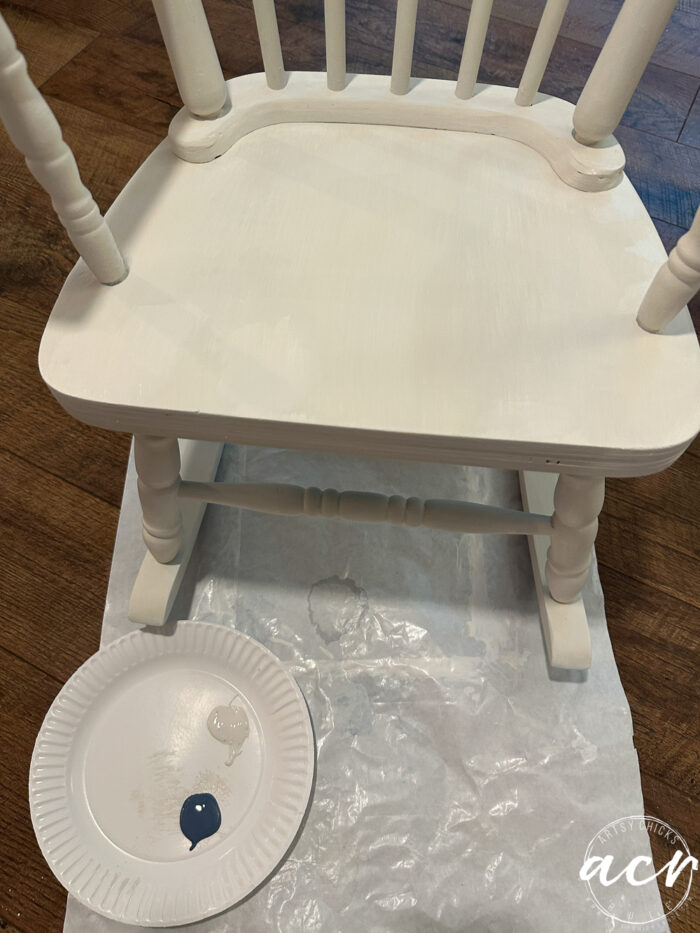
And used two brushes to blend the paint onto the chair.
You will definitely want to use our Continuous Mister (same one I use for our TSP Alternative) to water down the paint a bit as you go. It dries fast and it makes it easier to move the paint and blend with a little water.
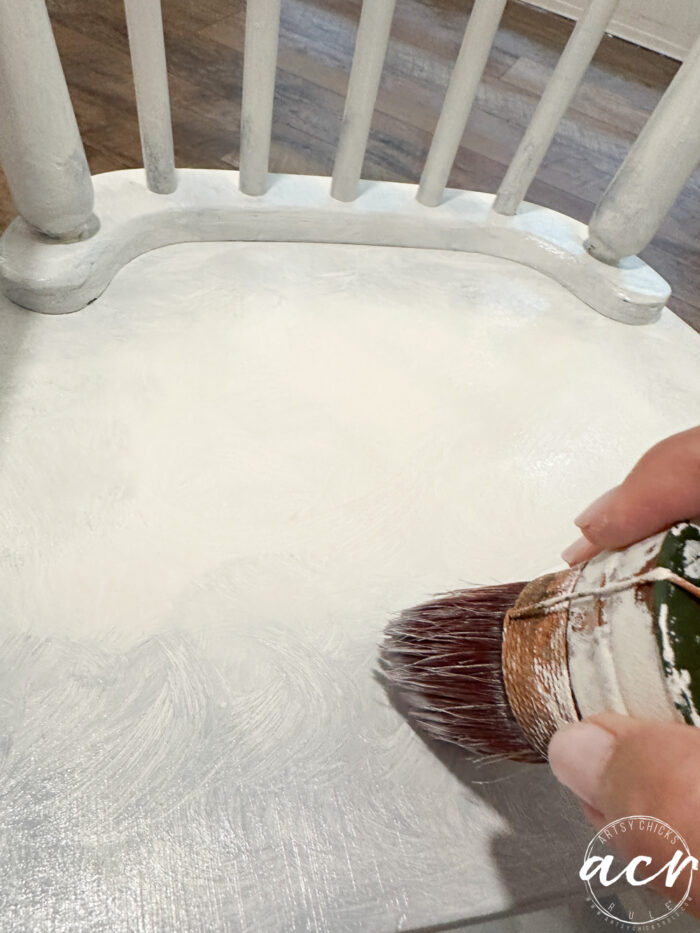
In process, blend, blend, blend!
I was sort of trying to have blendy areas, if that makes sense. From white to blue, etc. (you’ll see more in the finished pictures below)
Once I was satisfied with how everything looked, I added the transfers.
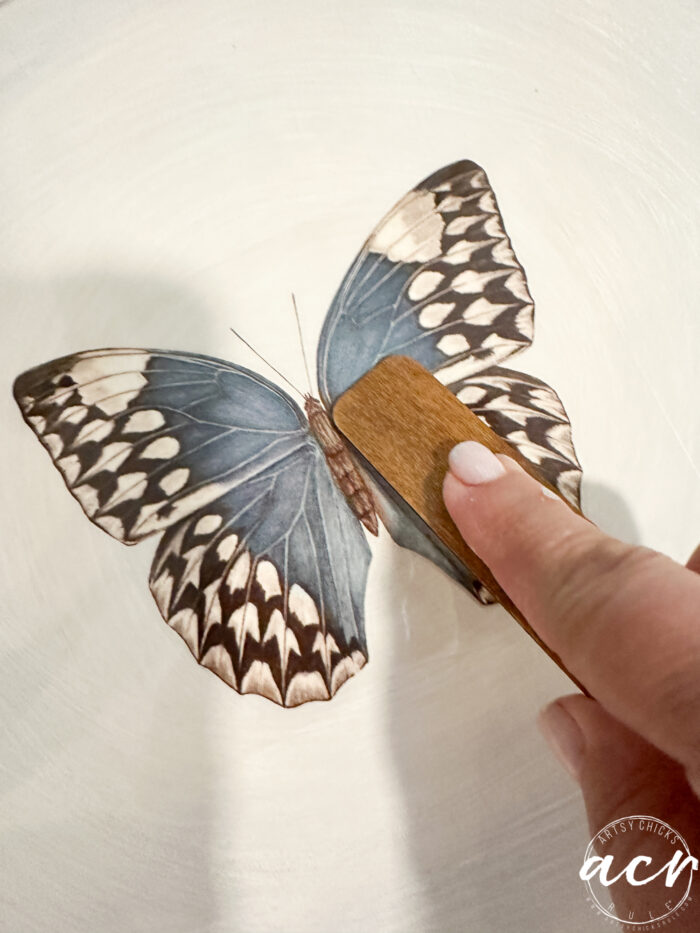
And finished up with a coat of Ultra Guard in Flat finish.
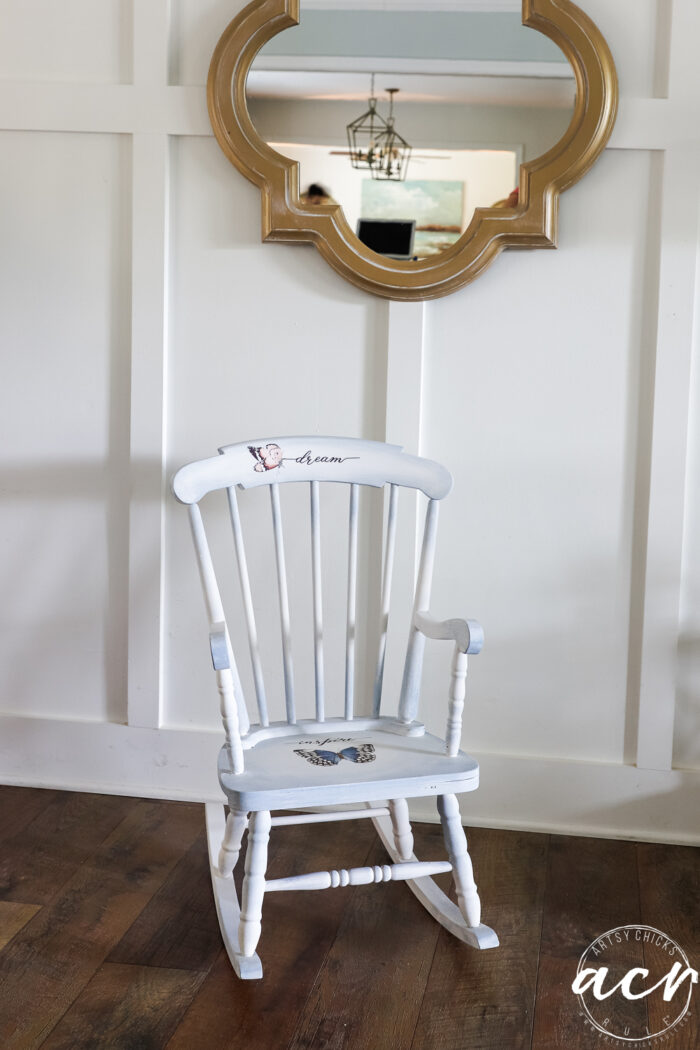
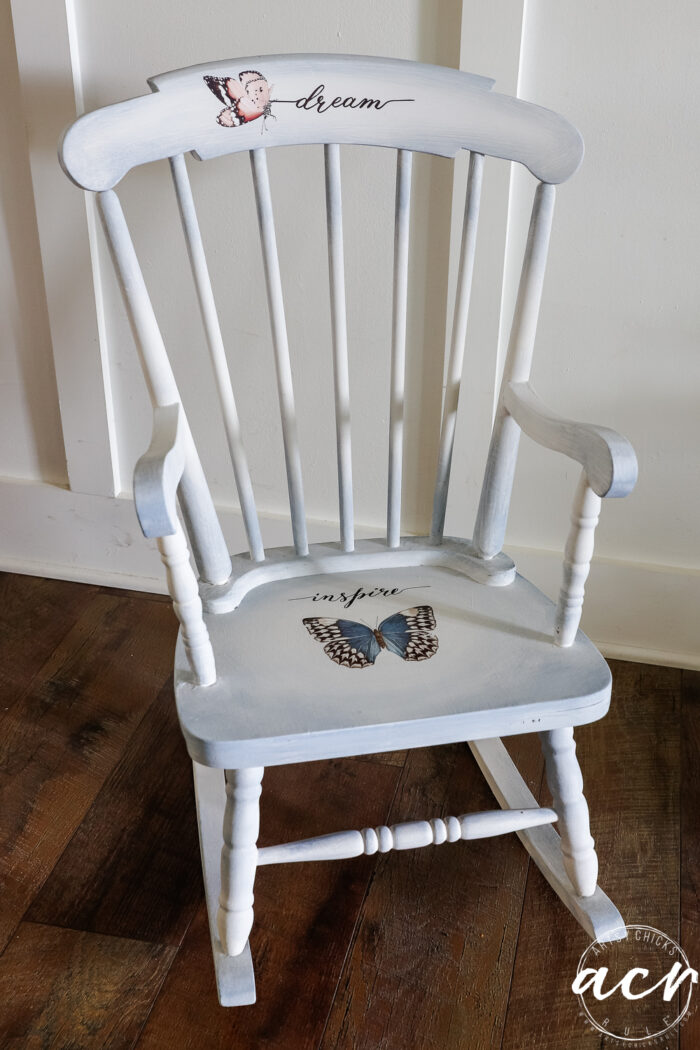
Child’s Rocker Reveal
I wanted to do something unique and give it a little dimension.
For some reason, the coloring got a little lost in the photos. It’s much more prominent in person.
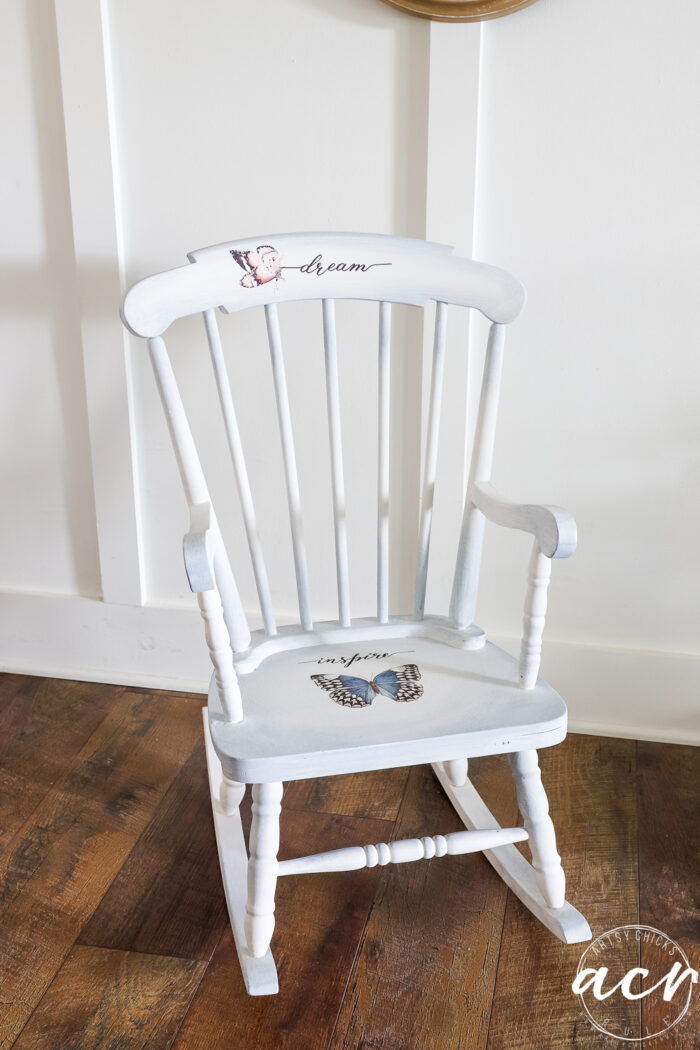
So, the back spindles are blended blue from the bottom up and the top down. Same with the spindles in other places. (although they look all white in the photos, bummer!)
Here is a bit darker photo, hopefully you can see what I mean.
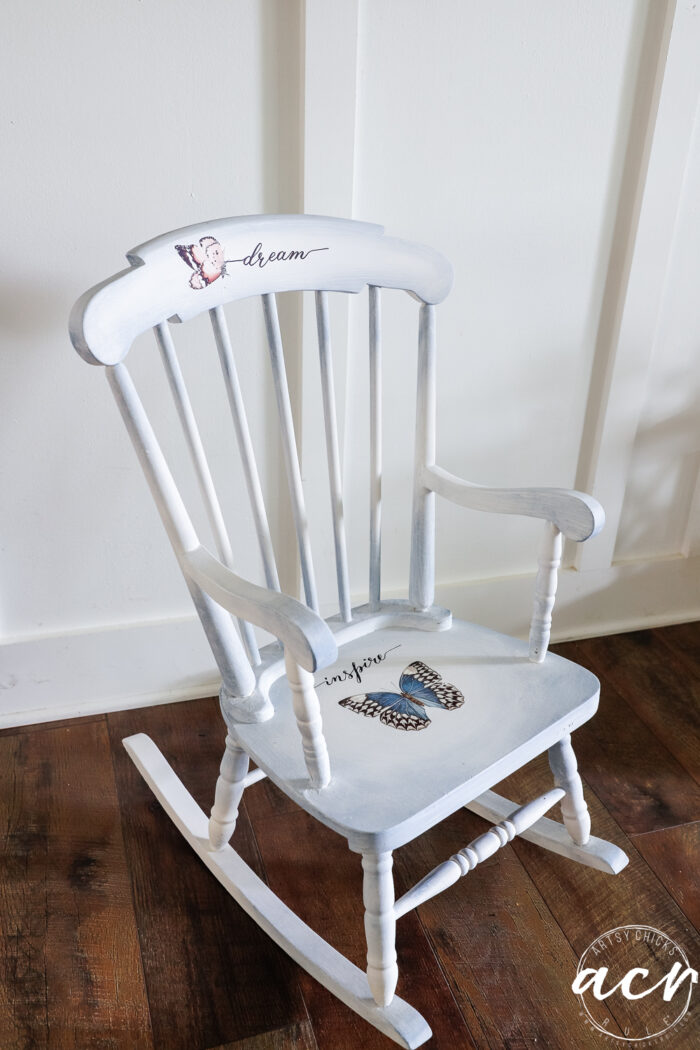
Just something a little different than your standard one-color paint.
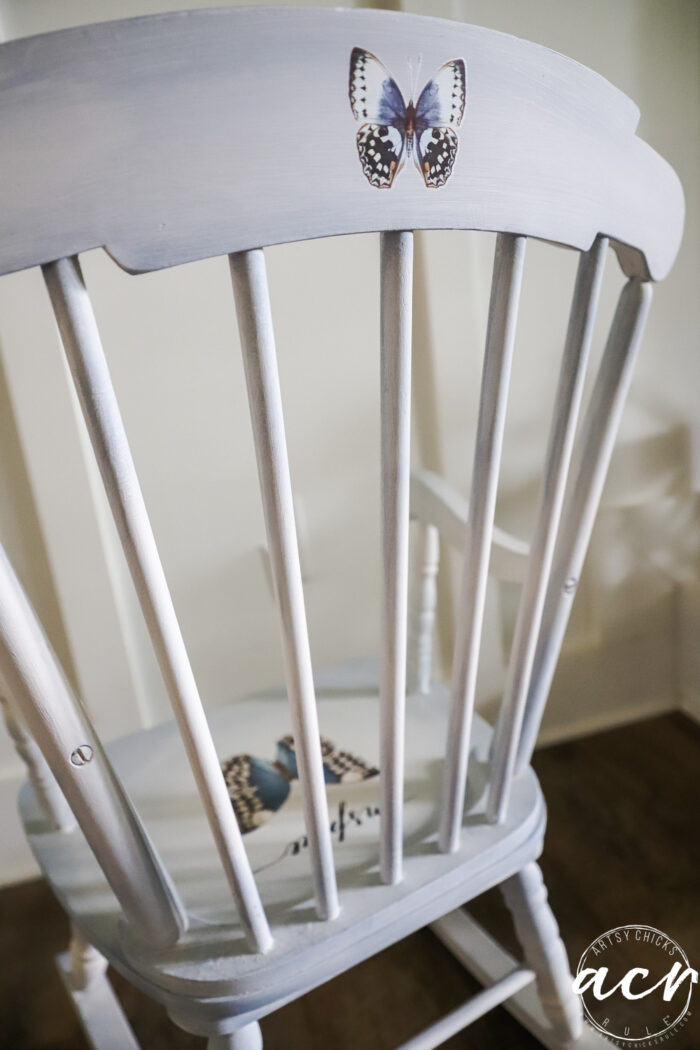
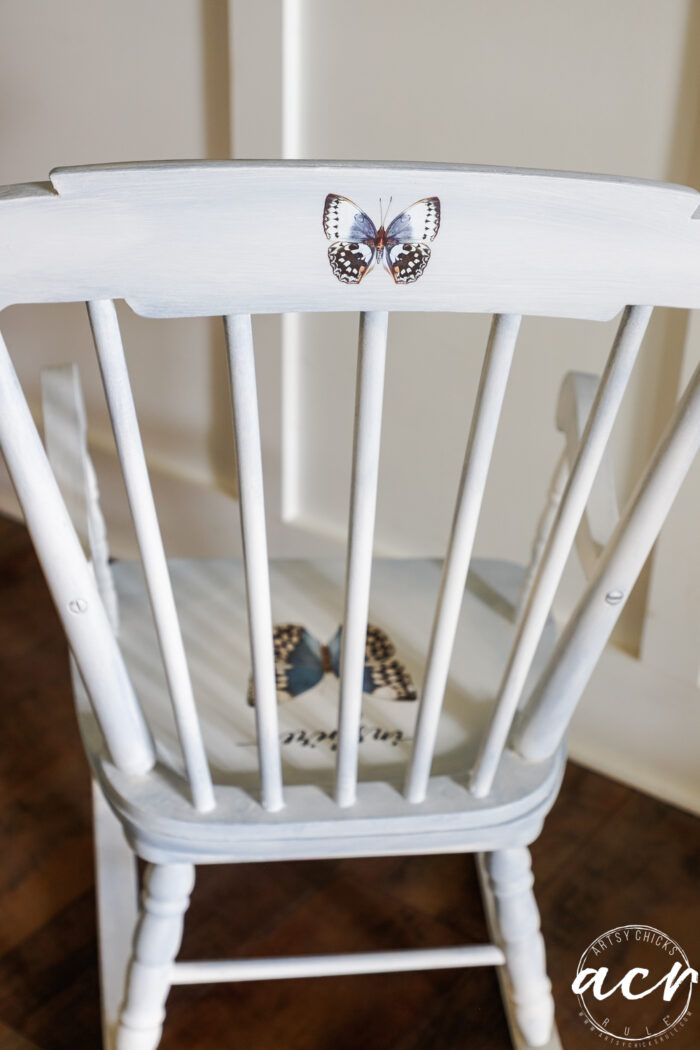
How about that surprise butterfly on the back? Cute!

Yes, all I had were dog toys to stage that with! lol But how cute are they?

Adorable little rocker ready for a new little friend!
PIN it to save it!
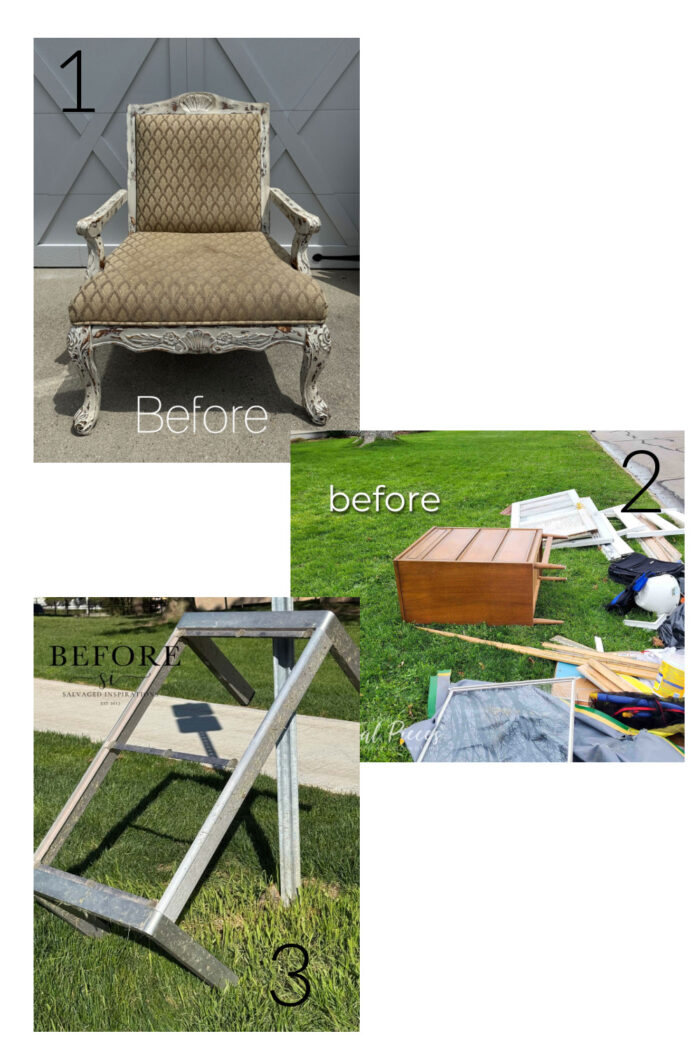
Don’t forget to check out my friends’ makeovers too!
Have a wonderful week, friends!!


")

")
")


")

Fantastic save, Nancy! :)
Thanks, Larissa! :)
ohhh, this was a fixer-upper and you turned it dreamy Nancy! I love the blending and transfer details. Some little girl is going to LOVE this! Pinned XOXO
Yes, it really was! And I hope so! Thanks, Denise! xoxo
So pretty! You are so talented at paint techniques, and the transfers really take it over the top. Thanks for sharing!
Thanks so much, Vicki! And yes, this is probably my favorite set of transfers! xo
This little rocker turned out so cute!! Love the blending on this one…and I felt your pain at finding the wobbly bits once you got home. Glad you were able to tighten everything up! XOXO
Thank you, Christy! Yes, that seems to be the case with almost everything I find lately! (and why most of it is still sitting in my garage…haha!) xoxo
Oh that is just so cute now, Nancy!!! What little child wouldn’t love rocking in that with a favorite toy and a good book. ADORABLE!!
Thank you, Michele! I can picture it that way, I sure hope some little loves it! xoxo
So sweet, Nancy! I find blending hard to get right and you did it so well. The little transfers add just the right amount of contrast to the soft colors of the chair.
Thanks, Marcie! Yes, it can be, for sure! I did “work” this a bit. Let’s just say, I won’t be doing a rocker or spindles this way any time soon again (or ever!)!! ha! Blending paints like that go so much better are flatter surfaces. I plan to do another blending project soon on a regular piece of furniture. xoxo
So cute now. Save !!
I bet it disappears quick.
Little kiddos love cute a little chair :)
Thanks, p! Yes, they sure do! :)
What a sweet little chair, Nancy! I know someone who has a 9-month old and this would be so perfect for her. Great job!
My little corner table come home with super wobbly legs, too. I wonder if it’s “something in the air”???
Thanks, Caye! And oh my gosh, yes, must be!! lol xoxo
You did a great job on this child’s rocker, the blending looks really good but was probably tough to do on those spindles! The butterfly’s are a sweet addition.
Thank you, Celia! It was tough on those. I don’t think I’ll do that again! ha! xoxo
This is a sweet find and made lovelier by you. Love the technique, kind of a color wash. Amazing job as always.💙
Aw, thanks so much! :) Yes, it does sort of look like that, for sure! Have a great weekend! xo
Hi Nancy! So cute. I cannot wait to try this new paint.