Chalkboard Coffee Bar Menu Board (repurposed framed print)
Turn any old framed print into a chalkboard coffee bar menu! You don’t even have to remove the glass.
I have so many projects in the works over here. It’s a little bit crazy town. ;)
I took a photo of it and will share it next week (the crazy town). You know, just to keep things “in check”.
I had someone on my Facebook page message me recently and said she would never have a “showplace” as I do.
So I have to share! I don’t have a showplace y’all.
Well, some days I do but most days my home is a “working” home …and a mess with everyone’s stuff everywhere!
Combine trying to paint in, photo, create, photo, live in, etc. and it gets crazy fast. hah
So today I’ll share one little corner with you.
You may remember I’m doing a makeover in my dining room.
You can see the plans for it here —>> Dining Room Mood Board
Well, I’ve created a new “Coffee Bar” area and along with it a …
Chalkboard Coffee Bar Menu Board.
I’ve sold my Baker’s Hutch (that used to be in this spot) and am getting ready to sell a few other pieces in this room.
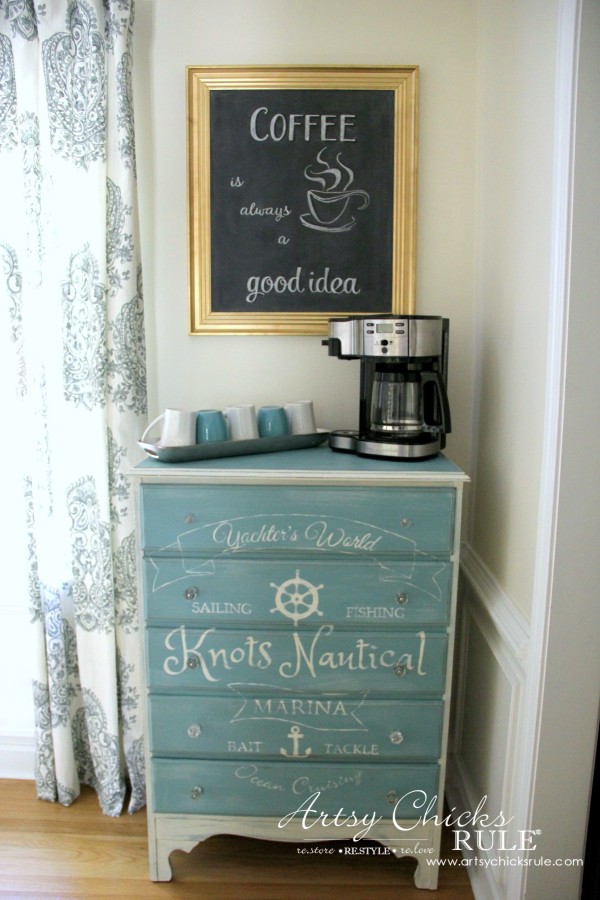
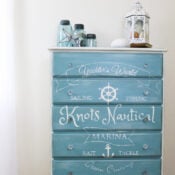
I moved my Coastal Themed Dresser into the dining room to create a new “Coffee Bar”.
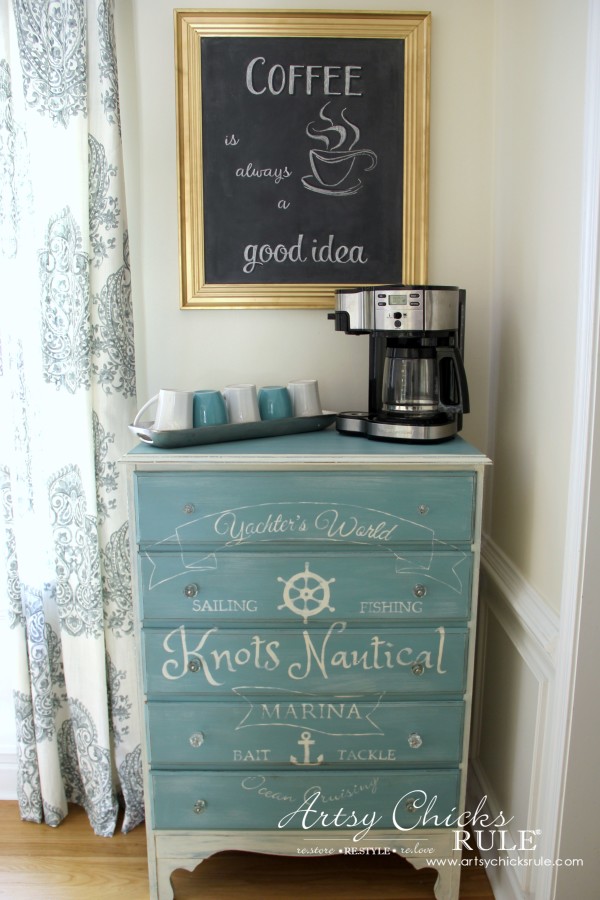
New curtains as you can see there. (LOVE THEM!)
New wall color (no more yellow….the yellow is actually going away in all rooms as I get to it)
The wall color is Navajo White SW6126 cut by 50% with bright white.
It’s a pretty, soft, creamy off white color.
White beach sand is what it reminds me of….perfect.
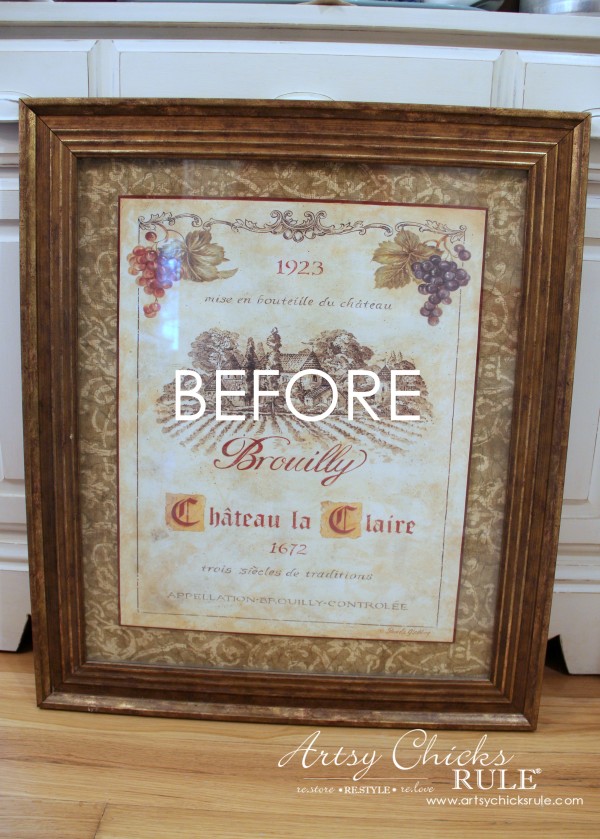
This is the framed print I repurposed into a chalkboard. (for the coffee bar menu)

I have a friend who was getting rid of this and a few others.
I took them knowing I’d do something with them down the road….like this.
This was the perfect size for the chalkboard I wanted to do over the chest.
I sprayed the frame with gold spray paint.
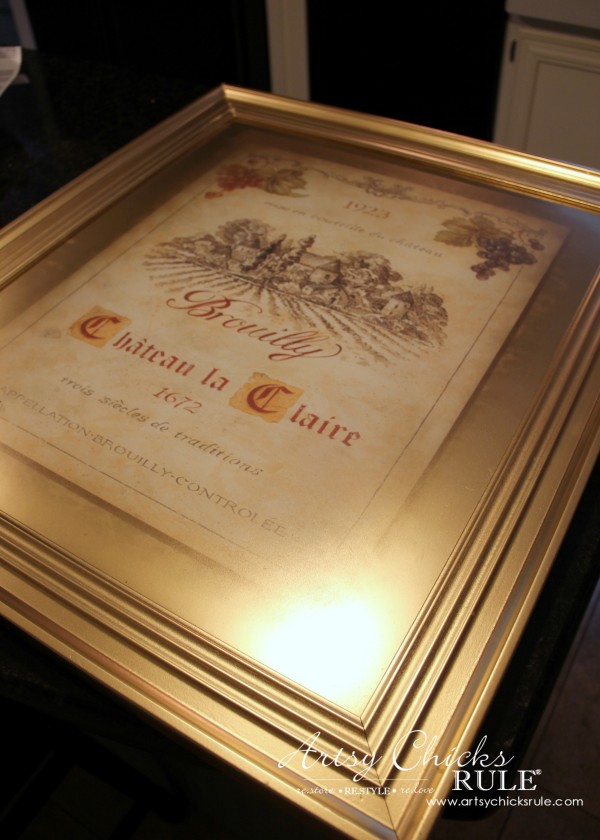
Then taped it off to paint the glass.
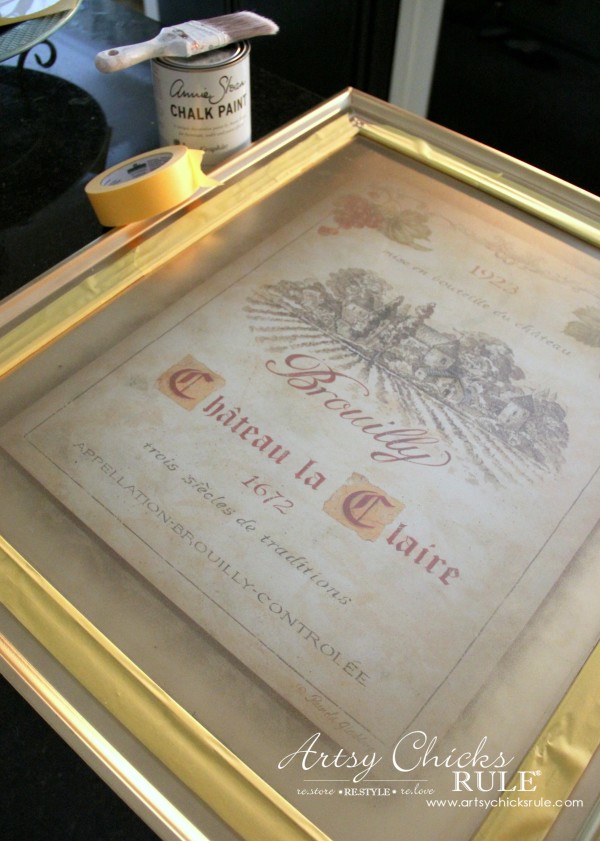
I used Chalk Paint by Annie Sloan in the color Graphite to create the chalkboard.
Chalk Paint is not really a “chalkboard” paint but I use it for this.
It’s actually my favorite chalkboard finish.
The color is “just right” for an authentic-looking chalkboard.
I did about 3 coats and then created the very simple graphic to use on the board.
(printed out using www. blockposters. com)
You can download it for free here…
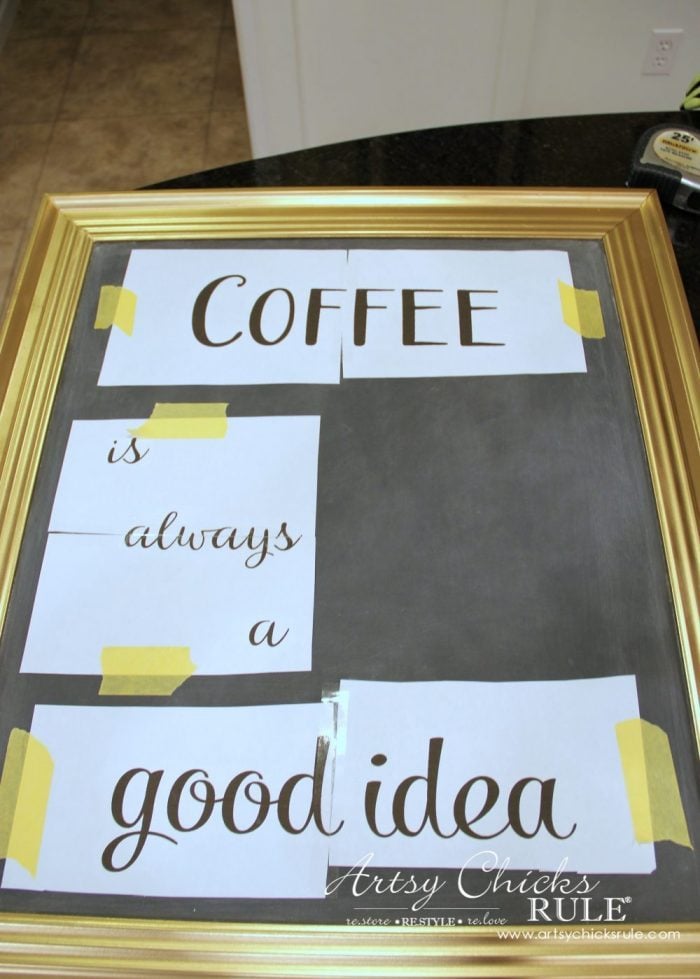
I “colored” the back of the lettering with white chalk.
Then I taped it to the board where I wanted it positioned. (use a measuring tape to make sure it’s even)
I then used a pen (or pencil) to trace over the lettering to transfer the chalk to the board.
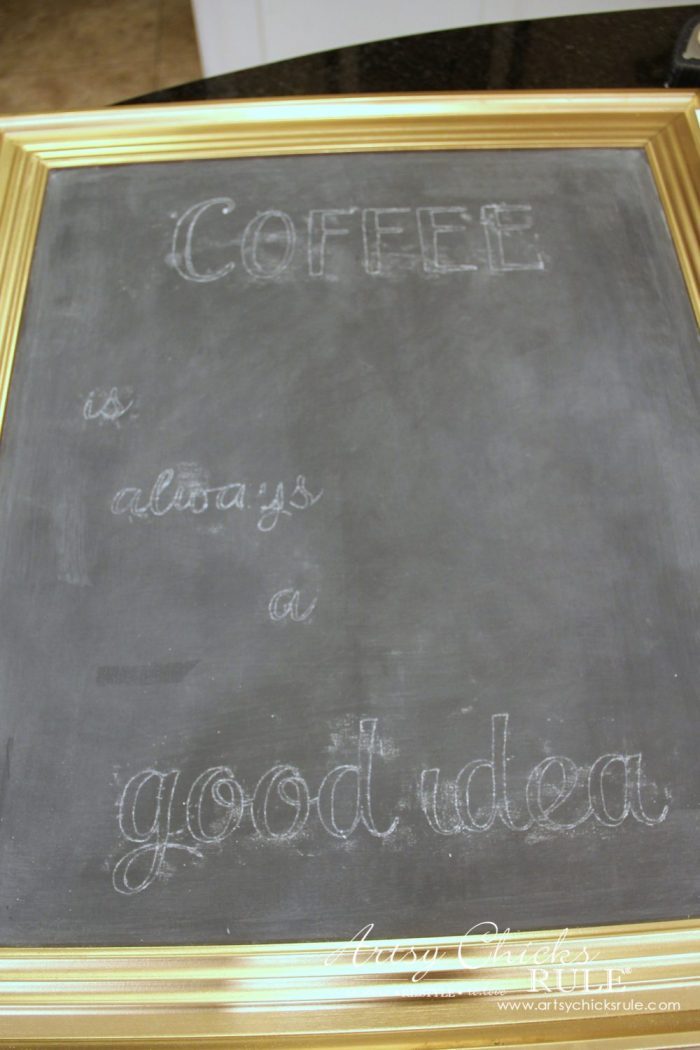
That’s it!
ANYONE can do this and have pretty chalk art. :)
All that’s left to do now is “color in the lines” with chalk.
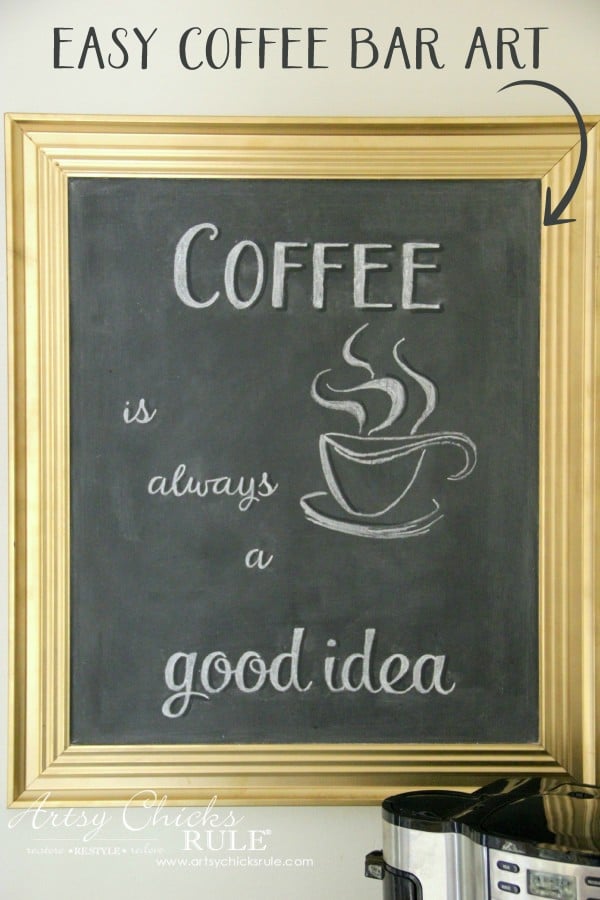
I used a damp q-tip to created the black shadows you see.
Just wipe it where the shadow would naturally be and it will erase any chalk dust that will, in turn, create a “shadow”.
Another tip I found in the book I recently bought…. —>> The Complete Book of Chalk Lettering: Create and Develop Your Own Style
Then use the dry side of the q-tip to clean up the excess chalk that got there when transferring.
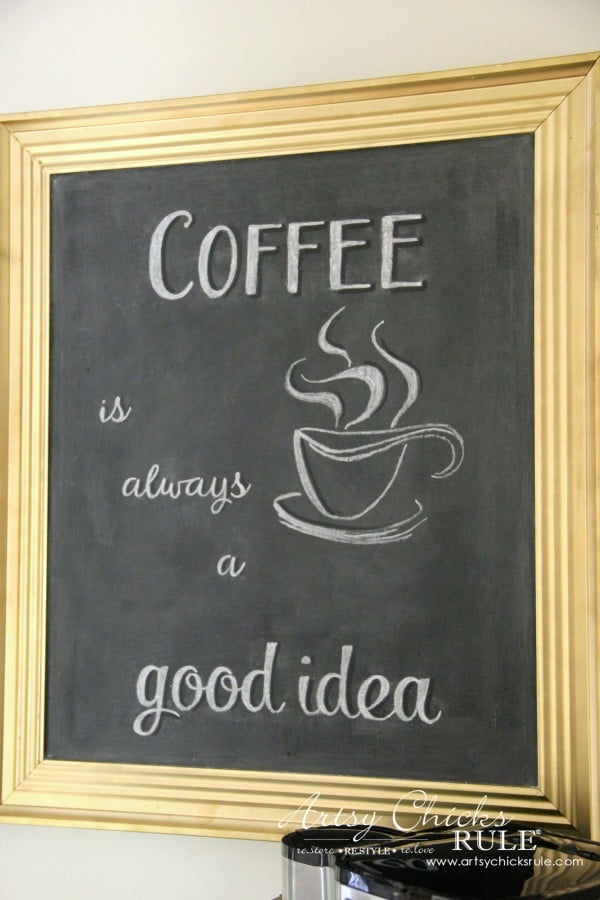
Love the look the shadow adds.
I drew the coffee cup by hand. I’m not loving it because it’s crooked and too high.
I’ll probably re-do this board before the holidays but I wanted to go ahead and share it with you guys.
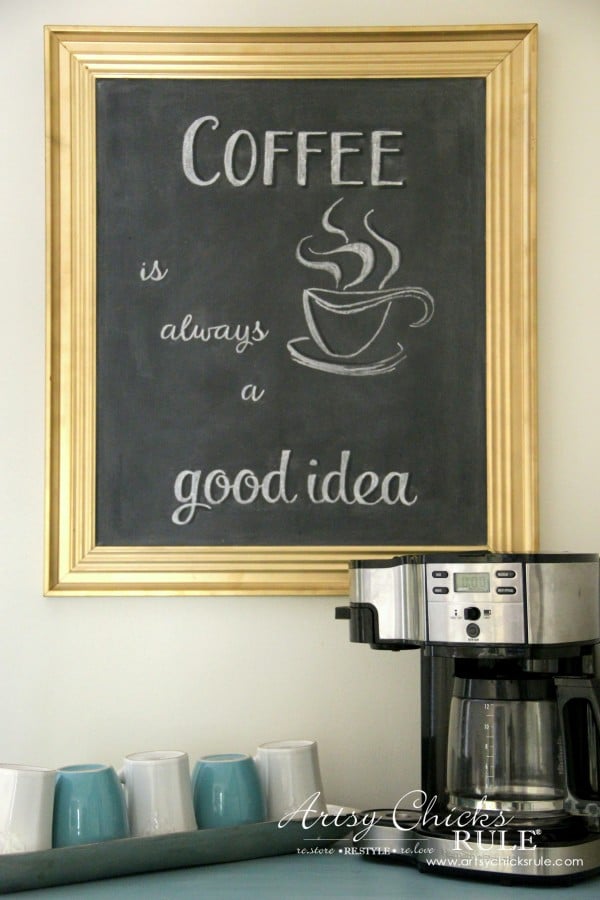
AND I’m loving the new location of the Coffee Bar.
Right next to the kitchen where it actually started out.
SO much more convenient.
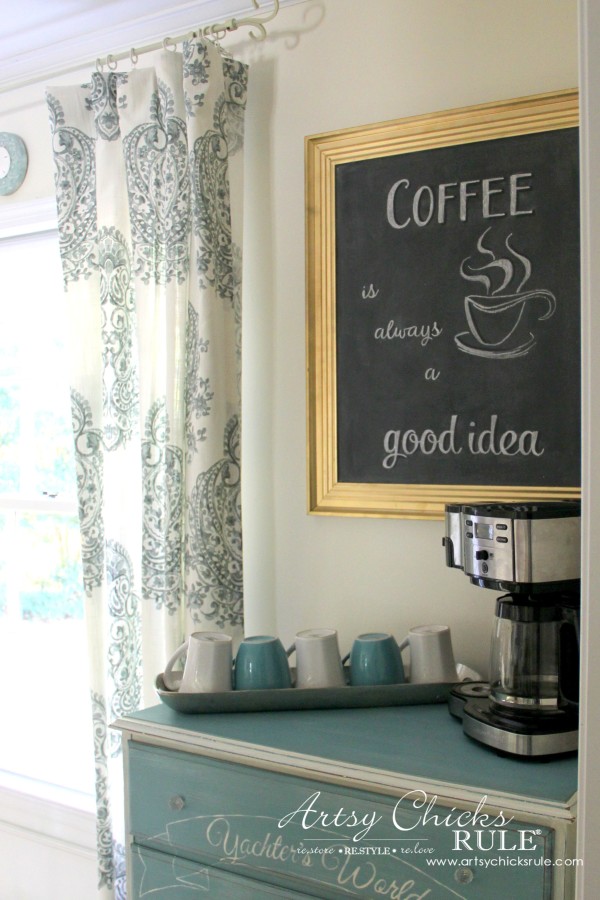
I do have more plans for it.
That silver tray was not bought for mugs but that’s how I’m using it for the time being.
I plan to find or make some boards with hooks for the mugs to hang on the right sidewall.
That will free up space on the top of the chest.
And to show you that the chest is not just for looks…..
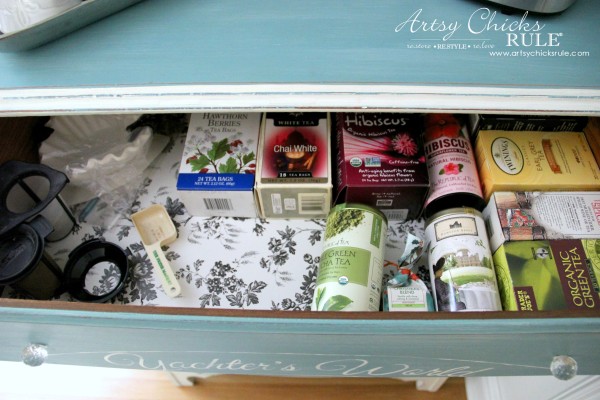
I use every single drawer for storage. Coffee and tea items in the top drawer.
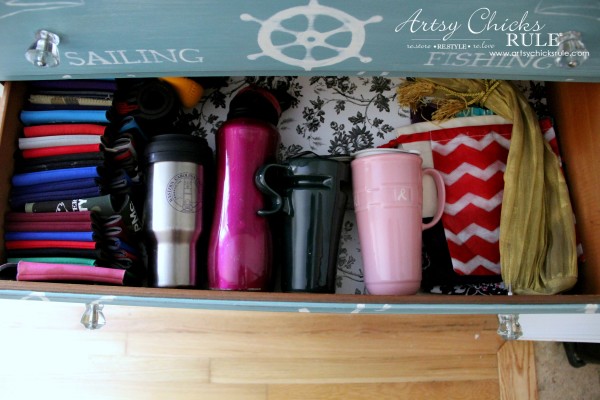
Extra mugs…..
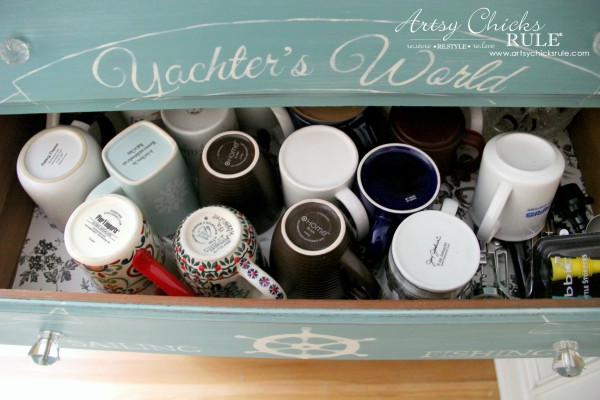
Other drink items….. (my husband has quite the koozie collection…I don’t think he needs one more!)
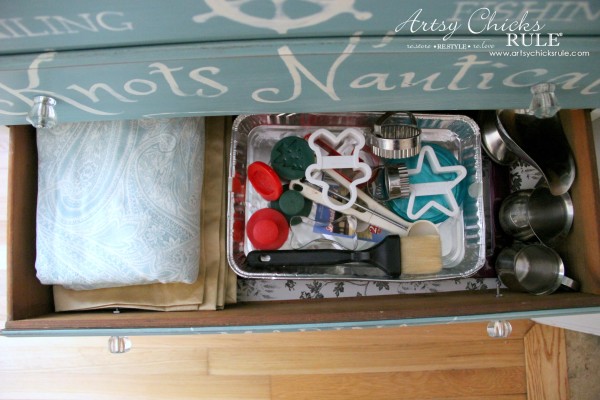
Miscellaneous items, placemats, table cloth…..
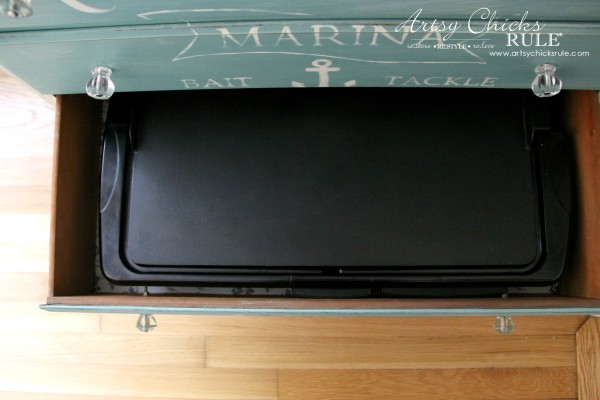
And even my griddle I use for pancakes. ;)
Fits perfectly tucked away.
I LOVE my new coffee pot, by the way. (well, it’s not new anymore)
It’s this one.
I went through 2 Keurig machines. I did everything I was supposed to but I just could not keep them working.
But this little gem is perfect.
Single-serve on one side or full pot on the other. Everything I need ALL IN ONE.
I’m really loving how things are coming together in here.
I cannot wait to finish it all. Excited!! (and ready to have my house back in order )
UPDATE!!!
I have since changed (well, everything) this coffee nook. It’s completely different and I painted another dresser for it!
See it now, here.
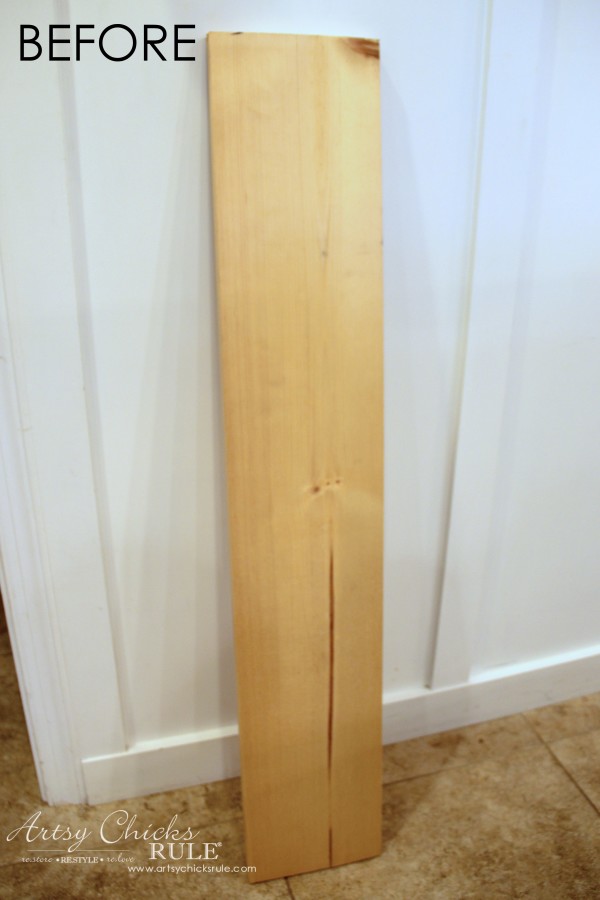
And, you don’t want to miss this lovely I’m sharing next! I made the most amazing sign out of this old scrap!
UPDATE!! See it now, here!
xoxo





Wow Nancy, that corner is so cute now! Great job on the chalkboard. Love the black shadow tip. And your new curtains!
Thanks Debi! I’m so excited to almost have things done in there! :)
Nancy
Love it! I love the blue paint on the dresser. Is there a link for that, too?
Hi Karen,
Thank you! The link has all of that info. It’s Provence by Annie Sloan (Chalk Paint®). :)
It’s a gorgeous color!
Nancy
A wet q-tip for the shadow lines – brilliant! Congrats on selling the hutch Nancy. Your nautical dresser works equally well for your coffee bar – love the drawers for housing everything coffee!
Thanks Marie! Yes, I just love the look it gives! :)
And yes, storage is always good! (and I’ve taken a bunch of mine away with selling all the furniture! ;) )
xo
Nancy
Looking awesome, Nancy! Love the new coffee station! Can’t wait to see the rest! xo
Thank you Karen! It’s different but I was ready for a bit of change. :) It will be nice to have less furniture. I think it will really open up the space!
xoxo
Nancy