Chalk Painted Antique Side Table (easy “antiquing” technique!)
I created a simple finish on this Chalk Painted antique side table that gives a softly worn, aged appearance. So easy to do!
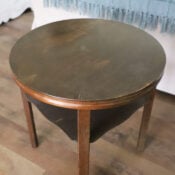
Here is what this poor, sad little Chalk Painted antique side table looked like to start…
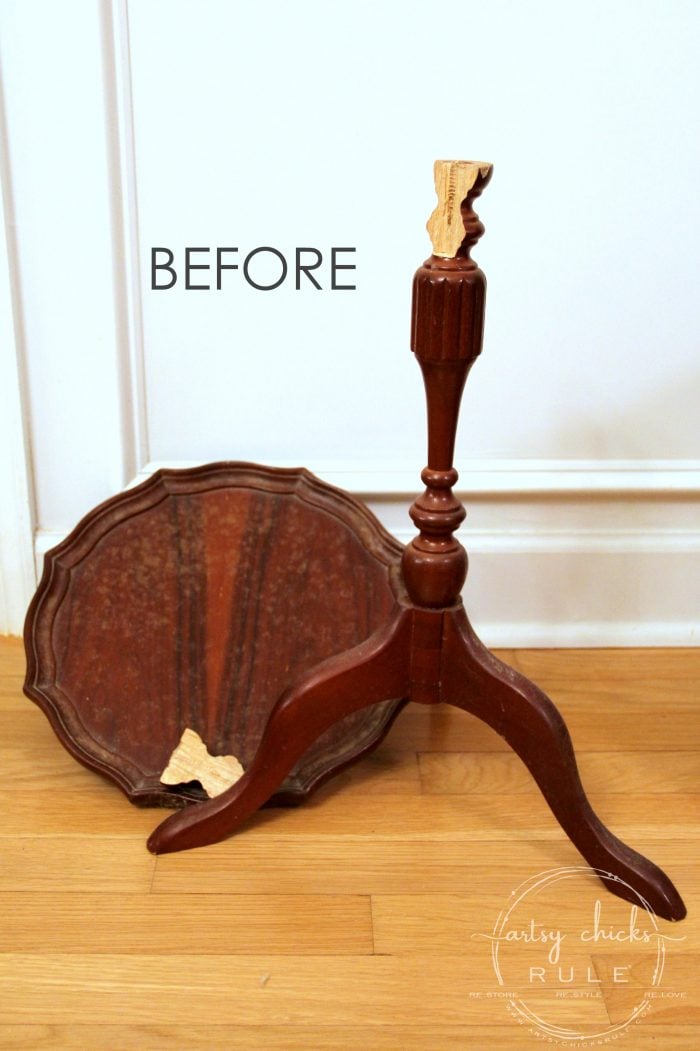
Hey friends! Happy Trash to Treasure Tuesday.
Be sure to read all the way to the bottom to see my friends’ makeovers!
Today, I’m sharing this chalk painted antique side table…
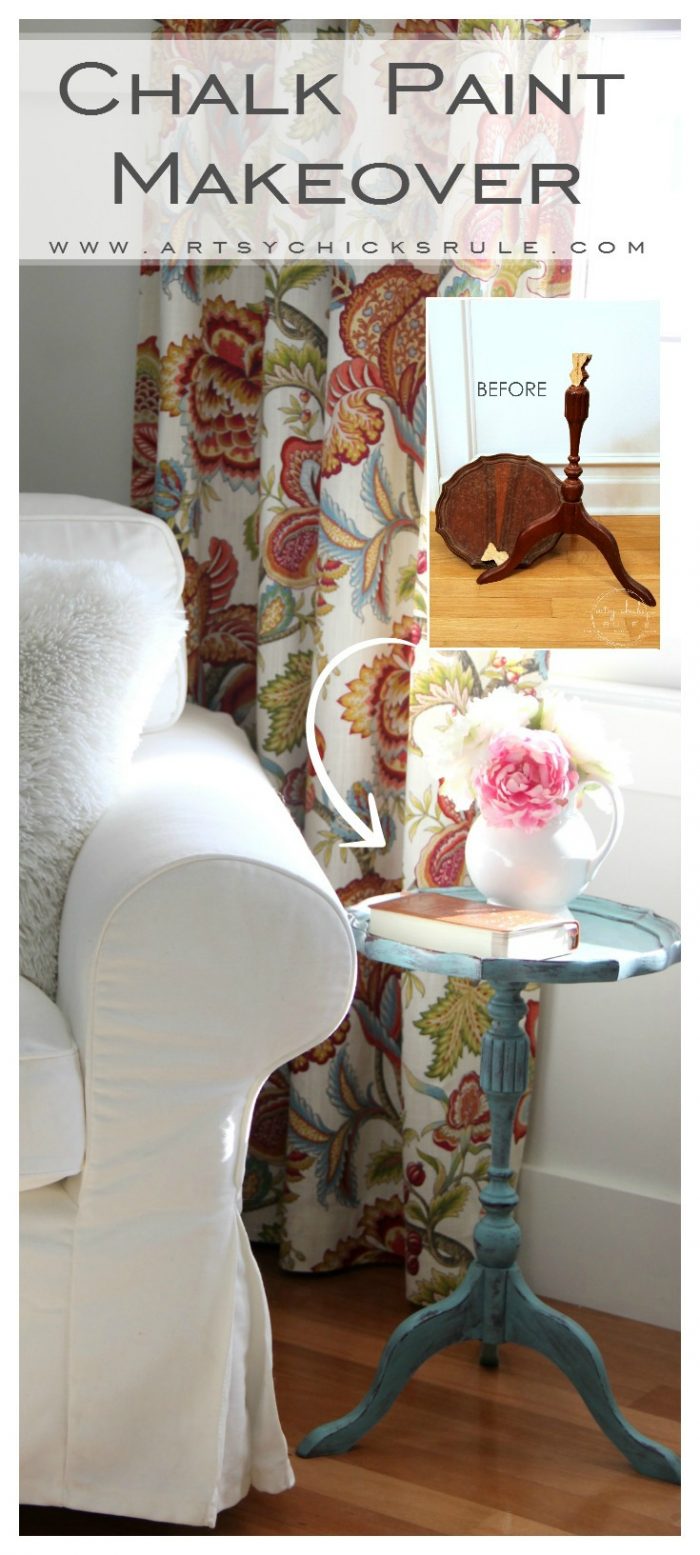
This one spent a long time in my garage before I finally pulled it out for a makeover.
Sometimes I’m just not inspired by a piece, you know? And if that’s the case, I usually just let it go until it hits me.
But I finally decided it was time for this one to get some much-needed love.
It wasn’t broken when I first got it but I believe it was cracked and ready to go.
This is one of the reasons it sat so long.
But honestly, it was an easy fix. SO easy!!
I would typically use wood glue for repairing wood but since this was part of the table that needed to be very sturdy, I used my very strong E6000.
That stuff is just a beast.
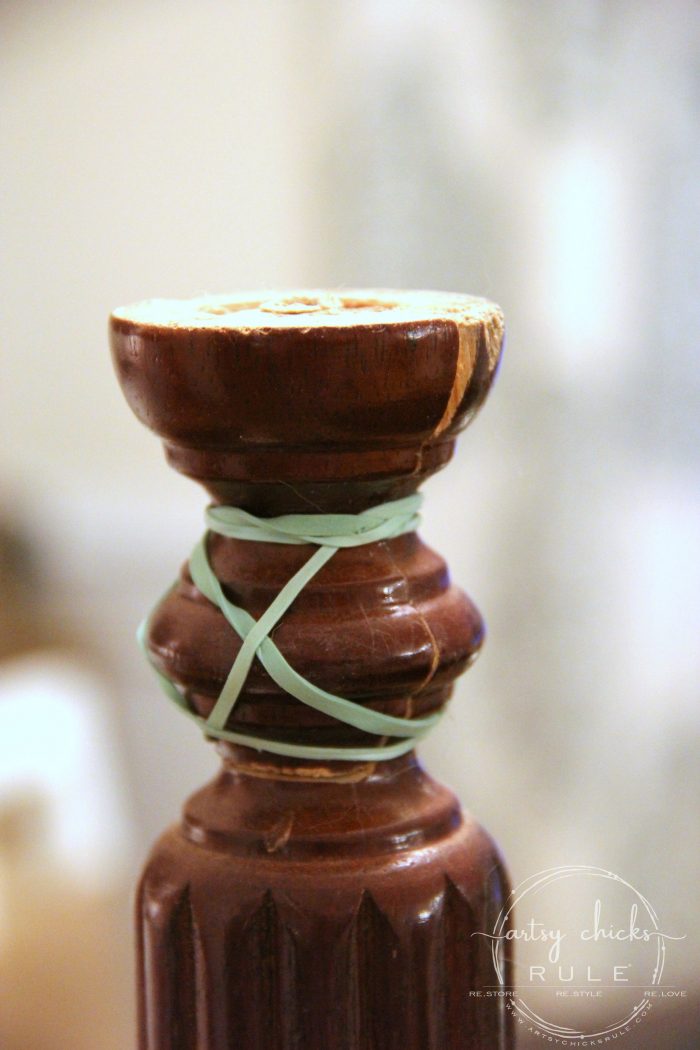
I used a rubber band to hold it tightly together until it dried/cured.
Here’s the full list of supplies I used for this makeover.
MATERIALS LIST
- E6000
- Provence Blue Chalk Paint (this one is similar)
- Chalk Paint Style Paint Brush
- Clear Wax (with some brown mixed in) I used Annie Sloan
The tabletop actually had a threaded bolt that attached it to the base. I decided to go ahead and glue that too.
It’s very sturdy now.
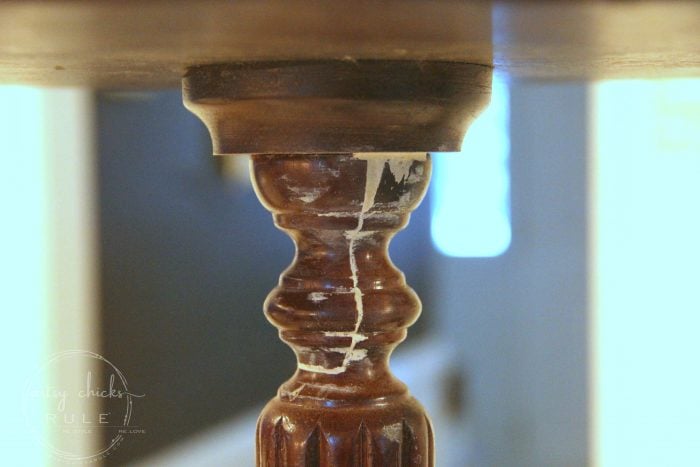
I used wood filler to fill in the missing wood chips and the seal line.
All good and you’d never know.
I decided to paint this one……BLUE! Surprise!
My husband saw it and said, “Don’t you ever paint anything gray?” I said, “Huh? Why? I don’t really like gray.” haha
So he said, “Well, don’t you ever paint anything other than blue?”, “Um, nope, why?” haha, kidding, I do, but I do love blue, obviously.
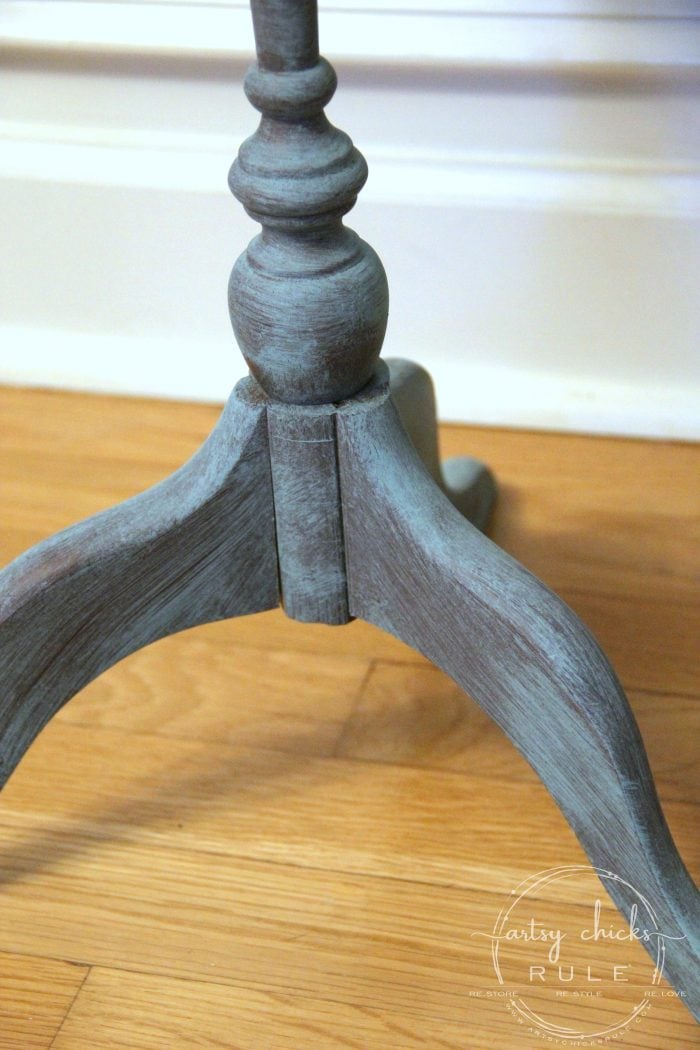
I actually used the very lovely color of Provence (Chalk Paint) for this one. I just adore that color.
Now let me tell you about the fun finish I gave this one.
But first, want to know about 26 other chalk style paints you can use?
I’ve got the low down for you right here! >>> 26 Types of Chalk Style Paint For Furniture
Alrighty, I didn’t want it to be perfect or really just flat looking.
I wanted it to have a bit of character.
So as you can see above and below, I did a very thin first coat.
I used an awesome Chalk Paint style brush which worked well for this.
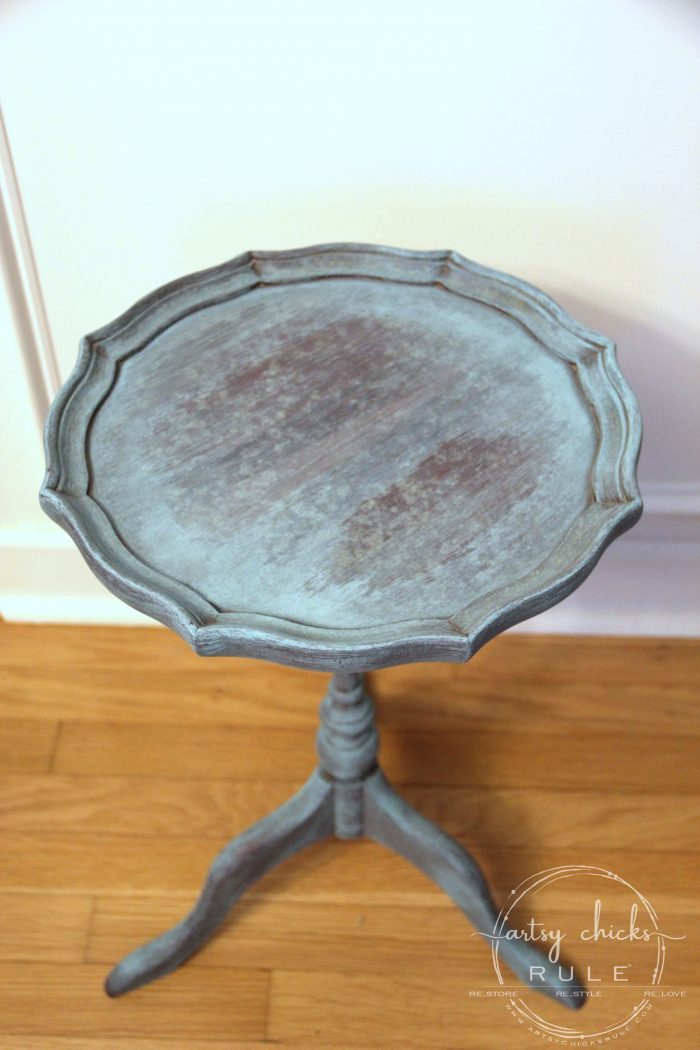
I let that dry well and then did a second pretty light coat.
I painted in sections and used a lightly damp paper towel to wipe some of the paint away, focusing mainly on the edge areas.
Which gave me this look…
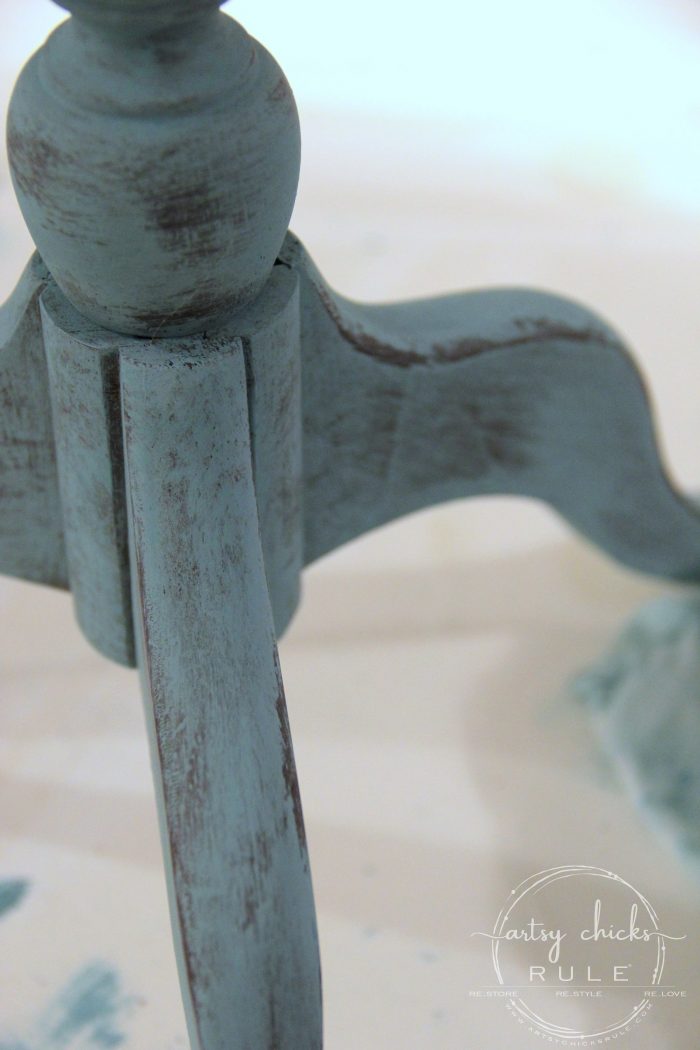
I did wipe the whole area, as you can see, however. I wanted to sort of get down to that first “bare” coat of paint.
That was the look I was going for.
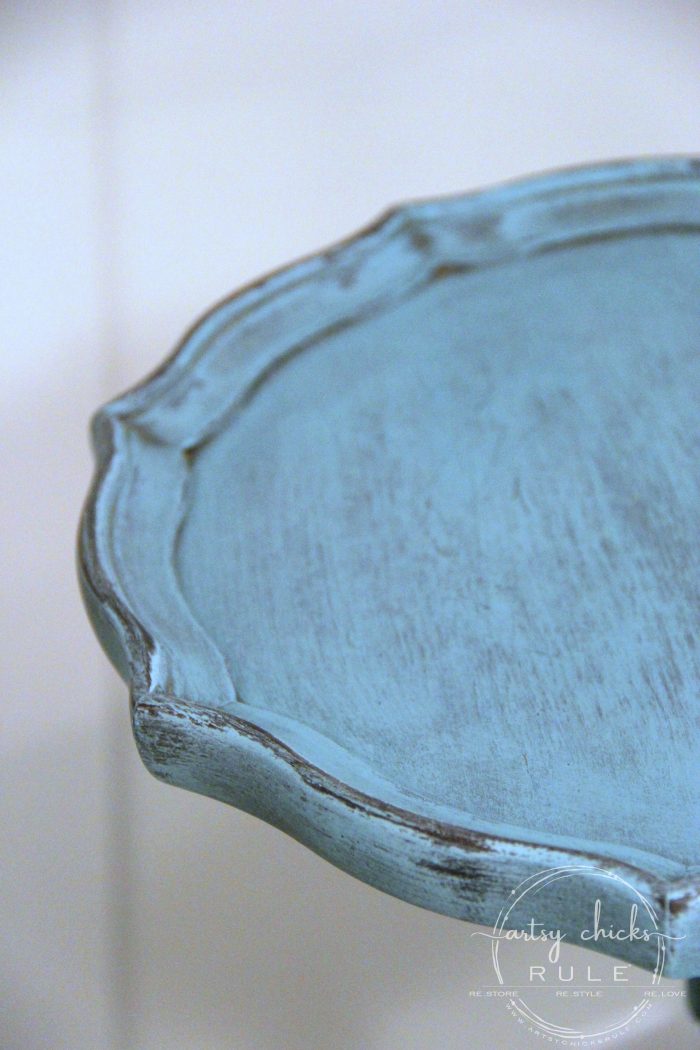
I had thought I might use black wax but instead decided to use some wax I already had mixed up.
I would say it was mostly clear with just a touch of dark brown.
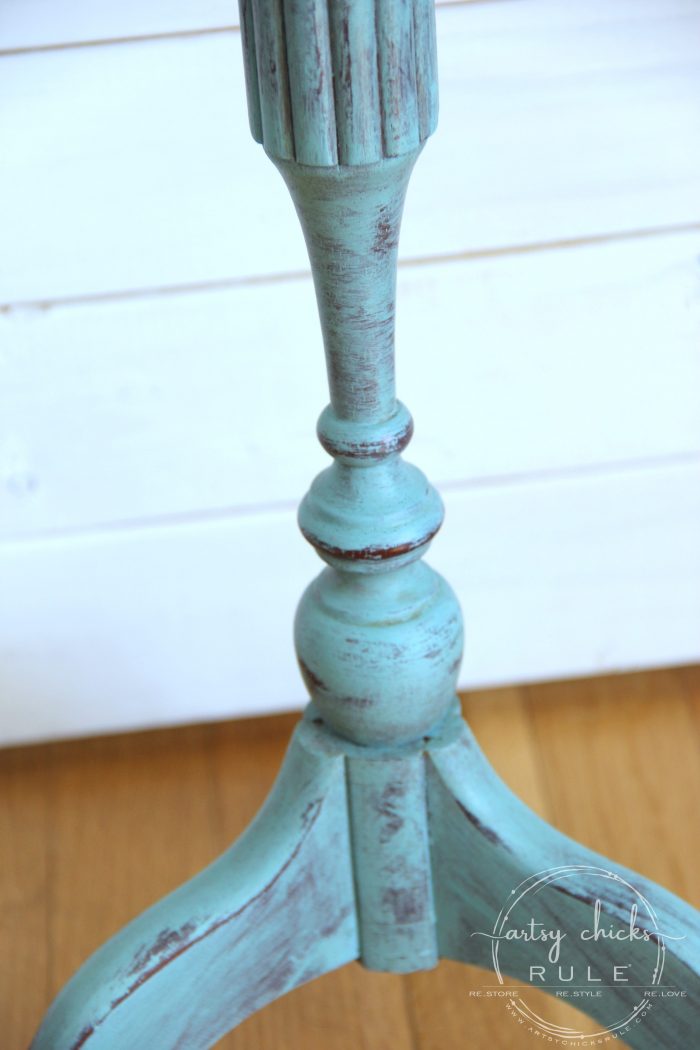
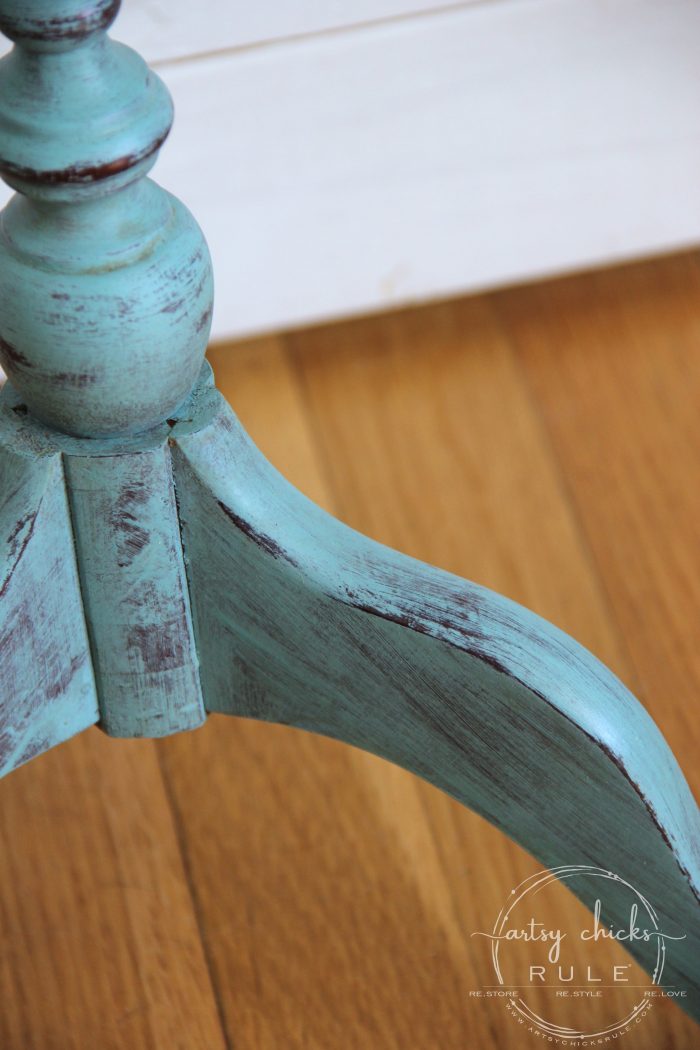
It looks messy but I kind of love the relaxed look of this one.
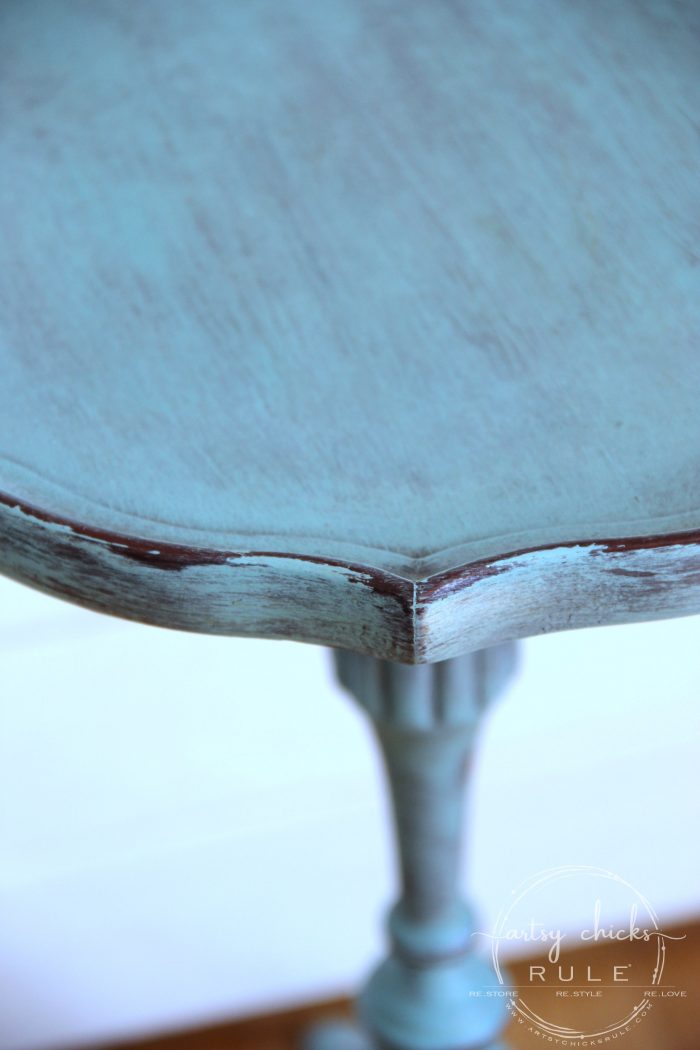
So, not only are the edges distressed, the entire painted area looks a bit worn too.
It’s really easy to do….just wipe on, wipe off.
And if you mess up, guess what? Just add a bit more paint and go again.
There really is no way you can “mess” this up because that’s sort of the look you are going for anyway!
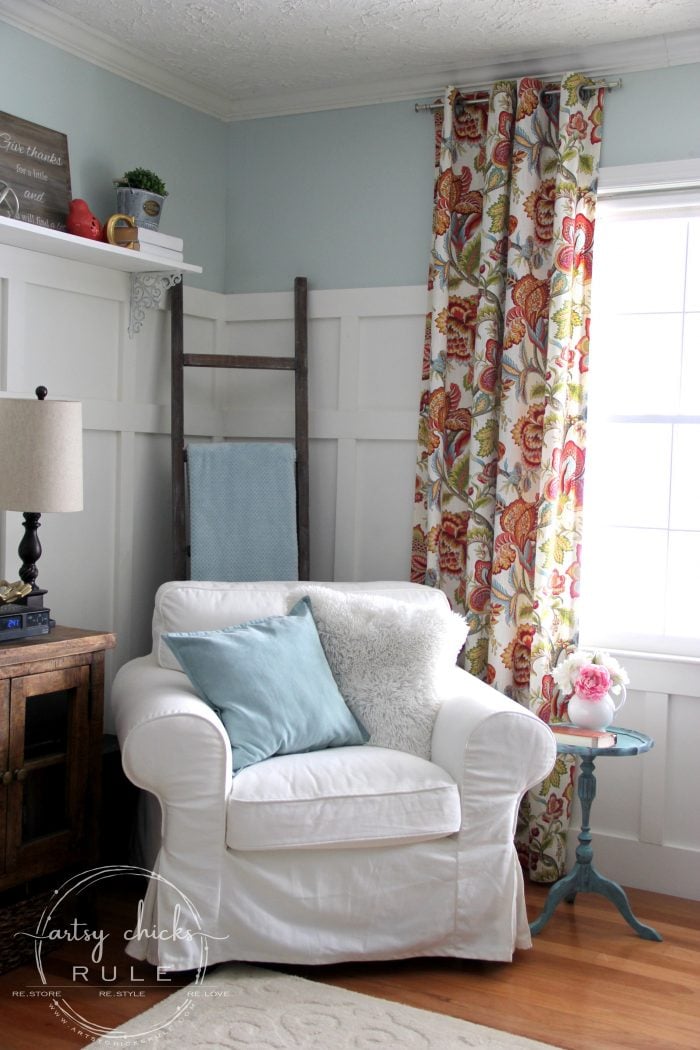
So cute!!
And the story of my life right here…..
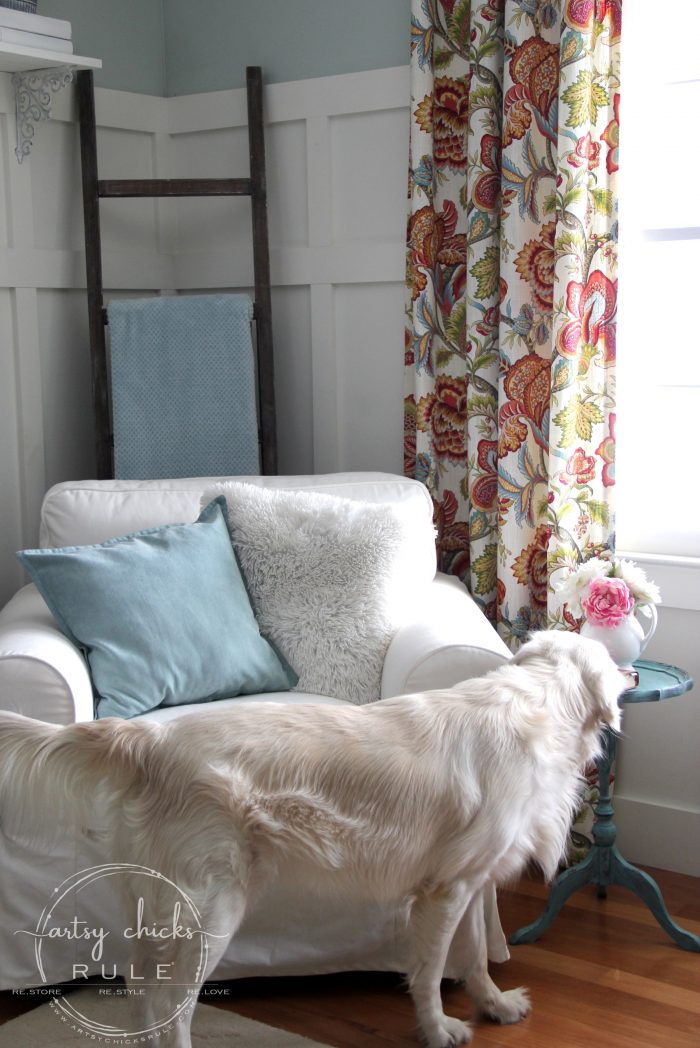
…..haha, hi Ryder.
He is such a nosy little thing. What’s this? Something new? Let me sniff it and make sure it’s safe.
And again with Ryder out of the frame.
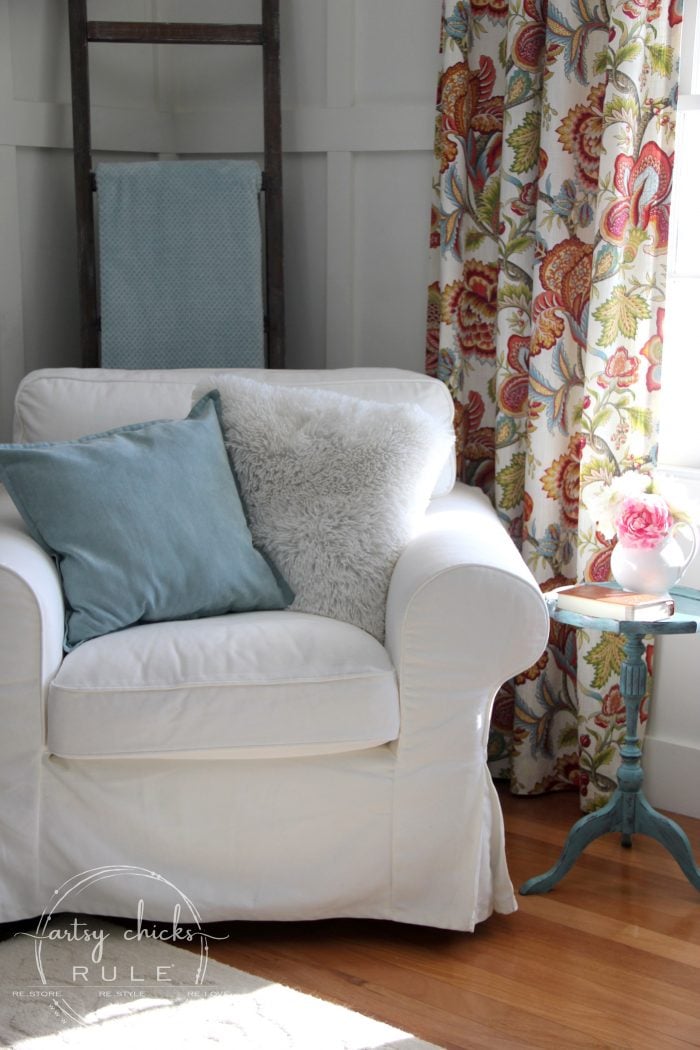
I might have to try this ultra-distressed look on a larger piece sometime.
I really like it a lot.
And it’s kind of fun to do….plus you can not mess it up!
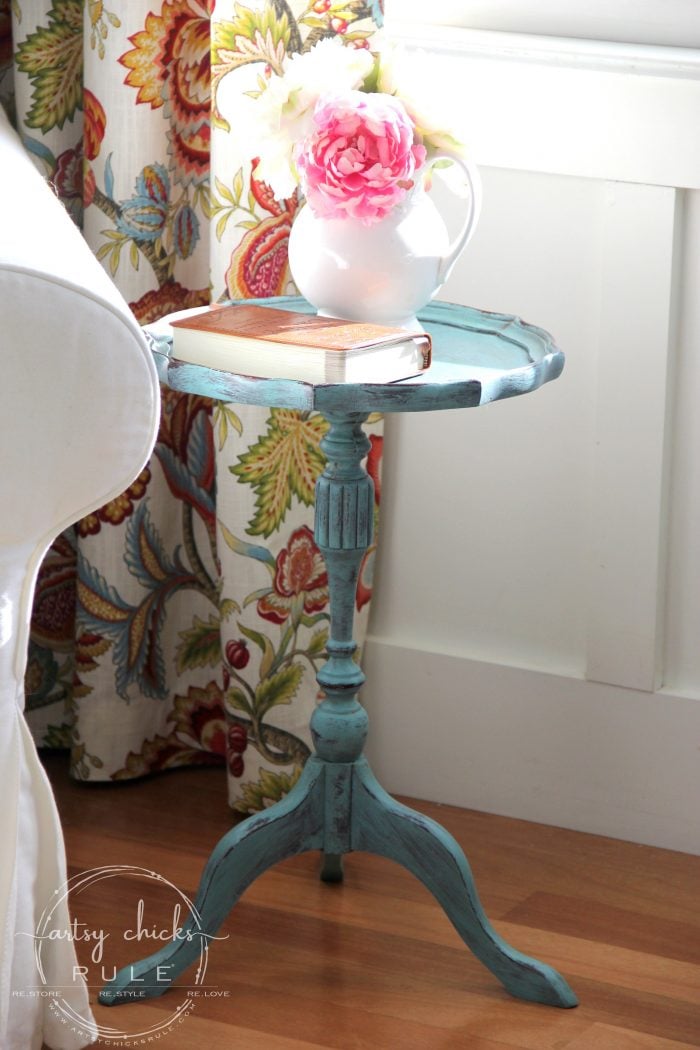
Plus that color. I mean really.
Is it, not the most gorgeous?
This little Chalk Painted antique table and finish are so fun and pretty. I think so anyway!
I love how it pulls the blue out of my colorful no-sew curtains there, too.
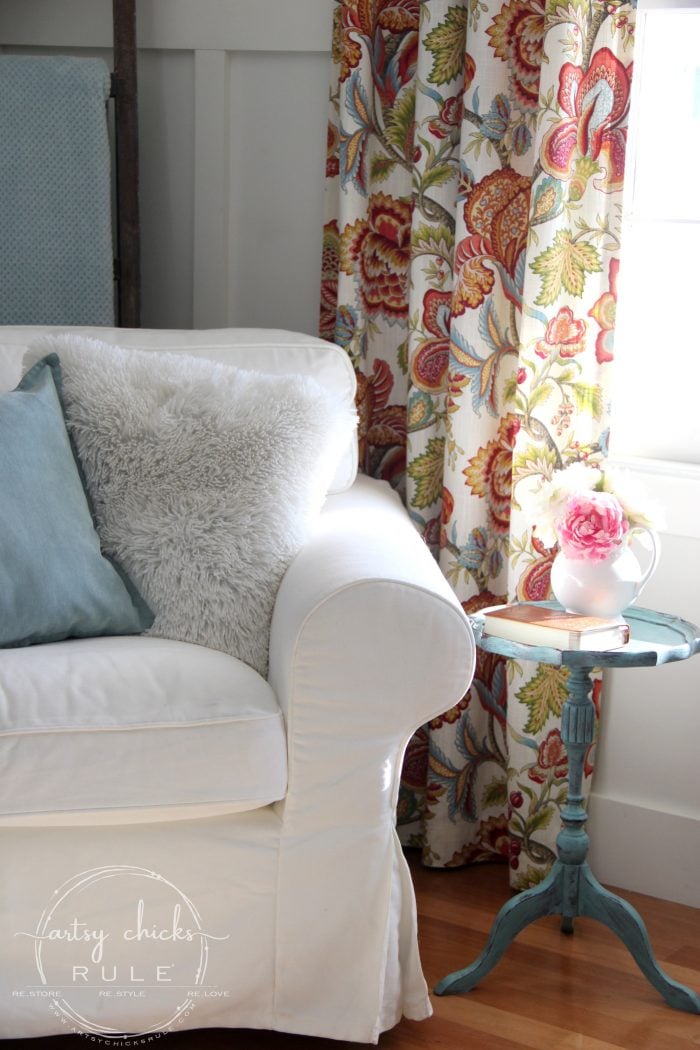
Love it? PIN it to save it!
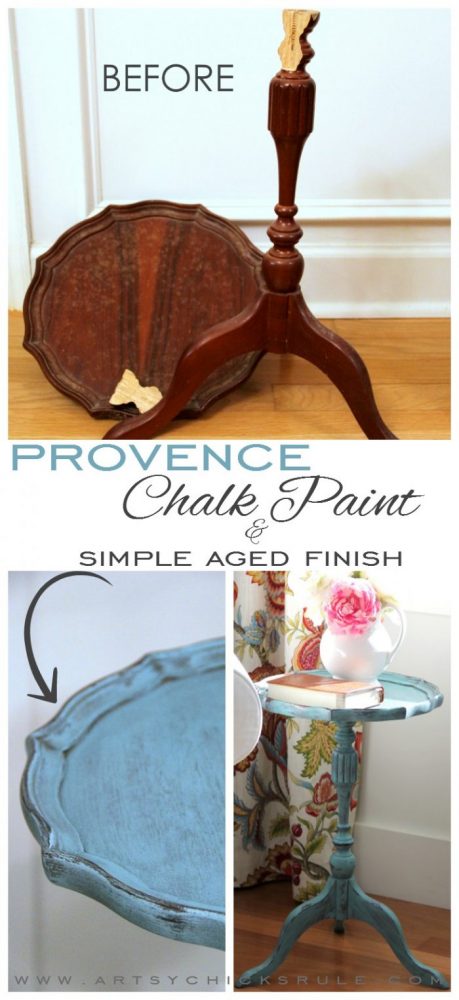
Look at all of these beauties! I can’t wait to see what they did with these.
You can see what they did with them right now…..
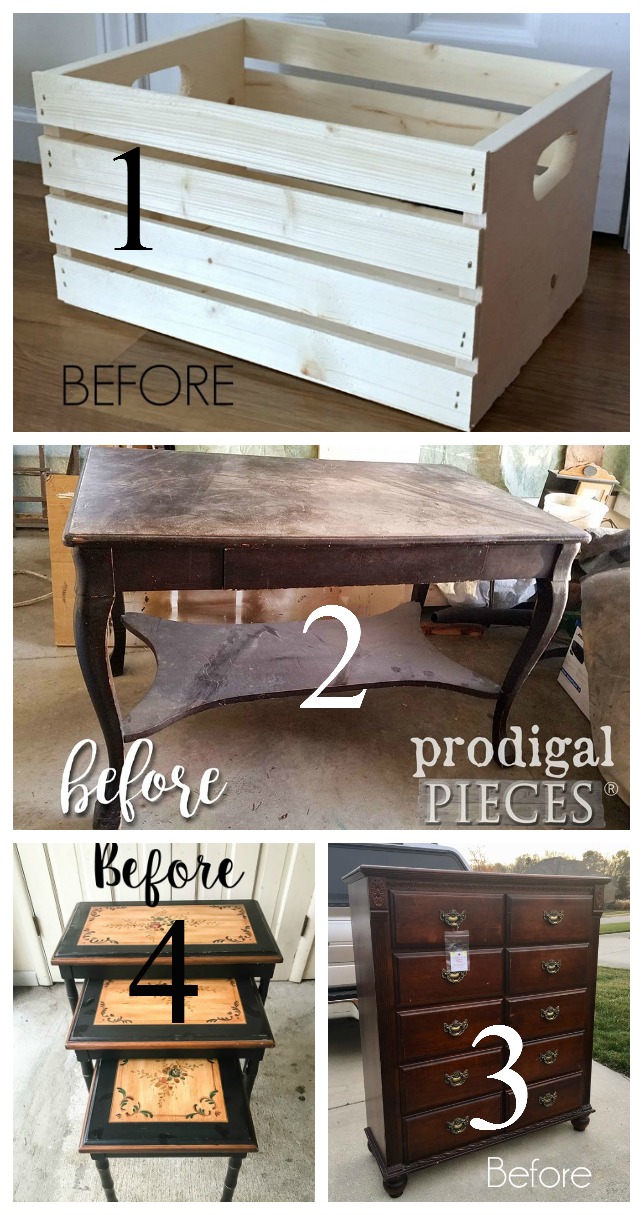
Want to see even more Trash to Treasure makeovers? Click here for the full gallery.
I hope you enjoyed this month’s “Trash to Treasure Transformations”.
I’ll see you back here later this week…..with a whole new transformation! (and layering Chalk Paint!)
UPDATE!!! See it now, here!!
xo





Lovely job …but I have to tell you something funny. I was scrolling down the page and thought ? that’s the exact colour of throw I am looking for…then I realized that it is your dog!!! Oops!! beautiful dog you have …hee hee ?
Thanks you! And oh, haha, that is too funny! ;) He is cozy to lay beside!! ;) xo
Yay! I’m so stoked you saved it, Nancy. It’s so cute! I just love pie crust tables like that. They fill in spots nicely and have such charm. Great job!
Thanks Larissa! They are the cutest, I agree! xo
Great save, Nancy! The color and the technique suit that table.
Thanks Marcie! I’m so happy with it! Now I want to paint something else like it…in the same color! ;) xo
Beautiful color of blue, love the vintage distress finish. Funny how your dog knows you have composed the picture and Ryder says “wait you forgot me let me fix the flowers for you” lol
Thanks Christina! I love this blue so much. I used to use it more often but haven’t as much lately. I need to change that. ;) And yes, Ryder is my chief resident “checker outer”. ;) xo
I kind of love the relaxed look of this too! I bet it would be gorgeous on a larger piece! I can’t believe how big Ryder is…they grow SO fast! xoxo
Thanks Christy! It’s kinda messy and I love it! Plus you can not mess that kind of paint job up! ;) And I know, he even got a little fatter when we got him fixed recently. Haha Gonna have to keep an eye on that now. xo
Not many would have made the attempt to repair this one! Great job!
Thanks Rose! I didn’t for a few years but it was time. ;) xo
LOVE the table, and especially the color. I find I do much better when not trying to finish a piece with a perfect paint job – this technique is perfect.
Thanks Dyan! That color is divine. I need to use it more often. And yes, you’ve got that right, so true!! xo
Looks fantastic and your dog is awesome!
Thanks Korinne! And yes, he’s a keeper, for sure! :) xo
Nancy it’s perfect in your coastal cottage style home! Straight out of Cottages and Bungalows magazine. (I think that’s the name of it!) :)
Thanks Jen!! :)
Adorable little table. I’ve never seen one that small in that style. Beautiful dog.
Thank you, Cyndy! :) He is a sweetie! xo
Nice little side table!
Thank you so much, Rose! :) xo
I have a double decker pie crust table but it took a flying leap out of the back of my car :( It needed a few minor repairs but now…I have to glue almost all the edges of the crust back on. Fortunately I found all the pieces! I love that color combination and hope to try it on a chair.
Oh bummer, Cecilia! But yay for having all the pieces. You can fix it!! :) xo
I love how you fixed the table with E6000!!! Rubber bands…. perfect! LOVE the color! Super cozy looking!!! I also love the table you linked to at the end. You have some great skills Nancy!!
Aw, thanks, Christina! :) xo
Ms Nancy, I’m curious if the “floors” n these pics are original hardwoods? I’m looking for flooring like this to install- thought I’d take a chance and see if you installed??
Thank you – love your website, and redos 😃
Hello, no, they are not. They were prefinished ones that we installed. (probably around 2006 from Lumber Liquidators) :)
Would you know color, brand any info on the flooring?
Thank you
Oh gosh, I wouldn’t now. It’s been so long ago (I wasn’t blogging then) and they were a “closeout”. Sorry!!
I love this look on this table. I’ve seen pieces done like that and wasn’t a huge fan. Yours is perfect and I have a wood plant stand which has a similar look and I may try this finish on it. Ryder is so cute checking it all out.
Thanks so much, Debra! Yes, do give it a go! xo
Nice makeover! I love the blue as well. The “messy look” looks great and you are right, more relaxed! No one would ever guess that the stand had to be glued, rubber banded and cracks filled. Really pretty little tabel now. PS I loved seeing Ryder! Everyone should have one! He makes sure everything passes the sniff test! Have a wonderful week.
Thank you, Sue! I hope you are having a wonderful week too! xo